Introduction
Welcome to the world of LG Smart TVs! These cutting-edge devices not only offer stunning picture quality and a multitude of entertainment options, but they also provide access to a wide range of channels. However, before you can start enjoying your favorite shows, you need to go through the process of channel scanning.
Channel scanning is a vital step in setting up your LG Smart TV. It allows the TV to search and save all the available channels in your area so that you can easily browse and navigate through them. Whether you’re a TV aficionado or just want access to local news and sports, understanding how to scan channels on your LG Smart TV is essential.
In this guide, we’ll walk you through the step-by-step process of scanning channels on your LG Smart TV. We’ll cover everything from accessing the settings menu to troubleshooting common issues that may arise during the scanning process. So, let’s dive in and get your LG Smart TV ready to deliver a world of entertainment straight to your living room!
Understanding Channel Scanning
Before we jump into the details of how to scan channels on your LG Smart TV, let’s take a moment to understand what channel scanning is and why it’s important. Channel scanning, also known as channel tuning or channel setup, is the process of searching and storing all the available channels that your TV can receive. This ensures that you have easy access to all the channels in your area without manually inputting the frequency or channel numbers.
The channel scanning process is crucial because it allows your LG Smart TV to detect and store both digital and analog channels. This is especially important in today’s digital landscape, where many TV stations have switched to digital broadcasting. By scanning for channels, your TV can automatically identify and save all the available digital channels, ensuring that you don’t miss out on any content.
Channel scanning works by sending signal requests to each channel frequency available in your area. The TV then receives the signals and stores the channels that are successfully detected. Once the scanning process is complete, you can easily navigate through the saved channels using your TV’s remote control or on-screen menu.
It’s worth noting that channel scanning is not a one-time process. Over time, new channels may become available, or existing channels may change their frequencies. In such cases, it’s important to regularly rescan your LG Smart TV to update the channel list and ensure that you have access to all the channels in your area.
Now that we have a clear understanding of what channel scanning is and why it’s important, let’s move on to the step-by-step process of how to scan channels on your LG Smart TV.
Step 1: Accessing the Settings Menu
The first step in scanning channels on your LG Smart TV is to access the settings menu. This is where you’ll find all the options and controls necessary to customize your TV’s settings, including the channel scanning feature. Here’s how to do it:
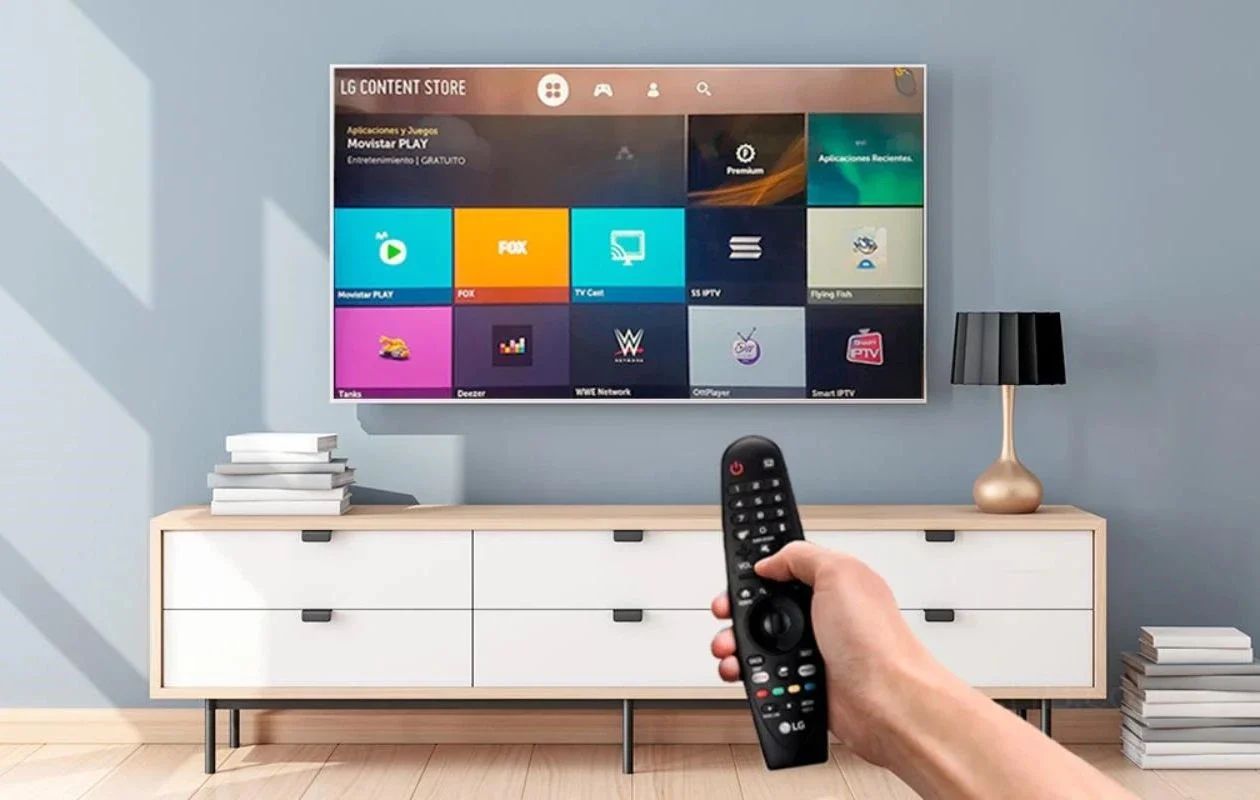
- Using your LG Smart TV remote, press the “Home” button. This will take you to the main menu.
- Using the arrow keys on your remote, navigate to the right until you reach the “Settings” icon. It is usually represented by a gear or cogwheel symbol.
- Once you’ve highlighted the “Settings” icon, press the “OK” button to enter the settings menu.
The settings menu is where you’ll find various options to customize your TV’s settings. It may include options for picture and sound settings, network configuration, and channel setup. Now that you have successfully accessed the settings menu, let’s move on to the next step and navigate to the channel tuning option on your LG Smart TV.
Step 2: Navigating to the Channel Tuning Option
Now that you’re in the settings menu of your LG Smart TV, it’s time to locate the channel tuning option. This is where you’ll find the settings specifically related to scanning and storing channels. Here’s how to navigate to the channel tuning option on your LG Smart TV:
- Using the arrow keys on your remote, navigate down or up to highlight the “Channels” or “Channel Setup” option. The exact name may vary depending on the model of your LG Smart TV.
- Once you’ve highlighted the “Channels” option, press the “OK” button on your remote to enter the channel settings.
In the channel settings menu, you’ll find a range of options related to channel tuning and customization. This is where you’ll initiate the channel scanning process and make any necessary adjustments to optimize your TV’s channel reception. Now that you’ve found the channel tuning option, it’s time to move on to the next step and initiate the channel scan.
Step 3: Initiating the Channel Scan
Now that you have reached the channel tuning option on your LG Smart TV, it’s time to initiate the channel scan. This process will allow your TV to search for and save all the available channels in your area. Here’s how to do it:
- Using the arrow keys on your remote, navigate to the “Auto Tuning” or “Channel Scan” option. Again, the exact name may vary depending on your LG Smart TV model.
- Once you’ve highlighted the “Auto Tuning” option, press the “OK” button on your remote to enter the channel scanning menu.
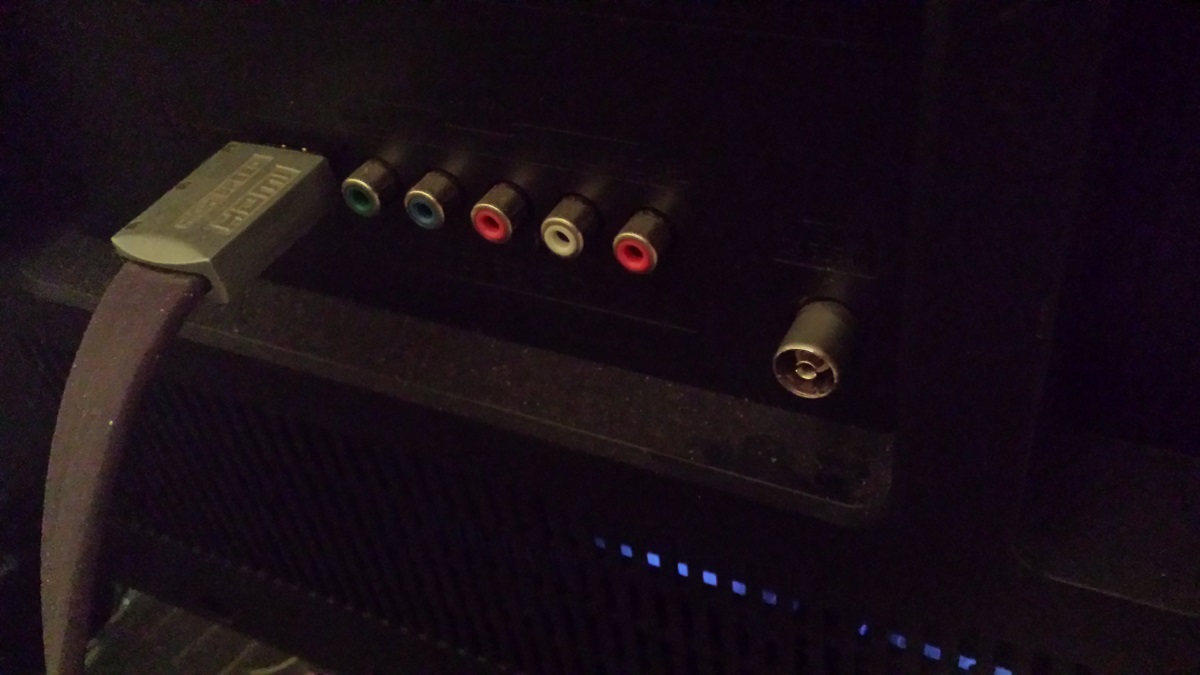
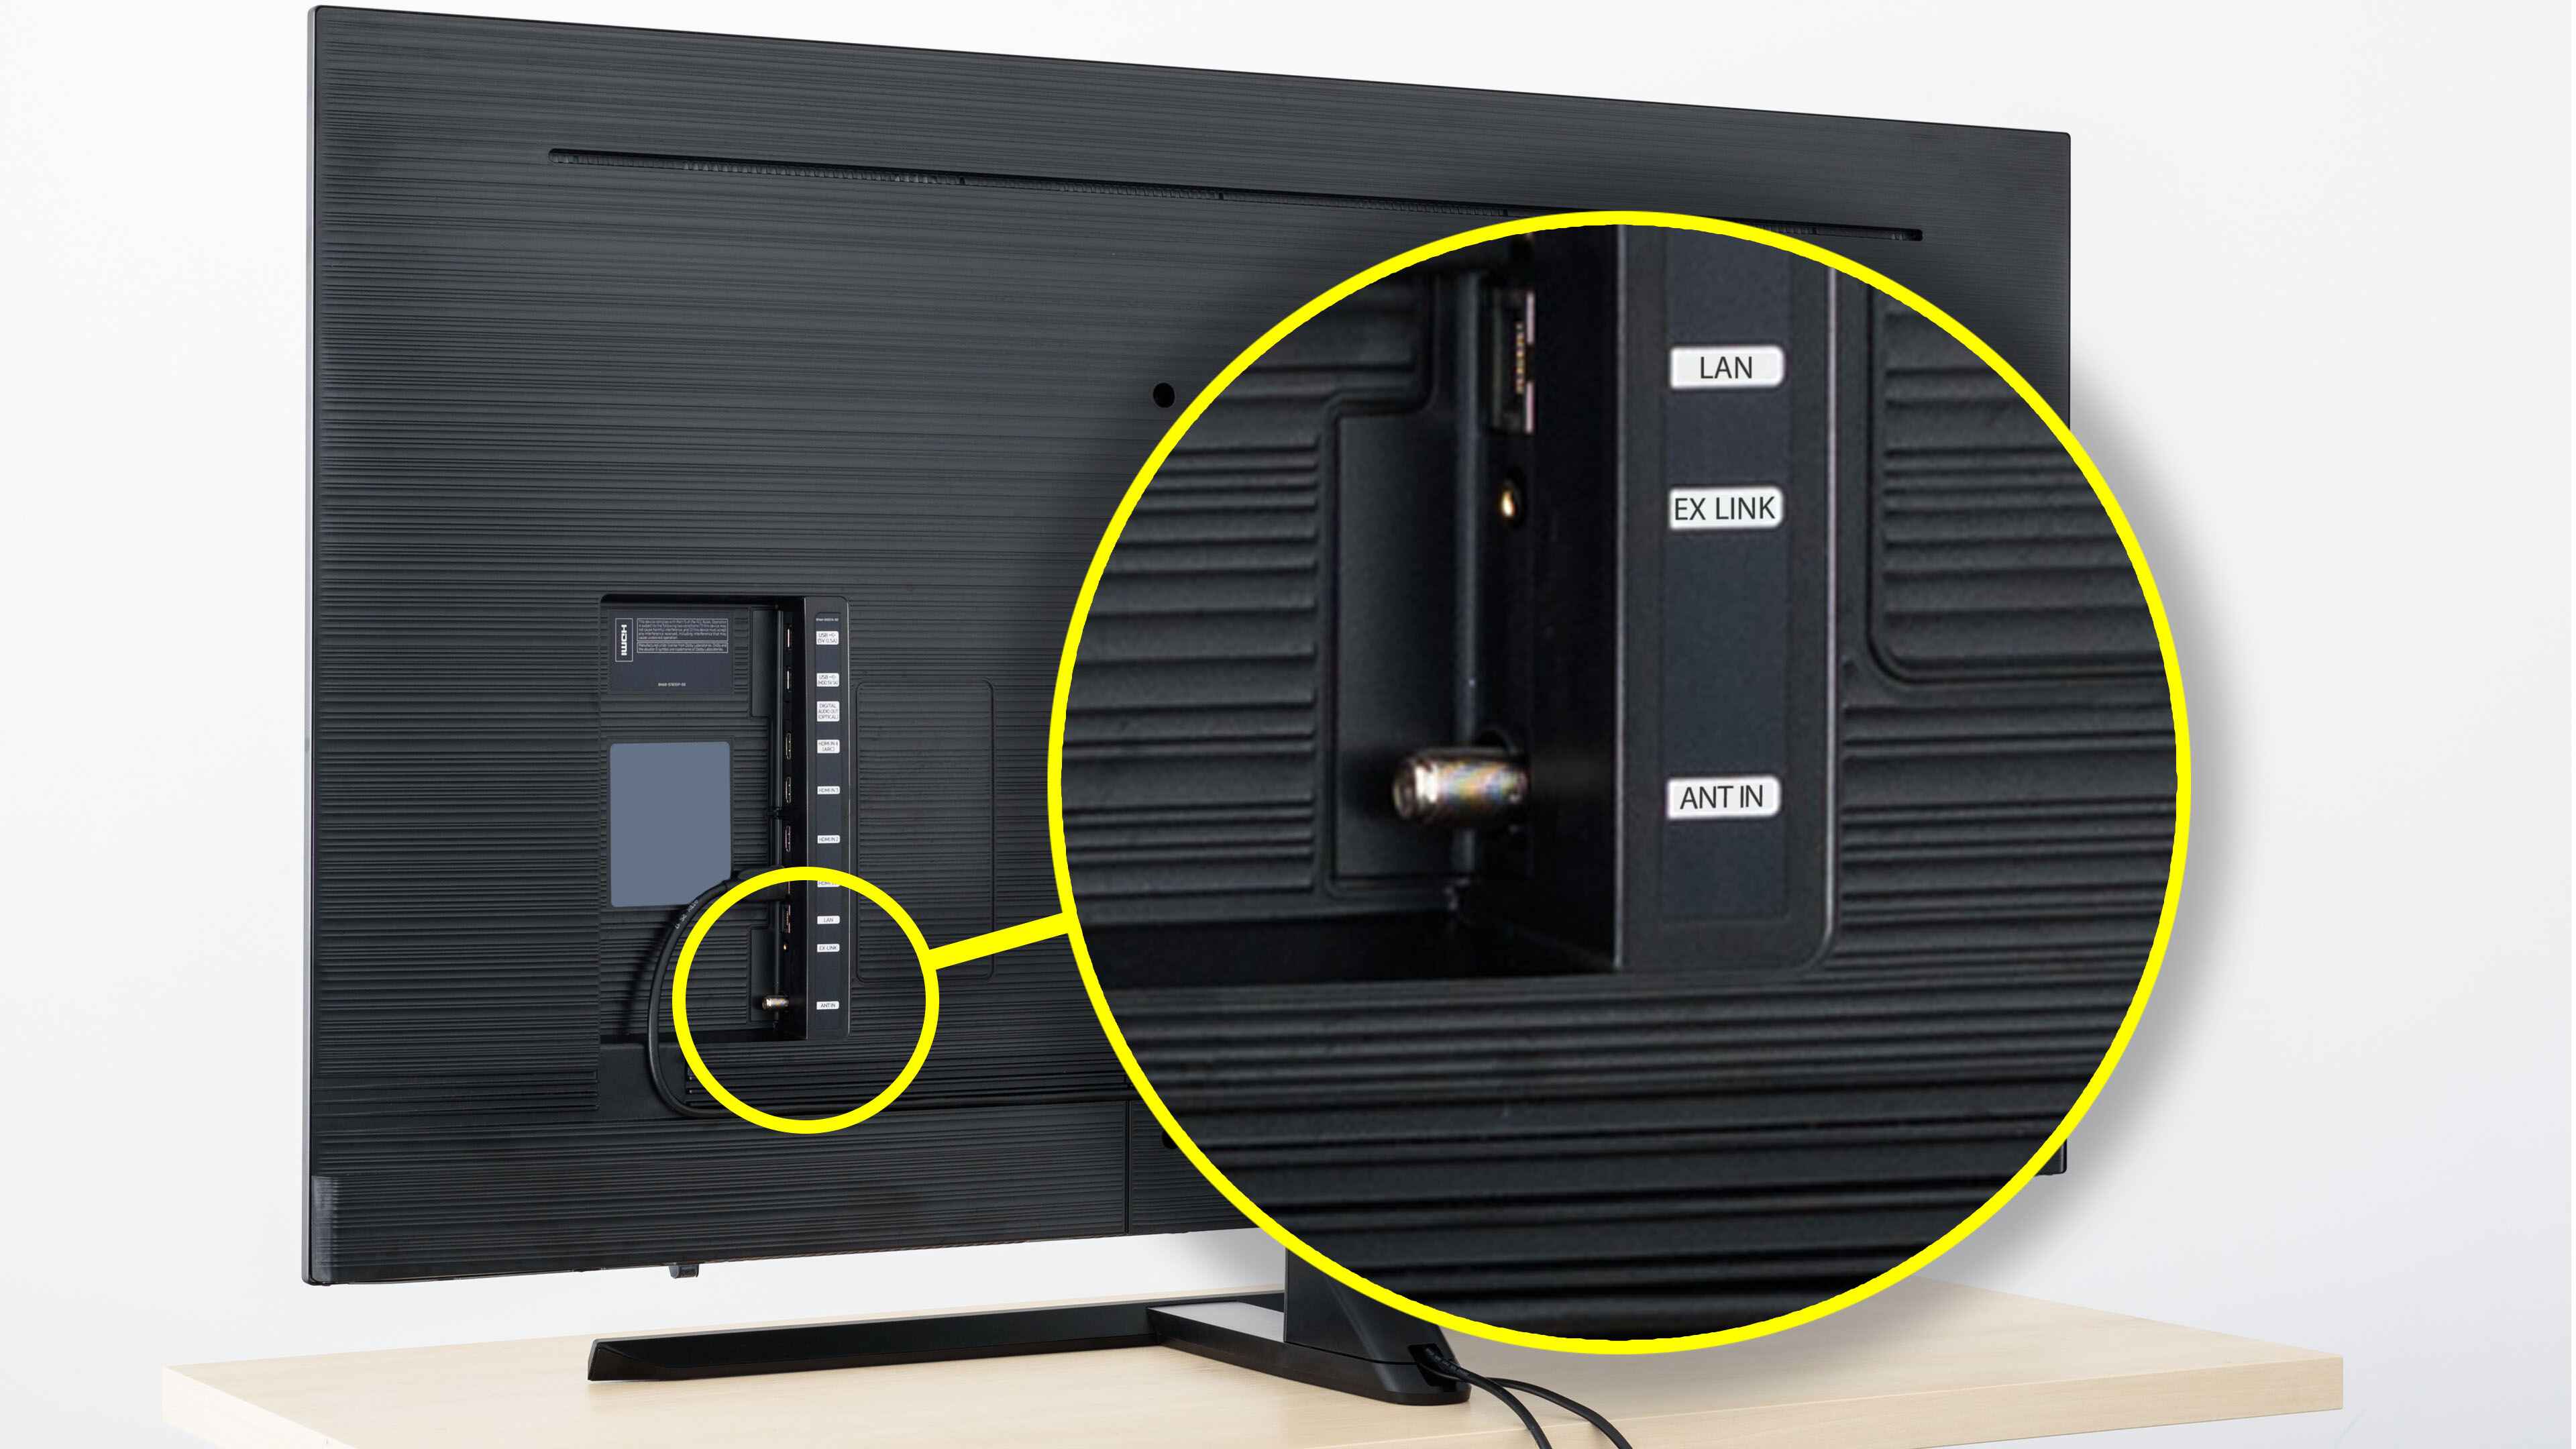
- In the channel scanning menu, you may be prompted to select the source or input for the scan. Choose the appropriate source, such as “Antenna” or “Cable,” based on how you’re receiving the TV signal.
- After selecting the source, you’ll usually have the option to customize the scan settings. These settings may include options to scan for analog or digital channels, adjust the scan speed, or enable or disable specific channel categories.
- Once you have reviewed and adjusted the scan settings, select the “Start” or “Scan” button to begin the channel scan process.
During the channel scan, your LG Smart TV will search for available channels based on the selected settings and the signal strength in your area. The scanning process may take a few minutes, so sit back and relax while your TV does its magic.
Once the channel scan is complete, your LG Smart TV will display a list of all the detected channels. Congratulations! You have successfully initiated the channel scan. Now, let’s move on to the next step and select the scan type on your LG Smart TV.
Step 4: Selecting the Scan Type
After initiating the channel scan on your LG Smart TV, you’ll have the option to choose the type of scan that you want to perform. The scan type determines the depth and range of channels that will be searched during the scanning process. Here’s how to select the scan type on your LG Smart TV:
- Once the channel scan is initiated, your TV will display a prompt asking you to choose the scan type.
- There are typically two options available: “Quick Scan” and “Full Scan.” Select the option that best suits your needs.
- A quick scan is a fast process that scans for the primary and most popular channels in your area. It’s ideal if you’re looking for a quick setup or only want to access the essential channels.
- A full scan, on the other hand, is a more comprehensive scan that searches for all available channels. It may take longer but ensures that you have access to a wider range of channels, including niche or regional ones.
- Using the arrow keys on your remote, highlight the desired scan type and press the “OK” button to confirm your selection.
Choosing the appropriate scan type is crucial to ensure you have access to the channels you desire. If you’re unsure, it’s recommended to go with the full scan option for a more thorough channel search. Once you have selected the scan type, your LG Smart TV will continue the scanning process based on your choice.
Now that you have selected the scan type, let’s move on to the next step and wait for the channel scan to complete on your LG Smart TV.
Step 5: Waiting for the Scan to Complete
Once you have selected the scan type on your LG Smart TV, it’s time to sit back and wait for the scanning process to complete. The duration of the scan will depend on various factors, including the scan type chosen and the number of available channels in your area. Here’s what you need to do while waiting for the scan to complete:
- During the scan, your LG Smart TV will display a progress bar or indicator showing the status of the scanning process. This will give you an idea of how much longer you’ll need to wait.
- Avoid interrupting or turning off your TV while the scan is in progress. Doing so may result in an incomplete scan or the loss of saved channels.
- Use this time to grab a snack, catch up on other tasks, or simply relax. The scan may take a few minutes, so make the most of your waiting time.
It’s worth noting that the scanning process can be slightly different for each LG Smart TV model. Some models may display a countdown timer or estimate the time remaining, while others may only show a progress indicator. Regardless, once the scan is complete, your LG Smart TV will move on to the next step of displaying the scanned channels.
Now that you’re aware of what to expect during the scanning process, let’s move on to the next step and explore how to view the scanned channels on your LG Smart TV.
Step 6: Viewing the Scanned Channels
After the channel scan is complete, it’s time to explore and view the scanned channels on your LG Smart TV. Here’s how to access and navigate through the scanned channels:
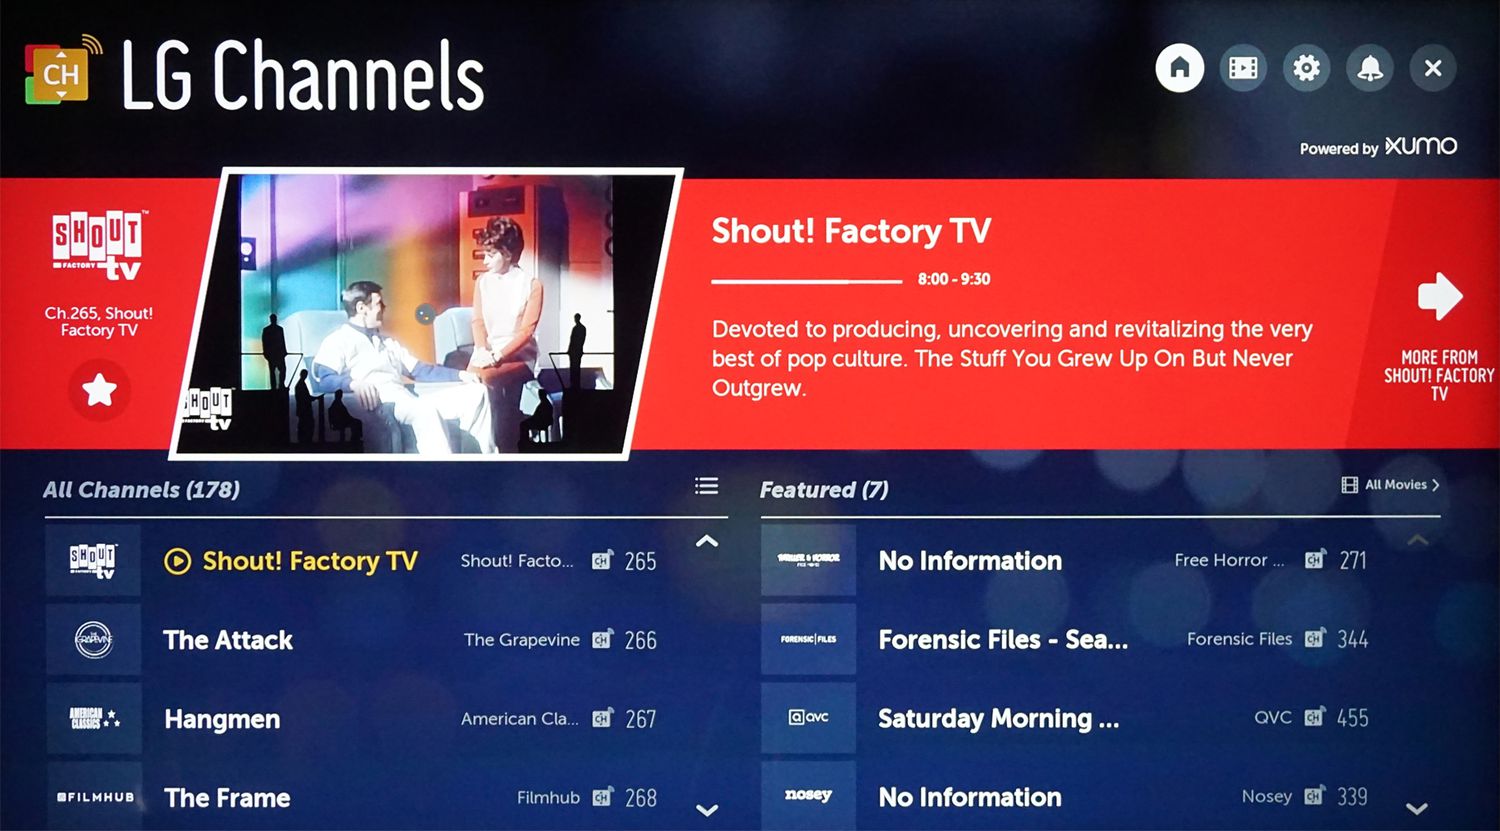
- Using the arrow keys on your remote, navigate to the “Channel List” or “All Channels” option in the channel settings menu.
- Once you’ve highlighted the “Channel List” option, press the “OK” button to enter the list of scanned channels.
- Your LG Smart TV will display a list of all the channels that were successfully detected during the scanning process. The channels are usually organized numerically or alphabetically.
- You can navigate through the channel list using the arrow keys on your remote. Press the up or down arrow to scroll through the channels.
- Press the “OK” button to select a channel and start watching it.
- If your remote control has dedicated channel up and down buttons, you can use them to easily switch between channels without going back to the channel list.
As you navigate through the scanned channels, you may notice that some channels have better reception or signal strength than others. This is normal and can vary depending on various factors, such as the distance from the broadcasting tower or the quality of your TV antenna or cable signal.
It’s also important to remember that channels may occasionally change their broadcasting frequency or go through other changes. To ensure that you have access to the latest channel lineup, it’s a good idea to periodically rescan your LG Smart TV for channels. This will update the channel list and ensure that you don’t miss out on any new or relocated channels.
Now that you know how to view the scanned channels on your LG Smart TV, it’s time to grab the remote and start exploring the world of entertainment right at your fingertips.
Troubleshooting Tips
While scanning channels on your LG Smart TV is generally a straightforward process, you may encounter some common issues or challenges along the way. Here are a few troubleshooting tips to help you overcome these obstacles and ensure a successful channel scanning experience:
- No channels found: If your LG Smart TV fails to detect any channels during the scanning process, ensure that your antenna or cable connection is securely plugged into the TV. You may need to adjust the position or orientation of your antenna for better reception.
- Poor signal or weak channels: If you’re experiencing a weak signal or poor reception on certain channels, try repositioning your antenna or ensuring that your cable connection is secure. Additionally, consider upgrading to a higher-quality antenna or contacting your service provider for assistance.
- Missing channels: If you are certain that certain channels should be available in your area but they are not appearing in the scanned channel list, try rescanning for channels. This will allow your LG Smart TV to perform a fresh search and detect any new or relocated channels.
- Channel organization: If you prefer a specific order for your channels, you can usually rearrange them in the channel list. Refer to the user manual or settings menu of your LG Smart TV for instructions on how to do this.
- Resetting the TV: If you’re experiencing persistent issues with channel scanning or other TV functions, you may consider performing a factory reset on your LG Smart TV. Keep in mind that this will erase all customized settings and revert the TV to its original factory settings.
If these troubleshooting tips do not resolve your issues, you may want to consult the user manual of your LG Smart TV or reach out to LG customer support for further assistance. They can provide specific guidance based on the model of your TV and help troubleshoot any unique issues you’re encountering.
By following these troubleshooting tips, you’ll be well-equipped to tackle common issues and ensure a smooth channel scanning process on your LG Smart TV.
Conclusion
Congratulations! You have successfully learned how to scan channels on your LG Smart TV. By following the step-by-step process outlined in this guide, you can easily search for and save all the available channels in your area. Now, you can enjoy a wide range of entertainment options right from the comfort of your living room.
Remember, channel scanning is an important step in setting up your LG Smart TV. It ensures that you have access to all the available digital and analog channels in your area without the hassle of manually inputting frequencies or channel numbers. With just a few clicks, you can initiate the channel scan and let your TV do the work for you.
Throughout the scanning process, be patient and allow your LG Smart TV to complete the scan. Once finished, you can navigate through the scanned channels and start enjoying your favorite shows, news, and sports events. Regularly rescan your TV for channels to stay up to date with any changes in the broadcasting lineup.
If you encounter any issues during the channel scanning process, don’t worry. Use the troubleshooting tips provided in this guide to overcome common challenges and ensure a smooth experience. Remember, adjusting your antenna or cable connection, rescanning for channels, and optimizing your reception can make a significant difference in the quality and quantity of channels you can access.
Now that you have mastered the art of scanning channels on your LG Smart TV, it’s time to grab some popcorn, sit back, and enjoy your favorite shows. Happy channel surfing!