Introduction
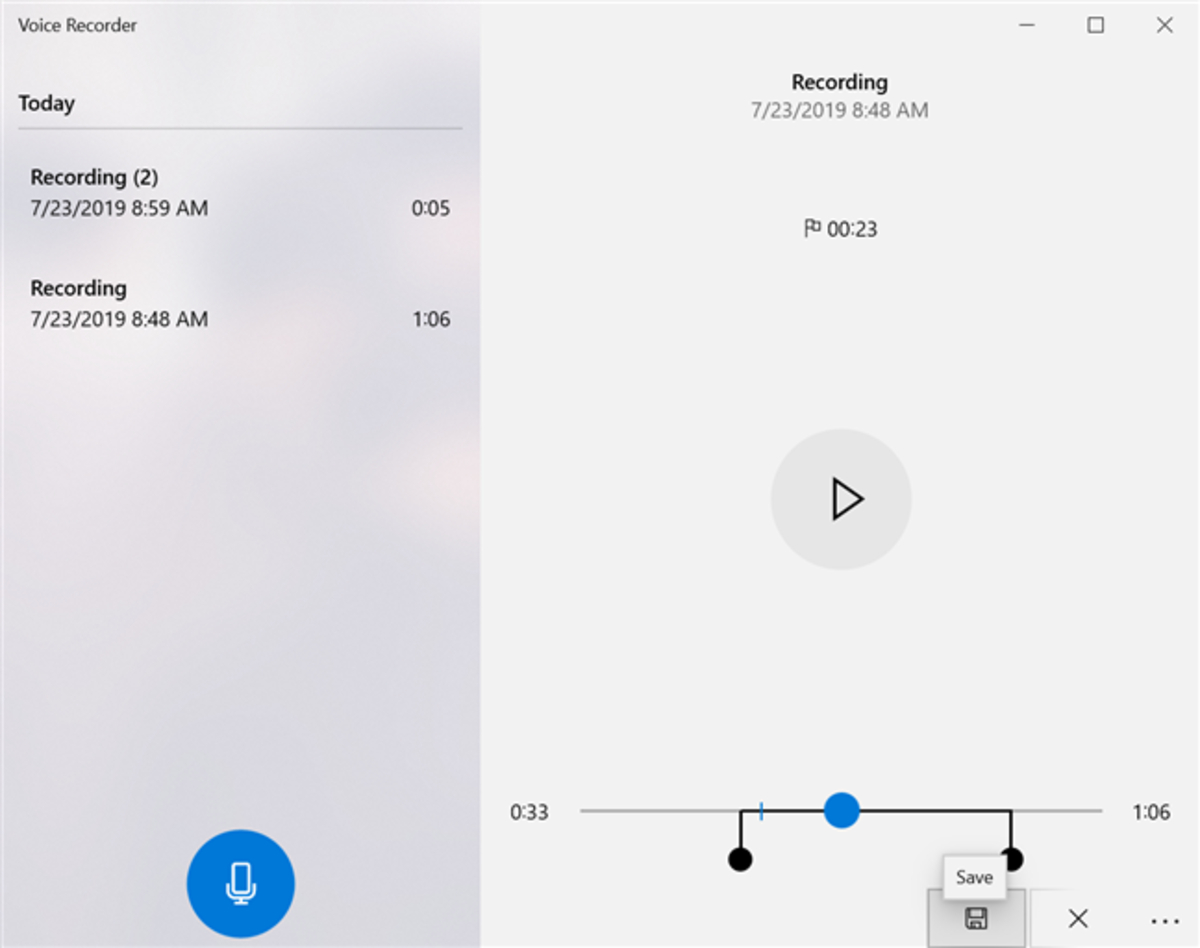
The Windows Voice Recorder is a useful tool that allows users to record audio on their Windows devices. However, one limitation of the default Windows Voice Recorder is that it saves audio recordings in the .M4A format, which may not be compatible with all devices or platforms. If you want to save your voice recordings in a more universally supported format, such as MP3, you may need to use additional tools or converters.
In this article, we will explore three different options to save your Windows Voice Recorder files as MP3. Whether you prefer online file converters, third-party software, or the popular audio editing software Audacity, we have got you covered. Each option has its advantages and limitations, so you can choose the one that best suits your needs.
By converting your Windows Voice Recorder files to MP3, you can easily share your recordings with others, upload them to various platforms, or listen to them on different devices without any compatibility issues. Let’s dive into the details of each option and learn how to save your Windows Voice Recorder files as MP3.
Option 1: Using Online File Converters
If you prefer a quick and hassle-free method to convert your Windows Voice Recorder files to MP3, using online file converters is a convenient solution. There are various online platforms available that allow you to convert your audio files in a few simple steps.
To get started, first, locate a reliable online file converter that supports the conversion from M4A to MP3 format. One popular choice is Online Audio Converter, which offers a user-friendly interface and a range of file format options.
Once you have chosen an online file converter, follow these steps to convert your Windows Voice Recorder files to MP3:
- Visit the website of the online file converter.
- Click on the “Upload” or “Choose File” button to select the M4A file you want to convert.
- Select “MP3” as the output format.
- Adjust any additional settings, such as audio quality or bitrate, if desired.
- Click on the “Convert” or “Start” button to begin the conversion process.
- Wait for the conversion to complete.
- Download the converted MP3 file to your computer or device.
It is important to note that the time it takes to convert the files may depend on the size of the file and the speed of your internet connection. Once the conversion is finished, you will have an MP3 version of your Windows Voice Recorder file that can be easily played on various platforms and devices.
Online file converters provide a convenient solution for those looking for a quick and straightforward way to convert their audio files. However, keep in mind that online converters may have limitations in terms of file size or processing capability. Additionally, ensure that you choose a reputable platform to safeguard the privacy and security of your files.
Option 2: Using Third-Party Software
If you prefer more control over the conversion process and want additional features beyond simple file conversion, using third-party software is an excellent option. There are various software programs available that can convert your Windows Voice Recorder files to MP3 and offer a range of customization options.
One popular third-party software for audio conversion is Freemake Audio Converter. It is a free tool that allows you to convert audio files into different formats, including MP3. To use this software to convert your Windows Voice Recorder files, follow these steps:
- Download and install Freemake Audio Converter from their official website.
- Launch the software on your computer.
- Click on the “+ Audio” button to add the M4A files you want to convert.
- Choose “MP3” as the output format from the list of available formats.
- Specify the output folder where you want to save the converted files.
- Adjust any additional settings, such as audio quality or bitrate, if desired.
- Click on the “Convert” button to start the conversion process.
- Wait for the software to convert the files.
- Once the conversion is complete, you can find the converted MP3 files in the output folder you specified.
Using third-party software gives you more flexibility and control over how your Windows Voice Recorder files are converted. You can choose specific settings, such as audio quality and bitrate, to ensure the desired output. Additionally, some software programs may offer additional features like batch conversion or editing options.
However, it is essential to choose reputable third-party software from trusted sources to avoid potential security risks. It is also worth noting that some third-party software may have limitations in their free versions, and certain advanced features may be available only in paid versions.
Option 3: Using Audacity
If you’re looking for a powerful and versatile solution for converting your Windows Voice Recorder files to MP3, Audacity is an excellent choice. Audacity is a free and open-source audio editing software that allows you to not only convert audio files but also perform various audio editing tasks.
Here’s how you can use Audacity to convert your Windows Voice Recorder files to MP3:
- Download and install Audacity from the official website onto your computer.
- Launch Audacity and import the M4A file you want to convert by clicking on “File” and then “Open”.
- Click on “File” again and choose “Export”.
- Select “MP3” as the export format.
- Specify the name and location for the exported MP3 file.
- Adjust any additional settings, such as bitrate, if desired.
- Click on “Save” to begin the conversion process.
- Wait for Audacity to convert the M4A file to MP3.
- Once the conversion is complete, you can locate the converted MP3 file in the specified folder.
Audacity offers advanced features, such as editing capabilities, equalization, and effects, making it an ideal choice for users who want more control over their audio files. It also supports batch processing, allowing you to convert multiple files simultaneously, saving you time and effort.
However, since Audacity is a comprehensive audio editing software, it may have a steeper learning curve compared to other options. It is recommended to familiarize yourself with the software’s interface and features to fully utilize its capabilities.
By using Audacity, you can convert your Windows Voice Recorder files to MP3 with ease while having the option to enhance and edit your recordings as per your requirements.
Conclusion
Converting your Windows Voice Recorder files to MP3 allows you to enjoy greater compatibility and versatility when it comes to sharing, playing, and storing your audio recordings. In this article, we explored three different options to help you convert your files to MP3: using online file converters, third-party software, and Audacity.
If you’re looking for a quick and straightforward solution, online file converters provide a convenient way to convert your Windows Voice Recorder files to MP3. These platforms offer an easy-to-use interface and are suitable for users who want a hassle-free conversion process.
For those seeking more advanced features and customization options, using third-party software like Freemake Audio Converter is a good choice. With these tools, you can have greater control over the conversion process and access additional functionalities beyond simple file conversion.
Audacity, a free and open-source audio editing software, offers a powerful solution for converting and editing your Windows Voice Recorder files. It provides comprehensive features and the ability to perform various audio editing tasks alongside conversion.
Depending on your needs and preferences, you can choose the option that suits you best. Remember to consider factors such as ease of use, additional features, and the desired level of customization when making your decision.
By following the steps outlined in each section, you can successfully convert your Windows Voice Recorder files to MP3 and enjoy the flexibility and compatibility that this widely supported audio format provides. Whether you’re sharing your recordings, uploading them to different platforms, or just enjoying them on various devices, converting to MP3 ensures smooth playback and accessibility.
Whichever option you choose, converting your Windows Voice Recorder files to MP3 will enable you to unlock the full potential of your audio recordings and enhance your listening experience.