Introduction
Google Photos is a popular platform that enables users to store, organize, and share their photos and videos. One of the key features of Google Photos is the ability to share albums and individual photos with others. Whether it’s a collection of cherished memories or a collaborative project, sharing photos through Google Photos has become effortless.
In this article, we will walk you through the process of saving shared Google Photos. Whether you have received shared photos from friends, family, or colleagues, the steps outlined here will help you easily download and save them to your device or computer.
Saving shared Google Photos can be useful in many ways. It allows you to have a local copy of the photos, ensuring that you can access them even if your internet connection is weak or non-existent. Additionally, it gives you the flexibility to organize and edit the photos according to your preferences.
So, if you’re ready to learn how to save shared Google Photos, let’s get started with the first step: accessing Google Photos.
Step 1: Accessing Google Photos
The first step in saving shared Google Photos is to access your Google Photos account. Here’s how you can do it:
- Open a web browser on your device and go to https://photos.google.com.
- If you’re not already signed in to your Google account, enter your login credentials and click “Sign In” to access your account.
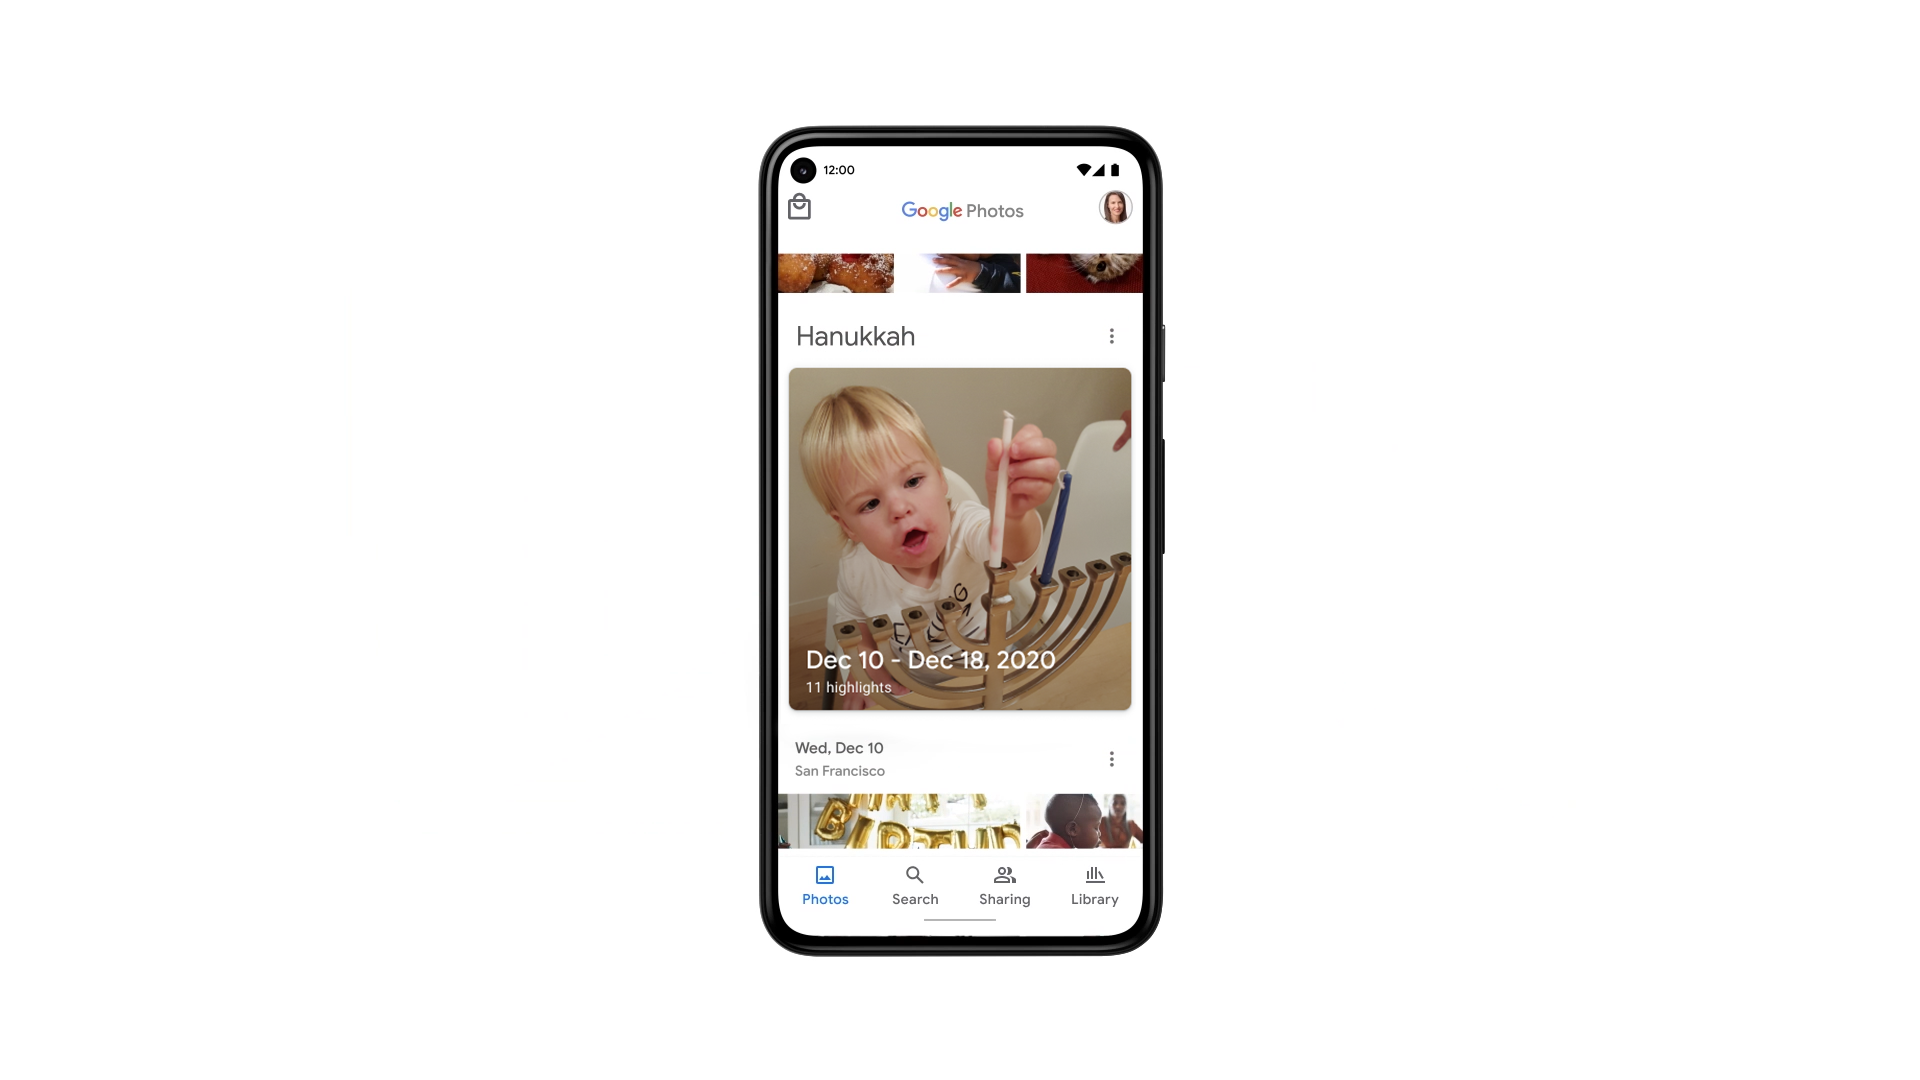
- Once you’re signed in, you will be directed to the Google Photos homepage, where you’ll find all your photos and albums.
Alternatively, if you have the Google Photos app installed on your mobile device, you can open the app and sign in using your Google account credentials. The steps may vary slightly depending on your device, but the overall process remains similar.
Now that you’re logged in to your Google Photos account, you’re ready to proceed to the next step: selecting the desired photos.
Step 2: Selecting the Desired Photos
Once you have accessed your Google Photos account, the next step is to select the shared photos that you want to save. Follow these simple instructions to select the desired photos:
- Explore your Google Photos library or albums to locate the shared photos you wish to save.
- Click on the first photo to select it.
- If you want to select multiple photos at once, hold down the “Ctrl” key (or “Command” key on Mac) while clicking on additional photos.
- If you want to select all the shared photos at once, simply click on the first photo, then scroll to the last photo and hold down the “Shift” key while clicking on the last photo.
While selecting the photos, you may notice that they are automatically added to the selection bar at the top of the page. You can see the number of selected photos and easily remove or add more photos to your selection from there.
Once you have chosen the desired photos, you are ready to move on to the next step: downloading the shared photos.
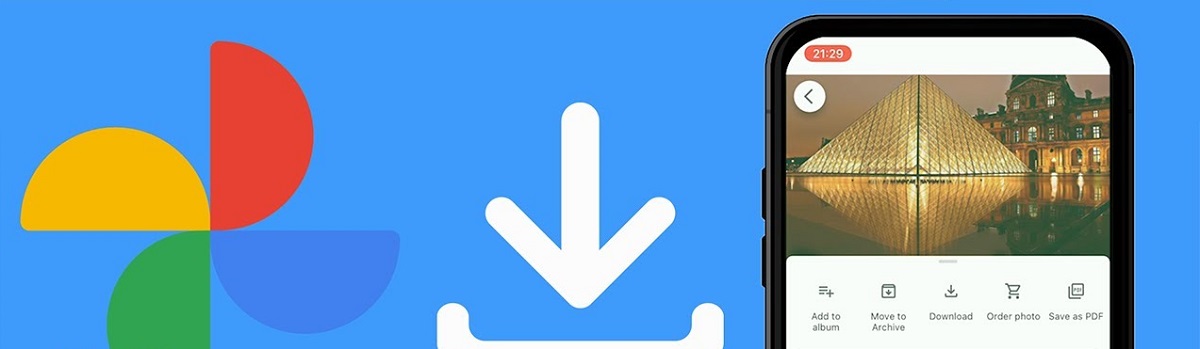
Step 3: Downloading the Shared Photos
After selecting the shared photos you want to save, it’s time to download them to your device. Here’s how you can download the shared photos from Google Photos:
- Once you have selected the desired photos, look for the three-dot menu icon located at the top-right corner of the screen.
- Click on the menu icon to display a drop-down menu of options.
- In the menu, click on the “Download” option. This will initiate the download process for the selected photos.
Depending on the number of photos and your internet connection speed, the download process may take a few moments to complete. While the photos are being downloaded, you can monitor the progress at the bottom of your browser window or in the notification panel of your device.
It’s worth noting that the photos will be downloaded in their original quality, preserving their resolution and details. This ensures that you get the best possible version of the photos on your device.
Once the download is complete, you can proceed to the next step: saving the downloaded photos to your device or computer.
Step 4: Saving the Downloaded Photos to Your Device or Computer
Now that you have successfully downloaded the shared photos from Google Photos, the next step is to save them to your device or computer. Follow these instructions to save the downloaded photos:
- Locate the folder or location on your device or computer where you want to save the photos.
- Open the folder or location.
- Drag and drop the downloaded photos from the downloads folder or the location where they were saved into the desired folder or location on your device or computer.
Alternatively, you can right-click on the downloaded photo and select the “Copy” option. Then, navigate to the desired folder or location on your device or computer and right-click again, selecting the “Paste” option to save the photo in that location.
Repeat this process for each downloaded photo, ensuring that they are all saved in the desired folder or location on your device or computer.
By saving the downloaded photos to your device or computer, you can access them offline and share them easily with others through various platforms and devices.
Now that you have saved the downloaded photos to your device or computer, you can organize them according to your preference in the next step.
Step 5: Organizing Saved Photos
After saving the downloaded photos to your device or computer, it’s important to organize them effectively for easy access and viewing. Here are some tips to help you organize your saved Google Photos:
- Create folders or albums: Consider creating specific folders or albums to group related photos together. For example, you could create folders based on events, locations, or themes. This will make it easier to navigate through your saved photos and find what you’re looking for.
- Rename files: If the downloaded photos have generic names, it can be helpful to rename them to something more descriptive. By giving them meaningful names, you can quickly identify the content of each photo without opening them.
- Add tags or keywords: Another way to organize your saved photos is by adding tags or keywords to them. This will make it easier to search for specific photos based on the tags or keywords you assign. For example, if you have a photo of a beach vacation, you can add tags like “beach,” “vacation,” or the location where it was taken.
- Date-based organization: Consider organizing your saved photos based on the date they were taken. This can be especially useful when you have a large collection of photos from various events or trips. You can create folders or subfolders for each year or month to keep your photos organized chronologically.
By organizing your saved Google Photos, you can easily navigate through your collection, locate specific photos, and revisit cherished memories whenever you want.
Congratulations! You have successfully taken the necessary steps to save and organize your shared Google Photos. Now, you can enjoy convenient access to your saved photos and share them with others as desired.
Conclusion
Saving shared Google Photos is a simple and convenient process that allows you to have a local copy of the photos shared with you. By following the steps outlined in this article, you can easily download and save the shared photos to your device or computer.
Accessing Google Photos is the first step, which involves signing in to your Google account and navigating to the Google Photos homepage. Once you have accessed your account, you can proceed to select the desired photos you want to save. Whether it’s a single photo or multiple photos, the selection process is straightforward.
After selecting the photos, you can download them by accessing the three-dot menu and choosing the “Download” option. The photos will be downloaded in their original quality, ensuring that you get the best version on your device.
Once the photos are downloaded, the next step is to save them to your device or computer. You can choose a specific folder or location where you want to store the photos and then drag and drop or copy and paste them into the desired location.
To keep your saved photos organized, consider creating folders or albums, renaming files, adding tags or keywords, or organizing them based on dates. These techniques will help you easily locate and navigate through your collection of saved photos.
By following these steps, you can ensure that your shared Google Photos are saved and organized according to your preferences. This gives you the flexibility to access and enjoy your photos even without an internet connection.
So, start saving and organizing your shared Google Photos today, and cherish your memories for years to come!