Introduction
Welcome to this guide on how to save email in Gmail! Gmail is a widely used email service that offers various features to make managing and organizing emails a breeze. One useful feature is the ability to save emails as drafts, allowing you to come back to them later and make any necessary edits before sending.
Saving emails in Gmail comes in handy in many situations. Perhaps you’re composing a lengthy email and need to take a break before sending it. Or maybe you’ve received an important email that requires some thought and you want to make sure you don’t accidentally delete or lose it. Whatever the reason may be, Gmail allows you to easily save emails as drafts, giving you the peace of mind of having your work-in-progress safely stored.
In this guide, we’ll walk you through the process of saving email drafts in Gmail, step by step. You’ll learn how to create a new email message, compose your email, add attachments, and finally save it as a draft. We’ll also cover how to access and edit your saved draft emails.
Whether you’re a regular Gmail user or new to this email service, this guide will equip you with the knowledge and skills to effectively save your email drafts in Gmail, ensuring that you can efficiently manage your communications and never lose an important message again.
Step 1: Open your Gmail account
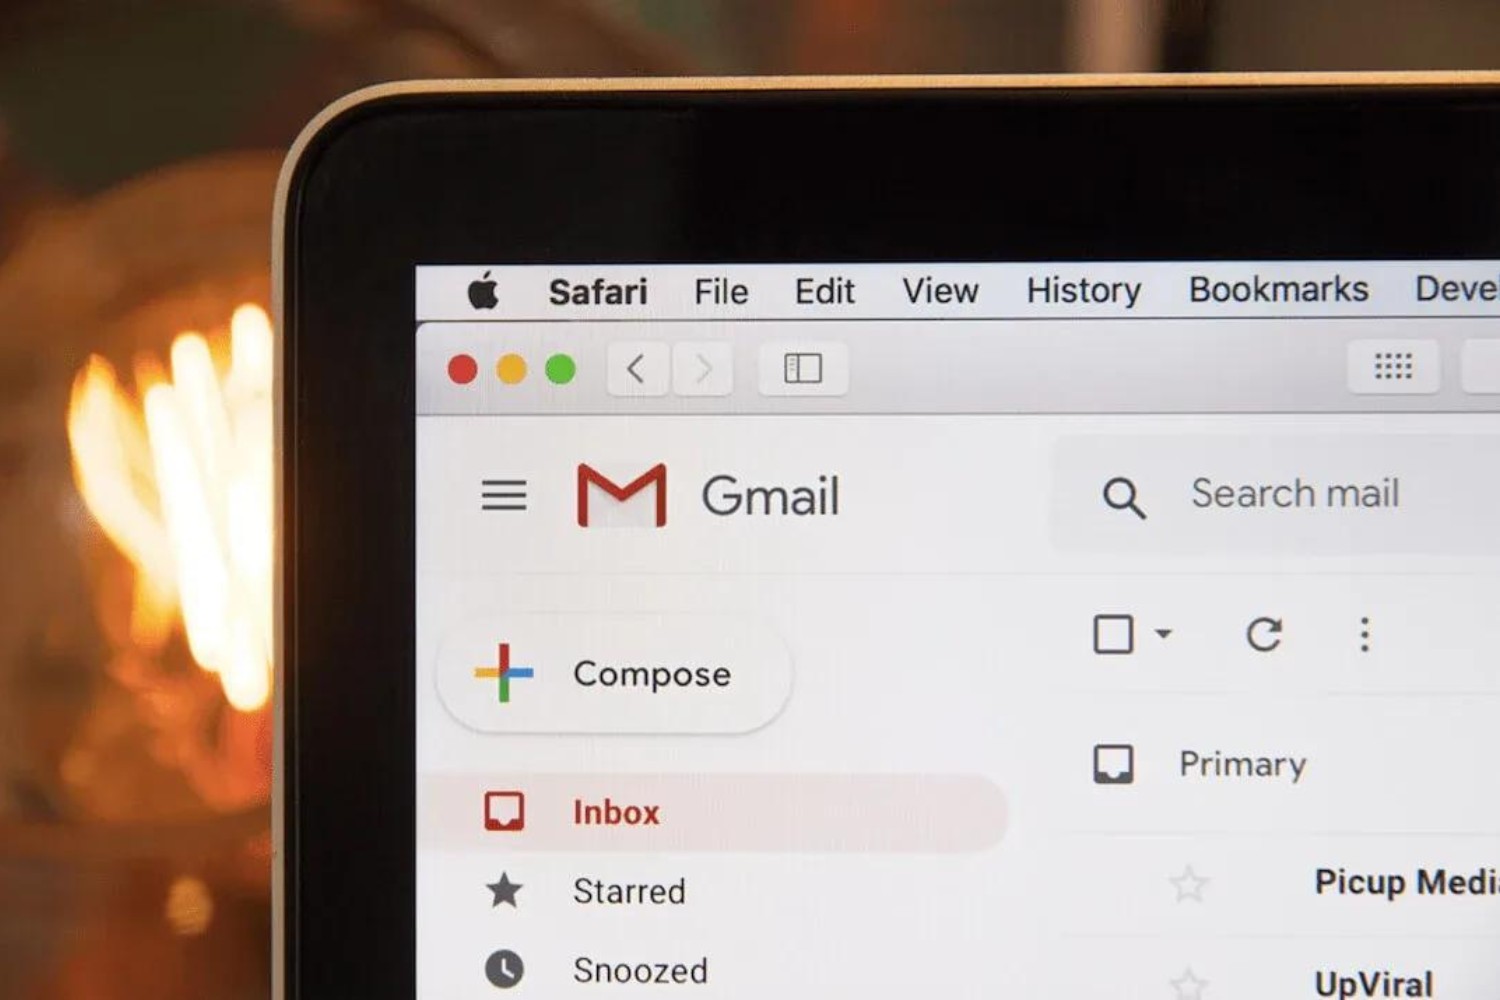
The first step to saving an email in Gmail is to open your Gmail account. To do this, open your preferred web browser and navigate to the Gmail website (www.gmail.com). If you already have a Gmail account, enter your email address and password to log in. If you don’t have a Gmail account, you’ll need to create one by clicking on the “Create account” option and following the on-screen instructions.
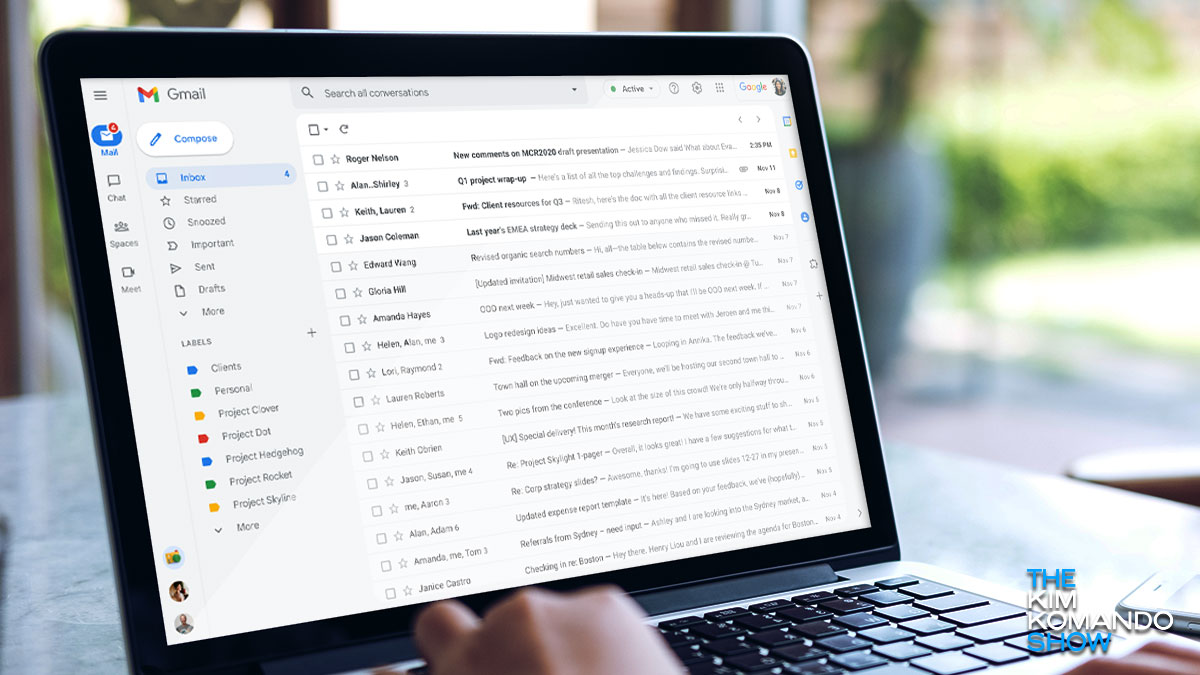
Once you’re logged in to your Gmail account, you’ll be taken to your inbox. Here, you’ll see a list of your received emails and various options and settings for managing your emails.
If you’re accessing Gmail on your mobile device, you can also download and install the Gmail app from your device’s app store. Simply search for “Gmail” in the app store, download the app, and log in with your Gmail account credentials.
Having a Gmail account offers many benefits beyond just saving emails, including seamless integration with other Google services, customizable settings, robust spam filters, and ample storage space for your messages and attachments.
So, whether you’re accessing Gmail through your web browser or using the Gmail app on your mobile device, make sure you’re logged in and ready to start saving your emails as drafts in the next step.
Step 2: Create a new email message
Now that you’re logged in to your Gmail account, it’s time to create a new email message. To do this, locate the “Compose” button, which is usually found in the top-left corner of the Gmail interface. The button is labeled with a red pencil icon or the word “Compose”. Click on it to open a new email composition window.
Alternatively, if you’re using the Gmail app on your mobile device, you’ll find the “Compose” button at the bottom-right corner of the screen. Tap on it to create a new email.
Once you’ve opened the new email composition window, you’ll notice various fields where you can enter the recipient’s email address, the subject of the email, and the content of your message.
In the “To” field, enter the email address of the recipient. You can also add multiple recipients by separating their email addresses with commas.
In the “Subject” field, enter a brief and descriptive title that summarizes the purpose or topic of your email. This helps the recipient quickly understand the content of your message.
Then, in the main body of the email, you can start typing your message. You can include text, images, links, and various formatting options to customize the appearance of your email. Gmail provides a toolbar with formatting options such as bold, italics, underline, bullet points, and numbered lists.
If you need to reference any previous emails or include additional information, you can also choose to copy and paste text from other documents or emails into the composition window.
Furthermore, Gmail gives you the option to use the rich text editor or switch to plain text mode if you prefer a simpler format without any formatting options. Simply click on the “Plain text” link or toggle switch to switch to plain text mode.
Once you’ve entered the recipient’s email address, the subject, and the content of your email, you’re ready to proceed to the next step and potentially attach any necessary files before saving the email as a draft.
Step 3: Compose your email
Now that you have created a new email message, it’s time to compose your email by adding your desired content. The composition window in Gmail provides various options to help you personalize and enhance your email.
Start by typing your message in the body of the email. You can express yourself freely, whether it’s a professional email, a personal message, or anything in between. Consider the tone and purpose of your email and craft your content accordingly.
Gmail offers a range of formatting tools to make your email visually appealing and easy to read. You can use the toolbar located at the top of the composition window to add formatting to your text. For example, you can make your text bold, italicized, or underlined to emphasize certain points. You can also create bulleted or numbered lists to organize information in a clear and structured manner.
In addition to text formatting, you can include hyperlinks in your email. Highlight the text you want to turn into a hyperlink, click on the link icon in the toolbar, and enter the URL you want to link to. This feature is particularly useful when referencing articles, websites, or any external resources.
If you want to include images in your email, Gmail allows you to insert them directly into the body of your message. Click on the insert image icon in the toolbar, choose the image file from your computer, and insert it into the desired location in your email.
Furthermore, Gmail provides the option to insert emojis into your email for a touch of visual expression. Click on the emoji icon in the toolbar, select the desired emoji, and it will be added to your email. Emojis can add a playful or friendly tone to your message, but remember to use them appropriately based on the context of your email.
As you compose your email, remember to proofread and edit your content for clarity and accuracy. Double-check the spelling and grammar to ensure a professional and polished email.
Once you are satisfied with the content of your email, proceed to the next step to attach any necessary files, if applicable, before saving the email as a draft.
Step 4: Add attachments if necessary
Attachments can be a valuable addition to your email when you need to share files, documents, images, or any other relevant material with the recipient. Gmail provides a straightforward method for including attachments in your emails.
To add an attachment, look for the attachment icon in the composition window. It is usually represented by a paperclip symbol. Click on the attachment icon, and a file picker will appear, allowing you to select the file or files you want to attach.
You can attach multiple files by selecting them simultaneously or by holding down the Ctrl or Command key (on Windows or Mac, respectively) while selecting the files. Gmail allows you to attach various types of files, including documents, spreadsheets, presentations, images, and audio files. The maximum file size for each attachment is typically 25MB in Gmail.
Once you have selected the file or files you want to attach, click on the “Open” button or a similar option, depending on your operating system. The selected file(s) will be attached to your email, and you’ll see their file names displayed in the composition window.
Adding attachments in Gmail is easy and convenient, but it’s crucial to keep in mind that email systems have limitations on file sizes. If your attachment exceeds the maximum file size allowed, you may need to consider compressing the file or finding an alternative method for sharing the content, such as using cloud storage services like Google Drive or Dropbox.
Remember to consider the relevance and necessity of the attachments you include in your emails. Adding too many attachments or large files can make the email cumbersome and increase the chances of it being marked as spam or triggering email filters.
Now that you have attached any necessary files to your email, you are ready to save it as a draft. Proceed to the next step to learn how to save your email in Gmail for future use.
Step 5: Save the email as a draft
After composing your email and adding any necessary attachments, it’s time to save the email as a draft in Gmail. Saving an email as a draft allows you to revisit and edit it later before sending it out to the intended recipient.
To save your email as a draft, look for the “Save” or “Save draft” option in the composition window. This option is usually located at the bottom of the window, below the body of the email.
Click on the “Save” or “Save draft” button, and Gmail will automatically save your email in the drafts folder. You won’t lose any of the content or attachments you’ve included in the email.
It’s essential to note that when you save an email as a draft, it will not be sent to your recipients. The email stays in your drafts folder until you explicitly choose to send it or delete it.
Saving your email as a draft gives you the flexibility to come back to it later, make edits, or add additional information before sending it. It’s especially useful when you need more time to finalize your message or when you want to double-check the content for accuracy or clarity.
Gmail automatically saves drafts periodically, ensuring that your progress is not lost even if you forget to manually save the email. However, it’s still a good practice to save the draft yourself after making significant changes or additions to your email.
Now that you’ve successfully saved your email as a draft, you can proceed to the next step to learn how to access and retrieve your saved draft emails in Gmail.
Step 6: Access the draft emails in Gmail
Once you have saved your email as a draft in Gmail, you may need to access and retrieve it at a later time to continue editing or send it. Luckily, Gmail provides a simple method to access your draft emails.
To access your draft emails, look for the “Drafts” folder in the left sidebar of your Gmail interface. It is usually located below the “Sent” folder and above the “Trash” folder.
Click on the “Drafts” folder, and Gmail will display a list of all your saved draft emails.
If you have many draft emails, you can use the search bar at the top of the screen to search for a specific draft by entering keywords or the recipient’s email address.
Alternatively, if you’re using the Gmail app on your mobile device, you can find your saved draft emails by tapping on the menu icon (usually represented by three horizontal lines) and selecting “Drafts” from the menu options.
When you access the “Drafts” folder, you’ll see the subject lines or a preview of each saved draft email. You can click on a draft to open and continue editing it.
In addition to the “Drafts” folder, Gmail also provides a handy “Compose” button with a drop-down arrow next to it. If you hover your cursor over the arrow, it will display a list of your most recent draft emails, allowing you to quickly access and resume editing them without navigating to the “Drafts” folder.
Now that you know how to access your saved draft emails in Gmail, proceed to the next step to learn how to find and open a specific draft email from the list.
Step 7: Find and open your saved draft email
When you have multiple draft emails saved in Gmail, it’s important to know how to find and open a specific draft that you want to work on or review. Gmail offers several methods to help you locate and open your saved draft emails.
The first and simplest way is to navigate to the “Drafts” folder in the left sidebar of your Gmail interface. Click on the “Drafts” folder, and you’ll see a list of all your saved draft emails.
To find a specific draft email, you can either scroll through the list or use the search bar at the top of the screen. Enter keywords or the recipient’s email address related to the draft email you’re trying to find, and Gmail will instantly filter the list to display relevant results.
Another convenient method to find and open your saved draft email is by using the search operator “in:drafts” in the Gmail search bar. Simply type “in:drafts” followed by your search terms, and Gmail will show you a list of draft emails that match your search criteria.
In addition, if you recently worked on a draft email, you can use the “Discard Draft” prompt that appears at the bottom of the composition window if you navigate away without saving or explicitly discarding the draft. Clicking on this prompt will take you back to the draft email you were working on, allowing you to continue where you left off.
Once you have located the draft email you want to open, simply click on it from the list, and Gmail will open it in the composition window. You can then make any necessary edits, additions, or review the content before deciding whether to send it or save it again as a draft.
If you’re using the Gmail app on your mobile device, the process is similar. Tap on the “Drafts” folder or use the search bar to find the specific draft email you want to open. Touch the email from the list, and it will open for editing.
Now that you know how to find and open your saved draft email in Gmail, proceed to the next step to learn how to edit or send the draft email.
Step 8: Edit or send the saved draft email
Once you have opened your saved draft email in Gmail, you have the option to make further edits or send it to the intended recipient. This final step allows you to review, refine, and finalize your email before it is delivered.
If you need to make any changes to the email content, simply click inside the composition window and edit the text as desired. You can add or remove text, modify the formatting, and include additional attachments if necessary.
Gmail automatically saves your changes as you edit the draft, so there’s no need to manually save it again. However, if you make significant modifications, it’s a good practice to save the updated draft to ensure your changes are securely stored.
After you’re satisfied with the edits, you can proceed to the next step: sending the draft email. To send the email, look for the “Send” button located at the bottom of the composition window. Click on it, and Gmail will immediately send the email to the recipient(s) you specified in the “To” field.
Alternatively, if you decide not to send the email yet or need to revisit it later, you can choose to save the draft again without sending it. Simply click on the “Save” or “Save draft” button in the composition window, and Gmail will update the draft with any recent changes you made.
If you want to discard the draft and delete it permanently, you can click on the “Discard draft” option, usually found at the bottom of the composition window or in the selection menu if you’re using the Gmail app on your mobile device. Confirm the prompt to discard the draft, and it will be removed from your drafts folder.
It’s important to take the time to carefully review the email before sending it. Double-check the recipient(s), subject line, and the overall content of the email to ensure its accuracy and professionalism.
By following these steps and taking the time to review and edit your draft email, you can ensure that your message is well-crafted, error-free, and effectively conveys your intended message to the recipient(s).
With this final step, you have successfully edited and sent your saved draft email in Gmail, completing the process of saving and managing your emails effectively.
Conclusion
Saving email drafts in Gmail is a valuable feature that allows you to maintain control and flexibility over your communication. By following the steps outlined in this guide, you have learned how to open your Gmail account, create a new email message, compose your email with rich formatting options, attach files if necessary, and save the email as a draft for future editing and sending.
Accessing and managing your saved draft emails in Gmail is a breeze with the “Drafts” folder and search functionalities. You can easily find and open specific drafts, make edits, and review your content before deciding to send or save the email again.
Throughout the process, it’s important to pay attention to the details, proofread your messages, and ensure the accuracy and clarity of your emails. Take advantage of the formatting tools and attachments to enhance your email’s visual appeal and deliver your message effectively.
Remember, Gmail saves drafts automatically at periodic intervals, but it’s always a good practice to save your work manually after making significant changes. This way, you can ensure that your progress is secure and accessible when you need it.
By utilizing the powerful features of Gmail, such as saving email drafts, you can enhance your productivity and communication skills. Whether you’re composing professional emails, personal messages, or anything in between, the ability to save drafts in Gmail empowers you to craft your messages with care and attention to detail.
Now that you have a comprehensive understanding of how to save email drafts in Gmail, take advantage of this knowledge to streamline your email workflow, stay organized, and never lose an important email again. Enjoy the convenience and peace of mind that come with Gmail’s efficient draft-saving capabilities.