Introduction
Running Ethernet cable through a wall might seem like a daunting task, but with the right tools and guidance, it can be a manageable DIY project. Whether you’re setting up a home office, expanding your network coverage, or simply looking for a more reliable internet connection, running Ethernet cable through walls offers a clean and efficient solution.
Ethernet cables provide a faster and more secure connection compared to Wi-Fi, making them ideal for gaming, streaming, and other bandwidth-demanding activities. By running the cables through walls, you can maintain a neat and organized appearance without unsightly wires running across the floor or walls.
In this guide, we will walk you through the steps involved in running Ethernet cable through a wall. We’ll discuss the materials you’ll need, how to plan the route, measure and mark, and ultimately fish the cable through the wall. We’ll also cover the installation of an Ethernet jack to ensure a proper and secure connection.
Before starting the process, it’s essential to mention that running Ethernet cable through walls may involve drilling and cutting into the wall, so be sure to consult any relevant building codes, regulations, or guidelines in your area. Additionally, if you are unsure about any step, it’s always best to consult a professional to ensure the job is done safely and correctly.
Now, let’s get started on the journey of running Ethernet cable through a wall and enjoy a faster, more reliable internet connection throughout your home or office.
Step 1: Gather Materials
Before you begin running Ethernet cable through a wall, it’s important to gather all the necessary materials. Here’s a list of items you’ll need for this project:
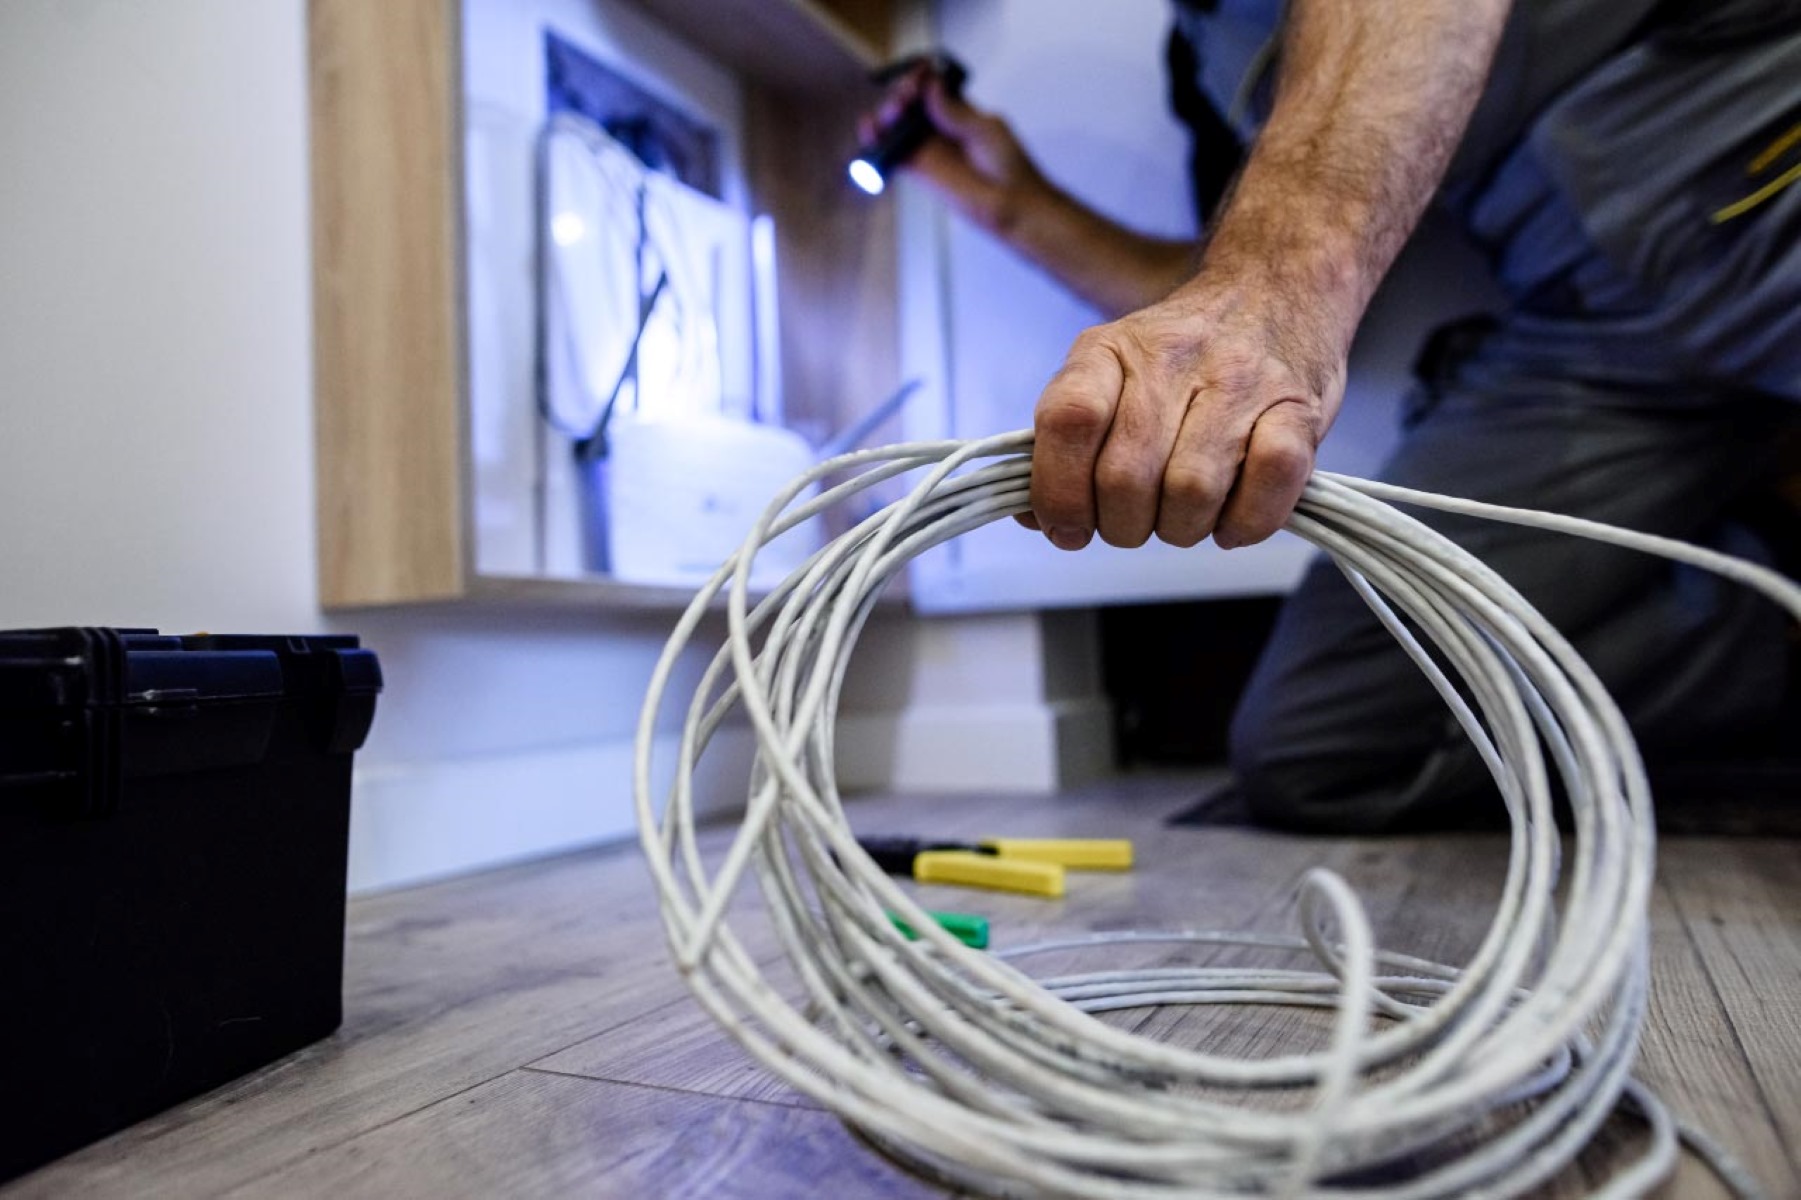
- Ethernet Cable: Choose CAT6 or CAT6a for optimal performance.
- Measuring Tape: Measure the distance between the two endpoints to determine the length of cable needed.
- Fish Tape or Wire Coathanger: Used to guide the cable through the walls.
- Electric Drill: Needed for creating holes in the walls.
- Drill Bits: Select appropriate bits for drilling into your walls.
- Cutting Tool: A drywall saw or a utility knife will be required to cut the wall holes.
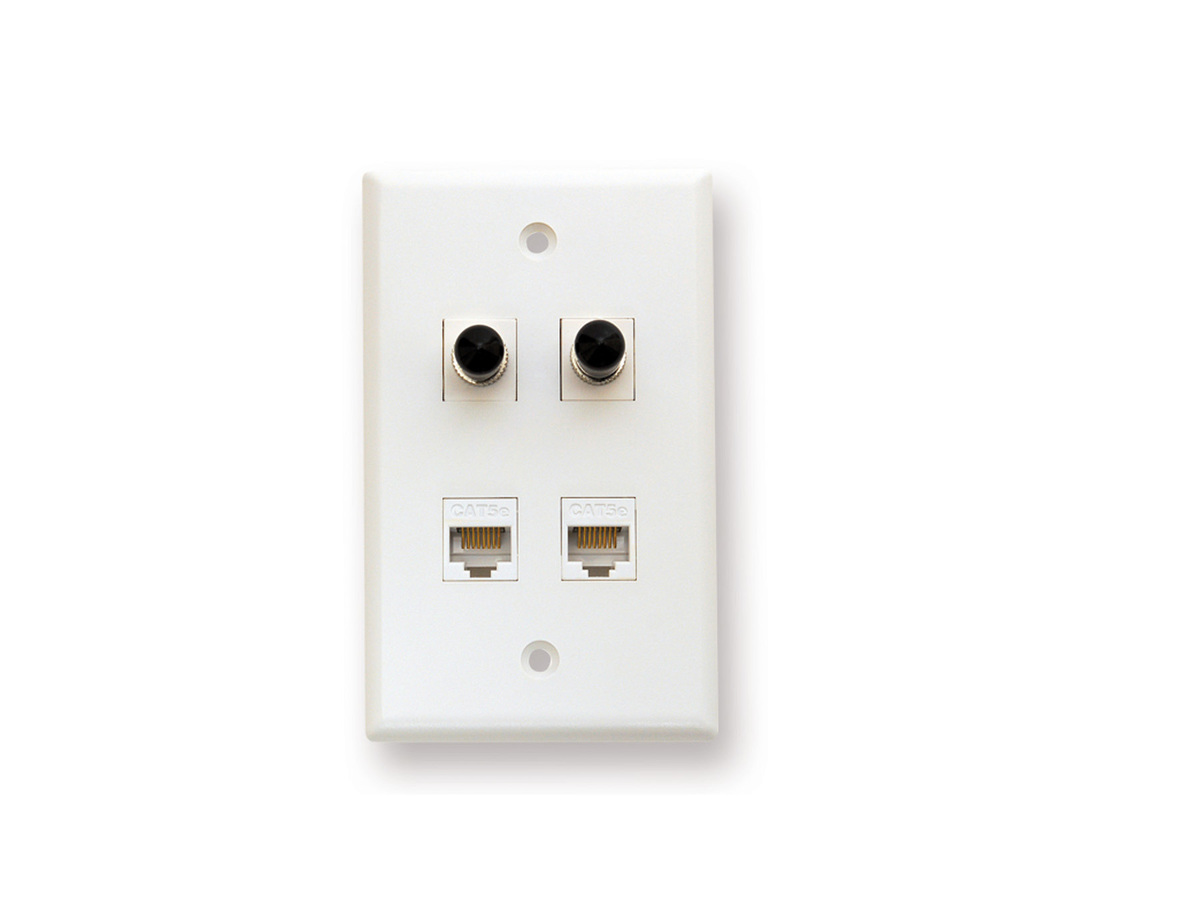
- Wall Plates and Ethernet Jacks: These components are necessary for connecting the Ethernet cable to your devices.
- Screwdriver: Used to secure the wall plates and Ethernet jacks.
- Stud Finder: A stud finder will help you locate wall studs to avoid drilling into them.
- Pencil or Marker: Used for marking the wall for cable routing and hole cutting.
- Safety Glasses and Gloves: To protect yourself during the drilling and cutting process.
- Tape: Masking tape or electrical tape can help secure the cable to the fish tape.
- Optional Tools: Leveler, flashlight, and cable tester can be handy for accuracy and testing.
Make sure you have all these materials on hand before you begin the project. Having everything prepared will save you time and prevent interruptions during the installation process. Additionally, take the time to carefully read through the instructions provided with the wall plates and Ethernet jacks to ensure proper installation.
Once you have gathered all the materials, you’re ready to move on to the next step: planning the route for your Ethernet cable.
Step 2: Plan the Route
Planning the route for your Ethernet cable is an important step in ensuring a successful installation. Consider the following factors when determining the best path for your cable:
1. Accessibility: Identify the starting and ending points for the Ethernet connection. Determine the most direct and accessible route between the two points. Keep in mind any obstacles, such as furniture or fixtures, that may hinder cable installation.
2. Wall Construction: Familiarize yourself with the construction of the walls to understand the potential challenges you may encounter. Check for wall studs, electrical wiring, and plumbing connections that may affect the pathway for the cable. Take note of any existing wall outlets or Ethernet jacks that can be utilized.
3. Interference: Avoid routing the cable alongside electrical wires or other sources of interference. Running Ethernet cables parallel to power cables can cause signal degradation. If you must cross paths with electrical wires, do so at a perpendicular angle to minimize interference.
4. Cable Length: Measure the distance between the starting and ending points to determine the length of cable needed. Account for extra length to accommodate any bends or turns in the route. It is recommended to have extra cable on hand to be safe.
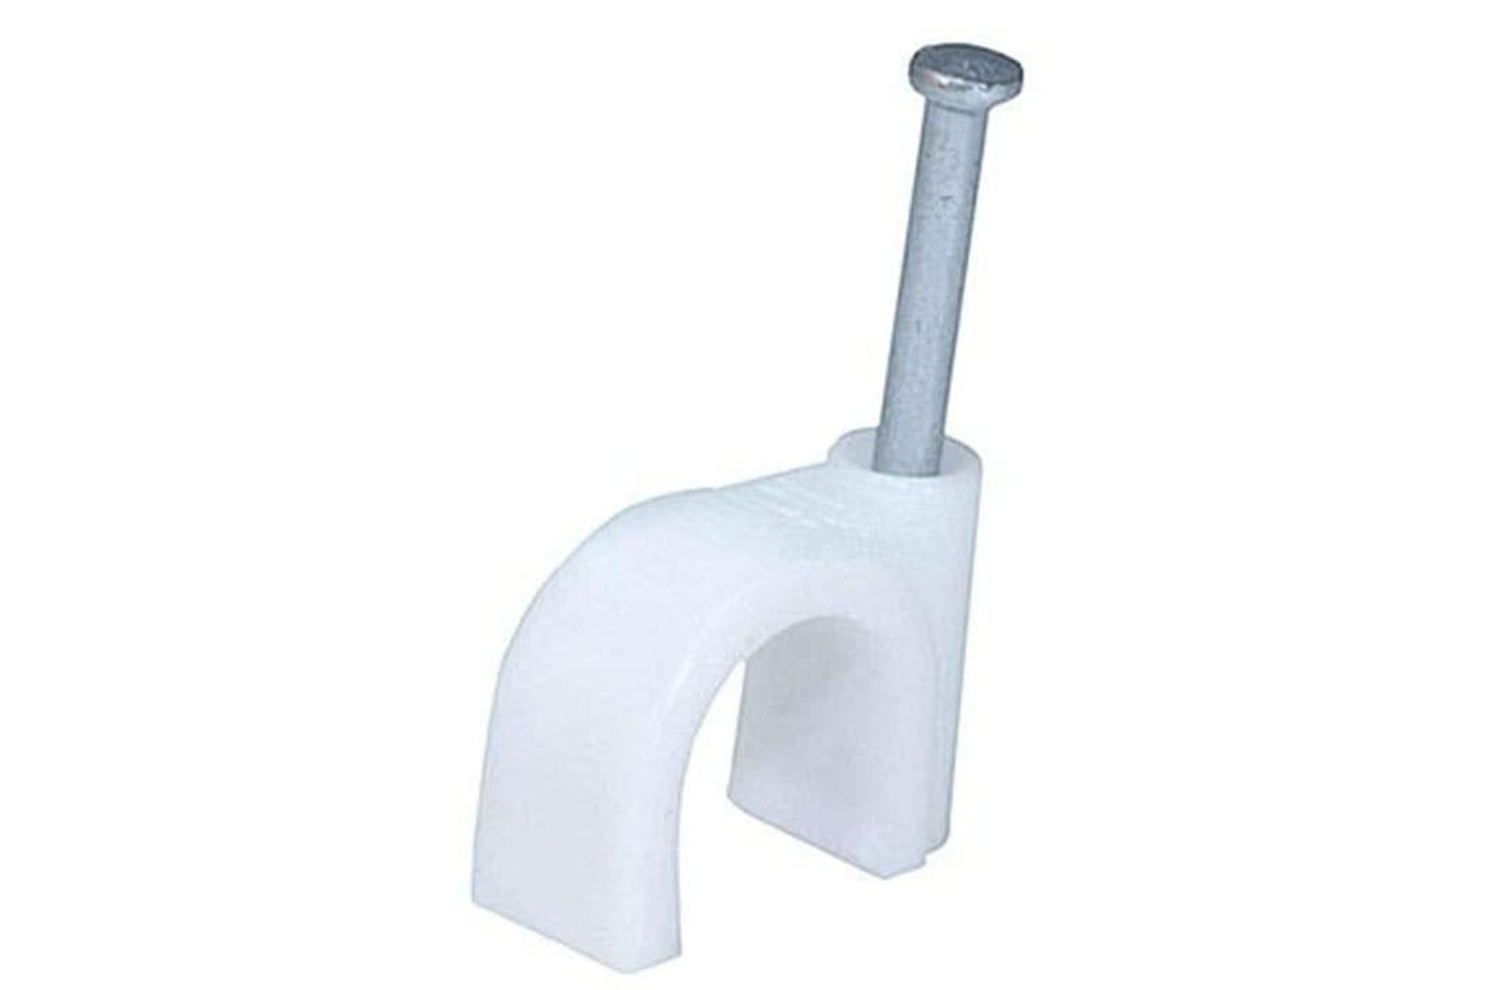
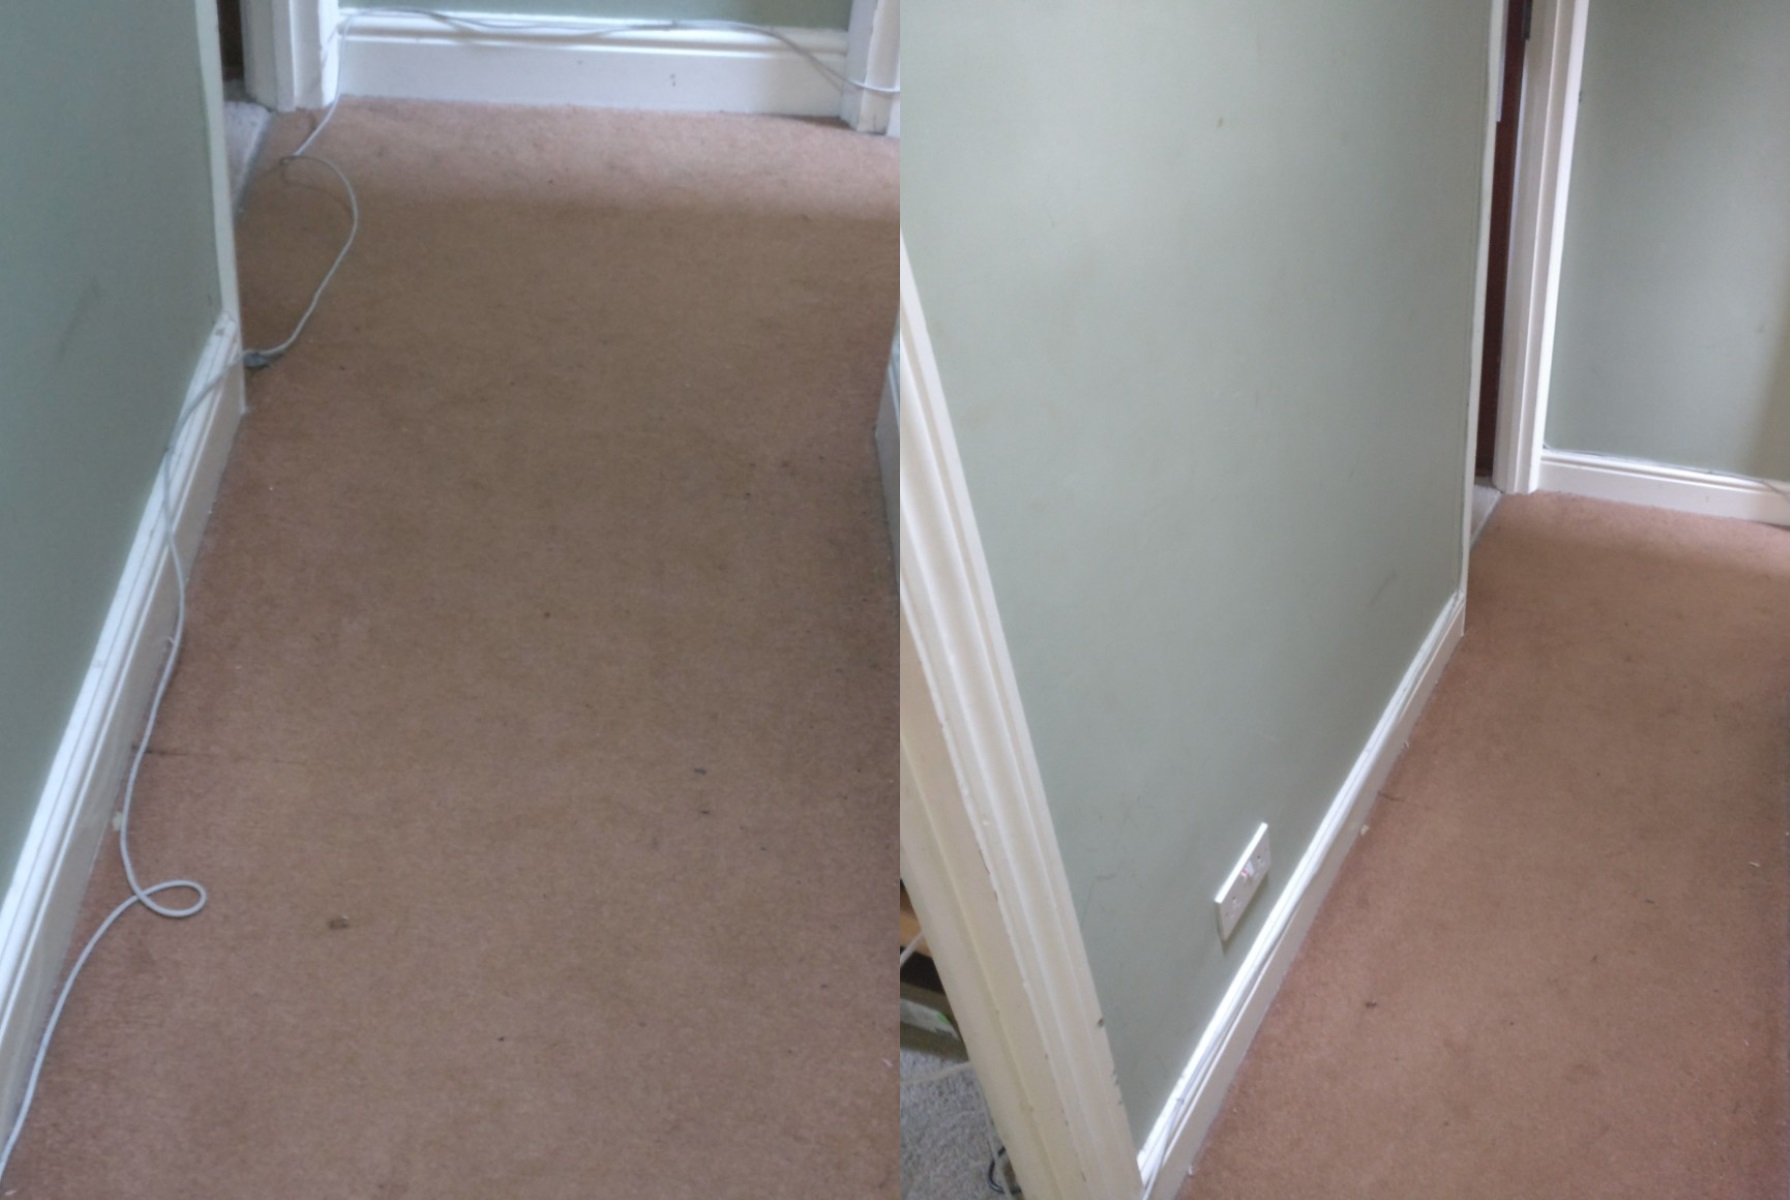
5. Aesthetics: Consider the aesthetic aspect of the installation. Plan the route that is least obtrusive and visually appealing. Conceal the cable behind baseboards, crown moldings, or within cable management channels to maintain a neat appearance.
Once you have taken these factors into account, use a pencil or marker to trace the route on the wall. Mark the locations where you will need to make holes for the cable entry and exit points. It is helpful to use a leveler to ensure straight lines and accuracy in the marking process.
By carefully planning the route, you can avoid unnecessary obstacles and ensure a clean and efficient installation process. Once you have mapped out the route, you’re ready to move on to the next step: measuring and marking the cable length.
Step 3: Measure and Mark
After planning the route for your Ethernet cable, it’s time to measure and mark the precise length needed. This step ensures that you cut the cable to the correct size and allows for a clean and professional-looking installation. Follow these steps to measure and mark the cable:
1. Start at the entry point: Begin by measuring from the entry point where the cable will enter the wall. Measure along the planned route, taking into account any twists, turns, or bends. It’s important to be as accurate as possible to avoid any slack or excess cable.
2. Measure to the exit point: Once you reach the exit point, mark the cable at the desired length. This point will indicate where you will cut the cable later. Add a few extra inches to your measurement to allow for any adjustments or unforeseen circumstances during the installation process.
3. Repeat for each cable: If you are running multiple Ethernet cables through the walls, repeat the measuring and marking process for each cable separately. Take into consideration any variations in the paths or connection points for each cable.
4. Mark the cable for cutting: Use a marker or tape to clearly mark the spot where you will cut the cable. This will prevent any confusion or mistakes when it comes time to make the actual cut.
Remember to double-check your measurements before cutting the cable. It’s always better to have a slightly longer cable that can be trimmed later than a cable that is too short and requires splicing or additional connectors.
Once you have measured and marked all the cables, you’re ready to move on to the next step: cutting the wall holes to prepare for cable installation.
Step 4: Cut the Wall Hole
With the cable measurements in hand, it’s time to cut the wall hole to prepare for running the Ethernet cable through. This step requires precision and care to ensure a clean and professional-looking outcome. Follow these steps to cut the wall hole:
1. Locate the marked spots: Begin by locating the marked spots where the cable will enter and exit the wall. Use a stud finder to check for any wall studs or other obstacles in the area. It’s crucial to avoid cutting into any structural elements or electrical wires.
2. Prepare the tools: Gather the necessary tools for cutting the wall hole, such as a drywall saw or utility knife. Ensure that these tools are sharp and in good condition for clean cuts.
3. Start cutting: Carefully cut along the marked lines, starting at the entry point. If you are using a drywall saw, use gentle back-and-forth motions to create a clean cut. If you are using a utility knife, score along the marked lines and then apply pressure to cut through the drywall.
4. Check the size: As you cut, periodically check the hole size to ensure it is big enough to run the Ethernet cable through. Make any necessary adjustments to the hole size, but avoid making it too large.
5. Smooth the edges: Once the hole is cut, use sandpaper or a utility knife to smooth the edges of the hole. This will prevent any rough edges from damaging the Ethernet cable during installation.
6. Clean up debris: After cutting the wall hole, clean up any debris or dust that may have accumulated. This will prevent any interference or obstruction when fishing the Ethernet cable through the wall.
Remember to exercise caution and take your time while cutting the wall hole. It’s better to proceed slowly and ensure accuracy rather than rushing and making mistakes. Also, be sure to wear safety glasses and gloves to protect yourself from any potential injuries during the cutting process.
Once you have cut the wall hole, you’re ready to move on to the next step: fishing the Ethernet cable through the wall.
Step 5: Fish the Cable
Now that the wall hole is cut, it’s time to fish the Ethernet cable through the wall. This process requires patience and precision to ensure a smooth installation. Follow these steps to successfully fish the cable through the wall:
1. Attach the cable to a fish tape or coathanger: Securely attach the Ethernet cable to a fish tape or coathanger using tape, ensuring it is tightly secured. This will serve as a guide to help navigate the cable through the wall.
2. Insert the fish tape or coathanger into the wall: Carefully insert the fish tape or coathanger into the wall through the entry hole. Slowly guide it towards the exit hole, gently pushing or pulling to navigate through any obstacles or bends.
3. Retrieve the cable at the exit hole: Once the fish tape or coathanger reaches the exit hole, gently pull it through, bringing the Ethernet cable along. Use caution to avoid kinking or damaging the cable during this process.
4. Test the cable: Once the Ethernet cable is pulled through the wall, it’s essential to test its functionality. Connect one end of the cable to your modem or router and the other end to a device such as a laptop or computer. Check for a stable internet connection to ensure the cable is properly installed.
If you encounter any difficulties or obstructions while fishing the cable through the wall, consider alternative routes or seek professional assistance. It’s important to avoid forcing or damaging the cable during this process.
Once the cable is successfully fished through the wall, you’re ready to move on to the next step: installing the Ethernet jack.
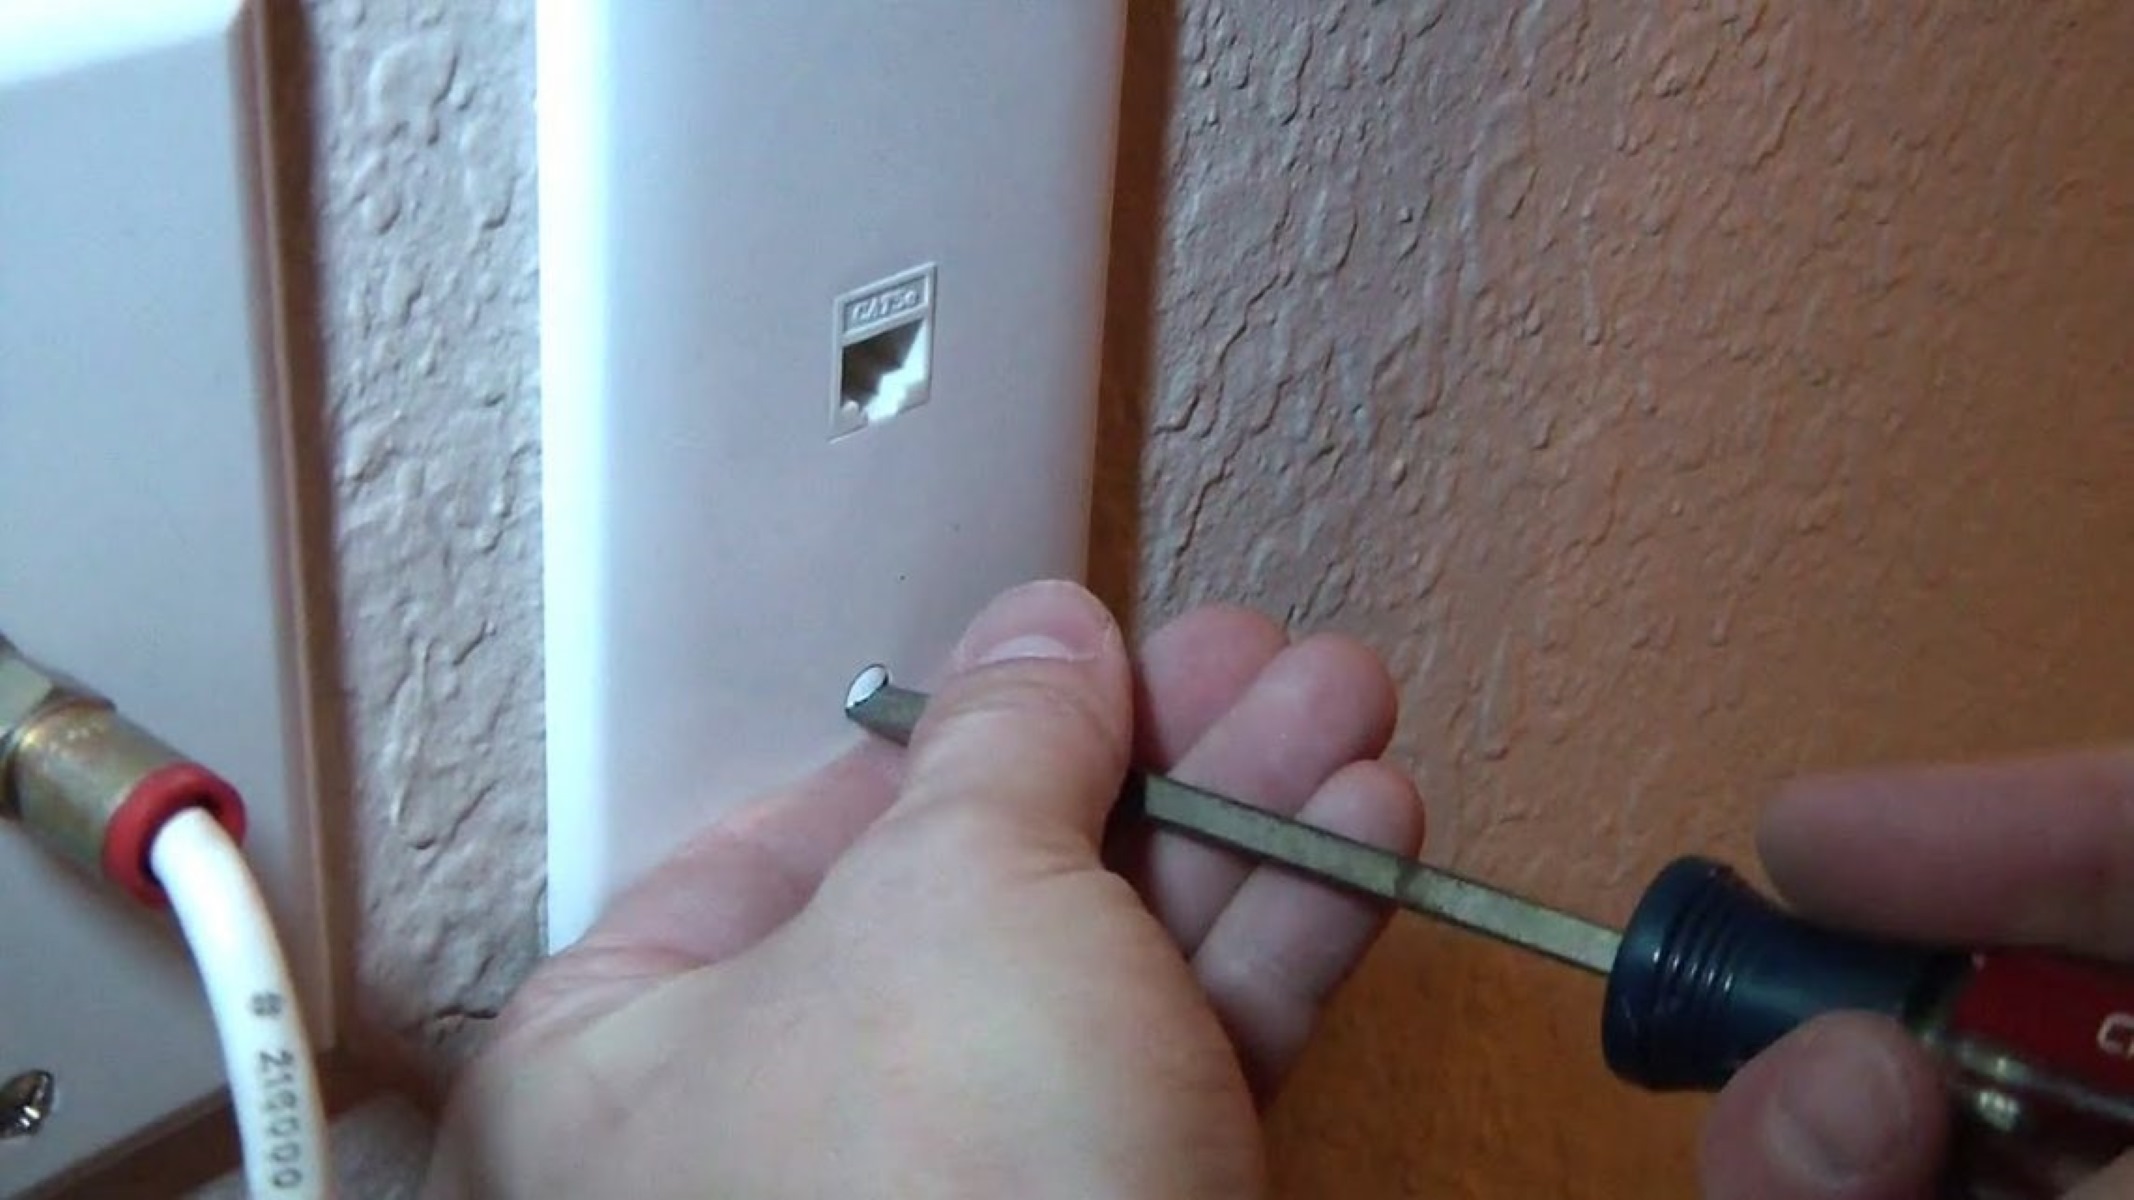
Step 6: Install Ethernet Jack
After successfully fishing the Ethernet cable through the wall, the next step is to install the Ethernet jack. This will provide a secure and convenient connection point for your devices. Follow these steps to install the Ethernet jack:
1. Prepare the wall plate: Begin by unscrewing the faceplate from the wall plate, if applicable. This will expose the mounting holes and RJ45 socket.
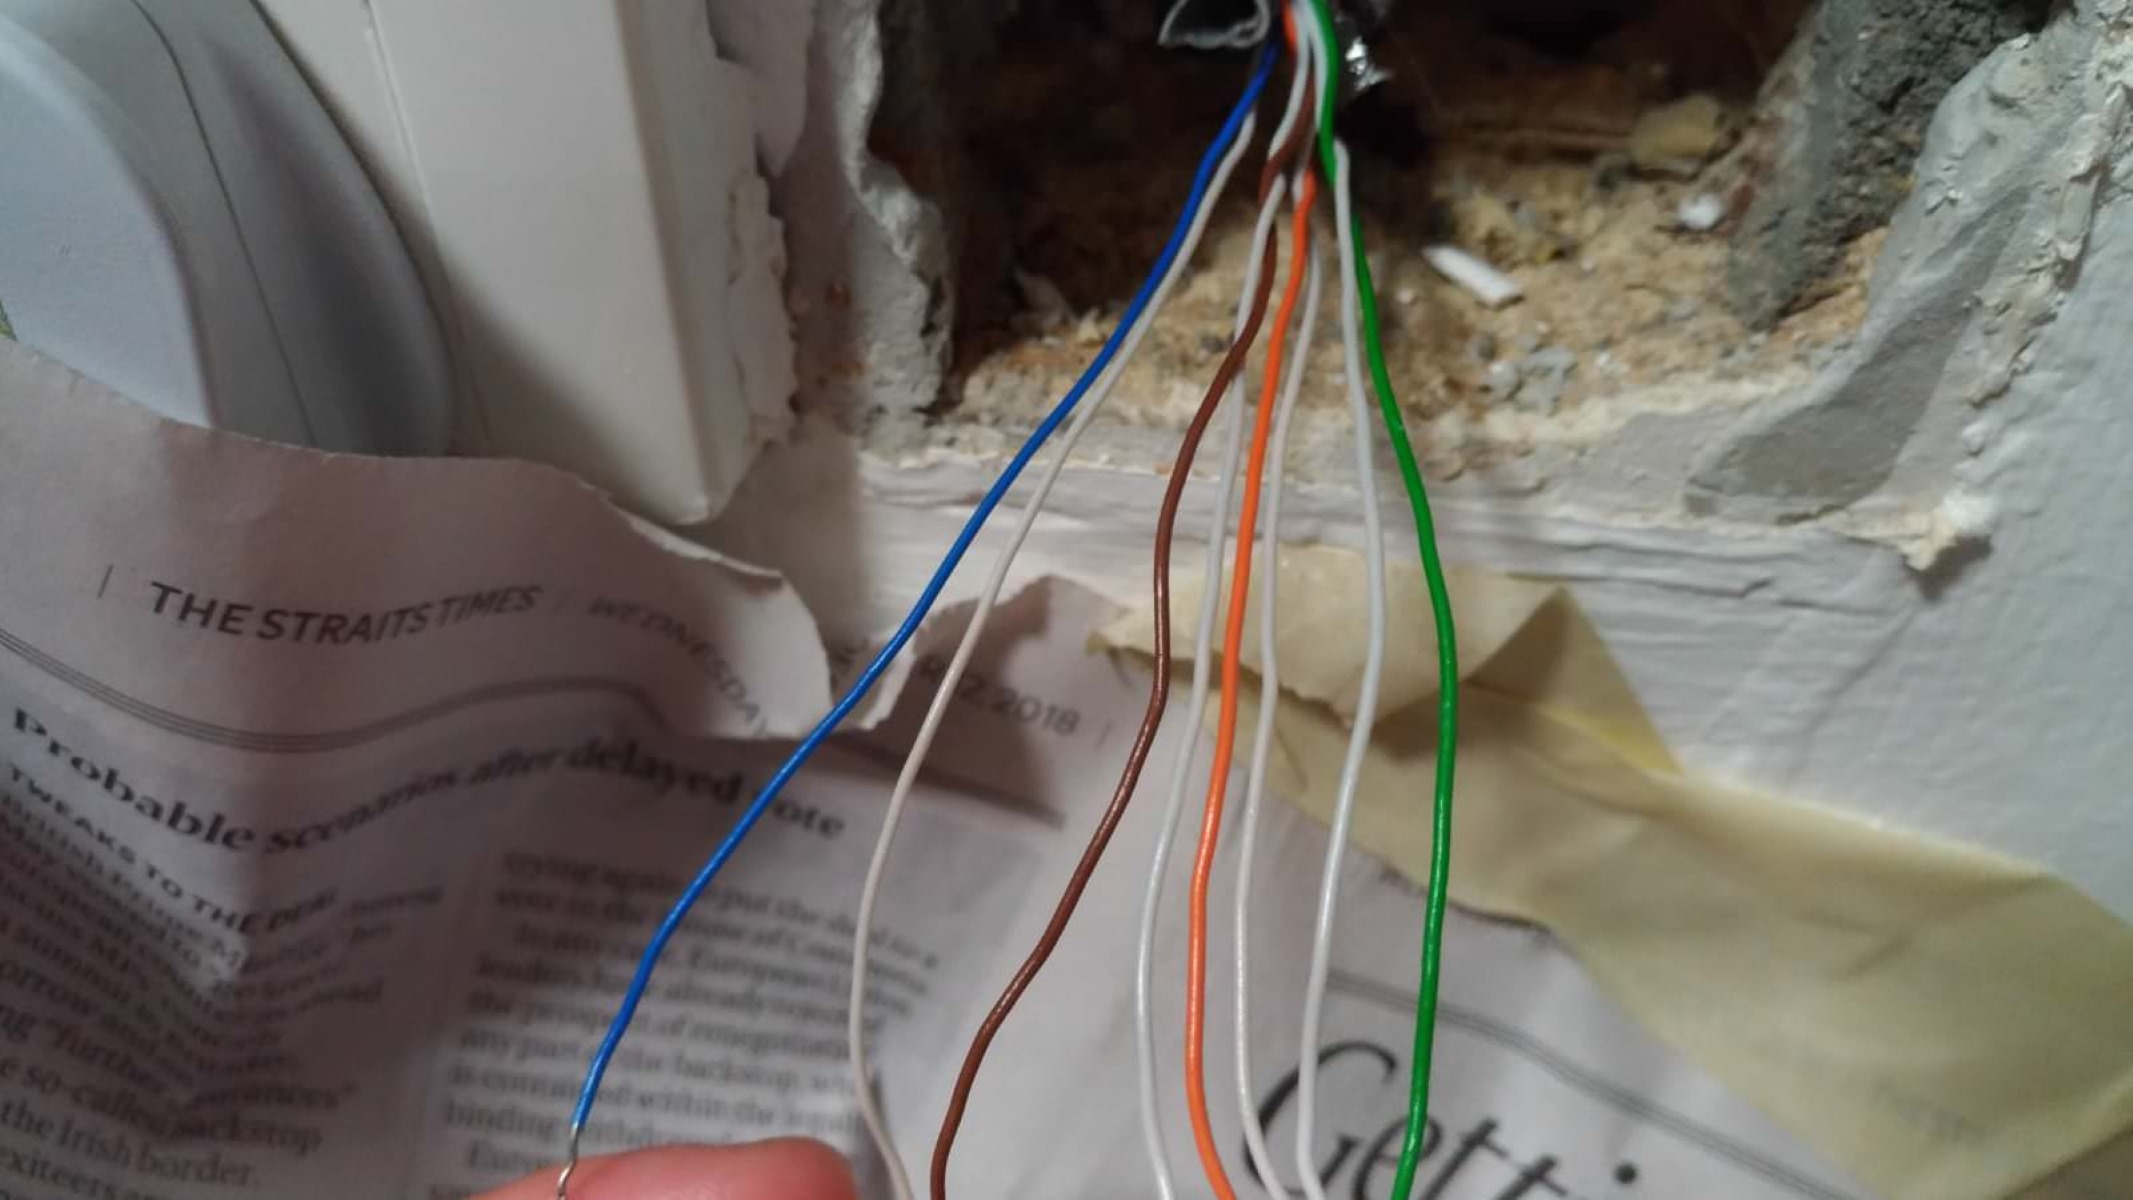
2. Attach the cable to the Ethernet jack: Carefully strip the outer insulation of the Ethernet cable to reveal the individual wires. Follow the color-coded scheme to properly match and attach each wire to the corresponding terminal on the Ethernet jack. Ensure that the wires are securely inserted and properly aligned.
3. Secure the Ethernet jack to the wall plate: After connecting the wires, secure the Ethernet jack to the wall plate. Insert the Ethernet jack into the mounting holes and use the provided screws to secure it in place. Ensure that the Ethernet jack is aligned properly and fits snugly into the wall plate.
4. Attach the wall plate to the wall: Once the Ethernet jack is securely in place, align the wall plate with the wall hole and use screws or other fasteners to attach it to the wall. Ensure that it is securely fastened and level with the surrounding wall.
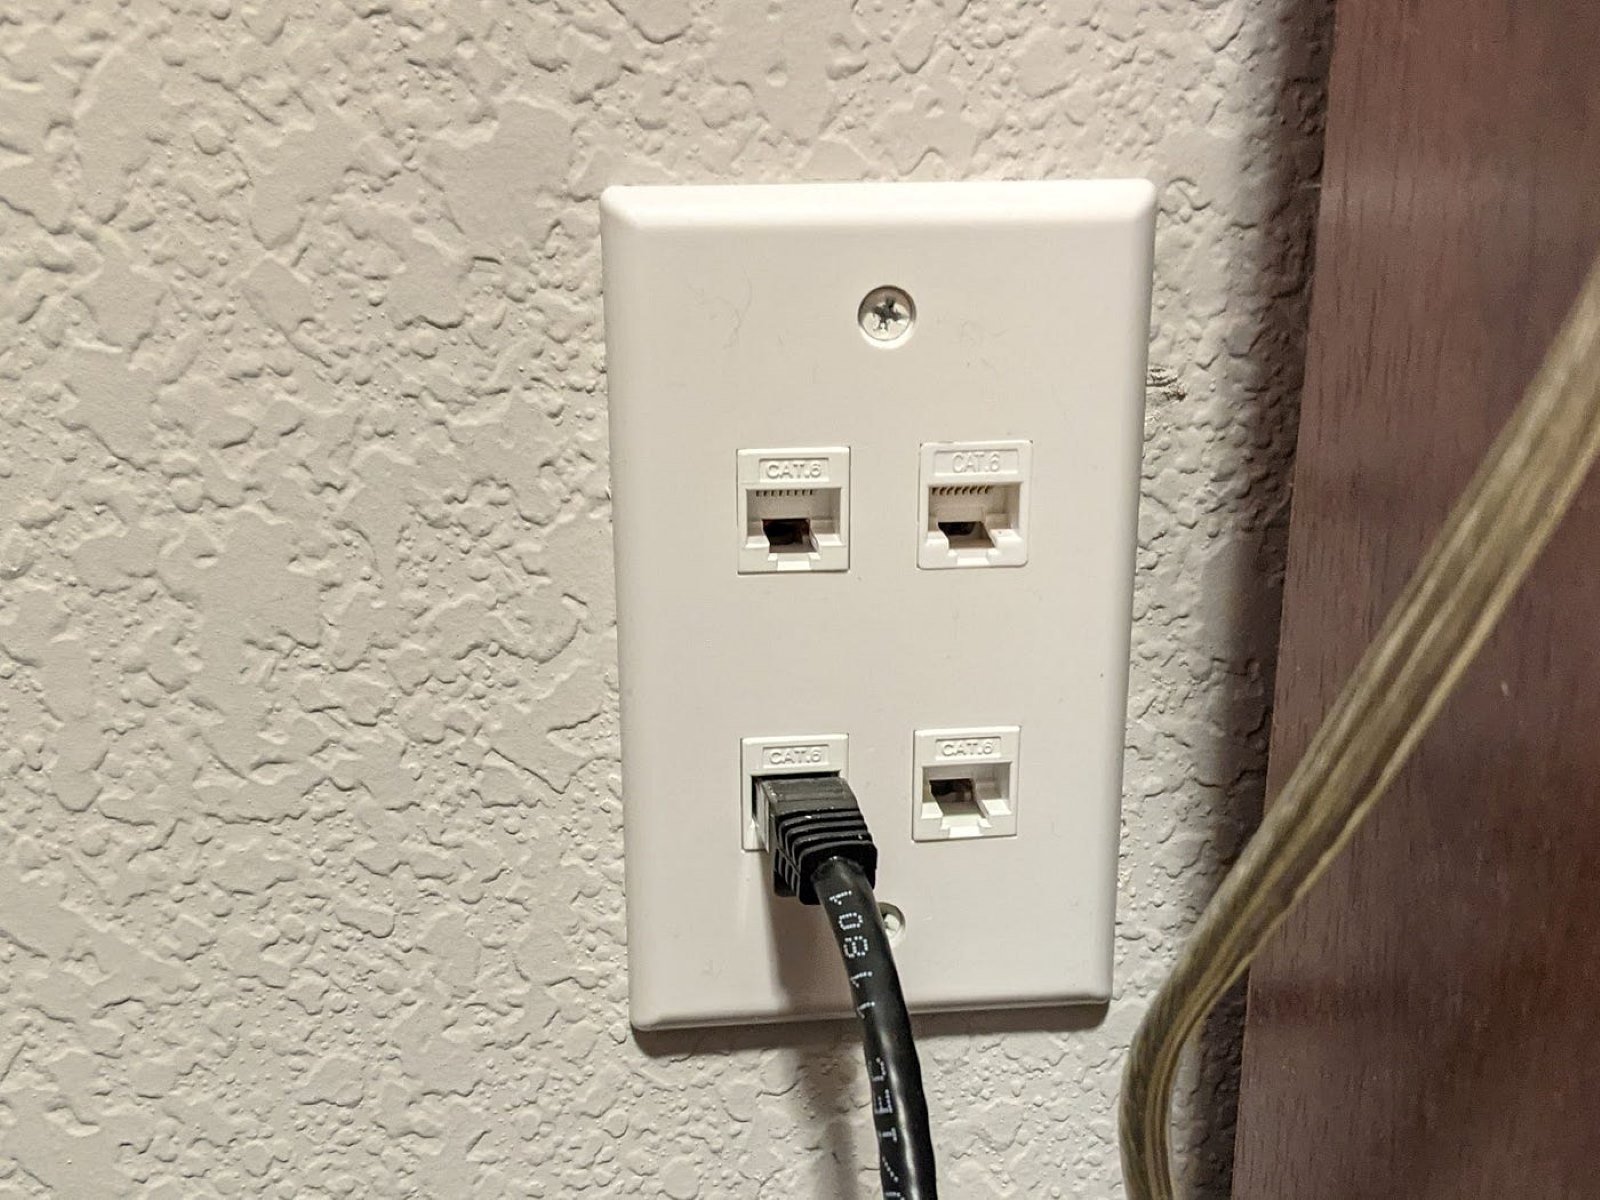
5. Test the connection: With the Ethernet jack installed, it’s important to test the connection for proper functionality. Connect your devices to the Ethernet jack using Ethernet cables and check for a stable internet connection. If needed, use a cable tester to verify that all the wires are properly connected and functioning.
It’s important to follow the manufacturer’s instructions and guidelines when installing the Ethernet jack. Additionally, ensure that the Ethernet jack is compatible with the type of Ethernet cable you are using (e.g., CAT6, CAT6a).
With the Ethernet jack securely installed, you’re nearly done with the installation process. The final step is to test the connection and ensure a reliable network performance.
Step 7: Test the Connection
After completing the installation of the Ethernet jack, it’s crucial to test the connection to ensure that everything is functioning properly. Follow these steps to test the Ethernet connection:
1. Connect devices to the Ethernet jack: Use Ethernet cables to connect your devices, such as computers, gaming consoles, or smart TVs, to the Ethernet jack. Ensure that the cables are securely plugged in on both ends.
2. Power on the devices: Turn on the devices that are connected to the Ethernet jack, including your modem or router, if necessary.
3. Check for a stable connection: Open a web browser or any application that requires an internet connection on your connected devices. Browse websites, stream videos, or perform any activities that you normally would online. Monitor the performance and stability of the connection to ensure a reliable network experience.
4. Conduct speed tests: Use online speed testing tools to measure the upload and download speeds of your network connection. Compare the results with your internet service provider’s advertised speeds to ensure you’re getting the expected performance.
5. Check for any issues: If you encounter any connectivity or performance issues, double-check the Ethernet cable connections, ensure that the Ethernet jack is installed correctly, and verify that the devices are configured to use a wired connection. If necessary, consult your internet service provider or a professional for further assistance.
Testing the connection is crucial to ensure that your Ethernet installation has been successful and is providing the desired network performance. It allows you to identify any potential issues or areas for improvement, ensuring a seamless and reliable connection for all your network activities.
Once you have confirmed a stable and functioning connection, you’ve completed the installation process. Enjoy your fast and secure Ethernet connection and the benefits it brings to your home or office.
Conclusion
Running Ethernet cable through walls may seem like a challenging task, but by following the steps outlined in this guide, you can achieve a clean and professional installation. By doing so, you can enjoy a faster and more reliable internet connection throughout your home or office.
Remember to gather all the necessary materials before starting the process, carefully plan the route for the Ethernet cable, measure and mark the cable length accurately, and safely cut the wall hole to prepare for installation. Fishing the cable through the wall requires patience and precision, and installing the Ethernet jack ensures a secure connection point for your devices.
Once the Ethernet jack is installed, thoroughly test the connection to ensure a stable and reliable network performance. Check for any issues and address them promptly to ensure optimal functionality.
The benefits of running Ethernet cable through walls are numerous. It provides a faster, more secure connection compared to Wi-Fi, making it ideal for activities like gaming, streaming, and video conferencing. It also enhances the overall aesthetics of your space by eliminating unsightly cables along the floor or walls.
If you encounter any challenges or uncertainties during the installation process, don’t hesitate to seek professional assistance. It’s important to prioritize safety and compliance with any building codes or regulations in your area.
By following this guide and taking the time to properly install Ethernet cables through walls, you can enjoy a seamless and efficient network connection that meets your needs. So go ahead, embark on this DIY project, and enhance your internet experience today.