Introduction
Virtualization has revolutionized the way we work with computers by enabling us to run multiple operating systems and applications simultaneously on a single physical machine. VMware Workstation, a leading virtualization software, offers a wide range of features to enhance productivity and streamline the virtual machine management process. Among these features is the ability to restore virtual machines to a previous state, allowing users to revert to a known working configuration in the event of system issues or software errors.
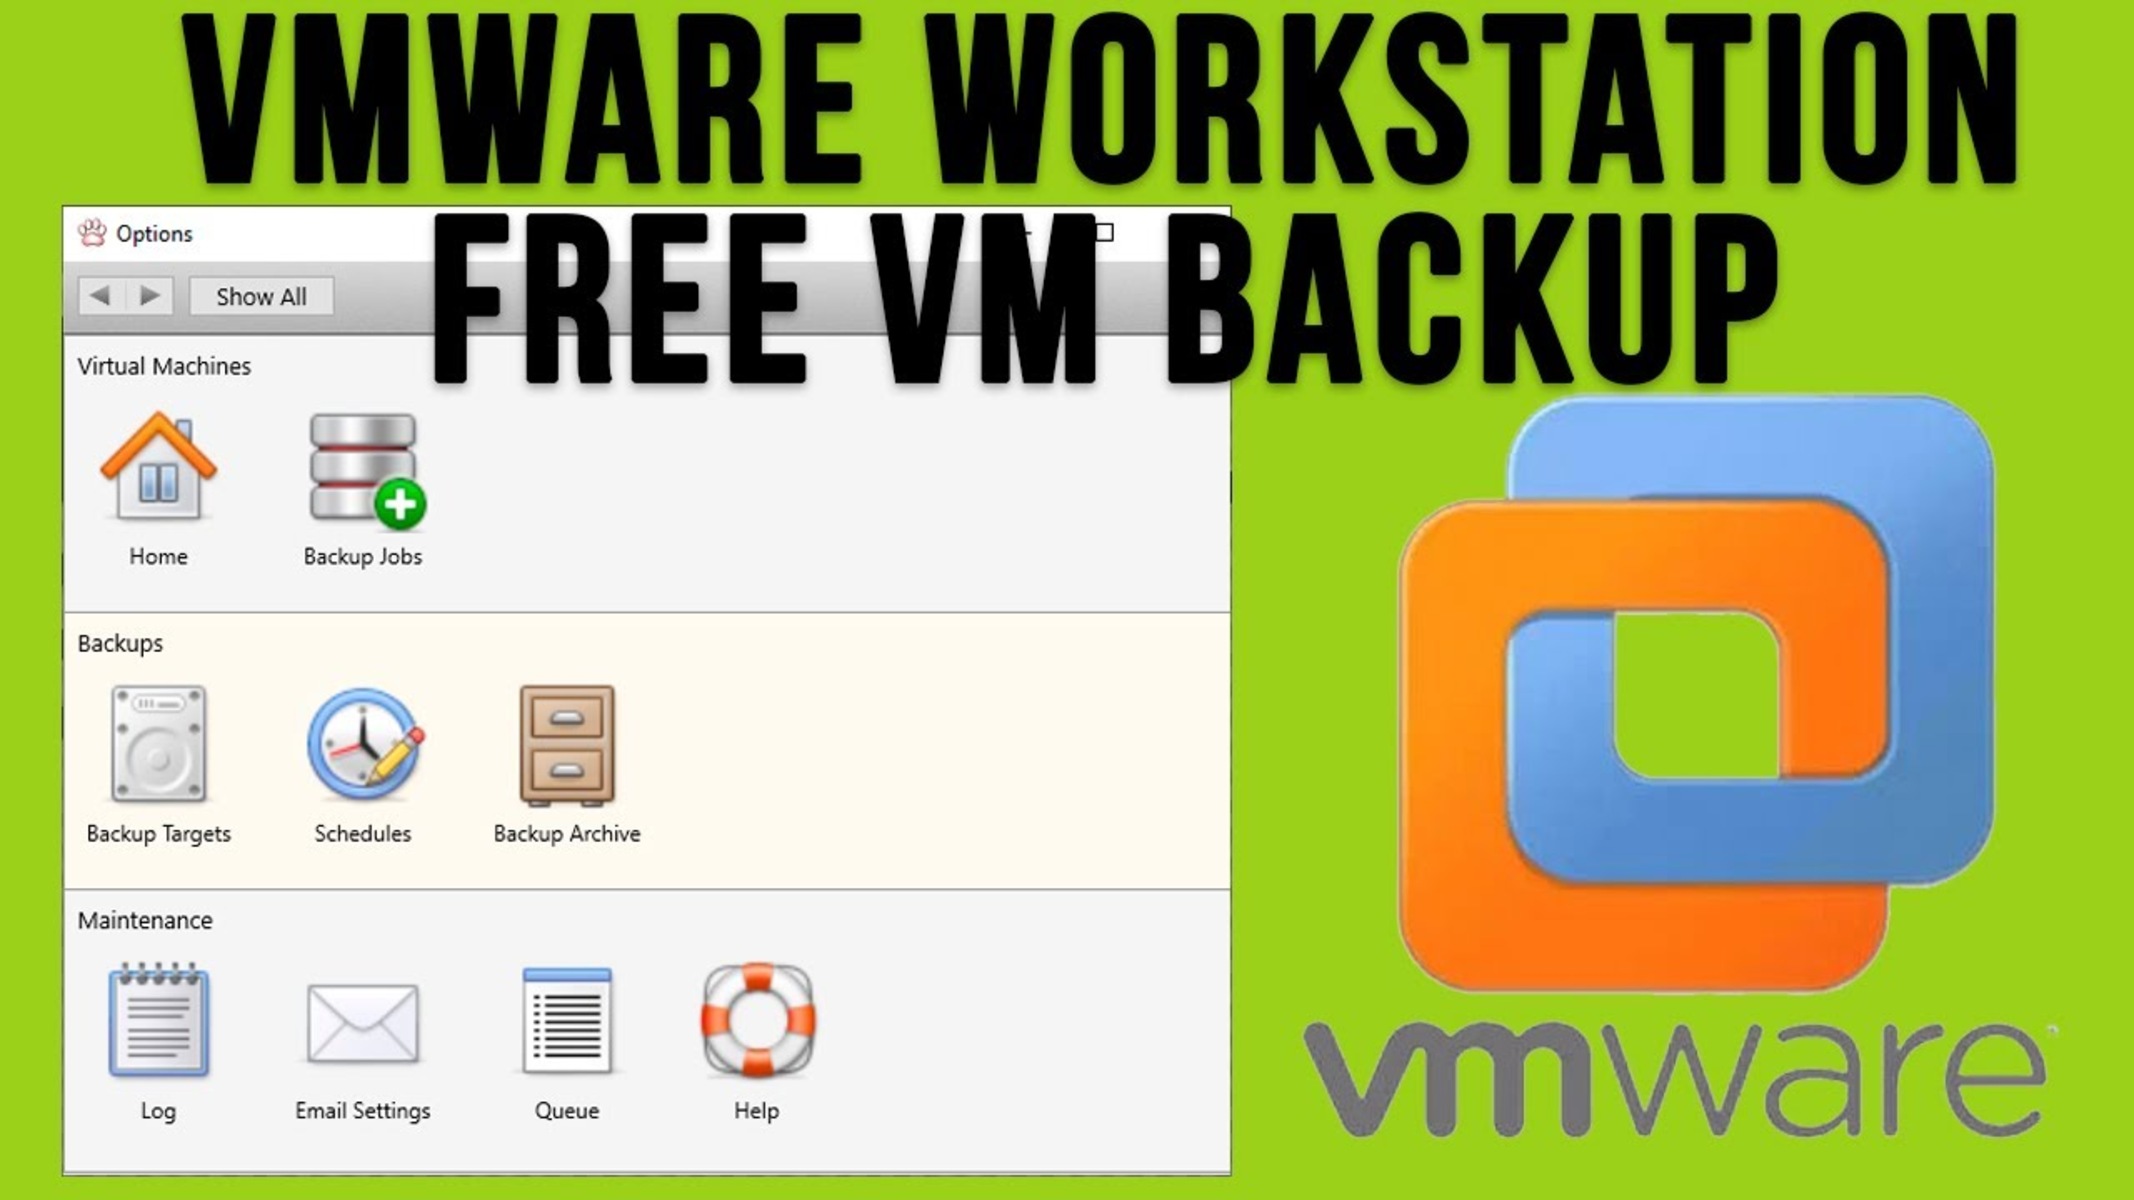
Restoring a virtual machine in VMware Workstation involves utilizing its snapshot functionality. Snapshots are like checkpoints that capture the entire state of a virtual machine at a specific point in time, including its running state, applications, and data. By restoring a snapshot, you can effectively roll back the virtual machine to that specific moment, eliminating any changes or issues that occurred afterward.
In this guide, we will walk you through the step-by-step process of restoring a virtual machine in VMware Workstation. Whether you are a seasoned virtualization expert or a beginner, this tutorial will help you navigate the restore process smoothly. Before we dive into the restoration steps, let’s ensure that you have the necessary prerequisites in place.
Prerequisites
Before you begin restoring a virtual machine in VMware Workstation, make sure you have the following prerequisites:
- A working installation of VMware Workstation: Ensure that you have VMware Workstation installed on your computer. If you don’t have it, you can download and install the latest version from the official VMware website.
- Accessible virtual machine files: Verify that you have access to the virtual machine files and folders. These files typically have a .vmx extension and contain configuration details for the virtual machine.
- Snapshots available: Confirm that you have previously taken one or more snapshots of the virtual machine. Snapshots are essential for the restoration process as they serve as recovery points for the virtual machine’s state.
- Sufficient disk space: Ensure that you have enough free disk space on your system or the designated storage location to accommodate the restored virtual machine. Restoring a virtual machine requires additional disk space, so it’s important to have sufficient storage available.
Once you have met these prerequisites, you are ready to proceed with the restoration process. So, let’s get started with the step-by-step instructions to restore a virtual machine in VMware Workstation.
Step 1: Open VMware Workstation
The first step in restoring a virtual machine in VMware Workstation is to open the software. Locate the VMware Workstation icon on your desktop or in the program list and double-click to launch the application.
Upon opening VMware Workstation, you will be greeted with the main interface, which provides access to various virtual machine management features and options. Take a moment to familiarize yourself with the interface, as it will be your control center throughout the restoration process.
If you have multiple virtual machines configured in VMware Workstation, they will be displayed in the Virtual Machine Library. The Library provides an organized view of all your virtual machines, making it easy to select the one you wish to restore.
In the upcoming steps, we will guide you through the process of accessing the Virtual Machine Library and selecting the virtual machine you want to restore. So, let’s move on to the next step.
Step 2: Access the Virtual Machine Library
To restore a virtual machine in VMware Workstation, you first need to access the Virtual Machine Library. The Library provides a centralized location where you can manage and interact with all your virtual machines.
To access the Virtual Machine Library, follow these steps:
- Launch VMware Workstation by double-clicking the application icon on your desktop or navigating to it through the program list.
- Once VMware Workstation is open, you will see the main interface. At the top, you will find several tabs, including the Library tab. Click on the Library tab to access the Virtual Machine Library.
- The Virtual Machine Library will be displayed, showing all the virtual machines you have configured in VMware Workstation. Each virtual machine will be represented by a thumbnail image and its corresponding name.
Now that you have successfully accessed the Virtual Machine Library, you can proceed to the next step, where you will select the virtual machine you want to restore.
Step 3: Select the Virtual Machine to Restore
In this step, you will select the specific virtual machine that you want to restore from the Virtual Machine Library in VMware Workstation.
Follow these instructions to select the virtual machine:
- From the Virtual Machine Library interface, browse through the list of virtual machines to find the one you wish to restore. The thumbnail image and name will help you identify the correct virtual machine.
- Once you have located the virtual machine, click on it to select it. You will notice that the virtual machine’s details, including its configuration and current state, are displayed on the right-hand side of the Library interface.
It’s important to ensure that you have selected the correct virtual machine before proceeding with the restoration process. If you are uncertain, double-check the name and thumbnail image to verify that it matches your intended virtual machine.
With the virtual machine selected, you are now ready to choose the restore option. In the next step, we will guide you through the process of selecting the appropriate restore option based on your specific needs.
Step 4: Choose the Restore Option
After selecting the virtual machine you want to restore in VMware Workstation, the next step is to choose the restore option. This step allows you to specify the type of restoration you want to perform based on your requirements.
To choose the restore option, follow these steps:
- In the Virtual Machine Library, locate the toolbar at the top of the interface. Within the toolbar, you will find a set of options for managing virtual machines.
- In the toolbar, click on the “Restore” button. This action will present you with a drop-down menu that contains various restore options.
- Based on your specific needs and the state of the virtual machine, select the appropriate restore option from the menu. The available options typically include:
- Restore Snapshot: This option allows you to restore the virtual machine to a specific snapshot that you have previously taken.
- Restore Last Snapshot: If you have multiple snapshots, this option enables you to restore the virtual machine to the most recent snapshot.
- Restore from Backup: If you have a backup of the virtual machine, this option allows you to restore it from a backup file.
- Restore to Initial State: This option resets the virtual machine to its initial state, removing all changes and restoring the default configuration.
Choose the restore option that best suits your needs. It’s essential to consider the purpose of the restoration and the desired state you want the virtual machine to return to.
Once you have chosen the restore option, you are ready to proceed with the next step, where you will select the specific snapshot or backup for restoration.
Step 5: Select the Snapshot
After choosing the restore option in VMware Workstation, the next step is to select the specific snapshot you want to restore your virtual machine to. The snapshot represents a previous state of the virtual machine that you have previously captured.
Follow these instructions to select the snapshot:
- In the drop-down menu that appeared after choosing the restore option, locate and click on the snapshot you want to restore. The available snapshots will be listed based on the time they were taken, with the most recent one displayed first.
- If you have taken multiple snapshots, you can review the information provided for each snapshot, such as the date and time it was taken and any notes or descriptions you may have added. This will help you select the most appropriate snapshot for restoration.
- Once you have identified the desired snapshot, click on it to select it. You will typically see a preview or thumbnail image associated with the snapshot to visually confirm your selection.
It’s important to choose the snapshot carefully, as this will determine the specific state to which your virtual machine will be restored. Pay attention to the date, time, and any relevant notes that may provide additional context for each snapshot.
With the snapshot selected, you are now ready to start the restore process. In the next step, we will guide you through the necessary steps to initiate the restoration and confirm your selection.
Step 6: Start the Restore Process
Once you have selected the desired snapshot for restoration in VMware Workstation, you can now initiate the restore process and begin reverting your virtual machine to its previous state.
To start the restore process, follow these steps:
- After selecting the snapshot, locate and click on the “Restore” or “Start Restore” button. This button is typically located near the snapshot options or within the restore menu.
- Upon clicking the restore button, a confirmation dialog box may appear to confirm your choice. Review the information provided in the dialog box to ensure that you have selected the correct snapshot for restoration.
- If you are confident in your selection, proceed by clicking the “Yes”, “Restore”, or “Start” button in the confirmation dialog box.
By initiating the restore process, VMware Workstation will begin reverting your virtual machine to the state captured in the selected snapshot. This process may take some time, depending on the size of the snapshot and the performance of your system.
During the restore process, it’s important to avoid interruptions or making any changes to the virtual machine settings or files. Allowing the process to complete uninterrupted will ensure a successful restoration.
Once the restore process is initiated, you can move on to the next step where you will monitor the progress and wait for the restoration to complete.
Step 7: Confirm the Restore
After starting the restore process in VMware Workstation, it is important to confirm that the restoration is proceeding as expected. Confirming the restore ensures that your virtual machine is being reverted to the desired snapshot without any unexpected issues.
To confirm the restore, follow these steps:
- Monitor the progress bar or status indicator provided by VMware Workstation. This will give you an idea of how much of the restore process has completed.
- Observe the virtual machine’s behavior during the restoration. Pay attention to any notifications or messages that may appear, indicating the progress or any potential errors.
- Be patient and allow the restore process to complete. Depending on the size of the virtual machine and the snapshot, the restoration may take some time. Avoid interrupting the process or making any changes to the virtual machine during this time.
It’s important to note that the progress of the restore process may vary depending on your system’s performance and the complexity of the virtual machine. However, as long as the progress is steady and there are no error messages, you can be confident that the restore is on track.
Once the restore process is complete, you are ready to move on to the next step, where you will verify the restored virtual machine and ensure that it is functioning as expected.
Step 8: Wait for the Restore to Complete
After initiating the restore process in VMware Workstation, you will need to exercise patience and wait for the restoration to complete. The time required for the restore to finish may vary depending on various factors, such as the size of the virtual machine and the performance of your system.
To ensure a successful restoration, follow these guidelines while waiting for the restore to complete:
- Do not interrupt the restore process: It is crucial to let the restoration process run without any interruptions. Avoid shutting down or restarting your computer or making any modifications to the virtual machine’s settings or files.
- Monitor the progress: Keep an eye on the progress indicator provided by VMware Workstation. This will help you gauge how much of the restore has been completed and how much longer you may need to wait.
- Stay vigilant for any error messages: Occasionally, issues or errors may occur during the restore process. If you notice any error messages or unusual behavior, take note of them and refer to VMware’s documentation or seek assistance for troubleshooting steps.
During the waiting period, you can use this time to prepare for the next step, where you will verify the restored virtual machine to ensure that it has been successfully reverted to the desired snapshot state.
Remember, patience is key during this step. Once the restore process is complete, you can move forward to the final step and confirm that your virtual machine has been properly restored.
Step 9: Verify the Restored Virtual Machine
After the restore process is complete in VMware Workstation, it is essential to verify that the virtual machine has been successfully restored to the desired state. By verifying the restoration, you can ensure that any issues or errors have been resolved, and the virtual machine is functioning as intended.
To verify the restored virtual machine, follow these steps:
- First, power on the restored virtual machine by selecting it in the Virtual Machine Library and clicking on the “Power On” button or selecting the appropriate option from the toolbar.
- Once the virtual machine is powered on, observe its behavior closely. Pay attention to the operating system boot process, any startup messages, and the overall performance of the virtual machine.
- Interact with the virtual machine by launching applications, accessing files, and performing typical tasks. Ensure that all functionalities are working as expected and that there are no noticeable errors or issues.
- If you have specific configurations or settings that were present in the original snapshot, check to see if they have been restored correctly. This includes network settings, software installations, and any customizations you made to the virtual machine.
During the verification process, it is recommended to follow a testing plan that encompasses various aspects of the virtual machine’s functionality. This will help you cover the most critical areas and ensure that the restore has addressed any previous issues.
If you encounter any problems or notice discrepancies during the verification, you may consider re-restoring the virtual machine using a different snapshot or seeking further assistance from VMware support or online communities.
Once you have verified the restored virtual machine and confirmed that it meets your expectations, you can confidently proceed with using it for your desired purposes.
Congratulations! You have successfully completed the process of restoring a virtual machine in VMware Workstation. Taking advantage of the snapshot functionality allows you to easily revert your virtual machine to a known working state, ensuring smooth operations and minimizing downtime.
Conclusion
Restoring a virtual machine in VMware Workstation is a straightforward process that allows you to revert to a previous state and resolve any issues or errors that may have occurred. By utilizing the snapshot functionality, you can capture and restore specific points in time, ensuring the reliability and stability of your virtual environment.
In this guide, we walked you through the step-by-step process of restoring a virtual machine in VMware Workstation. We started by highlighting the importance of prerequisites, such as having VMware Workstation installed, accessible virtual machine files, available snapshots, and sufficient disk space.
We then detailed each step of the restoration process, from opening VMware Workstation and accessing the Virtual Machine Library to choosing the restore option, selecting the snapshot, and initiating the restoration. We emphasized the significance of patience during the waiting period for the restore process to complete.
Once the restoration was finished, we guided you through the crucial step of verifying the restored virtual machine. This involved checking for any errors, testing functionalities, and ensuring that the virtual machine was back to its intended state.
With the completion of the restoration process, you can now enjoy the benefits of a stable and reliable virtual machine in VMware Workstation, knowing that you have the ability to easily restore it to a known working configuration whenever necessary.
Remember to regularly take snapshots and consider them as checkpoints in your virtual machine’s journey. By doing so, you’ll have the confidence to explore, experiment, and troubleshoot without the fear of irreversible changes.
Thank you for following this guide on restoring a virtual machine in VMware Workstation. We hope that this information has been valuable and that you can apply these steps effectively in your virtualization endeavors. Happy restoring!