Introduction
Welcome to this guide on how to reset your Nuvision tablet to factory settings. Over time, tablets can become sluggish or develop software issues that hinder their performance. By performing a factory reset, you can restore your Nuvision tablet to its original settings, erasing all data and settings that have been accumulated since you first started using it. This can be especially useful if you are experiencing frequent crashes, unresponsive apps, or if you plan on selling or passing on your tablet to someone else.
The factory reset process is designed to wipe clean your tablet’s internal storage, removing all installed applications, settings, and personal data. It essentially brings your Nuvision tablet back to its “out-of-the-box” state. However, keep in mind that performing a factory reset will delete all your data, so it is crucial to back up any important files or documents you wish to keep beforehand.
In this step-by-step guide, we will walk you through the process of resetting your Nuvision tablet to factory settings. Before we begin, make sure to have your tablet fully charged or connected to a power source, as the reset process can take some time. It is also recommended to have your Wi-Fi password ready, as you will need to reconnect to a network after the reset.
Please note that the steps provided here are generic and should work for most Nuvision tablet models. However, some specific models might have slightly different instructions or button combinations, so refer to your tablet’s user manual for any model-specific details. With that said, let’s get started on restoring your Nuvision tablet to its factory settings.
Step 1: Power off the tablet
The first step in resetting your Nuvision tablet to factory settings is to power it off completely. To do this, press and hold the power button located on the side or top of your tablet until a menu appears on the screen. This menu will give you options to power off or restart your device.
Tap on the “Power off” option to shut down your tablet. It may take a few seconds for the screen to go blank, indicating that the tablet has turned off. Ensure that the tablet is fully powered off before proceeding to the next step.
Turning off your tablet completely is essential to ensure a clean and successful reset. If your tablet is not powered off properly, it may not reset properly or could lead to data corruption. Take the time to ensure that your tablet is completely powered off before moving on to the next step.
Once your Nuvision tablet is powered off, we can now proceed to the next step of the reset process, which is accessing the Recovery mode.
Step 2: Access the Recovery mode
To begin the factory reset process on your Nuvision tablet, you need to access the Recovery mode. This mode allows you to perform various system maintenance tasks, including the factory reset option. Here’s how you can access the Recovery mode:
- With your tablet powered off, press and hold the volume up button and the power button simultaneously.
- Continue holding both buttons until you see the Nuvision logo appear on the screen.
- Once the logo appears, release both buttons. This will bring you to the Recovery mode menu.
Accessing the Recovery mode might vary slightly depending on your specific Nuvision tablet model. If the above method does not work, try alternative button combinations such as volume down + power or volume up + volume down + power. Refer to your tablet’s user manual or search online for the specific button combination if needed.
In the Recovery mode menu, you will see several options that allow you to perform different actions on your tablet. We will navigate this menu in the next step to perform the factory reset. It’s important to exercise caution while in Recovery mode and be mindful not to select any options that you’re unsure about, as they can potentially affect your tablet’s functionality.
Now that you have successfully accessed the Recovery mode, let’s move on to the next step, where we will navigate the menu using the volume buttons.
Step 3: Navigate the menu using volume buttons
Once you have accessed the Recovery mode menu on your Nuvision tablet, you will need to navigate through the options using the volume buttons. The volume up and volume down buttons on your tablet will allow you to move up and down the menu, highlighting different options.
To navigate the menu and select the desired option, follow these steps:
- Press the volume down button to scroll down the menu and highlight the desired option.
- To select the highlighted option, press the power button. This will confirm your selection and take you to the next screen.
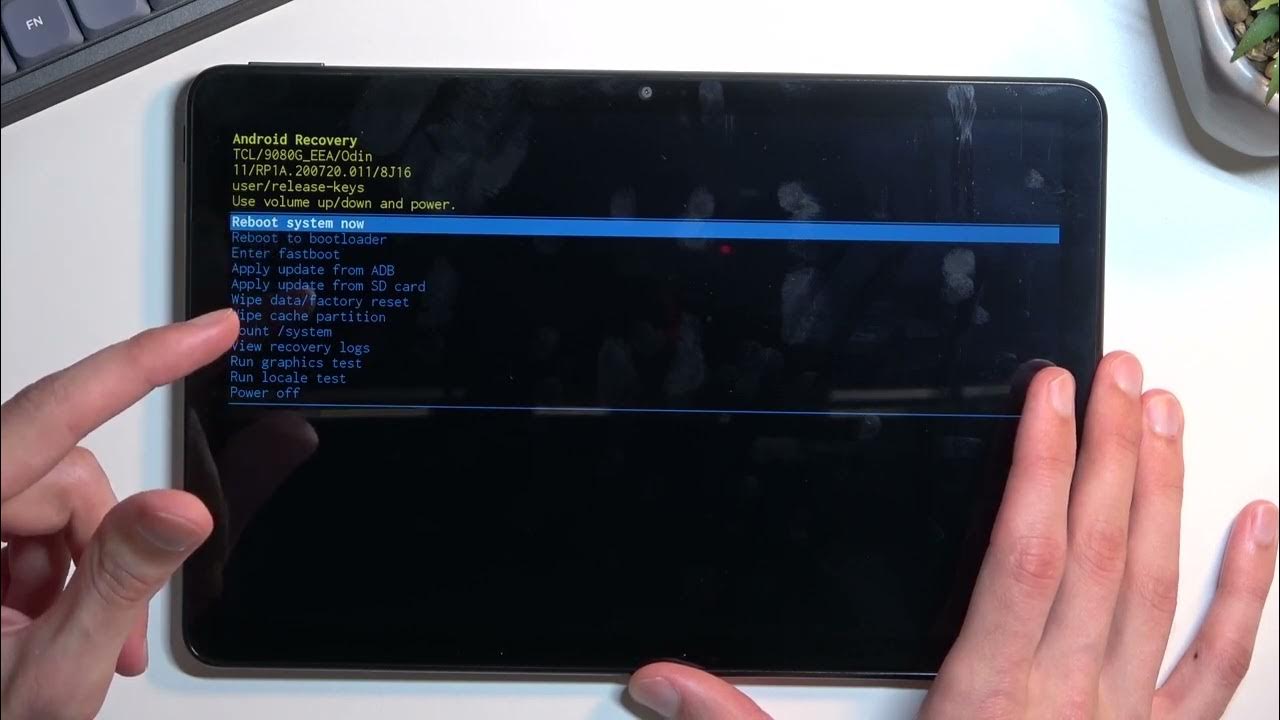
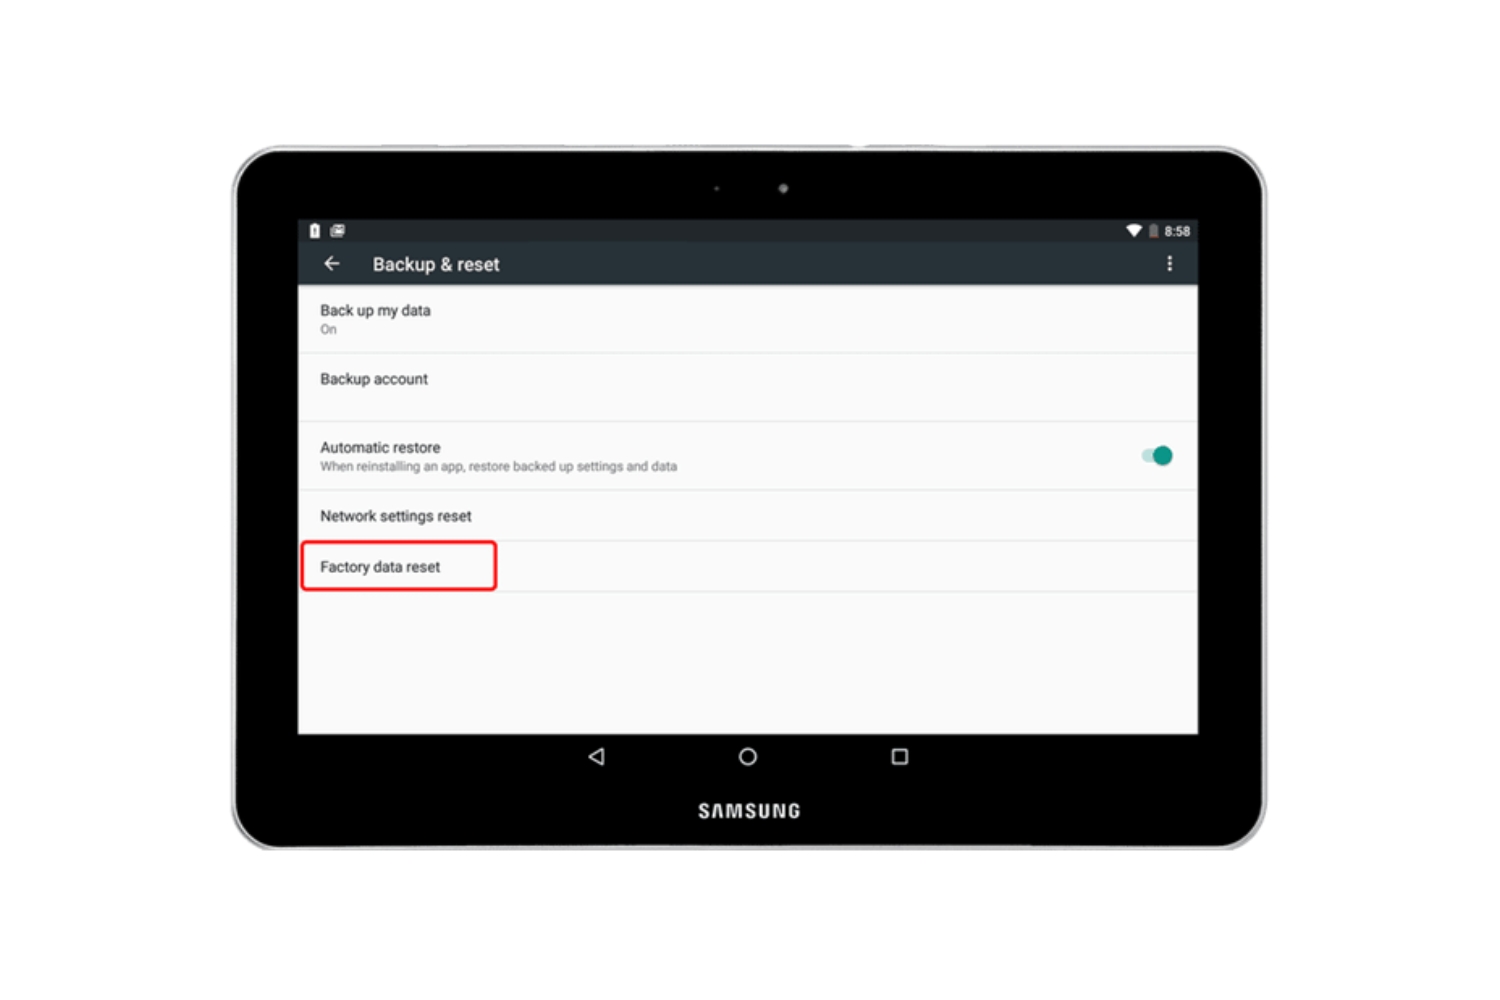
- Continue using the volume buttons to navigate and the power button to select until you find the “Wipe data/factory reset” option.
It’s important to be patient while navigating the menu, as the screen may respond with a slight delay. Take your time to ensure you select the correct options to avoid any unintended actions.
The exact placement of the “Wipe data/factory reset” option may vary depending on your tablet model and the version of the Recovery mode. In some cases, it might be located directly on the main menu, while in others, you may need to enter a sub-menu or select an advanced options category.
Once you have successfully located the “Wipe data/factory reset” option, you can proceed with the reset process. In the next step, we will guide you through the steps to confirm the reset and initiate the process.
Step 4: Select “Wipe data/factory reset”
Now that you have navigated to the “Wipe data/factory reset” option in the Recovery mode menu, it’s time to select it in order to initiate the reset process on your Nuvision tablet. Follow these steps to proceed:
- Make sure the “Wipe data/factory reset” option is highlighted using the volume buttons.
- Press the power button to select the option. This will bring up a confirmation screen.
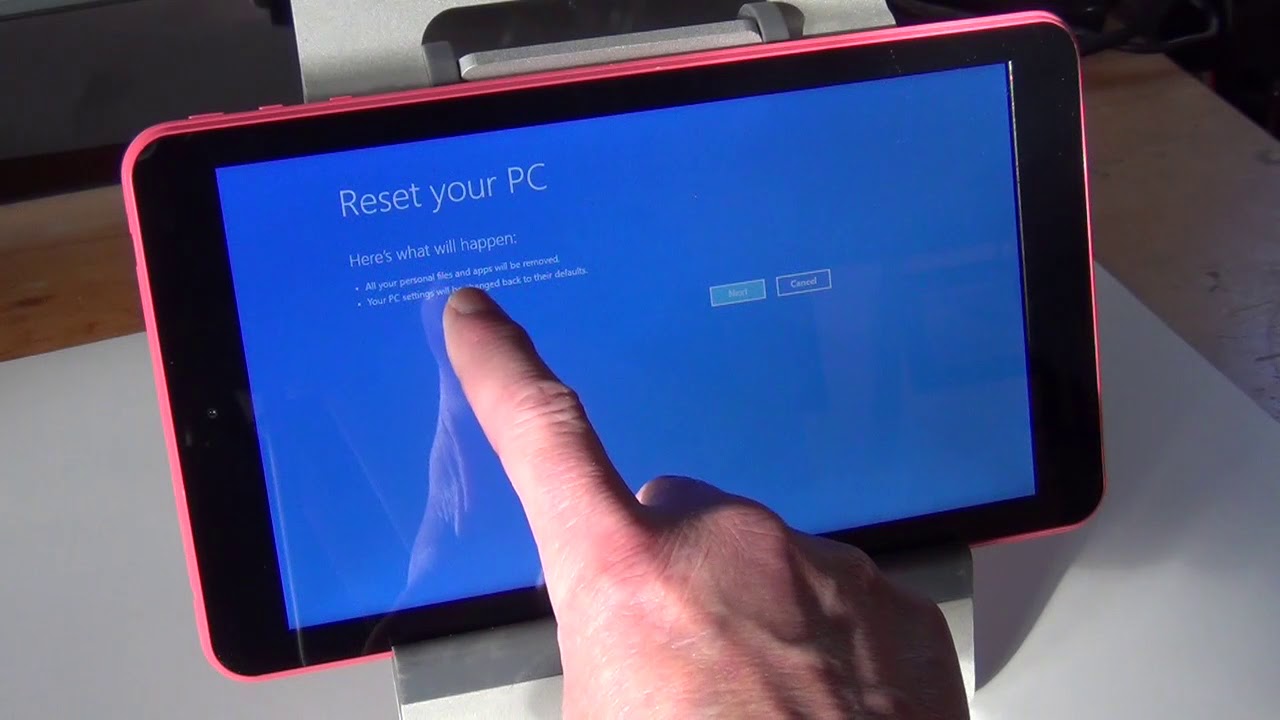
- On the confirmation screen, you will see a message stating that performing this action will erase all data on your tablet.
- Read the message carefully to ensure you understand the implications of the reset process.
- If you are certain you want to proceed with the factory reset, use the volume buttons to navigate to the “Yes” option.
- Once the “Yes” option is highlighted, press the power button to confirm your selection.
At this point, your Nuvision tablet will begin the factory reset process. Be patient, as it may take a few minutes to complete. The progress will be shown on the screen, and you may see the Nuvision logo or a progress bar indicating the status of the reset.
It’s important not to interrupt the reset process once it has started. This means avoiding pressing any buttons or turning off your tablet. Interrupting the process could result in incomplete data deletion, leading to potential issues with your tablet’s performance or stability.
Once the reset process is complete, you will move on to the next step, where we will guide you through rebooting your tablet and completing the reset setup.
Step 5: Confirm the reset process
After your Nuvision tablet has completed the factory reset process, you will need to confirm a few settings to finalize the reset setup. Follow the steps below to proceed:
- Once the reset is complete, you will see a message on the screen indicating that the process was successful.
- Use the volume buttons to navigate to the “Reboot system now” option.
- Press the power button to select the option and reboot your tablet.
Your Nuvision tablet will now restart and begin the initial setup, just like when you first turned it on. You will be greeted with a welcome screen and prompted to configure your language, time zone, Wi-Fi connection, and other basic settings.
Follow the on-screen instructions to proceed through the setup process. Make sure to connect to a Wi-Fi network to enable access to the internet and necessary system updates.
It’s essential to complete the setup process to ensure your tablet functions properly after the factory reset. Take the time to input the correct information and personalize your settings according to your preferences.
Once you have completed the setup process, your Nuvision tablet will be restored to its factory settings. All previous data and settings will be wiped, providing you with a clean slate and resolving any performance or software-related issues you may have been experiencing.
In the next step, we will conclude our guide and wrap up the reset process.
Step 6: Reboot the tablet
After going through the initial setup process, it’s time to reboot your Nuvision tablet. Rebooting the tablet will ensure that all the changes made during the factory reset process are implemented and that your device is ready for use. Follow these steps to reboot your tablet:
- Ensure that you have completed the setup process by following the on-screen instructions.
- Once all the necessary settings have been configured, press and hold the power button until a menu appears on the screen.
- From the menu, select the “Restart” or “Reboot” option. This will initiate the reboot process for your tablet.
Your Nuvision tablet will now restart, and the changes made during the factory reset will be fully applied. The reboot process may take a few moments, so be patient and allow your tablet to complete the startup sequence.
Once your tablet has finished rebooting, you will be able to use it with the default settings. All previous data, apps, and settings will have been removed, giving you a fresh start. You can now set up your tablet according to your preferences, reinstall your favorite apps, and enjoy the improved performance that comes with a factory reset.
It’s important to note that if you plan on selling or giving away your tablet, it’s recommended to go through the initial setup yourself and ensure that all personal data has been removed. This will protect your privacy and prevent any unauthorized access to your data.
By going through the steps outlined in this guide, you have successfully reset your Nuvision tablet to its factory settings. This allows you to resolve any software-related issues and start afresh with a clean and optimized device.
Thank you for following this guide, and we hope that your Nuvision tablet now functions flawlessly. If you have any further questions or need additional assistance, consult the Nuvision support resources or reach out to their customer service team for personalized help.
Conclusion
Resetting your Nuvision tablet to factory settings can be a powerful tool to resolve software issues, improve performance, or prepare your device for a new owner. By following the steps outlined in this guide, you have successfully completed the reset process and brought your tablet back to its original state.
Remember, performing a factory reset erases all data and settings on your tablet, so it’s crucial to back up any important files or documents beforehand. Additionally, it’s important to follow the instructions carefully and be patient throughout the process to ensure a smooth and successful reset.
Taking the time to reset your Nuvision tablet can offer a significant improvement in performance and functionality. It’s like giving your device a fresh start, allowing it to operate more efficiently and effectively.
If you encounter any difficulties or have any questions during the reset process, consult your tablet’s user manual or reach out to Nuvision’s support resources for further assistance. They will be able to provide you with the specific information you need tailored to your tablet model.
Thank you for following this guide, and we hope that resetting your Nuvision tablet has resolved any issues you were experiencing and revitalized your device. Enjoy using your “like new” tablet with its restored performance and optimized settings.