Introduction
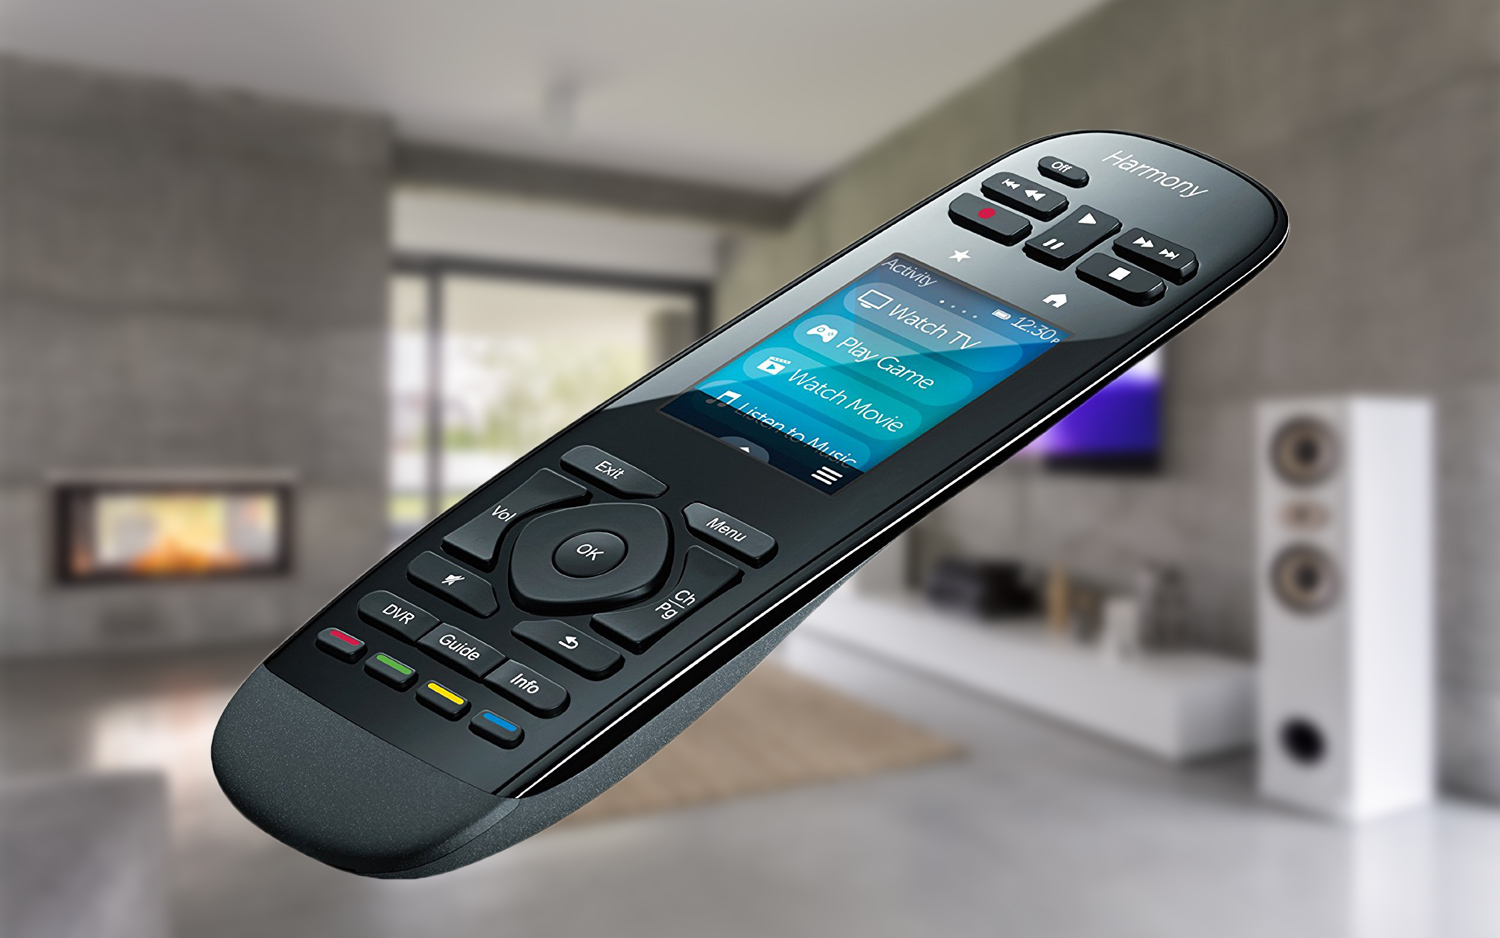
Resetting a Logitech remote can be a quick and effective way to resolve issues such as unresponsive buttons or connectivity problems. Whether you have a Logitech Harmony remote or another model, the reset process is generally similar across different Logitech remote models.
When a Logitech remote is reset, it essentially reverts back to its factory default settings. This means that any customizations or configurations you’ve previously set up will be erased, and the remote will return to its original state. Resetting your Logitech remote can often fix common issues, allowing you to regain control over your devices.
In this guide, we’ll walk you through the steps to reset a Logitech remote. Before starting the process, it’s important to note that resetting the remote will not interfere with any connected devices or settings on those devices. It simply resets the remote back to its default state, ready for you to set it up again.
Whether you’re experiencing functionality problems, want a fresh start, or need to reconfigure your Logitech remote, the reset process is relatively straightforward. Follow the steps outlined in the sections below to reset your Logitech remote and get it back to working condition.
Step 1: Locate the Reset Button
The first step in resetting your Logitech remote is to locate the reset button. The location of the reset button may vary depending on the model of your Logitech remote, so it’s essential to refer to the user manual for specific instructions.
In most Logitech Harmony remotes, the reset button is found on the back or underside of the device. It is typically a small, recessed button that may require a pointed object, such as a paperclip, to press. Look for a tiny hole or a button labeled “Reset” or “R” on the remote.
It’s important to ensure that the remote is powered on before attempting to reset it. If the remote is not turning on or you’re unable to access the menu options, check the battery compartment and replace the batteries if necessary. Once the remote is powered on, you’re ready to proceed to the next step.
Before moving on, take a moment to gather any necessary tools, such as a small paperclip or a pointed object, to press the reset button. Make sure you have good lighting and a clear workspace to safely locate and access the reset button without damaging the remote.
Once you’ve gathered the necessary materials and prepared your workspace, proceed to the next step to perform the reset process on your Logitech remote.
Step 2: Press and Hold the Reset Button
Now that you have located the reset button on your Logitech remote, it’s time to proceed to the next step: pressing and holding the reset button. This step is crucial to initiate the reset process and restore the remote to its default settings.
Using a small pointed object, such as a paperclip or a pen, gently press and hold the reset button. It’s important to apply consistent pressure and hold the button down for a continuous period. The duration for holding the reset button may vary depending on the model, so always refer to the user manual for specific instructions.
As you press and hold the reset button, you may notice some visual indicators on the remote, such as a blinking light or an on-screen display. These indicators confirm that you have successfully initiated the reset process. Keep holding the reset button until you see these signs or follow the recommended duration mentioned in the user manual.
While holding the reset button, it’s essential to avoid any accidental button presses or disruptions to ensure the reset process completes smoothly. Make sure your grip on the remote is firm but gentle to prevent any accidental damage.
It’s worth noting that the process of pressing and holding the reset button may vary slightly depending on the Logitech remote model or the specific firmware version. If you’re unsure about the exact steps for your remote, consult the user manual or visit the Logitech support website for detailed instructions.
Once you have successfully pressed and held the reset button, you can move on to the next step to complete the reset process and restore your Logitech remote to its default settings.
Step 3: Release the Reset Button
After pressing and holding the reset button on your Logitech remote, it’s time to proceed with the final step: releasing the reset button. Releasing the button will finalize the reset process and allow the remote to restore its default settings.
Once you’re ready to release the reset button, carefully remove the pointed object you used to press the button. Take your time and ensure that the button is no longer being held down.
As you release the reset button, you may notice additional visual indicators or on-screen messages confirming that the reset process is complete. These indicators may vary depending on the specific Logitech remote model or firmware version.
After releasing the reset button, it’s recommended to wait for a few seconds to allow the remote to fully reset and initialize. During this time, the remote may display a loading or resetting screen. Avoid pressing any buttons or initiating any commands until the reset process is complete.
Once the reset process is finished, your Logitech remote will be restored to its factory default settings. This means that any previous customizations, settings, or configurations will be erased. You will need to set up your remote again and configure it according to your preferences and devices.
It’s important to note that resetting your Logitech remote will not interfere with any connected devices or their settings. The reset only affects the remote itself, restoring it to its default state.
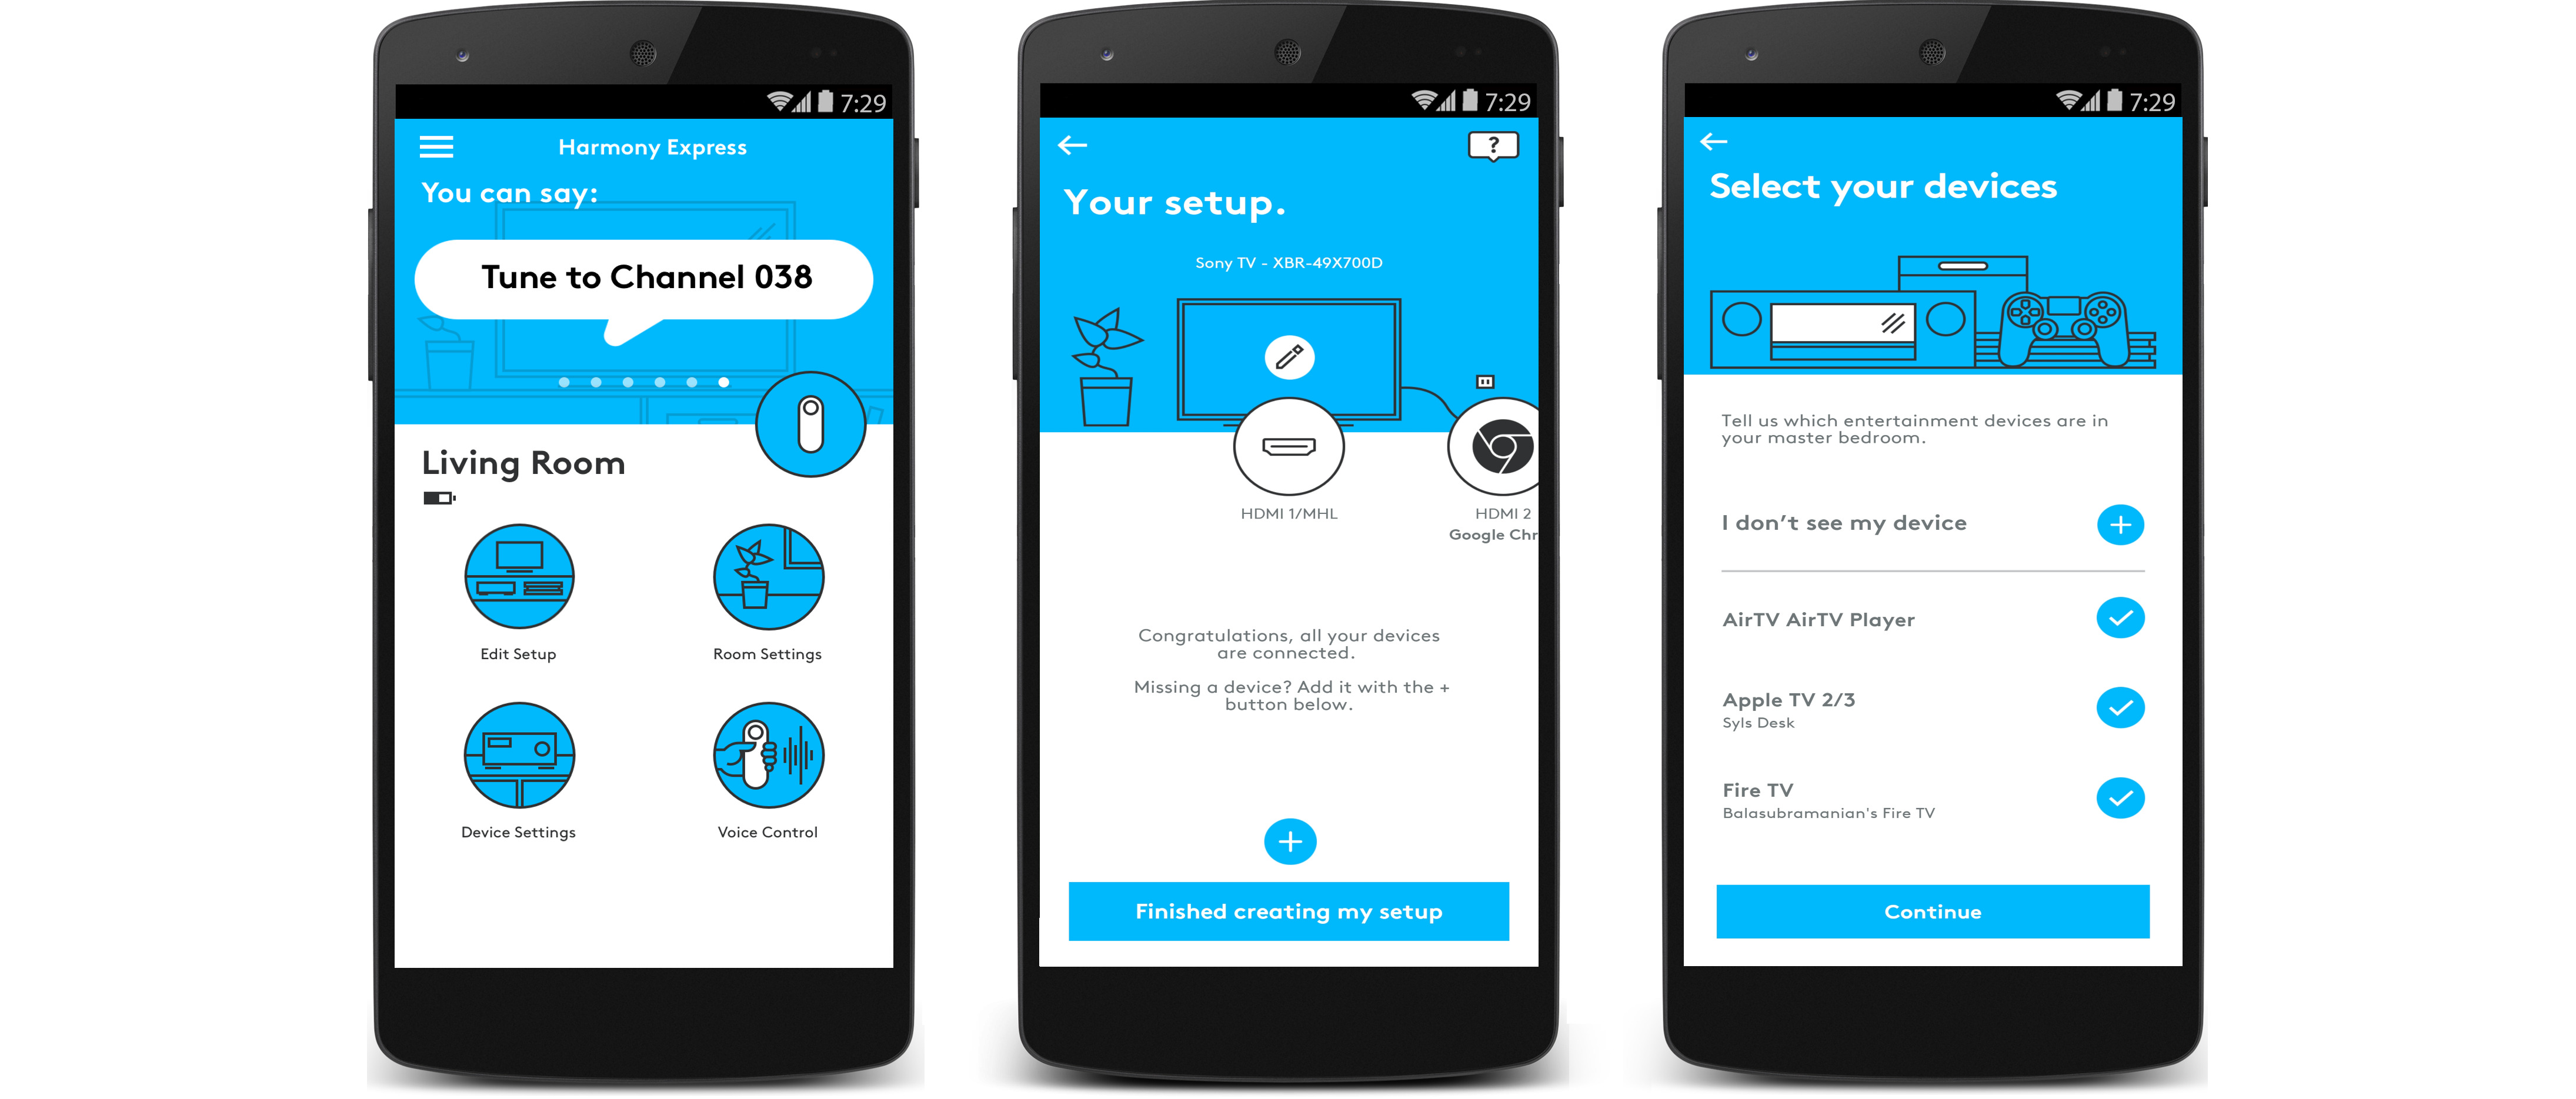
With the reset process complete and the remote restored, you are now ready to proceed with the setup and configuration of your Logitech remote. Follow the instructions provided in the user manual or online resources to pair your remote with the desired devices and personalize your settings.
By following these three simple steps – locating the reset button, pressing and holding the button, and then releasing it – you can easily reset your Logitech remote and overcome any issues or difficulties you may have encountered.
Remember to consult the user manual or Logitech support resources for specific instructions tailored to your Logitech remote model. With a fresh start, your Logitech remote will be ready to provide seamless control over your devices once again.
Conclusion
Resetting a Logitech remote can be an effective solution for resolving issues and restoring it to its default settings. Through the simple steps of locating the reset button, pressing and holding it, and then releasing it, you can successfully reset your Logitech remote.
It’s essential to refer to the user manual or Logitech support resources for specific instructions tailored to your remote model. This ensures that you follow the correct steps and effectively reset the remote without causing any damage.
Once the reset process is complete, your Logitech remote will be restored to its factory default settings. This means that any previous customizations or configurations will be erased, requiring you to set up and personalize the remote again.
Resetting the remote does not affect any connected devices or their settings. It only affects the remote itself, allowing you to overcome issues such as unresponsive buttons or connectivity problems.
After resetting the Logitech remote, you can proceed with the setup and configuration process, aligning it with your desired devices and preferences. Utilize the user manual or online resources to pair your remote and personalize the settings accordingly.
By following these steps, you can regain control over your devices and ensure smooth functionality with your Logitech remote.
Remember, resetting the remote should be done as a troubleshooting measure or when you want to start fresh. If you’re unsure about the specific issues you’re facing, it’s recommended to reach out to Logitech support for further assistance.
With the reset process complete, enjoy the convenience and ease of use that your Logitech remote provides. Take advantage of its features and functionalities, and tailor it to perfectly suit your home entertainment setup.
Resetting your Logitech remote is a simple yet powerful way to address problems and restore its performance. By becoming familiar with the reset process, you can quickly resolve common issues and continue enjoying seamless control over your devices.


