Introduction
Slack is a popular communication tool used by individuals and teams across the globe. It offers a seamless way to collaborate, share information, and stay connected with colleagues. However, there may come a time when you need to remove yourself from a Slack channel. Whether you’ve been added to a channel that isn’t relevant to your work or you simply want to declutter your workspace, leaving a channel can help streamline your communication and improve productivity.
In this guide, we will walk you through the step-by-step process of removing yourself from a Slack channel. You don’t have to worry about causing any disruptions or notifying others – leaving a channel is a personal decision and can be done discreetly within the app.
Before we dive into the details, it’s important to note that leaving a channel means you will no longer have access to its messages, files, or any ongoing discussions. If you think you might need to refer back to the channel’s content in the future, you might want to consider archiving the channel instead.
Now, let’s get started and learn how to remove yourself from a Slack channel.
Step 1: Open the Slack app
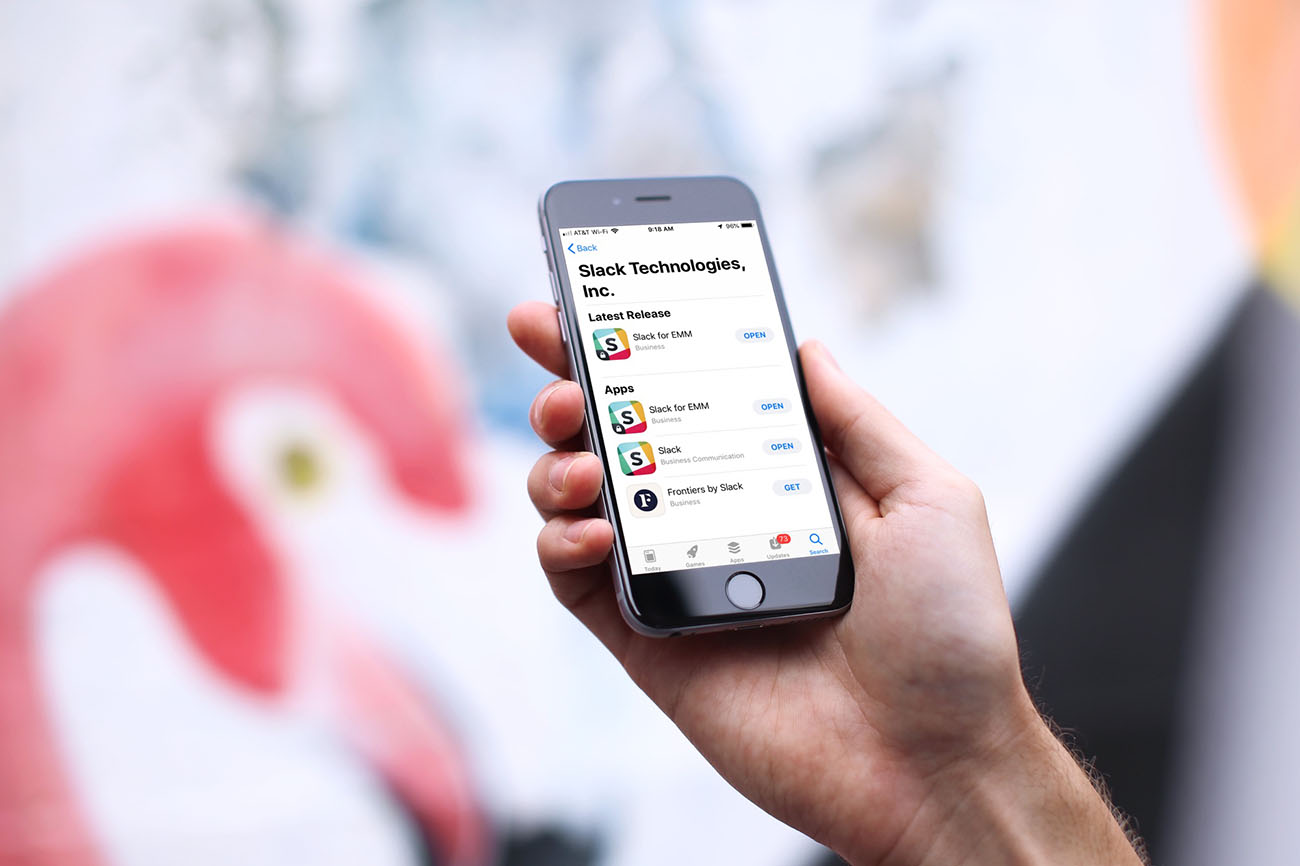
The first step in removing yourself from a Slack channel is to open the Slack app on your chosen device. Slack is available on various platforms, including desktop (Windows, macOS, Linux), web browser, and mobile (iOS, Android). Launch the app on the device of your preference.
If you haven’t already installed the Slack app, you can download it from the official Slack website or your device’s app store, depending on the platform you are using.
Once you have the app installed and open, log in with your Slack credentials. Enter your workspace URL or choose from the available workspaces if you have multiple accounts.
Slack provides a seamless and intuitive user interface, making it easy to navigate through different channels, direct messages, and other features. Take a moment to familiarize yourself with the app’s layout if you are new to it.
Now that you have the Slack app up and running, you’re ready to move on to the next step and navigate to the specific channel you wish to leave. Keep reading to find out how.
Step 2: Navigate to the channel
After opening the Slack app and logging in, it’s time to navigate to the channel that you want to remove yourself from. Slack offers a user-friendly interface that makes it easy to find and access your desired channels.
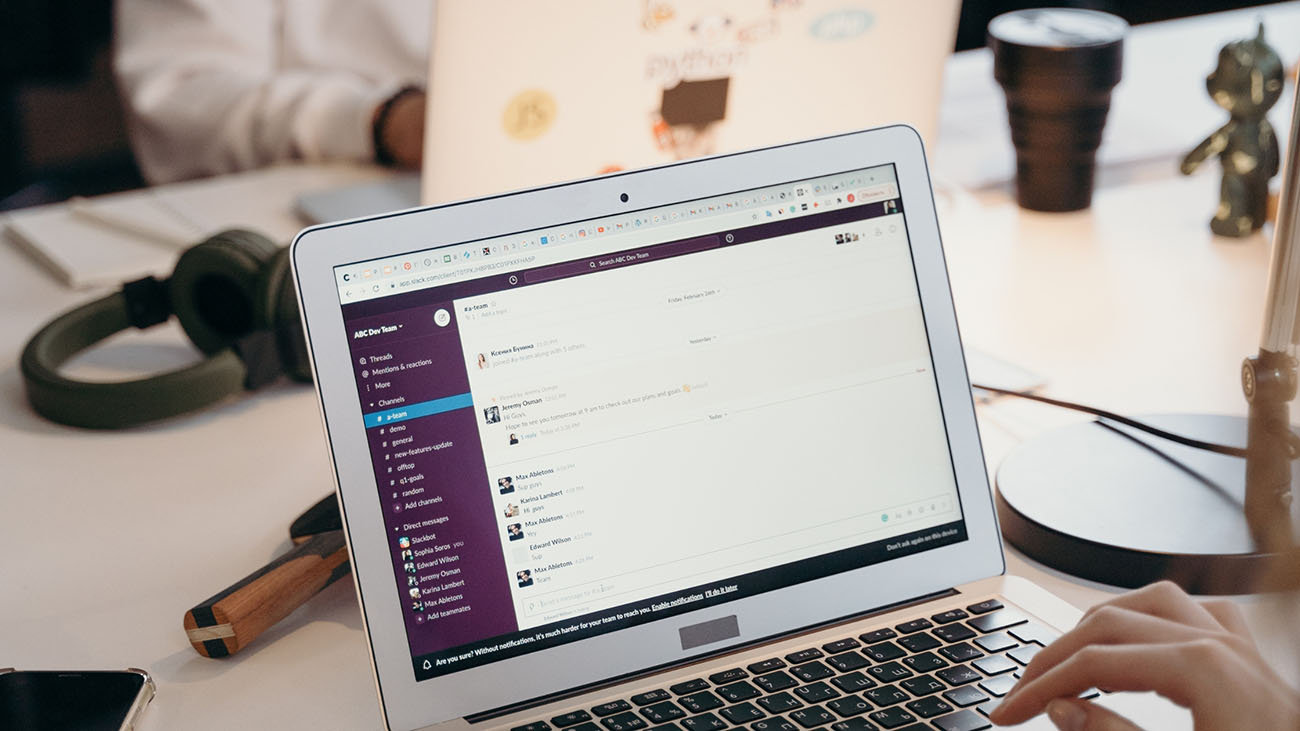
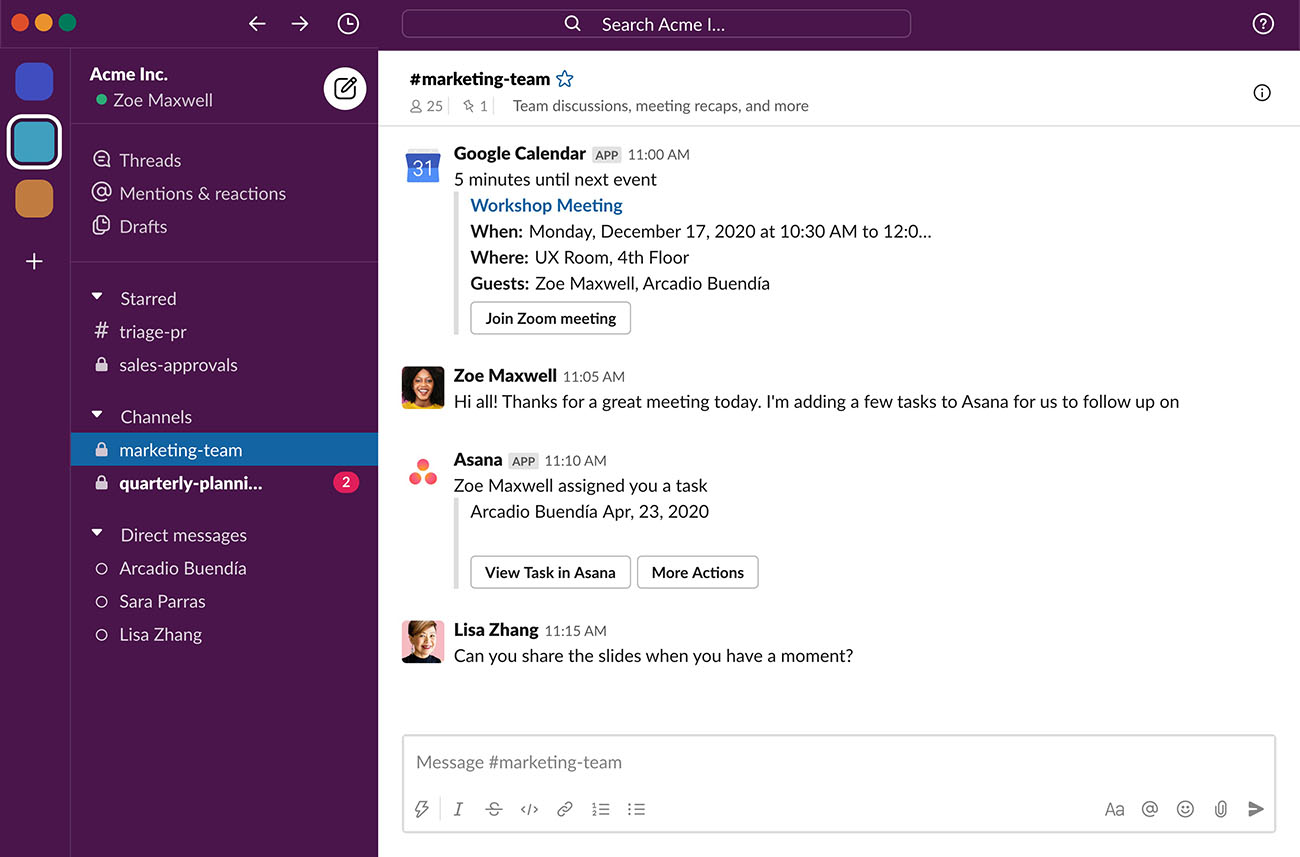
On the left side of the Slack app, you’ll see a sidebar that includes a list of channels, direct messages, and other features. Channels are usually organized under different categories, such as “Channels,” “Threads,” or “Direct Messages.” Locate the category that corresponds to the channel you wish to leave.
Channels are listed alphabetically within their respective categories. Take some time to carefully scan and scroll through the list to find the specific channel you want to remove yourself from. If you remember the name of the channel, you can also use the search bar at the top of the sidebar to quickly locate it.
Slack also offers the option to star or favorite channels, making it easier to access frequently used ones. If the channel you want to leave is starred, simply click on the star icon to remove it as a favorite. This will not remove you from the channel but can help declutter your sidebar.
Once you have located the desired channel, it’s time to proceed to the next step and click on the channel name to enter it. Read on to learn the details of this next step.
Step 3: Click on the channel name
Now that you have successfully navigated to the category where the channel is located, it’s time to click on the channel name to enter it. By clicking on the channel name, you will open the channel’s conversation window, where you can view and participate in discussions.
In the Slack app’s sidebar, scan for the name of the channel you want to remove yourself from. The names are usually displayed with a hashtag symbol (#) followed by the channel’s name. Once you have located the channel, simply click on its name.
Slack will automatically open the channel’s conversation window in the main portion of the app’s interface. Here, you can see all the messages exchanged within the channel, as well as any files, links, or other shared content.
Take a moment to familiarize yourself with the channel’s content. If you’re unsure about leaving and want to review the recent discussions, you can scroll up to see older messages. This will help you make an informed decision before proceeding with the next steps.
Now that you have clicked on the channel name and entered the channel’s conversation window, it’s time to move on to the next step and access the options to remove yourself from the channel. Keep reading to find out how.
Step 4: Select “Additional options”
After entering the channel’s conversation window, the next step is to select “Additional options” to access the menu with various channel settings. This menu will allow you to manage your membership and make changes to the channel.
In the conversation window, look for the horizontal three dots icon (also known as the “ellipsis”) located at the top-right corner of the screen. This icon represents additional options and settings for the channel. Click on the three dots icon to open the dropdown menu.
The dropdown menu will display a list of various options and actions that you can perform within the channel. These options may include managing channel members, adjusting notification settings, or channel-related settings.
Scroll through the dropdown menu to see the available options. Depending on your Slack permissions, you may have access to different options. Look for the option that allows you to manage your membership in the channel.
Note that the name of this option may vary, but it will typically include terms like “Leave channel,” “Remove myself,” or something similar. Once you have located the appropriate option, click on it to proceed to the next step.
Now that you have selected “Additional options” and accessed the channel settings menu, it’s time to move on to the next step and choose the specific action to remove yourself from the channel. Read on to learn more.
Step 5: Choose “Leave channel”
After accessing the channel settings menu by selecting “Additional options,” the next step is to choose the option that allows you to leave the channel. This option is typically labeled as “Leave channel” or something similar.
Take a moment to review the available options in the channel settings menu. Look for the option that clearly indicates leaving or removing yourself from the channel. The option may be located at the top or bottom of the menu, or it may be listed among other membership-related actions.
Once you have located the “Leave channel” option, click on it to initiate the process of removing yourself from the channel.
Slack will prompt you with a confirmation message to ensure you want to proceed with leaving the channel. This is a safety measure to prevent accidental removal from important channels. Read the confirmation message carefully to ensure you are removing yourself from the correct channel.
If you have double-checked and are certain about your decision, click on the confirmation button to proceed. Slack will process your request and remove you from the channel.
Now that you have selected “Leave channel” and confirmed your decision, it’s time to move on to the next step and finalize the process of removing yourself from the channel. Keep reading to learn more.
Step 6: Confirm your decision
After choosing the option to leave the channel, Slack will present you with a confirmation window to ensure that you want to proceed with removing yourself from the channel. This confirmation step is important to prevent accidental removal from channels.
Take a moment to review the confirmation message displayed by Slack. It will typically state that you are about to leave the channel and ask you to confirm your decision. Make sure that you are removing yourself from the correct channel and that you have considered all the aspects before proceeding.
If you are certain about your decision and want to proceed, click on the confirmation button, usually labeled as “Leave” or “Confirm.” By clicking this button, you finalize your decision to remove yourself from the channel.
Once you have confirmed your decision, Slack will immediately remove you from the channel. You will no longer have access to the channel’s conversations, files, or shared content. This action can’t be undone, so make sure to consider it carefully before confirming.
Now that you have confirmed your decision to leave the channel, the process of removing yourself is complete. You have successfully decluttered your workspace and focused on the channels that matter most to you.
However, if you wish to leave multiple channels at once, there’s an optional step to explore. Keep reading to learn how to leave multiple channels simultaneously.
Step 7: Leave multiple channels at once (optional)
If you find yourself needing to remove yourself from multiple channels at once, Slack provides a convenient option to streamline the process. This step is optional and can help save time and effort if you’re looking to declutter your workspace quickly.
To leave multiple channels at once, start by navigating to the sidebar on the left side of the Slack app. Locate and click on the “Channels” category to view all the available channels in your workspace.
In the Channels section, you’ll see a list of all the channels you’re currently a member of. To the right of each channel name, you’ll notice a series of icons.
Scan through the list and look for the specific channels you want to leave. Once you’ve identified the channels, hover over each channel name. You’ll notice that a checkbox appears to the left of the channel name.
Click on the checkbox for each channel that you wish to leave. As you select the checkboxes, the Slack app will keep track of the channels you’ve chosen.
Once you’ve selected all the desired channels, locate the top bar of the Slack app. You’ll see additional options, including a trash can icon labeled “Leave.” Click on this icon to initiate the process of leaving the selected channels.
Slack will display a confirmation message summarizing the channels you’re about to leave. Double-check that you’ve selected the correct channels and proceed with the confirmation by clicking the appropriate button, usually labeled “Leave” or “Confirm”.
By confirming your decision, you will remove yourself from all the selected channels simultaneously. The channels will be removed from your sidebar, and you will no longer have access to their conversations and content.
With this optional step, you can efficiently manage your Slack channels and declutter your workspace by leaving multiple channels at once.
Now that we’ve covered how to leave multiple channels, you’ve successfully completed the process of removing yourself from Slack channels. You can now enjoy a more streamlined and focused communication experience.
Conclusion
Removing yourself from Slack channels is a straightforward process that allows you to streamline your communication and focus on the channels that are most relevant to you. By following the steps outlined in this guide, you can easily remove yourself from channels that no longer serve your needs or contribute to your productivity.
Starting with opening the Slack app and navigating to the desired channel, you can then click on the channel name to enter the conversation window. From there, selecting “Additional options” will allow you to access the channel settings menu, where you can choose the option to leave the channel.
By confirming your decision, you finalize the process of removing yourself from the channel and can no longer access its conversations or shared content. Remember to consider archiving the channel if you anticipate needing to refer back to its content in the future.
If you find yourself needing to leave multiple channels, Slack provides the option to do so efficiently. By selecting the desired channels and confirming your decision, you can remove yourself from multiple channels in one go.
With these steps, you have gained the knowledge and skills to take control of your Slack workspace and tailor it to your specific needs. Whether it’s decluttering your channels or focusing on the projects that matter most, removing yourself from Slack channels is an essential skill for optimizing your productivity and communication.
So go ahead, follow the steps outlined in this guide, and enjoy a more streamlined and personalized Slack experience. Happy channel management!