Introduction
Upgrading or reinstalling the GPU (Graphics Processing Unit) in your computer can greatly enhance its performance, allowing you to enjoy a smoother gaming experience, accelerate video editing, and handle graphic-intensive tasks with ease. Whether you’re a gaming enthusiast or a professional designer, reinstalling the GPU is a crucial step in optimizing your computer’s graphics capabilities.
In this guide, we will walk you through the step-by-step process of reinstalling your GPU. It’s important to note that the specific steps may vary depending on your computer’s make and model, as well as the type of GPU you are installing. However, the underlying principles remain the same. Before we proceed, it’s essential to ensure that you have the necessary tools and equipment to complete the installation successfully.
Reinstalling a GPU requires some technical know-how, but with the right guidance, it can be a relatively straightforward process. By following these steps, you’ll be able to uninstall your old GPU, clean the PCIe slot, install the new GPU, and test it to ensure it’s working correctly. We’ll also cover how to install the latest drivers, which are essential for optimal performance and compatibility with your system.
It’s important to exercise caution when handling computer components and to take necessary precautions, such as grounding yourself to prevent static discharge. If you’re unsure about any step in the process, consult your computer’s manual or seek assistance from a professional.
Now that we’ve covered the basics, let’s dive into the step-by-step process of reinstalling your GPU. Gather your tools, prepare your computer, and let’s get started on this exciting upgrade journey!
Step 1: Gather the necessary tools and equipment
Before you begin reinstalling your GPU, it’s important to gather all the tools and equipment you’ll need for a successful installation. Having everything prepared beforehand will save you time and ensure a smooth process. Here are some essential tools and equipment you’ll need:
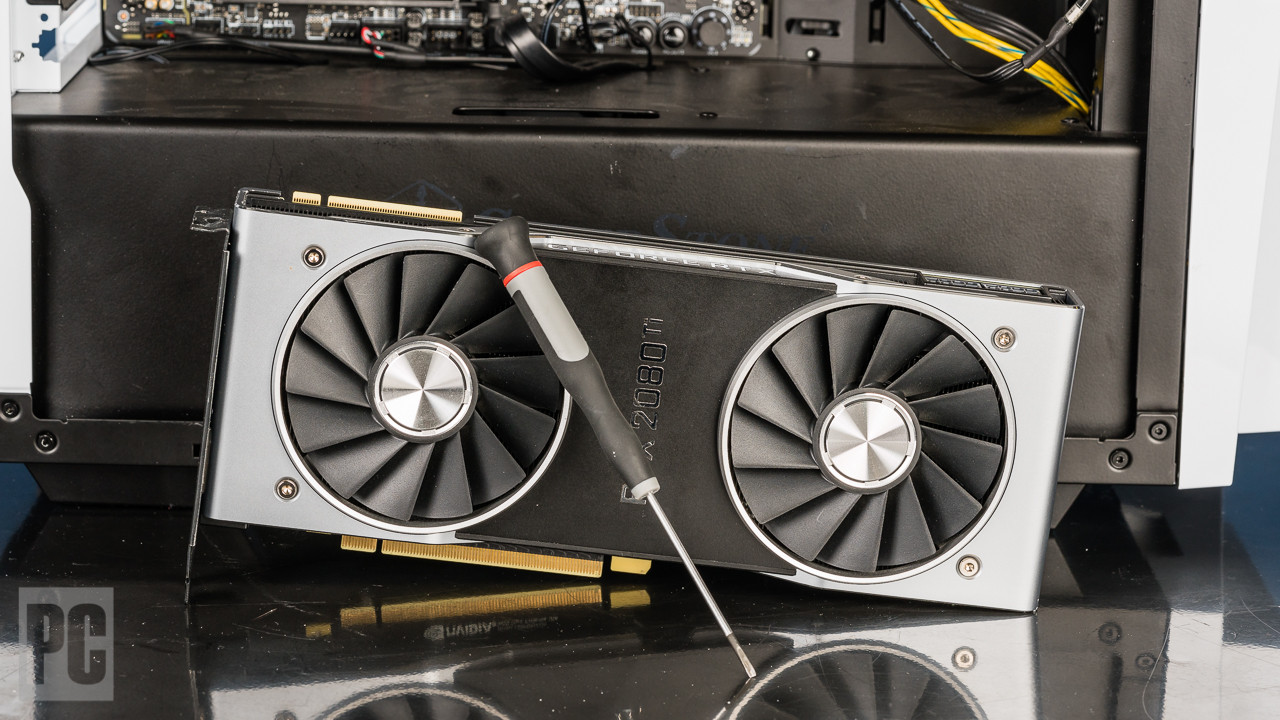
- Screwdriver set: Ensure that you have a screwdriver set with various sizes. This will help you remove the screws from your computer case and the GPU itself.
- Anti-static wrist strap: This is crucial to prevent static electricity from damaging your components. It grounds you and safeguards against any static discharge that could harm your GPU or other sensitive parts.
- Cleaning materials: Prepare a lint-free cloth or microfiber cloth to clean the GPU and the PCIe slot. Avoid using harsh chemicals or abrasive materials as these can cause damage.
- Thermal paste (optional): If you plan on reapplying thermal paste on your GPU, ensure you have a tube of high-quality thermal paste ready. This step is only necessary if you’re removing the GPU’s heatsink or if your GPU did not come with pre-applied thermal paste.
Make sure to check your computer’s manual or the manufacturer’s website for any specific tools or equipment required for your particular GPU model. It’s always better to be prepared and have everything you need on hand before you start the installation process.
Additionally, take note of any safety precautions recommended by the manufacturer. Some GPUs may have specific guidelines for installation, and following them will help ensure that everything goes smoothly.
By gathering all the necessary tools and equipment, you’re ready to move on to the next step: preparing your computer for the GPU reinstallation.
Step 2: Prepare your computer
Before you reinstall your GPU, it’s important to prepare your computer to ensure a smooth installation process. Here are the steps to follow:
- Power down your computer: Shut down your computer properly and unplug it from the power source. This will prevent any electrical accidents and ensure your safety during the installation process.
- Open the computer case: Depending on the design of your computer case, you may need to remove screws or slide a panel to access the internal components. Consult your computer’s manual for specific instructions.
- Ground yourself: To protect your computer from electrostatic discharge, it’s important to ground yourself properly before handling any components. You can do this by using an anti-static wrist strap or by touching a metal object that is grounded, such as the case itself.
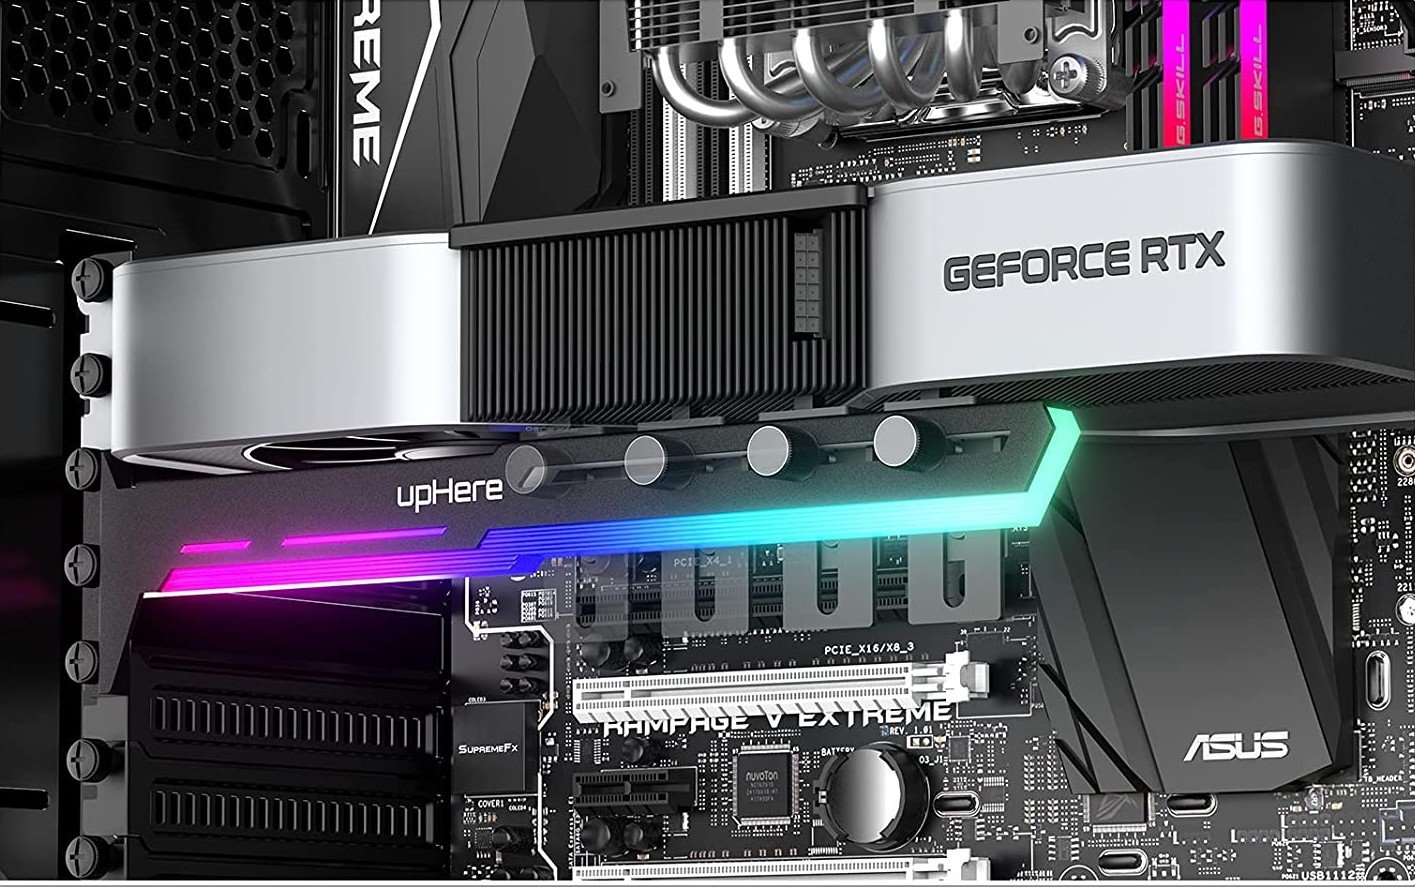
- Locate the PCIe slot: Identify the PCIe slot on your motherboard where the GPU will be installed. It’s usually a longer slot, often located near the CPU socket. Refer to your computer’s manual to locate the specific slot.
- Remove any obstructions: Check for any cables, connectors, or brackets that may obstruct the GPU or its installation. Gently disconnect or remove them to ensure a clear pathway for the GPU.
- Inspect the PCIe slot: Examine the PCIe slot for any dust, debris, or visible damage. If necessary, use a can of compressed air or a soft brush to clean the slot carefully. This will ensure a proper connection between the GPU and the motherboard.
By properly preparing your computer for the GPU reinstallation, you’re taking necessary precautions to ensure a successful installation. Once your computer is prepared, you can move on to the next step: removing the old GPU from your system.
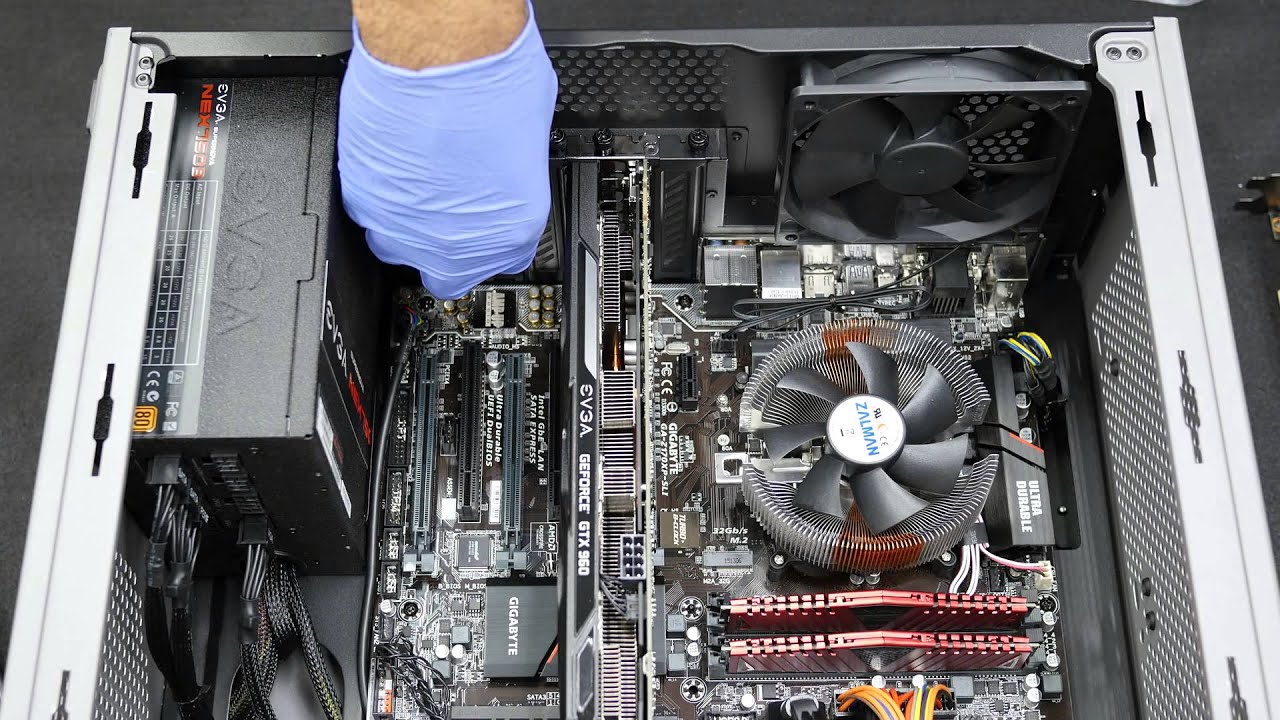
Step 3: Remove the GPU
Now that your computer is prepared, it’s time to remove the old GPU from your system. Follow these steps carefully:
- Locate the current GPU: Identify the GPU you want to remove from your computer. It will be connected to the PCIe slot on your motherboard and may be secured with screws or clips.
- Disconnect power cables: Carefully unplug the power cables connected to the GPU. These cables are usually located on the side or top of the GPU and provide power to the card.
- Remove the screws or clips: If your GPU is secured with screws, use a screwdriver to loosen and remove them. If it’s secured with clips, gently press the clips or release them according to the manufacturer’s instructions.
- Gently handle the GPU: Hold the GPU by its edges and avoid touching any sensitive components or connectors. GPUs are delicate and can be easily damaged by electrostatic discharge or mishandling.
- Remove the GPU from the PCIe slot: Carefully slide the GPU out of the PCIe slot with a gentle pulling motion. Be cautious not to use excessive force or bend any of the GPU’s connectors.
Once the old GPU is removed, place it in an anti-static bag or safely store it in a dust-free area. If you plan to reuse the GPU or sell it, make sure to handle it with care to avoid any damage.
Removing the old GPU is an important step in the reinstallation process. Now that the old GPU is out of the way, you can proceed to the next step: cleaning the GPU and the PCIe slot to ensure optimal performance with the new GPU.
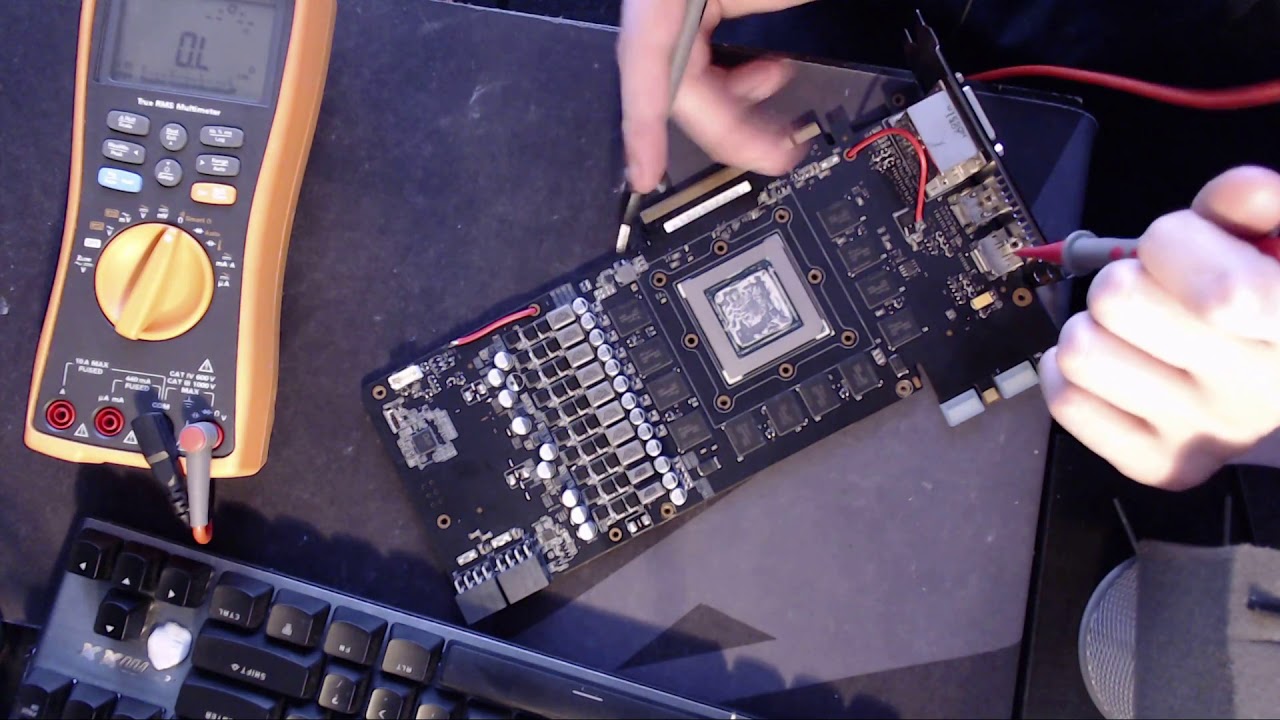
Step 4: Clean the GPU and the PCIe slot
After removing the old GPU, it’s crucial to clean both the GPU itself and the PCIe slot to ensure a clear and secure connection for the new GPU. Follow these steps to clean the components effectively:
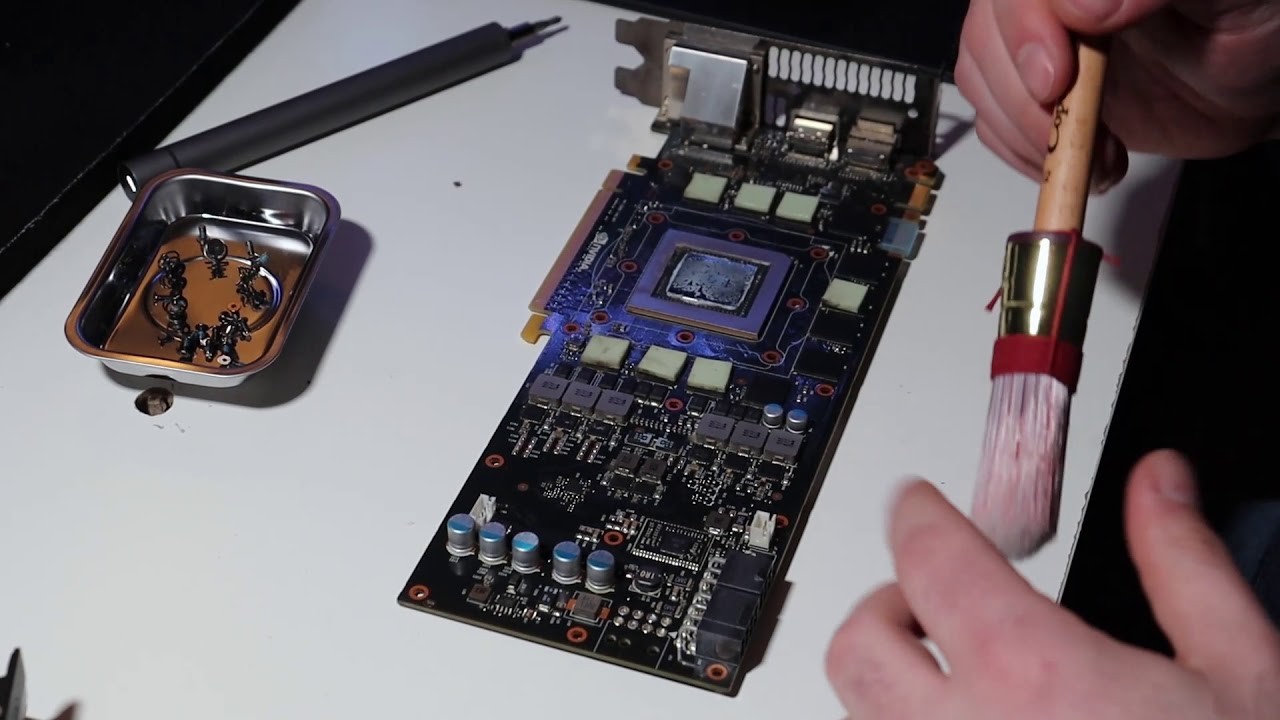
- Inspect the GPU: Carefully examine the GPU for any dust, debris, or residue. Use a can of compressed air to blow away any loose particles. Be gentle and avoid direct contact with the GPU’s components or connectors.
- Clean the PCIe slot: Similarly, inspect the PCIe slot on the motherboard for any dust or debris. Gently use a can of compressed air or a soft brush to clean the slot. Ensure that you remove any obstructions that may impact the connection quality.
- Reapply thermal paste (optional): If you removed the heatsink from your GPU or if your new GPU did not come with pre-applied thermal paste, you may choose to reapply thermal paste for optimal cooling performance. Follow the manufacturer’s instructions for the appropriate amount and application method.
Keeping the GPU and PCIe slot clean is essential for maintaining proper airflow and ensuring a stable connection between the GPU and the motherboard. Dust or debris buildup can hinder performance and cause overheating issues. Therefore, taking the time to clean these components is well worth the effort.
Once you have thoroughly cleaned the GPU and the PCIe slot, you’re ready to move on to the next step: installing the new GPU into your computer.
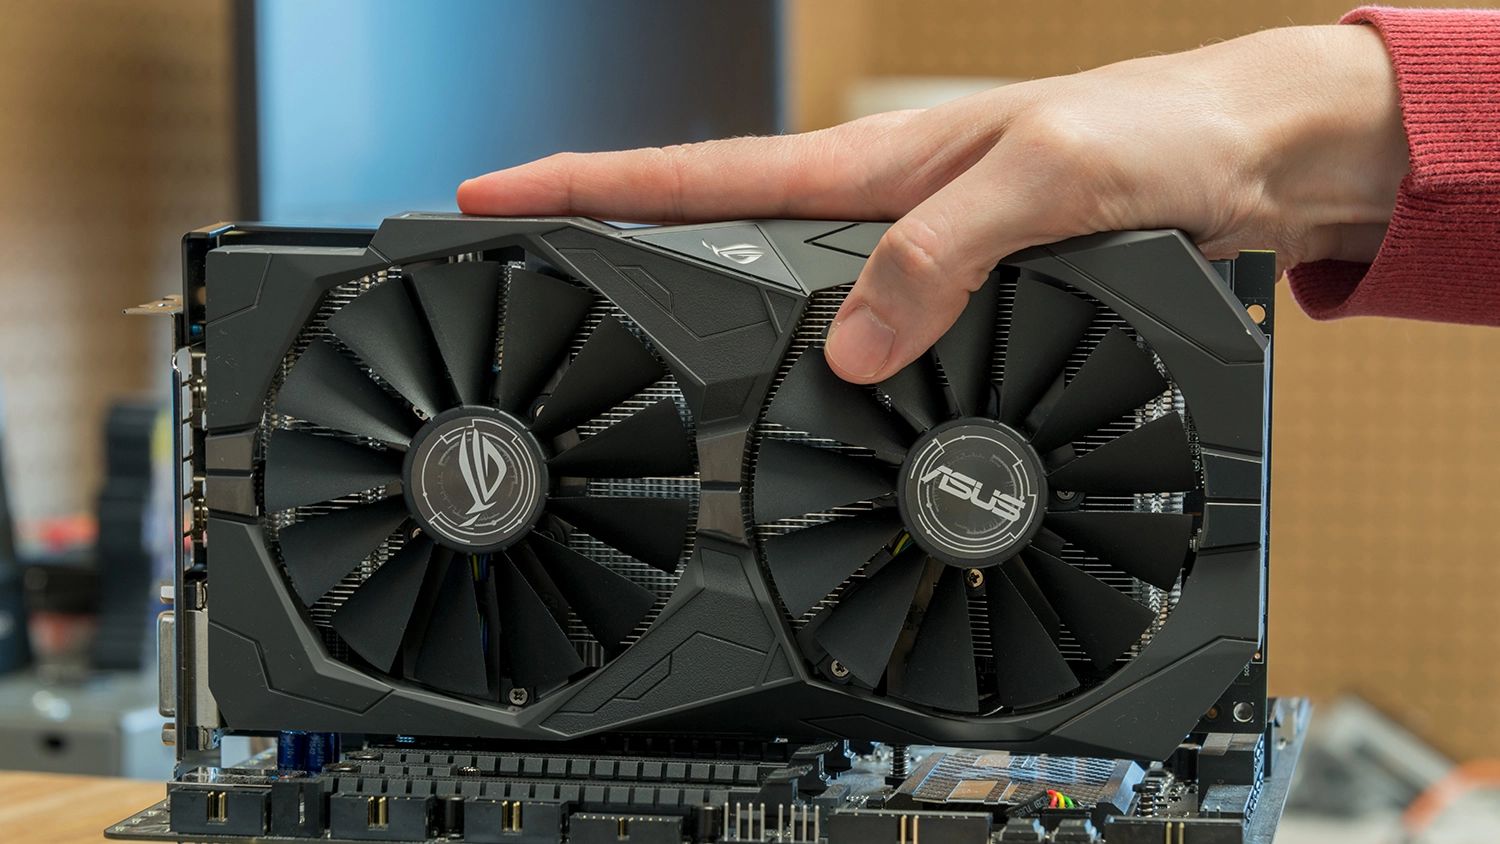
Step 5: Install the new GPU
With the old GPU removed and the components cleaned, it’s time to install the new GPU into your computer. Here’s how to do it:
- Align the GPU with the PCIe slot: Carefully position the new GPU above the PCIe slot, aligning the connectors on the GPU with the slot on the motherboard. Take your time to ensure a proper fit.
- Insert the GPU into the PCIe slot: With a gentle downward force, insert the GPU into the PCIe slot. Make sure it is seated securely by applying equal pressure to both ends of the GPU. The PCIe slot may produce a clicking sound when the GPU is fully inserted.
- Secure the GPU: If your GPU requires screws for securing, use the screws provided to fasten the GPU to the case. Do not overtighten the screws, as this can damage the GPU or the motherboard.
It’s important to note that some GPUs may require additional power connectors. If your GPU has additional power connectors, be sure to connect them to the appropriate power cables from your power supply unit. Consult your GPU’s manual or manufacturer’s instructions for specific details on how to connect the power cables.
Double-check that the GPU is securely installed and that all connections are properly made. It’s also a good idea to ensure that the GPU is evenly seated and not at an angle within the PCIe slot.
Once the new GPU is properly installed, you can proceed to the next step: connecting the necessary cables to power up your computer and test the GPU’s functionality.
Step 6: Connect the necessary cables
Now that the new GPU is installed in your computer, it’s time to connect the necessary cables to ensure it receives power and functions correctly. Follow these steps to connect the cables properly:
- Power connectors: Check your new GPU for any additional power connectors. If present, connect the appropriate power cables from your power supply unit to the GPU. Ensure that the connections are secure and properly aligned.
- Video output cables: Locate the video output ports on the back of your GPU. Common options include HDMI, DisplayPort, and DVI. Connect your monitor or displays to the appropriate port using the necessary cables. Ensure a secure connection.
It’s important to note that the exact cable connections may vary depending on your specific GPU and monitor setup. Refer to the manufacturer’s instructions for your GPU and monitor to ensure the correct cable connections.
After connecting the power and video cables, double-check all the connections to ensure they are secure. Loose connections can cause display issues or result in power supply problems.
Once all the necessary cables are connected, you’re ready to power on your computer and test the functionality of your newly installed GPU. But before doing so, make sure to reattach the computer case panels and secure any loose cables inside.
In the following step, we’ll guide you through turning on your computer and testing the functionality of the new GPU.
Step 7: Power on your computer and test the GPU
With the cables properly connected, it’s time to power on your computer and test the functionality of your newly installed GPU. Follow these steps to ensure a smooth testing process:
- Reconnect the power cable: Plug in the power cable to the power supply unit and to a power outlet. Ensure a secure connection.
- Power on your computer: Press the power button to turn on your computer. You should see the system components, including the GPU, light up and begin the boot process.
- Monitor display: If the GPU is functioning correctly, your monitor should display the initial boot screen and eventually load the operating system. If there is no display or if you encounter any issues, double-check the cable connections and ensure that the GPU is properly seated in the PCIe slot.
- Test graphics performance: Launch applications or games that are graphics-intensive to test the performance of your new GPU. Pay attention to any visual artifacts, performance issues, or abnormal behavior during the testing phase.
During the testing phase, it’s normal for the GPU to produce some heat and for the fans to spin faster to dissipate the heat. However, if you notice excessive heat, loud fan noises, or system instability, it may indicate a problem with the installation or the GPU itself. In such cases, double-check the connections or seek professional assistance if needed.
It’s also important to update the drivers for your new GPU to ensure optimal performance and compatibility with your operating system. We’ll cover driver installation in the next step.
Once you have confirmed that the GPU is functioning correctly and providing the expected performance, you can proceed to the final step: installing the latest drivers for your GPU to maximize its potential.
Step 8: Install the latest drivers
To ensure optimal performance and compatibility, it’s essential to install the latest drivers for your new GPU. Follow these steps to install the drivers:
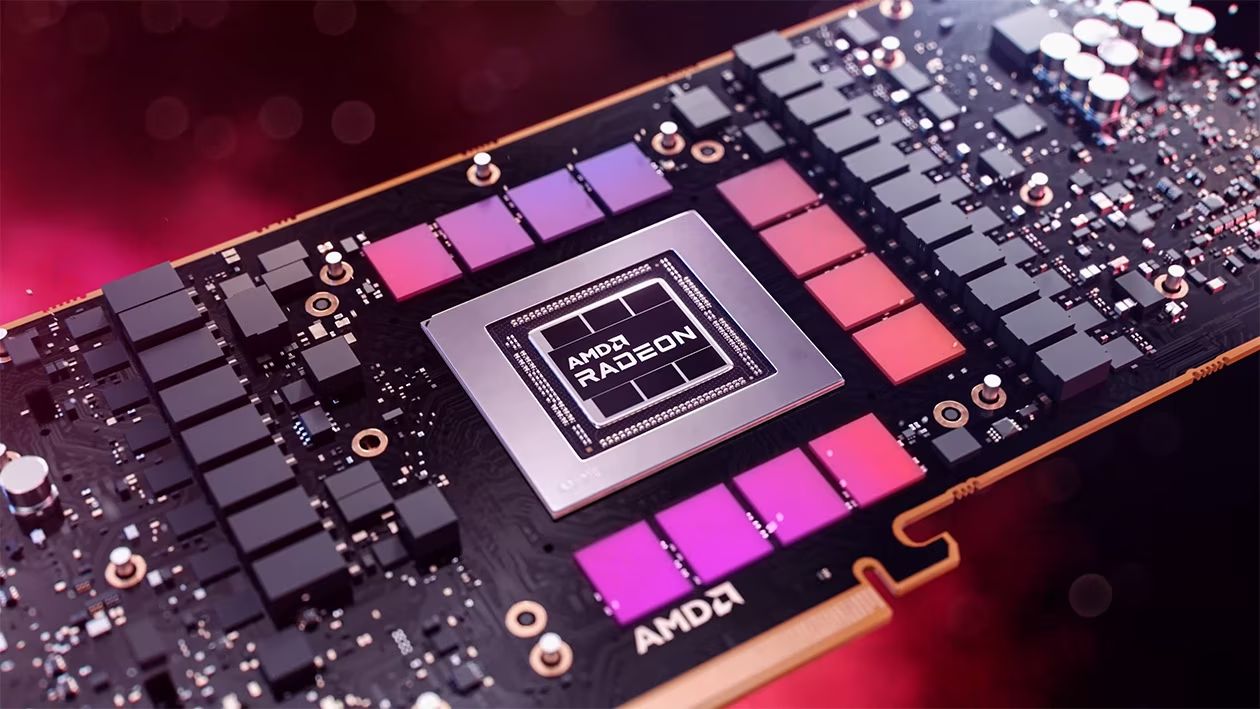
- Identify your GPU model: Determine the exact model and make of your GPU. This information is usually printed on the GPU or can be found on the manufacturer’s website or packaging.
- Visit the manufacturer’s website: Go to the official website of the GPU manufacturer (e.g., NVIDIA, AMD, Intel) and navigate to the support or driver download section.
- Select your GPU model: Find your GPU model from the provided options and select the appropriate operating system version.
- Download the drivers: Locate the latest GPU drivers and download them to your computer. Make sure to save the downloaded file in a location that you can easily access.
- Install the drivers: Run the downloaded driver file to initiate the installation process. Follow the on-screen instructions, accepting any license agreements and making any necessary selections.
- Reboot your computer: Once the driver installation is complete, restart your computer to apply the changes. This will ensure that the new drivers are properly initialized.
After rebooting, your computer should now be running with the latest drivers for your GPU. This will maximize the performance, stability, and compatibility of your graphics card.
It’s important to periodically check for driver updates as new versions may be released to address bugs, improve performance, or introduce new features. Consider setting up automatic driver updates or regularly visiting the manufacturer’s website to stay up to date with the latest drivers for your GPU.
Congratulations! You have successfully reinstalled your GPU, tested its functionality, and installed the latest drivers. Your computer is now ready to deliver enhanced graphics performance for gaming, creative work, and other GPU-intensive tasks.
Conclusion
Reinstalling the GPU in your computer can greatly enhance its graphics performance, allowing you to fully leverage its capabilities for gaming, video editing, and other demanding tasks. By following the step-by-step guide outlined in this article, you have successfully learned how to reinstall your GPU and ensure its optimal functionality.
Throughout the process, we covered important steps such as gathering the necessary tools, preparing your computer, removing the old GPU, cleaning the GPU and PCIe slot, installing the new GPU, connecting the necessary cables, and testing the functionality of the GPU. Additionally, we advised on the importance of installing the latest drivers to ensure optimal performance and compatibility with your system.
It’s important to remember that while reinstalling a GPU can be a rewarding experience, it does require some technical know-how and caution. Always consult your computer’s manual or seek professional assistance if you’re unsure about any step in the process. Take necessary precautions to prevent static discharge, handle components with care, and ensure all connections are secure to avoid any potential damage during installation.
With your new GPU properly installed and the latest drivers in place, you can now enjoy enhanced graphics performance, smoother gaming experiences, faster rendering times, and improved graphics-intensive applications. Take advantage of the power and capabilities of your new GPU, and don’t forget to periodically check for driver updates to ensure you’re maximizing its potential.
Thank you for following this guide, and we hope it has been helpful in your GPU reinstallation journey. Happy gaming and productive computing!