Introduction
Tablet devices have become an essential part of our lives, offering us the convenience of portability and the functionality of a computer on the go. However, over time, your Android tablet may start experiencing performance issues, freezing, or other glitches that can disrupt your user experience. In such cases, it may be necessary to reformat your tablet’s Android operating system.
Reformatting your Android tablet can help resolve software issues, remove unwanted clutter, and provide a clean slate for your device. It essentially restores your tablet to its original factory settings, erasing all data and settings stored on the device.
Before proceeding with the reformatting process, it is crucial to back up any important data, such as photos, videos, documents, and apps. This ensures that you don’t lose any valuable information during the reformatting process.
In this guide, we will walk you through the steps to reformat your Android tablet to help improve its performance and address any underlying software issues. So, let’s get started!
Back up your data
Before proceeding with the reformatting process, it is essential to back up all of your data to avoid permanent loss. Formatting your Android tablet will erase all data, including photos, videos, contacts, messages, and app data. Here’s how you can back up your data:
- Use cloud storage: Utilize cloud storage services, such as Google Drive or Dropbox, to store your files securely. Upload your photos, videos, and important documents to the cloud, making them accessible from any device with an internet connection.
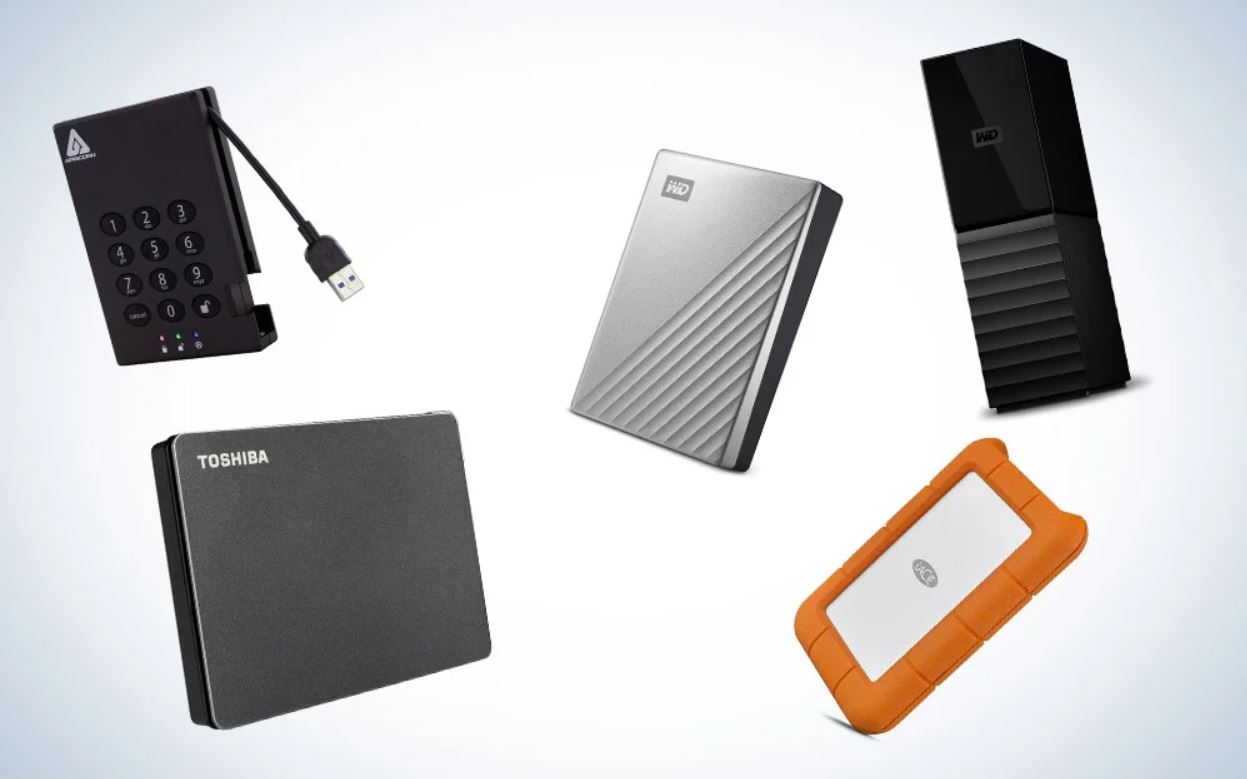
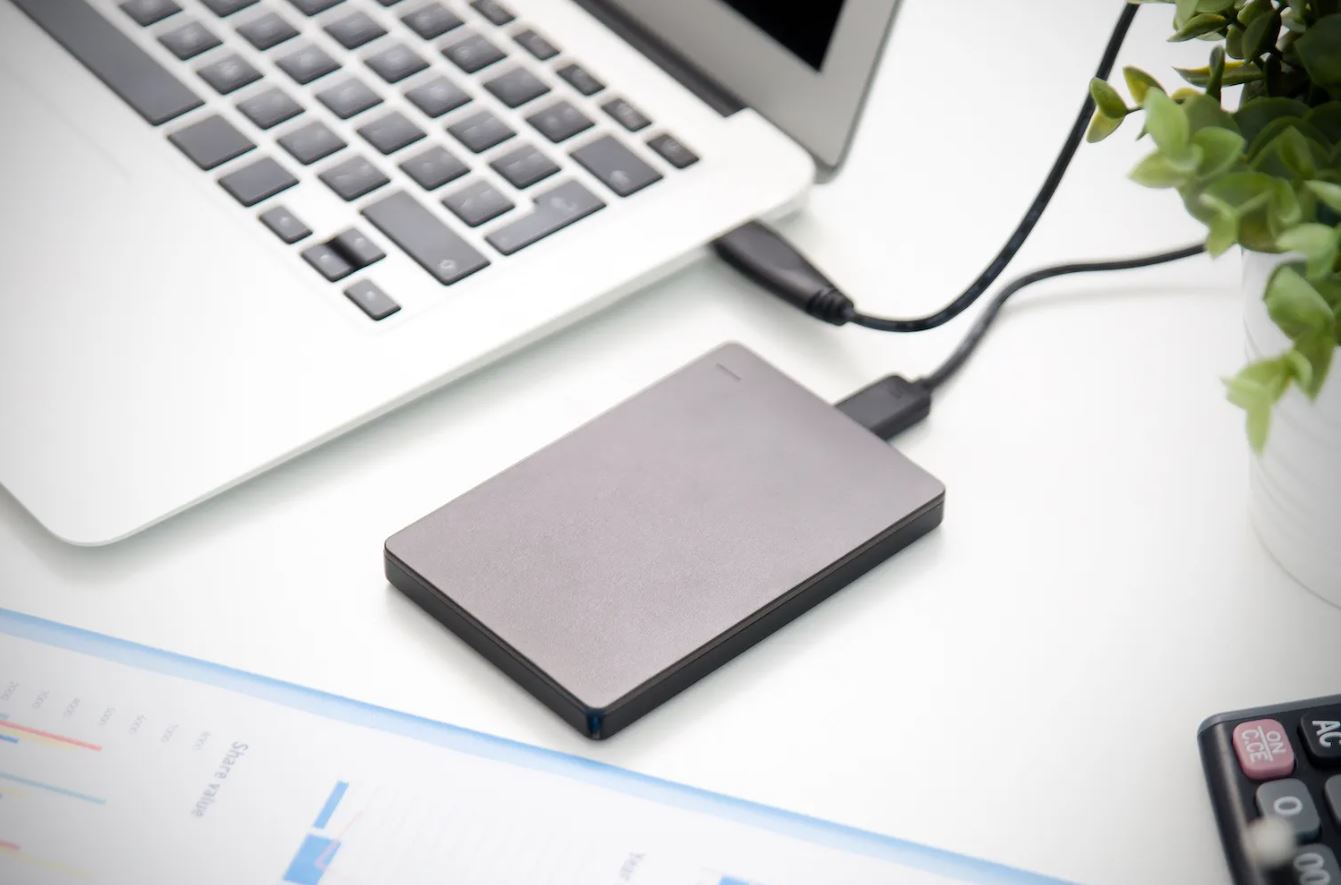
- Transfer data to a computer: Connect your Android tablet to a computer with a USB cable and transfer your data to the computer’s hard drive. Ensure that you organize your files into folders to make the recovery process easier later on.
- Export contacts and calendar: If you are using the default contacts and calendar apps on your Android tablet, you can export your contacts and calendar events as a file and save it to your computer or upload it to a cloud storage service.
- Backup app data: Some apps, such as messaging apps or note-taking apps, offer built-in backup options. Check the settings of your apps and enable automatic backups or export your app data to save it separately.
It is crucial to thoroughly check that all your data has been successfully backed up before proceeding to reformat your tablet’s Android operating system. Take your time to ensure that nothing is missed, as you won’t be able to recover any data once the tablet is reformatted.
Once you have backed up all your important files and data, you can proceed with the reformatting process to restore your Android tablet to its factory settings. Follow the upcoming steps carefully to ensure a smooth and successful reformatting process.
Disconnect any external devices
Before starting the reformatting process, it is crucial to disconnect any external devices that are connected to your Android tablet. External devices such as USB drives, memory cards, headphones, or any other peripherals should be removed to prevent any potential interference during the reformatting process.
External devices connected to your tablet can sometimes cause conflicts or errors during the reformatting process, leading to incomplete or unsuccessful formatting. By disconnecting these devices, you eliminate any potential issues that may arise and ensure a smooth reformatting process.
Here are the steps to disconnect the external devices from your Android tablet:
- Remove USB drives: If you have any USB drives or external storage devices connected to your tablet, make sure to safely eject them or remove them by unplugging the USB cable. Safely ejecting the devices ensures that data is not corrupted or lost during the removal process.
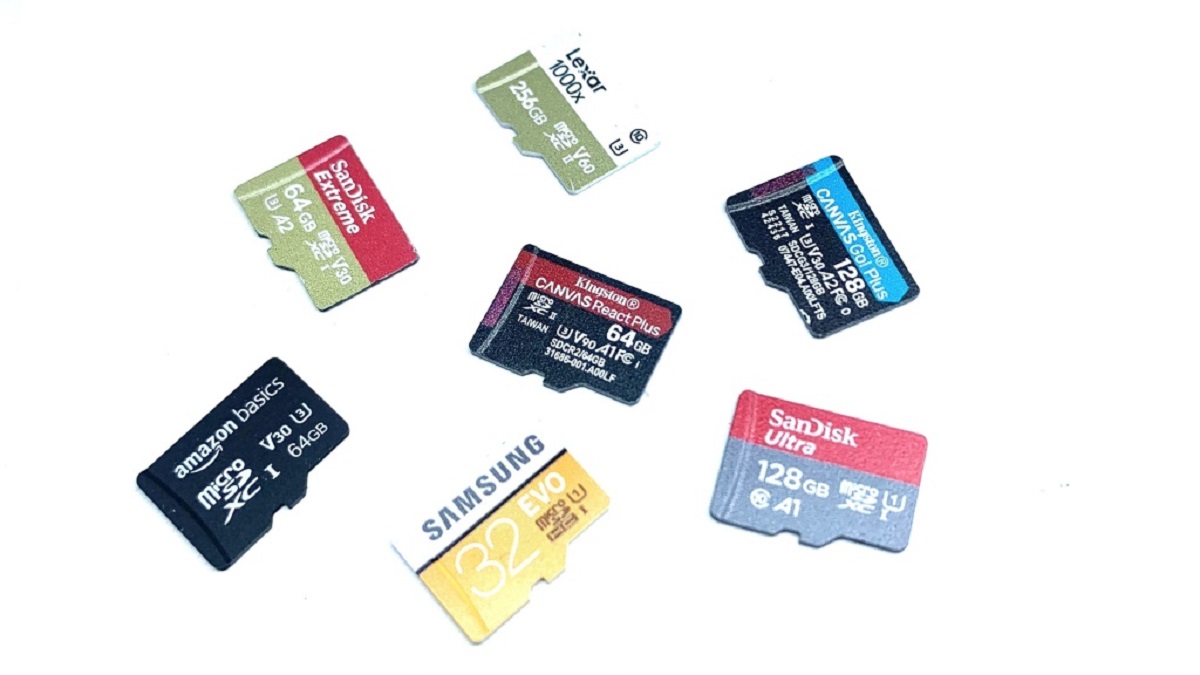
- Eject memory cards: If your tablet has a memory card slot and you have a memory card inserted, eject it safely. Most Android devices have an option to eject the memory card from the settings menu or by using a small pin or tool to release the card from the slot.
- Disconnect headphones or other peripherals: If you have headphones, speakers, or any other peripherals connected to your tablet, unplug them. This helps avoid any potential audio conflicts or disruptions during the reformatting process.
By disconnecting these external devices, you minimize the risk of encountering errors or disruptions during the reformatting process. Once you have disconnected all external devices, you are now ready to proceed with the next step of the reformatting process, which is to factory reset your Android tablet.
Factory reset your tablet
Once you have backed up your important data and disconnected any external devices, it’s time to factory reset your Android tablet. The factory reset process will erase all the data, settings, and apps on your device, returning it to its original factory state. Here’s how you can perform a factory reset:
- Access the settings menu: Open the settings app on your Android tablet. This can usually be found in the app drawer or by swiping down from the top of the screen and tapping the gear icon.
- Find the “System” or “Reset” option: Scroll through the settings menu and look for the “System” or “Reset” option. The exact location and name may vary depending on your tablet’s manufacturer and Android version.
- Select “Reset” or “Factory data reset”: Once you have found the reset option, tap on it to proceed. You may be prompted to enter your device’s lock screen PIN or pattern for security purposes.
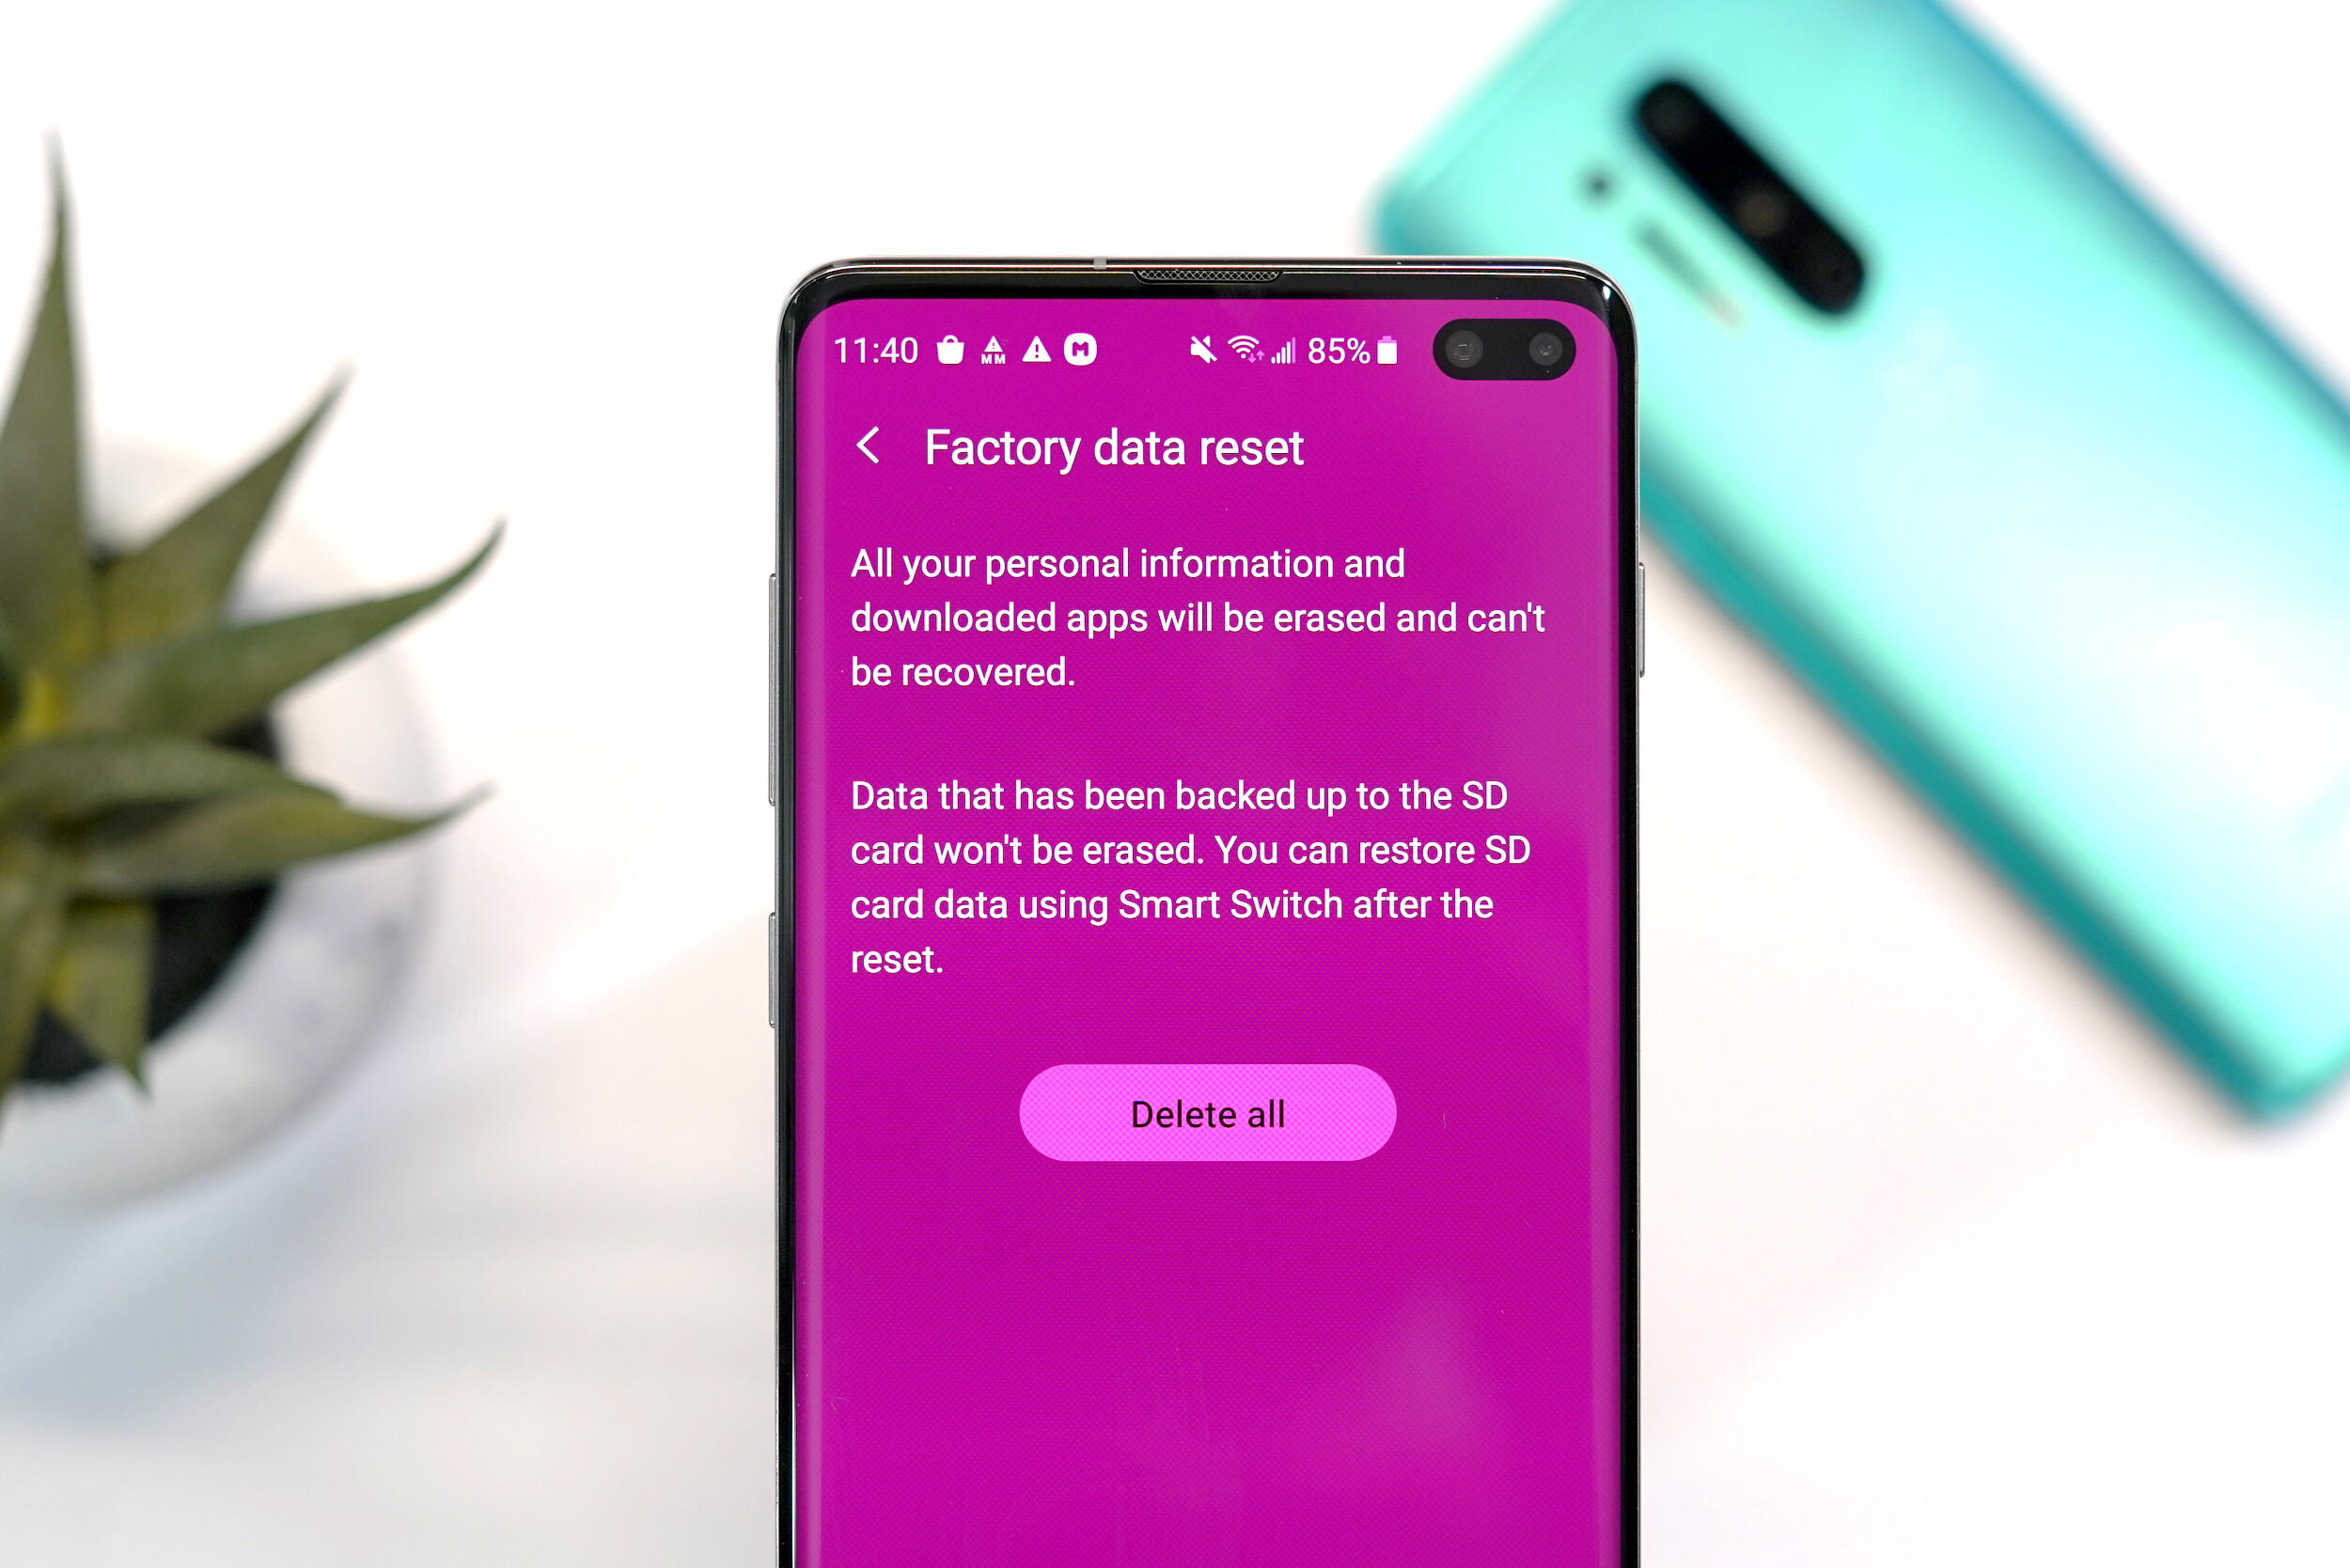
- Confirm the factory reset: On the reset screen, you will see a confirmation message warning you that all data will be erased. Read the message carefully and tap on the “Reset” or “Erase all data” button to confirm the factory reset process.
- Wait for the reset to complete: The factory reset process may take a few minutes to complete. Your tablet will restart and begin the process of erasing all data and restoring it to its factory default settings.
Once the factory reset process is complete, your tablet will be restored to its original state. It will no longer have any personal data, apps, or settings on it. You have successfully completed the factory reset process.
It’s important to note that the exact steps and options may vary slightly depending on your tablet’s manufacturer and Android version. If you’re having trouble following these steps, consult your tablet’s user manual or the manufacturer’s website for specific instructions.
Now that your tablet has been factory reset, the next step is to erase all data from the device to ensure that no personal information remains. We will cover this process in the next section.
Erase all data
After performing a factory reset on your Android tablet, it is important to take an additional step to ensure that all data is completely erased from the device. This step is essential to protect your privacy and prevent any potential data breaches. Here’s how you can erase all data from your tablet:
- Access the settings menu: Open the settings app on your Android tablet, similar to the initial steps for performing a factory reset.
- Navigate to the “System” or “Privacy” settings: Scroll through the settings menu and find the “System” or “Privacy” option. The location may vary depending on your tablet’s manufacturer and Android version.
- Select “Reset” or “Erase all data”: Once you have found the reset or privacy option, tap on it to proceed.
- Confirm the data erasure: On the reset screen, you will see a message informing you about the consequences of erasing all data. Read the message carefully and tap on the “Erase all data” or similar option to confirm the process.
- Authenticate and wait for the process to complete: Depending on your tablet’s security settings, you may be prompted to enter your lock screen PIN, pattern, or password. Enter the required details and wait for the process to complete. This may take a few minutes.
Once the process is complete, all data stored on your tablet will be permanently erased. This includes personal files, photos, videos, apps, and other data. It is crucial to ensure that you have backed up all important data before proceeding with the erase all data process.
By erasing all data, you can rest assured that your tablet has been returned to a clean state with no trace of your personal information remaining. Now, let’s move on to the next step, which is reinstalling the latest Android version on your tablet.
Reinstall the latest Android version
After erasing all data from your Android tablet, it’s time to reinstall the latest version of the Android operating system. This step ensures that your tablet is up to date with the latest features, security patches, and bug fixes. Here’s how you can reinstall the latest Android version:
- Connect to a stable Wi-Fi network: Before proceeding with the Android installation, ensure that your tablet is connected to a stable Wi-Fi network. This is essential to download and install the latest Android version without any interruptions.
- Access the settings menu: Open the settings app on your Android tablet, similar to the previous steps.
- Navigate to the “System” or “Software update” settings: Scroll through the settings menu and find the “System” or “Software update” option. The specific location may vary depending on your tablet’s manufacturer and Android version.
- Check for system updates: Once you have found the system update option, tap on it to check for available updates. Your tablet will connect to the internet and search for the latest Android version.
- Download and install the update: If an update is available, you will be prompted to download and install it. Ensure that your tablet is connected to a stable Wi-Fi network and has sufficient battery power to complete the installation without any interruptions. Follow the on-screen instructions to proceed with the update.
- Wait for the installation to complete: The Android installation process may take some time to complete. Your tablet will restart during the installation, and you might see a progress bar indicating the installation status. Be patient and do not interrupt the process.
After the installation is complete, your tablet will be running the latest version of the Android operating system. This ensures that you have the most up-to-date features, improvements, and security patches on your device.
It’s important to note that the availability of system updates and the exact steps may vary depending on your tablet’s manufacturer and Android version. If you’re unsure about how to check for updates or encounter any issues during the installation process, refer to your tablet’s user manual or visit the manufacturer’s website for more specific instructions.
Now that you have successfully reinstalled the latest Android version on your tablet, it’s time to restore your data from the backup you created earlier. We will cover this process in the next section.
Restore your data from backup
After reinstalling the latest Android version on your tablet, it’s time to restore your data from the backup you created earlier. This step will help you regain your important files, contacts, apps, and settings. Here’s how you can restore your data:
- Use cloud storage: If you backed up your data to a cloud storage service, such as Google Drive or Dropbox, you can easily restore your files by signing in to your account on your tablet. Install the corresponding cloud storage app from the Google Play Store, sign in, and access your backed-up files. Download and save the files to the appropriate folders on your tablet.
- Transfer data from computer: If you transferred your data to a computer, connect your tablet to the computer using a USB cable. Copy and paste the files from your computer to the appropriate folders on your tablet. Ensure that you organize the files properly to easily locate them later.
- Import contacts and calendar: If you exported your contacts and calendar events, you can import them back to your tablet. Depending on the contacts and calendar apps you’re using, look for the import option and select the file you previously exported. Follow the on-screen instructions to import your contacts and calendar events back into the appropriate apps.
- Install apps: To restore your installed apps, open the Google Play Store on your tablet. Sign in with the same Google account you used before the reformatting process. Go to the “My apps & games” section and navigate to the “Library” tab. Here, you will find a list of all the apps you previously installed. Tap on the “Install” button next to each app to reinstall them on your tablet.
- Configure settings: Lastly, take some time to go through the settings on your tablet and configure them according to your preferences. Set up your Wi-Fi network, adjust display and sound settings, set a new lock screen PIN or pattern, and customize other settings to make your tablet personalized and tailored to your needs.
By following these steps, you can easily restore your data and settings to your Android tablet. Ensure that you take your time to carefully restore each element, and double-check that everything is functioning correctly.
If you encounter any issues during the restoration process or some of your data is missing, refer back to the backup you created earlier to ensure that you have restored all the necessary files.
With your data successfully restored and your tablet configured to your preferences, you can now enjoy your newly reformatted tablet with a fresh start and improved performance.
Conclusion
Reformatting your Android tablet can be a beneficial process to resolve software issues, improve performance, and start with a clean slate. By following the steps outlined in this guide, you can successfully reformat your tablet’s Android operating system and restore it to its factory settings.
Remember, before starting the reformatting process, it is essential to back up all your important data to prevent any permanent loss. Disconnect any external devices from your tablet to eliminate potential interference during the reformatting process.
Start by performing a factory reset to erase all data and settings on your tablet. Then, proceed to erase all data to ensure complete privacy protection. Reinstalling the latest version of the Android operating system will ensure that your tablet is up to date and running smoothly.
Lastly, restore your data from the backup you created earlier to regain your files, contacts, apps, and settings. Take the time to carefully restore each element and ensure that everything is functioning correctly.
Throughout the entire reformatting process, it is crucial to follow the instructions specific to your tablet’s manufacturer and Android version. Refer to the user manual or the manufacturer’s website if you encounter any difficulties or need additional guidance.
By following these steps, you can enjoy the benefits of a reformatted Android tablet with improved performance, enhanced privacy, and a fresh start. Take full advantage of the features and capabilities of your tablet while keeping your data safe and secure.
Now that you have successfully reformatted your Android tablet, enjoy using it with a renewed experience and explore the possibilities that it offers.