Introduction
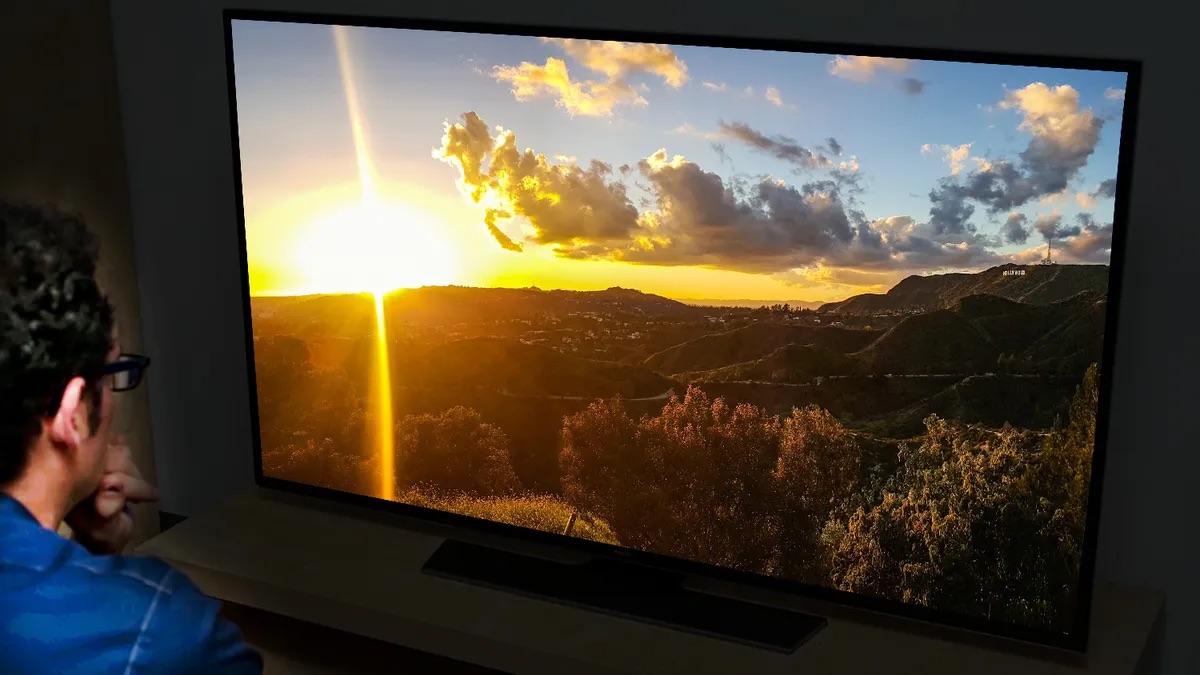
Welcome to our comprehensive guide on how to reduce glare on LED TVs. As LED technology continues to dominate the television market, many homeowners are enjoying the stunning picture quality and sleek design offered by these devices. However, one common issue that can impede the viewing experience is glare. Glare occurs when unwanted reflections from light sources disrupt the clarity and visibility of the screen, leading to reduced contrast and color accuracy.
The good news is that there are several effective methods to mitigate glare and enhance your viewing pleasure. In this guide, we will walk you through various techniques and strategies that you can employ to minimize glare on your LED TV. Whether you’re an avid gamer, a movie lover, or simply enjoy watching your favorite shows, these tips will help you optimize the viewing conditions and make your television experience more enjoyable.
Before we delve into specific solutions, it’s important to understand the causes of glare on LED TVs. By recognizing the factors that contribute to glare, you can better identify and implement the appropriate remedies. Let’s explore these causes in the next section.
Understanding the Causes of Glare on LED TVs
Glare on LED TVs can occur due to various factors. Understanding these causes will help you address the issue effectively. Here are some common reasons why glare occurs:
- Direct Light Sources: The most obvious cause of glare is direct light sources such as windows, lamps, or overhead lighting fixtures. When these sources directly reflect on the screen, it can result in distracting glare.
- Ambient Light: Even if there are no direct light sources, the ambient light in the room can create a reflection on the TV screen. This is especially true if the room is brightly lit or if there are glossy surfaces that bounce light around.
- Screen Surface: The screen surface of an LED TV can also contribute to glare. Some models have glossy screens that are more prone to reflecting light, while others have matte or anti-glare coatings that minimize reflections.
- Room Layout and Positioning: The layout of your room and the positioning of the TV can also affect glare. If the TV is placed opposite a window or in a location where there’s a lot of natural light, you are more likely to experience glare.
By identifying the specific causes of glare in your setup, you can tailor your approach to effectively reduce or eliminate the problem. In the next section, we will discuss how to assess the room lighting to optimize your viewing conditions.
Assessing the Room Lighting
Before implementing any solutions to reduce glare on your LED TV, it’s important to assess the lighting conditions in your room. This step will help you determine the severity of the glare issue and guide your decision-making process. Here are some steps to assess the room lighting:
- Observe at Different Times: Take note of how the lighting in the room changes throughout the day. Glare might be more noticeable during certain times when sunlight directly enters the room or when artificial lights are in use.
- Positioning of Light Sources: Check the positioning of windows, lamps, and other light sources in relation to your TV. Note if any direct light is reflecting onto the screen.
- Type of Lighting: Evaluate the type of lighting fixtures in the room. LED bulbs, for example, produce less heat and generate less glare compared to incandescent or fluorescent bulbs.
- Consider Light Control Options: Take into account if you have any control over the room’s lighting. Are there curtains, blinds, or shades that can be adjusted to block or diffuse light sources?
By thoroughly assessing the room lighting, you will have a better understanding of the specific glare challenges you’re facing. This knowledge will come in handy when implementing the strategies we’ll discuss in the upcoming sections. In the next section, we’ll delve into adjusting the TV positioning to minimize glare.
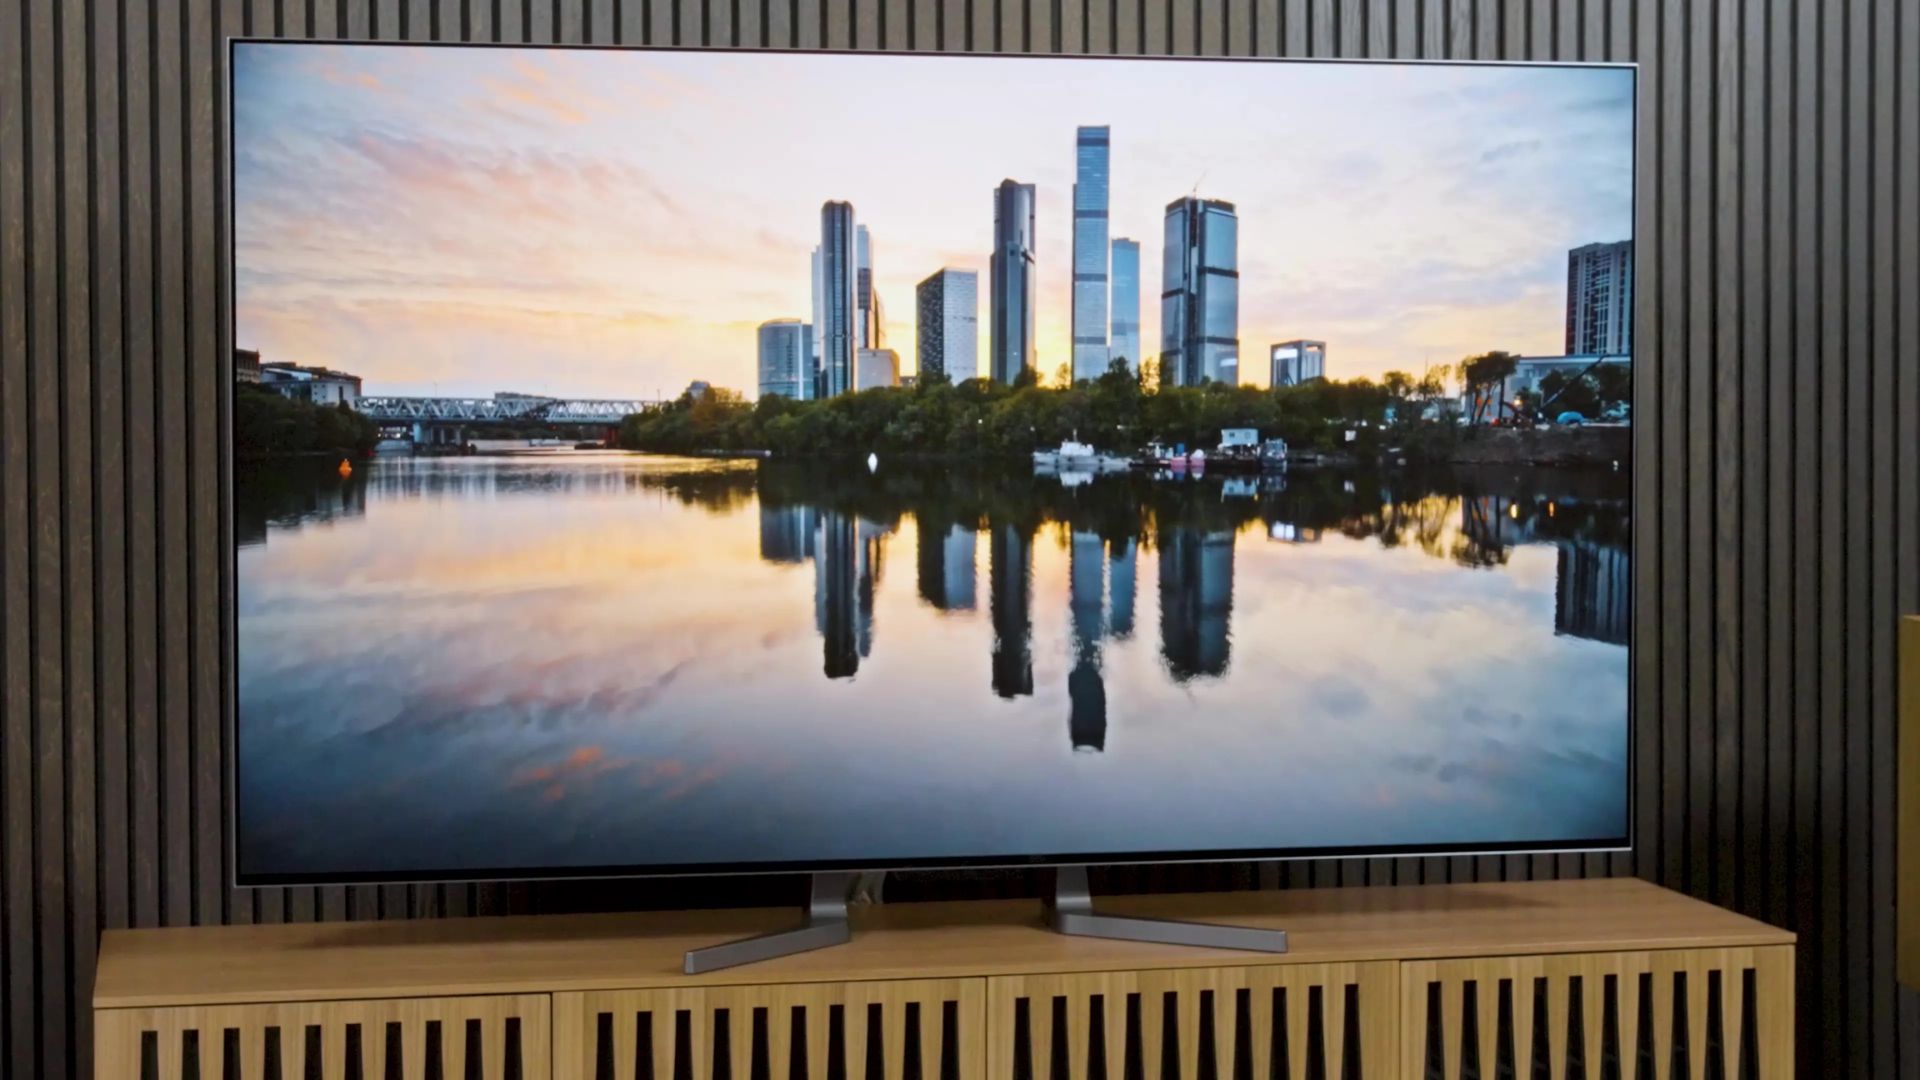
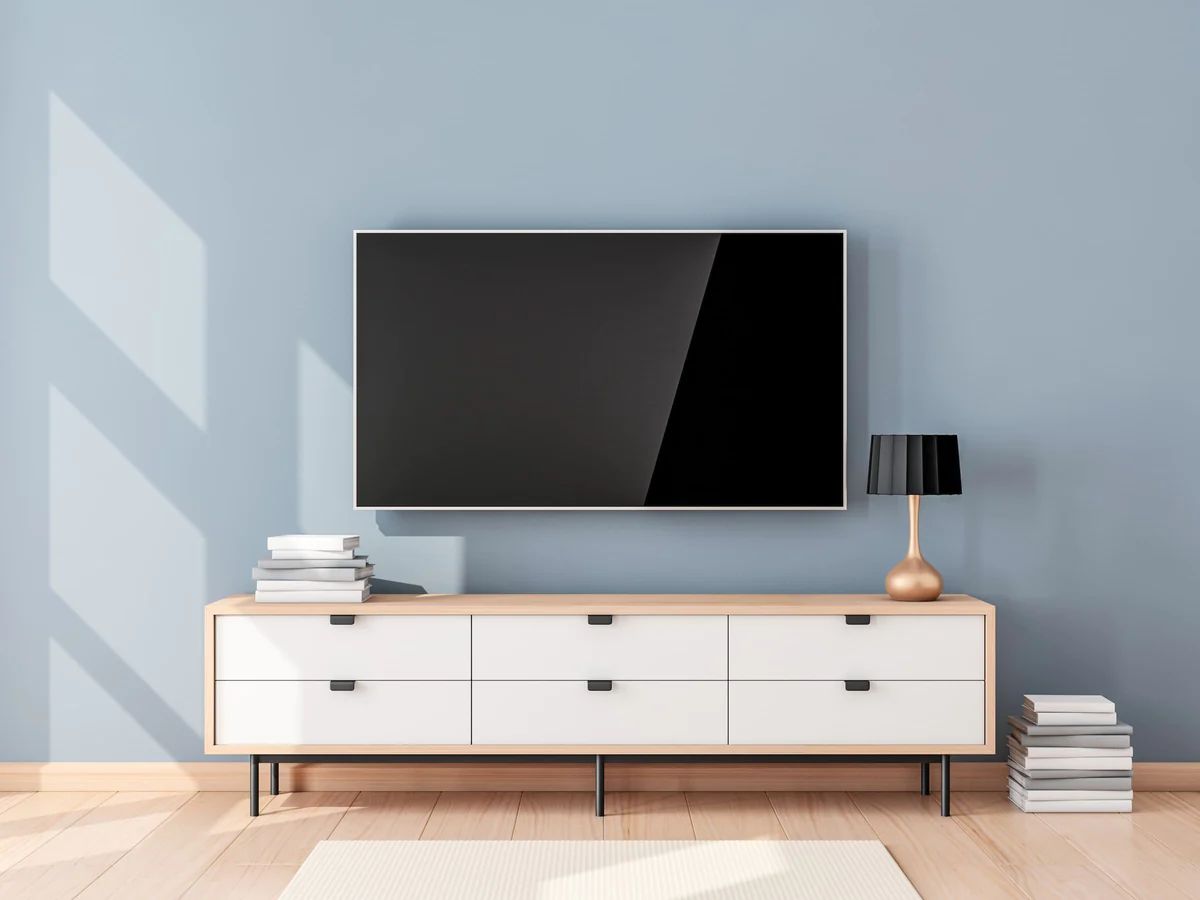
Adjusting the TV Positioning
Properly positioning your LED TV is crucial for reducing glare and optimizing the viewing experience. Here are some tips to help you adjust the TV positioning to minimize glare:
- Consider the Viewing Angle: Position the TV in a way that minimizes the viewing angle between the screen and any light sources. This can help reduce the chance of direct reflections on the screen.
- Avoid Placing the TV Opposite Windows: If possible, avoid placing the TV directly opposite windows or other strong light sources. This will significantly reduce the amount of glare that reaches the screen.
- Use Natural Light to Your Advantage: If you have control over the curtains or blinds, adjust them to allow soft, indirect natural light into the room. This can create a pleasant viewing environment while minimizing glare.
- Position the TV at Eye Level: Mounting the TV at eye level or slightly below can help reduce the impact of glare as it minimizes the angle at which light reflects off the screen.
- Consider the Room Layout: Take the overall room layout into account when positioning the TV. Place it in a location where there are minimal light sources and potential reflections.
By adjusting the TV positioning according to these guidelines, you can significantly reduce the amount of glare on your LED screen. However, if these adjustments alone are not sufficient, there are additional measures you can take to further eliminate glare. In the next section, we will discuss the use of tilting wall mounts as a solution.
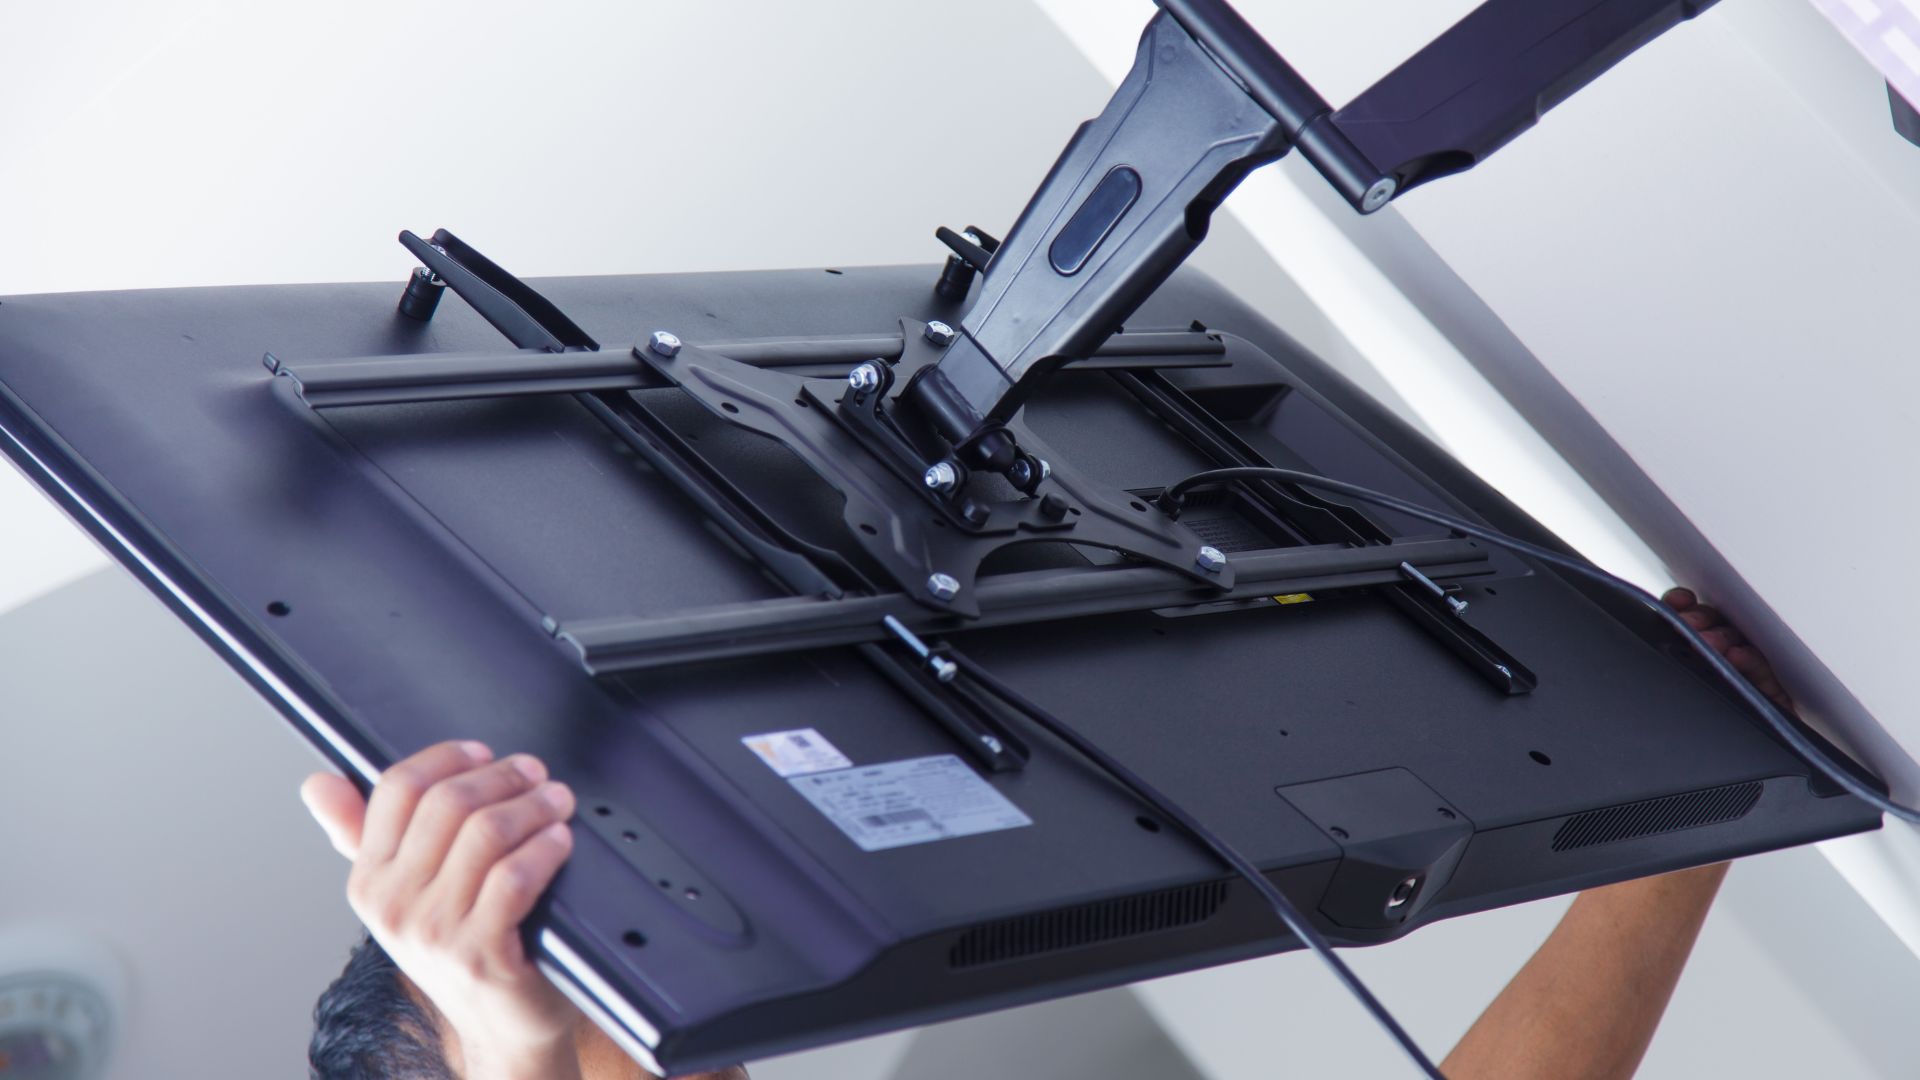
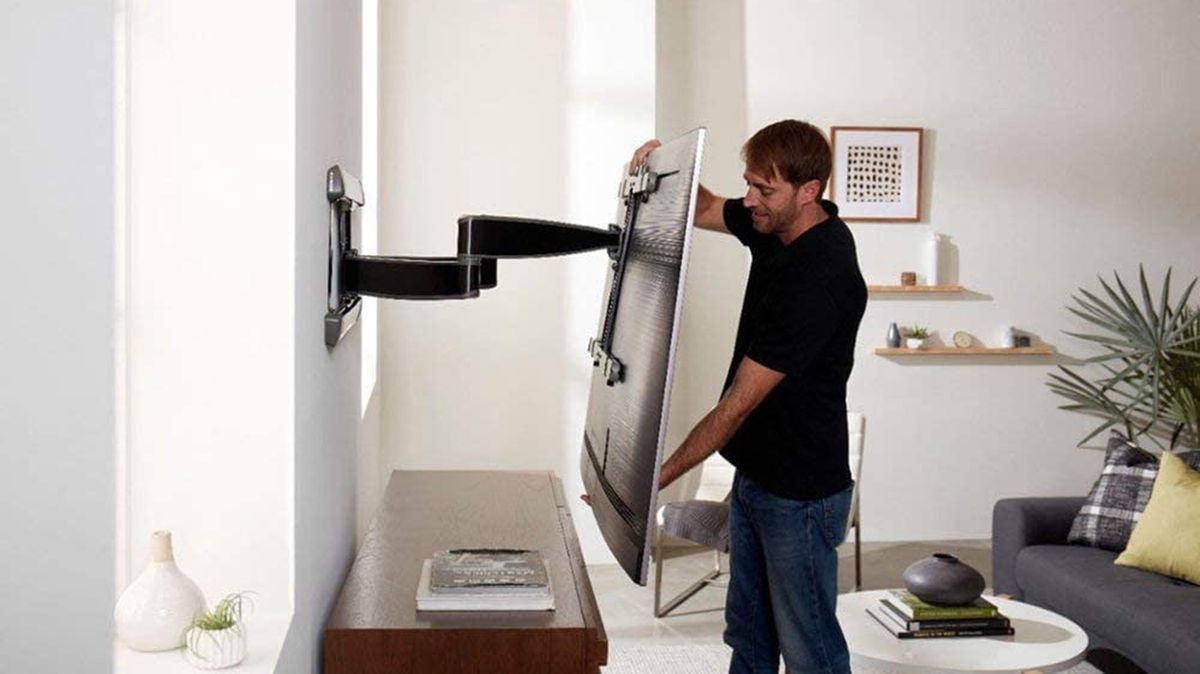
Using a Tilting Wall Mount
A tilting wall mount can be a practical solution for reducing glare on your LED TV. By adjusting the tilt angle, you can optimize the viewing experience and minimize glare from overhead or ambient light sources. Here’s how to use a tilting wall mount to reduce glare:
- Select a Tilting Wall Mount: Choose a wall mount that offers tilting capabilities. Look for one that is compatible with the size and weight of your TV.
- Locate the Studs: Use a stud finder to locate the studs in your wall. It’s important to securely mount the bracket to ensure the TV remains stable.
- Mount the Bracket: Follow the manufacturer’s instructions to attach the wall mount bracket to the studs. Make sure it is level and secure.
- Connect the TV: With the help of a friend or family member, carefully lift the TV and attach it to the wall mount bracket. Ensure that it is securely fastened.
- Adjust the Tilt Angle: Once the TV is mounted, adjust the tilt angle of the wall mount. Tilt it downwards to reduce the chance of direct reflections and minimize glare.
- Test and Fine-tune: Sit in different viewing positions and test the TV for glare. If needed, make small adjustments to the tilt angle until you achieve optimal glare reduction.
Using a tilting wall mount allows you to have more control over the positioning of your LED TV, enabling you to find the best angle for reducing glare. However, if glare is still persistent, there are additional measures you can explore. In the next section, we will discuss the option of applying anti-glare films or filters to further reduce glare on your TV screen.
Applying Anti-Glare Films or Filters
If adjusting the TV positioning and using a tilting wall mount didn’t fully resolve the issue of glare on your LED TV, you can consider applying anti-glare films or filters as an additional measure. These accessories can help minimize reflections and improve the visibility of your screen. Here’s how to apply anti-glare films or filters:
- Choose the Right Product: Research and select an anti-glare film or filter that is specifically designed for use on TV screens. Ensure that it is compatible with your TV model and size.
- Clean the TV Screen: Before applying the film or filter, make sure your TV screen is clean and free from dust or smudges. Use a soft microfiber cloth and a gentle cleaning solution if necessary.
- Follow the Instructions: Carefully read and follow the instructions provided with the anti-glare film or filter. Each product may have specific application techniques.
- Peel and Stick: Most anti-glare films or filters are designed to adhere directly to the TV screen. Slowly peel off the protective backing and gently apply the film or filter, starting from one edge and working your way across the screen.
- Smooth out Air Bubbles: Use a soft cloth or squeegee to carefully smooth out any air bubbles or wrinkles that may have formed during the application process.
- Adjust if Necessary: Once the film or filter is applied, evaluate the screen for glare reduction. If needed, make minor adjustments to ensure optimal visibility and minimal reflections.
Applying an anti-glare film or filter can be an effective way to further improve your LED TV’s performance in reducing glare. However, if you prefer alternative solutions, we will discuss the use of curtains, blinds, or shades in the next section.
Utilizing Curtains, Blinds, or Shades
If you’re looking for a practical and versatile solution to reduce glare on your LED TV, utilizing curtains, blinds, or shades can be an effective strategy. These window coverings allow you to control the amount of natural light entering the room, minimizing reflections on the screen. Here’s how you can utilize curtains, blinds, or shades:
- Select the Right Window Coverings: Choose curtains, blinds, or shades that are made from light-blocking or light-filtering materials. These options will help to diffuse or block sunlight, reducing glare on the TV screen.
- Install the Window Coverings: Follow the manufacturer’s instructions to properly install the window coverings on your windows. Make sure they fit securely and are positioned to cover the entire window surface.
- Adjust the Window Coverings: During times when you are watching TV, adjust the curtains, blinds, or shades to block or diffuse direct sunlight as needed. This will help reduce glare on the screen.
- Experiment with Different Positions: If your room has multiple windows, try different combinations of opening and closing curtains, blinds, or shades to find the optimal setup that minimizes glare.
- Consider Dual Window Coverings: If necessary, you can also consider using both curtains and blinds or shades together to provide additional light control and minimize glare.
Utilizing curtains, blinds, or shades gives you flexibility in adjusting the amount of natural light entering your room, helping to reduce glare on your LED TV. By effectively controlling the room’s lighting conditions, you can enjoy a clearer and more enjoyable viewing experience. In the next section, we will explore the option of using ambient lighting and bias lighting to further enhance your TV experience.
Using Ambient Lighting and Bias Lighting
Creating the right lighting environment can significantly reduce glare on your LED TV and enhance the overall viewing experience. Utilizing ambient lighting and bias lighting techniques can help to improve contrast, reduce eye strain, and minimize reflections on the screen. Here’s how you can effectively use ambient lighting and bias lighting:
- Assess the Room’s Lighting: Evaluate the current lighting setup in your room. Consider the intensity and color temperature of the lights to determine if any adjustments are needed.
- Adjust the Room’s Overhead Lighting: If the room has bright overhead lighting, consider using dimmer switches or lower wattage bulbs to create a softer, more diffused lighting atmosphere.
- Use Indirect Lighting: Instead of relying solely on overhead lighting, incorporate indirect lighting options such as floor lamps, table lamps, or wall sconces. These light sources can create a more balanced and diffused lighting environment.
- Implement Bias Lighting: Bias lighting involves placing a light source behind the TV screen to reduce contrast between the bright screen and the darker room. This can reduce eye strain and minimize perceived glare. Use LED light strips or bias lighting kits specifically designed for TVs.
- Position Bias Lighting: Position the bias lighting source behind the TV, ensuring it evenly illuminates the wall area directly behind the screen without directly reflecting on it. Adjust the brightness level to achieve the desired effect.
- Testing and Adjustments: Experiment with different ambient lighting configurations, bias lighting brightness levels, and color temperatures to find the setup that works best for your viewing preferences and reduces glare effectively.
By incorporating ambient lighting and bias lighting techniques, you can create a more balanced and comfortable visual experience while minimizing glare on your LED TV. These lighting strategies, along with the previous techniques discussed, will help optimize your viewing conditions. In the next section, we will explore the importance of cleaning your TV screen properly to maintain optimal picture quality and reduce potential glare.
Cleaning the TV Screen Properly
Regularly cleaning your TV screen is essential for maintaining optimal picture quality and reducing potential glare. Dust, fingerprints, and smudges can obstruct the clarity of the screen and increase the likelihood of glare. Here are some steps to clean your TV screen properly:
- Turn Off and Cool Down the TV: Before cleaning the screen, make sure the TV is turned off and has had a chance to cool down. This will prevent any potential damage to the screen or yourself.
- Use a Soft, Microfiber Cloth: Avoid using paper towels, tissues, or abrasive materials that can scratch the screen. Instead, use a soft, lint-free microfiber cloth specifically designed for electronics cleaning.
- Gently Wipe the Screen: Lightly wipe the TV screen in a circular motion to remove dust and dirt. Apply minimal pressure to avoid damaging the screen or leaving streaks.
- Dampen the Cloth if Necessary: If there are stubborn smudges or fingerprints, slightly dampen the microfiber cloth with water or a screen-cleaning solution. However, make sure the cloth is only damp, not dripping wet.
- Avoid Direct Spray on the Screen: When using a screen-cleaning solution, avoid spraying it directly on the screen. Instead, apply it to the cloth first and then wipe the screen surface.
- Focus on the Edges and Corners: Pay extra attention to cleaning the edges and corners of the screen, where dirt and grime tend to accumulate. Use gentle, circular motions to remove any buildup.
- Dry the Screen Thoroughly: Once you have cleaned the screen, allow it to air dry completely. Ensure that the screen is dry before turning on the TV to prevent any potential damage.
By following these cleaning steps, you can maintain a clean and clear TV screen, reducing the chances of glare caused by dust or smudges. Regular cleaning will not only improve the viewing experience but also prolong the lifespan of your LED TV. With these tips and strategies, you can effectively reduce glare and enjoy optimal picture quality.
Conclusion
Reducing glare on your LED TV is crucial for enhancing your viewing experience and enjoying optimal picture quality. By implementing the strategies and techniques discussed in this guide, you can effectively minimize glare and improve visibility. Here’s a recap of the key points:
- Understanding the causes of glare, such as direct light sources, ambient light, screen surface, and room layout, allows you to target specific solutions.
- Assessing the room lighting helps you determine the severity of the glare issue and guides your decision-making process.
- Adjusting the TV positioning by considering the viewing angle, avoiding placing the TV opposite windows, and positioning it at eye level can significantly reduce glare.
- Using a tilting wall mount provides flexibility in finding the best angle to minimize glare.
- Applying anti-glare films or filters on the TV screen further reduces reflections and enhances visibility.
- Utilizing curtains, blinds, or shades allows control over the amount of natural light entering the room, thereby reducing glare.
- Using ambient lighting and bias lighting techniques improves contrast, reduces eye strain, and minimizes glare.
- Cleaning the TV screen properly ensures optimal picture quality and reduces potential glare caused by dust and smudges.
Remember, when implementing these solutions, it’s important to find the right balance between reducing glare and maintaining a comfortable viewing environment. Experiment with different techniques to achieve the best results for your specific setup and preferences.
Now that you have a wide range of strategies at your disposal, you can enjoy your LED TV without the annoyance of glare. Implement these tips and techniques to optimize your viewing conditions and make the most out of your entertainment experience.