Introduction
Welcome to our guide on how to record in 1080P using an ultrawide monitor. The popularity of ultrawide monitors has been on the rise, thanks to their immersive display and increased screen real estate. Whether you are a content creator, gamer, or someone who frequently engages in screen recording, capturing high-quality footage is essential.
In this article, we will explore the benefits of recording in 1080P and provide you with a step-by-step guide on how to achieve this using your ultrawide monitor. We will also discuss the hardware and software requirements you need to meet, and troubleshoot common issues that may arise during the recording process.
Recording in 1080P allows you to capture videos in high definition, ensuring crisp visuals and vibrant colors. Whether you are recording gameplay footage, creating online tutorials, or capturing important moments from a webinar, the clarity and detail provided by a 1080P recording enhance the overall viewing experience for your audience.
Nowadays, content creators and video enthusiasts aim to deliver high-quality videos that stand out from the competition. By recording in 1080P, you can ensure that your content looks professional, regardless of whether it is viewed on a small screen or a large ultrawide monitor. Additionally, recording in 1080P future-proofs your creations, as high-definition content continues to dominate the digital landscape.
To achieve the best results when recording in 1080P, it is crucial to have a reliable and high-quality ultrawide monitor. These monitors typically have an aspect ratio of 21:9 or wider, compared to the standard 16:9 ratio of traditional monitors. This expanded screen real estate not only provides a broader view but also allows for a more immersive and cinematic experience.
Whether you are using your ultrawide monitor for gaming or content creation, it offers advantages that go beyond the visual experience. The ability to have multiple windows open side by side, access to a wider field of view, and improved productivity are just a few of the benefits you can enjoy with an ultrawide monitor.
In the following sections, we will walk you through the hardware and software requirements for recording in 1080P, provide a step-by-step guide to adjust the settings of your ultrawide monitor and recording software, and address common troubleshooting issues that may arise. With this knowledge, you will be well-equipped to capture stunning 1080P recordings on your ultrawide monitor.
What is an Ultrawide Monitor?
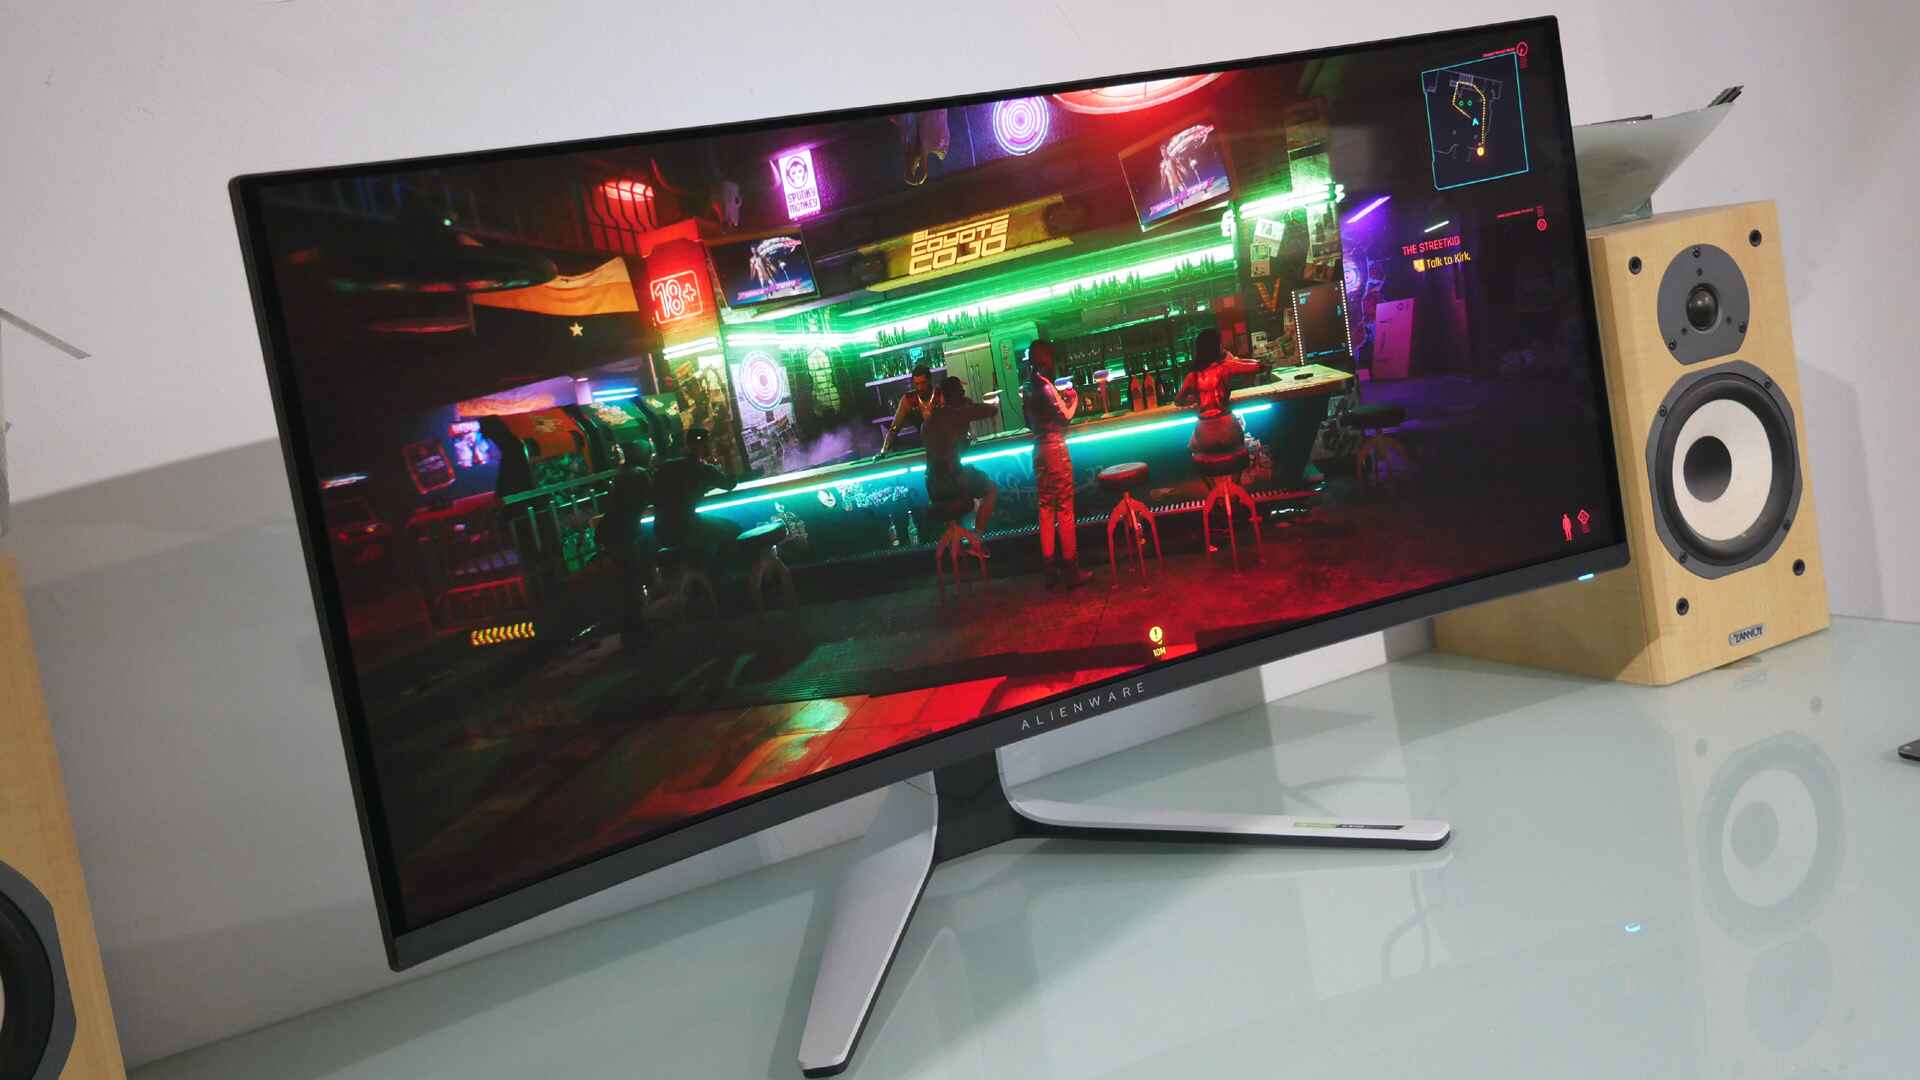
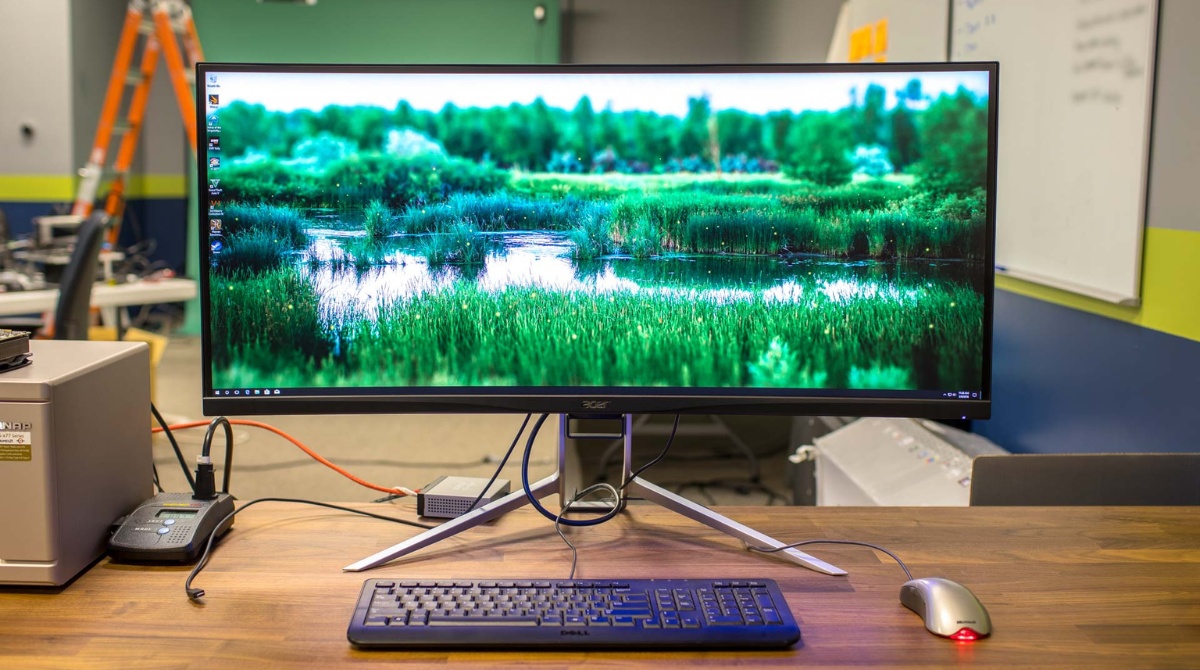
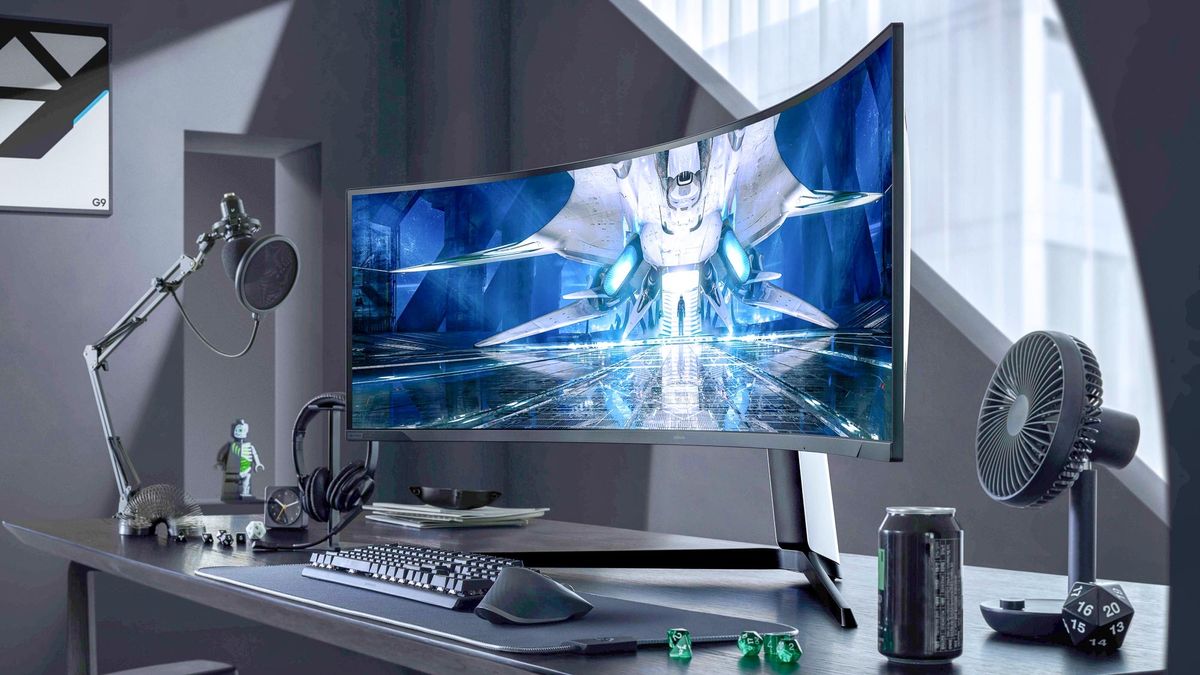
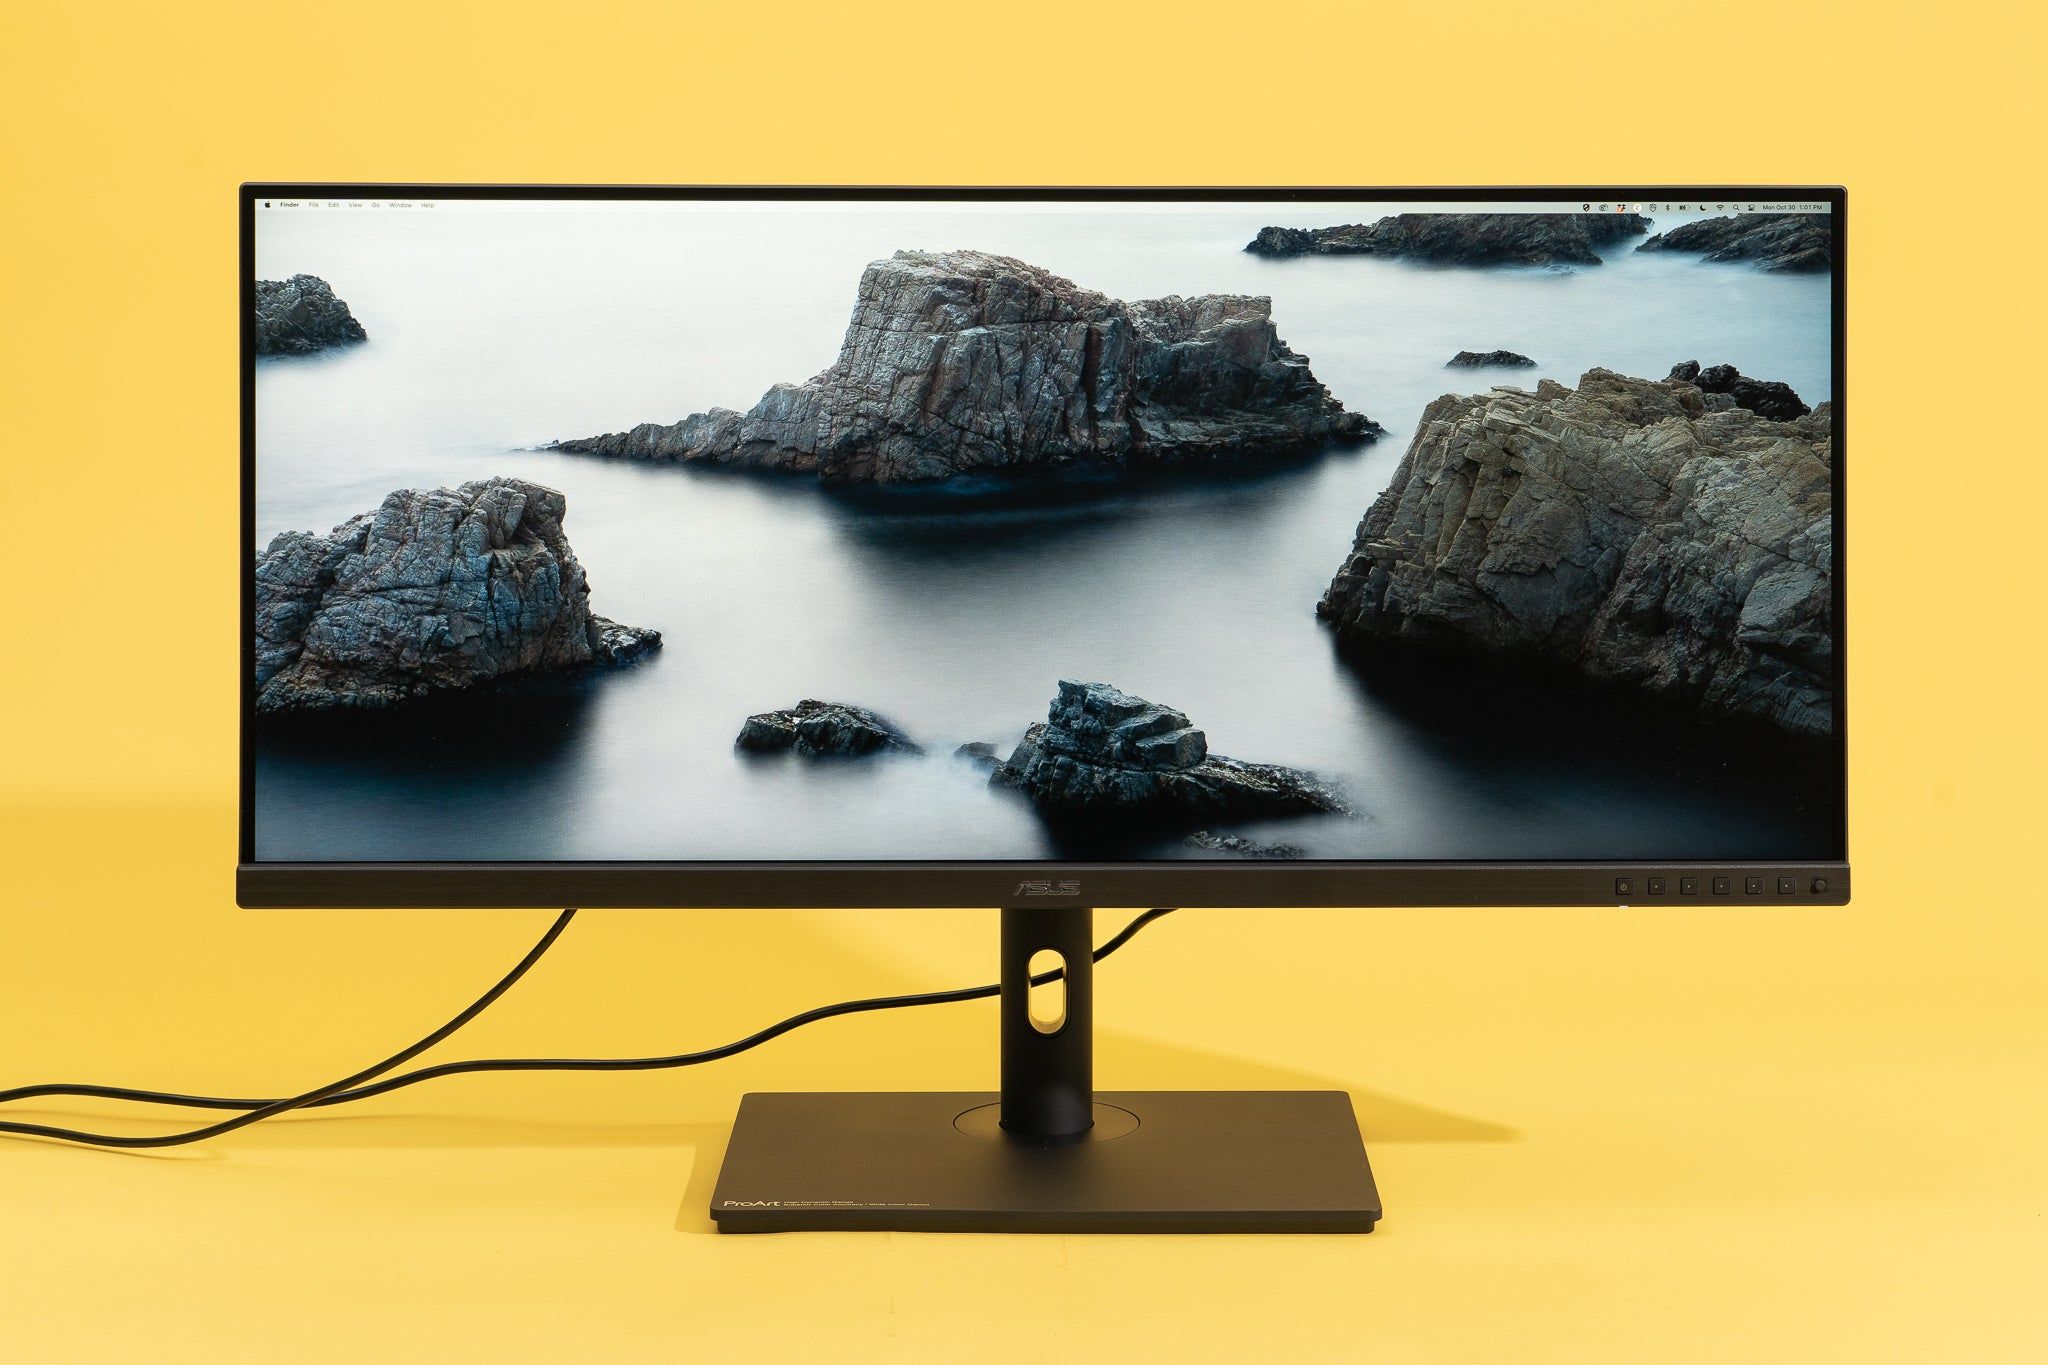
An ultrawide monitor is a type of computer monitor that offers an expanded aspect ratio compared to traditional monitors. While most monitors have a 16:9 aspect ratio, ultrawide monitors typically have an aspect ratio of 21:9 or wider. This wider aspect ratio allows for a more immersive and panoramic viewing experience.
Ultrawide monitors come in various sizes, ranging from 29 inches to over 49 inches in width. They offer significantly more screen real estate compared to standard monitors, allowing users to have a broader field of view and more space for multitasking.
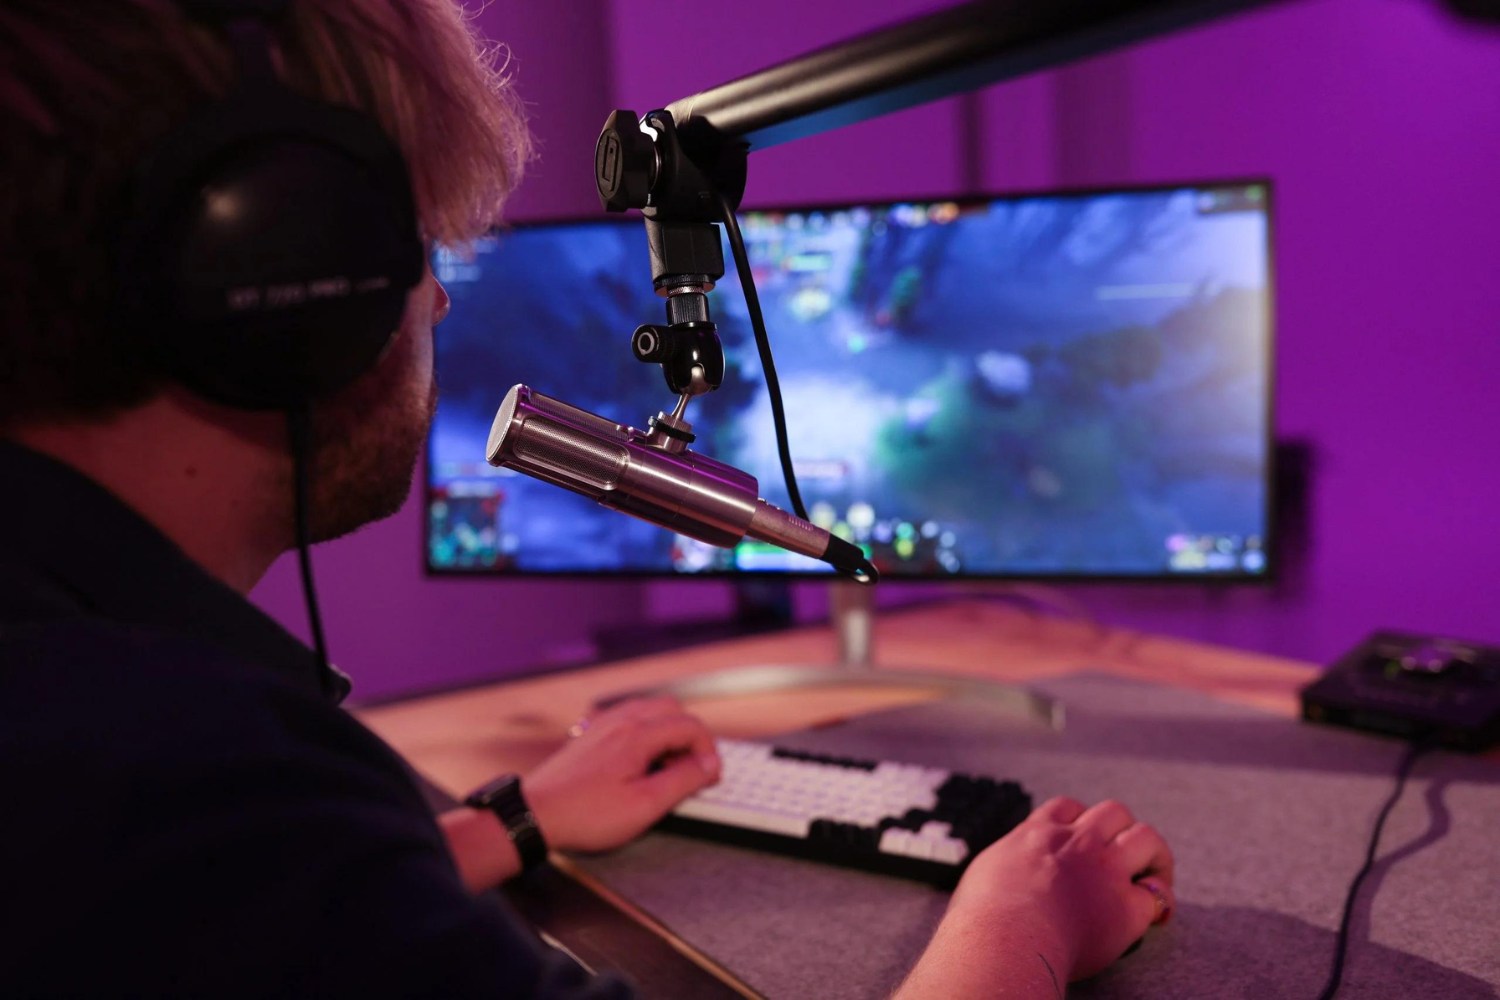
One of the significant advantages of an ultrawide monitor is its ability to provide an immersive gaming experience. The wider aspect ratio enhances the depth and visual impact of games by expanding the player’s field of view. Gamers can fully immerse themselves in the virtual world, as they can see more of the game environment without the distractions of multiple monitor bezels.
In addition to gaming, ultrawide monitors are also well-suited for content creation. Whether you are a professional graphic designer, video editor, or photographer, the wider screen real estate allows for better workspace organization. You can have multiple applications and windows open side by side, increasing productivity and streamlining your workflow.
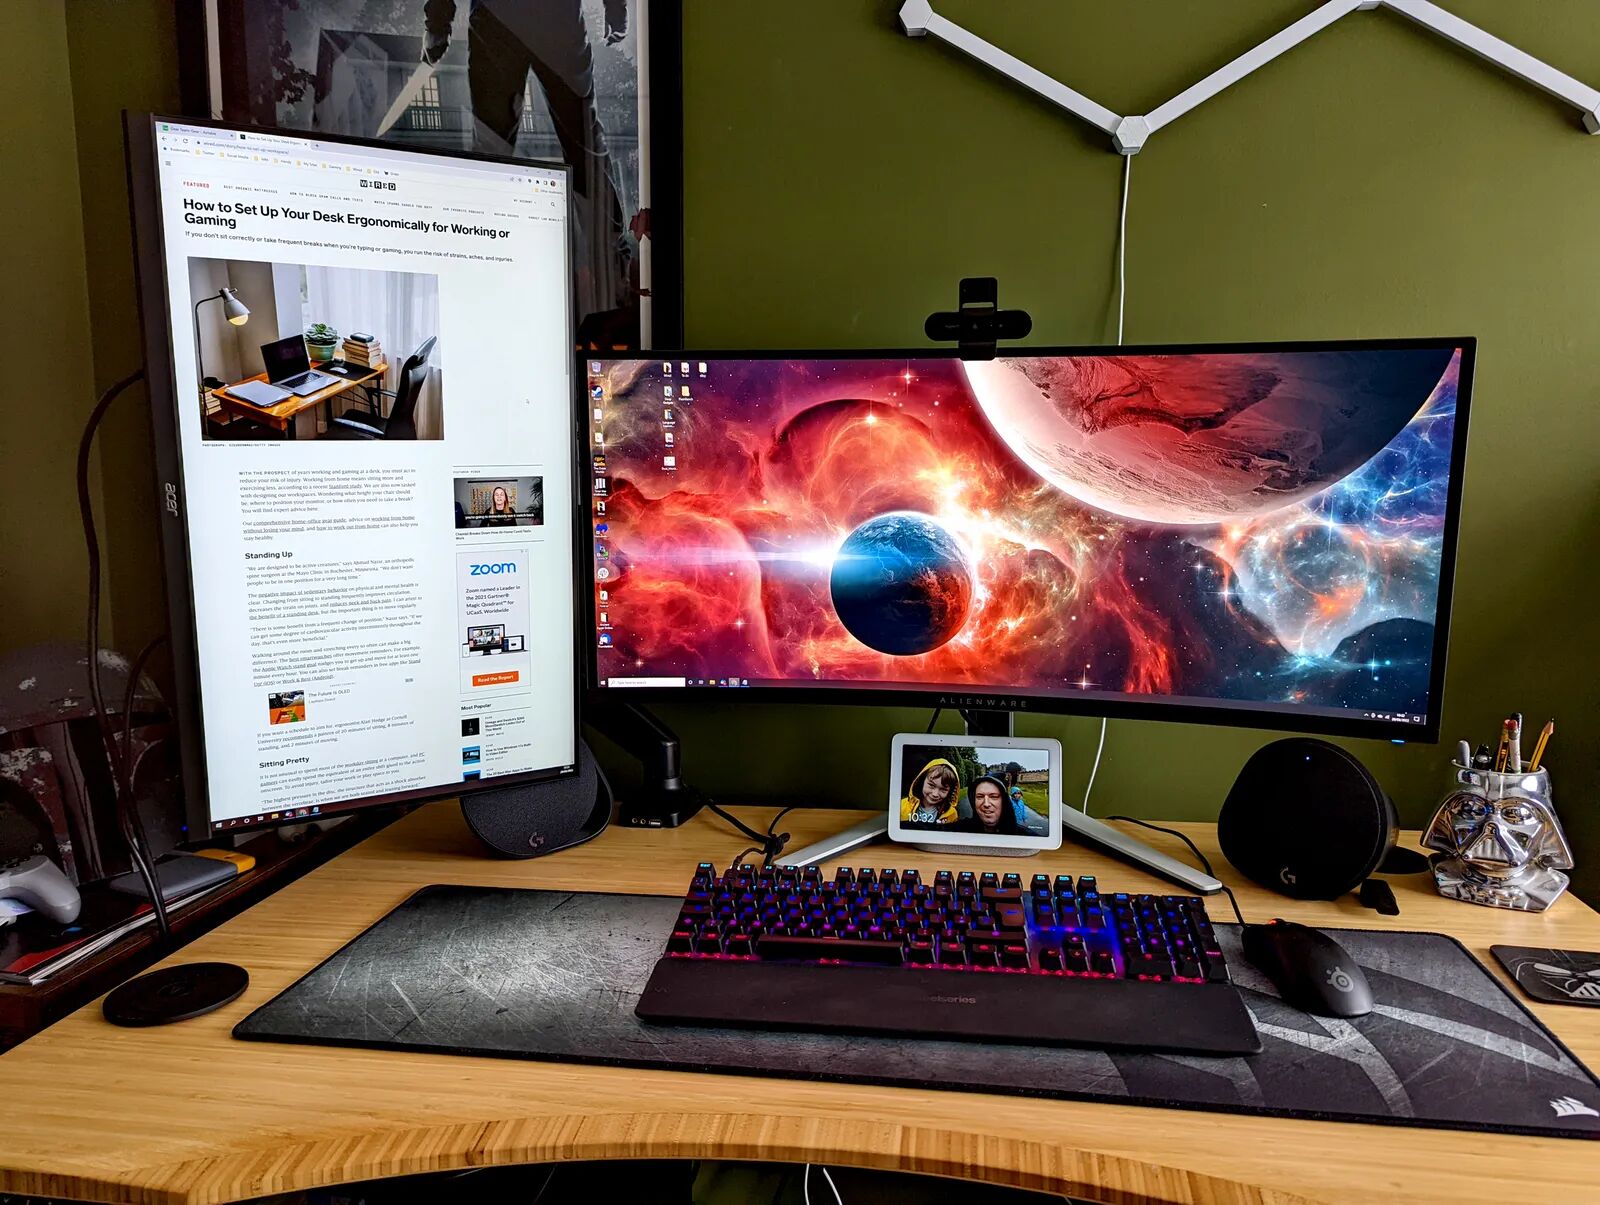
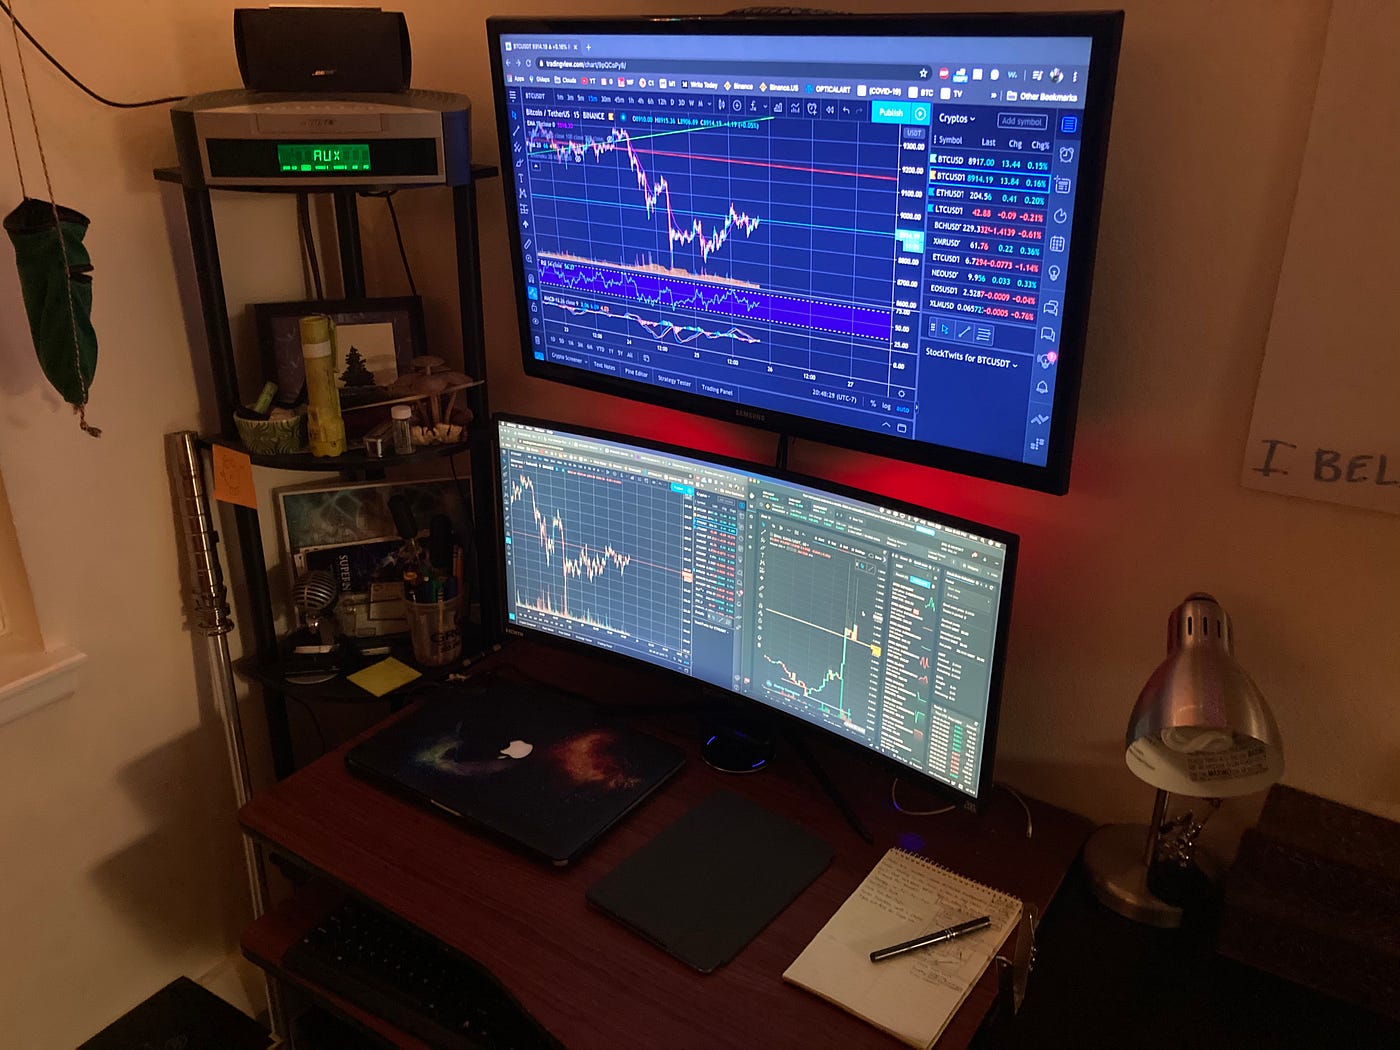
With an ultrawide monitor, you can easily have your main work application open in the center, while having reference materials, chat windows, or video timelines on the sides. This setup eliminates the need for multiple monitors and creates a seamless workspace, enhancing your efficiency and reducing clutter on your desk.
Ultrawide monitors also offer an excellent viewing experience for multimedia consumption. Watching movies or TV shows on an ultrawide monitor provides a cinematic experience, as the wider aspect ratio closely matches that of many films. The black bars that often appear on standard monitors when viewing wide-screen content are minimized or eliminated on an ultrawide monitor, ensuring that you can enjoy your favorite movies in their intended aspect ratio.
Overall, ultrawide monitors offer a range of benefits, from immersive gaming to enhanced productivity and multimedia consumption. The wider aspect ratio and increased screen real estate make them an attractive choice for individuals who require a larger workspace or want to optimize their gaming and multimedia experiences.
Benefits of Recording in 1080P
Recording in 1080P, also known as Full HD resolution, offers numerous benefits for content creators, gamers, and anyone who frequently engages in screen recording. Let’s explore some of the advantages of capturing footage in this high-definition format.
1. Crisp Visuals and Vibrant Colors: Recording in 1080P ensures that your videos have sharp and clear visuals. The increased pixel density allows for greater detail and clarity, resulting in a more immersive viewing experience. Vibrant colors and accurate color reproduction further enhance the overall visual quality of your recordings.
2. Enhanced Professionalism: In today’s digital landscape, high-quality content is vital for establishing credibility and professionalism. Recording in 1080P ensures that your videos look polished and visually appealing, helping you stand out from the competition. Whether you are creating online tutorials, product demos, or promotional videos, the professionalism conveyed by 1080P recordings can significantly impact the perception of your brand or content.
3. Compatibility and Accessibility: 1080P has become the standard resolution for many devices and platforms, making it highly compatible and widely accessible. Whether your audience is watching your content on a computer, tablet, smartphone, or smart TV, they can enjoy your videos at their full resolution without compatibility issues or downscaling artifacts.
4. Future-Proofing Your Content: By recording in 1080P, you future-proof your content as higher-resolution displays become more prevalent. With the continuous advancements in technology, more devices are now capable of displaying content in resolutions beyond 1080P. By recording in this resolution, your videos will continue to look stunning on newer devices and platforms.
5. Improved Video Editing Flexibility: Recording in 1080P provides additional flexibility in post-production video editing. The higher resolution allows for more accurate cropping, zooming, and resizing without sacrificing image quality. It provides more room for editing creativity, such as adding graphic overlays, text, or visual effects, to enhance your videos.
6. Optimal File Size: Compared to higher resolutions like 4K, recording in 1080P results in smaller file sizes. This is beneficial if you have limited storage capacity or need to upload your videos to online platforms with file size limitations. Smaller file sizes also make it easier and faster to transfer or share your recordings with others.
Overall, recording in 1080P delivers a visually pleasing and professional result. It ensures compatibility and accessibility for your audience, future-proofs your content, provides flexibility in editing, and optimizes file sizes. Whether you are a content creator, gamer, or someone who frequently engages in screen recording, capturing footage in 1080P is a wise choice that enhances the overall quality of your videos.
Hardware and Software Requirements
In order to record in 1080P using an ultrawide monitor, you need to ensure that your hardware and software meet certain requirements. Let’s take a look at the key components you need for a smooth recording experience.
1. Ultrawide Monitor: The primary requirement is, of course, an ultrawide monitor with a resolution of 1080P. Make sure your monitor supports this resolution and has the necessary input ports, such as HDMI or DisplayPort, to connect to your recording device.
2. Recording Device: You will need a capable recording device to capture the video from your ultrawide monitor. This can be a dedicated screen recording hardware device, a video capture card installed in your computer, or screen recording software installed on your computer.
3. Computer: A fast and reliable computer is crucial for smooth performance during the recording process. Make sure your computer meets the minimum system requirements of the screen recording software you plan to use. This includes having enough processing power, memory (RAM), and storage space to handle high-definition video recording.
4. Graphics Card: A dedicated graphics card, preferably one with hardware acceleration support, can significantly improve the performance and quality of your screen recordings. It helps to offload the processing load from your computer’s CPU and ensures smoother playback and encoding of the recorded video.
5. Recording Software: You will need screen recording software installed on your computer to capture the video from your ultrawide monitor. There are various options available, both free and paid, that offer features like video compression, audio recording, and customizable settings. Choose a software that is compatible with your operating system and provides the necessary functionality for your recording needs.
6. Audio Equipment: Consider the audio aspect of your recordings as well. If you need high-quality audio, you might want to invest in a suitable microphone or audio interface to capture clear and crisp sound. This is particularly important for content creators who rely on spoken narration or commentary in their videos.
7. Cables and Connectors: To connect your ultrawide monitor to your recording device, ensure you have the appropriate cables and connectors. Most ultrawide monitors use HDMI or DisplayPort cables. Double-check the input ports on your recording device and monitor to ensure compatibility.
By meeting the hardware and software requirements listed above, you will be well-prepared to record in 1080P using your ultrawide monitor. It is essential to invest in reliable equipment and choose software that suits your specific needs to ensure a smooth and high-quality recording experience.
Step-by-Step Guide to Recording in 1080P
Recording in 1080P with your ultrawide monitor is a straightforward process when following the right steps. Here’s a step-by-step guide to help you get started:
Step 1: Set Up Your Ultrawide Monitor: Begin by ensuring that your ultrawide monitor is properly connected to your computer or recording device. Use the appropriate cable (such as HDMI or DisplayPort) to establish the connection. Make sure the monitor is detected and recognized by your computer’s operating system.
Step 2: Adjust Display Resolution: In your computer’s display settings, navigate to “Display Settings” or “Screen Resolution” to adjust the resolution. Select the 1080P (1920×1080) resolution for your ultrawide monitor. Apply the settings to make them take effect.
Step 3: Select the Recording Software: Choose a suitable screen recording software that meets your requirements. Install the software on your computer following the provided instructions. Familiarize yourself with the software’s features and settings.
Step 4: Configure Recording Settings: Open the screen recording software and navigate to the settings or preferences menu. Adjust the recording settings according to your needs. Set the resolution to 1080P for capturing video in high definition. Configure other settings, such as frame rate, audio recording, and file format, as desired.
Step 5: Choose Recording Area: Identify the specific area on your ultrawide monitor that you want to record. Some screen recording software allows you to select a specific window, a portion of the screen, or the entire screen. Set the recording area accordingly to focus on the content you want to capture.
Step 6: Check Audio Input: If your recording includes audio, ensure that the correct audio input source is selected in the recording software settings. This could be your computer’s microphone, an external audio device, or any other preferred source. Adjust the audio levels to ensure clear and balanced sound.
Step 7: Start Recording: Once you have configured all the necessary settings, it’s time to start recording. Open the application, game, or content you want to capture on your ultrawide monitor. Begin the recording process using the designated button or hotkey specified by your screen recording software.
Step 8: Monitor the Recording: Keep an eye on the recording as it progresses. Ensure that the video and audio are being captured without any issues or distortion. Monitor the file size and recording duration to ensure you have enough storage space and time for your recording needs.
Step 9: Stop and Save the Recording: When you have finished capturing the desired content, stop the recording by clicking the stop button or using the designated hotkey. Save the recorded video file to a location of your choice. Check the file to confirm that the recording was successful and meets your requirements.
That’s it! You have successfully recorded in 1080P using your ultrawide monitor. Take some time to review your recording and make any necessary adjustments to ensure the quality and desired outcome. With practice and experimentation, you will become more skilled at capturing high-quality recordings on your ultrawide monitor.
Adjusting Settings on Your Ultrawide Monitor
To ensure the best recording experience in 1080P with your ultrawide monitor, it is important to properly adjust the settings. Here’s a guide to help you optimize your monitor settings for recording:
1. Display Resolution: Access the monitor settings menu and navigate to the display resolution option. Choose the 1080P resolution (1920×1080) to match the recording settings of your screen recording software. This ensures that the content displayed on your monitor is captured accurately and in high definition.
2. Aspect Ratio: Ultrawide monitors typically have an aspect ratio of 21:9. However, some applications or content may be optimized for the standard 16:9 ratio. In order to avoid any distortion or cropping during the recording process, adjust the aspect ratio settings on your monitor to maintain the correct proportions.
3. Brightness and Contrast: Adjust the brightness and contrast levels to achieve optimal visibility and clarity. Set the brightness to a comfortable level that allows for clear visibility of the content being displayed. Balance the contrast to ensure the differentiation between light and dark areas without losing detail.
4. Color Settings: Calibration of color settings is crucial for accurate and vibrant color representation. Depending on your monitor, you may have options to adjust individual color channels (red, green, and blue) or use predefined color profiles. Use calibration tools or reference images to achieve accurate color reproduction.
5. Refresh Rate: Consider setting the refresh rate of your monitor to 60Hz. This is the standard refresh rate for most monitors and provides a smooth viewing experience. Recording at higher refresh rates may result in compatibility issues with some screen recording software or devices.
6. Overdrive and Response Time: If your monitor has options for overdrive or response time settings, adjust them to minimize ghosting or motion blurring. This can help ensure that your recordings have accurate and clear visuals, especially during fast-paced action on the screen.
7. Blue Light Filtering: Long exposure to the blue light emitted by the monitor can cause eye strain and fatigue. Many ultrawide monitors offer blue light filtering options. Enable this feature to reduce eye discomfort during long recording sessions.
8. On-Screen Display (OSD) Settings: Familiarize yourself with the OSD menu of your monitor. Explore the available settings, such as OSD position, transparency, and timer options. These settings help you manage the on-screen display elements during recordings, ensuring they don’t interfere with the captured content.
9. Firmware Updates: Regularly check for firmware updates for your monitor. Manufacturers often release firmware updates that can improve performance, fix bugs, or introduce new features. Keeping your monitor firmware up to date ensures compatibility and optimal functionality.
Following these steps to adjust the settings on your ultrawide monitor will help optimize the display and ensure that your recordings in 1080P are of the highest quality. It is worth spending some time to fine-tune these settings to provide the best visual experience for both recording and everyday use of your ultrawide monitor.
Setting Up the Recording Software
Setting up your screen recording software correctly is essential to ensure a successful recording session in 1080P with your ultrawide monitor. Here’s a step-by-step guide to help you get started:
1. Software Installation: Begin by downloading and installing the screen recording software of your choice. Ensure that the software is compatible with your operating system and meets your recording requirements. Follow the installation instructions provided by the software manufacturer.
2. Launching the Software: Open the screen recording software on your computer. Familiarize yourself with the interface and available features. Take note of any settings or preferences menus where you can customize the recording options.
3. Selecting the Recording Area: Look for an option to select the recording area. Depending on the software, this may be represented by a window or rectangle that can be resized and repositioned. Choose the appropriate size and position that corresponds to your ultrawide monitor’s display area.
4. Configuring Video Settings: Access the video settings within the software. Set the resolution to 1080P (1920×1080) to match the resolution of your ultrawide monitor. Consider configuring other video settings, such as frame rate, bit rate, and codec, according to your preferences and the recommended settings for your recording needs.
5. Adjusting Audio Settings: Locate the audio settings in the software. Choose the audio input source you intend to use for capturing sound, such as your computer’s microphone or an external audio device. Set the audio recording options, including volume levels and any noise reduction or audio enhancement features available.
6. Reviewing Advanced Settings: Explore the advanced settings of the screen recording software, if available. These settings may include options for hotkeys, recording timers, overlays, subtitles, and mouse cursor effects. Customize these settings according to your preferences and recording requirements.
7. Configuring Output Settings: Determine the output format and location for your recorded videos. Choose a suitable file format, such as MP4 or AVI, that meets your needs and is compatible with the platforms where you plan to share or edit the recordings. Select the folder or directory where you want the recorded videos to be saved.
8. Testing and Calibration: Before starting your actual recording, perform a test run to ensure that all settings are configured correctly. Check the video and audio quality, monitor the file size, and evaluate the overall recording experience to make any necessary adjustments.
9. Recording Controls: Familiarize yourself with the recording controls provided in the software. Take note of the start, pause, resume, and stop buttons, as well as any hotkeys associated with those actions. Practice using the recording controls to become comfortable with their functionality.
By following these steps and adjusting the settings in your screen recording software, you will be well-prepared to start recording in 1080P using your ultrawide monitor. Take the time to explore the software’s features, as they can greatly enhance your recording experience and allow you to achieve the desired recording quality.
Troubleshooting Common Issues
While recording in 1080P using an ultrawide monitor is generally a straightforward process, you may encounter some common issues along the way. Here are a few troubleshooting tips to help you overcome potential challenges:
1. Recording Lag: If you experience lag or choppiness during the recording, it could be due to a lack of processing power or insufficient hardware resources. Close unnecessary applications or processes running in the background to free up system resources. Consider upgrading your computer’s RAM or CPU if the issue persists.
2. Audio Sync Issues: If you notice that the audio is out of sync with the video during playback, it may be a result of latency. Adjust the audio latency settings in your screen recording software to reduce or eliminate the synchronization problem. Alternatively, try using dedicated audio recording hardware or software for improved audio capture.
3. Low Frame Rate: If your recorded video appears choppy or has a low frame rate, it could be due to hardware limitations or inappropriate software settings. Make sure your computer meets the recommended system requirements for recording in 1080P. Adjust the frame rate settings in your recording software to a value that matches your hardware capabilities.
4. Screen Tearing: Screen tearing occurs when the monitor’s refresh rate and the frame rate of the recorded video are out of sync. Enable V-sync (vertical sync) or a similar setting in your recording software to mitigate or eliminate screen tearing. If using a gaming monitor, consider enabling Adaptive Sync (FreeSync or G-Sync) to further reduce screen tearing during recording.
5. Oversaturation or Undersaturation of Colors: If your recorded video exhibits oversaturated or undersaturated colors compared to what you see on your monitor, adjust the color settings on both your monitor and in the recording software. Calibrate your monitor using color calibration tools or use predefined color profiles to achieve accurate color reproduction in your recordings.
6. Display Issues on Certain Applications: Some applications may not fully support ultrawide resolutions, leading to display or recording issues. In such cases, check if there are any updates or patches available for the application. You can also try running the application in compatibility mode or use screen capture software that supports capturing specific windows or regions of the screen.
7. Insufficient Storage Space: If you encounter errors related to insufficient storage space while recording, ensure that you have enough free space on your hard drive or designated storage location. Delete unnecessary files or consider recording to an external storage device if your primary storage is near capacity.
8. Compatibility Issues with Recording Software: If you experience compatibility issues with your chosen screen recording software, make sure you are using a version that is compatible with your operating system. Check for any software updates or consider trying an alternative recording software that better meets your needs and is compatible with your ultrawide monitor.
By troubleshooting these common issues, you can overcome obstacles that may arise during the screen recording process. Remember to stay patient and explore different solutions to find the one that works best for your specific setup and requirements. With a bit of troubleshooting, you’ll be able to achieve smooth and high-quality recordings in 1080P on your ultrawide monitor.
Final Thoughts
Recording in 1080P using an ultrawide monitor opens up a world of possibilities for content creators, gamers, and screen recording enthusiasts. The immersive display and increased screen real estate of an ultrawide monitor enhance the visual experience, while the high-definition resolution of 1080P ensures crisp and vibrant recordings.
By following the step-by-step guide provided in this article, you can easily set up your ultrawide monitor, adjust your settings, and start recording in 1080P. Remember to optimize your monitor settings, choose the right recording software, and troubleshoot any common issues that may arise. With careful attention to these details, you will be able to capture stunning recordings that showcase the full potential of your ultrawide monitor.
Recording in 1080P offers numerous benefits, including the ability to create professional-looking content, compatibility with a wide range of devices and platforms, and future-proofing your recordings as higher-resolution displays become more prevalent. Utilizing the extra screen space on your ultrawide monitor allows for improved productivity and creativity, whether you’re editing videos, designing graphics, or playing games.
Embrace the possibilities that recording in 1080P with an ultrawide monitor brings, and experiment with different techniques to elevate your recordings to the next level. With practice and a bit of tweaking, you’ll be able to capture breathtaking videos that engage and delight your audience.
So, equip yourself with the necessary hardware, choose the right software, adjust your settings, and start recording in 1080P using your ultrawide monitor. Embrace the immersive experience, showcase your creativity, and share your high-quality recordings with the world.


