Introduction
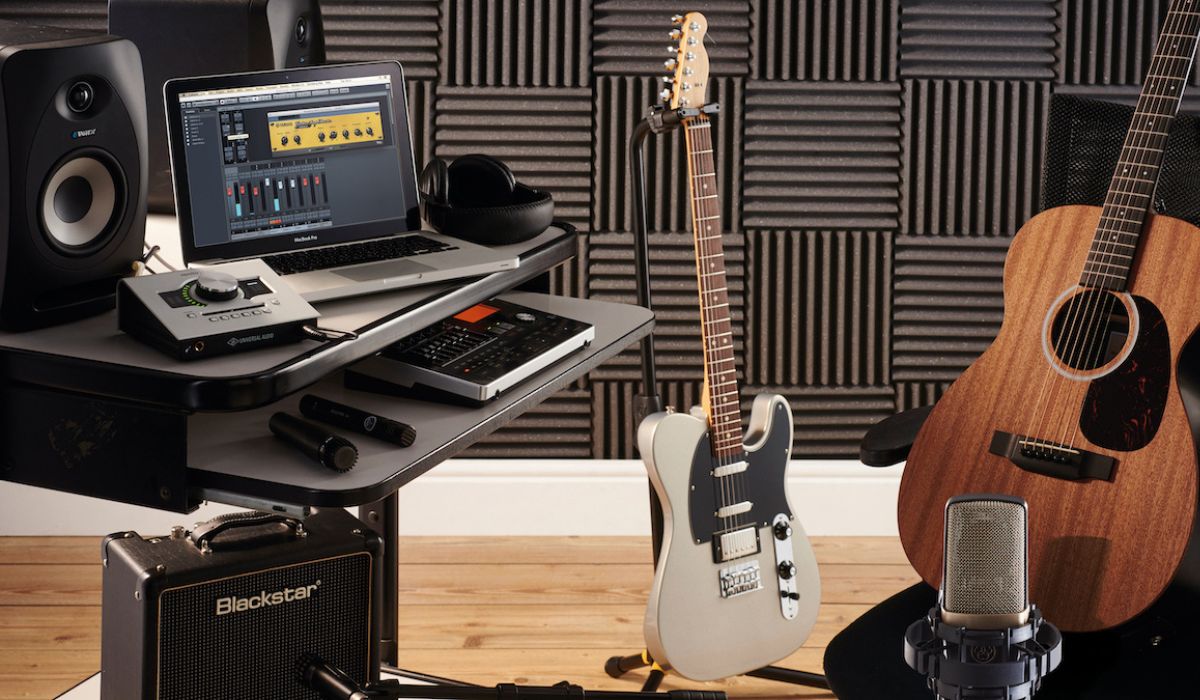
Welcome to the world of audio recording! Whether you are a musician, podcaster, voice-over artist, or simply someone looking to record audio on your PC, you’ve come to the right place. Recording audio on your computer opens up a world of possibilities, allowing you to create professional-quality recordings in the comfort of your own home.
In this guide, we will take you through the essential steps to successfully record audio on your PC. We will cover everything from selecting the right recording software and setting up your microphone to adjusting audio settings and editing your recordings. By the end of this article, you will have the knowledge and confidence to start capturing your audio in no time.
But why record audio on your PC? Well, there are numerous reasons! For musicians, it is an excellent way to demo songs or create full-fledged recordings without the need for a professional studio. Podcasters can record their episodes at their own convenience, adding a personal touch to their content. Voice-over artists can use their PC to record auditions or even create entire voice-over projects. The possibilities are endless!
Before we dive into the technicalities, it is important to note that the success of your audio recording depends on several factors, including the quality of your equipment, the environment in which you are recording, and your proficiency in using the recording software. However, with a little practice and the right guidance, you can achieve impressive results with minimal resources.
So, let’s jump right in and explore the fascinating world of audio recording on your PC. Get ready to unleash your creativity and capture the sound you’ve always dreamed of!
Choosing the Right Audio Recording Software
When it comes to recording audio on your PC, selecting the right software is crucial. There are a plethora of options available, ranging from free to premium software, each with its own unique set of features and capabilities. Here are some factors to consider when choosing the right audio recording software:
1. Purpose: Determine the purpose of your recordings. Are you recording music, podcast episodes, voice-overs, or something else? Different software may be better suited for specific purposes. For example, if you’re recording music, you may want software with advanced editing features and virtual instruments.
2. Ease of Use: Consider the user-friendliness of the software. Look for a program with a simple and intuitive interface, especially if you’re new to audio recording. The easier the software is to navigate, the quicker you can start recording.
3. Compatibility: Ensure that the software you choose is compatible with your operating system. Most recording software is available for both Windows and Mac, but it’s always important to double-check before making a decision.
4. Recording Capabilities: Look for software that offers the necessary recording capabilities you require. This includes multi-track recording, the ability to record from multiple sources simultaneously, and support for different audio file formats.
5. Editing Features: Consider the editing features offered by the software. Basic editing features such as trimming, cutting, and fading are essential, but advanced features like noise reduction, EQ, and effects can greatly enhance the quality of your recordings.
6. Plugins and Virtual Instruments: If you’re a musician, check if the software supports plugins and virtual instruments. These can expand your creative possibilities and allow you to create professional-level recordings without additional hardware.
7. Support and Updates: Look for software that offers reliable customer support and regular updates. This ensures that any issues or bugs are addressed promptly and that you have access to the latest features and improvements.
8. Budget: Consider your budget when choosing audio recording software. While there are excellent free options available, paid software often offers more advanced features and better technical support. Determine your needs and find a balance between features and cost.
Remember, the perfect audio recording software is the one that suits your specific needs and preferences. Take the time to research and test different options, read reviews, and consider the experiences of other users. Don’t be afraid to experiment and find the software that aligns with your creative vision.
Setting Up Your Microphone
An essential component of recording audio on your PC is setting up your microphone correctly. The quality of your microphone and its proper placement can significantly impact the overall sound of your recordings. Here are some steps to follow when setting up your microphone:
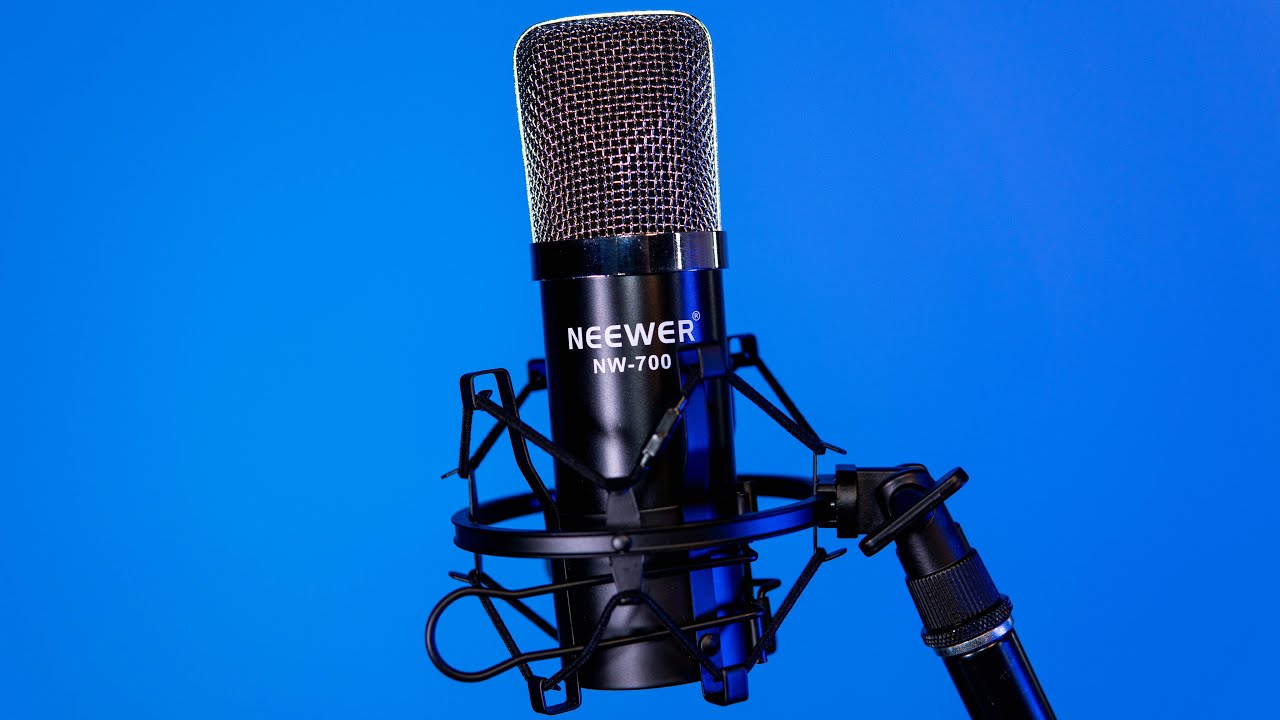
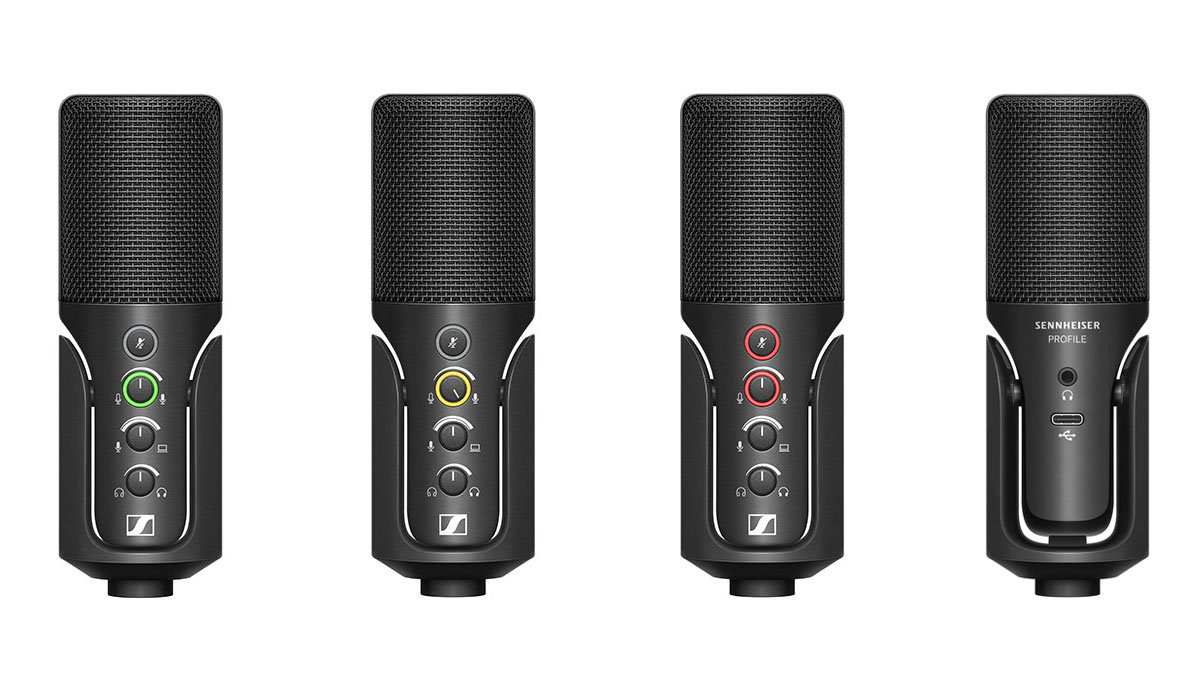
1. Choose the Right Microphone: There are different types of microphones available, such as USB microphones, condenser microphones, and dynamic microphones. Consider your recording needs and budget to select the microphone that best suits your requirements.
2. Connect the Microphone: If you’re using a USB microphone, simply connect it to an available USB port on your computer. For analog microphones, use an XLR or 3.5mm audio cable to connect it to your sound card or audio interface.
3. Position the Microphone: Proper microphone placement is crucial for capturing clear and balanced sound. Place the microphone on a stable surface or use a microphone stand to position it at the desired distance and angle. Experiment with different positions to find the best sound for your recordings.
4. Consider Microphone Accessories: Using accessories like a pop filter or windscreen can help minimize plosive sounds and reduce background noise. These accessories can improve the overall clarity of your recordings by eliminating unwanted artifacts.
5. Adjust the Microphone Directionality: Some microphones offer adjustable directionality modes, such as cardioid, omnidirectional, or bidirectional. Choose the appropriate mode based on your recording scenario. For example, cardioid mode is ideal for solo recordings, while omnidirectional mode captures sound from all directions.
6. Check Recording Levels: Open your computer’s audio settings or recording software and check the input levels while speaking or singing into the microphone. Ensure that the levels are not too low or too high, as this can result in poor quality recordings.
7. Test the Microphone: Before starting your actual recording, test the microphone to ensure it is functioning properly. Record a short sample and play it back to check for any distortion, background noise, or audio anomalies. Make necessary adjustments to ensure optimal sound quality.
8. Noise Reduction: If you’re experiencing background noise, consider using noise reduction techniques and tools. This can help eliminate unwanted sound artifacts and improve the overall clarity of your recordings.
Properly setting up your microphone is a crucial step in achieving high-quality audio recordings. Take the time to experiment with different positions and settings, and don’t hesitate to consult the microphone’s user manual or online resources for specific instructions. With a well-configured microphone, you’re one step closer to capturing professional-grade audio on your PC.
Adjusting Audio Settings on Your PC
In order to achieve optimal audio recording on your PC, it’s important to adjust the audio settings to ensure the best possible sound quality. Here are some essential steps to follow when adjusting audio settings on your computer:
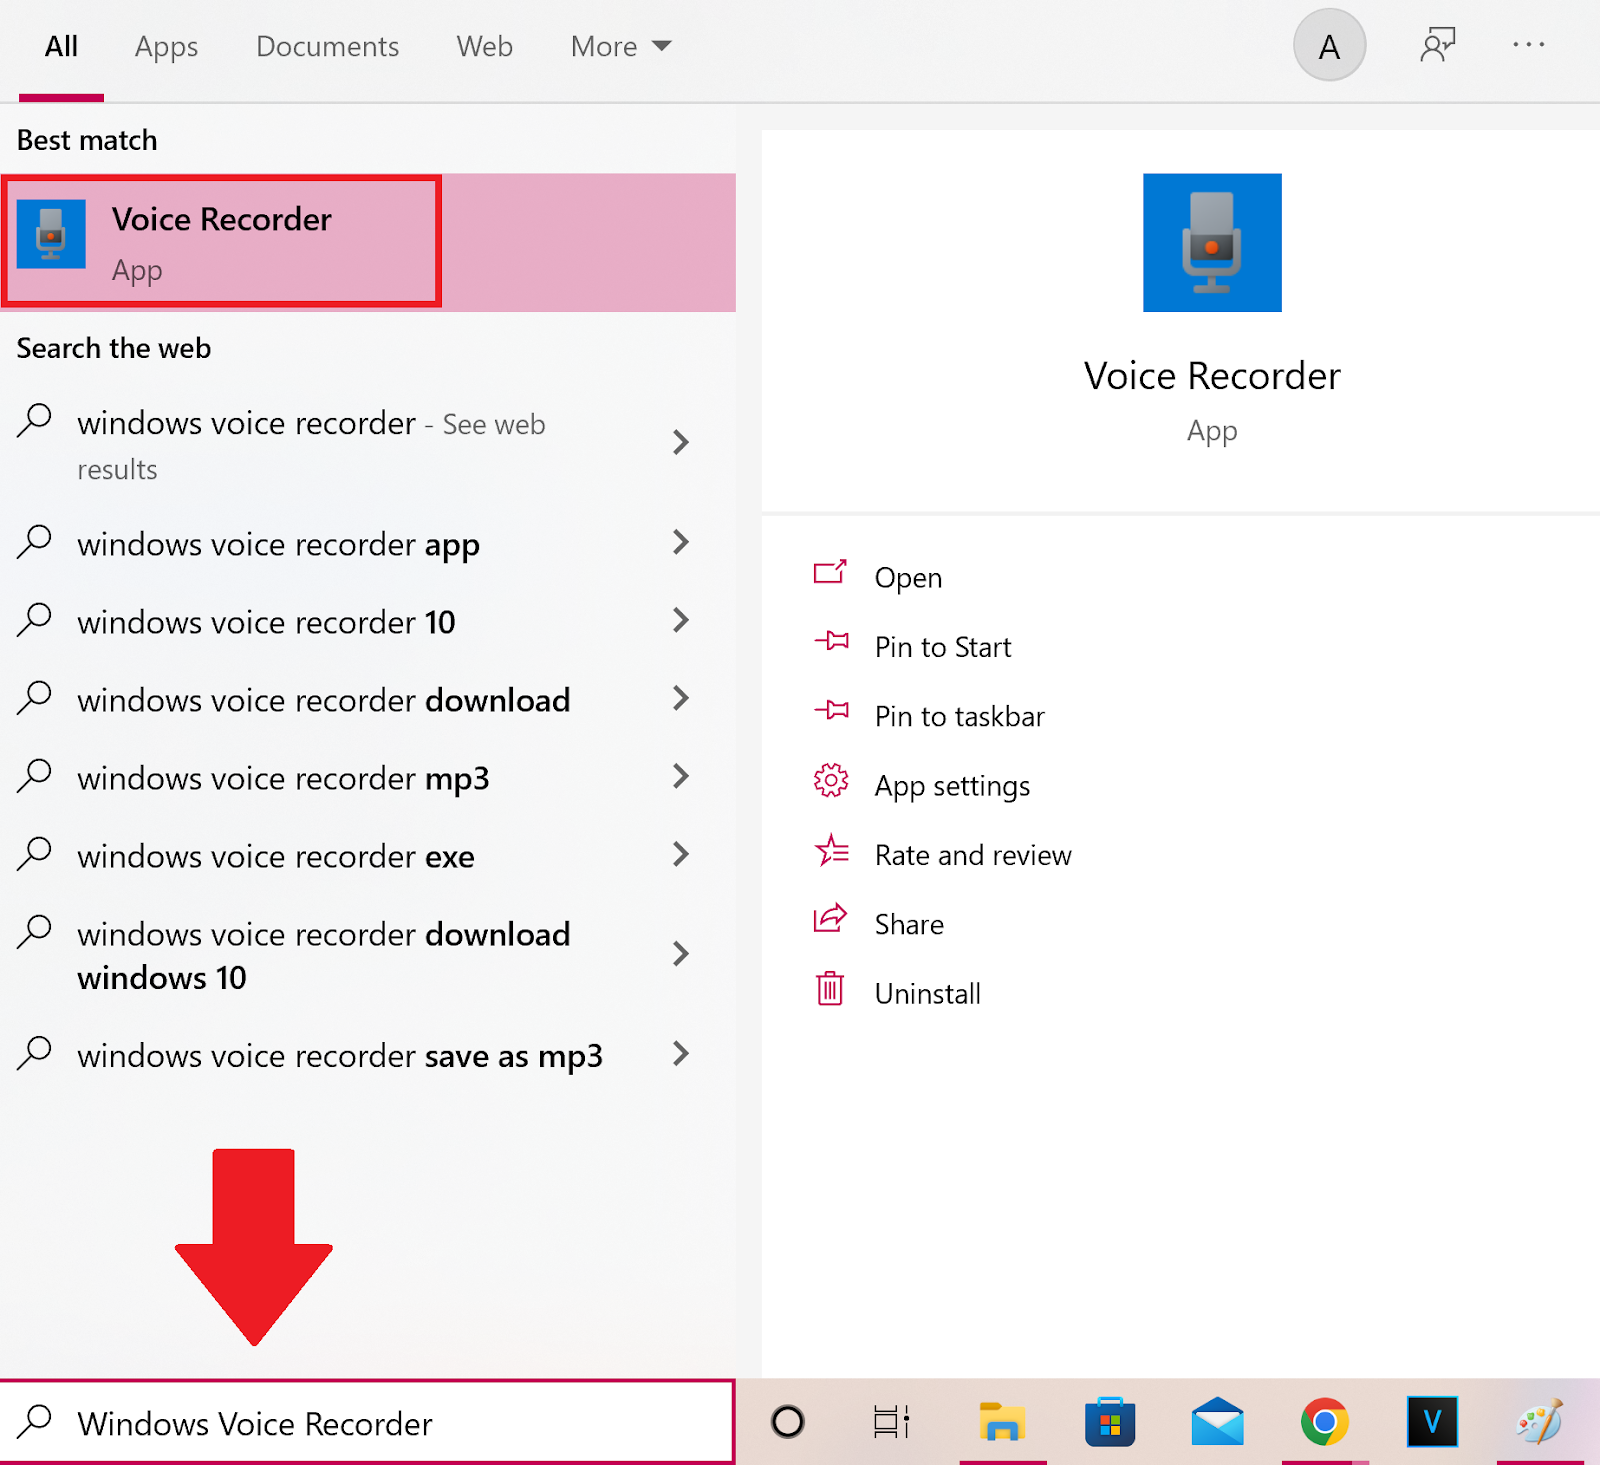
1. Open the Sound Settings: Go to the Control Panel or System Preferences on your PC and locate the Sound settings. Alternatively, you can right-click on the speaker icon in the taskbar and select “Sounds” or “Playback Devices” to access the audio settings.
2. Select the Recording Tab: Once in the Sound settings, navigate to the “Recording” tab. This is where you can configure the audio input settings for recording.
3. Choose the Preferred Recording Device: If you have multiple audio input devices connected to your PC, select the microphone or audio interface you want to use for recording. Set it as the default recording device if necessary.
4. Adjust the Microphone Levels: In the recording device properties, you will find a “Levels” tab or option. Here, you can adjust the microphone volume or sensitivity. Aim for a level that captures a clear and audible sound without any distortion.
5. Enable Microphone Enhancements: Some audio settings allow you to enhance the microphone’s performance. Depending on your PC and operating system, there may be options such as noise cancellation, echo reduction, or bass boost. Experiment with these settings to find the best configuration for your recordings.
6. Configure the Sample Rate and Bit Depth: In advanced audio settings, you can typically adjust the sample rate and bit depth. For most recordings, a sample rate of 44.1kHz and a bit depth of 16 bits offer a good balance between audio quality and file size. However, you can choose higher settings if you require higher fidelity recordings.
7. Use Virtual Sound Mixing Software: If you want to record audio from multiple sources simultaneously, consider using virtual sound mixing software. This will allow you to capture audio from different applications or sources and adjust their individual levels for a well-balanced recording.
8. Test the Audio Settings: Before starting your actual recording, it’s essential to test the audio settings to ensure everything is working as expected. Use your recording software or the Sound settings to monitor the input levels and playback the audio to check for any issues or abnormalities.
By adjusting the audio settings on your computer, you can optimize the recording conditions and achieve the best sound quality possible. Take the time to explore the different options and experiment with the settings to find the ideal configuration for your specific recording needs.
Selecting the Right Recording Source
When recording audio on your PC, selecting the right recording source is crucial to ensure the desired sound quality and capture the content you intend. Here are some factors to consider when choosing the recording source:
1. Microphone Selection: If you’re using an external microphone, make sure to choose the correct microphone as the recording source. This ensures that the audio is captured through the designated microphone and not any built-in microphone or default device on your computer.
2. Mic Placement: Consider the placement of your microphone and its relationship to the sound source. For example, if you’re recording vocals, position the microphone at an appropriate distance and angle to capture the best sound quality. Experiment with different placements to find the sweet spot.
3. Multiple Microphones: If you are recording multiple audio sources simultaneously, such as an interview or a band recording, ensure that each microphone is set as an individual recording source in your software or recording interface. This allows you to capture each source separately, providing more flexibility during the editing process.
4. Line Inputs: If you’re recording audio from an external device, such as a mixer or musical instrument, connect it to your computer’s line input or audio interface. Select the appropriate line-in device as the recording source to capture the input from your external audio source.
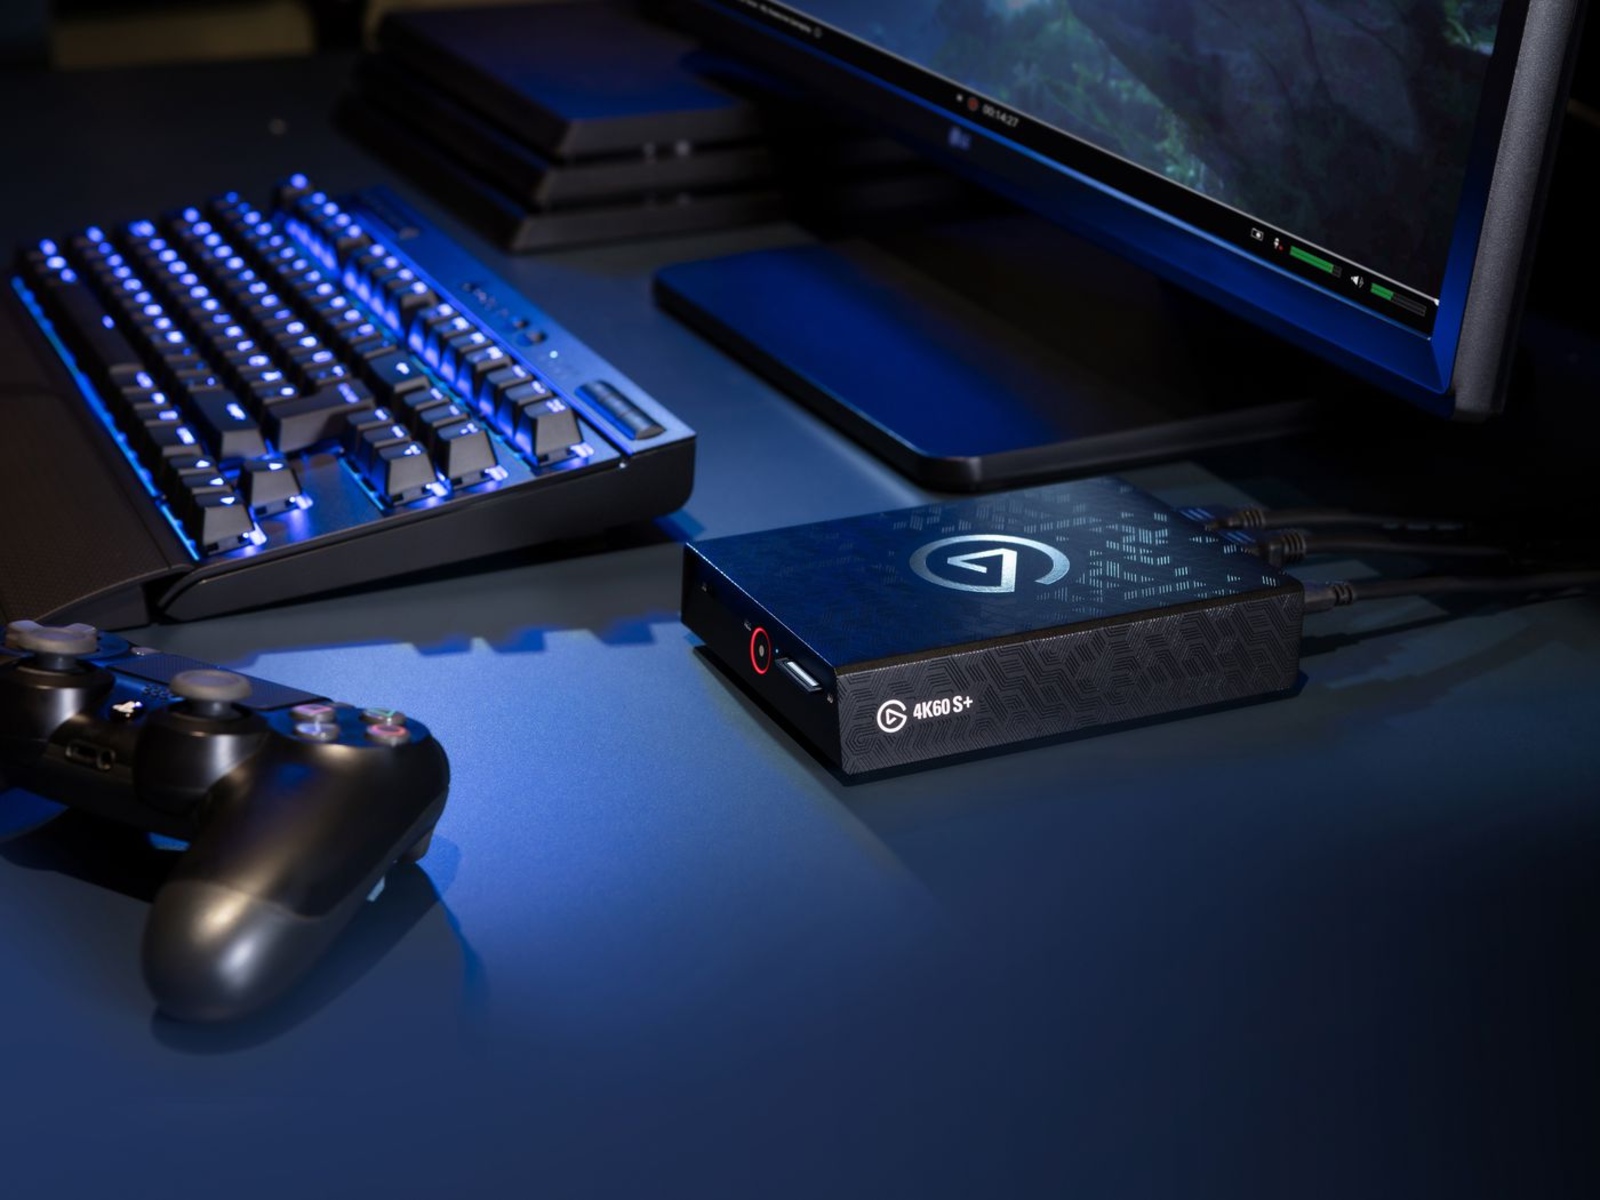
5. System Audio: Depending on your recording needs, you may want to capture system audio, such as sound from a video or audio playing on your computer. In this case, select the internal playback or system audio as the recording source. This can be useful for recording live streaming, gameplay, or capturing audio from a video conference.
6. Screen Recording: If you’re recording your computer screen and want to include audio, select the system audio as the recording source to capture the sound produced by your computer during the screen recording session.
7. External Audio Interface: If you’re using an external audio interface, such as a USB audio device or a mixer, select it as the recording source. These interfaces offer better audio quality and more control over recording settings compared to the built-in sound card on your computer.
8. Software Configuration: Once you have chosen the appropriate recording source in your audio recording software, make sure to configure the settings accordingly. Adjust the input levels, sample rate, and other necessary parameters to optimize the recording quality.
By selecting the right recording source, you can ensure that the desired audio is captured accurately and with the best possible quality. Take the time to understand your recording needs and experiment with different sources and configurations to achieve the desired results.
Configuring Your Recording Software
Configuring your recording software is a critical step in ensuring a smooth and efficient recording process. Proper configuration will allow you to optimize your settings and maximize the quality of your recordings. Here are some essential steps to consider when configuring your recording software:
1. Audio Input Selection: Open your recording software and select the correct audio input source. Choose the microphone or audio interface that you will be using to capture your audio. Ensure that it is set as the primary input source in the software.
2. Sample Rate and Bit Depth: Set the appropriate sample rate and bit depth in your recording software. It is recommended to use a sample rate of 44.1kHz or higher, and a bit depth of 16 bits or higher, for optimal audio quality. Higher sample rates and bit depths may be required for specific audio production purposes.
3. Channel Configuration: If you are recording with multiple microphones or audio sources, configure the channels in your software accordingly. Assign each microphone or audio source to its respective channel to capture individual audio tracks separately for easier editing and mixing later on.
4. Recording Format: Choose the desired recording format for your audio files. Common formats include WAV, MP3, and FLAC. Consider the specific requirements of your project and the intended use of the recordings when selecting the format. WAV files offer uncompressed audio quality but result in larger file sizes, while MP3 and FLAC provide compressed formats with smaller file sizes.
5. Set Recording Levels: Adjust the recording levels in your software to ensure that you are capturing the audio at an optimal volume. Set the input levels neither too low, which can result in weak and noisy recordings, nor too high, which can cause clipping and distortion. Monitor the input levels during recording to ensure they remain within an acceptable range.
6. Monitor and Headphone Settings: Configure your software to allow for real-time monitoring of your audio while recording. This will enable you to listen to the audio inputs through your headphones or reference monitors. Make sure the monitoring settings are properly adjusted to avoid any latency or feedback issues.
7. File Management: Determine how your recording software handles file management. Set the destination folder where your recordings will be saved and establish a naming convention to keep your files organized. Consider enabling automatic file splitting if you are recording for extended durations to prevent large, unwieldy files.
8. Save and Export Settings: Once you have configured all the necessary settings, save your configuration as a preset or template in your recording software. This will allow you to quickly recall these settings for future recording sessions. Additionally, ensure that you have the proper export settings configured if you plan to export your recordings in a specific format or for a particular use.
Properly configuring your recording software is key to capturing high-quality audio and optimizing your workflow. Take the time to explore the settings and options available in your software, and don’t hesitate to refer to the user manual or online resources for more in-depth guidance. By setting up your recording software correctly, you’ll be well-prepared to capture professional-grade audio on your PC.
Adjusting the Input Levels
Adjusting the input levels is a crucial step in achieving clean and balanced audio recordings on your PC. Properly setting the input levels ensures that the audio signal is neither too soft nor too loud, resulting in optimal sound quality. Here are some key steps to consider when adjusting the input levels:
1. Monitor the Input Levels: Open your recording software or audio interface control panel and locate the input level meters. These meters display the volume or level of the incoming audio signal. Make sure to have this visual feedback available during the adjustment process.
2. Start with a Low Input Level: Begin by setting the input levels to a low setting. This prevents the audio from clipping or distorting right from the start. Keep in mind that it’s easier to increase the volume of a recording than to repair distortion caused by an excessively high input level.
3. Speak or Play at Normal Volume: Generate an audio input, whether it’s speaking into the microphone or playing an instrument, at a normal volume level. This will serve as your baseline for adjusting the input levels. Ensure that your volume is consistent throughout the recording process to maintain a balanced sound.
4. Aim for Optimal Meter Reading: As you monitor the input level meters, gradually increase the input gain until the audio signal is reaching an optimal level. Aim for a meter reading that hovers around -12 dB to -6 dB. This range provides good headroom and avoids potential clipping.
5. Avoid Clipping: Pay close attention to the input level meters to ensure that the audio signal does not reach the maximum level and cause clipping. Clipping occurs when the input signal exceeds the maximum capacity of the recording system, resulting in distorted audio. Adjust the input level down if you notice the meters hitting the highest point.
6. Consider Dynamic Range: Take into account the dynamic range of the audio you are recording. Certain instruments or vocal techniques may have a wide dynamic range, requiring more careful adjustment of input levels to capture the softest and loudest parts of the sound without distortion.
7. Test Different Input Sources: If you are recording with multiple microphones or audio sources, adjust the input levels for each source individually. This helps ensure that each source is well-balanced and contributes to a cohesive mix during editing or post-production.
8. Monitor and Adjust Throughout Recording: Continuously monitor the input levels during the recording process. Adjust the input level as needed if you notice any fluctuations or inconsistencies. This ensures that your recordings remain at an ideal level throughout the entire session.
Remember, the goal of adjusting the input levels is to achieve a clean and balanced audio signal. By taking the time to properly set the input levels, you can capture recordings that have optimal volume and clarity, ultimately enhancing the overall listening experience for your audience.
Test Recording and Playback
Before diving into your actual recording session, it is crucial to test your setup and ensure that everything is working properly. Performing a test recording and playback allows you to identify any potential issues and make necessary adjustments for optimal results. Here are the key steps to follow for testing your recording and playback:
1. Select a Test Sound: Choose a sound source to use as a test, such as a simple spoken phrase or musical instrument. This will allow you to evaluate the quality and clarity of the recorded audio.
2. Set the Input Levels: Adjust the input levels based on the test sound you have chosen. Monitor the input meters in your recording software or audio interface to ensure that the audio signal is reaching an optimal level without clipping or distorting.
3. Record a Test Clip: Initiate the recording and perform the test sound into the microphone or audio source. Keep the recording short but long enough to evaluate the quality of the sound. Pay attention to any unwanted noise or distortion during the recording.
4. Playback the Test Clip: Once the test clip is recorded, play it back through your audio playback device or software. Listen carefully to the playback and assess the sound quality, clarity, and overall balance of the recorded audio.
5. Check for Distortion or Noise: Listen for any signs of distortion, clipping, or unwanted background noise in the playback. These issues may indicate that the input levels were set too high, or that there are problems with the microphone, interface, or recording environment. Adjust the input levels or make necessary changes to address any issues you identify.
6. Evaluate Sound Balance and EQ: Pay attention to the balance of the different frequencies in the test recording. Ensure that the lower and higher frequencies are well represented and that there are no drastic imbalances. Consider the tone and character of the sound, making note of any EQ adjustments that may be necessary to achieve the desired sound quality.
7. Assess Timing and Latency: Check for any timing issues or latency in the recorded audio. Latency refers to the delay between performing the test sound and hearing it through the playback. If you detect any noticeable delay, you may need to adjust buffer settings or consider using a lower latency audio interface for real-time monitoring.
8. Repeat and Fine-Tune: If any issues are identified during the test recording and playback, repeat the process after making necessary adjustments. Fine-tune your setup, including microphone placement, input levels, and any software or hardware settings, to further refine the audio quality.
Performing a test recording and playback session allows you to identify any potential issues and make necessary adjustments to ensure optimal sound quality before embarking on your actual recording. This process not only helps in capturing clean and balanced audio, but it also provides an opportunity to fine-tune your setup for the best recording experience.
Editing and Exporting Your Audio Files
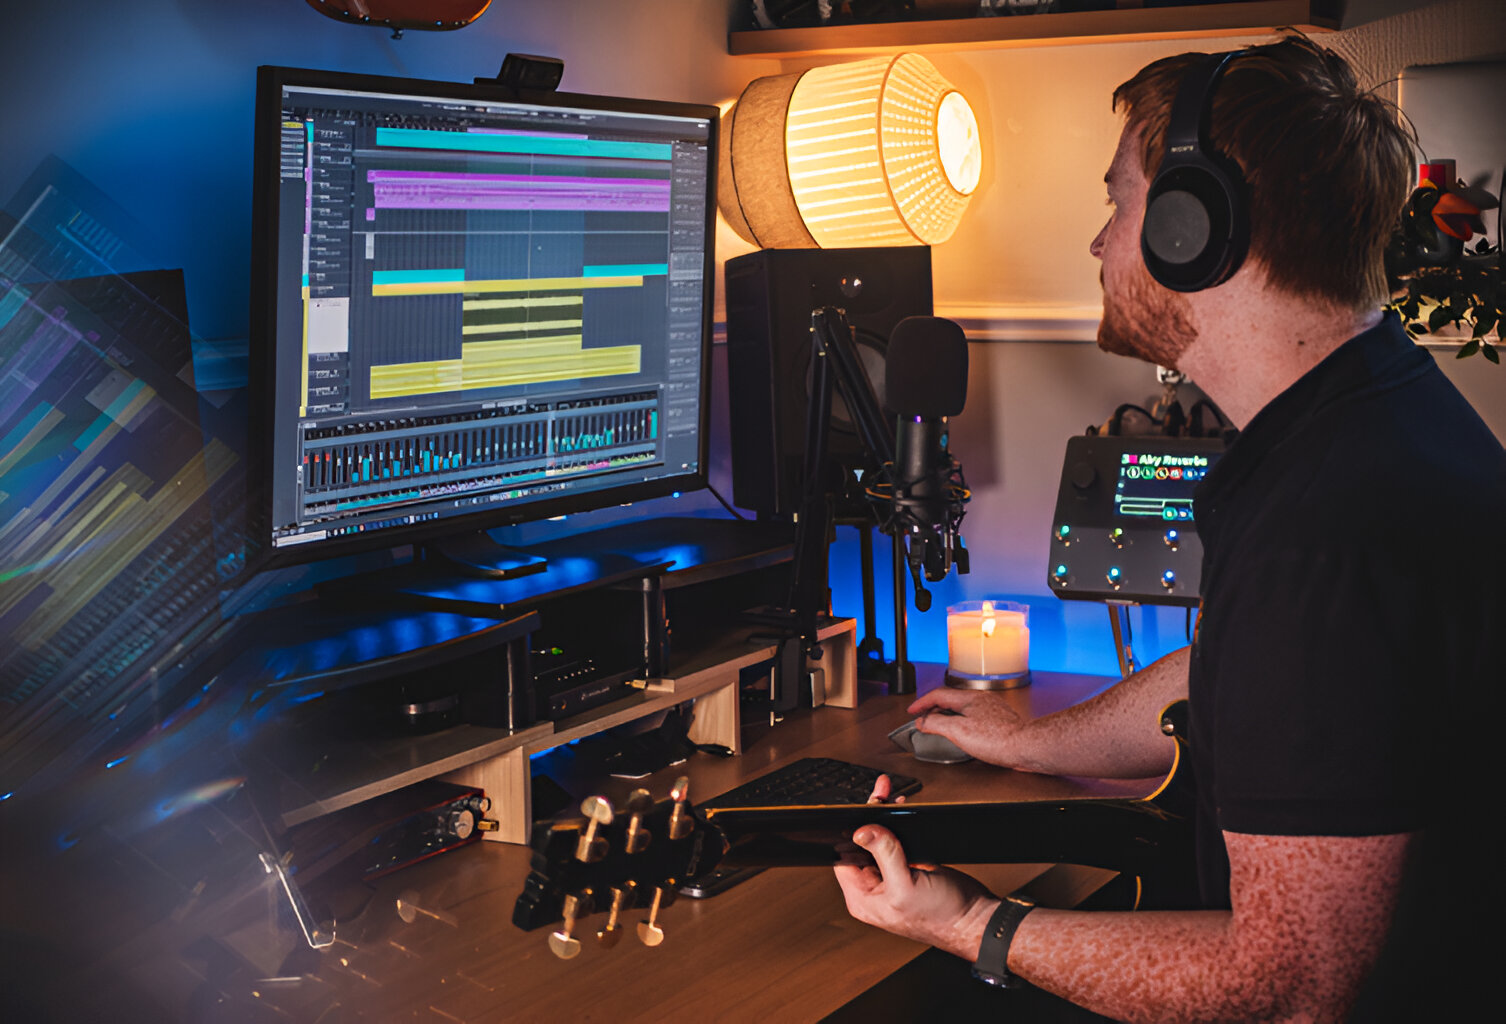
Editing and exporting your audio files is a crucial step in the post-production process that allows you to refine and enhance your recorded audio. Whether you’re a musician, podcaster, or voice-over artist, proper editing techniques can greatly improve the overall quality of your recordings. Here are the key steps to follow when editing and exporting your audio files:
1. Import Your Audio Files: Open your preferred audio editing software and import the audio files you want to work with. This can include individual tracks, vocals, background music, or any other audio elements you wish to include in your final mix.
2. Trim and Clean Up: Listen through your recordings and identify any sections that need to be trimmed or removed. Cut out any unwanted silence, mistakes, or background noise to create a cleaner and more focused sound. Utilize the editing tools in your software to precisely trim and adjust the audio as needed.
3. Arrange and Layer Tracks: Organize your audio tracks and arrange them in the desired order. Layer different audio elements, such as vocals and instruments, to create a cohesive and balanced mix. Use your editing software’s timeline or track view to easily rearrange and align the audio tracks.
4. Apply Audio Effects and Enhancements: Enhance the sound of your audio files by applying appropriate audio effects. This can include EQ adjustments, compression, reverb, delay, or any other effects needed to achieve the desired sound. Experiment with different effects settings to find the perfect balance for your recordings.
5. Mix and Balance: Balance the levels of your audio tracks to ensure that each element can be heard clearly and harmoniously. Adjust the volume levels, panning, and stereo imaging to create a well-balanced final mix. Use your editing software’s mixer or volume controls to achieve the desired sound balance.
6. Apply Noise Reduction and Restoration: If you have any audio recordings with background noise or imperfections, utilize noise reduction and restoration tools to clean up the sound. Remove any unwanted clicks, pops, hums, or hisses to improve the overall clarity of your recordings.
7. Export in the Desired Format: Once you are satisfied with the editing and mixing of your audio files, it’s time to export the final mix. Choose the appropriate file format, bitrate, and sample rate based on your intended use and distribution platform. Common formats include WAV, MP3, or FLAC.
8. Consider Metadata and Tagging: Before exporting, add metadata and tagging information to your audio files. This includes the title, artist, genre, and any other relevant details. Properly tagging your files ensures that they are correctly organized and easily searchable in media players and streaming platforms.
Remember, the editing and exporting stage allows you to refine and optimize your audio recordings. Take the time to experiment with various editing techniques and effects to achieve the desired sound quality. By following these steps, you’ll be able to deliver a polished and professional audio product that’s ready for distribution or further post-production.
Tips for Improving Audio Recording Quality
Improving the quality of your audio recordings is essential for achieving professional-sounding results. Whether you’re a musician, podcaster, or voice-over artist, here are some valuable tips to help you enhance the quality of your audio recordings:
1. Choose a Quiet Recording Environment: Select a quiet location to minimize background noise. Avoid recording near noisy appliances, air vents, or high-traffic areas. Consider using soundproofing materials or recording in a dedicated space to reduce external noises.
2. Optimize Room Acoustics: Pay attention to the acoustics of your recording space. Reduce echoes and reverberation by adding acoustic treatment such as foam panels, diffusers, or bass traps. This helps create a focused and clean sound without unwanted reflections.
3. Use a High-Quality Microphone: Invest in a good-quality microphone that suits your recording needs. A quality microphone can significantly improve the clarity and accuracy of your recordings. Consider factors such as microphone type, polar pattern, and frequency response when choosing the right microphone for your specific application.
4. Properly Position the Microphone: Place the microphone at an appropriate distance and angle to capture the desired sound accurately. Experiment with different positions and microphone techniques to find the sweet spot for your recordings. Avoid placing the microphone too close to avoid plosive sounds or too far to lose clarity.
5. Check and Set Input Levels: Adjust the input levels of your recording device to capture the audio at an optimal volume without clipping or distortion. Monitor the input meters and ensure that the levels are consistently in the desired range throughout the recording session.
6. Minimize Handling Noise: When recording handheld microphones or instruments, be mindful of handling noise. Make sure to hold the microphone or instrument in a way that minimizes any unwanted noise caused by bumping or touching the equipment.
7. Use Pop Filters or Windscreens: Reduce plosive sounds and wind noise by using pop filters or windscreens. These accessories help mitigate the harsh and unwanted sounds that can occur when pronouncing certain consonants or when recording in outdoor or windy conditions.
8. Consider External Audio Interfaces: If your recordings require higher audio quality or additional inputs, consider using an external audio interface. These devices offer better sound quality and more control over the recording process, allowing for professional-grade recordings.
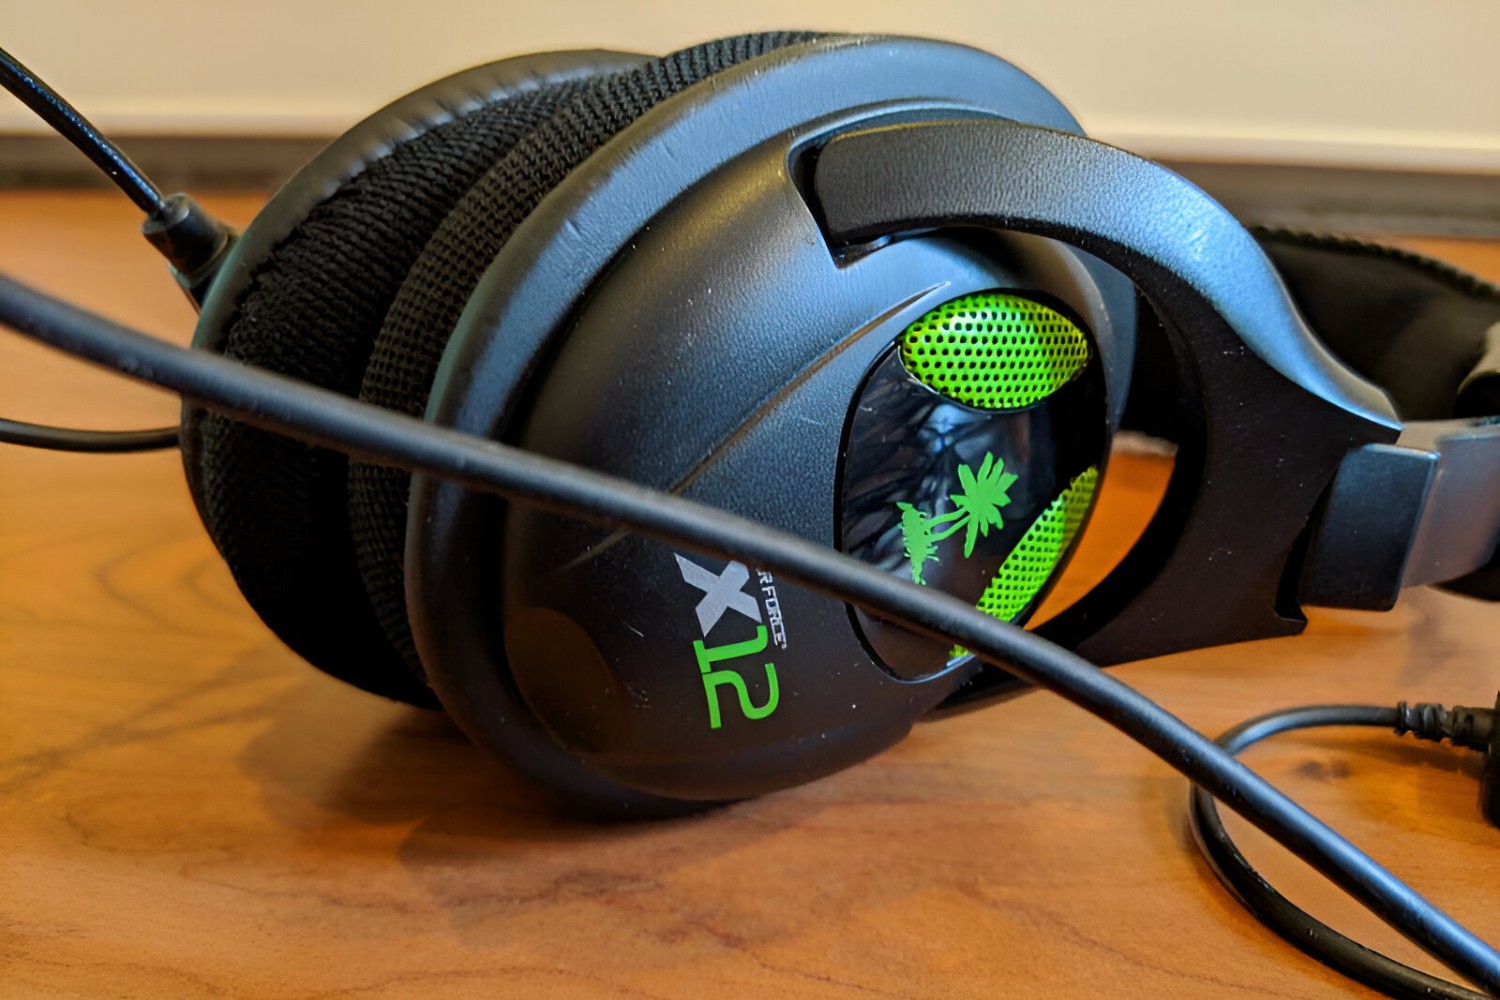
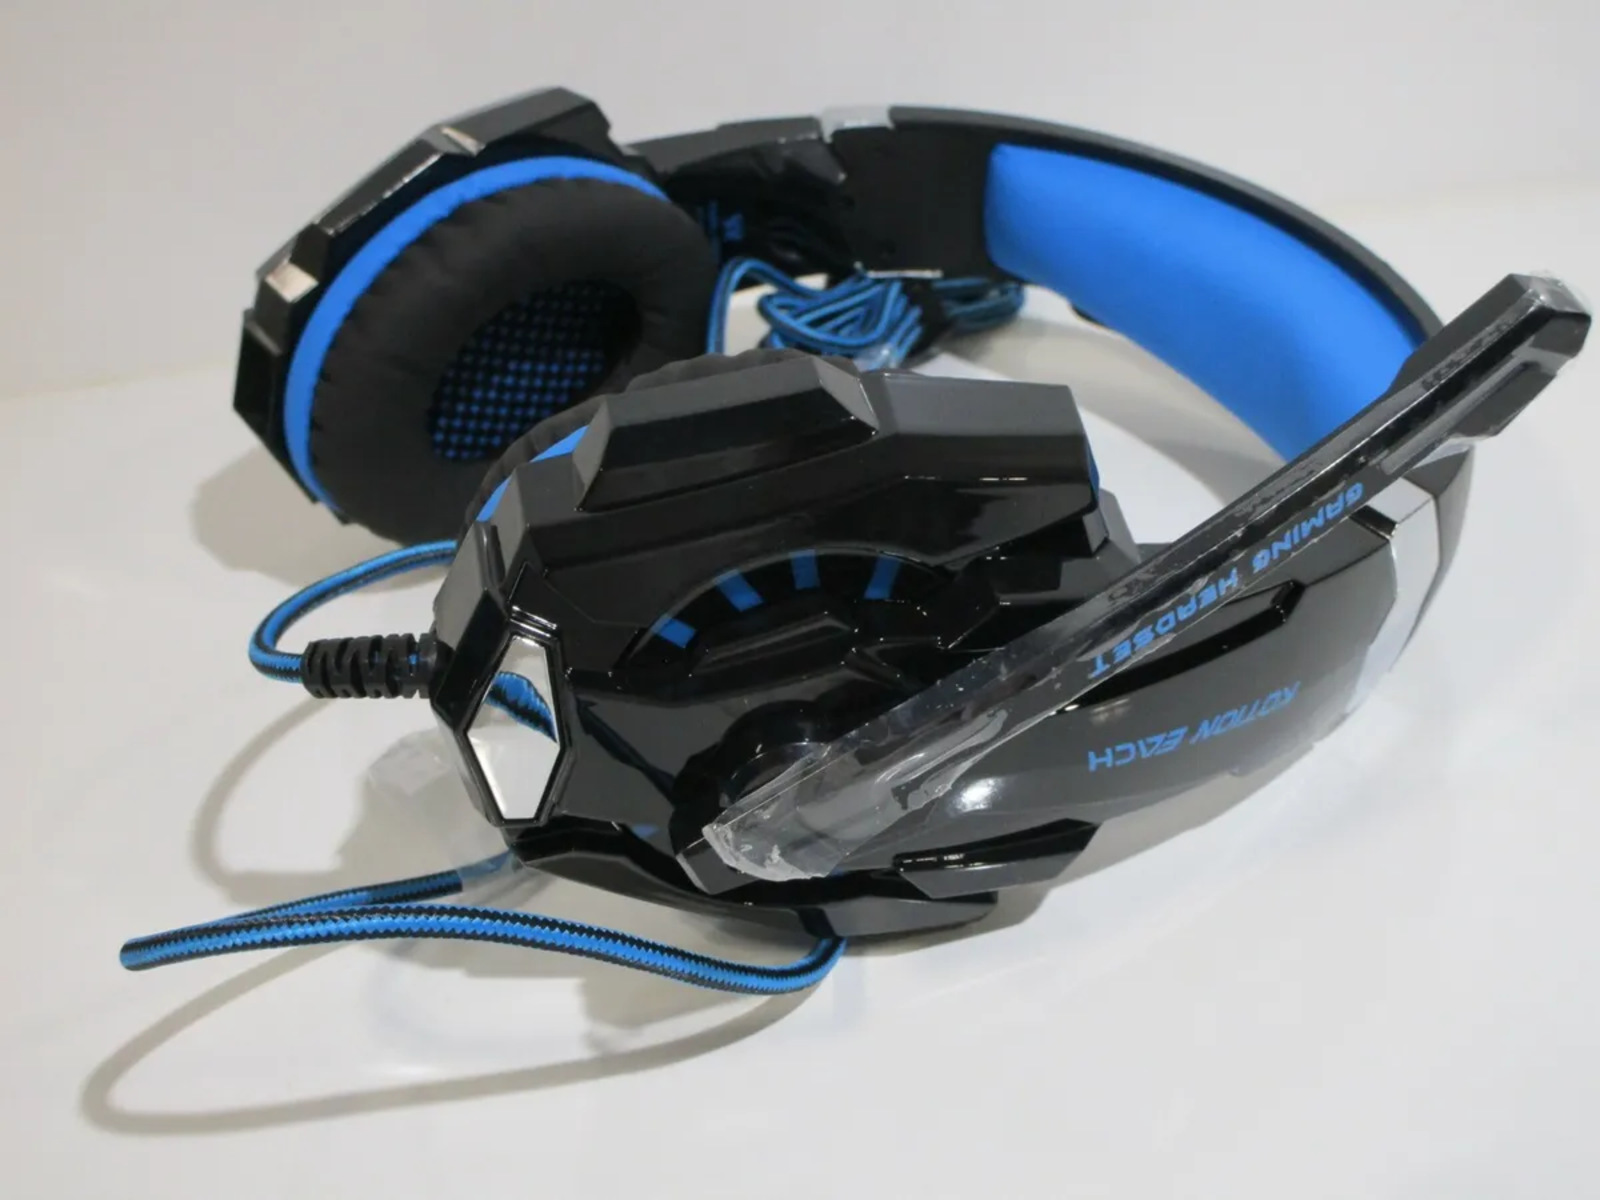
9. Monitor with Headphones: Use high-quality headphones to monitor your recordings while recording or during the playback stage. This helps you detect any issues, such as unwanted noise or imbalances, and make necessary adjustments for better sound quality.
10. Practice and Experiment: Lastly, don’t forget to practice and experiment with different techniques and settings. The more you explore and refine your recording process, the better you will become at capturing high-quality audio. Consistent practice and experimentation will lead to improved recording skills over time.
By implementing these tips into your recording workflow, you can greatly enhance the quality of your audio recordings. Remember that achieving professional-sounding results takes time and practice. Continuously strive for improvement, experiment with new techniques, and adapt your approach based on the specific requirements of each recording project.
Troubleshooting Common Audio Recording Issues
While recording audio on your PC, you may encounter various issues that can affect the quality of your recordings. Understanding and troubleshooting these common audio recording issues can help you overcome challenges and achieve better results. Here are some common issues and possible solutions:
1. Background Noise: If you notice unwanted background noise in your recordings, identify and minimize the source of the noise. Use soundproofing techniques, such as acoustic panels or noise isolation shields, to reduce external noise. Additionally, adjust microphone placement and use noise reduction tools in your recording software to further minimize background noise.
2. Distortion or Clipping: Distortion and clipping occur when the audio signal exceeds the maximum capacity of your recording equipment. To avoid this issue, adjust the input levels on your microphone or audio interface. Monitor the input levels to ensure they remain within the acceptable range and reduce the gain if necessary.
3. Low Volume or Weak Signal: If your recordings have low volume or weak signal, check the microphone placement and ensure it is positioned correctly. Increase the input gain on your audio interface or recording software to boost the signal. Additionally, consider using a preamp or a higher-sensitivity microphone to capture stronger signals.
4. Uneven Frequency Response: Uneven frequency response can result in imbalanced audio, with certain frequencies being over or underemphasized. To address this, use an EQ plugin or software to adjust the frequency response and ensure a balanced sound. Experiment with different EQ settings to achieve the desired mix.
5. Plosive Sounds: Plosive sounds, such as “p” and “b” sounds, can be problematic and cause unwanted bursts of air hitting the microphone diaphragm. To reduce plosives, use a pop filter or foam windscreen in front of the microphone. Adjusting microphone placement or using a microphone with a built-in pop filter can also help mitigate the issue.
6. Echo or Reverberation: Excessive echo or reverberation can negatively impact the clarity of your recordings. To reduce echo, record in a smaller room with better acoustic treatment. If you are experiencing a reverberant recording space, consider using acoustic panels or blankets to absorb the reflected sound and improve the overall recording quality.
7. Latency Issues: Latency, a delay between input and output, can affect real-time monitoring while recording. To minimize latency, use lower buffer settings in your audio interface settings or recording software. Alternatively, consider using a dedicated low-latency audio interface or employing direct monitoring capabilities, bypassing the need for monitoring through software.
8. Software Compatibility: If you experience compatibility issues between your recording software and your operating system or hardware, ensure your software and drivers are up to date. Check for any compatibility updates or patches from the software’s manufacturer or consider switching to a different software that is compatible with your setup.
9. CPU Overload: If you encounter CPU overload while recording, causing audio dropouts or glitches, close unnecessary applications or processes running in the background. Lower the buffer size or consider upgrading your computer’s hardware, such as increasing RAM or using a faster processor, to handle the recording tasks more efficiently.
10. Audio Interface Connectivity: If your audio interface is not recognized or fails to connect properly, ensure that all cables are securely connected. Try using different USB or audio connectors, and check the device drivers or firmware for any updates. Restart your computer if necessary and troubleshoot hardware or connection issues accordingly.
By implementing these troubleshooting tips, you can overcome common audio recording issues and improve the quality of your recordings. It’s important to remain patient and persistent in finding solutions, as each situation may require a different approach. Don’t hesitate to seek technical support or consult online forums and communities for additional guidance if needed.
Conclusion
Recording audio on your PC can be an enjoyable and rewarding experience. With the right techniques and tools, you can achieve professional-level recordings right from the comfort of your own home. Throughout this guide, we have covered essential steps to improve your audio recording quality, from selecting the right software and setting up your microphone to adjusting audio settings and troubleshooting common issues.
Remember to choose the appropriate audio recording software for your needs and configure it correctly. Set up your microphone properly, adjusting input levels and selecting the right recording source. Take advantage of the various techniques and tools available to enhance your recordings, such as proper editing, applying effects, and balancing the mix.
Additionally, consider implementing tips to optimize your recording quality, such as choosing a quiet environment, using high-quality equipment, and practicing proper microphone placement. Troubleshoot common audio recording issues to ensure the best possible results, keeping in mind factors like background noise, distortion, and latency.
As you embark on your audio recording journey, remember that practice and experimentation are key. Continuously explore new techniques, refine your skills, and adapt to the specific requirements of each recording project. With time and dedication, you will develop the expertise to create professional-level audio recordings that captivate your audience.
So don’t be afraid to dive in, unleash your creativity, and enjoy the process of recording audio on your PC. Take these guidelines as a starting point, and let your passion for sound guide you as you embark on your recording adventures. Happy recording!