Introduction
Instagram has become one of the most popular social media platforms for sharing photos and videos. It allows users to express their creativity and connect with others through visual content. One unique feature of Instagram is the ability to post live photos, which adds a touch of animation to your pictures. However, posting live photos on Instagram is not as straightforward as uploading regular photos. In this article, we will discuss how to post live photos on Instagram and share some tips to make the process easier and more efficient.
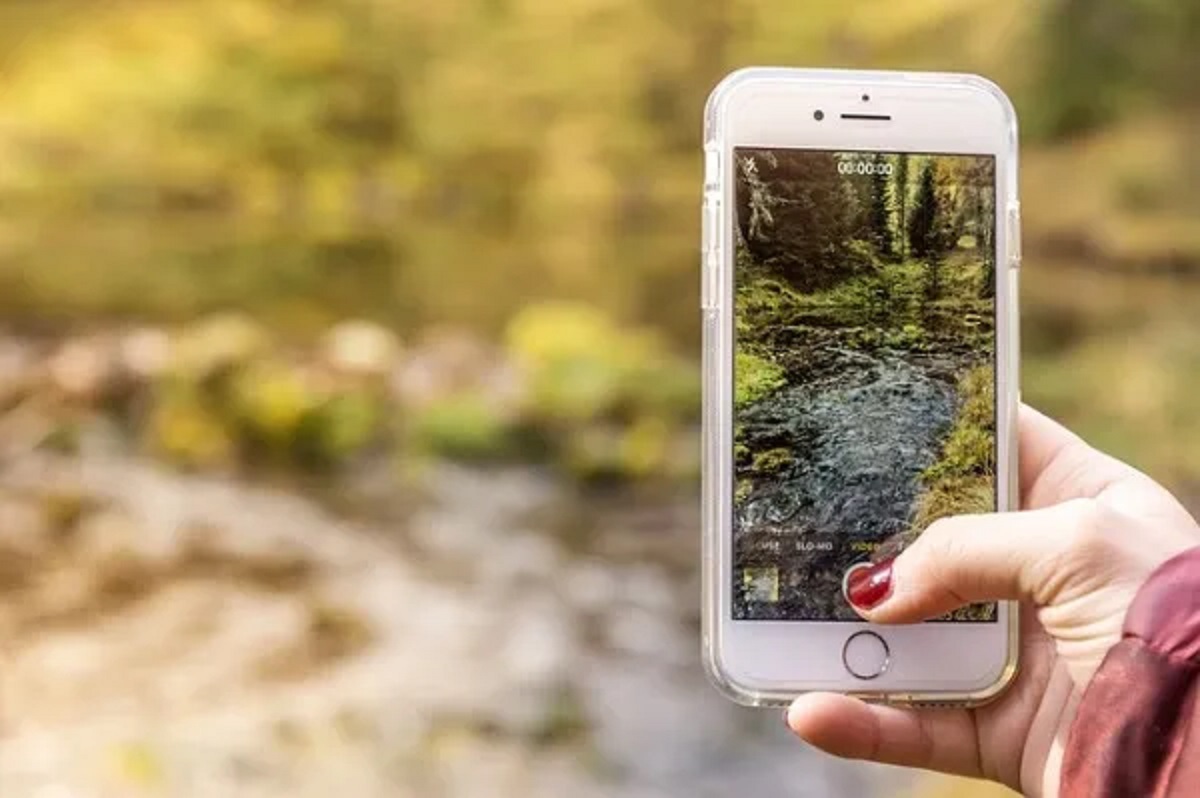
Live photos are a feature available on newer iPhone models. When you capture a live photo, it records a short video clip along with the still image. This brings your photos to life by capturing the moments just before and after you press the shutter button. In other words, it adds a glimpse of motion and sound to your pictures.
To post live photos on Instagram, you first need to convert them into videos. While Instagram doesn’t directly support the live photo format, you can easily convert them using the built-in features of your iPhone or by using third-party apps specifically designed for this purpose.
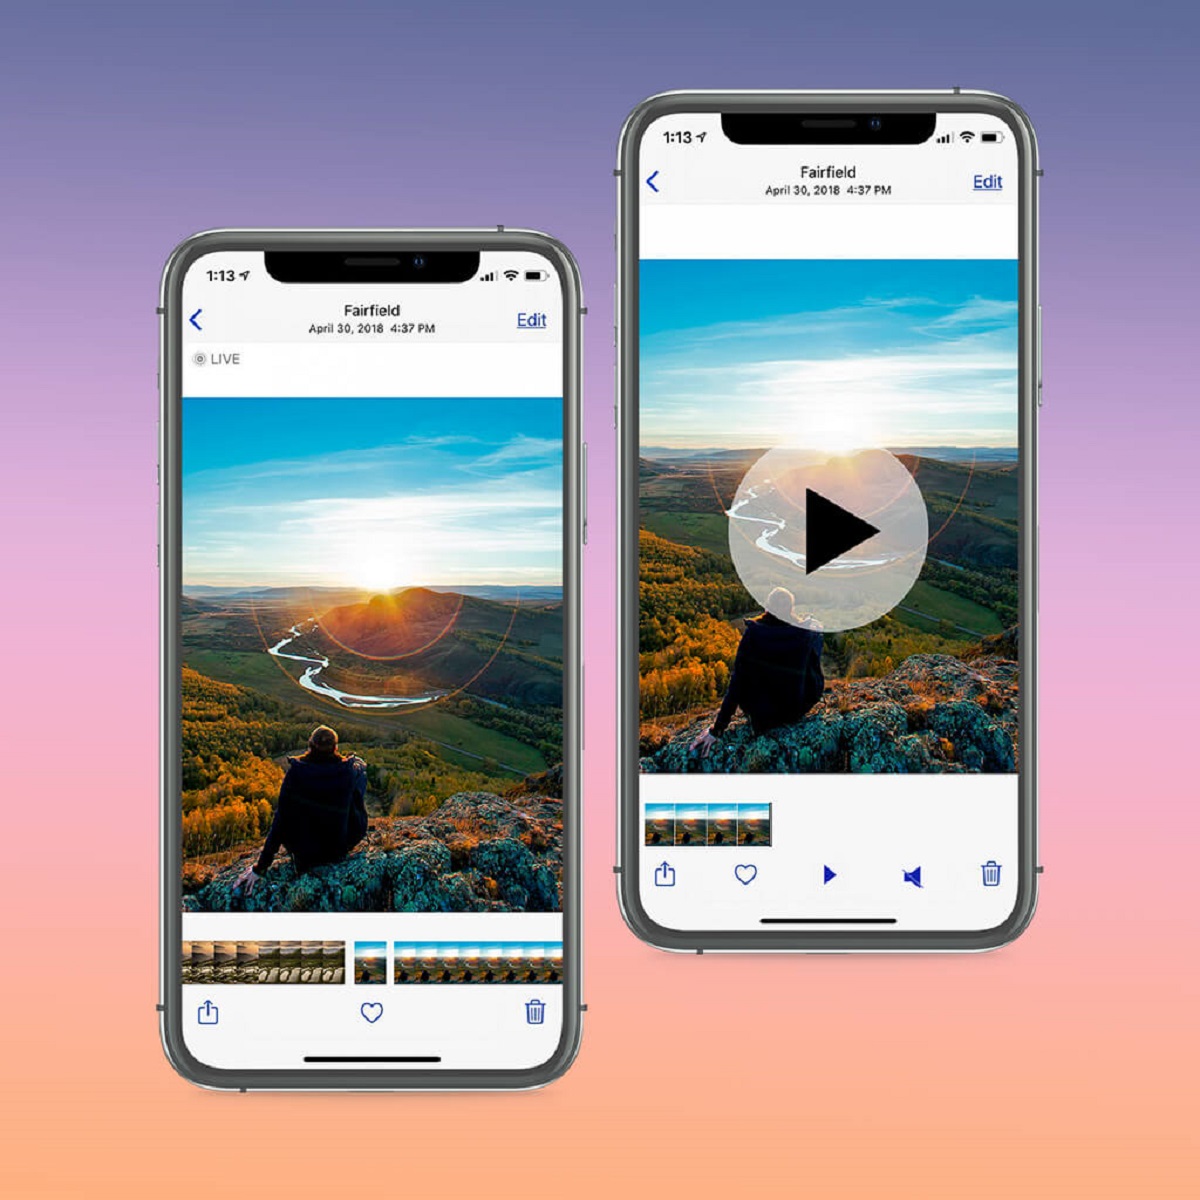
One way to convert your live photos into videos is by using the editing tools on your iPhone. Simply open the live photo in your Photos app, tap on the “Edit” button, and make any adjustments if needed. Then, tap on the “Export” button to save it as a video. This will create a video file that you can easily upload to Instagram.
There are also several third-party apps available that can convert live photos into videos. These apps typically offer additional features such as trimming, editing, and applying filters to your live photos. Some popular apps for this purpose include Lively, Motion Stills, and Live Studio. Simply download the app of your choice, import your live photo, and convert it into a video format compatible with Instagram.
Once you have converted your live photo into a video, you may want to trim or edit it further to enhance the visual appeal. You can use video editing apps like iMovie or Adobe Premiere Rush to make adjustments such as cropping, adding filters, or applying transitions. This allows you to polish your video and make it more engaging for your Instagram followers.
What are Live Photos?
Live Photos are a unique feature introduced by Apple on newer iPhone models. They consist of a still image accompanied by a short video clip, capturing a brief moment of motion and sound before and after the photo was taken. In essence, Live Photos bring your pictures to life, providing an added layer of depth and interactivity.
When you capture a Live Photo, your iPhone records 1.5 seconds of video footage (1.5 seconds before and 1.5 seconds after you press the shutter button). This additional content is saved in a separate file that seamlessly integrates with the still image. When viewing a Live Photo on your iPhone, you can simply press and hold the picture to see the animation come to life.
One of the key benefits of Live Photos is that they take you back to the moment when the picture was taken. The short video clip captures the ambiance, movement, and sound of that precise time, allowing you to relive the memories in a more dynamic way compared to traditional static images.
Live Photos offer an array of creative possibilities. They are particularly useful for capturing action shots, such as sports events, parties, or any fast-paced moment. When scrolling through your photo library, Live Photos provide a visually appealing and immersive experience, drawing your attention with their subtle movement.
Furthermore, Live Photos can be easily shared and enjoyed. On Apple devices, you can view them by simply pressing and holding the photo. Additionally, Live Photos can be set as dynamic wallpapers on the lock screen, bringing some animation to your device. However, when it comes to sharing Live Photos on other platforms or apps, such as Instagram, they need to be first converted into a compatible format (typically a video).
It is important to note that Live Photos are not exclusive to Apple. There are also third-party apps and software options available for Android devices and even desktop computers that can capture similar live-like images. However, for the purpose of this article, we will focus on the Live Photos feature provided by Apple on iPhones.
Converting Live Photos into Videos
Although Instagram doesn’t directly support Live Photos, you can easily convert them into videos to be uploaded and shared on the platform. There are a few different methods you can use to accomplish this conversion, depending on your device and preferences.
If you have an iPhone, converting Live Photos into videos can be done using the built-in editing tools. Simply open the Live Photo in your Photos app, tap on the “Edit” button, and make any adjustments or edits if needed. Once you are satisfied with the result, tap on the “Export” button, which looks like a square with an arrow pointing upward. This will save the Live Photo as a video file in your camera roll. Now, the video file is ready to be uploaded to Instagram.
In addition to the native iPhone tools, there are also third-party apps available that can help you easily convert Live Photos into videos. Apps such as Lively, Motion Stills, and Live Studio are popular options that offer additional features like trimming, applying filters, and editing your Live Photos before converting them into videos. These apps provide a more versatile and customizable experience, allowing you to enhance your Live Photos and make them Instagram-ready with just a few taps.
For Android users or those who prefer using desktop computers, there are alternative methods to convert Live Photos into videos. One option is to transfer the Live Photo file to your computer and use video converters or editing software to convert it into a compatible video format. There are numerous video converter tools available online that can help you achieve this, such as Handbrake or Adobe Premiere Pro.
It is worth noting that in the process of converting Live Photos into videos, the length of the resulting video may vary depending on the duration of the original Live Photo. Typically, the video will be a few seconds long, encompassing the motion and sound captured by the Live Photo. It is important to consider this aspect when selecting the Live Photos you wish to convert, as excessively long videos may not be as engaging for viewers on Instagram.
Once you have successfully converted your Live Photos into videos, you can proceed to the next step of uploading them to Instagram. Remember to ensure that the video is within the maximum allowed length for Instagram posts, which is currently 60 seconds. If the video exceeds this limit, you may need to further trim or edit it to fit the time constraint.
Using Third-Party Apps to Convert Live Photos into Videos
If you’re looking for more flexibility and advanced features when converting Live Photos into videos, using third-party apps can be a great option. These apps offer a range of capabilities, such as additional editing tools, filters, and effects, allowing you to customize your Live Photos before converting them into videos for Instagram.
One popular app for converting Live Photos into videos is Lively. Available for iOS devices, Lively offers a simple and user-friendly interface. It allows you to select the Live Photos you want to convert and provides options for cropping, trimming, and adding filters to enhance your videos. Lively also supports various video formats, making it easy to upload the converted videos to Instagram.
Another app worth considering is Motion Stills, developed by Google for iOS. Motion Stills not only converts Live Photos into videos but also turns them into stabilized GIFs or looping videos. This app utilizes advanced stabilization technology to remove any shakiness from your Live Photos, resulting in smooth and captivating visual content. Additionally, Motion Stills offers editing tools to adjust playback speed, apply visual effects, and more, providing a comprehensive solution for converting and enhancing Live Photos.
If you’re seeking more advanced editing options, Live Studio might be the perfect choice. Available for iOS devices, Live Studio enables professional-grade editing for Live Photos. It offers features such as video composition, adding music or voiceovers, and precise control over transitions and effects. With Live Studio, you can transform your Live Photos into stunning videos that truly stand out on Instagram.
Using third-party apps to convert Live Photos into videos offers more flexibility and creative control. You can personalize your videos with unique filters, effects, and editing techniques, allowing you to create visually distinctive content for your Instagram feed.
To get started with these apps, simply download them from the App Store, import your Live Photos, and follow the instructions provided within each app. Most third-party apps have intuitive interfaces that guide you through the conversion process step by step. Once your Live Photos are transformed into videos, you can easily share them on Instagram and enjoy the dynamic and engaging content created from your Live Photos.
It’s important to note that while some of these third-party apps may offer additional features and functionalities, they may also come with certain limitations or in-app purchases. Ensure that you read the app descriptions and reviews before downloading to find the best fit for your needs and preferences.
Trimming and Editing the Converted Video
After the conversion process, you may want to further enhance your converted video before uploading it to Instagram. Trimming and editing the video allows you to refine the content, improve its visual appeal, and create a more engaging experience for your audience.
Most smartphones come with built-in video editing tools that allow you to trim and make basic adjustments to your videos. On iPhones, for example, you can use the Photos app or the iMovie app to edit your videos. Simply locate the converted video in your camera roll or within the respective app, and look for the option to edit or trim the video.
When trimming the video, focus on the most interesting and important parts. Remove any unnecessary or less captivating footage, as this will help maintain the viewer’s attention. Trim the video to highlight the key moments and ensure that it aligns with the desired length for an Instagram post, which is currently limited to 60 seconds.
In addition to trimming, you can utilize various editing techniques to enhance the video’s visual quality. This may include adjusting brightness, contrast, saturation, or applying filters to achieve a specific mood or aesthetic. Experiment with different editing options to find the look that best complements your content and reflects your personal style.
If you’re looking for more advanced editing features, consider using dedicated video editing apps such as Adobe Premiere Rush or InShot. These apps provide a wide range of tools and effects to enhance your videos. You can add text overlays, apply transitions between clips, incorporate music or sound effects, and even adjust the speed or play in reverse. These additional editing options allow you to unleash your creativity and make your videos truly unique.
When editing the video, keep in mind your target audience and the purpose of the content. What story or message do you want to convey? By considering these factors, you can make intentional editing choices that align with your goals and resonate with your viewers.
Once your video is trimmed and edited to perfection, save it as a separate file to preserve the original converted video. This ensures that you have a backup in case any further adjustments are necessary or if you want to reuse the original footage. Then, proceed to the next step of uploading the edited video to Instagram.
Remember to always preview your edited video before sharing it on Instagram to ensure that everything looks and sounds as intended. Pay attention to the details and make the necessary adjustments if needed. This extra step ensures that your video is visually appealing and impactful when viewed by your followers on Instagram.
Uploading the Converted Video to Instagram
Once you have successfully converted and edited your Live Photo into a video, it’s time to upload it to Instagram. Instagram provides a simple and straightforward process for sharing videos on the platform, allowing you to showcase your creative content to your followers.
To begin, open the Instagram app on your smartphone and tap on the “+” icon at the bottom center of the screen. This will open up the upload interface, where you can select the video you want to share from your camera roll or gallery. Locate the converted video file that you wish to upload and select it.
After selecting the video, you have the option to further customize it before posting. You can apply filters, adjust brightness or contrast, or add captions and location tags. Explore the various editing tools offered by Instagram to enhance your video and make it stand out. However, keep in mind that the length of your video should not exceed the maximum limit of 60 seconds for regular Instagram posts.
Once you are satisfied with the edits and ready to share, tap on the “Next” button in the top-right corner of the screen. On this screen, you can add a caption to your video, mention other Instagram users by using the “@” symbol, and include relevant hashtags to reach a wider audience. Captions and hashtags can help provide context and make your video more discoverable on the platform.
Before finalizing your post, you may also want to adjust the thumbnail image that will be displayed in the Instagram feed. Instagram auto-generates a thumbnail from your video, but you can select a different frame if desired. Simply scrub through the video preview and tap on the “Cover” button to choose a thumbnail that accurately represents your video and captures attention.
Once you have completed all the necessary steps, you can tap on the “Share” button to publish your converted video on Instagram. Your video will be uploaded to your feed and visible to your followers. They can watch, like, comment, and share your video, allowing you to engage with your audience and receive feedback on your content.
Additionally, you can also share your video to other platforms such as Facebook or Twitter by toggling the respective sharing options before posting. This enables you to further extend the reach of your content and connect with audiences on different social media platforms.
Remember to monitor the performance of your video once it is posted. Pay attention to the engagement metrics such as likes, comments, and shares. This will provide insights into the effectiveness of your content and help you refine your approach for future video uploads on Instagram.
As a final tip, consider leveraging Instagram’s Stories feature to promote and share your video. You can create a short teaser or behind-the-scenes preview of your video, adding an additional layer of intrigue and encouraging your followers to watch the full video in your feed. Stories have a temporary lifespan of 24 hours, allowing you to create a sense of urgency and drive more views to your video post.
Uploading Live Photos Using the Instagram Boomerang App
While converting Live Photos into videos is a common method for sharing them on Instagram, there is another fun and engaging way to upload Live Photos using the Instagram Boomerang app. Boomerang allows you to create captivating looping videos from burst shots, including Live Photos, adding a playful and dynamic element to your Instagram content.
To get started, you will need to download the Instagram Boomerang app from the App Store or Play Store, depending on your device. Once installed, open the app, and you’ll see the camera interface. You can switch between the front and rear camera by tapping on the icon in the bottom-right corner.
To upload a Live Photo, tap and hold the capture button in the center of the screen. Boomerang will automatically detect the Live Photo in your camera roll and convert it into a captivating looping video. The video will play forward and backward in a continuous loop, creating a mesmerizing effect.
Once the Boomerang is created, you have the option to save it to your camera roll or directly share it on Instagram. To share it on Instagram, tap the arrow icon located at the top-right corner of the screen. This will open the share menu where you can add a caption, tag people, and include hashtags to accompany your Boomerang post. You can also choose to share it as a story or as a regular post in your feed.
When sharing your Boomerang on Instagram, you can leverage this unique format to engage your audience. Consider using Boomerangs to capture quick moments, playful actions, or humorous scenes that come to life when looped. The looping effect adds an element of surprise and catches the viewers’ attention, making your content more memorable and shareable.
It’s important to note that when using Boomerang, the resulting video will not have sound. This is inherent to the nature of the app and the looping format. However, you can add sound to your Boomerang by sharing it as an Instagram Story and using the app’s other creative features, such as music stickers or text overlays.
Take advantage of the fun and creative possibilities that Boomerang offers to showcase your Live Photos on Instagram. Experiment with different actions and perspectives to capture looping moments that stand out in your Instagram feed. Remember to also engage with your followers by liking and responding to their comments on your Boomerang posts, fostering a sense of community and connection.
Don’t limit yourself to just Live Photos for creating Boomerangs. You can also explore other burst shots or short video clips to create captivating looping content. Have fun experimenting and discovering new ways to express yourself and engage your audience with the Instagram Boomerang app.
Conclusion
In conclusion, posting live photos on Instagram may require a few extra steps compared to regular photos, but it opens up a world of creative possibilities for sharing dynamic visual content with your audience. By converting your live photos into videos, you can bring your images to life and create a more immersive experience for your followers.
There are different methods to convert live photos into videos, depending on your device and preferences. Utilizing the built-in editing tools on your iPhone allows for a simple and straightforward conversion process. Additionally, third-party apps like Lively, Motion Stills, and Live Studio offer more advanced features, such as trimming, filters, and effects, to enhance your live photos before converting them into videos.
Once you have converted and edited your live photo into a video, you can upload it to Instagram. Follow the easy steps to share your videos on Instagram, ensuring that you consider the length, customize the thumbnail image, and use captions and relevant hashtags to engage your audience. Monitor the performance of your videos and make adjustments based on the feedback you receive.
Furthermore, the Instagram Boomerang app provides a unique and playful way to upload live photos. By creating looping videos, you can capture attention and add an element of surprise to your content. Explore the features offered by Boomerang and let your creativity shine through.
In the end, whether you choose to convert your live photos into videos or use the Boomerang app, Instagram offers diverse possibilities to share your live photo moments with your followers. Experiment with different techniques and find the ones that best suit your style and storytelling. Take advantage of the powerful visual platform that Instagram provides to showcase your creativity and create a visually captivating feed for your audience to enjoy.
Remember, the key to successful Instagram posts is to engage your audience through eye-catching visuals. Convert your live photos into videos, trim and edit them to perfection, and utilize the features of Instagram and Boomerang to create content that leaves a lasting impression.