Introduction
When it comes to keeping your computer cool and preventing overheating, case fans play a crucial role. These fans help dissipate heat by circulating air within the computer case, ensuring that critical components stay at optimal operating temperatures. If you need to install or upgrade a case fan in your computer, one of the options you have is plugging it directly into the power supply unit (PSU).
In this tutorial, we will guide you through the process of plugging in a case fan into the PSU. By following these steps, you will be able to ensure proper cooling and maintain the longevity and performance of your computer system.
Before we proceed, it’s important to note that while many case fans can be connected directly to the motherboard, certain high-performance fans or additional fans might require a connection to the PSU for sufficient power supply. Always refer to your fan’s manufacturer specifications or consult your computer’s user manual for specific instructions.
Step 1: Turn off your computer
Before you begin any hardware installation or modification, it’s crucial to turn off your computer and unplug it from the power source. This step is essential to ensure your safety and prevent any potential damage to the components.
To turn off your computer, follow these simple steps:
- Save any open files or documents you’re working on.
- Close all running applications and programs.
- Click on the “Start” menu or press the Windows key on your keyboard.
- Select “Shutdown” or “Power Off” from the options provided.
- Wait for your computer to shut down completely.
Once your computer is powered off, make sure to unplug the power cord from the wall outlet. This will ensure that there is no electricity flowing through your system during the installation process, reducing the risk of electric shock.
Remember to take precautionary measures like grounding yourself by touching a metal surface before working inside your computer case. This will help prevent any static electricity from damaging delicate components.
Now that your computer is safely turned off and unplugged, you’re ready to move on to the next step of plugging in the case fan into the PSU.
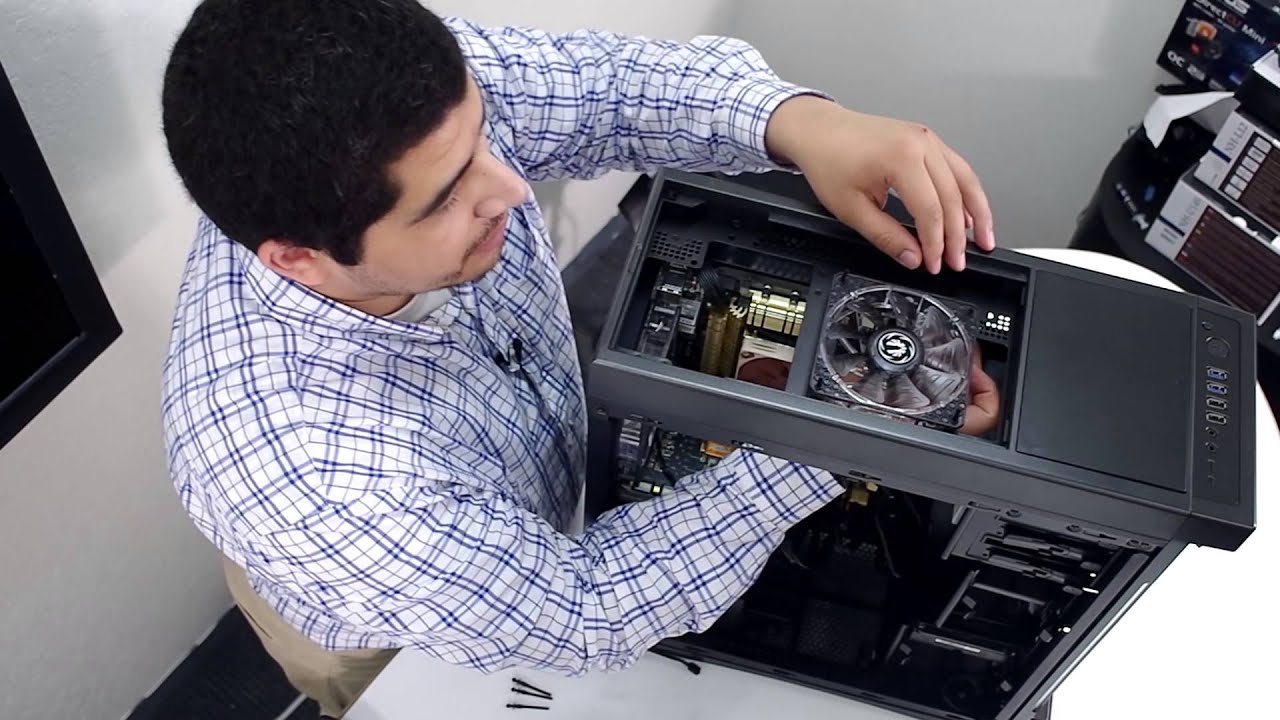
Step 2: Locate the case fan
To begin the process of plugging in a case fan into the PSU, you first need to locate the fan within your computer case. The fan is typically located at the rear or front of the case and is easily identifiable by its circular shape and blades that help circulate air.
Here’s how you can locate the fan:
- Open your computer case by removing the side panel. The method for opening the case may vary depending on the model of your computer, so refer to your computer’s user manual for specific instructions.
- Once the case is open, visually inspect the interior, paying attention to any visible fans. Most modern computer cases come with at least one pre-installed fan, but some cases may have multiple fans for enhanced cooling.
- Observe the size of the fan. Typically, case fans come in sizes of 80mm, 120mm, or 140mm. This information will be helpful when selecting the appropriate PSU connector for the fan.
If you purchased a new case fan for installation, ensure that it matches the size and specifications of the existing ones or the fan slots available in your case. This will ensure compatibility and optimal airflow within your system.
Once you have located the case fan, you are ready to move on to the next step of identifying the fan connector.
Step 3: Identify the fan connector
Before we can proceed with plugging in the case fan into the PSU, it’s important to identify the type of fan connector that the case fan uses. There are generally two types of connectors: the 3-pin connector and the 4-pin connector.
Here’s how you can identify the fan connector:
- Examine the wires coming out of the case fan. Look for a small plastic connector attached at the end of the wires.
- If the connector has three wires, it is a 3-pin connector. These connectors provide basic functionality to the fan, allowing it to spin at a fixed speed.
- If the connector has four wires, it is a 4-pin connector. These connectors, also known as PWM (Pulse Width Modulation) connectors, offer more advanced control over the fan speed.
Knowing the type of connector will help you determine the appropriate method to connect the case fan to the PSU later in the process. If you are unsure about the type of connector or need further assistance, consult the fan’s user manual or refer to the manufacturer’s website for more information.
Once you have identified the fan connector, you are ready for the next step, which involves preparing the PSU connectors.
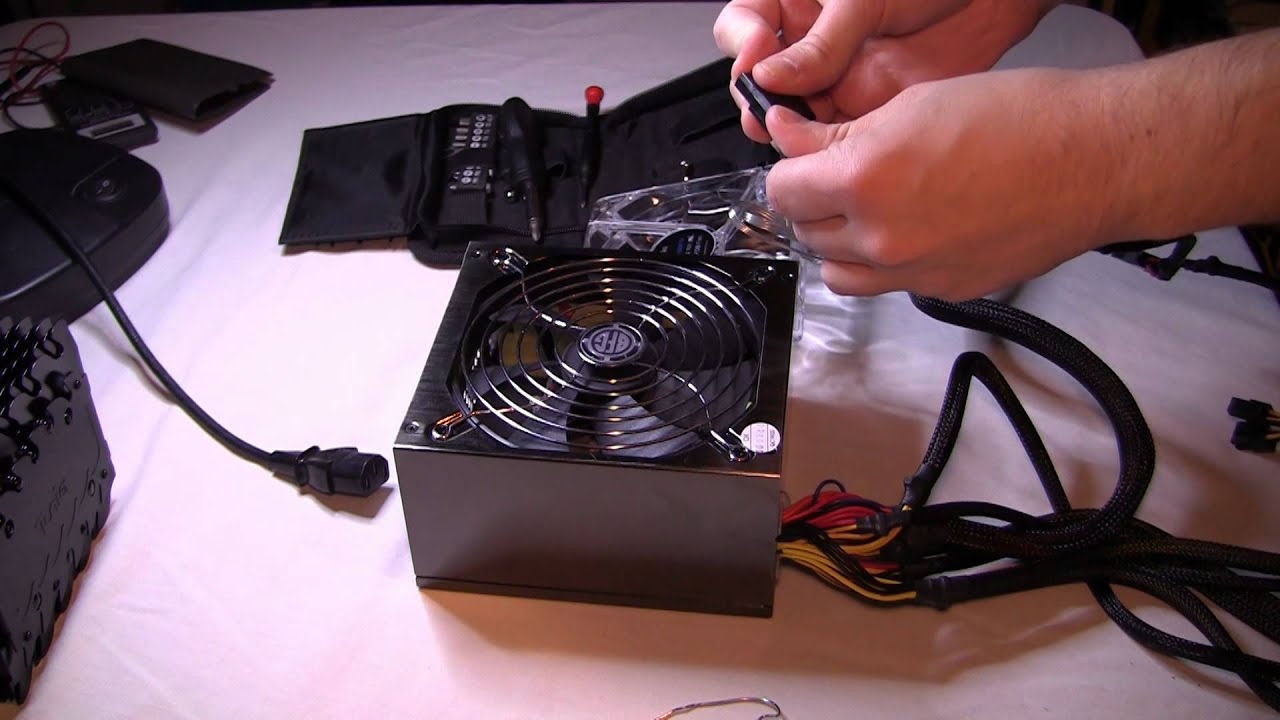
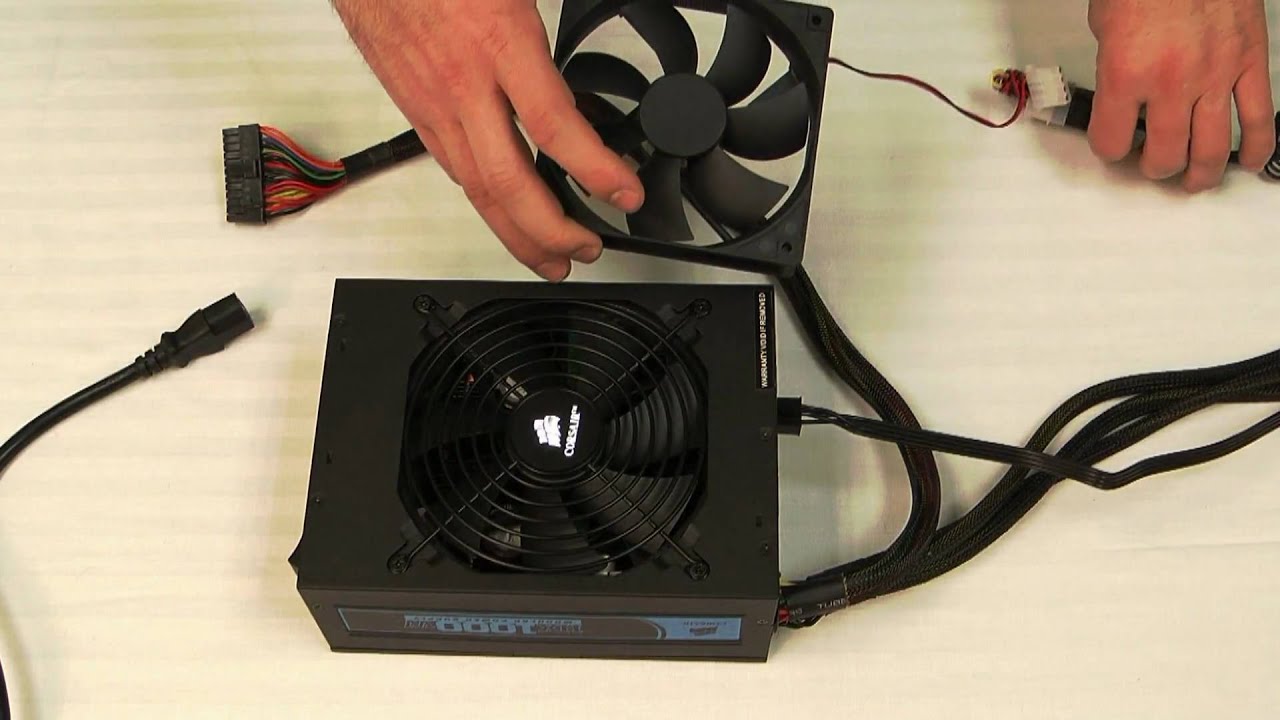
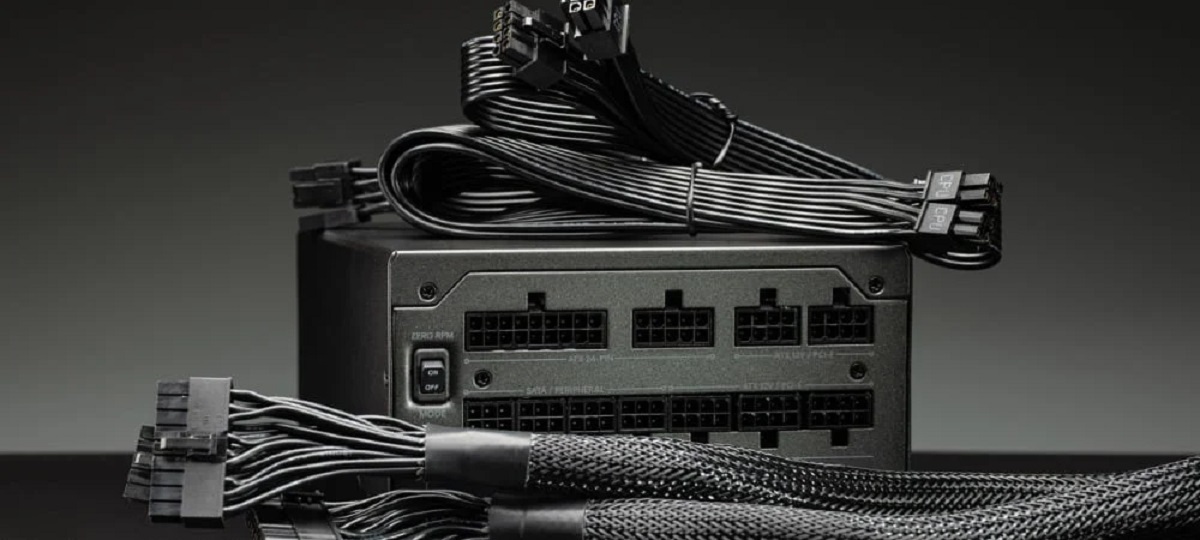
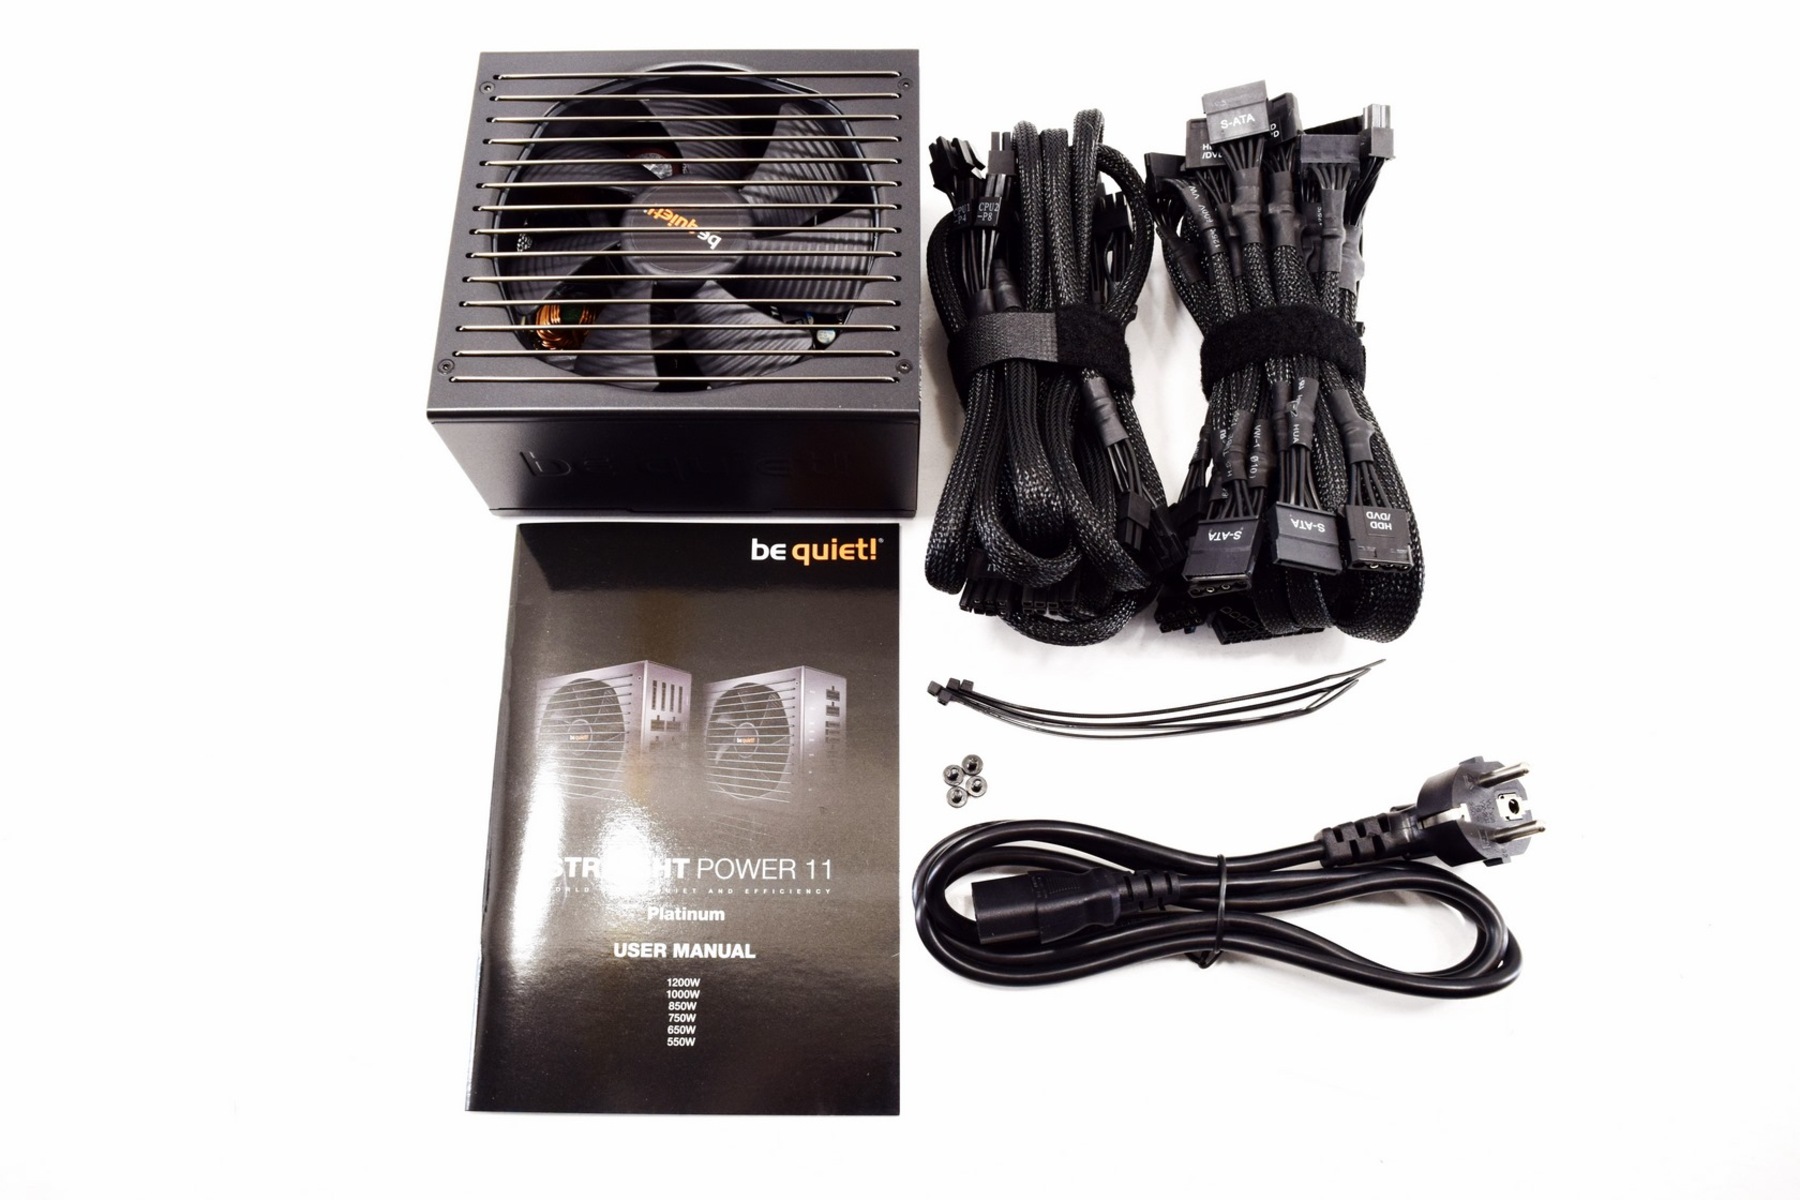
Step 4: Prepare the PSU connectors
In this step, we will prepare the necessary connectors from the power supply unit (PSU) to properly connect the case fan. Most PSUs come with a variety of connectors, including the ones required for case fans.
Follow these instructions to prepare the PSU connectors:
- Locate the appropriate connectors: Look for the Molex or SATA power connectors from your PSU. These connectors are widely used in desktop computers and should be included with your power supply.
- If your case fan uses a 3-pin connector: You will need a Molex-to-3-pin adapter. The Molex connector has four pins, so you will need to locate a Molex connector with four pins to match. Connect the 3-pin end of the adapter to the case fan connector.
- If your case fan uses a 4-pin connector: No additional adapters are required. The PSU should have a SATA power connector that is compatible with the 4-pin connector on the case fan. Simply connect the 4-pin connector to the SATA power connector.
It’s important to ensure a secure and snug connection between the PSU connectors and the case fan. This will guarantee reliable power delivery to the fan and prevent any disconnections during operation.
Once you have prepared the necessary PSU connectors, you are ready to move on to the next step of plugging in the case fan into the PSU.
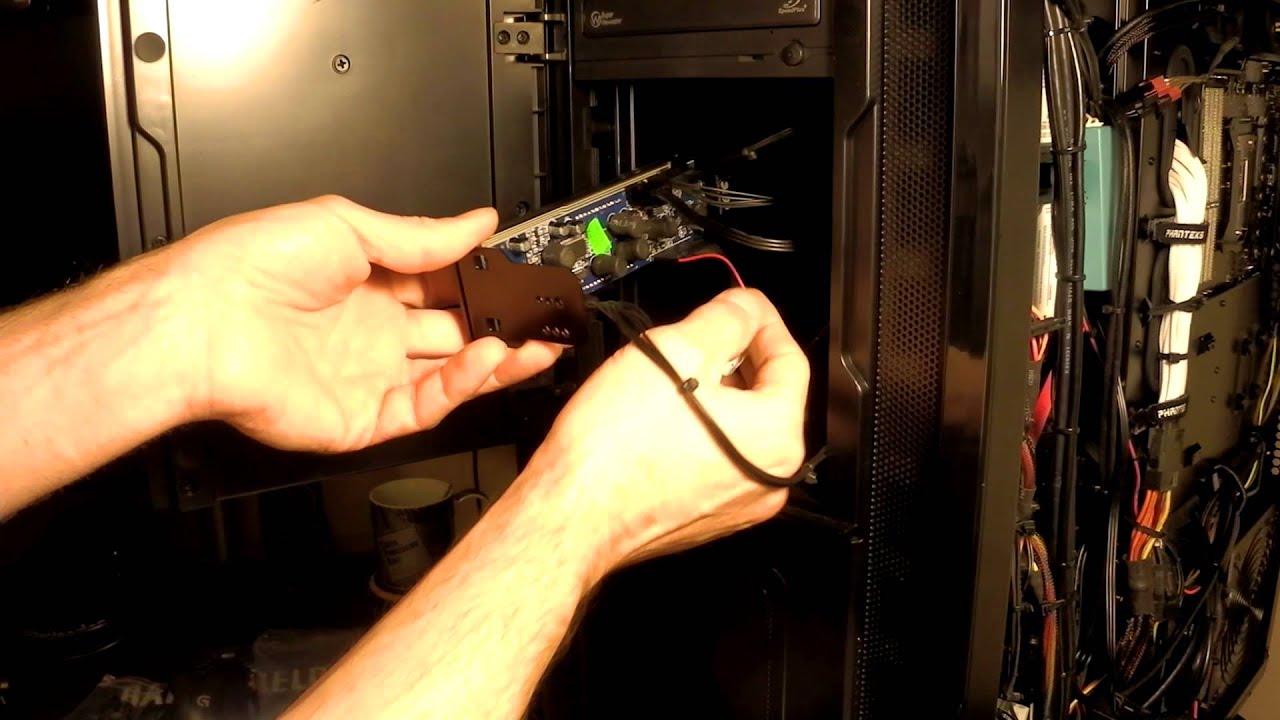
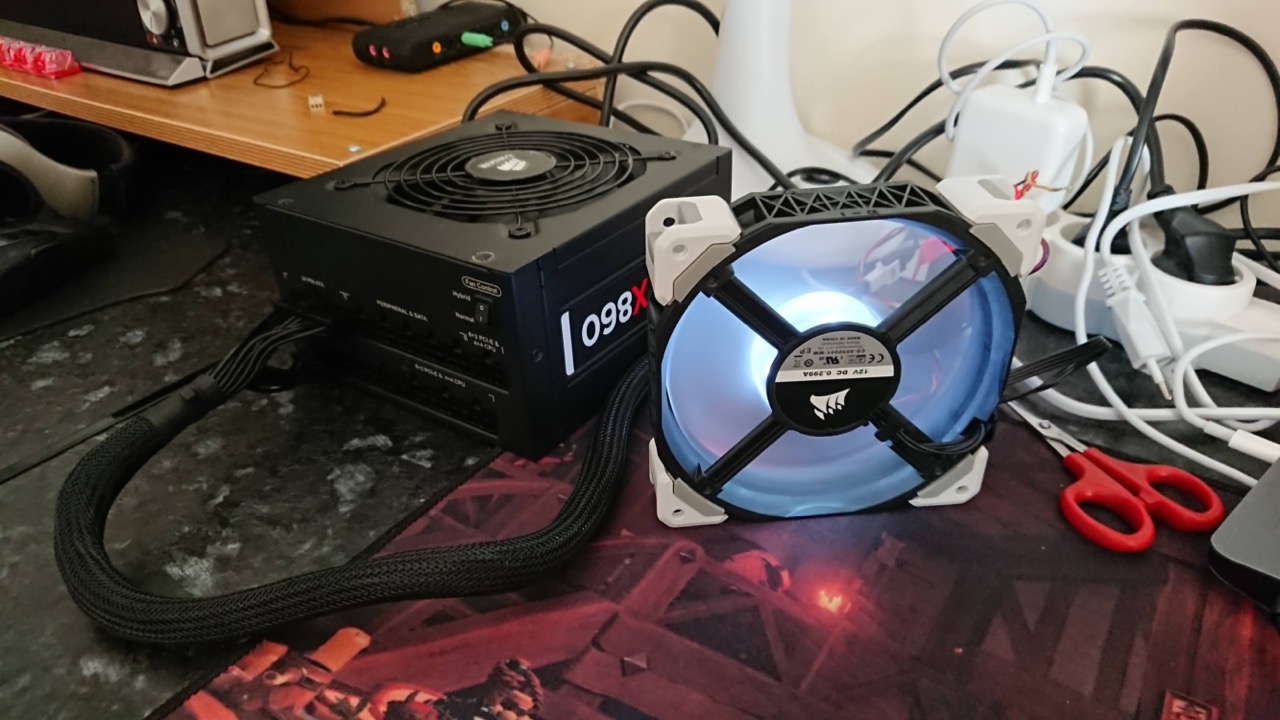
Step 5: Plug in the case fan into the PSU
Now that you have prepared the necessary PSU connectors, it’s time to plug in the case fan into the power supply unit (PSU) to ensure it receives adequate power for operation. The method will depend on the type of fan connector you identified in the previous steps.
Follow these steps to plug in the case fan into the PSU:
-
If your case fan uses a 3-pin connector:
- Locate an available Molex connector from your PSU. It should have four pins to match the adapter.
- Connect the Molex end of the Molex-to-3-pin adapter to the PSU’s Molex connector.
- Attach the 3-pin end of the adapter to the case fan’s 3-pin connector. Make sure the pins align correctly and the connection is secure.
-
If your case fan uses a 4-pin connector:
- Locate an available SATA power connector from your PSU. It should match the 4-pin connector on your case fan.
- Connect the 4-pin connector from the case fan directly to the SATA power connector.
It’s crucial to ensure that the connections are secure and properly aligned to avoid any power supply issues or fan malfunctions. Check that the connectors are firmly attached and there are no loose connections.
By plugging in the case fan into the PSU, you have established a direct power supply for the fan, ensuring it receives the necessary power to operate efficiently. The next step is to secure the connection to prevent any accidental disconnections.
Step 6: Secure the connection
After plugging in the case fan into the power supply unit (PSU), it’s essential to secure the connection to prevent any accidental disconnections that could disrupt the fan’s power supply and affect its performance. Properly securing the connection will ensure that the case fan operates consistently and reliably.
Follow these steps to secure the connection between the case fan and the PSU:
- Ensure that all the connectors are tightly plugged in. Check both ends of the adapter or the direct connector between the fan and the PSU to ensure a snug fit.
- Organize the cables and connectors neatly within the computer case. This will help prevent any entanglement or interference with other components and maintain proper airflow.
- Use cable ties or Velcro straps to secure the cables and prevent them from accidentally coming loose. This will also help in managing cable clutter for a cleaner and more organized interior.
By securing the connection and organizing the cables, you not only ensure the stability of the case fan’s power supply but also contribute to a tidier and more efficient computer system overall.
Once you have secured the connection, you’re ready to move on to the final step of powering on your computer and testing the case fan.
Step 7: Power on your computer
With the case fan properly plugged into the power supply unit (PSU) and the connection fully secured, it’s time to power on your computer and test the functionality of the newly installed or upgraded fan. This final step ensures that the fan is receiving power and spinning correctly, providing proper airflow and cooling for your system.
Follow these steps to power on your computer and test the case fan:
- Double-check that all cables and connections inside the computer case are secure and properly connected.
- Plug in the power cord and connect it to the wall outlet.
- Press the power button on your computer to turn it on.
- Observe the case fan to ensure that it starts spinning immediately or shortly after the computer boots up.
- Listen for any unusual noises or vibrations coming from the case fan. A slight humming sound is normal, but any loud or irregular noises could indicate a problem.
- Monitor the temperature of your computer components using software or BIOS tools to ensure that the case fan is providing adequate cooling.
If you notice any issues such as a non-functioning fan or abnormal behavior, double-check the connections, and consult the fan’s user manual or the manufacturer’s website for troubleshooting steps. It’s essential to address any potential problems promptly to prevent overheating and potential damage to your computer.
With the case fan installed and working properly, you can enjoy the benefits of improved cooling and optimal performance for your computer system.
Conclusion
Plugging in a case fan directly into the power supply unit (PSU) is a simple and effective way to ensure sufficient cooling for your computer system. By following the steps outlined in this guide, you can successfully install or upgrade a case fan and provide optimal airflow to keep your components running at their best.
We started by emphasizing the importance of turning off your computer and taking safety precautions before beginning any hardware installation. We then covered the essential steps, including locating the case fan, identifying the fan connector, preparing the PSU connectors, and plugging in the case fan into the PSU. We discussed the significance of securing the connection to maintain a reliable power supply and concluded with powering on your computer and testing the case fan’s functionality.
Remember to consult your computer’s user manual and the fan’s manufacturer specifications for any specific instructions or recommendations. Additionally, pay attention to the compatibility of the fan and the PSU connectors to ensure a seamless installation process.
Installing or upgrading a case fan plays a vital role in maintaining optimal temperatures and promoting the longevity and performance of your computer system. By following these steps, you can cool your components effectively, reduce the risk of overheating, and ultimately enhance the overall stability and efficiency of your computer.
Keep your computer running smoothly by regularly cleaning the case fan and monitoring its performance. If you run into any issues or difficulties during the installation process, don’t hesitate to seek professional assistance or reach out to the manufacturer’s support team for guidance.