Introduction
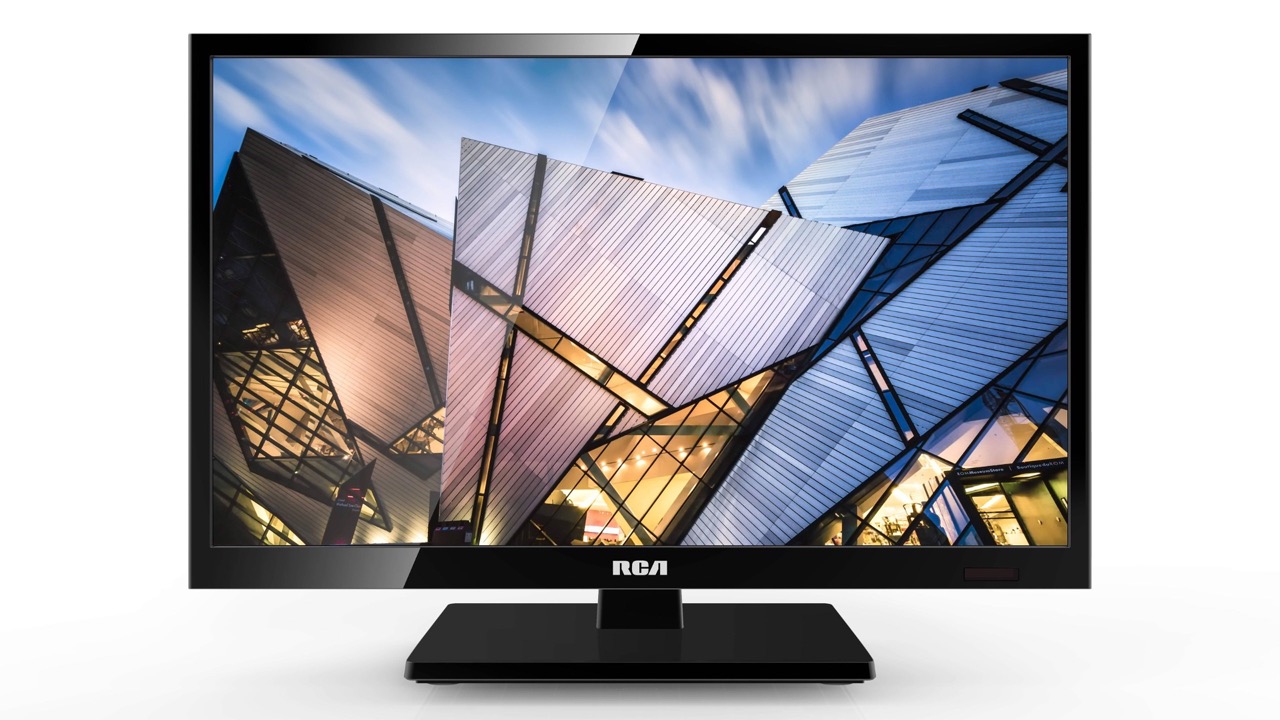
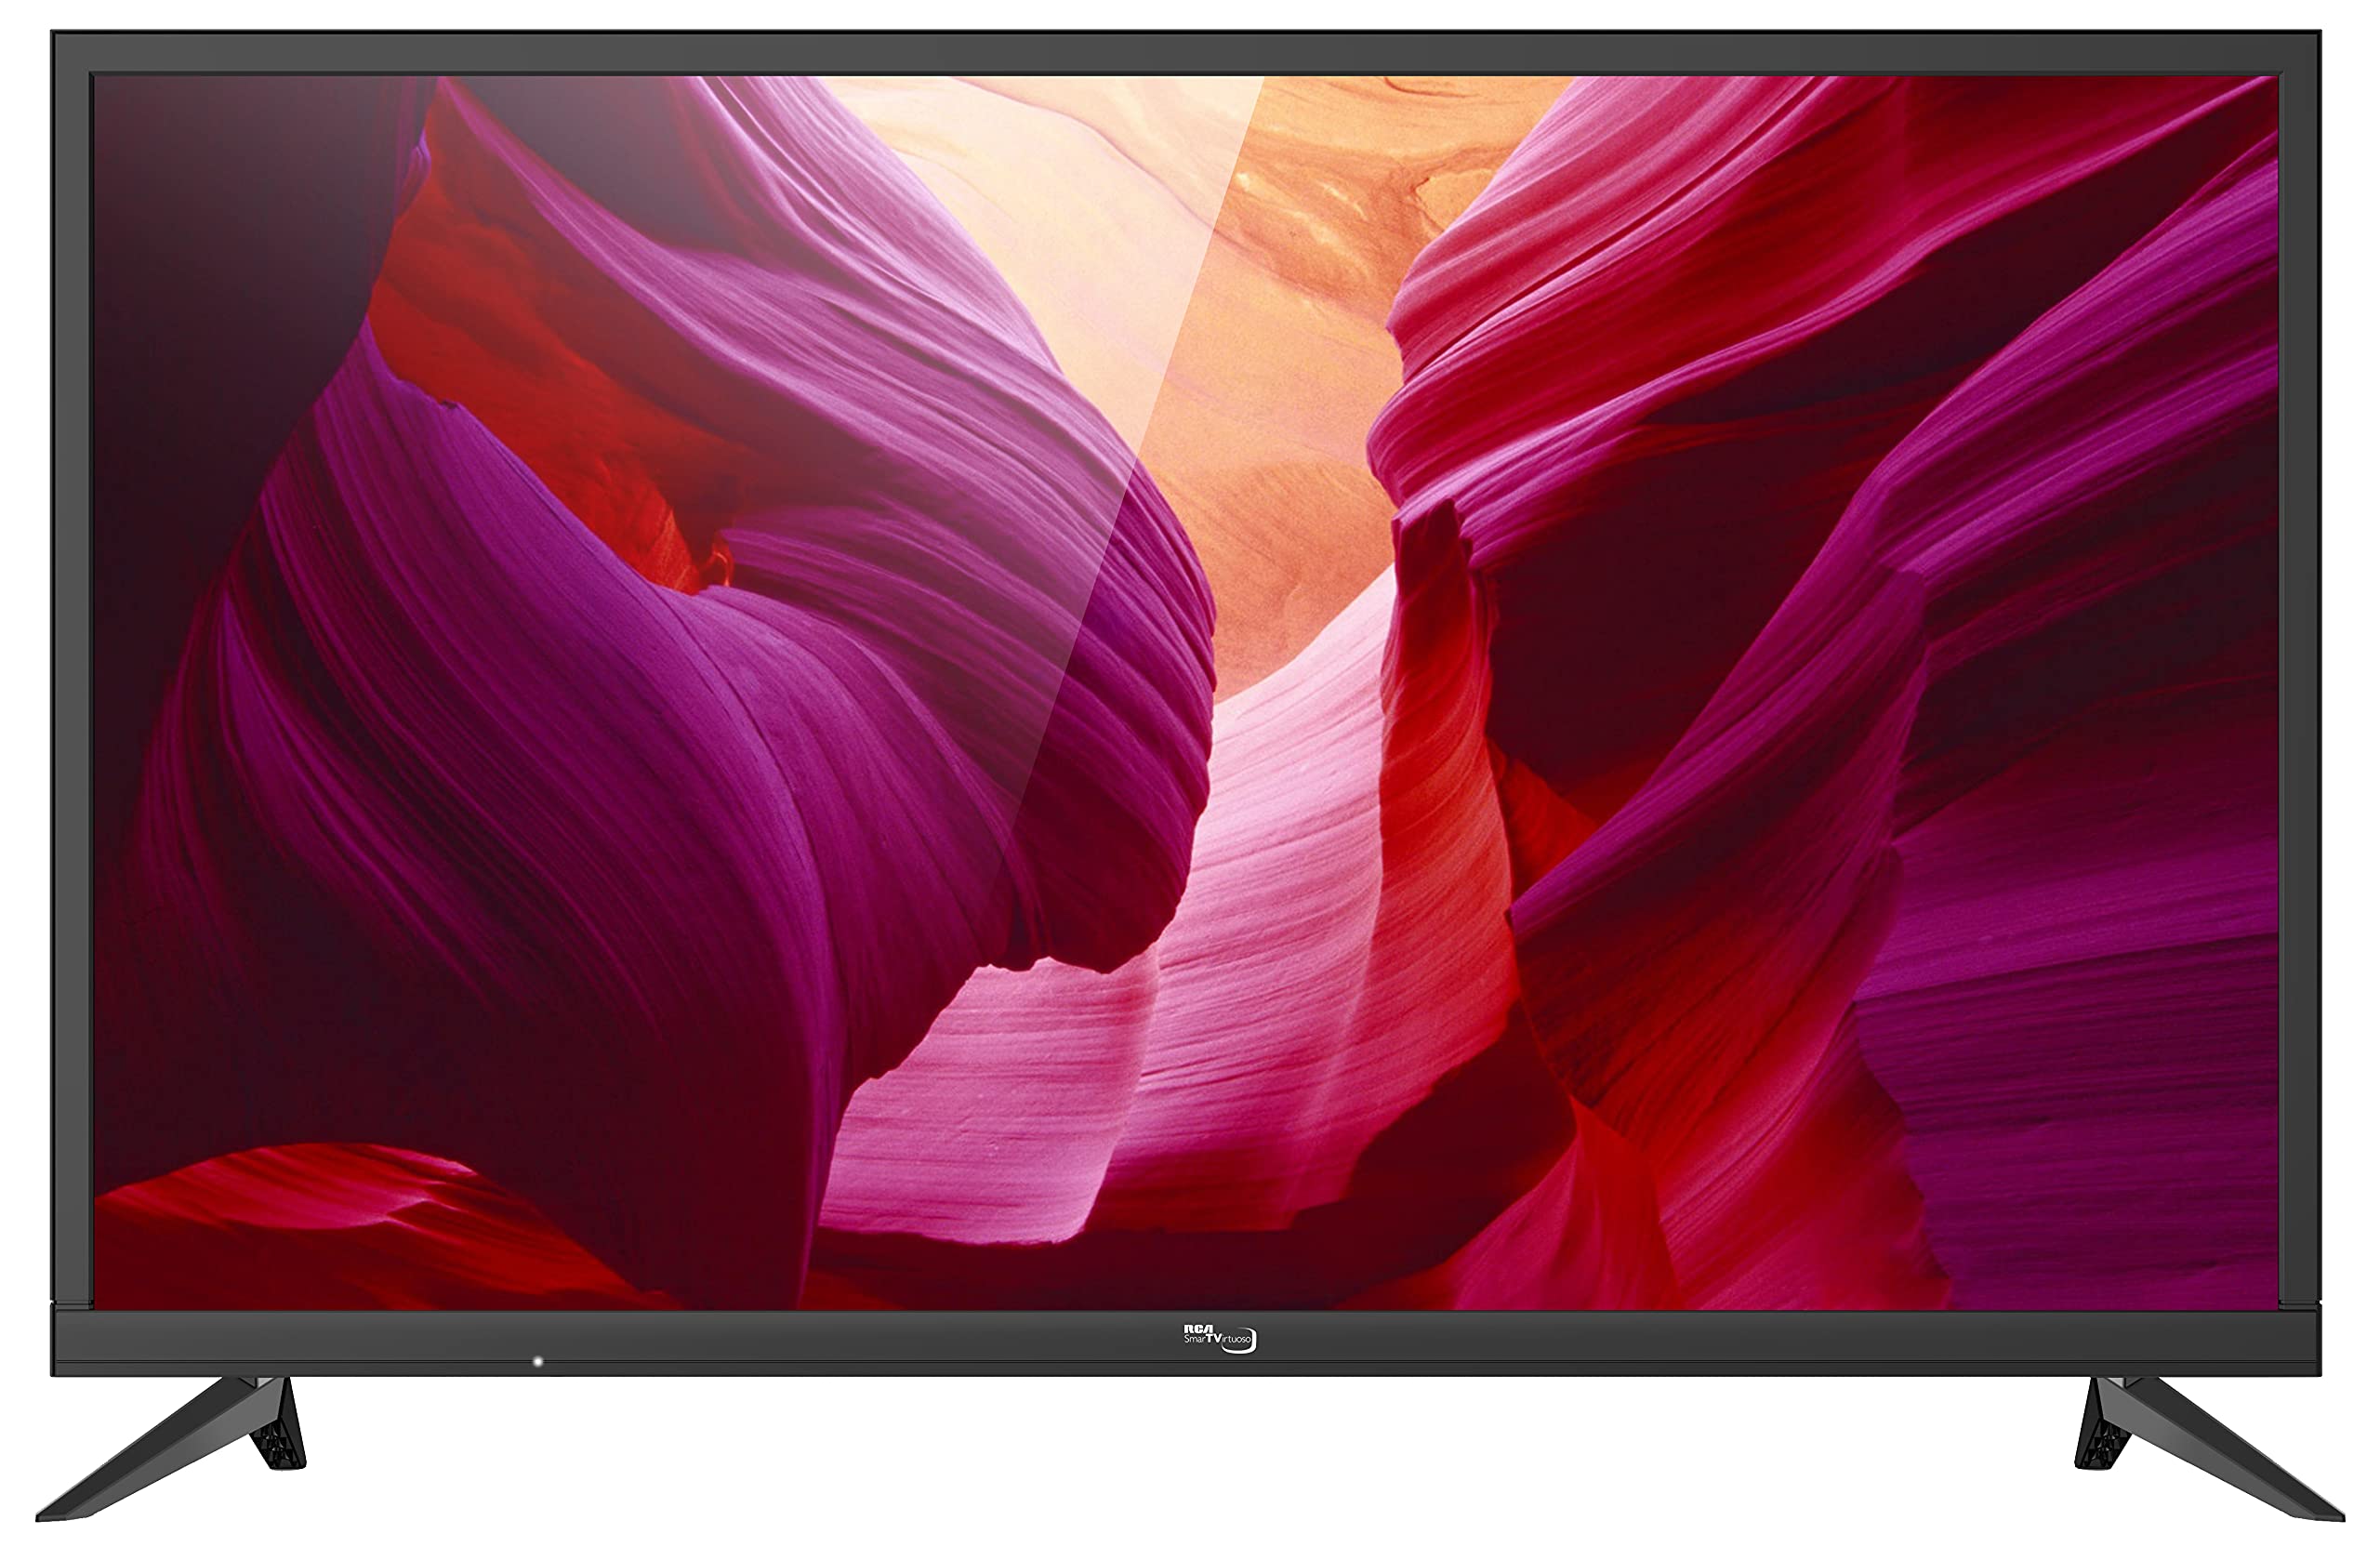
Welcome to the world of digital media, where we have the convenience of accessing a vast array of audio and video content right at our fingertips. However, sometimes we want to enjoy our favorite movies, TV shows, or music on a bigger screen, such as an RCA LED TV. One of the easiest ways to do so is by using a USB drive.
A USB drive, also known as a flash drive or thumb drive, is a compact and portable storage device that allows you to store and transfer digital files. With the ability to hold large amounts of data, USB drives have become a popular choice for media storage and playback. And fortunately, RCA LED TVs are equipped with USB ports that enable you to connect your USB drive and enjoy your media files directly on the TV.
In this article, we will guide you through the process of playing USB media on your RCA LED TV. Whether you want to watch your favorite movies, listen to music, or view photos, we will help you make the most out of your USB drive and RCA LED TV combination.
What is USB Media?
USB media refers to any digital content that is stored on a USB drive and can be played or accessed on electronic devices like computers, laptops, and, in this case, RCA LED TVs. It encompasses a wide range of media types, including movies, TV shows, music, photos, and even documents.
USB media provides a convenient and portable way to carry and transfer files. Gone are the days of carrying around bulky CDs or DVDs – a small USB drive can hold an enormous amount of content. The most common USB drives have a storage capacity ranging from a few gigabytes (GB) to several terabytes (TB), allowing you to store and access a significant collection of media files.
USB media is compatible with various file formats, such as MP4, AVI, MKV for videos; MP3, AAC, WAV for audio files; and JPEG, PNG, or GIF for images. This versatility ensures that you can play a wide range of media files on your RCA LED TV, provided that the TV supports the specific file formats.
One of the key advantages of USB media is its ease of use. All you need to do is transfer the media files onto a USB drive, connect it to a compatible device, and you’re ready to enjoy your favorite content. This simplicity makes USB media a popular choice for those who want to watch movies, listen to music, or view photos on their RCA LED TVs.
Furthermore, USB media offers the flexibility to create custom playlists or browse through files and folders to select specific content to play. You have full control over what you want to watch or listen to, allowing for a truly personalized media experience.
Now that we have a clear understanding of what USB media is, let’s explore the compatibility of USB drives with RCA LED TVs in the next section.
Compatibility with RCA LED TV
RCA LED TVs are designed to be compatible with USB drives, allowing you to enjoy your favorite media files directly on the big screen. However, it is important to understand the specific compatibility requirements to ensure a seamless playback experience.
Firstly, RCA LED TVs typically support a wide range of video and audio file formats. Commonly supported video file formats include MP4, AVI, MKV, and more. For audio files, popular formats like MP3, AAC, and WAV are commonly supported. Additionally, RCA LED TVs often support common image formats such as JPEG, PNG, and GIF.
It is essential to check the user manual or specifications of your RCA LED TV to confirm the compatible file formats. This will help you ensure that the media files you want to play are supported by your TV. In some cases, unsupported formats can be converted using third-party software or apps to make them compatible with your TV.
Another important consideration for compatibility is the USB port version on your RCA LED TV. The USB port may be either USB 2.0 or USB 3.0. While USB 2.0 ports are more common, USB 3.0 ports provide faster data transfer speeds. However, it is worth noting that even if your USB drive is compatible with USB 3.0, it will still work with a USB 2.0 port, although the transfer speed may be slower.
Additionally, the size and capacity of the USB drive are factors to consider. Most RCA LED TVs can support USB drives up to a specific capacity, such as 1TB or 2TB. Ensure that your USB drive is within the supported capacity limit of your TV to avoid any potential issues with playback.
Lastly, some RCA LED TVs may have specific requirements regarding the partition style or file system of the USB drive. In most cases, using the common FAT32 file system and Master Boot Record (MBR) partition style works well with RCA LED TVs. However, it is advisable to consult the TV manual or official support documentation to confirm the recommended file system and partition style.
Now that we have covered the compatibility aspects, let’s move on to the steps involved in preparing your RCA LED TV for USB media playback.
Preparing Your RCA LED TV
Before you can start enjoying USB media on your RCA LED TV, there are a few steps you need to take to prepare the TV for playback.
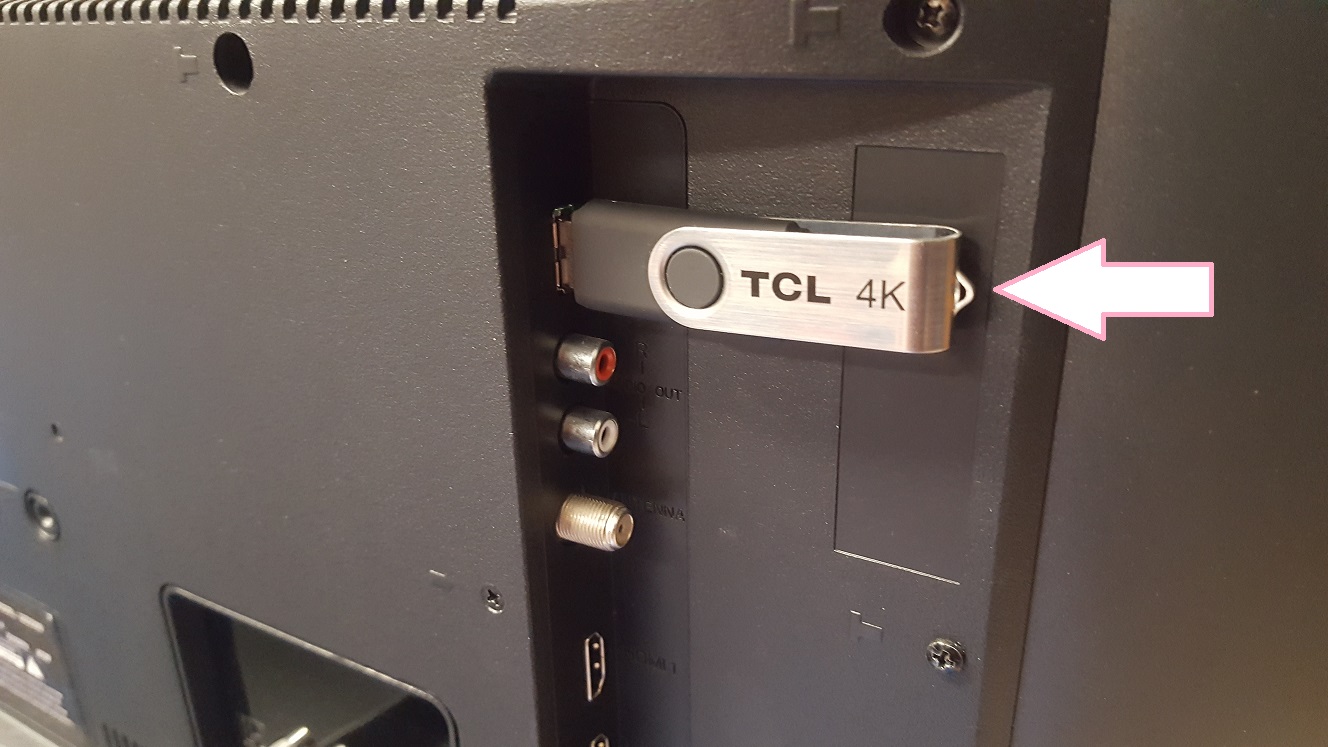
The first step is to locate the USB port on your RCA LED TV. Typically, the USB port is located on the side or back of the TV. It is usually labeled as “USB” or marked with a USB icon. Once you have located the USB port, ensure that it is easily accessible for connecting your USB drive.
Next, make sure that your RCA LED TV is powered on and ready for use. Ensure that it is properly connected to a power source and turned on. This will ensure that the TV is able to detect and access the USB drive when connected.
It is also a good idea to familiarize yourself with the remote control of your RCA LED TV. The remote control will allow you to navigate through the TV’s menus, select the USB input source, and control the playback of your media files. If you are unsure of the functions of the remote control, refer to the TV’s user manual for specific instructions.
Additionally, some RCA LED TVs may require you to change the input source to “USB” or “USB Media” before it can detect and play the content from your USB drive. Use the input/source button on your remote control to cycle through the available input sources until you reach the appropriate USB input option.
Once you have completed these preparations, you are ready to move on to the next step: formatting your USB drive.
Formatting the USB drive in a compatible file system and partition style will help ensure smooth playback on your RCA LED TV. We will cover this topic in detail in the next section.
Formatting Your USB Drive
Before you can transfer and play media files on your RCA LED TV, it is important to format your USB drive in a compatible file system and partition style. Formatting prepares the USB drive for use with your TV and ensures optimal playback performance.
The most commonly recommended file system for USB drives that work well with RCA LED TVs is FAT32. FAT32 is a widely supported file system that is compatible with most electronic devices, including TVs. To format your USB drive to FAT32, you can use the built-in formatting tools of your computer’s operating system.
Here’s a step-by-step guide to formatting your USB drive to FAT32:
- Connect your USB drive to your computer.
- Open the File Explorer (Windows) or Finder (Mac).
- Locate your USB drive in the list of available drives and right-click on it.
- Select the “Format” option from the drop-down menu.
- In the formatting window, choose “FAT32” as the file system.
- Ensure that the allocation unit size is set to the default value.
- Give your USB drive a desired name (optional).
- Click on the “Format” button to begin the formatting process.
- Wait for the formatting to complete, and then safely eject the USB drive from your computer.
It is important to note that formatting your USB drive will erase all existing data on it. Therefore, make sure to back up any essential files before proceeding with the formatting process.
In addition to the file system, make sure that the partition style of the USB drive is set to Master Boot Record (MBR). This is the most widely supported partition style that works well with RCA LED TVs. Most formatting tools automatically set the appropriate partition style during the formatting process, but it’s always a good practice to double-check.
Once your USB drive is formatted and ready, you can proceed to the next step: transferring the media files to your USB drive.
Transferring the Media to Your USB Drive
Now that you have formatted your USB drive, it’s time to transfer your media files onto it. Follow these steps to ensure a seamless transfer and compatibility with your RCA LED TV:
- Connect your formatted USB drive to your computer using a USB port.
- Open File Explorer (Windows) or Finder (Mac) and locate the media files you want to transfer.
- Select the desired files or folders, and then right-click and choose the “Copy” option.
- Go to your USB drive in File Explorer or Finder and right-click on an empty space. Choose the “Paste” option to transfer the copied media files to your USB drive.
- Ensure that the transfer process is completed, and then safely eject the USB drive from your computer.
It is important to organize your media files into folders on your USB drive for easy navigation and accessibility on your RCA LED TV. You can create folders based on categories such as “Movies,” “TV Shows,” “Music,” or any other way that suits your preference.
Remember to check the compatibility of your media files with the supported formats on your RCA LED TV. If you encounter any compatibility issues, you may need to convert the files to a supported format using third-party software or apps.
Once the media files are successfully transferred, it’s time to connect your USB drive to your RCA LED TV and start enjoying your favorite content. The next section will guide you on how to do this and access USB media on your TV.
Connecting Your USB Drive to the RCA LED TV
To enjoy your USB media files on your RCA LED TV, you need to connect your USB drive to the TV’s USB port. Follow these steps to ensure a successful connection:
- Locate the USB port on your RCA LED TV. It is usually located on the side or back of the TV and labeled as “USB” or marked with a USB icon.
- Take your USB drive and gently insert it into the USB port of the TV. Make sure to insert it firmly but carefully to avoid any damage to the USB drive or TV.
- Once the USB drive is connected, your RCA LED TV should detect it automatically. If the TV does not recognize the USB drive, try reinserting it or use a different USB port if available.
- Use the remote control of your RCA LED TV to switch to the USB input source. Press the “Input” or “Source” button on the remote and select the USB input option from the on-screen menu.
After selecting the USB input source, you will see a list of the media files or folders available on your USB drive. Use the remote control’s arrow buttons to navigate through the files and folders. Once you have found the desired media file, press the “Enter” or “Play” button to start playing it on your RCA LED TV.
Depending on your RCA LED TV model, you may have additional playback options available, such as fast forward, rewind, pause, and subtitle settings. Refer to your TV’s user manual for specific instructions on using these playback features.
It’s important to note that the TV’s playback capabilities may vary based on the supported file formats and features of your specific model. Some RCA LED TVs may support features like playlist creation, shuffle playback, or slideshows for photos. Explore the options and menus on your TV to make the most of the USB media playback experience.
Now that you know how to connect your USB drive to the RCA LED TV and access the media files, let’s move on to some troubleshooting tips in case you encounter any issues.
Accessing USB Media on Your RCA LED TV
Once you have connected your USB drive to your RCA LED TV, you can easily access and enjoy the media files stored on the drive. Here are the steps to access USB media on your TV:
- Make sure your RCA LED TV is powered on and the USB drive is correctly connected to the USB port of the TV.
- Using the remote control, press the “Input” or “Source” button to access the input/source menu.
- Select the USB input option from the list of available sources. This will set the TV to display the content from the USB drive.
- Once you have selected the USB input option, your RCA LED TV will display the content available on the USB drive. This can be in the form of a list of folders, individual media files, or a thumbnail view of photos.
- Navigate through the files and folders using the arrow buttons on the remote control. Select the desired media file to start playing it on your TV.
- Use the playback controls on the remote control to pause, play, rewind, or fast forward the media file. Adjust the volume as needed.
- To switch to a different media file, go back to the list of media files or folders and select the new file you want to play.
On some RCA LED TV models, you may have additional options and settings available for enhancing your viewing experience. For example, you might be able to adjust the picture settings, aspect ratio, subtitles, or audio settings for the media files. Refer to your TV’s user manual for specific instructions on accessing and adjusting these settings.
Remember that the playback capabilities and supported file formats may vary depending on the specific model of your RCA LED TV. Some TVs may support a wide range of formats and provide advanced features such as playlist creation or slideshow options for photos. Explore the options and menus on your TV to discover all the available features.
Now that you know how to access USB media on your RCA LED TV, let’s move on to some troubleshooting tips in case you encounter any issues while playing your media files.
Troubleshooting Tips
While playing USB media on your RCA LED TV is usually a straightforward process, you may encounter some issues along the way. Here are some troubleshooting tips to help you overcome common problems:
1. Unsupported File Formats: If your RCA LED TV is unable to play certain media files, the issue might be with the file format. Verify that your TV supports the specific file format you are trying to play. If not, consider converting the file to a supported format using third-party software.
2. Incorrect File System: If your USB drive is not detected by your RCA LED TV, it could be due to an incompatible file system. Ensure that your USB drive is formatted in the FAT32 file system, which is widely supported by RCA LED TVs. Reformat the USB drive if necessary.
3. Insufficient Power: Some USB drives require more power than the TV can provide. If your USB drive is not working properly, try using an external power source or connecting a powered USB hub between the TV and the USB drive.
4. Corrupted Files: If a specific media file is not playing on your RCA LED TV, it may be corrupted. Try playing the file on your computer to verify its integrity. If it doesn’t work, consider obtaining a new copy of the file.
5. Slow Transfer Speed: If transferring media files to your USB drive takes a long time, it could be due to either a slow USB drive or a slow USB port on your computer. Ensure that you are using a USB 3.0 drive and a USB 3.0 port for faster transfer speeds.
6. Limited Storage Capacity: RCA LED TVs have a maximum supported USB drive capacity. If your USB drive exceeds this capacity, the TV might fail to recognize the drive or play the media files. Ensure that your drive is within the supported capacity limit of your TV.
7. Firmware Update: Check for any available firmware updates for your RCA LED TV. Updated firmware can often resolve compatibility issues and enhance device performance. Refer to the TV’s user manual or the manufacturer’s website for instructions on updating the firmware.
If none of these troubleshooting tips resolve your issue, consult the user manual of your RCA LED TV or contact the manufacturer’s customer support for further assistance. They will be able to provide specific guidance tailored to your TV model and address any unique challenges you may encounter.
Conclusion
Playing USB media on your RCA LED TV is a convenient way to enjoy your favorite movies, TV shows, music, and photos on a larger screen. By following the steps outlined in this article, you can easily connect your USB drive to your TV and access the media files stored on it.
We discussed the importance of compatibility and formatting your USB drive to ensure seamless playback on your RCA LED TV. Understanding the supported file formats, partition style, and file system requirements is essential for a successful media playback experience.
Transferring your media files to the USB drive and organizing them into folders enables easy navigation and accessibility on your TV. By connecting your USB drive to the USB port of your RCA LED TV and accessing the USB input source, you can start enjoying your media files with just a few clicks of your remote control.
Throughout this article, we also provided troubleshooting tips to help you resolve common issues you may encounter. Whether it’s unsupported file formats, power-related problems, or corrupted files, these tips will assist you in troubleshooting and finding solutions.
Remember to refer to your RCA LED TV’s user manual for specific instructions and features related to USB media playback. Each TV model may have unique settings and additional functionality that can enhance your viewing experience further.
Now that you have all the knowledge and guidance you need, it’s time to grab your USB drive, select your favorite media files, and enjoy the immersive experience of USB media playback on your RCA LED TV.