Introduction
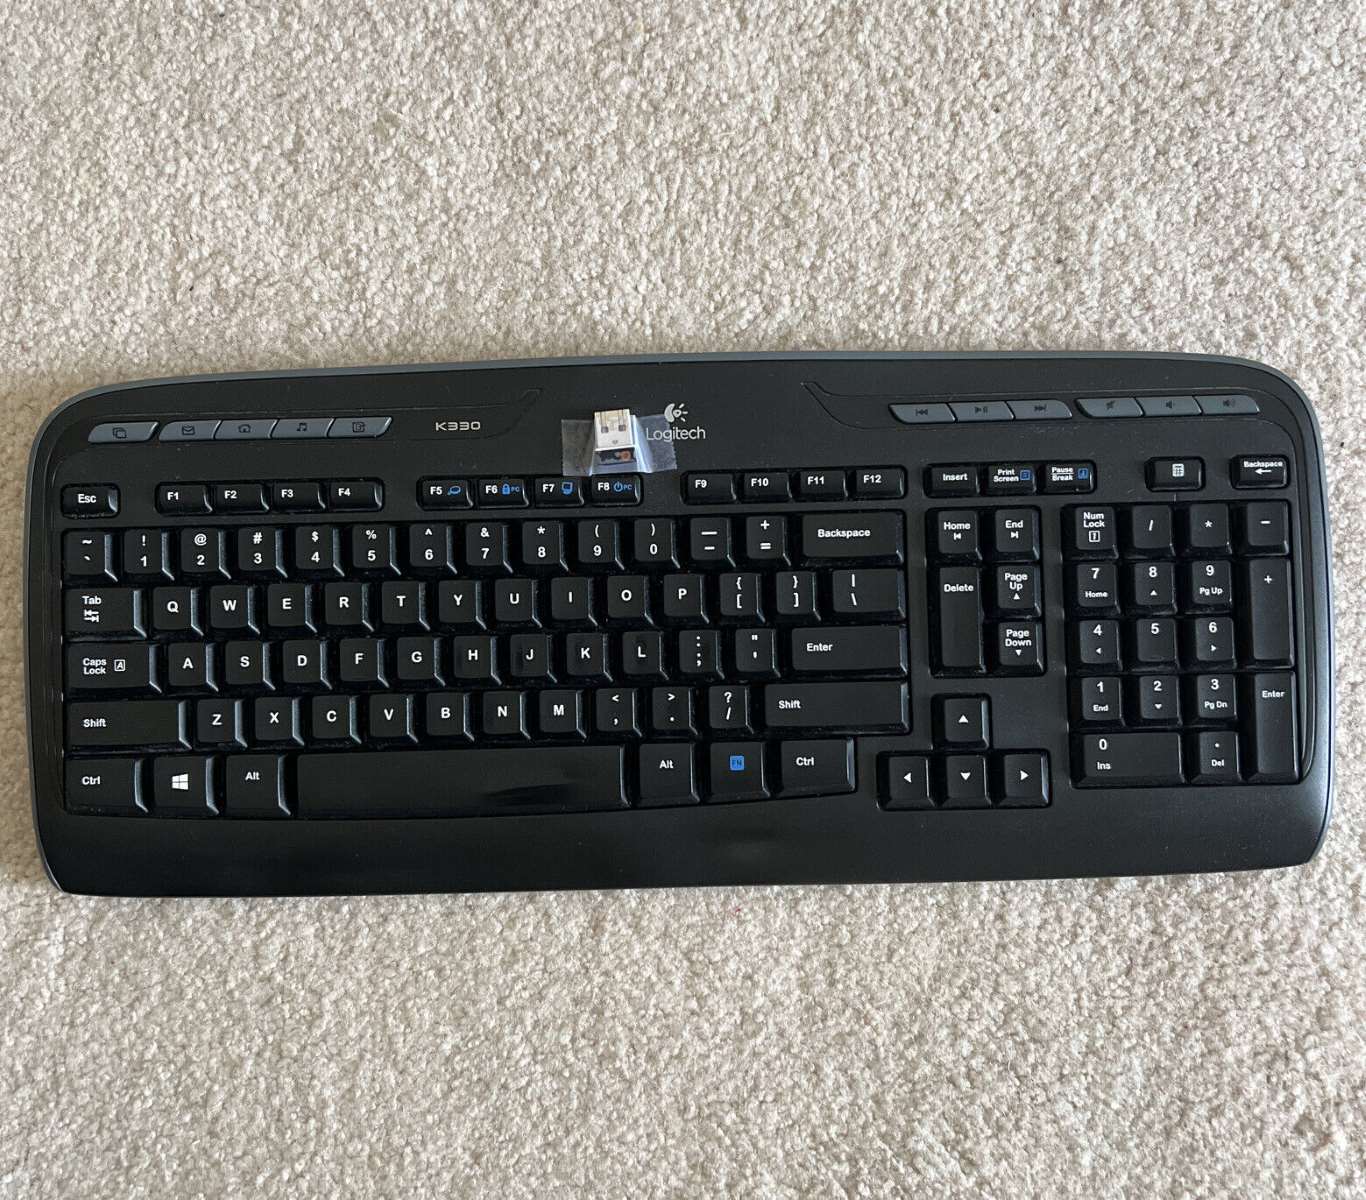
Welcome to this guide on how to pair the Logitech Keyboard K400R. If you have recently purchased this wireless keyboard or are encountering pairing issues, you’ve come to the right place. The Logitech Keyboard K400R is a versatile and reliable keyboard that offers the convenience of wireless connectivity, making it a popular choice for users who want to interact with their devices from a distance.
Whether you’re setting up the keyboard for the first time or need to re-pair it with your device, this step-by-step guide will walk you through the process. By following these instructions, you’ll soon be typing away comfortably and effortlessly on your Logitech Keyboard K400R.
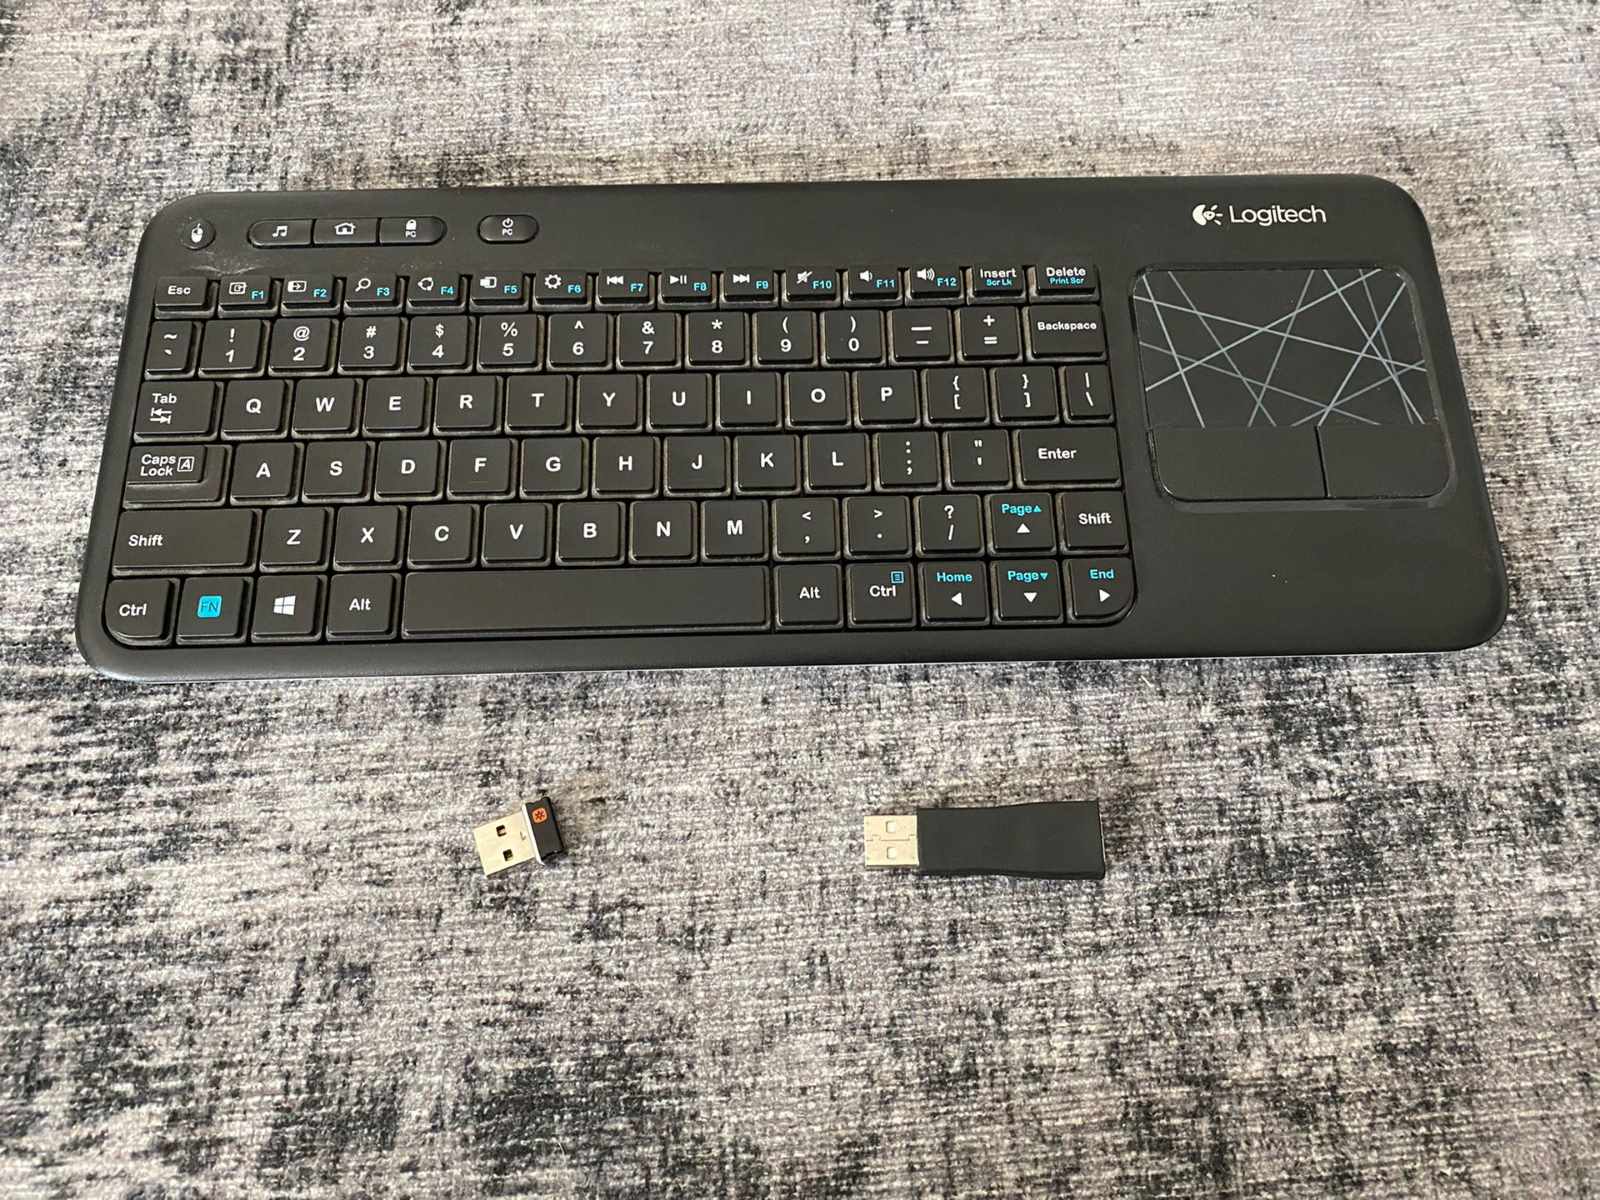
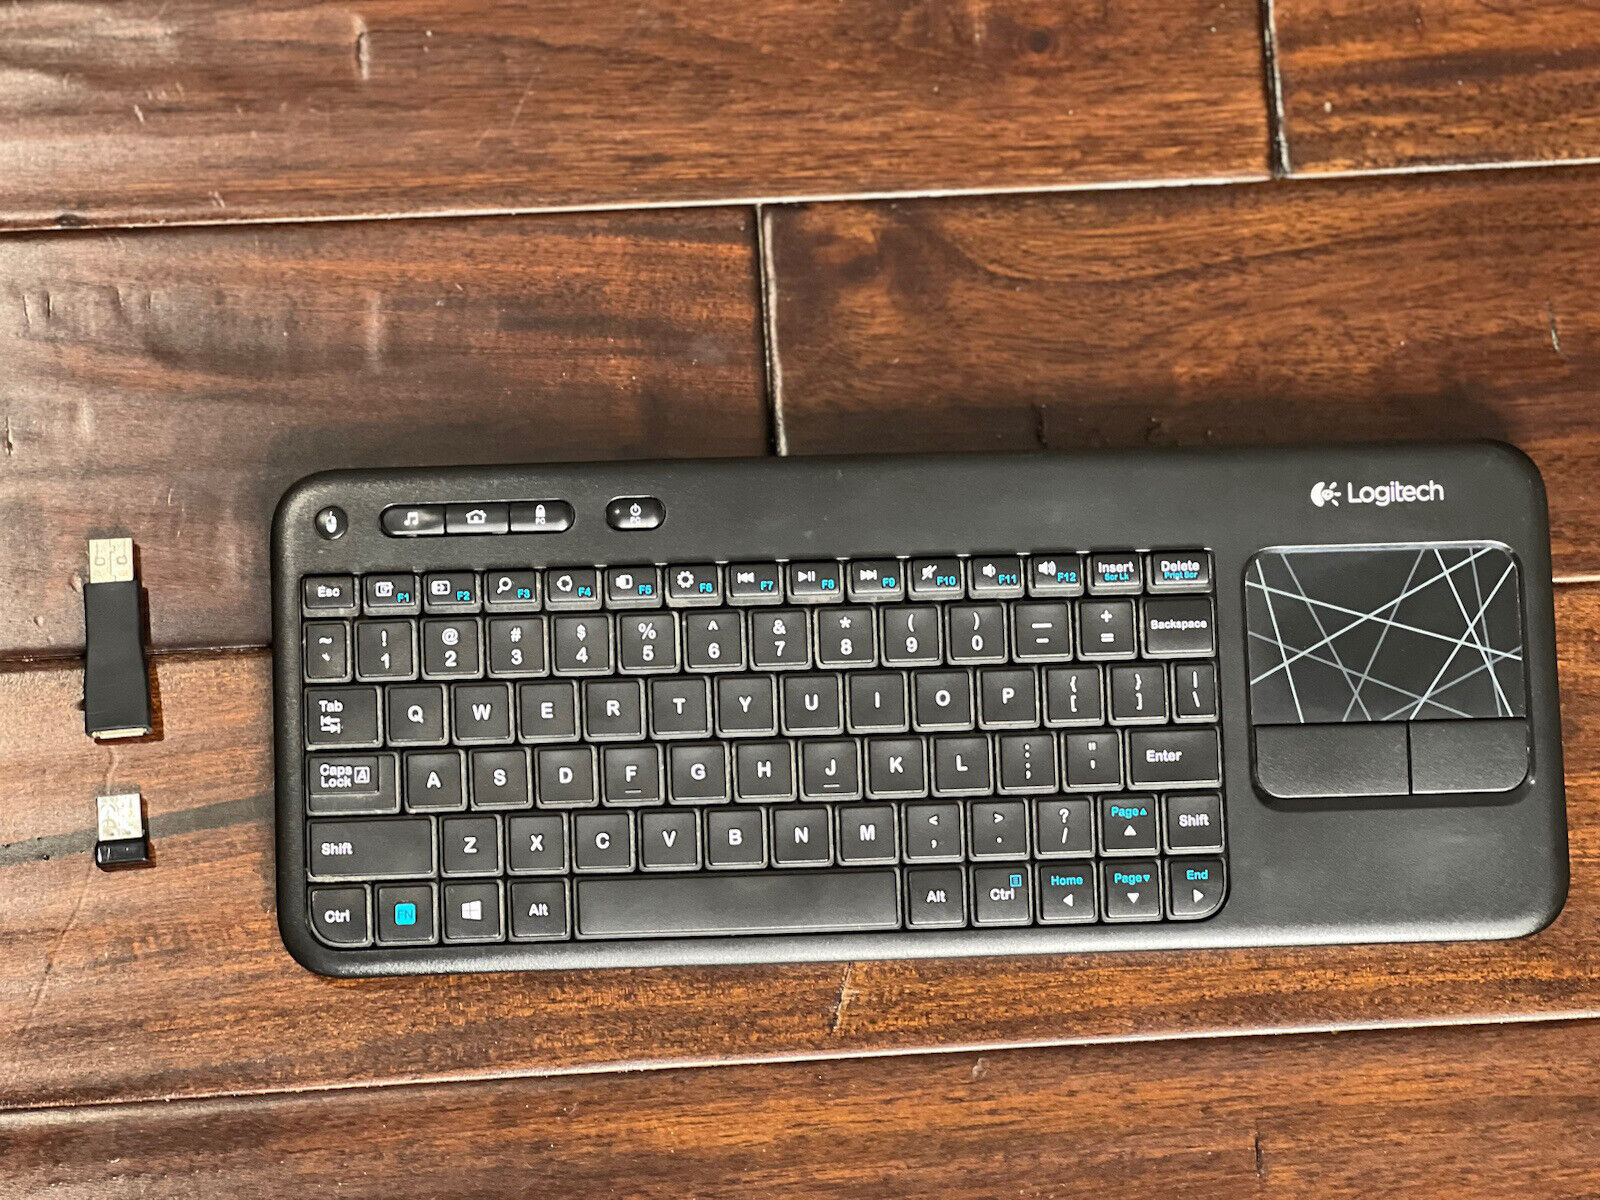
Before we dive into the pairing process, make sure you have your Logitech Keyboard K400R and the accompanying USB receiver handy. It’s also a good idea to have a fresh set of batteries on hand to ensure uninterrupted functionality.
Now let’s get started and get your Logitech Keyboard K400R paired with your device so that you can enjoy the convenience and freedom that this wireless keyboard offers.
Step 1: Install Batteries
The first step in setting up your Logitech Keyboard K400R is to install the batteries. The Logitech Keyboard K400R typically uses two AA batteries, so make sure you have them ready. Here’s how to install the batteries:
- Locate the battery compartment on the back of the keyboard. It is usually at the top left or top right corner.
- Slide the battery cover off to reveal the battery compartment.
- Insert the batteries, making sure to match the positive and negative ends correctly.
- Replace the battery cover securely.
It’s important to note that the Logitech Keyboard K400R is designed to maximize battery life. The keyboard has a power-saving feature that automatically puts it in sleep mode when not in use. This helps to extend the battery life so you can use the keyboard for longer periods without needing to replace the batteries frequently.
Once you have installed the batteries, you are ready to move on to the next step in the pairing process. Make sure the batteries are properly installed and that the battery compartment is securely closed before proceeding.
Step 2: Plug in the USB receiver
The next step in pairing your Logitech Keyboard K400R is to plug in the USB receiver. The USB receiver is a small device that allows your keyboard to communicate wirelessly with your computer or other compatible devices. Follow these steps to plug in the USB receiver:
- Locate an available USB port on your computer or device.
- Insert the USB receiver into the USB port. Make sure it is securely connected.
- Wait for your computer or device to recognize the USB receiver. This may take a few seconds.
- Once the USB receiver is recognized, it is ready to connect with your Logitech Keyboard K400R.
The Logitech Keyboard K400R uses a 2.4 GHz wireless connection, which provides a reliable and responsive connection between the keyboard and your device. The USB receiver acts as the intermediary between the keyboard and your device, allowing for seamless communication.
It’s important to note that the USB receiver is designed to be compact and portable, making it easy to plug in and remove as needed. However, it’s a good idea to keep the USB receiver plugged in when using the keyboard, as removing it may disrupt the connection and require re-pairing.
With the USB receiver securely plugged in, you are now ready to move on to the next step and turn on the Logitech Keyboard K400R.
Step 3: Turn on the Keyboard
Once you have installed the batteries and plugged in the USB receiver, the next step is to turn on your Logitech Keyboard K400R. Here’s how to do it:
- Locate the power switch on the top left or top right side of the keyboard. It is usually labeled with an “On” and “Off” symbol.
- Slide the power switch to the “On” position.
- You may see a small LED indicator light up on the keyboard, indicating that it is powered on and ready to pair.
Turning on the Logitech Keyboard K400R activates the wireless connection and prepares it for pairing with your computer or device. The keyboard is designed to conserve power, so if you don’t use it for a period of time, it will automatically enter sleep mode to save battery life. Simply pressing any key will wake it up and restore the wireless connection.
Now that your Logitech Keyboard K400R is powered on, it’s time to move on to the next step and pair the keyboard with your computer or device. The pairing process is straightforward and only takes a few moments.
Step 4: Pair the Keyboard
Now that your Logitech Keyboard K400R is powered on, it’s time to pair it with your computer or device. The pairing process establishes a secure connection between the keyboard and your device, allowing you to use the keyboard wirelessly. Follow these steps to pair the keyboard:
- Make sure your computer or device is turned on and ready to pair with the keyboard.
- Press the “Connect” or “Pairing” button on the USB receiver. This button is typically located on the top or side of the receiver. When pressed, the LED indicator on the receiver will start blinking.
- On your Logitech Keyboard K400R, press the “Connect” or “Pairing” button. This button is usually located on the top or side of the keyboard. When pressed, the LED indicator on the keyboard will start blinking.
- Wait for a few seconds as the keyboard and receiver establish a secure connection. Once connected, the LED indicator on the keyboard and receiver will stop blinking and remain solid.
After the pairing process, your Logitech Keyboard K400R and your computer or device are now connected, and you can start using the keyboard wirelessly. If the pairing process fails, make sure that the USB receiver is properly plugged in, the batteries in the keyboard are still functional, and that there are no obstructions or interference between the keyboard and the receiver.
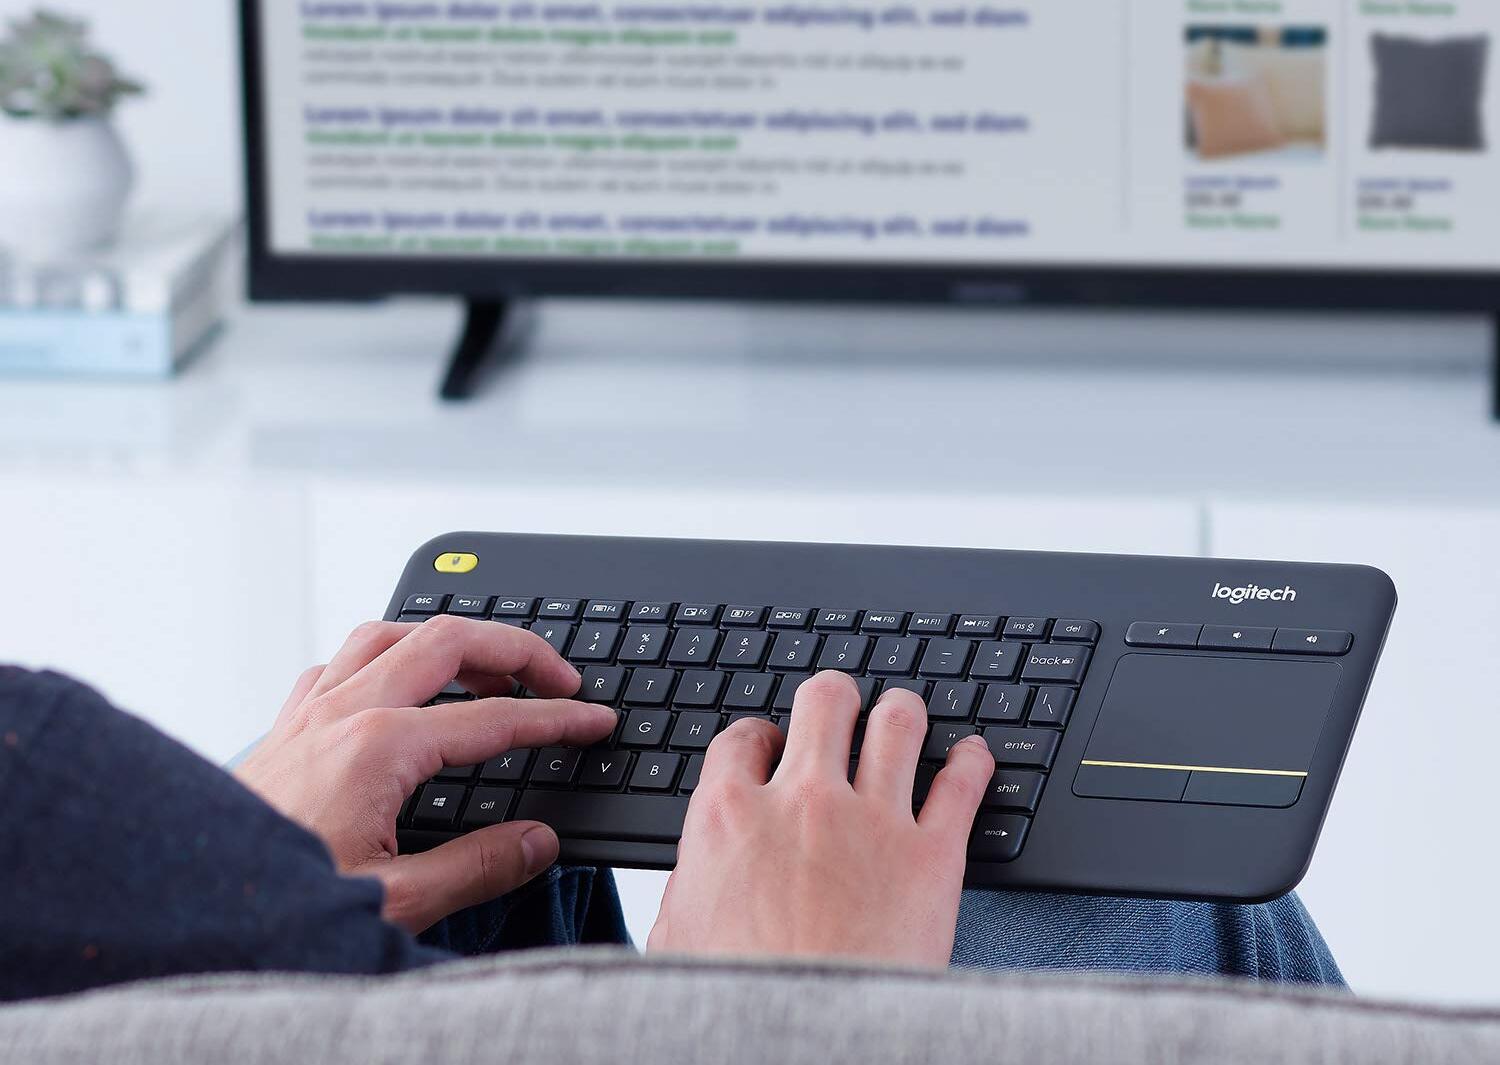
It’s also worth noting that the Logitech Keyboard K400R has a wireless range of up to 33 feet (10 meters), allowing you to comfortably use the keyboard from a distance. This is particularly useful if you want to control a media center or navigate your computer from the comfort of your couch.
Now that your Logitech Keyboard K400R is successfully paired, it’s time to test its functionality to ensure everything is working correctly.
Step 5: Test the Keyboard
After successfully pairing your Logitech Keyboard K400R with your computer or device, it’s important to test the keyboard to ensure that all the keys and functions are working as expected. Here’s how to test the keyboard:
- Open any application or document on your computer or device that requires keyboard input.
- Type on the Logitech Keyboard K400R and verify that the characters appear on the screen. Test both the alphanumeric keys as well as special function keys.
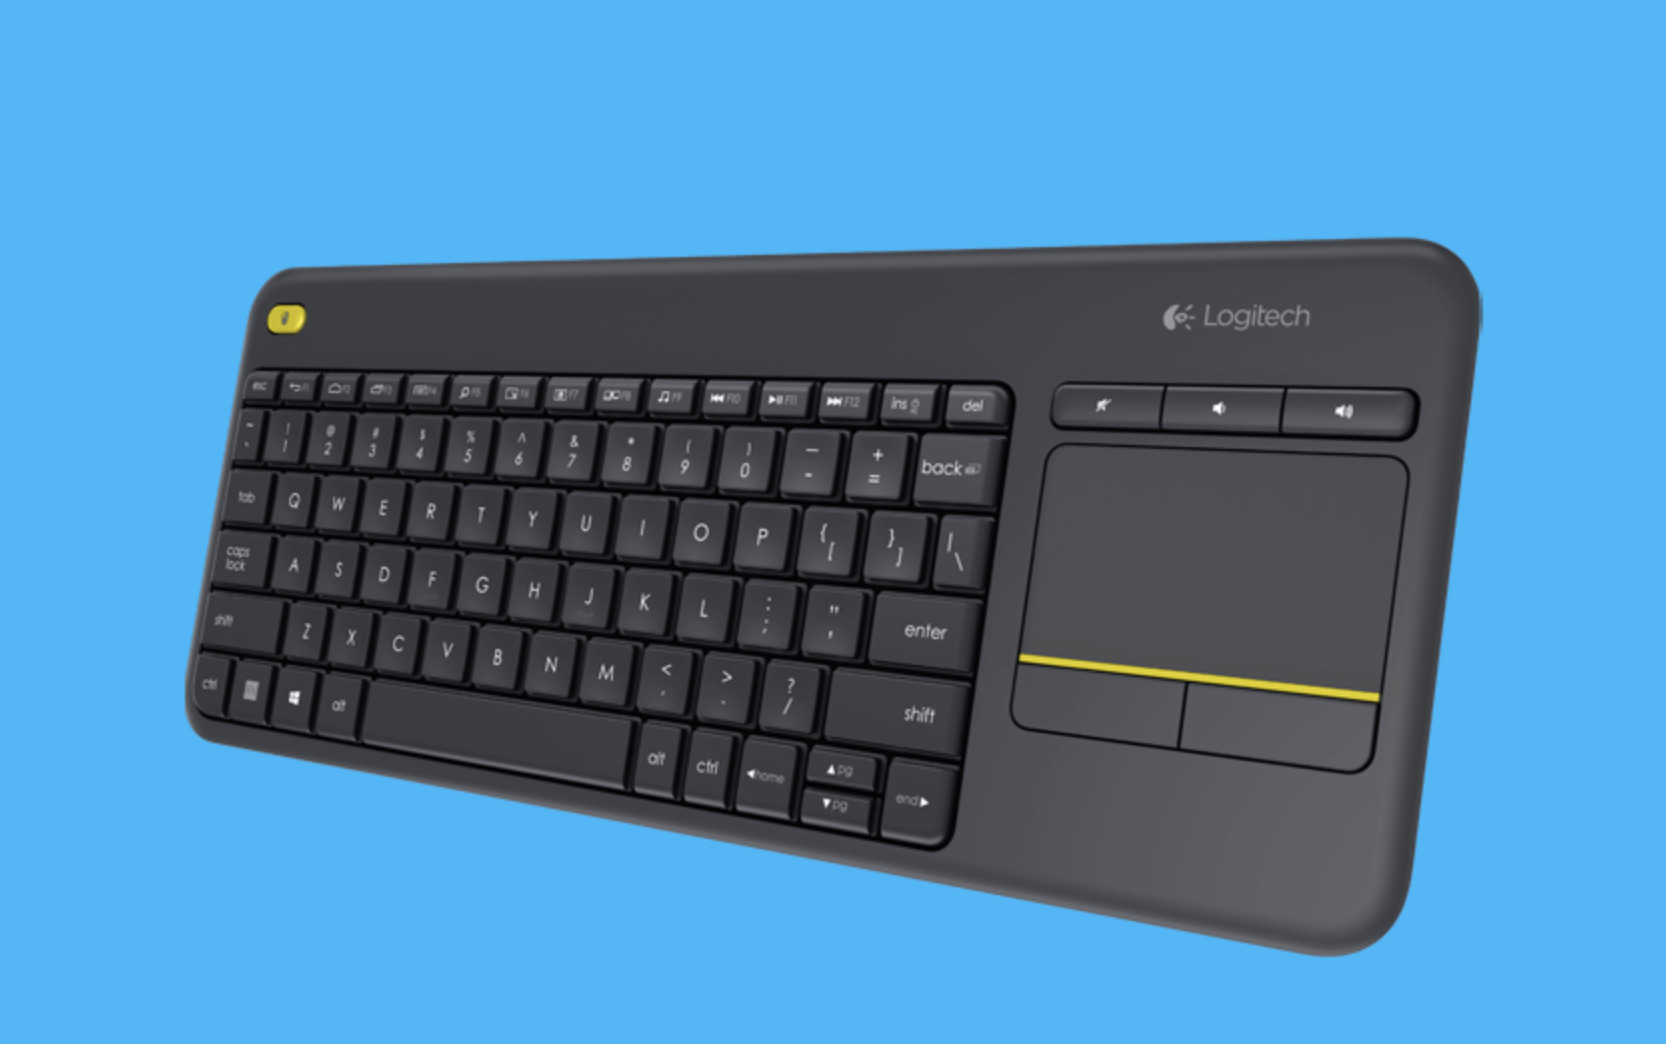
- Try out the multimedia hotkeys on the Logitech Keyboard K400R, such as the volume control, media playback controls, and the keyboard touchpad. Make sure they are responsive and functioning correctly.
- If your Logitech Keyboard K400R has additional features, such as customizable hotkeys or gestures, explore and test those functions as well to familiarize yourself with the keyboard’s capabilities.
If you encounter any issues during the testing phase, double-check that the USB receiver is securely plugged in and that the batteries in the keyboard are still functional. It’s also a good idea to make sure that your device’s operating system and drivers are up to date, as outdated software can sometimes cause compatibility issues.
If all the keys and functions on your Logitech Keyboard K400R are working correctly, then congratulations — you have successfully set up and paired your wireless keyboard! You can now enjoy the convenience of wirelessly typing and controlling your computer or device from a comfortable distance.
Keep in mind that the Logitech Keyboard K400R is designed to provide a reliable and seamless user experience. Its ergonomic layout, integrated touchpad, and wireless connectivity make it an ideal choice for those seeking a convenient and efficient keyboard solution.
Now that you have completed the testing phase, you’re ready to start using your Logitech Keyboard K400R for all your typing and navigation needs. Enjoy the freedom and flexibility that this wireless keyboard offers!
Conclusion
Congratulations on successfully setting up and pairing your Logitech Keyboard K400R! You’ve learned how to install batteries, plug in the USB receiver, turn on the keyboard, pair it with your device, and test its functionality. Now, you can enjoy the convenience of typing and navigating wirelessly with your Logitech Keyboard K400R.
The Logitech Keyboard K400R offers a seamless and ergonomic typing experience with its wireless connectivity and integrated touchpad. Its compact design and long-range wireless capability allow you to control your computer or device from a comfortable distance of up to 33 feet (10 meters).
Remember, if you ever need to re-pair your Logitech Keyboard K400R, simply follow the steps outlined in this guide. Additionally, keep in mind the power-saving features of the keyboard, such as automatic sleep mode, which helps to preserve battery life when not in use.
With its reliable wireless connection, multimedia hotkeys, and comfortable typing experience, the Logitech Keyboard K400R is a versatile keyboard that can enhance your productivity and convenience. Whether you’re using it for work, entertainment, or both, this keyboard offers a seamless and reliable user experience.
We hope this guide has been helpful in assisting you with setting up and pairing your Logitech Keyboard K400R. If you have any further questions or encounter any issues, we recommend consulting the Logitech support documentation or reaching out to their customer support for further assistance.
Now, enjoy the freedom and flexibility of wirelessly interacting with your computer or device using your Logitech Keyboard K400R!