Introduction
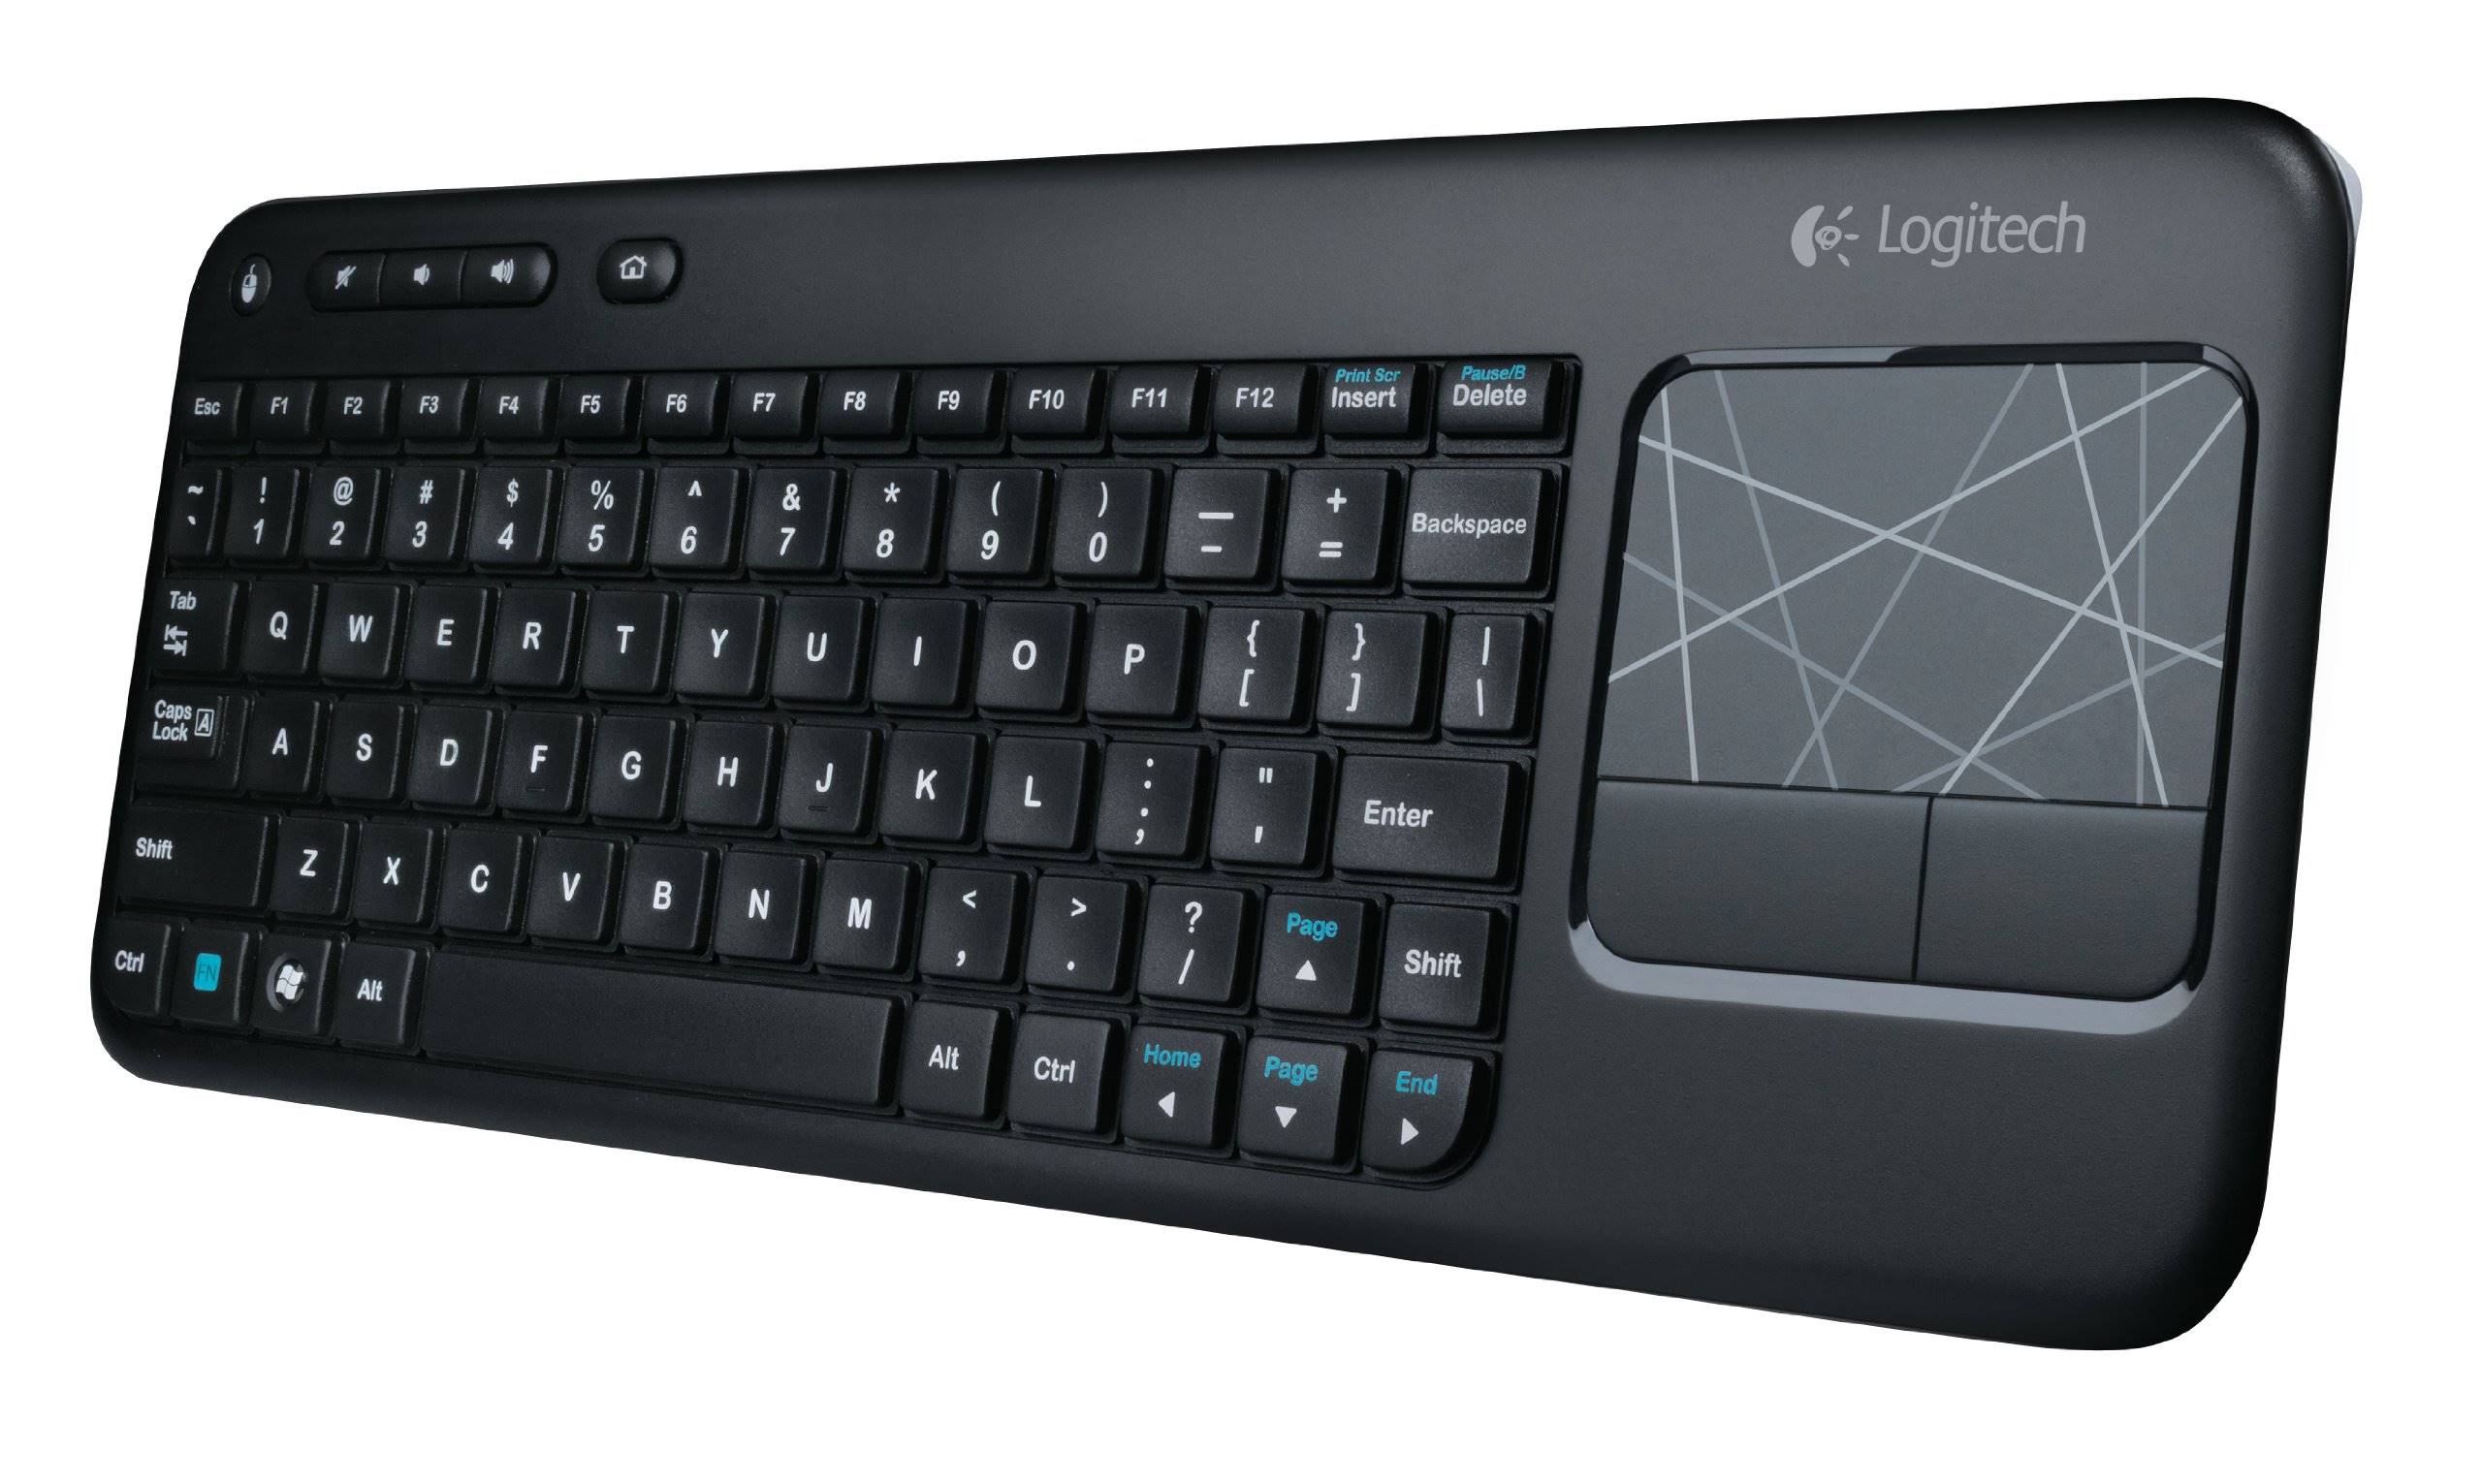
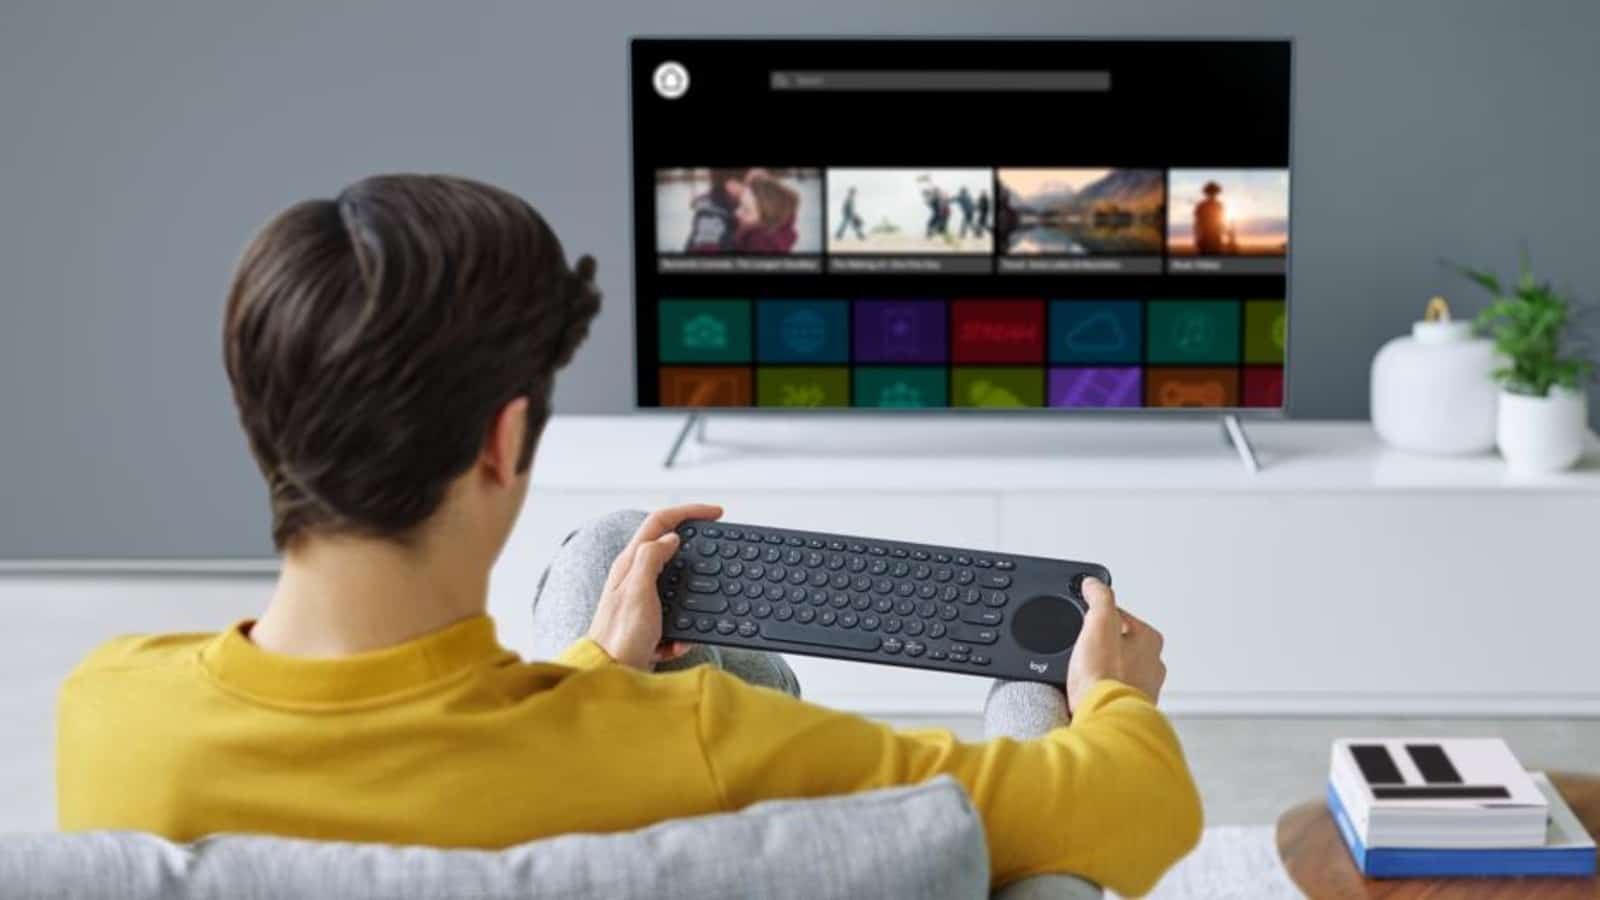
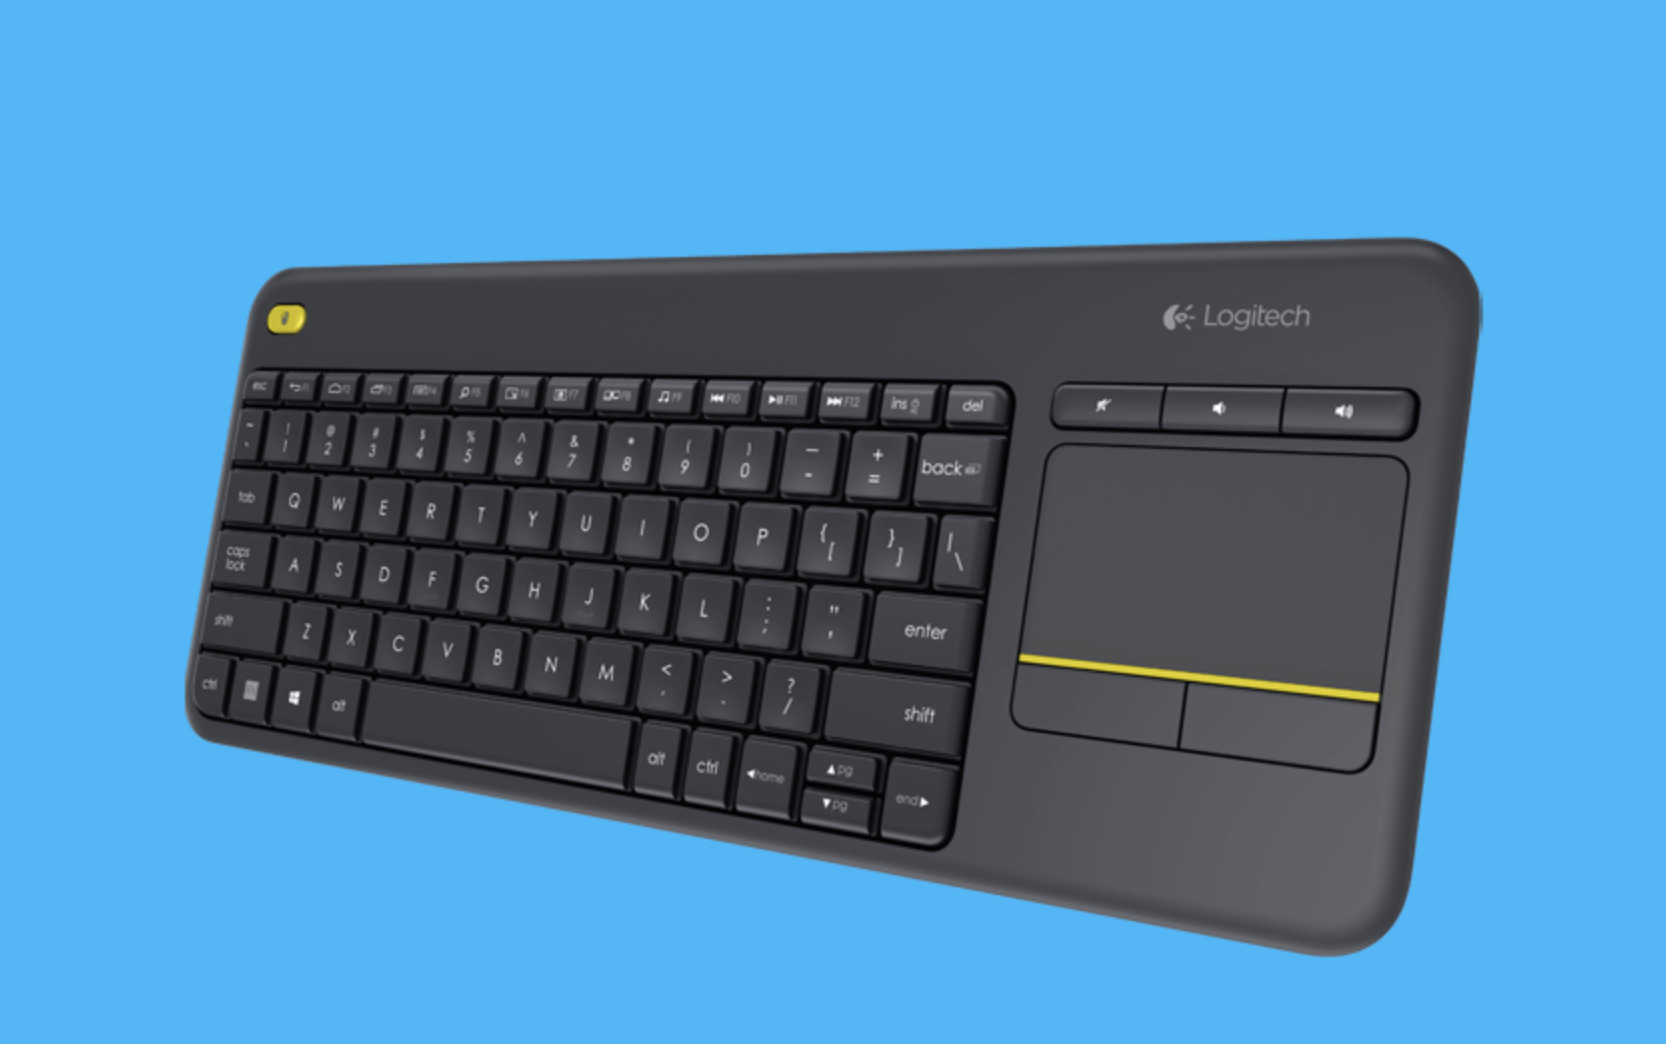
Welcome to this guide on how to connect your Logitech K400 keyboard. The Logitech K400 is a wireless keyboard that offers convenience and flexibility for your computer or smart TV. Whether you’re looking to browse the internet, navigate media content, or perform various tasks, the Logitech K400 provides an efficient typing experience.
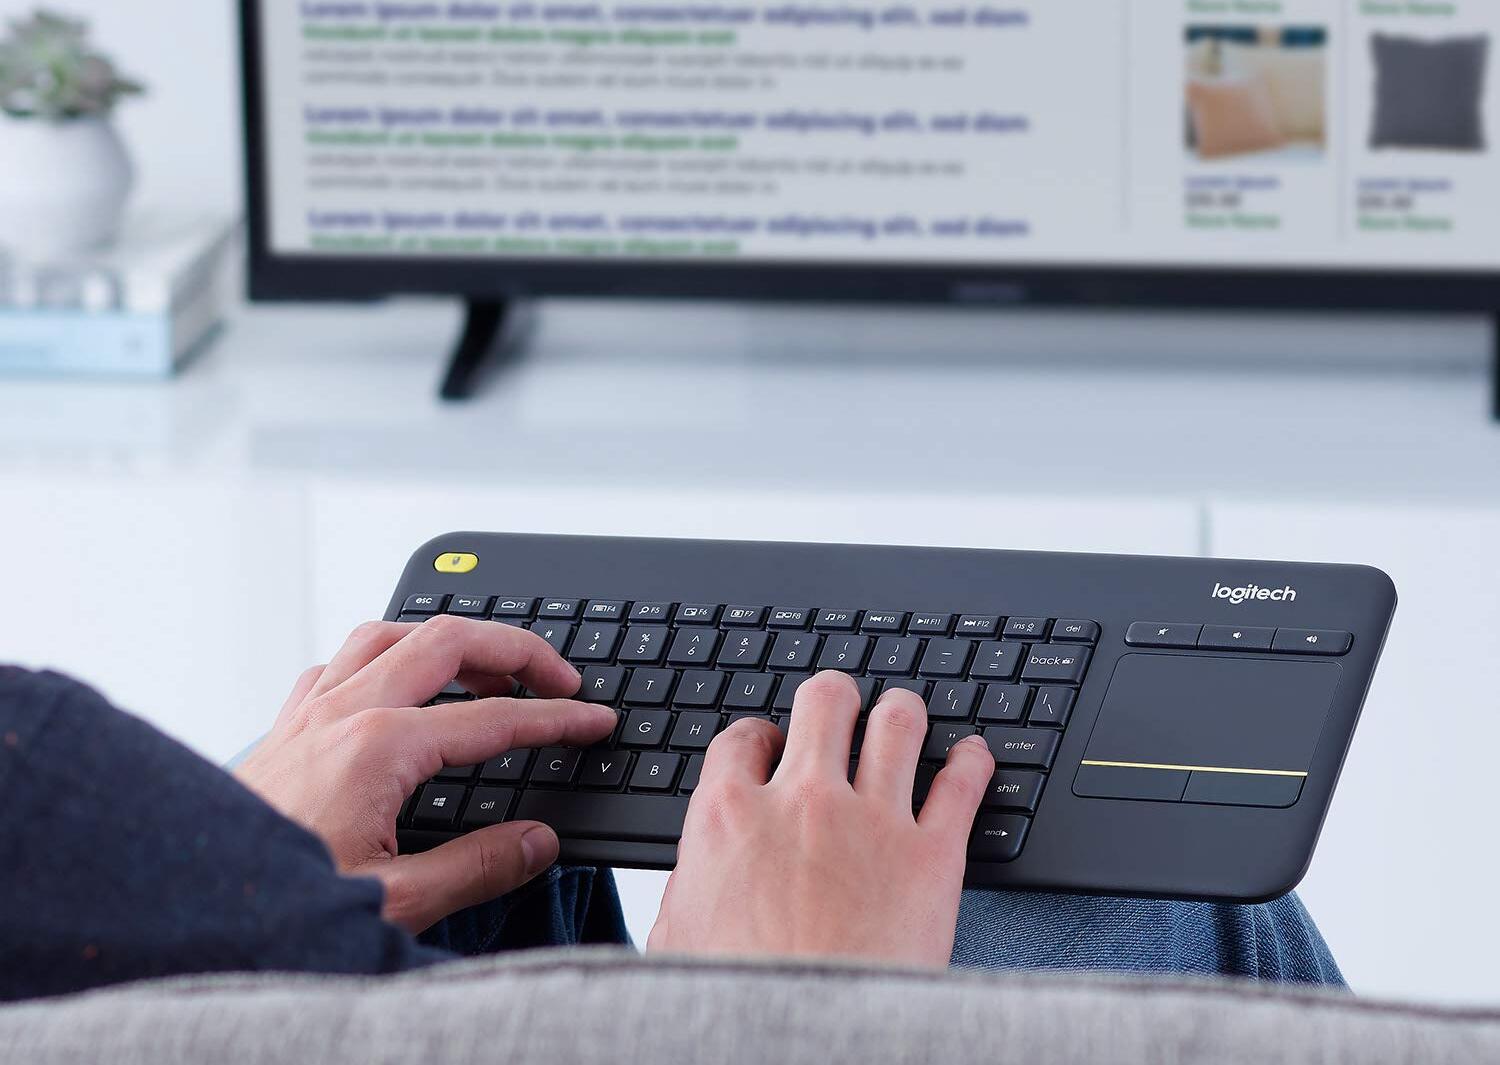
By following the steps outlined in this guide, you’ll be able to set up and connect your Logitech K400 keyboard in no time. With its wireless capabilities, you can move freely around your living room or office while staying connected to your device.
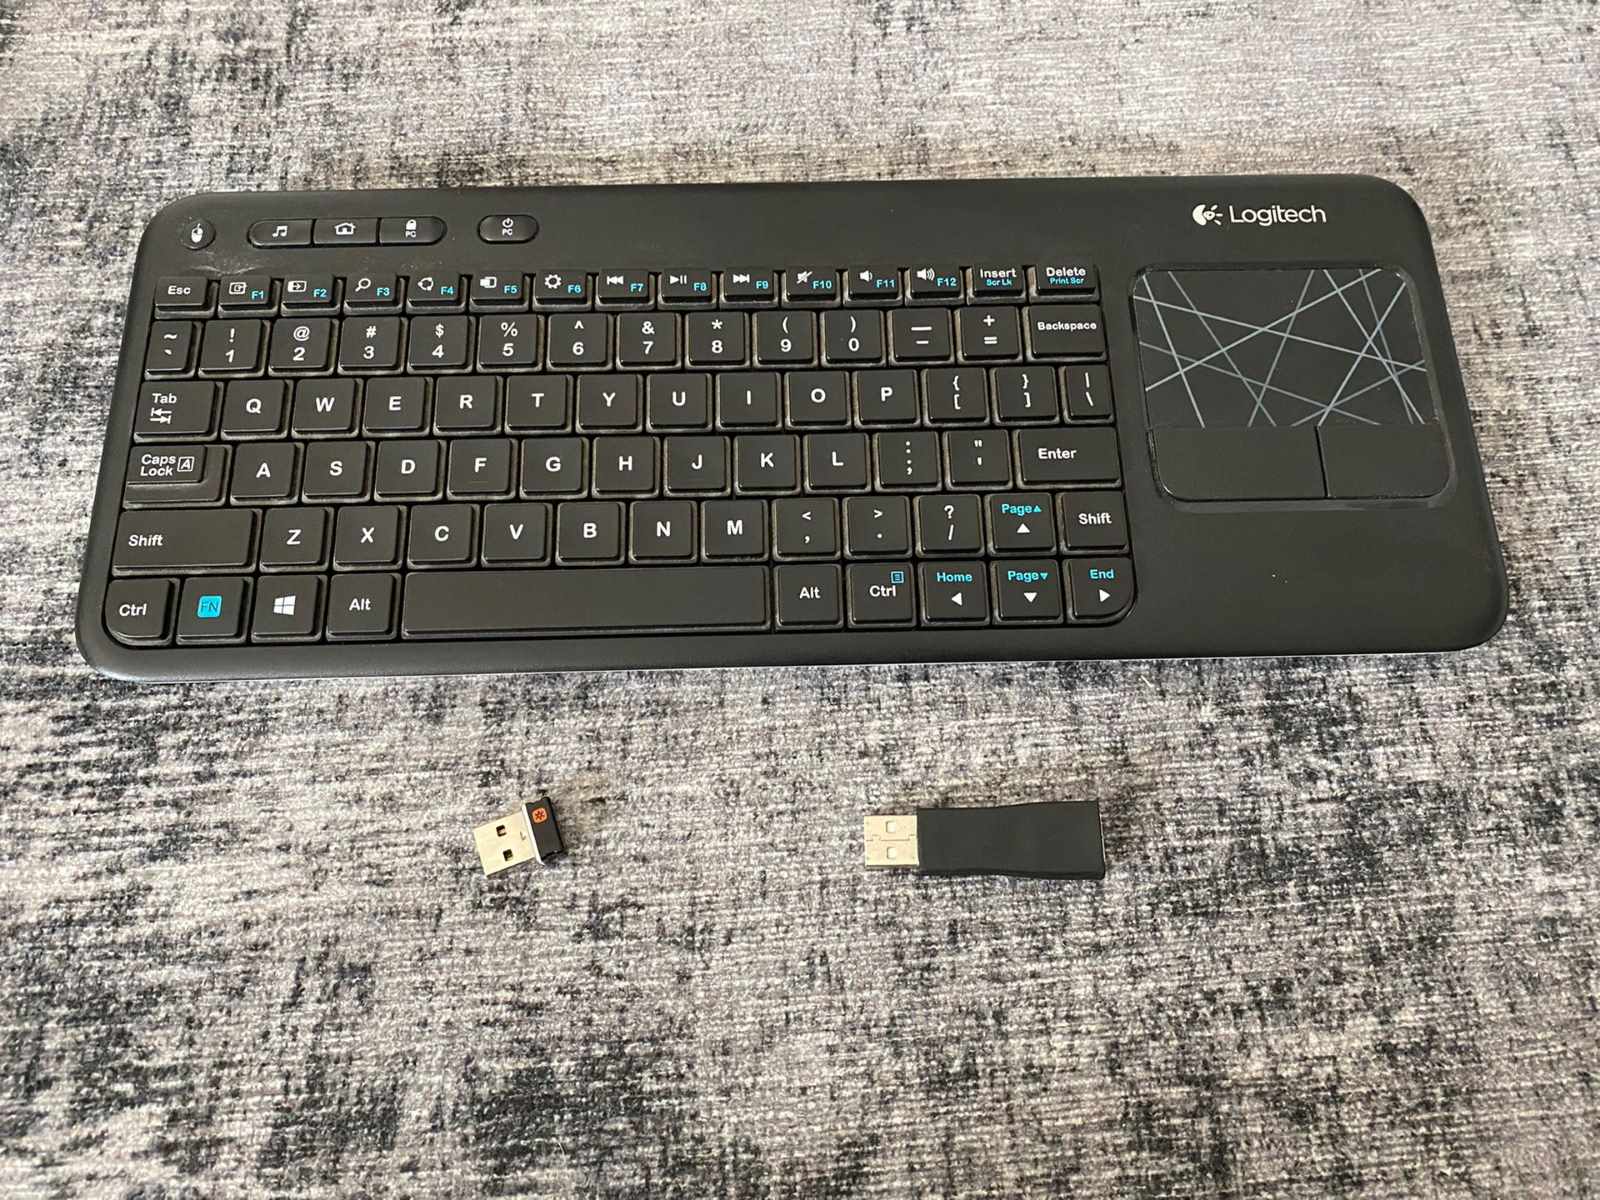
Before we dive into the steps, it’s essential to ensure that you have the necessary components for a successful connection. The Logitech K400 keyboard comes with a USB receiver, batteries, and an on-off switch. Additionally, make sure your device supports USB connectivity and is compatible with wireless keyboards.
In the following sections, we’ll walk you through the step-by-step process of setting up your Logitech K400 keyboard. From inserting batteries to pairing the keyboard with the receiver, you’ll have all the information you need to get started.
Step 1: Checking Compatibility
Before you begin setting up your Logitech K400 keyboard, it’s important to ensure that your device is compatible with wireless keyboards and has the necessary connectivity options. Here’s how you can check compatibility:
- Check your device’s specifications: Look for USB ports or Bluetooth capabilities in the specifications of your computer or smart TV. The Logitech K400 keyboard requires a USB receiver for connection, so make sure your device has a USB port available.
- Check the operating system requirements: Ensure that the operating system of your device is compatible with the Logitech K400 keyboard. Whether you’re using Windows, macOS, or a smart TV operating system, verify that it meets the requirements specified by Logitech.
- Review Logitech’s compatibility list: Logitech provides a compatibility list on their website, which includes a wide range of devices that work seamlessly with the Logitech K400 keyboard. Check the list to see if your device is mentioned.
If your device meets the compatibility requirements, you’ll be able to proceed with the setup process. However, if your device lacks USB ports or doesn’t meet the operating system requirements, you may need to explore alternative keyboards or consider using an adapter to connect the Logitech K400.
It’s important to note that even if your device meets the compatibility criteria, it’s always a good idea to keep your device’s software up to date. Check for any available updates for your operating system to ensure a smooth and hassle-free setup process with the Logitech K400 keyboard.
Step 2: Inserting Batteries
Now that you have ensured compatibility, it’s time to insert the batteries into your Logitech K400 keyboard. Here’s how:
- Locate the battery compartment: Flip your Logitech K400 keyboard and find the battery compartment on the back. It is usually located at the top-left corner.
- Open the battery cover: Slide or press the battery cover release mechanism to open the compartment. Some models may have a latch that needs to be lifted.
- Insert the batteries: Place the required batteries (usually two AA or AAA batteries) into the compartment following the correct polarity. Ensure that the positive (+) and negative (-) ends match the markings inside the compartment.
- Close the battery cover: Once the batteries are inserted properly, close the battery cover securely until it clicks into place. This will protect the batteries and keep them in position during use.
It’s important to use fresh batteries for optimal performance. If the batteries are low, the keyboard may not function correctly or may experience connectivity issues. Additionally, it’s a good practice to keep spare batteries on hand for future replacements.
Now that you have successfully inserted the batteries, you’re one step closer to enjoying the features of your Logitech K400 keyboard. Let’s move on to the next step to establish the connection with your device.
Step 3: Connecting the USB Receiver
With the batteries inserted, it’s time to connect the USB receiver that comes with your Logitech K400 keyboard. The USB receiver enables the wireless communication between your keyboard and the device. Follow these steps to connect it:
- Locate the USB receiver: The USB receiver is a small dongle that usually comes packaged with your Logitech K400 keyboard. Find the receiver and ensure it’s within reach.
- Insert the USB receiver: Plug the USB receiver into an available USB port on your computer or smart TV. Make sure to insert it firmly to ensure a stable connection.
- Wait for the device to recognize the receiver: Your device may take a few moments to detect and install the necessary drivers for the USB receiver. Allow some time for this process to complete.
Once the USB receiver is successfully connected, you will be able to use your Logitech K400 keyboard wirelessly. The receiver acts as a bridge between the keyboard and your device, allowing seamless communication. In case you need to move the USB receiver to a different USB port, ensure that the keyboard is within a reasonable range for optimal performance.
If you’re experiencing connectivity issues after connecting the USB receiver, try using a different USB port or removing any obstacles that may block the signal between the keyboard and the receiver.
Now that the USB receiver is connected, let’s move on to the next step to power on your Logitech K400 keyboard.
Step 4: Powering On the Keyboard
After connecting the USB receiver, it’s time to power on your Logitech K400 keyboard. To do this, follow these simple steps:
- Locate the power switch: Look for the power switch on your Logitech K400 keyboard. It’s usually located on the top or side of the keyboard.
- Turn on the keyboard: Slide the power switch to the “ON” position. Some models may have a button or key combination to power on the keyboard.
Once you have powered on the Logitech K400 keyboard, it will begin to establish a wireless connection with the USB receiver. You may notice a LED indicator light on the keyboard that confirms its power status.
It’s important to ensure that the batteries are properly inserted and have enough charge for the keyboard to function. If the keyboard doesn’t power on, try replacing the batteries and make sure they are inserted correctly. Additionally, check if the power switch is functioning properly.
Now that your Logitech K400 keyboard is powered on, it’s time to proceed to the next step and pair the keyboard with the USB receiver.
Step 5: Pairing the Keyboard with the Receiver
Now that you have powered on your Logitech K400 keyboard, it’s time to pair it with the USB receiver. Pairing allows the keyboard and receiver to establish a secure and encrypted connection. Follow these steps to pair the keyboard:
- Ensure the USB receiver is connected: Make sure the USB receiver is still plugged into the USB port of your device.
- Press the Connect button: Look for the Connect button on the USB receiver. Press and hold it for a few seconds.
- Press the Connect button on the keyboard: While still holding the Connect button on the USB receiver, locate the Connect button on your Logitech K400 keyboard. Press and hold it for a few seconds as well.
- Wait for the pairing process: Release both buttons and wait for the pairing process to complete. This may take a few seconds.
Once the pairing process is successful, your Logitech K400 keyboard will be connected to the USB receiver, and you will be able to use it wirelessly. Some models may have LED indicators that show the pairing status, while others may notify you through on-screen prompts.
If the pairing process fails or the keyboard doesn’t respond, try repeating the steps above. Make sure to press and hold the Connect buttons simultaneously on both the receiver and the keyboard to ensure a successful pairing. Additionally, ensure that there are no strong wireless signals or sources of interference nearby that may disrupt the pairing process.
Now that your Logitech K400 keyboard is successfully paired with the USB receiver, it’s time to move on to the next step and test the connection.
Step 6: Testing the Keyboard Connection
After pairing your Logitech K400 keyboard with the USB receiver, it’s important to test the connection to ensure it’s working properly. Follow these steps to test the keyboard connection:
- Open a text document or any application: Open a text editor, word processor, web browser, or any other application where you can type and test the keyboard.
- Place the keyboard within range: Make sure the Logitech K400 keyboard is within the recommended range of the USB receiver for optimal performance. Check the user manual or Logitech’s specifications for the maximum range.
- Type on the keyboard: Begin typing on the Logitech K400 keyboard and observe if the characters appear on the screen. Try typing various letters, numbers, and symbols to ensure all keys are functioning correctly.
- Test additional features: If your Logitech K400 keyboard has additional features such as multimedia keys or touchpad functionality, make sure to test them as well.
If you notice any issues with the keyboard connection, such as delayed or unresponsive keystrokes, try the following troubleshooting steps:
- Ensure the USB receiver is securely connected: Check that the USB receiver is properly inserted into the USB port and hasn’t come loose.
- Move closer to the USB receiver: If you’re experiencing weak or intermittent connectivity, try moving closer to the USB receiver to establish a stronger connection.
- Remove potential sources of interference: Keep your Logitech K400 keyboard away from other wireless devices or sources of interference, such as routers, cordless phones, or strong magnets.
- Replace or recharge the batteries: If the keyboard is acting inconsistently, it may be due to low battery power. Consider replacing the batteries or recharging them if your keyboard is rechargeable.
By testing the Logitech K400 keyboard connection and troubleshooting any issues, you can ensure a smooth and seamless typing experience when using your computer or smart TV.
Troubleshooting Common Issues
While setting up and using your Logitech K400 keyboard, you may encounter some common issues. Here are a few troubleshooting tips to help you resolve them:
- Keyboard not responding: If your Logitech K400 keyboard is not responding at all, ensure that the batteries are properly inserted and have enough charge. Try replacing the batteries if necessary. Additionally, make sure the keyboard is within range of the USB receiver and that the USB receiver is securely connected to your device.
- Intermittent connectivity: If you experience intermittent connectivity or lag while typing, try moving closer to the USB receiver to establish a stronger signal. Other wireless devices or sources of interference can impact the connection, so keep your keyboard away from them. Additionally, ensure that there are no physical obstacles obstructing the path between the keyboard and the USB receiver.
- Keys not functioning: If certain keys on your Logitech K400 keyboard are not functioning correctly, it might be due to debris or dirt affecting the contacts. Gently clean the affected keys using compressed air or a soft cloth. If the issue persists, try restarting your device or reconnecting the USB receiver.
- Touchpad or multimedia keys not working: If the touchpad or multimedia keys on your Logitech K400 keyboard are not working, make sure you have installed any necessary drivers or software provided by Logitech. Check for any updates to ensure compatibility with your operating system. If the issue persists, try reconnecting the USB receiver or restarting your device.
- Random cursor movement: If you notice random cursor movement on the screen while using the touchpad, it might be due to sensitivity settings or interference. Adjust the touchpad sensitivity through the provided Logitech software or control panel settings. Additionally, try using a mouse pad or a smooth surface to avoid potential interference from uneven or reflective surfaces.
If you continue to experience issues with your Logitech K400 keyboard despite troubleshooting, it’s recommended to visit Logitech’s support website or contact their customer support for further assistance. They can provide specific troubleshooting steps or guide you through more advanced solutions based on your specific situation.
Remember, troubleshooting common issues can help you resolve them quickly and ensure a smooth and enjoyable experience with your Logitech K400 keyboard.
Conclusion
Congratulations! You have successfully set up and connected your Logitech K400 keyboard. Through the steps outlined in this guide, you learned how to check compatibility, insert batteries, connect the USB receiver, power on the keyboard, pair it with the receiver, and test the connection. Troubleshooting common issues also equipped you with solutions to address any potential problems that may arise.
The Logitech K400 keyboard offers a wireless and convenient typing experience for your computer or smart TV. With its range of features, including a touchpad and multimedia keys, it enhances your productivity and makes navigating digital content a breeze.
Remember, if you ever encounter any difficulties or have any specific questions regarding your Logitech K400 keyboard, consult the user manual provided or visit Logitech’s support website for additional resources and assistance.
Enjoy the freedom and flexibility that the Logitech K400 keyboard brings to your computing experience. Whether you’re browsing the web, working on documents, or enjoying multimedia content, this wireless keyboard is designed to make your life easier and more enjoyable.
Happy typing!