Introduction
Welcome to the ultimate guide on how to open a power bank charger! Power banks have become an essential accessory for our digital lives, providing a convenient way to keep our devices charged on the go. However, there may come a time when you need to access the inner components of your power bank, whether it’s to replace a faulty part or simply out of curiosity. Opening a power bank charger can seem like a daunting task, but with the right tools and knowledge, it can be a straightforward process.
In this guide, we will walk you through the step-by-step process of opening a power bank charger safely and with ease. We will discuss the tools and equipment you’ll need, how to identify the different parts of your power bank, and the proper techniques to open it without causing any damage. You’ll also learn what to look for inside the power bank, such as the circuit board and battery, and how to reassemble the charger once you’re done.
It’s important to note that opening your power bank charger may void any warranties, so be sure to check the terms and conditions before proceeding. Additionally, always exercise caution and work in a clean and well-lit area to avoid accidents or mishaps. Now, let’s delve into the steps of opening a power bank charger and uncover the mysteries hidden inside!
Step 1: Gather the necessary tools and equipment
Before you begin opening your power bank charger, it’s essential to gather the right tools and equipment. Having the proper tools will make the process smoother and help prevent any damage to the charger or its components. Here are the tools you’ll need:
- Screwdriver set: Many power bank chargers are held together by screws, so having a set of screwdrivers with different sizes and types is crucial. Make sure to check the type of screws used in your charger, as they can vary (such as Phillips or Torx).
- Plastic opening tools: In addition to screwdrivers, it’s helpful to have plastic opening tools to gently pry open the casing without causing any scratches or cracks. These tools are specifically designed to separate and lift plastic components.
- Tweezers: Tweezers can be useful for handling small components inside the power bank and for precise maneuvering.
- Anti-static wrist strap: If you’re working with sensitive electronics, such as the circuit board inside the power bank charger, an anti-static wrist strap can help prevent static discharge that could damage the delicate components. This is especially important if you’re in a dry environment or wearing clothing that generates static electricity.
Having these tools at hand will ensure that you’re well-equipped to handle the disassembly process smoothly and safely. Once you’ve gathered all the necessary tools, you’re ready to move on to the next step: identifying the different parts of your power bank charger.
Step 2: Identify the different parts of your power bank charger
Before you dive into opening your power bank charger, it’s important to familiarize yourself with its different components. By understanding the various parts, you’ll have a better idea of how the charger is assembled and where to focus your efforts during the disassembly process. Here are the main components you may find in a power bank charger:
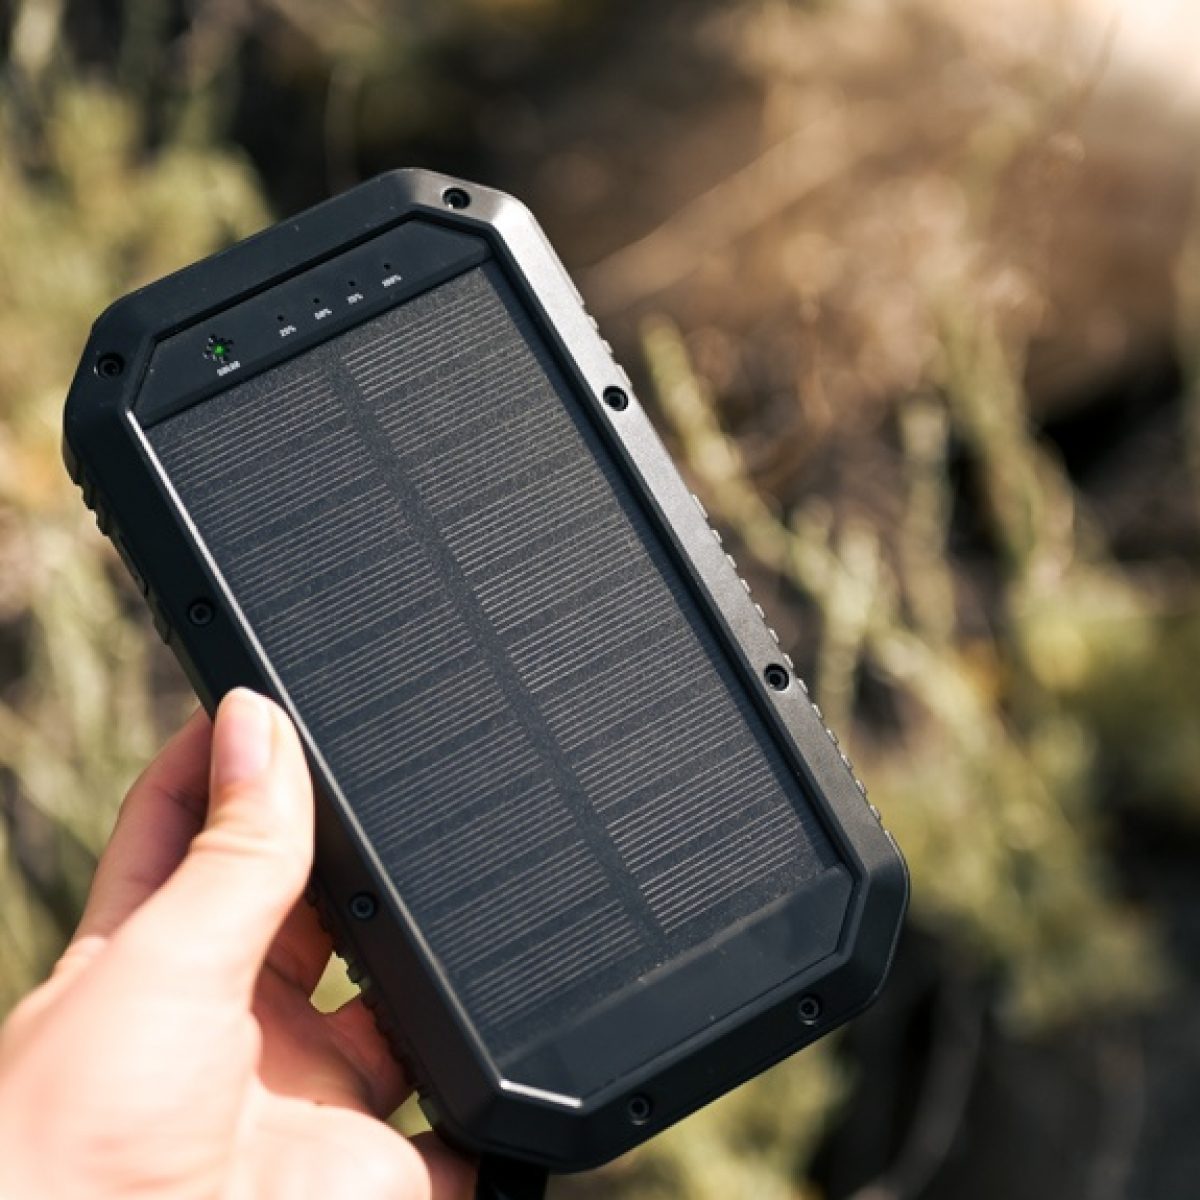
- Casing: The casing is the outer shell of the power bank. It is usually made of plastic, metal, or a combination of both. The casing not only provides structural support but also protects the internal components from damage.
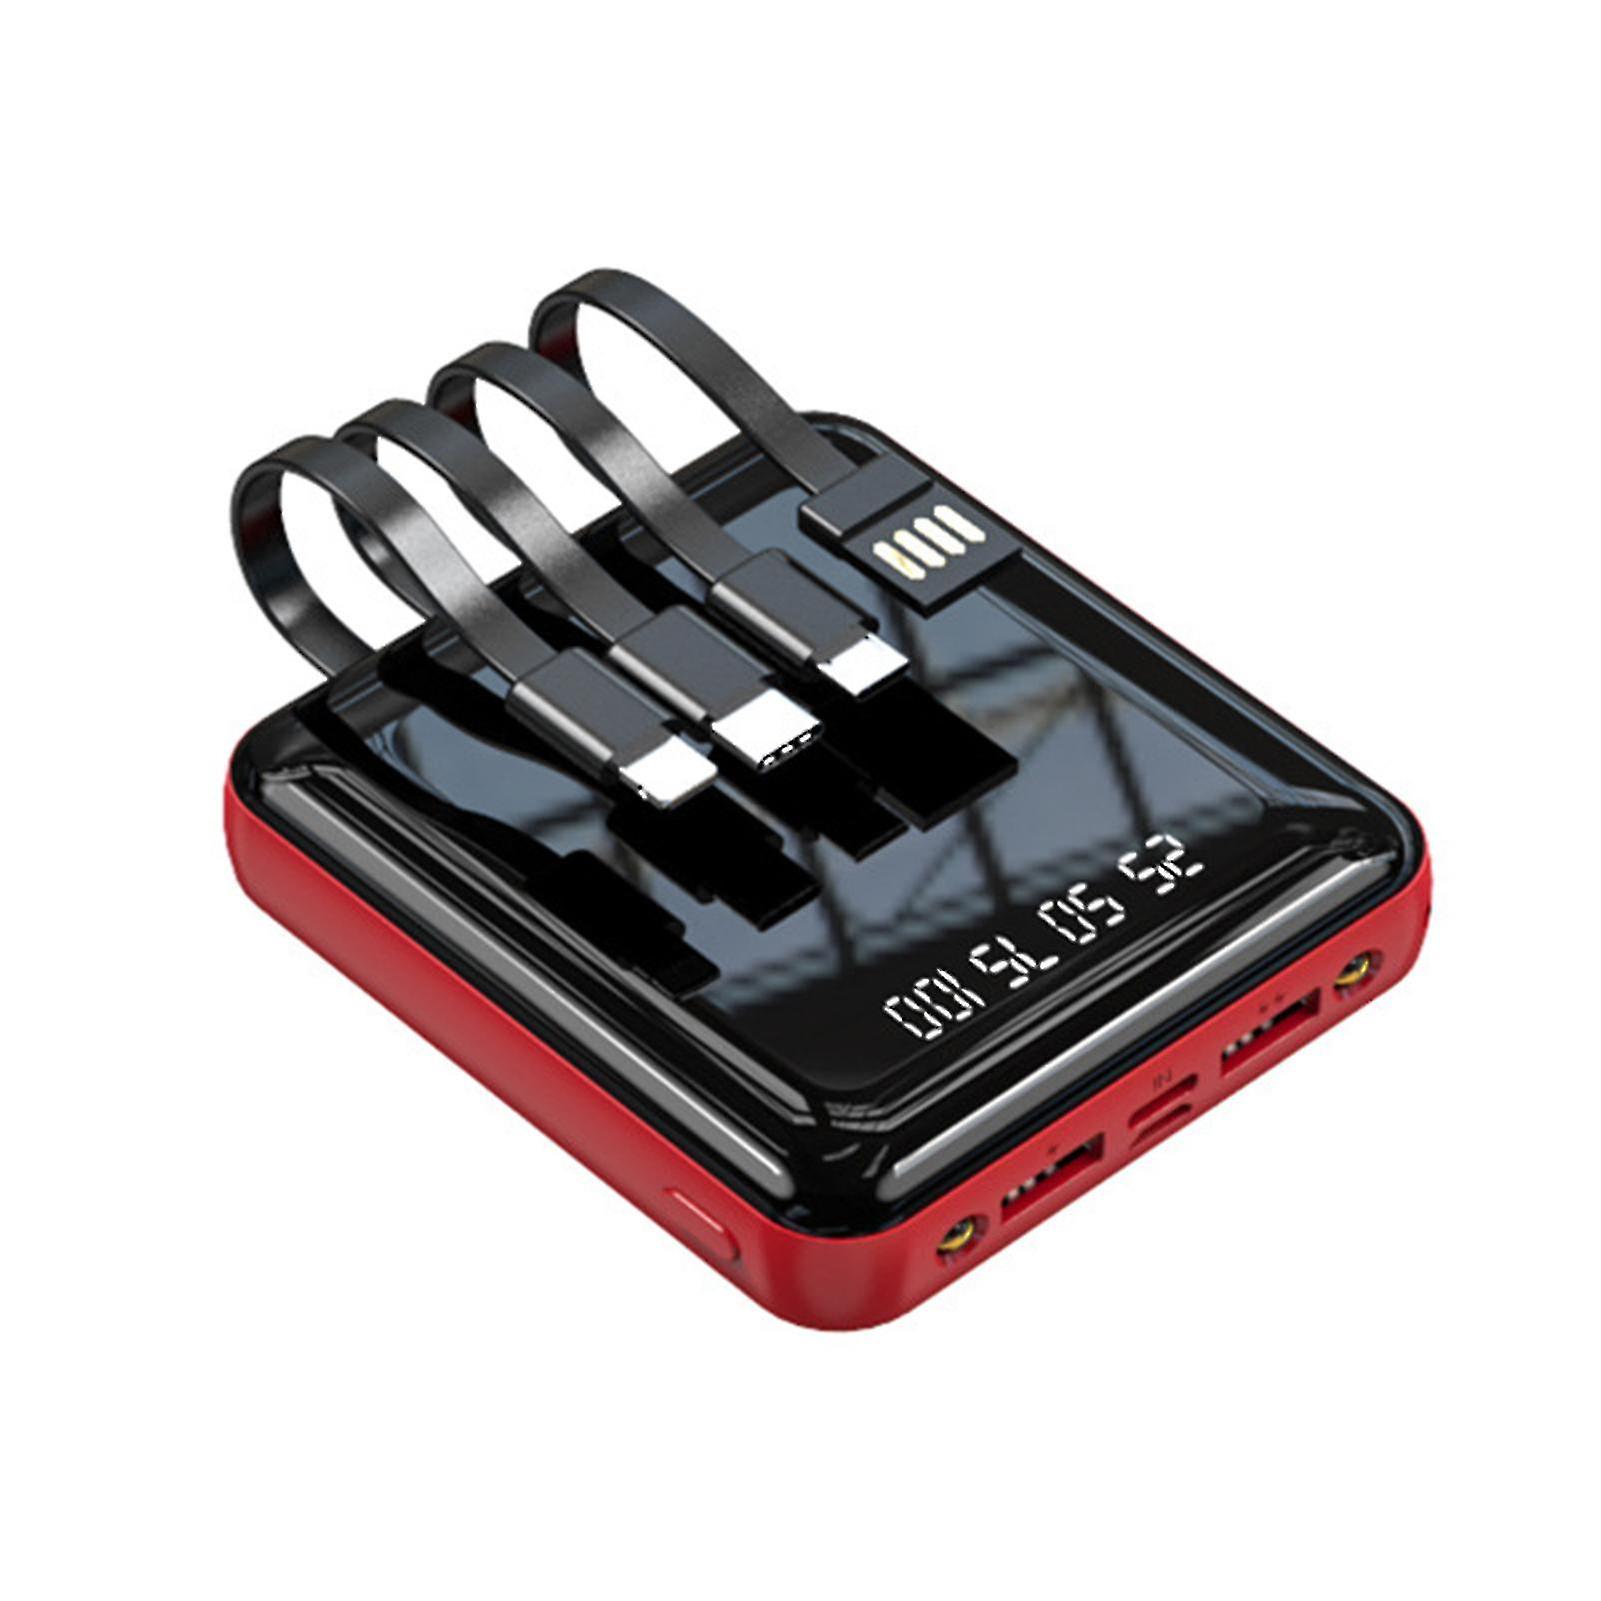
- Buttons and indicators: Most power banks have buttons and indicators on the exterior. The buttons are used to turn the power bank on or off, while the indicators show the remaining battery capacity or charging status.
- Ports: Power banks have input and output ports for charging and discharging. The input port is where you connect the charger to an external power source to recharge it, while the output port is used to connect your devices for charging.
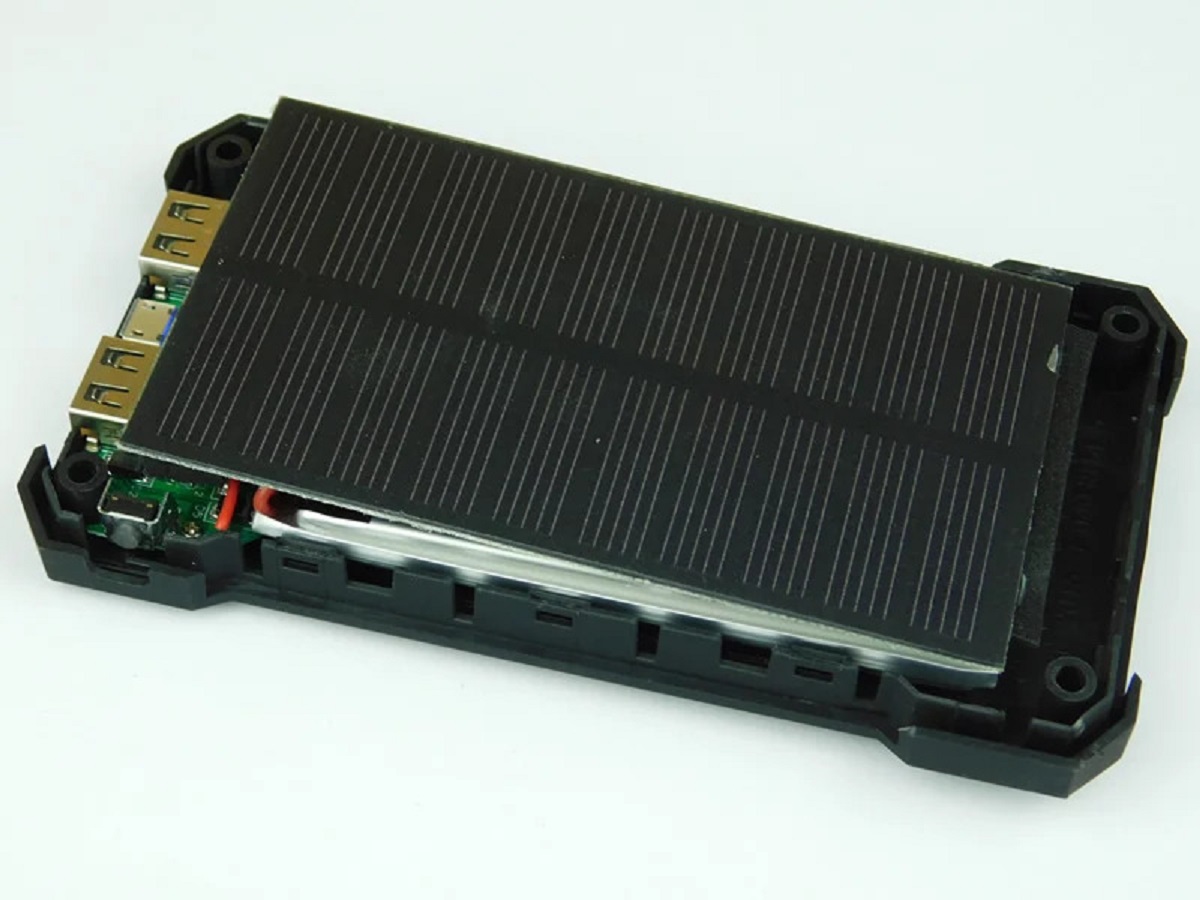
- Circuit board: The circuit board is the heart of the power bank. It contains the electronic components responsible for regulating the power flow, managing the charging process, and providing protection against overcharging, overheating, and short circuits.
- Battery: The battery is the power source of the charger. It stores the electrical energy and delivers it to your devices when needed. Power banks usually use lithium-ion or lithium-polymer batteries due to their high energy density and compact size.
Take a close look at your power bank charger and identify these different parts. Pay attention to any specific details, labels, or markings that might provide useful information during the disassembly and reassembly process. Once you’re confident in recognizing the components, you’re ready to move on to the next step: locating the screws or hidden compartments.
Step 3: Locate the screws or hidden compartments
Now that you’re familiar with the different parts of your power bank charger, the next step is to locate the screws or hidden compartments that hold the casing together. The exact location and number of screws can vary depending on the model and design of your charger.
Start by carefully inspecting the exterior of the power bank. Look for any visible screws or small compartments that might conceal screws. Common areas where screws are located include the sides, bottom, and sometimes even under labels or rubber feet.
If you don’t see any screws, your power bank may have a snap-on or slide-to-open mechanism. In this case, look for any notches or gaps between the casing that suggest where the two halves can be separated.
It’s essential to proceed with caution and avoid using excessive force when searching for screws or hidden compartments. Applying unnecessary pressure or using sharp objects can damage the casing or the internal components of the power bank.
Once you’ve located the screws or identified the opening mechanism, make a note of their positions and the type of screws used. This information will come in handy when you proceed with the disassembly process in the next steps.
Now that you have identified the screws or hidden compartments, you’re ready to move on to the next step: using the appropriate tool to remove the screws.
Step 4: Use the appropriate tool to remove the screws
With the knowledge of where the screws or hidden compartments are located, it’s time to gather the appropriate tool and remove the screws holding the power bank charger’s casing together. The type of tool you’ll need depends on the type of screws used in your charger.
If your power bank has Phillips screws, use a Phillips screwdriver that matches the size of the screws. A Phillips screwdriver has a cross-shaped tip that fits snugly into the screw head and allows you to turn it counterclockwise to loosen and remove the screw.
If your power bank has Torx screws, you’ll need a set of Torx screwdrivers. Torx screws have a star-shaped slot in the middle, so make sure you have the right-sized Torx screwdriver that matches the size of the screws in your charger.
Once you have the appropriate screwdriver, place it securely into the screw head and apply gentle pressure while turning it counterclockwise. Be careful not to slip and strip the screw or damage the surrounding area.
If your power bank uses screws with non-standard heads, such as tri-wing or pentalobe, you’ll need specialized screwdrivers that match those specific screw types. Make sure to obtain the correct tools to avoid damaging the screws or the screwdriver.
If your power bank charger doesn’t have any visible screws and instead has a snap-on or slide-to-open mechanism, use plastic opening tools to gently pry open the casing. Insert the flat end of the plastic opening tool into the gap between the casing halves and carefully apply pressure to separate them. Work your way around the edges, exerting even force to avoid bending or breaking the plastic.
Remember to keep track of the screws and any other small components you remove. It’s advisable to have a small container or tray to store the screws safely during the disassembly process to avoid misplacing them.
Now that you’ve successfully removed the screws or opened the casing, you’re ready to move on to the next step: carefully opening the power bank casing.
Step 5: Carefully open the power bank casing
With the screws removed or the snap-on mechanism disengaged, it’s time to proceed with opening the power bank casing. This step requires careful handling to prevent any damage to the internal components or the casing itself.
If your power bank has screws, gently lift or slide off the cover once all the screws have been removed. Use your fingers or a plastic opening tool to create a gap between the two halves of the casing, then carefully pry them apart. Take your time and apply even pressure along the edges to avoid snapping or cracking the casing.
If your power bank has a snap-on or slide-to-open mechanism, start by identifying the point of separation. Insert a plastic opening tool into the gap and use it to pry apart the casing gradually. Work your way around the edges, applying gentle force until the two halves of the casing begin to separate.
While opening the casing, be mindful of any cables or wires connected to the internal components. Avoid putting unnecessary pressure on them or yanking them out abruptly. Pay attention to any adhesive or tape holding the components in place and gently detach them if necessary.
As you open the power bank casing, take note of the internal layout and how the different components are arranged. This observation will be helpful when it’s time to reassemble the charger later on.
If you encounter any resistance or find it challenging to open the casing, double-check for any remaining screws or hidden latches that might be holding it together. It’s better to be thorough and ensure you’ve removed all the fasteners before exerting excessive force.
Once the power bank casing is opened, set it aside in a safe place. Be cautious not to disrupt or damage the internal components, such as the circuit board and battery, which we’ll explore in the next steps.
Congratulations! You have successfully opened the power bank casing. Now, it’s time to delve further and examine the internal components of your charger.
Step 6: Take note of the internal components
Now that you have successfully opened the power bank casing, it’s time to explore the internal components and take note of their arrangement. Understanding the layout of the internal components will be helpful when it comes to reassembling the power bank charger later on.
Start by closely examining the circuit board (also known as the PCB). The circuit board is the main electronic component responsible for regulating the power flow, managing charging processes, and providing protection mechanisms.
Take note of the various electronic components present on the circuit board, such as resistors, capacitors, integrated circuits, and any other identifiable elements. Pay close attention to their positions and connections, as this information will be useful during reassembly.
Next, direct your attention to the battery. The battery is the power source for the power bank charger, providing the electrical energy required to charge your devices. Note the type of battery used, such as lithium-ion or lithium-polymer, as well as its placement and connection to the circuit board.
Observe any other components present inside the power bank, including connectors, wires, or additional circuitry. Take note of their locations and how they are connected to the circuit board or other components.
During this step, it may be helpful to take pictures or make sketches of the internal components. This will serve as a visual reference when you are ready to reassemble the power bank charger.
It’s important to handle the internal components with care and avoid applying excessive force or pressure that could potentially damage them. Remember to be mindful of any cables or wires connected to the components and ensure they are not accidentally disconnected or strained.
By taking note of the internal components and their arrangement, you are now well-prepared for the next step: inspecting the circuit board and battery for any signs of damage or issues.
Step 7: Inspect the circuit board and battery
Now that you have familiarized yourself with the internal components of the power bank charger, it’s time to inspect the circuit board and battery for any signs of damage or issues. This step is crucial to ensure the proper functioning and longevity of your power bank.
Start by carefully examining the circuit board for any visible damage, such as burnt or discolored areas, loose connections, or swollen or leaking capacitors. These signs can indicate potential issues that may affect the performance of the power bank charger.
Check all the solder joints on the circuit board to ensure they are intact and properly connected. Look for any signs of poor soldering, such as cold joints or excessive solder bridges, which can cause electrical problems. If you have experience in electronics or soldering, you may consider reworking any problematic joints to improve the overall quality of the connections.
Inspect the battery for any physical damages, such as dents, bulges, or leakage. If you notice any swelling, it’s a sign of a malfunctioning or deteriorating battery that should be replaced. Faulty batteries can not only affect the charging performance but also pose a safety hazard.
Make sure the battery is securely connected to the circuit board and there are no loose or damaged wires. Check the battery terminals for any corrosion or dirt buildup and carefully clean them if necessary. It’s important to maintain clean and proper connections for optimal performance.
If you have access to a multimeter, you can perform voltage and continuity tests to ensure that the circuit board and battery are functioning correctly. However, exercise caution when working with electricity and follow appropriate safety protocols.
During the inspection, take note of any issues or areas of concerns that may require further attention or repairs. If you are uncertain about any specific findings, it’s advisable to seek professional help or refer to the manufacturer for guidance or assistance.
By inspecting the circuit board and battery, you are taking important steps to identify potential problems and maintain the functionality of your power bank charger. Once you are satisfied with the inspection, it’s time to move on to the next step: reassembling the power bank charger.
Step 8: Reassemble the power bank charger
Now that you have inspected the internal components and addressed any issues, it’s time to reassemble the power bank charger. Properly reassembling the charger ensures that all the components are securely in place and the casing is properly closed to protect the internal circuitry.
Follow these steps to reassemble the power bank charger:
- Start by carefully aligning the casing halves, making sure that any cables or wires are properly tucked inside.
- If your power bank uses screws, gently insert and tighten each screw in its respective location. Use the appropriate screwdriver to avoid damaging the screw heads.
- If your power bank has a snap-on or slide-to-open mechanism, align the edges of the casing halves, then apply gentle pressure to snap or slide them back together. Ensure that the casing is fully closed and secure.
- If there were any adhesive or tape used to secure any components, reapply it as needed to hold everything in place.
- Give the power bank charger a final visual inspection to make sure everything is properly aligned and secure.
Once you have reassembled the power bank charger, plug it into a power source and test its functionality. Check if it charges your devices properly and if the indicators and buttons function as expected. If you notice any abnormalities or issues, repeat the disassembly process and inspect the internal components again to ensure all connections are secure and functioning.
Remember to follow any specific instructions or guidelines provided by the manufacturer during reassembly. If you encounter any difficulties or uncertainties during the process, it’s advisable to seek professional assistance or refer to the manufacturer’s support.
With the power bank charger successfully reassembled and tested, you can now enjoy the convenience of a fully functional and neatly closed charger. Take pride in the fact that you were able to open and reassemble the power bank charger, gaining valuable insights into its components along the way.
Conclusion
Congratulations on successfully learning how to open and reassemble a power bank charger! By following the step-by-step guide in this article, you have gained the knowledge and skills to access the internal components of your charger and inspect them for any issues.
Remember, when opening a power bank charger, always exercise caution and use the appropriate tools. Take note of the different parts of the charger, locate the screws or hidden compartments, and carefully open the casing without causing any damage.
Once the casing is open, inspect the circuit board and battery for any signs of damage or malfunction. Pay attention to the solder joints, cleanliness, and connections to ensure optimal performance.
After completing the inspection, reassemble the power bank charger by aligning the casing halves and tightening the screws or securing the snap-on mechanism. Double-check the connections and give the charger a final visual inspection before testing its functionality.
By opening and reassembling a power bank charger, you have gained a better understanding of its internal components, enabling you to troubleshoot, repair, or upgrade it in the future if needed.
Remember to always refer to the manufacturer’s instructions and guidelines specific to your power bank charger model. If you encounter any difficulties or uncertainties, consider seeking professional help or reaching out to the manufacturer for assistance.
We hope this guide has empowered you to confidently open and reassemble your power bank charger. Now you can maintain and extend the lifespan of your charger, ensuring that your devices stay powered up whenever you need them.