Introduction
Welcome to this step-by-step guide on how to map a network drive in Windows 10. Mapping a network drive allows you to connect to and access files and folders located on another computer or server in your network. This can be incredibly useful for sharing files, collaborating on projects, and accessing resources that are not stored locally on your computer.
Mapping a network drive in Windows 10 is a straightforward process that can be done in just a few simple steps. Whether you need to connect to a shared folder on your office server or access files on a friend’s computer, this guide will walk you through the process.
Before we dive into the steps, it’s important to note that you’ll need the necessary permissions and network access to successfully map a network drive. Make sure you have the required credentials and that the computer or server you’re trying to connect to is turned on and connected to the same network as your computer.
Now, let’s get started with mapping a network drive in Windows 10!
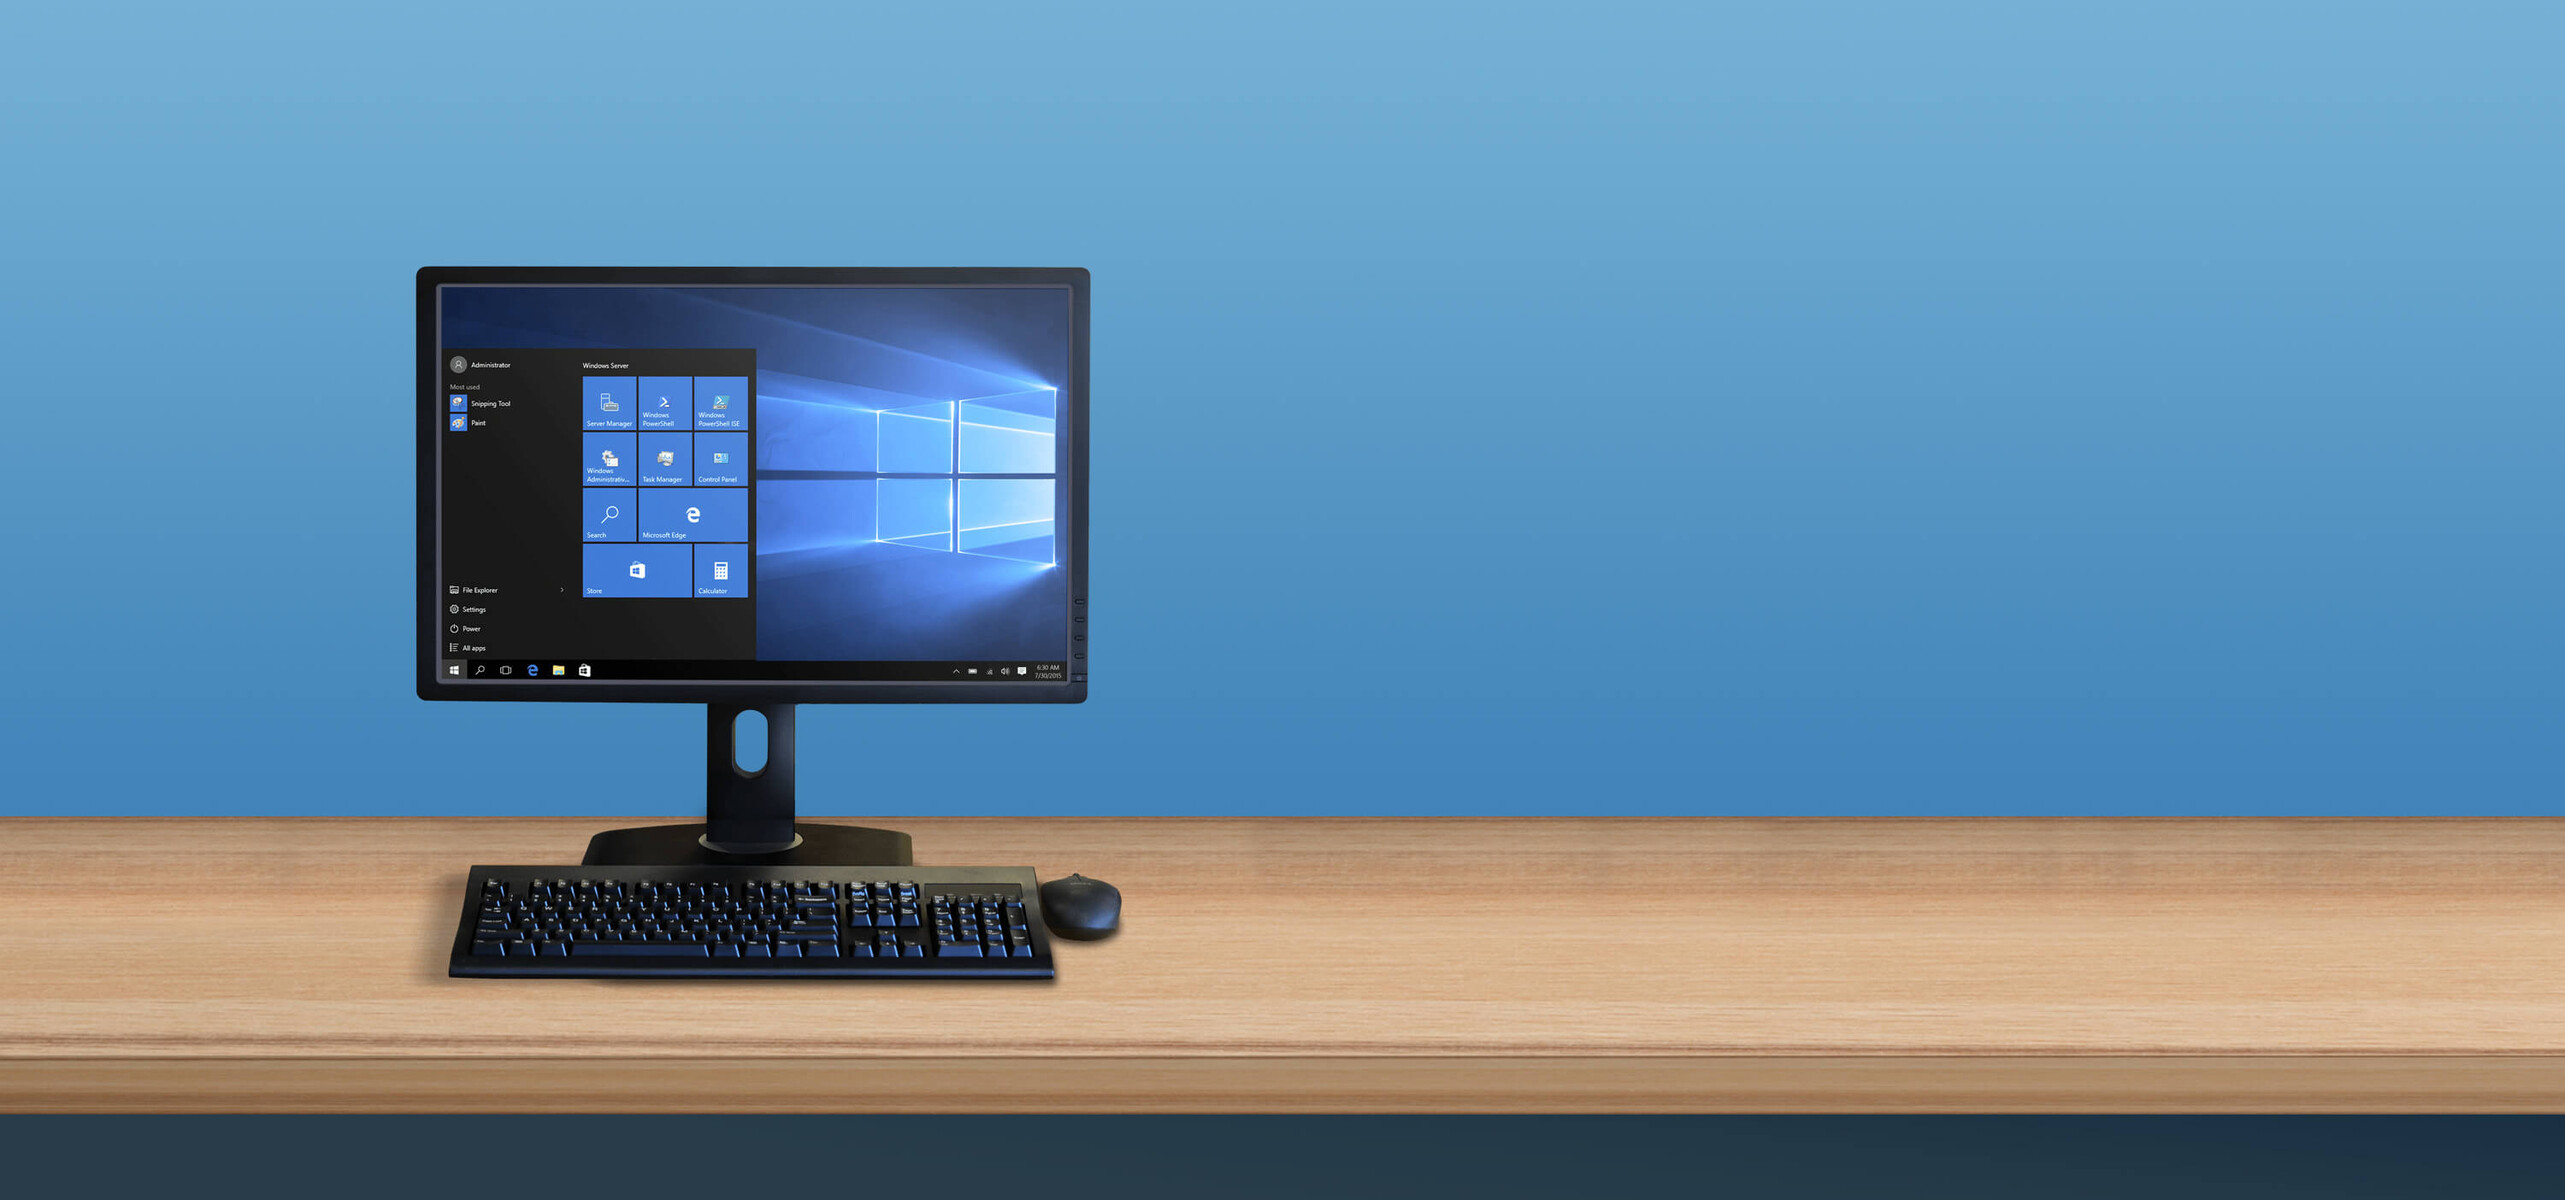
Step 1: Open File Explorer
The first step in mapping a network drive in Windows 10 is to open File Explorer. File Explorer is a built-in file management tool in Windows that allows you to navigate and manage files and folders on your computer.
To open File Explorer, click on the Start button located at the bottom left corner of your screen. You can also press the Windows Key + E on your keyboard as a shortcut to open File Explorer.
Once File Explorer is open, you will see a list of frequently accessed folders on the left-hand side of the window. This list includes commonly used folders such as Documents, Downloads, and Desktop.
If you don’t see the network drive you want to map on the left-hand side, don’t worry. We will map it in the next steps.
Now that File Explorer is open, let’s move on to the next step.
Step 2: Click on “This PC”
After opening File Explorer, the next step is to locate and click on “This PC” in the sidebar. “This PC” is a section in File Explorer that shows all the storage drives connected to your computer, including the local hard drive and any mapped network drives.
To find “This PC,” look for it in the sidebar on the left-hand side of the File Explorer window. It may also be labeled as “My Computer” or “Computer” in some versions of Windows.
Once you have located “This PC,” click on it to expand the section. This will display a list of all the drives currently connected to your computer.
If you have previously mapped a network drive and it is currently connected, you will see it listed here under the “Network Locations” section. If the network drive you want to map is already listed, you can skip to the next step.
If the network drive you want to map is not listed, don’t worry. We will map it in the following steps.
By clicking on “This PC,” you are one step closer to mapping your network drive. Let’s proceed to the next step.
Step 3: Click on “Map network drive”
After clicking on “This PC” in File Explorer, the next step is to click on the “Map network drive” option. This option allows you to initiate the process of mapping a new network drive in Windows 10.
To find the “Map network drive” option, look for it in the File Explorer ribbon at the top of the window. The ribbon contains various tabs and commands for managing files and folders.
Once you have located the ribbon, click on the “Computer” tab. This tab is typically the default tab when you open File Explorer.
In the “Computer” tab, you will see a section labeled “Map network drive.” Click on this section to open the “Map Network Drive” dialog box.
The “Map Network Drive” dialog box is where you can specify the drive letter and network path for the network drive you want to map.
If the “Map network drive” option is grayed out or not visible, it could be due to your computer’s network settings or restrictions. In this case, you may need to contact your network administrator for assistance.
Now that you have clicked on “Map network drive,” let’s move on to the next step in mapping your network drive.
Step 4: Select a drive letter
After opening the “Map Network Drive” dialog box, the next step is to select a drive letter for the network drive you want to map. The drive letter is the letter that will be assigned to the network drive and will be used to identify and access it on your computer.
In the “Map Network Drive” dialog box, you will see a field labeled “Drive.” This field allows you to choose a drive letter for the network drive. By default, Windows will suggest the next available drive letter, but you can also select a specific letter from the drop-down menu.
It’s important to choose a drive letter that is not already assigned to another drive on your computer. This will prevent conflicts and ensure smooth functioning of all your drives.
Keep in mind that the drive letter you choose will be used to access the network drive in the future. For example, if you choose the letter “Z,” you will be able to access the network drive by navigating to “Z:\” in File Explorer.
If you prefer to let Windows automatically assign a drive letter, you can leave the default option selected.
Once you have selected a drive letter, we’re ready to move on to the next step in mapping your network drive.
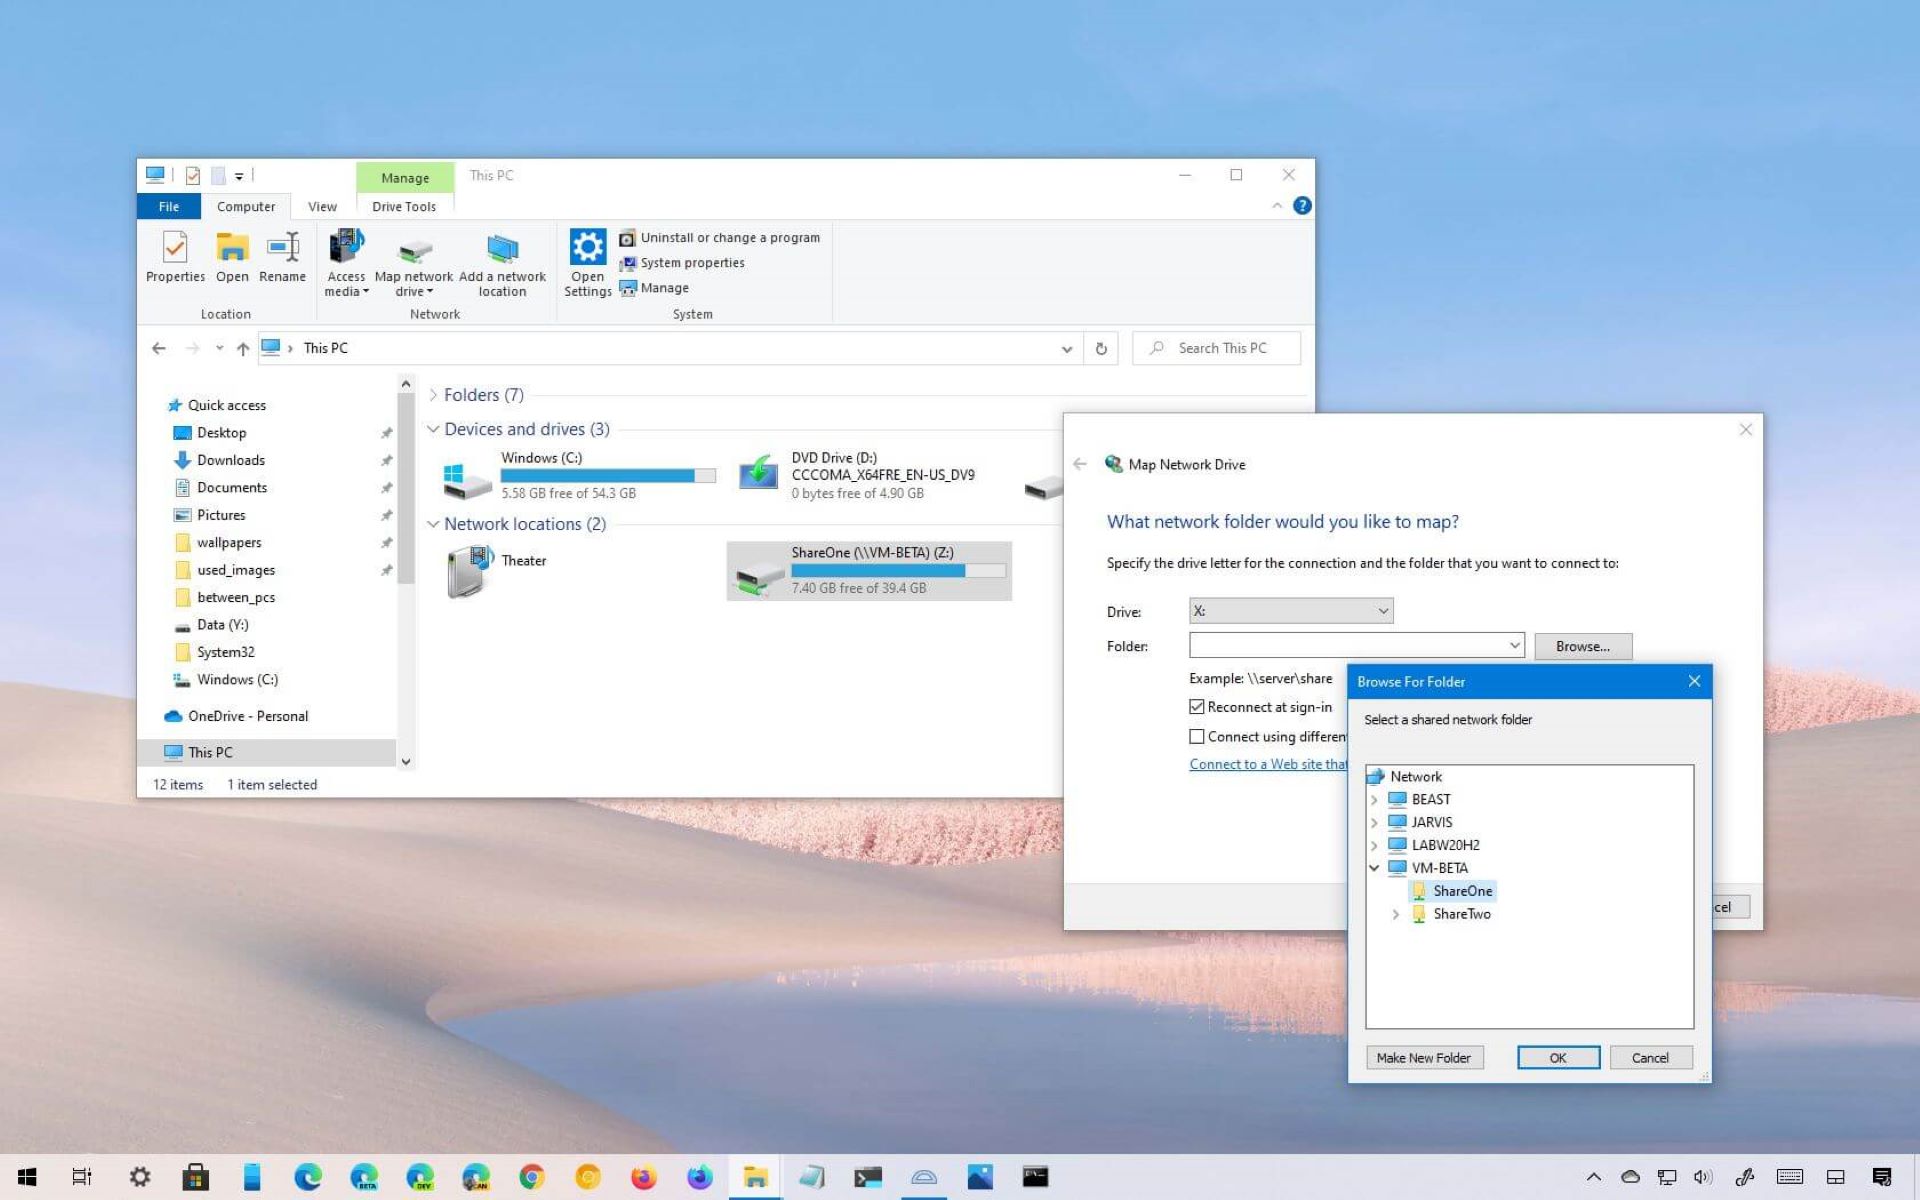
Step 5: Enter the network path
After selecting a drive letter, the next step in mapping a network drive is to enter the network path. The network path is the location of the shared folder or drive that you want to connect to and access.
In the “Map Network Drive” dialog box, you will see a field labeled “Folder.” This is where you can enter the network path.
The network path typically starts with the server name or IP address followed by the shared folder name. For example, the network path may look like “\\servername\sharedfolder” or “\\192.168.1.100\sharedfolder”.
If you are unsure of the network path, you can reach out to your network administrator or the person who manages the shared folder for assistance.
It’s important to note that you can click on the “Browse” button in the “Map Network Drive” dialog box to search for the shared folder or browse the network to locate it.
Once you have entered the correct network path or located the shared folder through browsing, double-check that the path is accurate. Any typos or errors in the network path will prevent the successful mapping of the network drive.
Now that you have entered the network path, let’s proceed to the next step in mapping your network drive.
Step 6: Choose options for reconnecting at sign-in
After entering the network path, the next step in mapping a network drive is to choose options for reconnecting at sign-in. This step determines whether the network drive will be automatically connected and accessible every time you start or sign in to your computer.
In the “Map Network Drive” dialog box, you will find a checkbox labeled “Reconnect at sign-in.” If you want the network drive to be automatically connected every time you sign in to your computer, make sure this checkbox is checked.
By enabling this option, Windows will remember the network drive and reconnect to it whenever you start or sign in to your computer. This is particularly useful if you regularly use the network drive and want it to be easily accessible without having to manually connect to it each time.
If you don’t want the network drive to be automatically connected at sign-in, leave the checkbox unchecked. However, keep in mind that you will need to manually connect to the network drive each time you want to access it.
Additionally, you have the option to enable “Connect using different credentials” if you want to use a different set of credentials to connect to the shared folder. This can be useful if you have multiple user accounts or if you need to provide specific login information.
Once you have selected the desired options, we can proceed to the next step in mapping your network drive.
Step 7: Click “Finish”
After configuring the options for reconnecting at sign-in, the next step in mapping a network drive is to click the “Finish” button. This finalizes the mapping process and establishes the connection between your computer and the network drive.
In the “Map Network Drive” dialog box, you will see the “Finish” button at the bottom right corner. Once you are satisfied with the settings you have chosen, click on “Finish” to complete the mapping process.
Windows will now attempt to connect to the network drive using the specified drive letter and network path. If the network drive is reachable and you have the necessary permissions, it will be successfully mapped and appear in the list of drives in File Explorer.
After clicking “Finish,” you may need to wait a few moments while Windows establishes the connection and maps the network drive. The time it takes to complete this step may vary depending on your network speed and the size of the shared folder.
If the mapping process is successful, you will see the network drive listed in File Explorer under “This PC” or another designated section, depending on the version of Windows you are using.
Once you have clicked “Finish” and the network drive is mapped, you’re ready to move on to the final step and start accessing your files on the network drive!
Step 8: Access the network drive
After successfully mapping the network drive in Windows 10, the final step is to access the network drive and start using it to browse, open, and save files.
To access the network drive, open File Explorer by clicking on the “Start” button and then selecting “File Explorer” from the menu. You can also use the keyboard shortcut “Windows Key + E” to open File Explorer.
In File Explorer, navigate to “This PC” or the designated section where the network drive is listed. You should see the mapped network drive displayed along with your other drives.
Click on the network drive to open it and access its contents. You’ll be able to browse through the folders, view files, and perform normal file operations such as copy, delete, and rename.
You can also access the network drive from other programs that allow you to select files or save files. For example, when you want to open a document in Microsoft Word or save a file in Adobe Photoshop, you can navigate to the network drive and select or save files directly from there.
Remember that the network drive will remain connected as long as the computer is connected to the same network and the network drive is available. If you encounter any issues accessing the network drive, make sure that the computer hosting the shared folder is turned on and connected to the network.
Now that you have successfully mapped and accessed the network drive, you can start utilizing it to collaborate, share files, and access resources from other computers on your network.
Conclusion
Mapping a network drive in Windows 10 is a straightforward process that allows you to easily connect and access shared folders and resources on your network. By following the step-by-step guide outlined in this article, you can successfully map a network drive and start utilizing it for various tasks.
Opening File Explorer, clicking on “This PC,” and selecting the “Map network drive” option are the initial steps to begin the process. From there, you can choose a drive letter, enter the network path, and configure options for reconnecting at sign-in. Finally, clicking “Finish” establishes the connection and completes the mapping process.
With the network drive successfully mapped, you can access it through File Explorer or other applications that allow you to browse and save files. This provides a convenient way to collaborate, share documents, and access resources located on other computers or servers within your network.
Remember to ensure that you have the necessary permissions and network access to successfully map a network drive. Additionally, make sure that the computer hosting the shared folder is turned on and connected to the same network as your computer.
By following these steps, you can take advantage of the benefits of mapping a network drive in Windows 10. Whether it’s sharing files with colleagues, accessing resources from your home network, or collaborating on projects, mapping a network drive provides a seamless and efficient way to manage your files and folders.