Introduction
Virtual reality (VR) has revolutionized the way we experience and interact with digital content. From gaming to education and even travel, VR allows us to immerse ourselves in virtual worlds and have truly immersive experiences. One of the most exciting aspects of VR is the ability to create and watch virtual reality videos. But what exactly is virtual reality video?
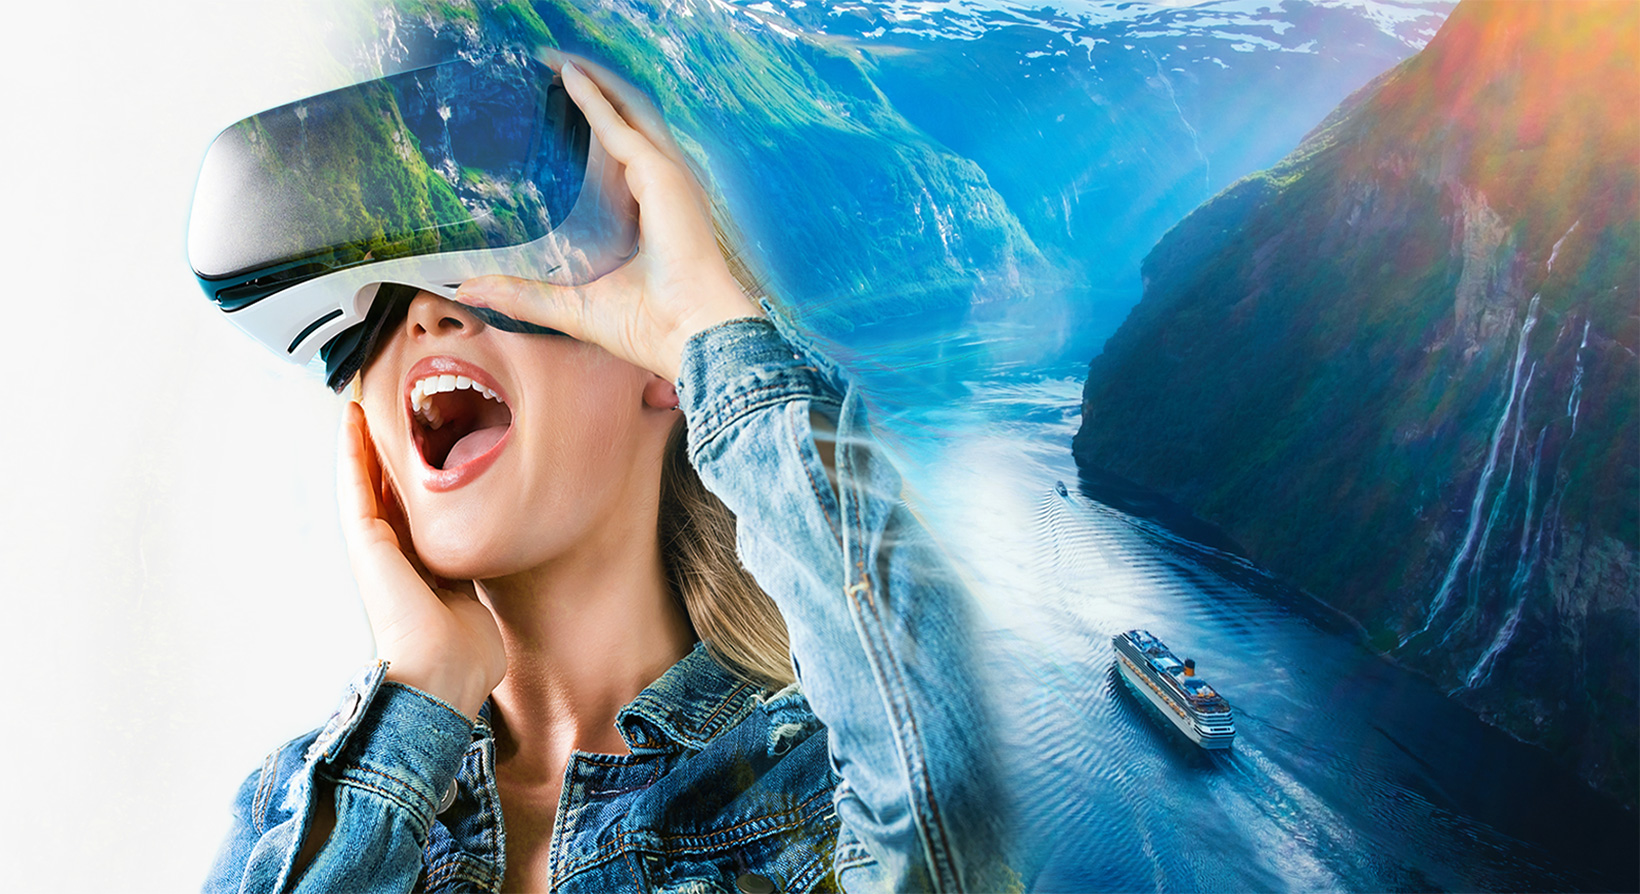
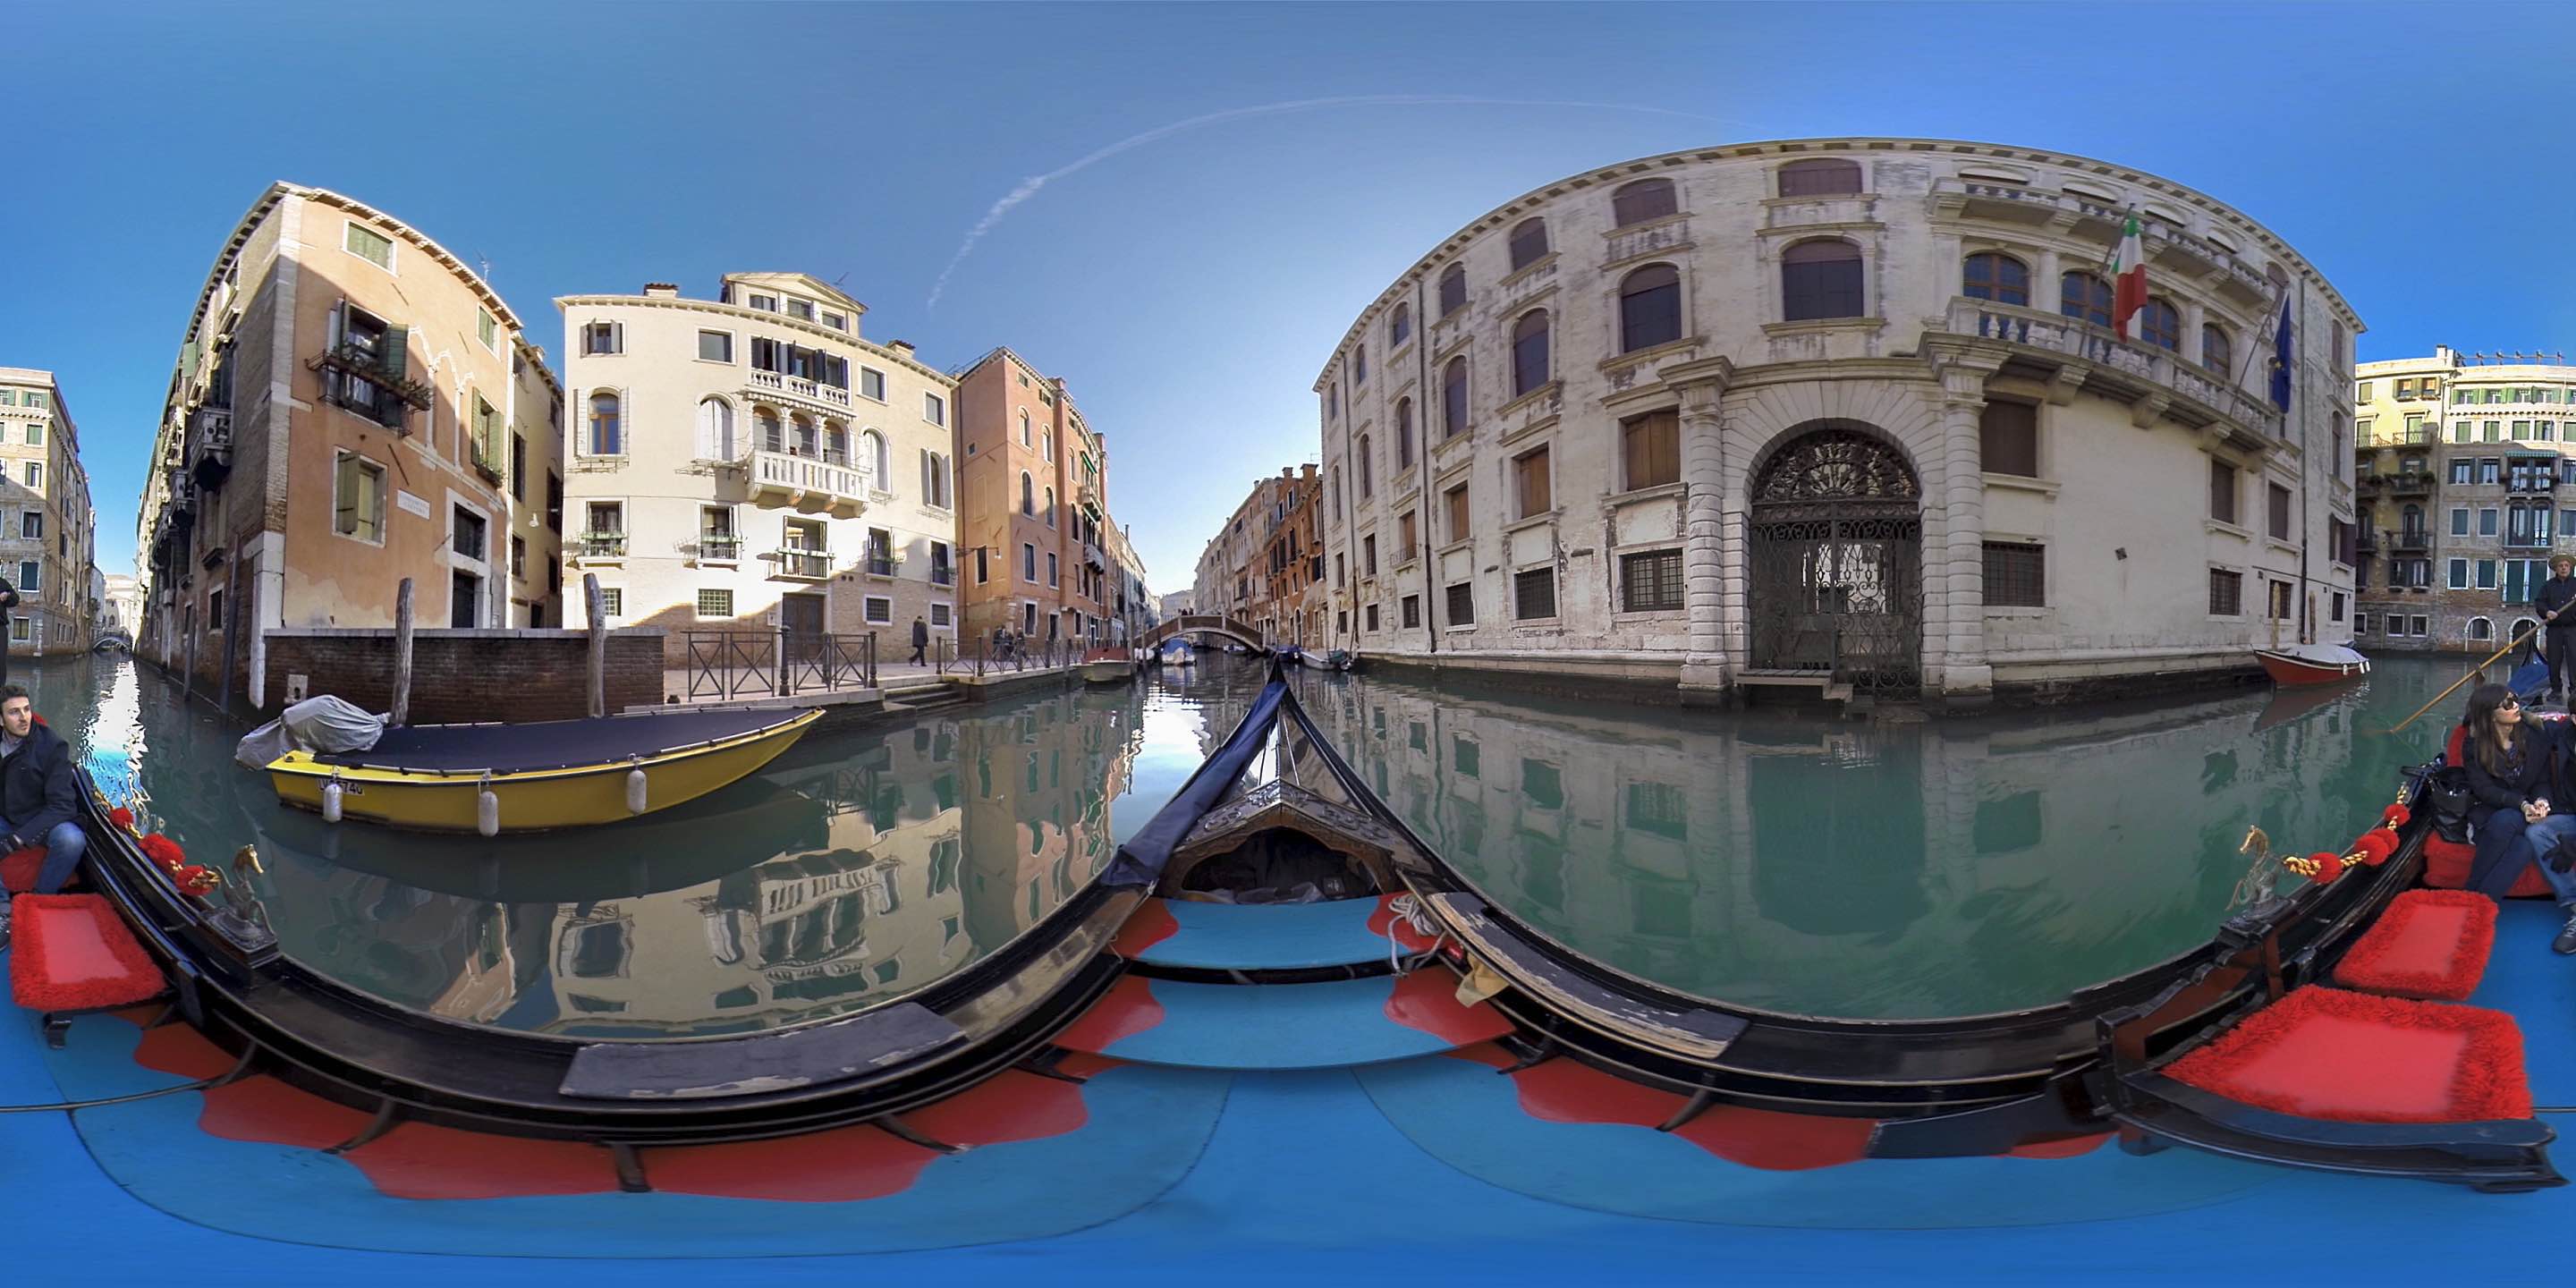
Virtual reality video is a form of content that provides a 360-degree immersive experience. Unlike traditional videos, which are captured from a single point of view, VR videos capture footage from all directions, allowing viewers to look around and explore the scene as if they were right there. These videos can be viewed using a VR headset or even on a computer or smartphone screen, where viewers can use their mouse or touchpad to navigate the video and change their perspective.
Creating virtual reality videos requires specific equipment and techniques to capture and process the footage. In this article, we will explore the equipment needed, the setup process, as well as the post-production steps involved in creating high-quality virtual reality videos.
Whether you’re a professional filmmaker looking to venture into the VR space or an enthusiast eager to dabble in virtual reality content creation, this article will guide you through the steps and provide you with valuable tips to create stunning and immersive virtual reality videos.
So, if you’re ready to embark on your virtual reality video-making journey, let’s dive into the world of VR cameras, scene setup, footage capturing and stitching, editing, spatial audio, and more. By the end of this article, you’ll have a comprehensive understanding of the process and be equipped with the knowledge to create your very own virtual reality videos. Let’s get started!
What is Virtual Reality Video?
Virtual reality video, also known as VR video, is a type of immersive content that allows viewers to experience a scene or event as if they were physically present. Unlike traditional videos that are shot from a specific perspective, virtual reality videos capture footage from all directions, providing a 360-degree field of view.
When watching a virtual reality video, viewers can freely look around and explore the surroundings, giving them a sense of being fully immersed in the video’s environment. This is achieved by using specialized cameras that capture footage simultaneously from multiple angles, covering the entire scene. The captured footage is then stitched together using specialized software to create a seamless, panoramic view.
The rise in popularity of virtual reality technology has led to an increase in demand for immersive and interactive content. Virtual reality videos have gained traction in industries such as gaming, travel and tourism, real estate, education, and training. They offer a unique way to engage viewers, provide realistic experiences, and evoke emotions that cannot be achieved through traditional videos.
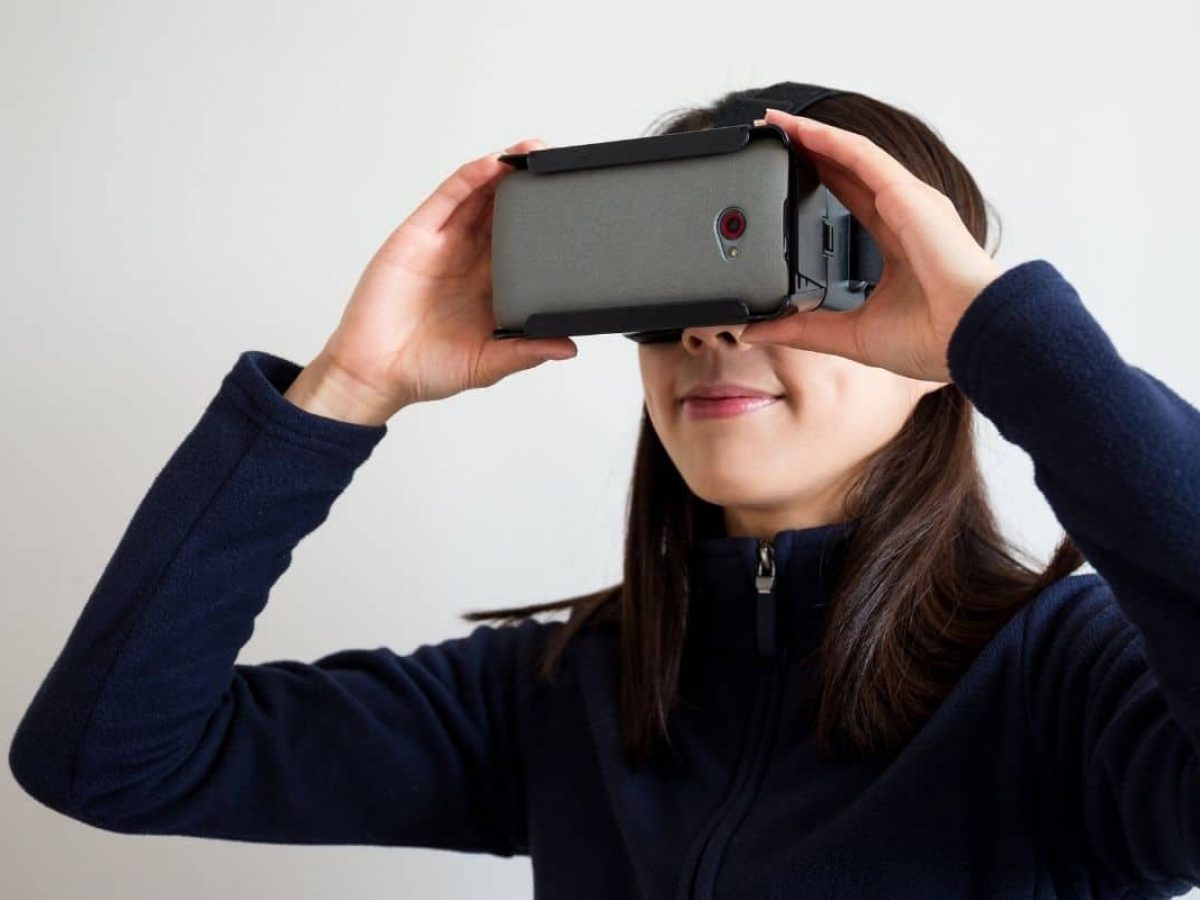
Virtual reality videos can be viewed using a variety of devices, ranging from high-end VR headsets to more accessible options like smartphones and web browsers. VR headsets provide the most immersive experience, as they completely cover the user’s field of view, blocking out the real world and replacing it with the virtual environment. Smartphone-based VR viewers, on the other hand, use the user’s phone screen and motion sensors to create a 360-degree experience.
In addition to the visual aspect, virtual reality videos can also include spatial audio, which enhances the immersive experience by placing sound sources in specific locations within the virtual environment. This gives viewers a sense of direction and depth, further adding to the realism of the video.
Creating virtual reality videos involves a combination of specialized equipment, software, and techniques. In the following sections, we’ll explore the equipment needed, the setup process, and the steps involved in capturing, editing, and post-processing virtual reality videos. So, if you’re curious about delving into the world of virtual reality video creation, continue reading to discover the exciting possibilities that await you.
Equipment Needed for Creating Virtual Reality Video
Creating high-quality virtual reality videos requires specific equipment that is capable of capturing immersive footage from multiple angles. Here are the key components you will need:
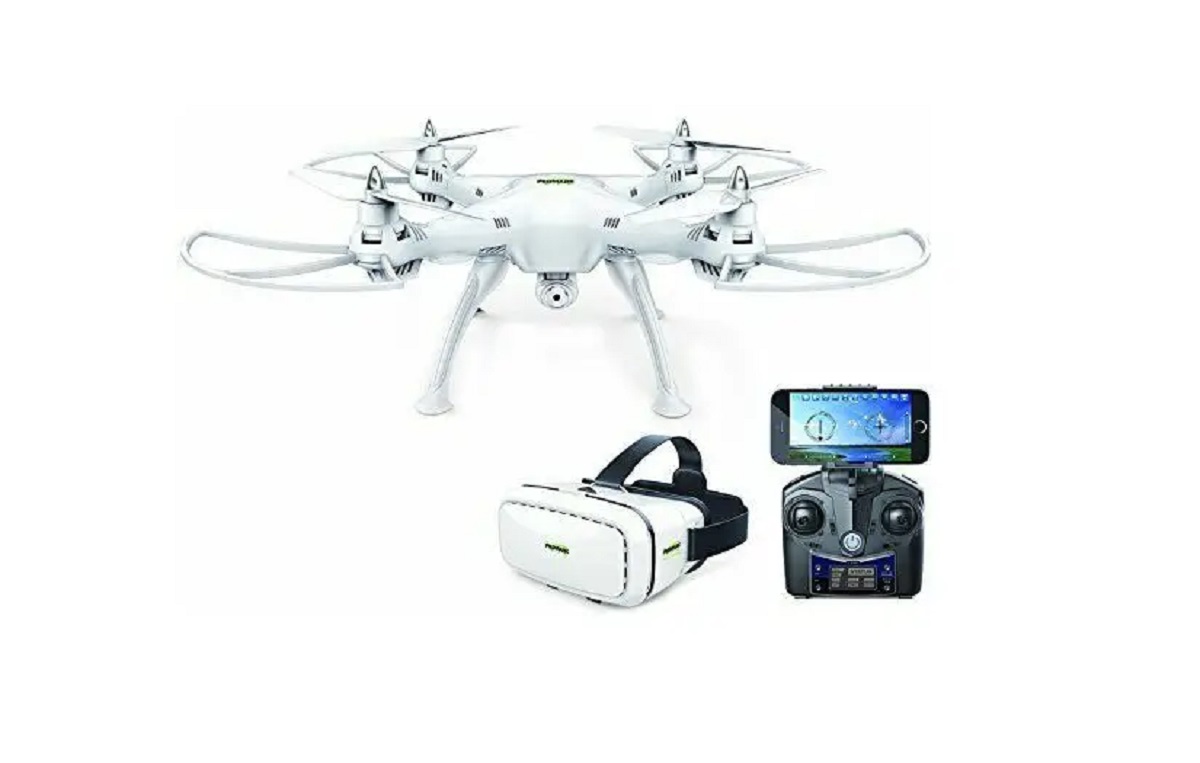
1. VR Camera: The most crucial piece of equipment for virtual reality video production is a VR camera. These cameras typically have multiple lenses or lens modules that capture footage from all directions simultaneously. There are various options available, ranging from professional-grade cameras to more affordable consumer models.
2. Tripod or Mount: To ensure stability and smooth footage, it is essential to use a sturdy tripod or mount to securely position the VR camera. This ensures that all angles are captured consistently and eliminates unwanted camera movement.
3. External Microphones: While some VR cameras may have built-in microphones, using external microphones can greatly improve the audio quality. Spatial audio plays a vital role in enhancing the immersive experience of virtual reality videos, so investing in high-quality microphones will result in more realistic and captivating audio.
4. Storage and Memory Cards: Virtual reality videos tend to be larger in file size due to the high-resolution footage. Therefore, it is important to have ample storage space available. Invest in high-capacity memory cards or external hard drives to ensure you can capture and store all your videos without running out of space.
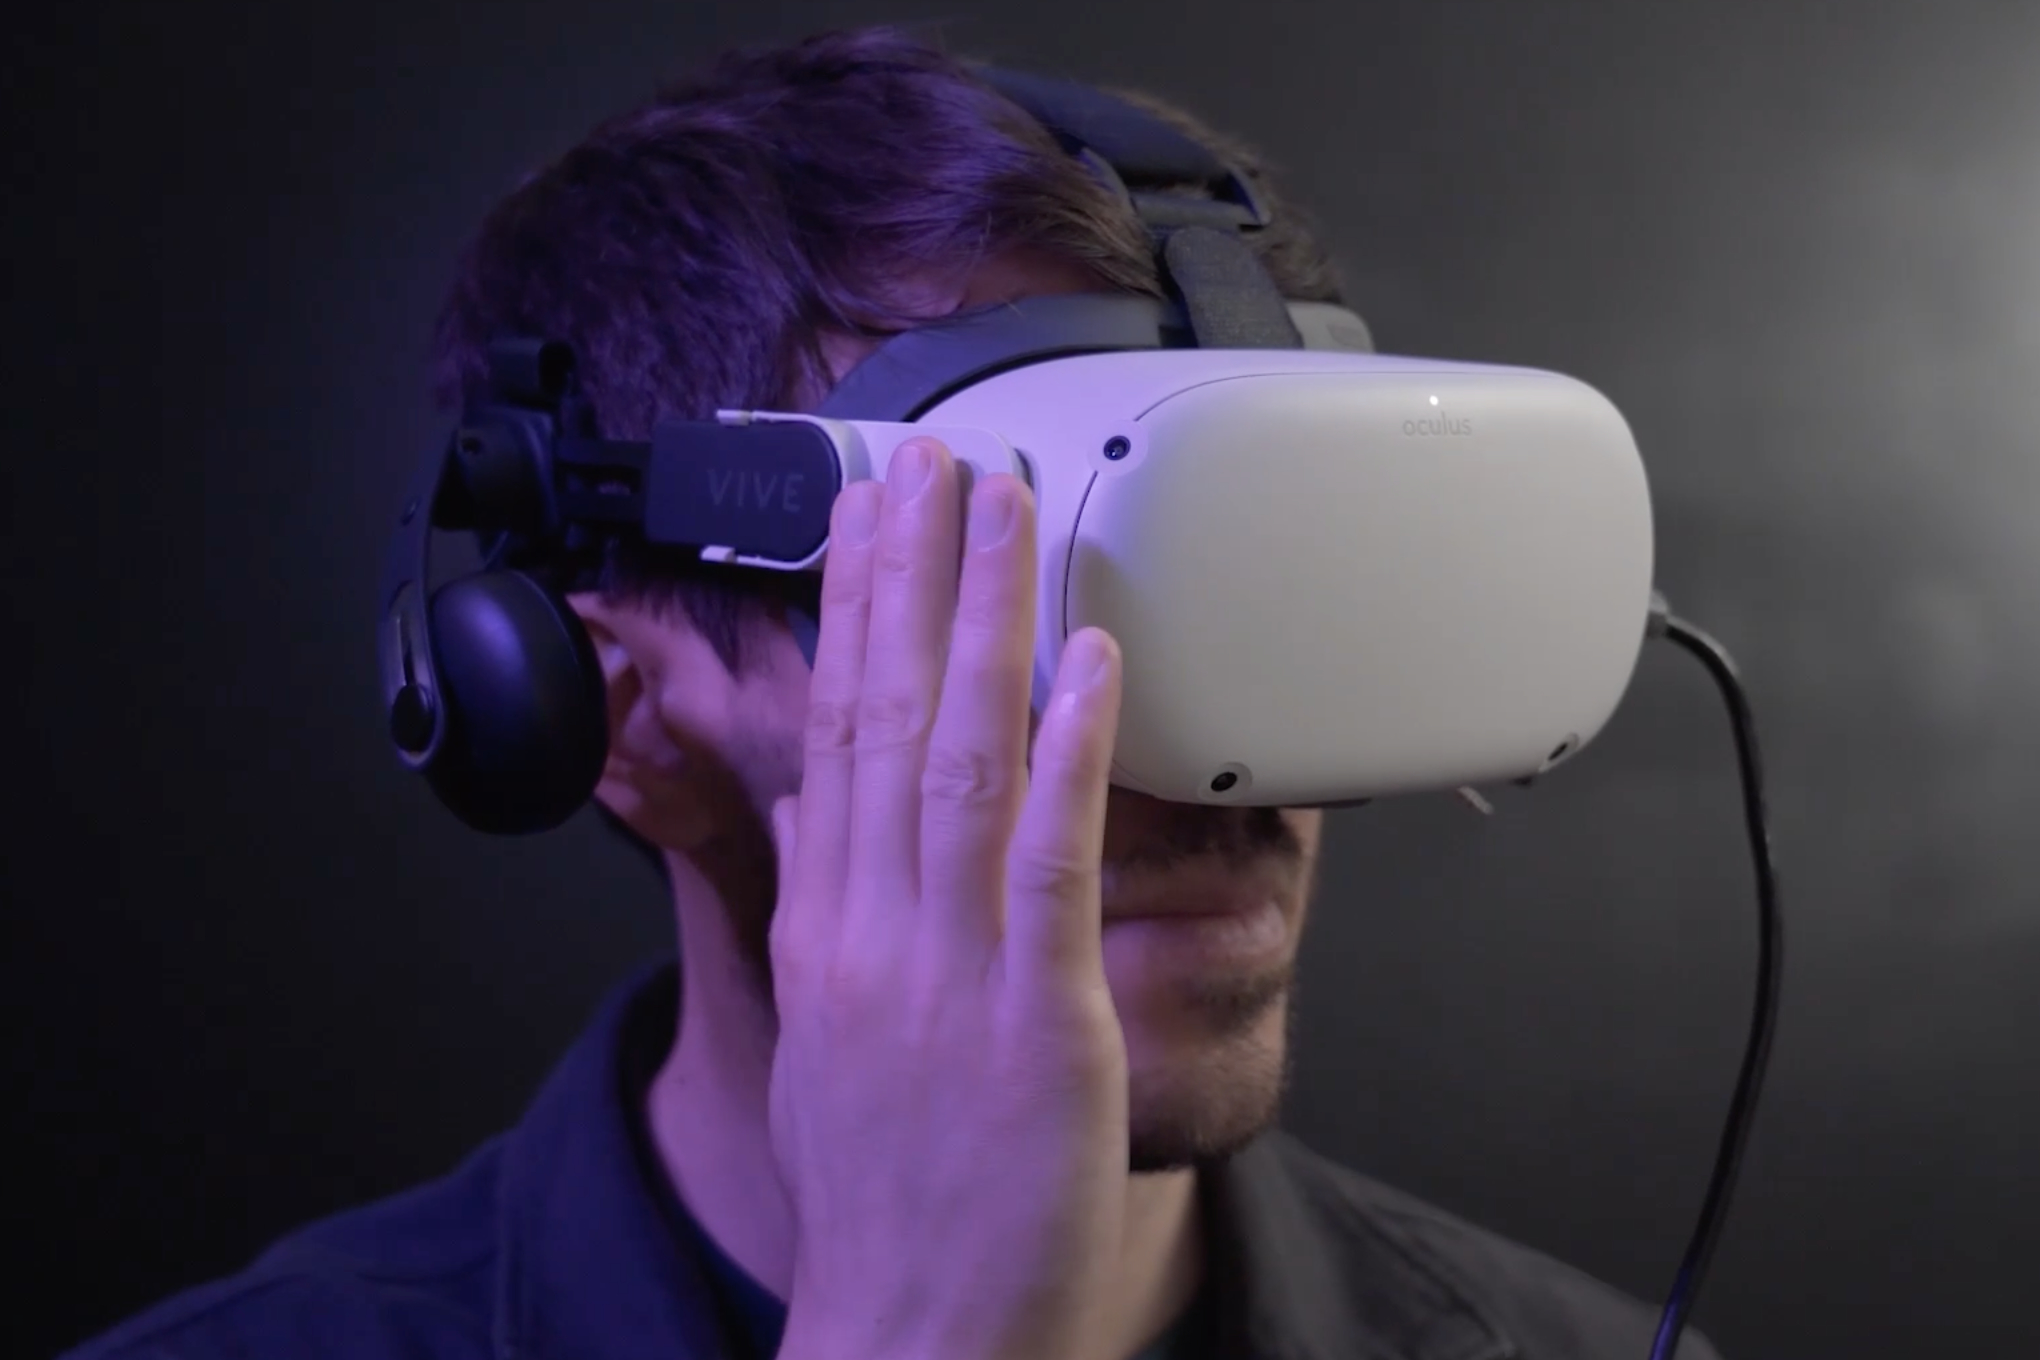
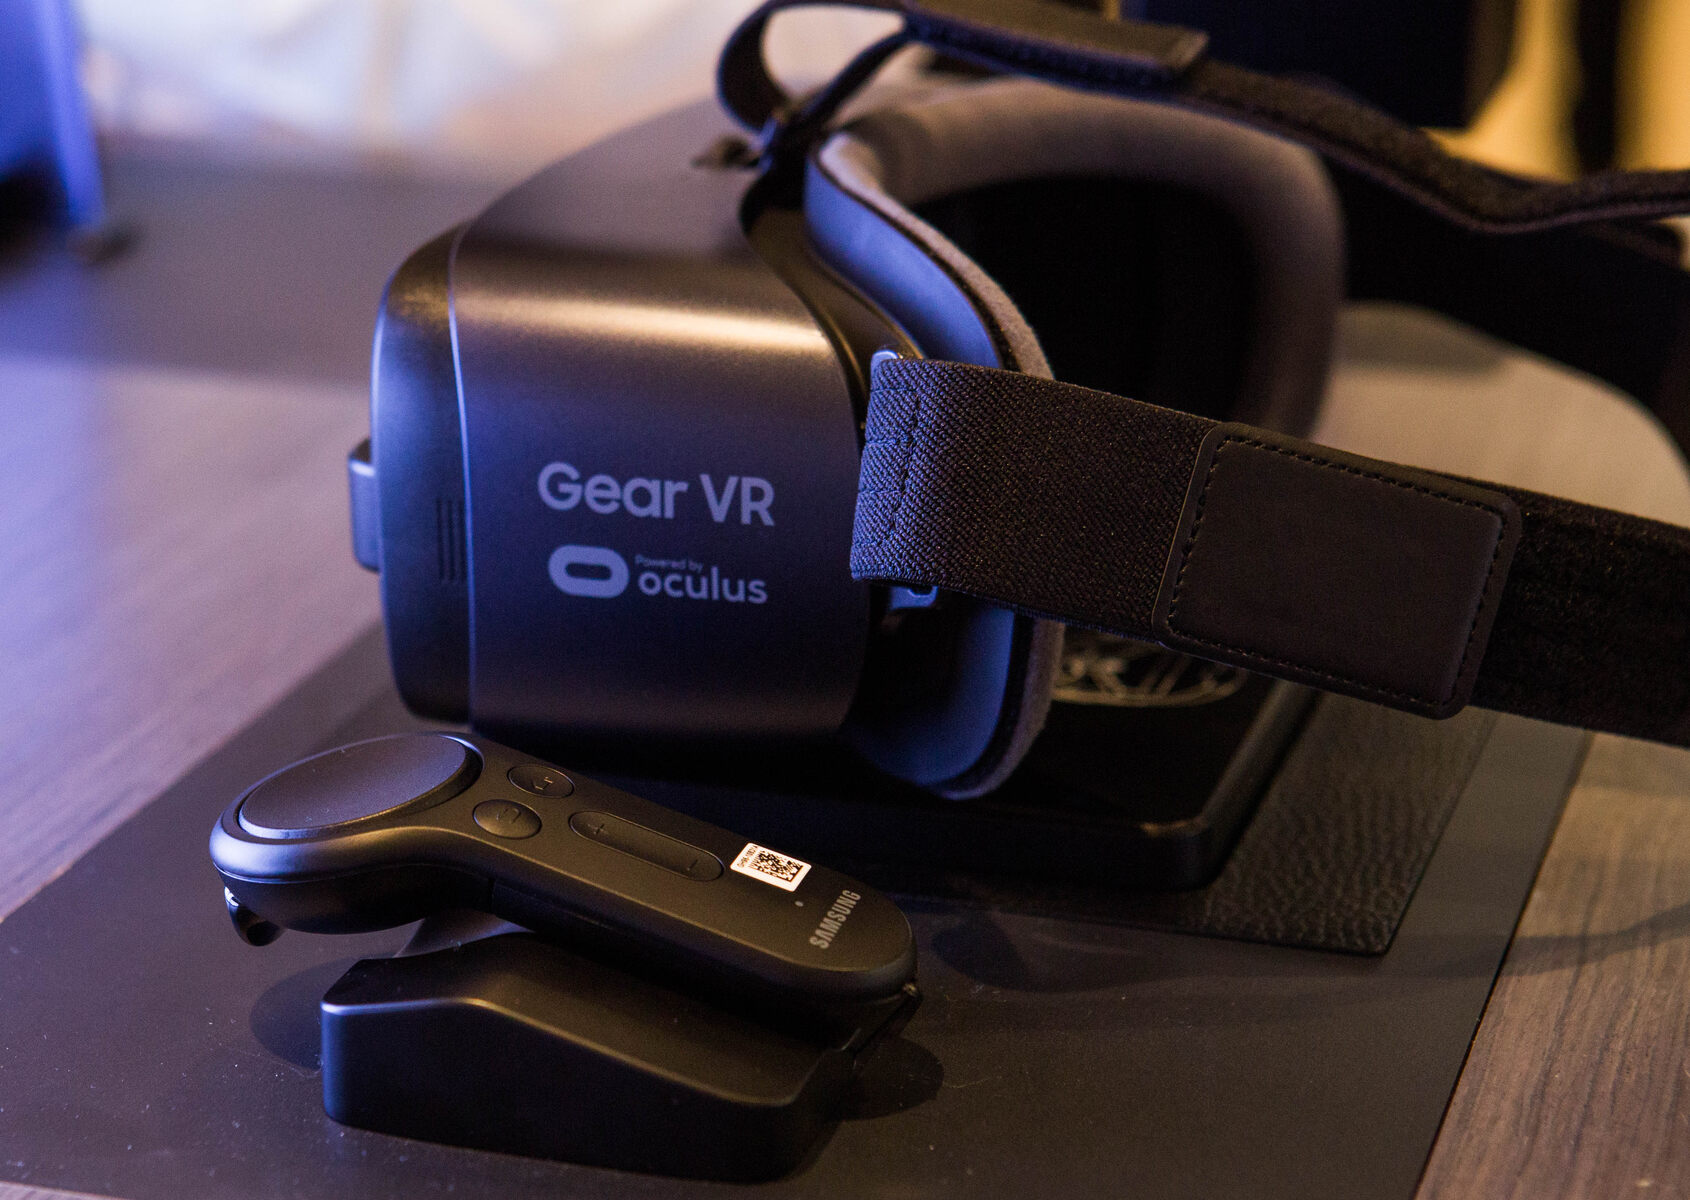
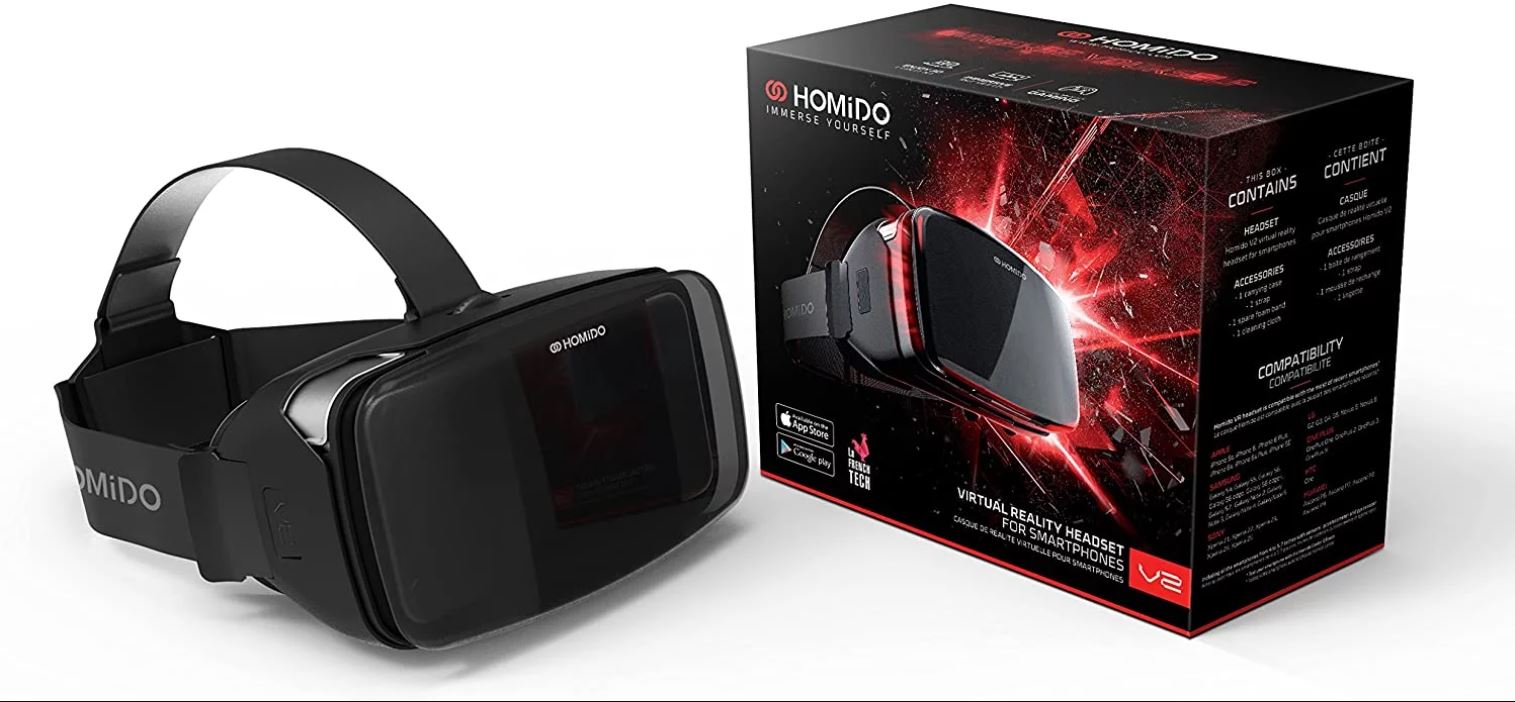
5. VR Headset: While not directly necessary for video creation, having a VR headset is beneficial for reviewing and experiencing the footage. It allows you to fully immerse yourself in the virtual environment and evaluate the quality of the content you have created.
6. Computer and Editing Software: Editing virtual reality videos requires a powerful computer with sufficient processing capabilities. Additionally, you will need specialized editing software designed for VR content, such as Adobe Premiere Pro or GoPro VR Player. These tools enable you to stitch the captured footage together, add effects, and fine-tune the overall video.
Remember, the specific equipment you choose will depend on your budget, the complexity of your project, and the desired quality of your video. It is important to research and compare different options before making any purchases to ensure compatibility and meet your specific needs.
With the right equipment in place, you will be ready to embark on your virtual reality video creation journey. In the next sections, we will delve into the process of setting up the scene, capturing and stitching the footage, editing and post-processing, and adding spatial audio. So, let’s move on to the exciting next steps in bringing your virtual reality videos to life.
Choosing the Right Camera for Virtual Reality Video
Choosing the right camera for capturing virtual reality video is a crucial step in ensuring the quality and immersive experience of your content. There are several factors to consider when selecting a camera, such as resolution, lens configuration, ease of use, and budget. Here are some key points to keep in mind:
1. Resolution: Higher resolution cameras provide sharper and more detailed footage, leading to a more immersive VR experience. Look for cameras that can capture at least 4K resolution per eye to ensure optimal clarity. Keep in mind that higher resolutions may require more storage space and processing power.
2. Lens Configuration: VR cameras come in different lens configurations, such as single-lens or multiple-lens setups. Multiple-lens configurations are more common and allow for capturing a full 360-degree view. Some cameras utilize a rig with several lenses, while others have built-in modules that capture footage from multiple angles simultaneously. Consider your specific needs and shooting style when deciding on the lens configuration.
3. Stitching Process: The stitching process involves merging the footage from multiple lenses into a seamless VR video. Some cameras have built-in stitching capabilities, which can ease the post-production workflow. However, keep in mind that the quality and accuracy of the stitching can vary between cameras. It may be necessary to use external software for more precise and refined stitching results.
4. Ease of Use: Choosing a camera that is user-friendly and intuitive can save you time and frustration during the filming process. Consider the camera’s interface, controls, and overall ease of operation. Some cameras offer companion apps or software that provide additional functionalities and make the camera easier to control remotely.
5. Budget: VR cameras come in a wide range of prices, from affordable consumer models to professional-grade options. Determine your budget early on and prioritize the features and quality that align with your specific needs. It’s important to strike a balance between the camera’s capabilities and your available finances.
6. Reviews and Recommendations: Before making a final decision, read reviews and seek recommendations from experienced VR content creators. They can provide insights into the performance, reliability, and overall satisfaction of different camera models. Additionally, consider joining online communities or forums where you can engage with fellow VR enthusiasts and learn from their experiences.
Remember that the choice of camera ultimately depends on your specific project requirements and budget. Careful research, testing, and experimentation are key to finding the camera that best suits your needs. With the right camera in hand, you’ll be one step closer to creating stunning and immersive virtual reality videos.
Next, we will explore the process of setting up the scene for virtual reality video. So, let’s move on to the next section and continue our journey into the exciting world of VR video creation.
Setting Up the Scene for Virtual Reality Video
Setting up the scene is a crucial step in creating captivating and immersive virtual reality videos. The way you design and arrange the elements within the scene can greatly impact the viewer’s experience. Here are some key considerations when setting up the scene for virtual reality video:
1. Location Selection: Choose a location that is visually appealing and aligns with the narrative or purpose of your video. Whether it’s a natural landscape, an urban environment, or an indoor setting, ensure that it is suitable for capturing a complete 360-degree view. Consider factors such as lighting, accessibility, and any necessary permissions or permits.
2. Lighting: Proper lighting is essential for capturing clear and vibrant footage. Ensure that the scene is well-lit, with a balanced distribution of light sources. Experiment with natural, ambient, or artificial lighting to create the desired mood or atmosphere. Pay attention to potential shadows, reflections, or overexposure that could negatively affect the final video quality.
3. Composition: Think about how the elements within the scene will be positioned and framed. Pay attention to the foreground, middle ground, and background, as well as any leading lines or points of interest that guide the viewer’s attention. Consider the placement of objects, people, or subjects within the scene to create depth and visual interest.
4. Motion and Movement: Take into account any potential movements within the scene, such as people walking, objects moving, or dynamic elements. As a VR video allows viewers to freely explore the environment, consider how these movements will translate and enhance the overall experience. Plan and choreograph any necessary movements or actions to create a more engaging and immersive video.
5. Sound and Audio: Sound plays a significant role in virtual reality videos, contributing to the overall immersive experience. Pay attention to the quality and placement of microphones to ensure that audio is captured effectively. Consider ambient sounds, dialogue, or any specific sound effects that will enhance the scene and make it more realistic for viewers.
6. Filming Techniques: Experiment with different filming techniques and perspectives to add variety and interest to your scenes. This could include capturing shots from various heights, angles, or even using handheld movements to simulate the viewer’s presence within the environment. Incorporating these techniques can add a sense of dynamism and engagement to the virtual reality experience.
By carefully considering these elements when setting up the scene, you can create a more compelling and immersive virtual reality video. Take the time to plan and visualize how each aspect will come together to create a cohesive and visually stunning composition.
With the scene set, it’s time to move on to the next step: capturing and stitching the footage for your virtual reality video. So, let’s continue our journey into the exciting world of VR video production.
Capturing and Stitching the Footage for Virtual Reality Video
Capturing and stitching the footage is a crucial process in creating seamless and immersive virtual reality videos. This step involves using specialized cameras and software to capture footage from multiple angles and stitch it together into a cohesive 360-degree view. Here are the key steps to follow when capturing and stitching the footage:
1. Camera Setup: Set up your VR camera on a stable tripod or mount in the desired location. Ensure that the camera is positioned correctly and levelled to capture the entire scene. Check the camera settings, such as resolution, frame rate, and exposure, to ensure optimal image quality.
2. Test Shots: Before capturing the entire scene, take some test shots to assess the framing, lighting, and overall composition of the footage. Review the test shots on a VR headset or compatible viewing device to ensure that the coverage and perspective meet your expectations.
3. Start Filming: Once you are satisfied with the camera setup and framing, start recording the footage. Ensure that all lenses or lens modules are recording simultaneously. Pay attention to any movements or actions within the scene, ensuring that they are captured in a seamless manner.
4. Stitching Software: After capturing the footage, it’s time to stitch the individual clips together. Use specialized stitching software, such as Kolor Autopano or Adobe Premiere Pro, to align and merge the footage from each lens or module. This process will create a complete 360-degree view of the scene.
5. Stitching Workflow: Import the captured footage into the stitching software and follow the instructions provided by the software manufacturer. Typically, the software will automatically detect and align the overlapping areas of the footage. Fine-tune the stitching as needed to ensure a smooth and seamless transition between the different camera angles.
6. Review and Adjust: Once the stitching process is complete, carefully review the stitched footage to ensure that there are no visible seams or distortions. Make any necessary adjustments or corrections within the software to refine the final output. Pay attention to details such as alignment, color grading, and overall image quality.
7. Output Options: Determine the desired output format for your virtual reality video. Consider whether you want to export the video for viewing on VR headsets, smartphones, or web browsers. Each platform may have specific requirements or recommended settings for optimal playback and compatibility.
By following these steps, you can capture high-quality footage and seamlessly stitch it together for a captivating virtual reality video. Remember to experiment with different camera angles, movements, and perspectives during the filming process to add interest and engagement to your final product.
In the next section, we will explore the editing and post-processing steps involved in refining and enhancing your virtual reality video. So, let’s continue our journey into the exciting world of VR video production.
Editing and Post-Processing the Virtual Reality Video
Editing and post-processing are crucial steps in creating a polished and visually appealing virtual reality video. These steps involve refining the footage, adding effects, and enhancing the overall visual and audio experience. Here are the key steps to follow when editing and post-processing your virtual reality video:
1. Import Footage: Begin by importing the stitched VR footage into your chosen editing software. Ensure that the software supports virtual reality content and can handle the specific file format you are using. This step allows you to organize, review, and access the clips for editing.
2. Trimming and Arranging: Review the footage and select the best clips that will be used in the final video. Trim any unnecessary sections to ensure a smooth flow. Arrange the clips in the desired order, keeping in mind the narrative or sequence you want to convey to viewers.
3. Adding Transitions and Effects: Enhance the viewing experience by adding appropriate transitions between clips. This helps to create a seamless and fluid movement as viewers navigate through the 360-degree environment. Experiment with different transition effects to find the ones that work best for your specific video.
4. Color Grading and Correction: Adjust the colors, contrast, and saturation levels to create the desired mood and atmosphere in your virtual reality video. Consider the overall tone you want to convey and make adjustments accordingly. Correct any exposure or white balance issues to ensure a consistent visual experience across all scenes.
5. Text and Graphics: Add text overlays, titles, or graphic elements to provide additional information or visual interest in your virtual reality video. This can include scene titles, subtitles, or even branding elements. Ensure that the text or graphics are placed appropriately within the 360-degree space to avoid distortions or visibility issues.
6. Spatial Audio: Enhance the immersive experience of your virtual reality video by adding spatial audio. Use specialized audio editing software to position sound sources within the 360-degree environment. This allows viewers to hear sounds coming from specific directions, enhancing the realism and immersion of the video.
7. Preview and Fine-tune: Regularly preview your virtual reality video within a VR headset or appropriate player to assess the overall experience. Make necessary adjustments to ensure a smooth and enjoyable viewing experience. Pay attention to any motion sickness-inducing elements, glitches, or inconsistencies that may need to be corrected.
8. Exporting: Once you are satisfied with the final edited and post-processed virtual reality video, export it in the appropriate format for your intended platform or distribution. Consider the recommended settings and requirements for optimal playback on VR headsets, smartphones, or web browsers.
Through the editing and post-processing process, you can refine and enhance your virtual reality video, ensuring a visually stunning and immersive experience for your viewers. Experiment with different effects, transitions, and audio enhancements to create a unique and captivating final product.
In the next section, we will explore the crucial step of adding spatial audio to your virtual reality video. So, let’s continue our journey into the world of VR video production.
Adding Spatial Audio to Virtual Reality Video
Spatial audio is a key component of creating an immersive virtual reality video experience. It enhances the overall realism by placing sound sources in specific locations within the 360-degree environment, allowing viewers to perceive sound direction and depth. Here are the steps to add spatial audio to your virtual reality video:
1. Audio Recording: During the filming phase, ensure that you capture high-quality audio using external microphones. Position the microphones strategically to capture sounds from various directions, mimicking the viewer’s perspective. This will provide a more accurate representation of the spatial audio experience.
2. Audio Editing Software: Import the recorded audio files into an audio editing software that supports spatial audio editing. Popular options include Reaper, Pro Tools, or Ambisonic Toolkit. These tools allow you to manipulate the audio and position sound sources within the 360-degree space.
3. Audio Positioning: Using the audio editing software, position each sound source within the virtual environment. This is typically done by assigning location coordinates or using a graphical interface to position the sound in the desired location. Consider the viewer’s perspective and the intended direction from which the sound should be heard.
4. Ambisonic Format: Convert the audio file to an ambisonic format, such as AmbiX or FuMa, which is compatible with spatial audio playback systems. Ambisonic audio captures sound from all directions, providing a spherical sound field that can be manipulated based on the viewer’s orientation within the virtual reality video.
5. Audio Mixing and Effects: Fine-tune the audio mix by adjusting levels, panning, and applying effects to create a balanced and immersive sound experience. Utilize audio effects like reverberation or equalization to match the acoustic characteristics of the virtual environment and enhance the realism of the audio.
6. Test and Preview: Regularly test the spatial audio experience using a VR headset or appropriate player to ensure that the sound sources are positioned and balanced correctly. Preview the video with spatial audio enabled to assess the overall immersion and make any necessary adjustments to the audio placement and mixing.
7. Exporting: When you are satisfied with the spatial audio integration, export the final virtual reality video with the embedded ambisonic audio. Ensure that the chosen export settings are compatible with your intended playback platform or distribution method.
Adding spatial audio to your virtual reality video significantly enhances the immersive experience, making viewers feel as if they are truly present within the scene. Careful consideration and positioning of the sound sources can greatly contribute to the overall realism and engagement of the video.
In the next section, we will explore the steps involved in exporting and uploading your virtual reality video. So, let’s continue our virtual reality video production journey and bring your creation to the world.
Exporting and Uploading Virtual Reality Video
After editing and fine-tuning your virtual reality video, the next step is to export and upload it to ensure that it reaches the intended audience in the best possible quality. Here are the steps to follow when exporting and uploading your virtual reality video:
1. Export Settings: Select the appropriate export settings based on your target platform and distribution method. Consider the recommended specifications for virtual reality videos, including resolution, frame rate, and video codec. Ensure that your chosen settings align with the requirements of the platform on which you plan to share your video.
2. Metadata and 360-Degree Tagging: Virtual reality videos require specific metadata and tagging to inform viewing platforms and players that the content is meant to be experienced in a 360-degree immersive environment. Include relevant information such as video title, description, and appropriate 360-degree tagging information to ensure proper playback and discovery.
3. Encoding and Compression: Use video encoding and compression software to optimize the size of your virtual reality video without compromising quality. Compression techniques such as bitrate adjustment, keyframe settings, and resolution scaling can help reduce file size while maintaining visual fidelity. Strike a balance between file size and video quality to ensure smooth playback on various devices and internet connections.
4. Quality Check: Before uploading, preview the exported video on a VR headset or appropriate player to confirm that the video retains its visual and spatial audio quality. Pay attention to any distortion, artifacts, or anomalies that may have occurred during the export process. Make any necessary adjustments and re-export if needed.
5. Upload Platform Selection: Choose the platform or platforms on which you want to share your virtual reality video. Popular choices include YouTube, Vimeo, or dedicated VR video platforms. Each platform may have specific requirements or upload guidelines, so familiarize yourself with their recommended settings to ensure optimal playback for viewers.
6. Upload and Sharing: Follow the upload instructions provided by the chosen platform. Depending on the file size and internet speed, the upload process may take some time. Once uploaded, add relevant tags, descriptions, and other relevant metadata to make your virtual reality video discoverable and engage potential viewers.
7. Promotion and Distribution: Share your virtual reality video through your social media channels, website, or other online platforms to reach your target audience. Consider engaging with relevant communities or VR enthusiast groups to increase visibility and engagement. Encourage viewers to provide feedback and share the video to expand its reach.
By following these steps, you can successfully export and upload your virtual reality video, making it available for viewers to experience and enjoy. Remember to adhere to the specific requirements of each platform and monitor the performance and engagement of your video after uploading.
In the final section, we will conclude our exploration of virtual reality video production. So, let’s wrap up our journey and celebrate the creation of your immersive VR video masterpiece.
Conclusion
Creating virtual reality videos is an exciting and immersive way to share stories, experiences, and information with audiences. By following the steps outlined in this guide, you can produce high-quality virtual reality videos that transport viewers into a 360-degree world of your creation. From setting up the scene and capturing footage to editing, adding spatial audio, and exporting the final video, each step plays a crucial role in creating an engaging and immersive virtual reality experience.
Remember, choosing the right equipment, such as a suitable VR camera, ensures the quality of your footage. Take the time to set up the scene wisely, carefully considering lighting, composition, and motion. During the editing and post-processing stage, fine-tune your video for a seamless visual experience, and don’t forget to enhance it with spatial audio to fully immerse viewers in the environment.
As you navigate the world of virtual reality video production, don’t be afraid to experiment with different techniques and technologies. Continuously refine your skills and explore new possibilities in order to create unique and captivating virtual reality experiences.
Finally, once your virtual reality video is complete, share it with the world through appropriate platforms and channels. Engage with your audience, gather feedback, and learn from the responses you receive. This will help you improve and grow as a virtual reality content creator.
Keep in mind that the field of virtual reality is rapidly evolving, with new technologies and techniques constantly emerging. Stay up-to-date with the latest trends and advancements to continue pushing the boundaries of what is possible in virtual reality video production.
Now, armed with the knowledge and insights gained from this guide, you are ready to embark on your own virtual reality video-making journey. So, grab your VR camera, set up your scene, capture stunning footage, immerse your viewers with spatial audio, and let your creativity soar in the immersive world of virtual reality video.