Introduction
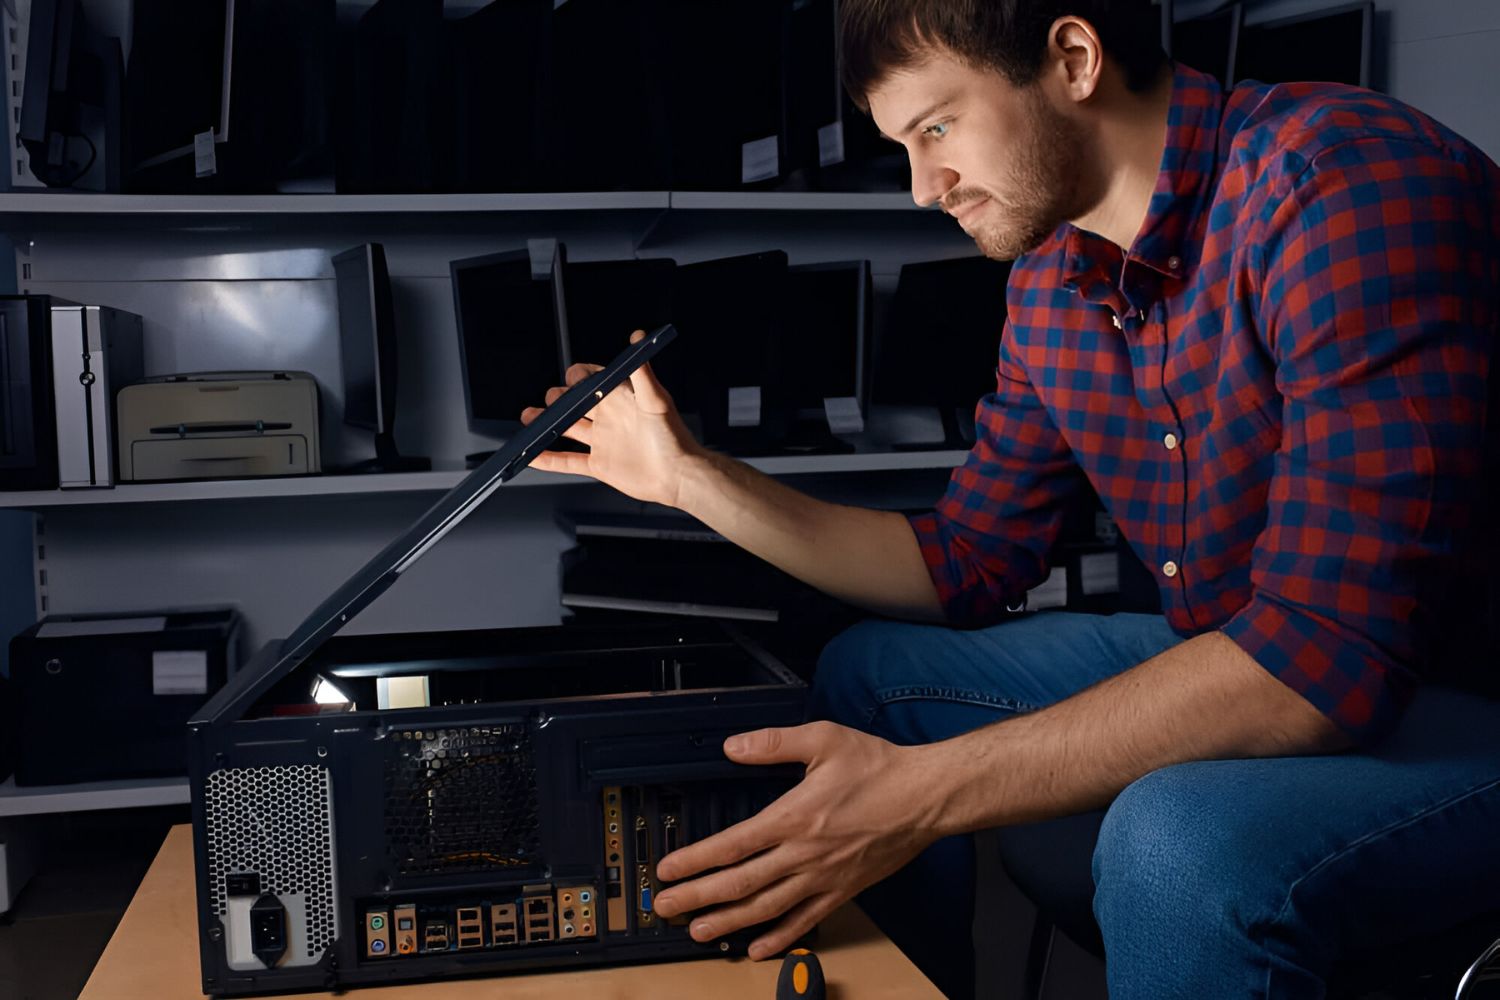
Welcome to our step-by-step guide on how to make the CPU cooler. If you’re looking to optimize your computer’s performance and prevent overheating, installing a CPU cooler is a crucial step. CPU coolers help dissipate the heat generated by your processor, ensuring efficient and stable operation.
Building your own CPU cooler can be a rewarding and cost-effective alternative to purchasing a pre-built cooling solution. Not only will it give you a sense of accomplishment, but you’ll also have the freedom to customize the cooler to suit your specific needs and preferences.
In this guide, we’ll take you through the process of making a CPU cooler from scratch. We’ll provide step-by-step instructions, along with detailed explanations and tips to help you navigate each stage successfully. Whether you’re an experienced PC builder or just starting, this guide is designed to be accessible and informative.
Before we get started, it’s important to note that making your own CPU cooler requires some technical knowledge and skills. If you’re unsure about any step or lack the confidence to proceed, we recommend seeking professional assistance. Safety should always be a priority when working with computer components.
Now, let’s dive into the tools and materials you’ll need before we begin constructing your very own CPU cooler.
Tools and Materials Needed
Before we start building the CPU cooler, let’s ensure you have all the necessary tools and materials at hand. Gathering everything you need beforehand will make the process much smoother and more efficient. Here’s a list of what you’ll need:
- Screwdriver set: A set of Phillips or Torx screwdrivers will come in handy for disassembling and mounting components.
- Thermal paste: This compound is essential for ensuring proper heat transfer between the CPU and the cooler.
- CPU cooler base: This is the main component that will come into direct contact with your processor.
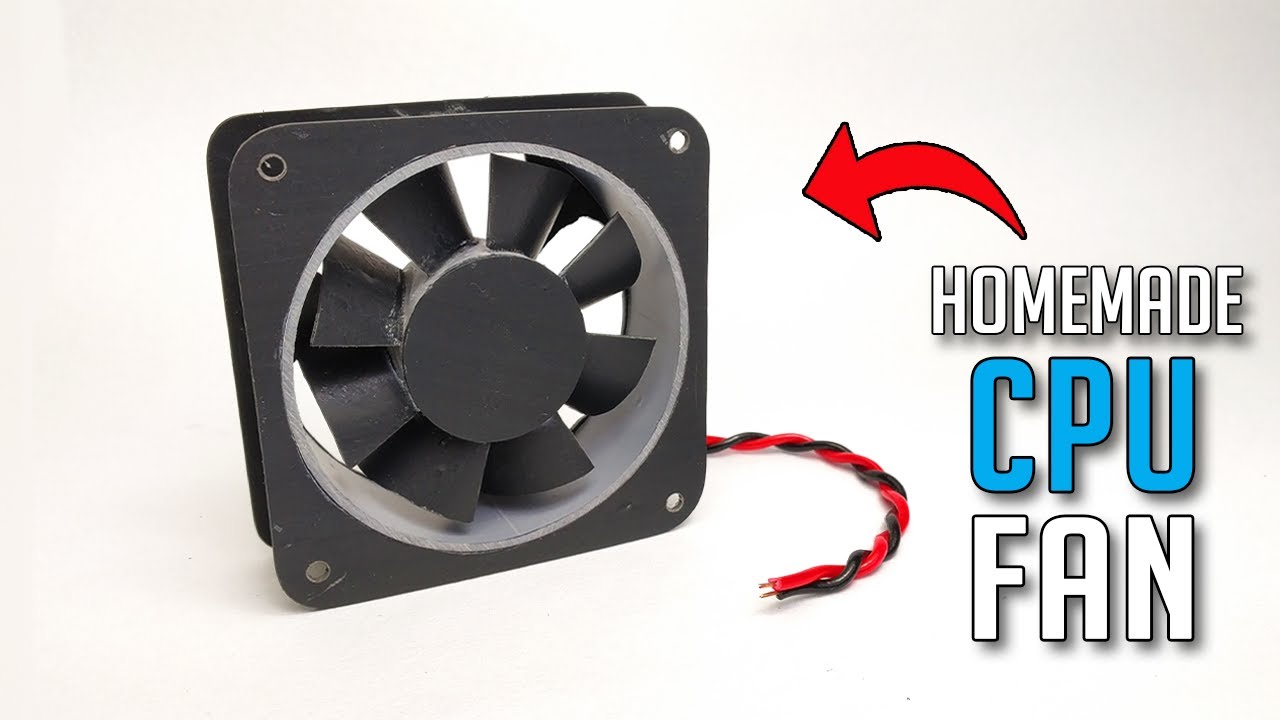
- CPU cooler fan: The fan will help dissipate heat from the CPU cooler, keeping it at optimal temperatures.
- Heat sink: This metal component plays a crucial role in drawing heat away from the CPU and into the surrounding air.
- CPU cooler mounting brackets: The brackets are necessary for securely attaching the CPU cooler to the motherboard.
- Rubbing alcohol: This will be used to clean the CPU and the heat sink before applying thermal paste.
- Lint-free cloth: You’ll need a soft cloth to wipe away any residue during the cleaning process.
- Antistatic wrist strap: To prevent any static electricity from damaging sensitive components, an antistatic wrist strap is highly recommended.
- Thermal compound applicator (optional): While not essential, an applicator can help ensure even distribution of thermal paste.
It’s important to note that the specific tools and materials required may vary depending on the type of CPU cooler you’re building and the compatibility with your motherboard. Always refer to the manufacturer’s instructions or documentation for any additional requirements specific to your CPU cooler model.
Now that you have all the necessary tools and materials, let’s move on to the first step: gathering all the necessary components.
Step 1: Gathering All Necessary Components
Before you can start building your CPU cooler, it’s important to gather all the necessary components. This step ensures that you have everything you need to complete the construction process smoothly. Here’s the breakdown of the components you’ll need:
- CPU Cooler Base: This is the main body of the CPU cooler that will come into direct contact with the processor. Make sure you have the appropriate base for your CPU and motherboard compatibility.
- CPU Cooler Fan: The fan plays a crucial role in cooling the CPU by dissipating heat from the base. Choose a fan that is compatible with your CPU cooler base and has an appropriate size for your computer case.
- Heat Sink: The heat sink is responsible for increasing the surface area for heat dissipation. It is typically made of metal and helps in transferring heat from the CPU cooler base to the surrounding air.
- CPU Cooler Mounting Brackets: These brackets are used to secure the CPU cooler to the motherboard. They ensure a tight and stable fit of the CPU cooler, preventing any movement during operation.
- Thermal Paste: Thermal paste is a crucial component that ensures proper heat transfer between the CPU and the CPU cooler base. It fills in any microscopic gaps between the surfaces, improving heat conductivity.
- Cleaning Materials: To prepare the CPU cooler for installation, you’ll need some rubbing alcohol and a lint-free cloth. These will help clean the base and remove any dust or residue.
- Tools: Depending on the type of CPU cooler and its installation requirements, you may need a screwdriver or other tools to secure the CPU cooler and brackets in place.
It’s essential to check the compatibility of the CPU cooler components with your specific motherboard and processor. Consult the documentation provided by the manufacturers to ensure that the components are suitable and will function properly.
Once you have gathered all these components, you’re ready to proceed to the next step: preparing the CPU cooler base.
Step 2: Preparing the CPU Cooler Base
Now that you have all the necessary components, it’s time to prepare the CPU cooler base. This step involves cleaning the base and ensuring it’s ready for installation. Follow these steps to properly prepare the CPU cooler base:
- Ensure that you’re working in a clean and well-lit area. It’s important to minimize the risk of dirt or debris getting on the CPU cooler base.
- Begin by disconnecting the CPU cooler fan from the base, if it’s already attached. This will allow you to access the base more easily.
- Using rubbing alcohol and a lint-free cloth, gently clean the surface of the CPU cooler base. This will remove any dust, dirt, or residue that may be present.
- Inspect the base for any visible damage or imperfections. If you notice any, it’s advisable to contact the manufacturer for further assistance.
- Once the base is clean and free of any debris, you’re ready to move on to the next step.
It’s important to handle the CPU cooler base with care to avoid any accidental damage. Always hold it by the edges and avoid touching the surface where the thermal paste will be applied.
Preparing the CPU cooler base ensures that you have a clean and optimized surface for heat transfer. This step sets the foundation for efficient cooling of your CPU. With the base ready, we can now proceed to the next step: mounting the CPU cooler fan.
Step 3: Mounting the CPU Cooler Fan
With the CPU cooler base prepared, it’s time to mount the CPU cooler fan. The fan plays a crucial role in dissipating heat from the base and keeping the CPU cool. Follow these steps to properly mount the CPU cooler fan:
- Before starting, ensure that the CPU cooler fan is compatible with your CPU cooler base. Refer to the manufacturer’s instructions for any specific requirements or compatibility considerations.
- Identify the mounting holes on the CPU cooler base where the fan will be attached. These holes are typically located on the sides or corners of the base.
- Align the screw holes on the fan with the mounting holes on the CPU cooler base. Ensure that the fan is placed in the correct orientation for optimal airflow.
- Using the provided screws, carefully secure the fan to the CPU cooler base. Start by loosely screwing in each screw, and then tighten them gradually and evenly, alternating between screws.
- Double-check that the fan is securely mounted and aligned properly. It should be centered on the CPU cooler base with no wobbling or misalignment.
- Once the CPU cooler fan is securely mounted, reconnect any necessary cables to power the fan. Refer to the manufacturer’s instructions for proper cable connection.
It’s crucial to avoid overtightening the screws when mounting the CPU cooler fan. Over-tightening can cause damage to the fan or CPU cooler base, compromising their performance.
With the CPU cooler fan successfully mounted, we can now move on to the next step: preparing the heat sink.
Step 4: Preparing the Heat Sink
Now that the CPU cooler fan is securely mounted, it’s time to prepare the heat sink. The heat sink plays a crucial role in drawing heat away from the CPU cooler base and into the surrounding air. Follow these steps to properly prepare the heat sink:
- Ensure that you’re working in a clean and dust-free environment to prevent any debris from getting on the heat sink.
- Inspect the heat sink for any visible damage or signs of wear. If you notice any issues, it’s advisable to contact the manufacturer for further guidance.
- If the heat sink comes with additional components or accessories, such as brackets or screws, make sure to gather them together for easier assembly.
- Consider using a can of compressed air to blow away any dust or debris that may have accumulated on the heat sink. This will help maintain optimal heat dissipation.
- Ensure that the heat sink is oriented correctly for installation. Most heat sinks have an arrow or indicator to show the correct direction of airflow.
Properly preparing the heat sink helps ensure effective heat dissipation and optimal cooling performance. By removing any dust or debris, you can improve the efficiency of the heat sink and prolong its lifespan.
Once you have prepared the heat sink, it’s time to move on to the next step: attaching the heat sink to the CPU cooler base.
Step 5: Attaching the Heat Sink to the CPU Cooler Base
With the heat sink prepared, it’s time to attach it to the CPU cooler base. The heat sink is responsible for drawing heat away from the CPU and into the surrounding air, ensuring efficient cooling. Follow these steps to properly attach the heat sink to the CPU cooler base:
- Check the manufacturer’s instructions or documentation for any specific guidance on attaching the heat sink to the CPU cooler base. Different models may have slightly different attachment methods.
- Locate the mounting brackets or screws that came with your CPU cooler. These are used to securely fasten the heat sink to the CPU cooler base.
- Align the mounting brackets or screws with the corresponding holes on the heat sink and the CPU cooler base. Ensure that they are properly aligned before proceeding.
- Carefully tighten the screws or fasten the brackets, gradually and evenly, to securely attach the heat sink to the CPU cooler base. Be cautious not to overtighten, as it may damage the components.
- Confirm that the heat sink is firmly attached by gently applying pressure to ensure it doesn’t move or wobble. A stable and secure attachment is crucial for proper heat dissipation.
It’s important to follow the manufacturer’s instructions for attaching the heat sink to the CPU cooler base to ensure compatibility and optimize performance. A well-attached heat sink will provide efficient cooling and prevent overheating.
Once the heat sink is securely attached to the CPU cooler base, we can proceed to the next step: applying thermal paste.
Step 6: Applying Thermal Paste
Now that the heat sink is securely attached to the CPU cooler base, it’s time to apply thermal paste. Thermal paste is a crucial component that ensures efficient heat transfer between the CPU and the cooler, improving cooling performance. Follow these steps to properly apply thermal paste:
- Ensure that the CPU and the heat sink are clean and free of any dust or residue. You can use rubbing alcohol and a lint-free cloth to remove any contaminants.
- Retrieve the thermal paste tube. Depending on the type of thermal paste you’re using, you may need to apply a small drop, a pea-sized amount, or a thin line along the center of the CPU.
- Using an applicator (if provided) or a plastic spatula, spread the thermal paste evenly across the surface of the CPU. Avoid applying too much pressure to prevent damage to the CPU.
- Ensure that the thermal paste is evenly distributed and covers the entire surface of the CPU. This will maximize heat transfer between the CPU and the heat sink.
- Once the thermal paste is applied, carefully lower the heat sink onto the CPU. Ensure that it is aligned correctly and sits flush with the CPU cooler base.
It’s crucial to apply the right amount of thermal paste. Too much or too little can affect the effectiveness of heat transfer. Refer to the manufacturer’s instructions or thermal paste guidelines for specific recommendations.
By properly applying thermal paste, you provide an optimal interface between the CPU and heat sink, ensuring efficient heat dissipation. With the thermal paste applied, we can now move on to the next step: installing the CPU cooler.
Step 7: Installing the CPU Cooler
With the thermal paste properly applied, it’s time to install the CPU cooler onto your motherboard. Follow these steps to ensure a successful installation:
- Refer to your motherboard’s manual to locate the mounting area for the CPU cooler. This area is typically near the CPU socket and is marked with screw holes or brackets.
- Align the mounting brackets on the CPU cooler with the corresponding holes or brackets on the motherboard. Ensure that the CPU cooler is positioned correctly and will not obstruct any nearby components.
- Once aligned, carefully lower the CPU cooler onto the mounting area. Apply gentle and even pressure to ensure a secure and tight fit.
- If your CPU cooler uses screws for installation, use a screwdriver to tighten them gradually and evenly. Ensure that the screws are snug but not overly tightened, as this can cause damage.
- Make sure to double-check the stability of the CPU cooler by gently wiggling it. It should be firmly attached and not move or wobble excessively.
- Connect the power cable for the CPU cooler fan to the appropriate header on the motherboard. Consult your motherboard manual for the exact location.
It’s important to note that different CPU coolers may have slightly different installation processes. Always refer to the manufacturer’s instructions or documentation for any specific steps or considerations pertaining to your CPU cooler model.
Once the CPU cooler is installed and properly connected, you can proceed to the final step: testing and troubleshooting.
Step 8: Testing and Troubleshooting
After installing the CPU cooler, it’s essential to test and troubleshoot to ensure everything is functioning correctly. This final step will help verify the effectiveness of your cooling solution. Follow these steps to test and troubleshoot your CPU cooler:
- Power on your computer and enter the BIOS or UEFI settings. Check the CPU temperature readings provided in the system information or monitoring section.
- Monitor the CPU temperature during various tasks, such as idle usage, browsing, or running intensive applications. Ensure that the temperatures remain within safe operating ranges.
- If you notice unusually high temperatures or erratic behavior, it might indicate a problem with the CPU cooler installation. Consider these troubleshooting steps:
- Check the CPU cooler mounting to ensure it is firmly attached and there is proper contact between the CPU cooler base and the CPU.
- Review the thermal paste application. If necessary, remove the CPU cooler, clean off the thermal paste, and reapply it, ensuring even coverage and avoiding excess or insufficient amounts.
- Inspect the CPU cooler fan and ensure it is spinning properly. Clean any dust or debris that may be obstructing the fan’s functionality.
- Ensure that there is adequate airflow in the computer case, as poor ventilation can lead to higher temperatures. Consider installing additional case fans or optimizing the airflow within your computer.
- If troubleshooting steps do not resolve the issue, consult the manufacturer’s support or seek professional assistance to diagnose and address any underlying problems.
It’s important to regularly monitor and maintain your CPU cooler to ensure its long-term effectiveness. Periodic cleaning of the heat sink, fan, and reapplication of thermal paste may be necessary over time.
By testing and troubleshooting the CPU cooler, you can ensure optimal cooling performance and minimize the risk of overheating. Once you’ve confirmed proper functionality, you can now enjoy the benefits of a well-cooled CPU.
Conclusion
Congratulations on successfully making and installing your own CPU cooler! By following the step-by-step guide, you’ve learned how to assemble and optimize your cooling solution to keep your CPU running efficiently and at optimal temperatures.
Building your own CPU cooler not only allows for customization and performance enhancements but can also be a cost-effective alternative to pre-built cooling solutions. By ensuring proper heat dissipation, you can extend the lifespan of your CPU and prevent overheating-related issues.
Throughout the process, you’ve gathered the necessary tools and materials, prepared the CPU cooler base, mounted the CPU cooler fan, prepared the heat sink, attached it to the CPU cooler base, applied thermal paste, installed the CPU cooler, and performed testing and troubleshooting. These steps are crucial in ensuring a successful and functional CPU cooling solution.
Remember, as you use your computer, periodically monitor the temperatures and performance of your CPU cooler. Regular maintenance, including cleaning the heat sink and fan and reapplying thermal paste when necessary, will help maintain optimal operation and cooling efficiency.
If at any point you encounter difficulties or are unsure about any step, it’s always a good idea to consult the manufacturer’s instructions or seek professional assistance. Safety and proper installation are paramount when working with computer components.
By taking the time to make and install your own CPU cooler, you have gained valuable knowledge and skills that can be applied to future computer building projects. Enjoy the benefits of a well-cooled CPU and the improved performance it brings to your computing experience.