Introduction
There’s nothing quite as satisfying as a scoop of homemade ice cream on a hot summer day. If you’re a fan of the irresistible combination of chocolate, marshmallows, and nuts, then you’re in for a treat with this recipe for Rocky Road ice cream. By using an ice cream maker, you can create a rich and creamy base that perfectly complements the delicious mix-ins.
Rocky Road ice cream is a classic favorite that originated in the early 20th century and continues to be loved by ice cream enthusiasts worldwide. The traditional recipe calls for chocolate ice cream studded with marshmallows and almonds. However, you can always customize the add-ins to suit your taste preferences.
To make this indulgent dessert, you’ll need a few essential pieces of equipment, including an ice cream maker. This will ensure a smooth and creamy texture, making all the difference in your final product. So, dust off that machine and get ready to create a delectable treat that will impress your friends and family.
In the following sections, we will walk you through the step-by-step process of making Rocky Road ice cream using an ice cream maker. You’ll learn how to prepare the ice cream base, select and prepare the add-ins, freeze the ice cream to perfection, and finally, mix in those delicious goodies. So, let’s get started on our journey to homemade ice cream heaven.
Equipment Needed
Making Rocky Road ice cream requires a few essential pieces of equipment to ensure a smooth and enjoyable process. Here’s what you’ll need:
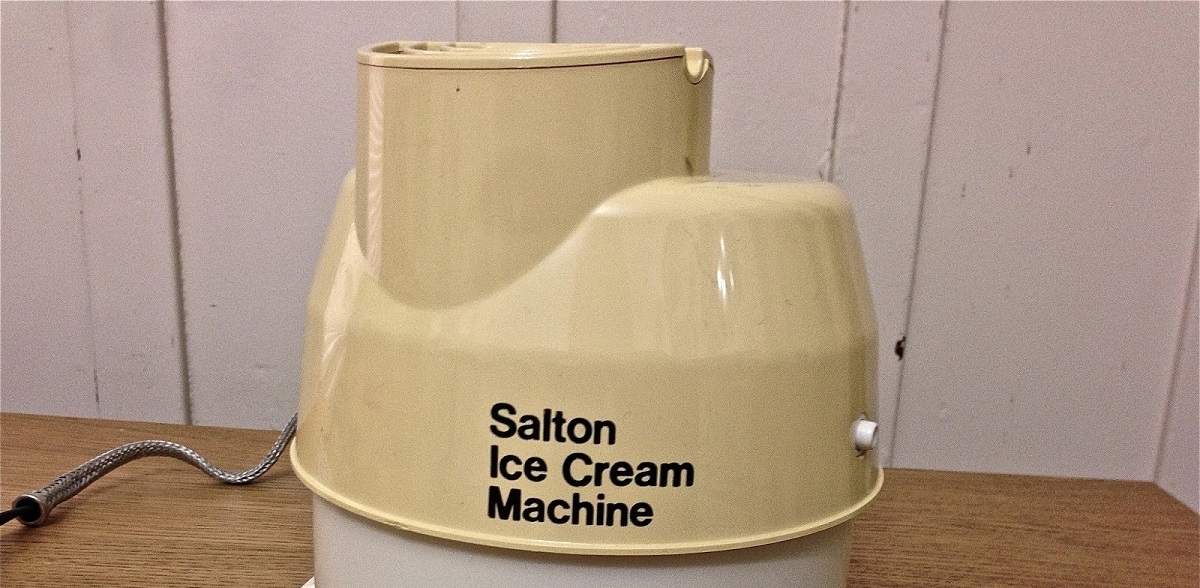
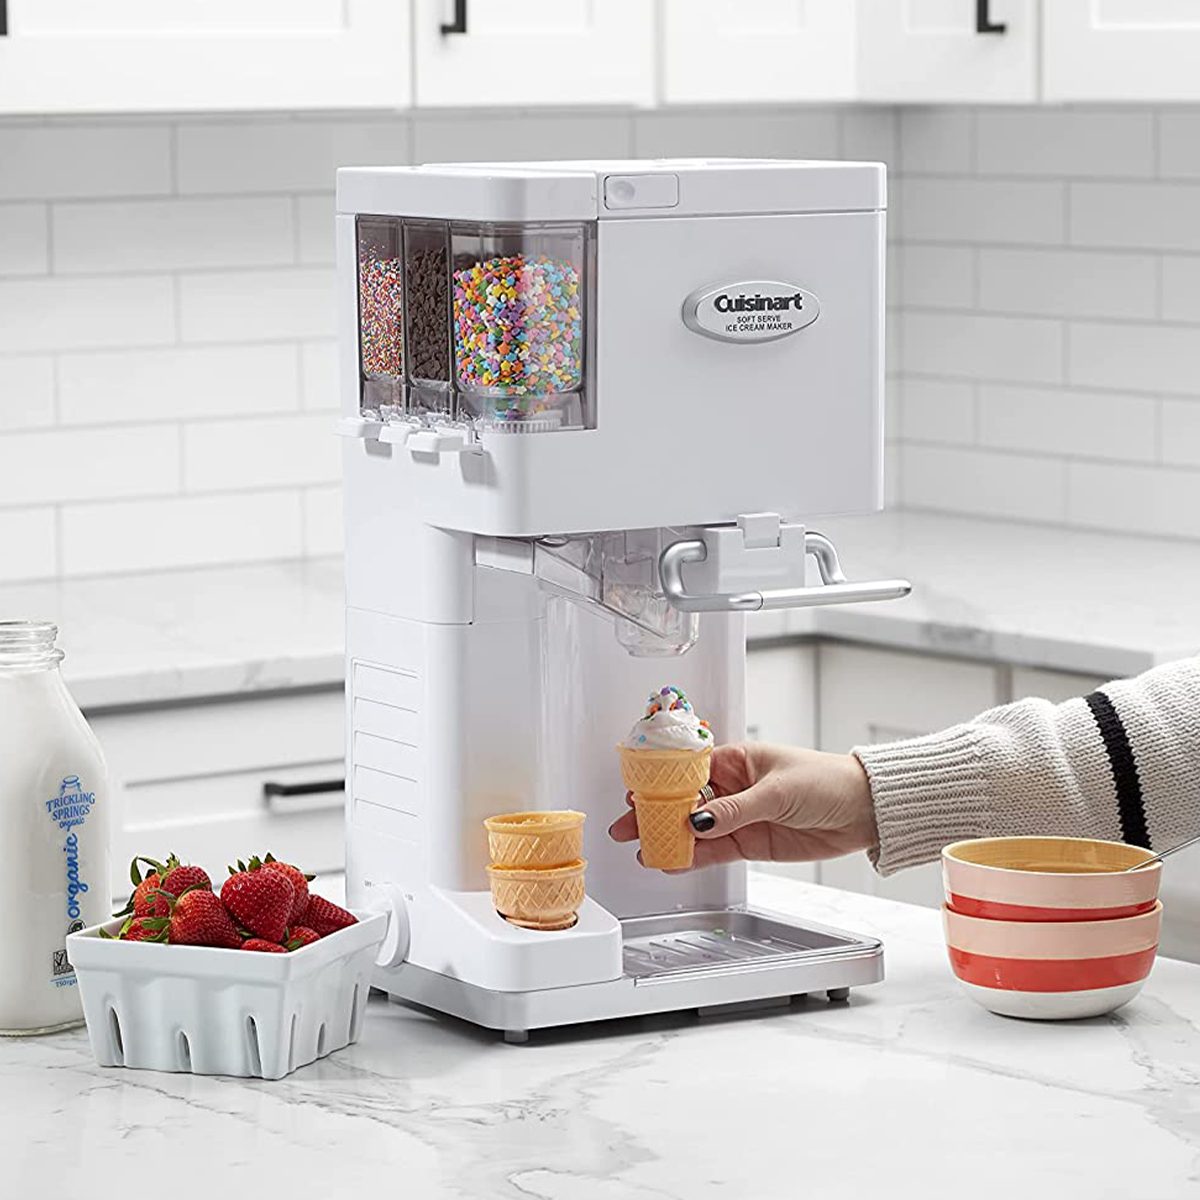
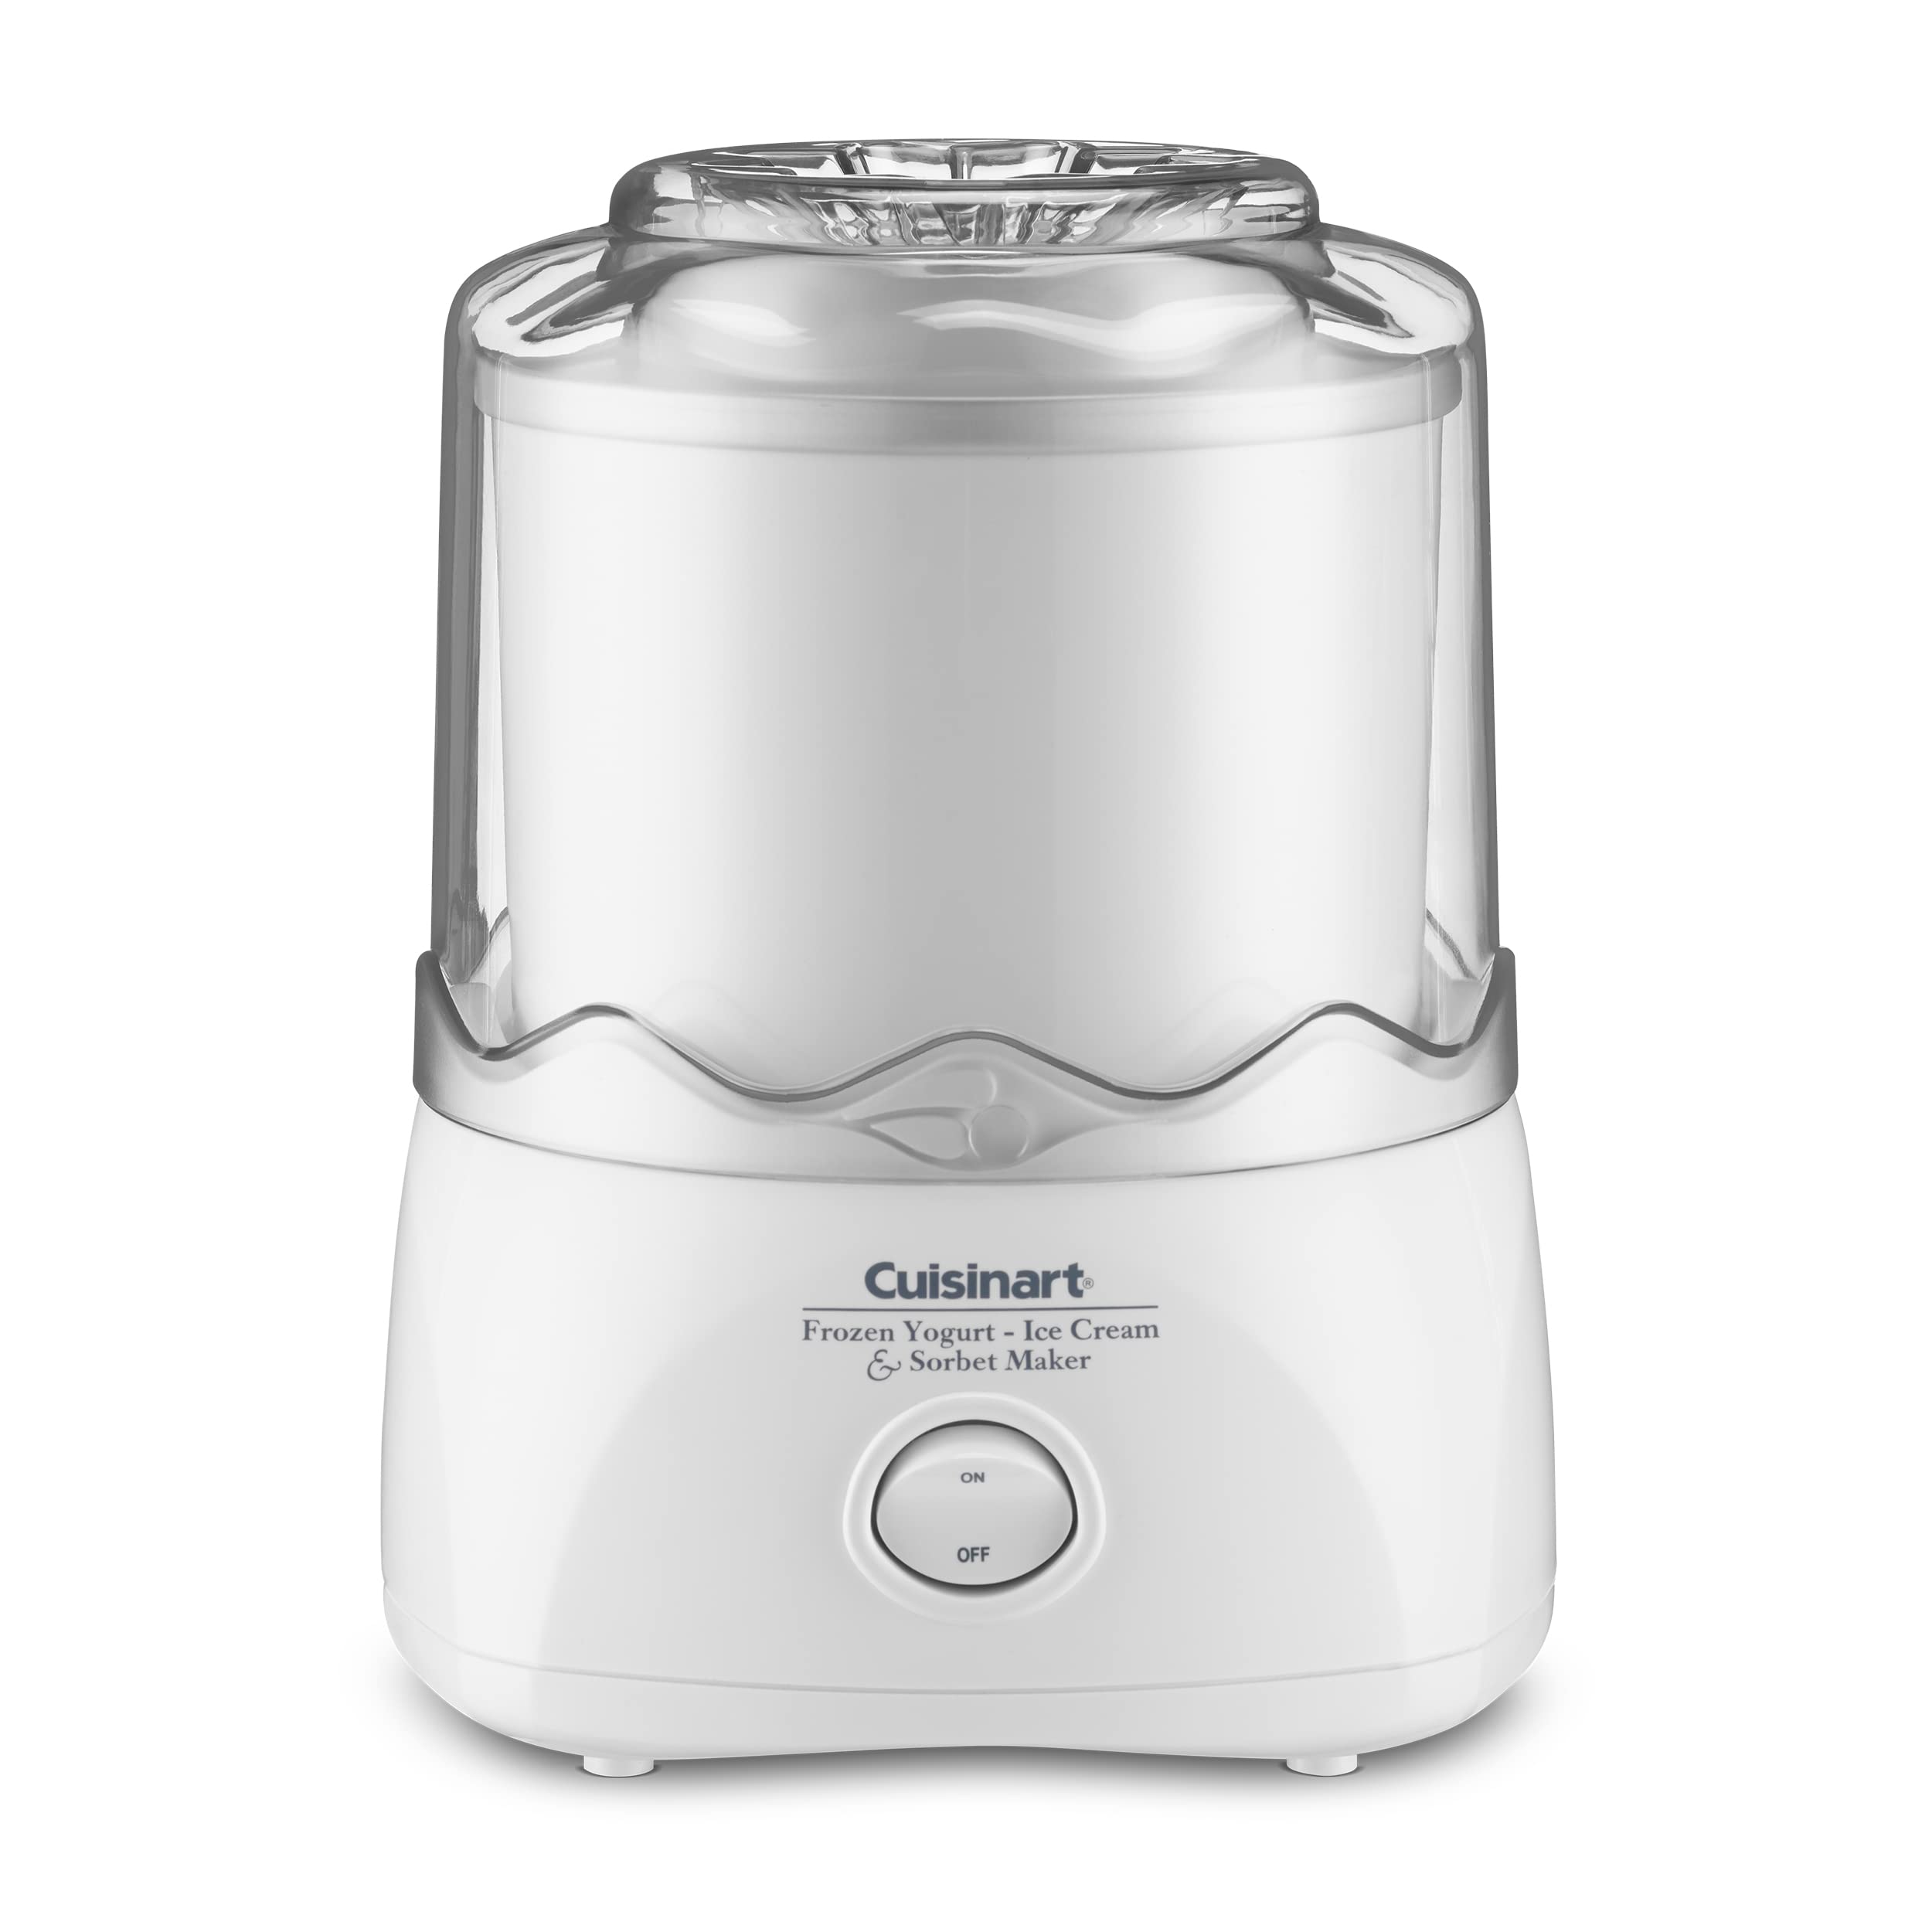
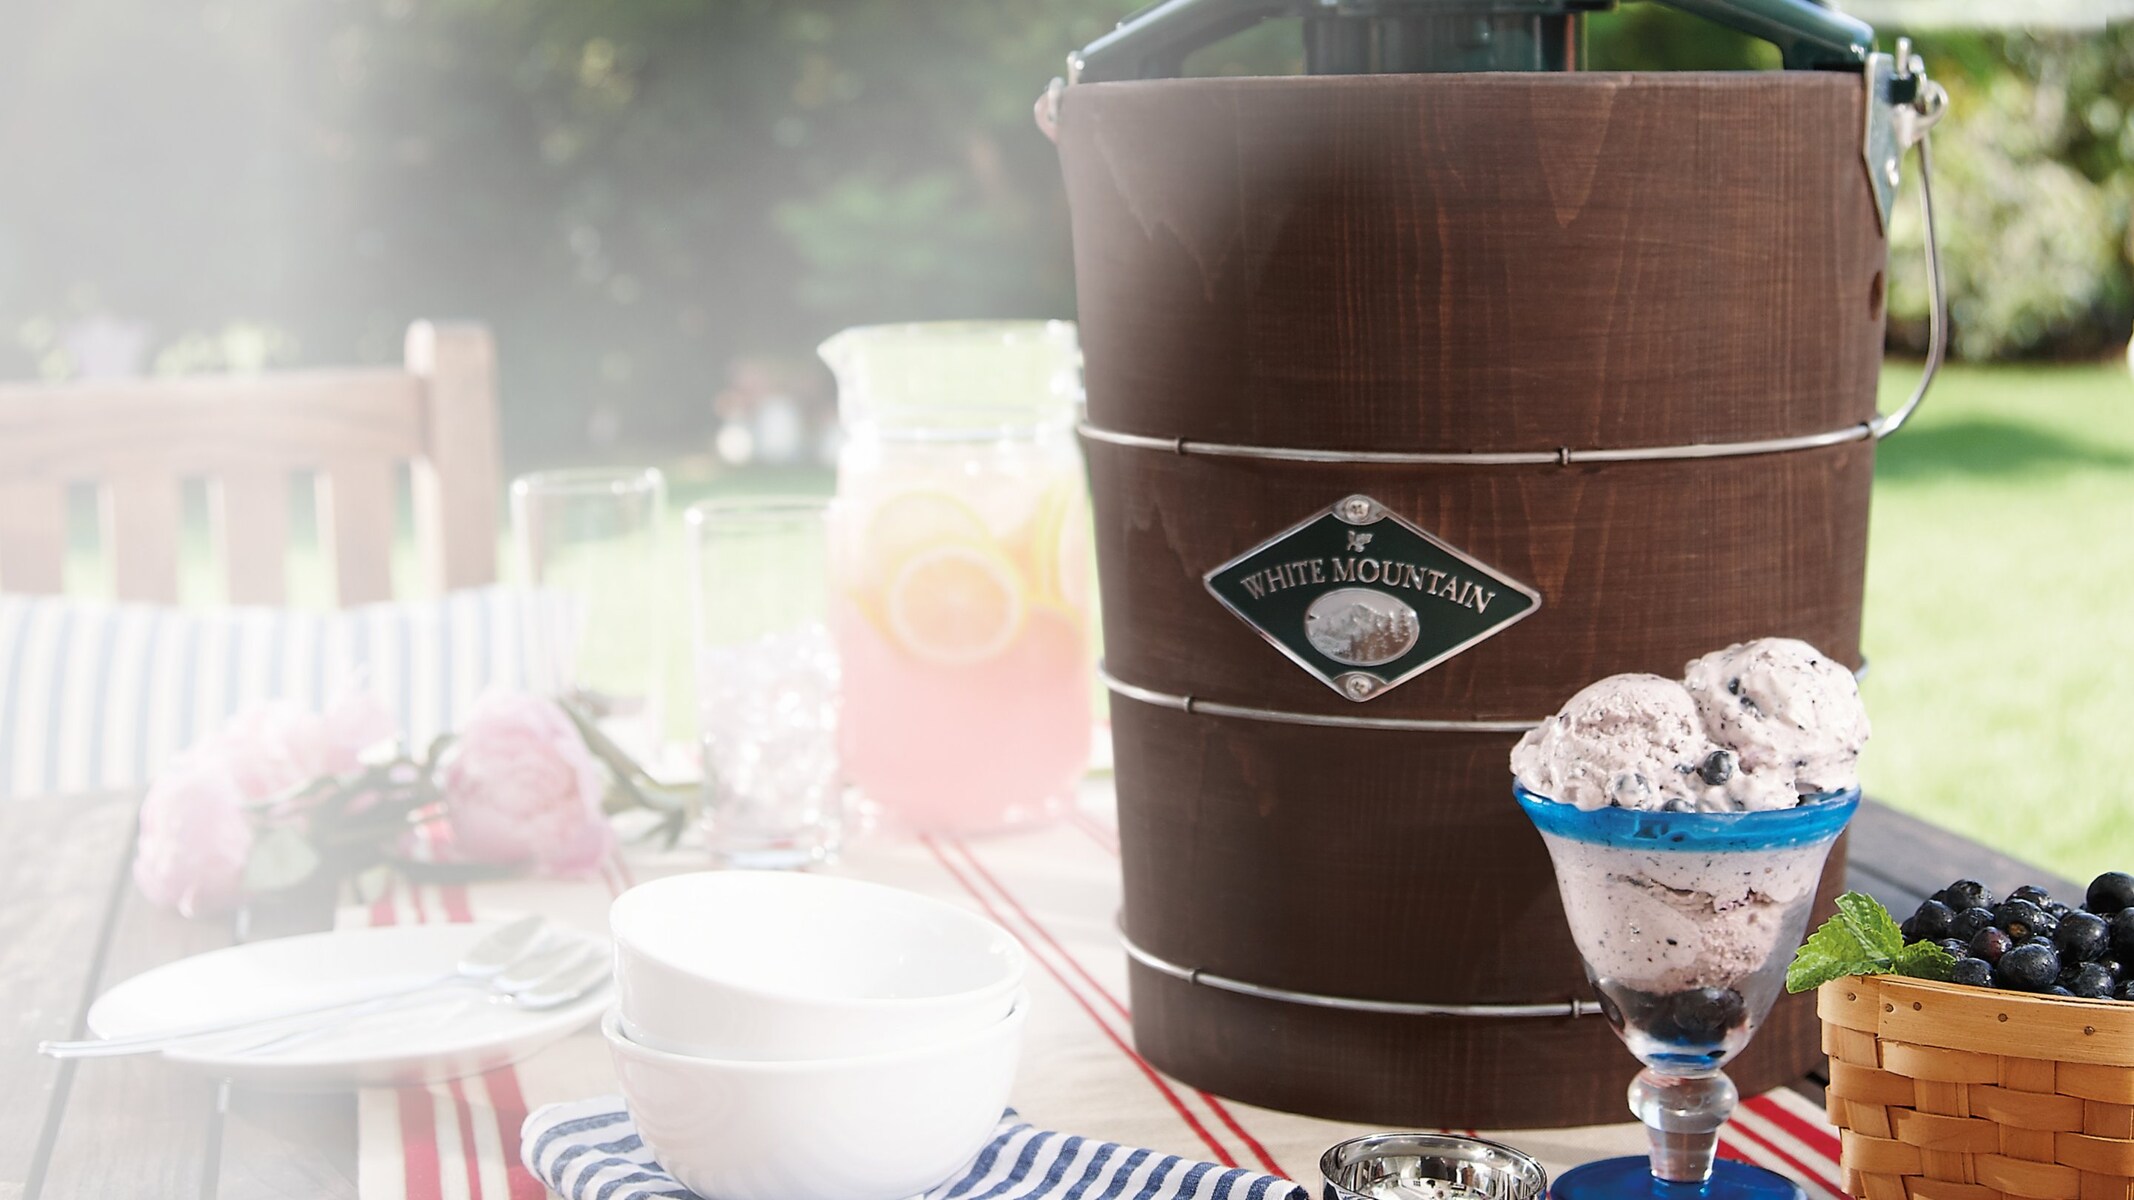
- Ice Cream Maker: An ice cream maker is the key tool for creating perfectly creamy and smooth homemade ice cream. There are various types available, such as electric or manual crank models. Make sure your ice cream maker is in good working condition before starting.
- Mixing Bowls: You’ll need a couple of mixing bowls to prepare the ice cream base and the add-ins. Choose bowls that are large enough to comfortably mix the ingredients without any overflow.
- Saucepan: A medium-sized saucepan is needed to heat and cook the ice cream base. Opt for a heavy-bottomed saucepan to ensure even heat distribution.
- Whisk or Electric Mixer: A whisk or an electric mixer will come in handy for combining and whisking the ingredients. Whichever option you choose, make sure it’s capable of achieving a smooth and creamy consistency.
- Measuring Cups and Spoons: Accurate measurements are crucial for a successful ice cream recipe. Have a set of measuring cups and spoons on hand to ensure you add the right proportions of ingredients.
- Rubber Spatula: A rubber spatula is a versatile tool for scraping the sides of bowls and folding in the mix-ins. It allows you to get every last bit of the delicious ice cream mixture.
- Ice Cream Containers: Once your ice cream is ready, you’ll need airtight containers to store it. Choose containers that are freezer-safe and have lids to prevent any unwanted odors or flavors from seeping in.
- Ice Cream Scoop: Finally, let’s not forget about the essential tool for serving up scoop after scoop of delicious Rocky Road ice cream – an ice cream scoop! Opt for a sturdy scoop that releases the ice cream easily and creates perfectly round servings.
Having these essential pieces of equipment will make the process of creating Rocky Road ice cream much easier and more enjoyable. Now that you have everything you need, it’s time to gather the ingredients and start making your homemade ice cream masterpiece.
Ingredients
To create the perfect batch of homemade Rocky Road ice cream, you’ll need the following ingredients:
For the Ice Cream Base:
- 2 cups of heavy cream
- 1 cup of whole milk
- 3/4 cup of granulated sugar
- 1/4 cup of unsweetened cocoa powder
- 4 large egg yolks
- 1 teaspoon of pure vanilla extract
- A pinch of salt
For the Add-Ins:
- 1 cup of mini marshmallows
- 1/2 cup of toasted almonds, roughly chopped
- 1/2 cup of dark chocolate chips or chunks
These ingredients will come together to create a heavenly combination of flavors and textures in your Rocky Road ice cream. You can also experiment with different add-ins if you prefer. For example, you can use walnuts or pecans instead of almonds, or add some extra chocolate chunks or swirls of caramel.
Make sure to use top-quality ingredients for the best results. Look for fresh dairy products and high-quality cocoa powder to achieve a rich and creamy ice cream base. Additionally, opt for marshmallows and chocolate that you enjoy eating on their own, as they will elevate the overall taste of your ice cream.
Now that you have all the ingredients ready, it’s time to move on to the next step in the process: making the ice cream base.
Making the Ice Cream Base
The ice cream base is the foundation of any delicious ice cream, and making it right is essential for achieving a smooth and creamy texture. Here’s how to make the ice cream base for your Rocky Road masterpiece:
- Combine the Cream, Milk, and Sugar: In a saucepan over medium heat, whisk together the heavy cream and whole milk until well combined. Gradually add in the granulated sugar, whisking continuously until it dissolves. This will create a sweet and creamy base for your ice cream.
- Add the Cocoa Powder: Sift the unsweetened cocoa powder into the cream and milk mixture. Whisk it in until there are no lumps and the cocoa powder is fully incorporated. This will give your ice cream a rich chocolate flavor.
- Temper the Egg Yolks: In a separate bowl, whisk the egg yolks until they become a pale yellow color. Slowly pour about 1/2 cup of the hot cream mixture into the egg yolks, whisking constantly. This step is crucial to gradually raise the temperature of the egg yolks without cooking them.
- Cook the Ice Cream Base: Pour the tempered egg yolk mixture back into the saucepan with the remaining cream mixture. Cook over low heat, stirring constantly with a rubber spatula, until the mixture thickens and coats the back of the spatula. This usually takes about 8-10 minutes. Be careful not to let the mixture boil as it can curdle.
- Strain and Chill: Remove the saucepan from the heat and strain the ice cream base through a fine-mesh sieve to remove any lumps or cooked egg bits. Stir in the vanilla extract and a pinch of salt for added flavor. Let the mixture cool slightly, then cover it with plastic wrap, pressing it directly onto the surface of the mixture to prevent a skin from forming. Chill the base in the refrigerator for at least 4 hours or overnight until it’s completely cold.
Once your ice cream base is chilled, it’s time to move on to the next step: preparing the delicious add-ins that will take your Rocky Road ice cream to the next level.
Preparing the Add-Ins
The add-ins are what make Rocky Road ice cream truly special. They add chunks of flavor, texture, and delight to every creamy spoonful. Here’s how to prepare the add-ins for your homemade Rocky Road ice cream:
- Marshmallows: If you’re using regular-sized marshmallows, cut them into smaller pieces to ensure they distribute evenly throughout the ice cream. If you have mini marshmallows, you can use them as they are. Set the marshmallows aside in a bowl for later.
- Almonds: Toast the almonds to enhance their flavor. Preheat your oven to 350°F (175°C) and spread the almonds in an even layer on a baking sheet. Toast them for about 8-10 minutes, or until they turn golden brown and become fragrant. Let them cool, then roughly chop them into smaller pieces. Set aside for later.
- Dark Chocolate: Break the dark chocolate into small chunks or use chocolate chips. You can also melt the chocolate and drizzle it over the ice cream for a swirl effect, if desired. Keep the chocolate aside in a small bowl.
By preparing these add-ins separately, you ensure that each ingredient contributes its unique taste and texture to the final product. The combination of marshmallows, toasted almonds, and dark chocolate is what makes Rocky Road ice cream so irresistible.
Now that the add-ins are ready, it’s time to move on to the exciting part: freezing the ice cream base.
Freezing the Ice Cream
Now that you have your ice cream base and add-ins ready, it’s time to transform them into a delightful frozen treat. Follow these steps to freeze your Rocky Road ice cream:
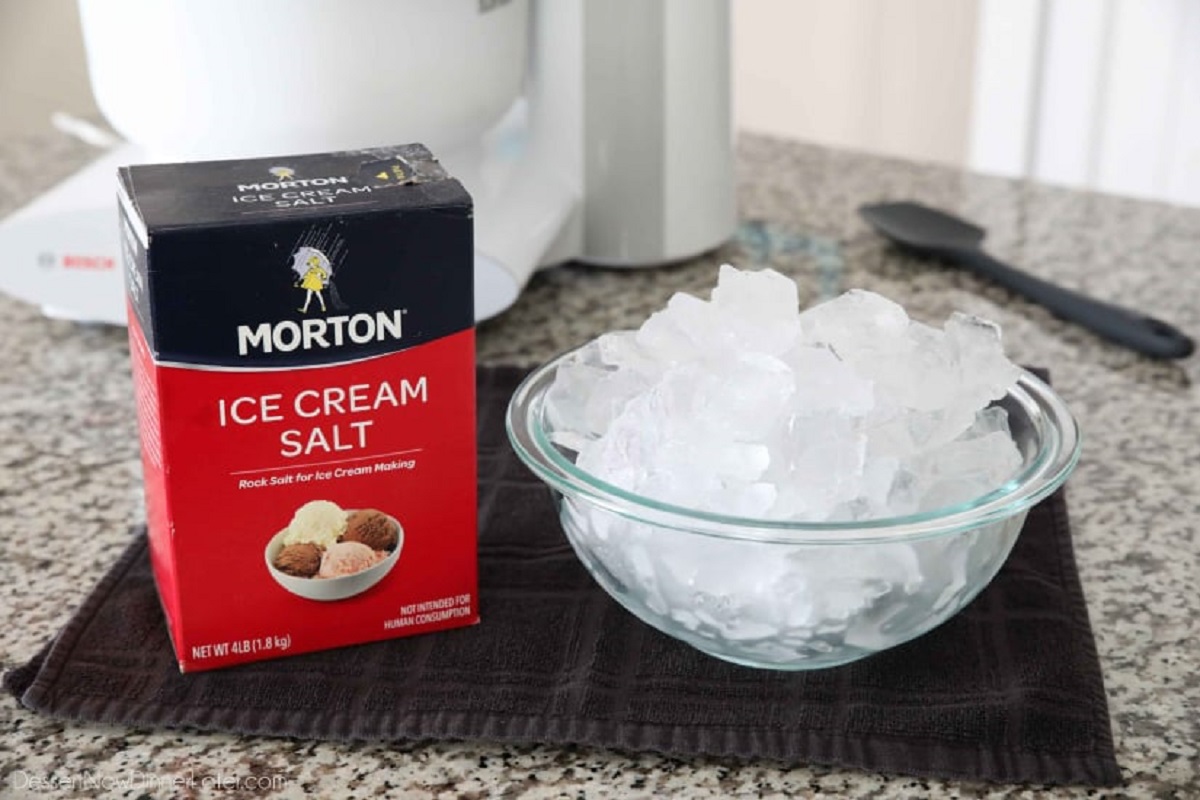
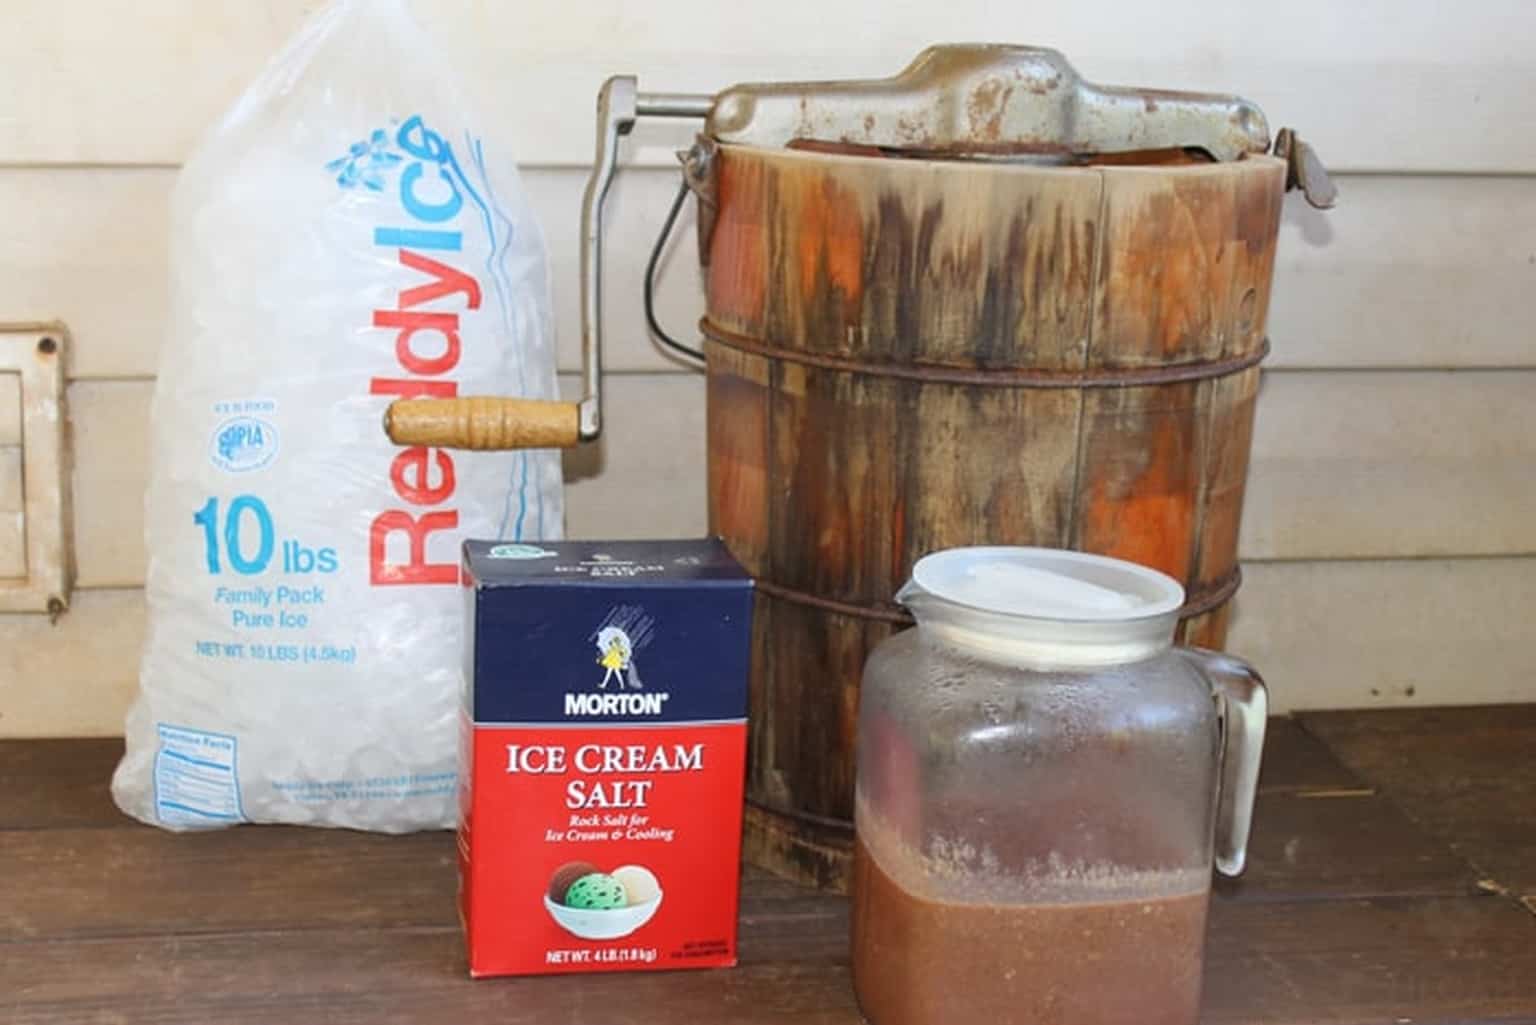
- Prepare your ice cream maker: Make sure the bowl of your ice cream maker has been properly frozen according to the manufacturer’s instructions. A properly chilled bowl is essential for achieving the right consistency.
- Set up your ice cream maker: Assemble your ice cream maker and turn it on. Pour the chilled ice cream base into the machine and let it churn according to the manufacturer’s instructions. The churning process incorporates air into the mixture, resulting in a lighter and creamier texture.
- Monitor the freezing process: Depending on your ice cream maker, the freezing process can take around 20-30 minutes. Keep an eye on the mixture as it churns, ensuring that it thickens and freezes evenly.
- Check for a soft-serve consistency: After 20-30 minutes of churning, check the ice cream for a soft-serve consistency. It should be thick and scoopable, but not solid. If it’s not quite there yet, let it churn for a few more minutes.
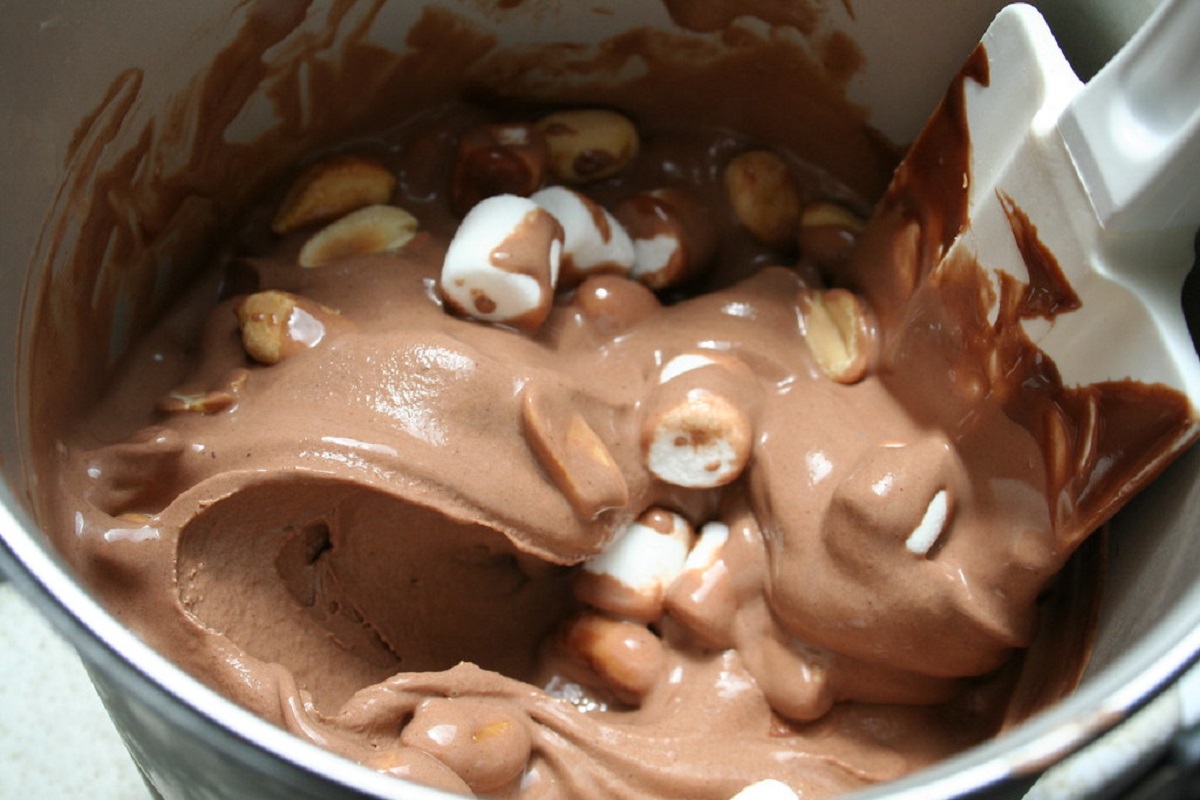
- Transfer to a container: Once the ice cream reaches the desired consistency, quickly transfer it to an airtight container. Fold in the prepared add-ins – marshmallows, almonds, and dark chocolate – ensuring they are evenly distributed throughout the ice cream.
- Freeze until firm: Place the container with the ice cream in the freezer and let it firm up for at least 4 hours or overnight. This step ensures that the ice cream sets and develops the perfect texture.
Remember to resist the temptation to dig in right away. Allowing the ice cream to freeze properly will lead to a more well-rounded and enjoyable experience.
Now that your Rocky Road ice cream is nicely frozen and ready to be enjoyed, it’s time to move on to the final step: mixing in the add-ins.
Mixing in the Add-Ins
Now comes the fun part – mixing in the delicious add-ins to create that classic Rocky Road flavor. Follow these steps to incorporate the add-ins into your frozen ice cream:
- Remove the frozen ice cream from the freezer: Take the container of Rocky Road ice cream out of the freezer and let it sit at room temperature for a few minutes to soften slightly. This will make mixing in the add-ins easier.
- Add the marshmallows: Sprinkle the prepared marshmallows onto the softened ice cream. Use a rubber spatula or spoon to gently fold them into the ice cream mixture. Be careful not to stir too vigorously; you want to distribute the marshmallows without deflating the ice cream.
- Sprinkle in the toasted almonds: Next, scatter the chopped toasted almonds over the ice cream. Again, use the spatula or spoon to fold them in gently, ensuring an even distribution throughout the mixture.
- Introduce the dark chocolate: Lastly, add the dark chocolate chunks or chips to the ice cream. Stir them in gently, being careful not to break the chocolate into tiny pieces. The chocolate will create delightful pockets of sweetness throughout the ice cream.
Take your time to incorporate the add-ins evenly, ensuring each spoonful of Rocky Road ice cream is packed with marshmallows, toasted almonds, and decadent chocolate. The combination of flavors and textures will create an irresistible treat that will have everyone reaching for seconds.
Once the add-ins are mixed in, your Rocky Road ice cream is ready to be enjoyed. But before you grab your scooper, let’s cover some final tips on serving and storing this delectable dessert.
Serving and Storing
Now that your homemade Rocky Road ice cream is perfectly mixed and laden with delicious add-ins, it’s time to serve and store it for future enjoyment. Here are some tips on serving and storing your delightful creation:
Serving:
- Using an ice cream scoop, portion out the Rocky Road ice cream into serving bowls or cones. The scoops should be generous, allowing the indulgent flavors to shine through.
- Garnish the ice cream with additional toppings, if desired. You can drizzle some chocolate sauce, sprinkle crushed almonds, or add a dollop of whipped cream to take it to the next level.
- Consider serving the ice cream with some warm chocolate or caramel sauce on the side. This will add a luscious and gooey element to each bite.
Storing:
- Transfer any leftover ice cream to an airtight container and place it in the freezer. This will help maintain its texture and prevent freezer burn.
- Label the container with the name and date to easily identify it in the future.
- Rocky Road ice cream can be stored in the freezer for up to two weeks, although it is best enjoyed within the first week for optimal taste and texture.
- To prevent ice crystals from forming, press a sheet of plastic wrap directly onto the surface of the ice cream before sealing the container with a lid.
Remember to let the ice cream soften for a few minutes at room temperature before scooping if it becomes too firm in the freezer.
Now that you know how to serve and store your homemade Rocky Road ice cream, it’s time to gather your friends and family and enjoy this delightful frozen treat together. Grab a spoon, dig in, and savor the rich chocolate ice cream, luscious marshmallows, crunchy almonds, and bursts of dark chocolate. Indulge in the timeless pleasure of Rocky Road, made with love in your very own kitchen.
Conclusion
Congratulations! You’ve successfully learned how to make delicious Rocky Road ice cream using an ice cream maker. By following the step-by-step instructions, you’ve created a creamy and indulgent frozen treat that is sure to delight your taste buds.
Remember, the key to achieving a smooth and creamy ice cream base is using top-quality ingredients and ensuring proper churning and freezing techniques. The combination of rich chocolate ice cream, fluffy marshmallows, toasted almonds, and bursts of dark chocolate creates the irresistible flavor and texture of Rocky Road.
Whether you enjoy this delectable dessert on a hot summer day, at a family gathering, or as a special treat just for yourself, it’s sure to bring smiles and happiness to all who indulge.
Feel free to customize your Rocky Road ice cream by experimenting with different add-ins. Swap out the almonds for your favorite nuts, add extra chocolate chunks, or even swirl in some caramel sauce for a decadent twist. The beauty of homemade ice cream is that you have the creative freedom to make it exactly how you like it.
Now that you have mastered the art of making Rocky Road ice cream, it’s time to explore other flavors and combinations. The world of homemade ice cream is wide open for you to experiment and delight in the endless possibilities.
So, gather your ingredients, get your ice cream maker ready, and let your creativity run wild as you embark on the journey of making delicious homemade ice cream. Enjoy the process and savor every scoop of your homemade frozen delights.