Introduction
Welcome to the delicious world of homemade peanut butter ice cream! Who can resist the creamy, nutty goodness of this frozen treat? Whether you’re a fan of traditional ice cream or follow a dairy-free lifestyle, making peanut butter ice cream from scratch without an ice cream maker is easier than you think.
Imagine sinking your spoon into a scoop of velvety smooth ice cream that’s bursting with the rich flavor of peanuts. The best part? You don’t need any fancy equipment or special skills to whip up this delectable dessert at home. With just a few simple ingredients and a little patience, you can create your own batch of irresistibly creamy peanut butter ice cream that will rival any store-bought variety.
Not only will you have complete control over the ingredients, but you’ll also be able to customize your homemade ice cream according to your taste preferences. Whether you like it super peanutty, with a touch of sweetness or a hint of saltiness, this recipe is versatile enough to accommodate your cravings.
In this guide, we’ll take you through a step-by-step process of making peanut butter ice cream without an ice cream maker. From creating the base to infusing it with the perfect amount of peanut butter flavor, we’ve got you covered. Get ready to delight your taste buds and impress your family and friends with your homemade peanut butter ice cream masterpiece.
So, gather your ingredients and let’s embark on this delightful ice cream-making adventure together.
Ingredients
To make this scrumptious peanut butter ice cream, you’ll need the following ingredients:
- 2 cups heavy cream
- 1 cup whole milk
- 3/4 cup granulated sugar
- 1/2 cup creamy peanut butter
- 1 teaspoon vanilla extract
- A pinch of salt
These simple yet essential ingredients are the building blocks of a creamy and flavorful peanut butter ice cream that will leave you craving more. Feel free to adjust the sugar and salt levels to suit your personal taste preferences.
By using heavy cream and whole milk, you’ll achieve a luxurious and velvety texture that melts in your mouth. The sugar provides the necessary sweetness to balance the nutty flavor, while the pinch of salt enhances the overall taste and brings out the richness of the peanut butter.
When it comes to the peanut butter, choose a high-quality creamy version that has a smooth consistency. This will ensure that your ice cream base is silky and free of any graininess.
Lastly, don’t forget the vanilla extract. This simple ingredient adds a subtle depth of flavor that complements the peanuts perfectly.
With these ingredients on hand, you’re ready to dive into the process of making your own delicious peanut butter ice cream without the need for an ice cream maker. Get ready to indulge in a frozen treat that will tantalize your taste buds and cool you down on a hot summer day!
Step 1: Making the Peanut Butter Ice Cream Base
The first step in creating your homemade peanut butter ice cream is to make the base. This is the foundation that will give your dessert its creamy texture and delicious taste.
To start, grab a medium-sized saucepan and pour in the heavy cream and whole milk. Place the saucepan over medium heat and warm the mixture until it begins to steam. Make sure to stir occasionally to prevent it from scorching.
Next, add the granulated sugar to the saucepan and continue stirring until the sugar dissolves completely. This will sweeten the ice cream base and give it a delightful taste.
Once the sugar has dissolved, remove the saucepan from the heat. At this point, you can add the vanilla extract and a pinch of salt. The vanilla extract will enhance the flavor profile of the ice cream, while the salt will balance the sweetness and bring out the richness of the peanut butter.
Now it’s time to incorporate the star ingredient: peanut butter! Measure out the creamy peanut butter and add it to the warm cream mixture in the saucepan. Use a whisk or spoon to vigorously blend the peanut butter into the base until it is fully combined and smooth.
It’s important to note that you should opt for a creamy peanut butter that doesn’t contain any large pieces of nuts. This will ensure a smooth and creamy consistency in your ice cream.
Once the peanut butter is fully incorporated, you’ve successfully completed the first step of making the peanut butter ice cream base. Your mixture should be thick, creamy, and fragrant with the nutty aroma of peanuts.
Congratulations! You’re one step closer to indulging in a batch of homemade peanut butter ice cream. Now, let’s move on to the second step: chilling the ice cream base.
Step 2: Chilling the Ice Cream Base
After making the peanut butter ice cream base, it’s time to chill it and allow the flavors to meld together. Chilling the base will also ensure that it freezes properly later on.
Carefully transfer the warm ice cream base from the saucepan into a clean bowl or container. To speed up the chilling process, you can place the bowl in an ice bath. Fill a larger bowl with ice cubes and place the bowl containing the ice cream base on top. Make sure the ice water doesn’t overflow into the base.
Stir the ice cream base occasionally to promote even cooling. The ice bath will rapidly lower the temperature of the base, preventing any bacteria growth and maintaining its smooth consistency.
Once the base has cooled down, cover the bowl with plastic wrap or a lid and refrigerate it for at least 4 hours, or preferably overnight. This extended chilling time will give the flavors time to develop and intensify, resulting in a more delicious and well-rounded ice cream.
During the chilling process, the mixture should thicken and become more custard-like. This is a good sign, as it indicates that the base is ready to be frozen.
Remember to be patient during the chilling phase, as it is an essential step in achieving the perfect texture and taste of your homemade peanut butter ice cream.
Once the ice cream base has thoroughly chilled and set, you’re now ready to move on to the next step: freezing the ice cream base.
Step 3: Freezing the Ice Cream Base
Now that the peanut butter ice cream base has chilled, it’s time to transform it into a frozen dessert. In this step, we will freeze the base to achieve that smooth and creamy texture we all love in ice cream.
Remove the chilled ice cream base from the refrigerator. Give it a quick stir to ensure it’s well-mixed and smooth. At this point, you have a couple of options for freezing the ice cream base:
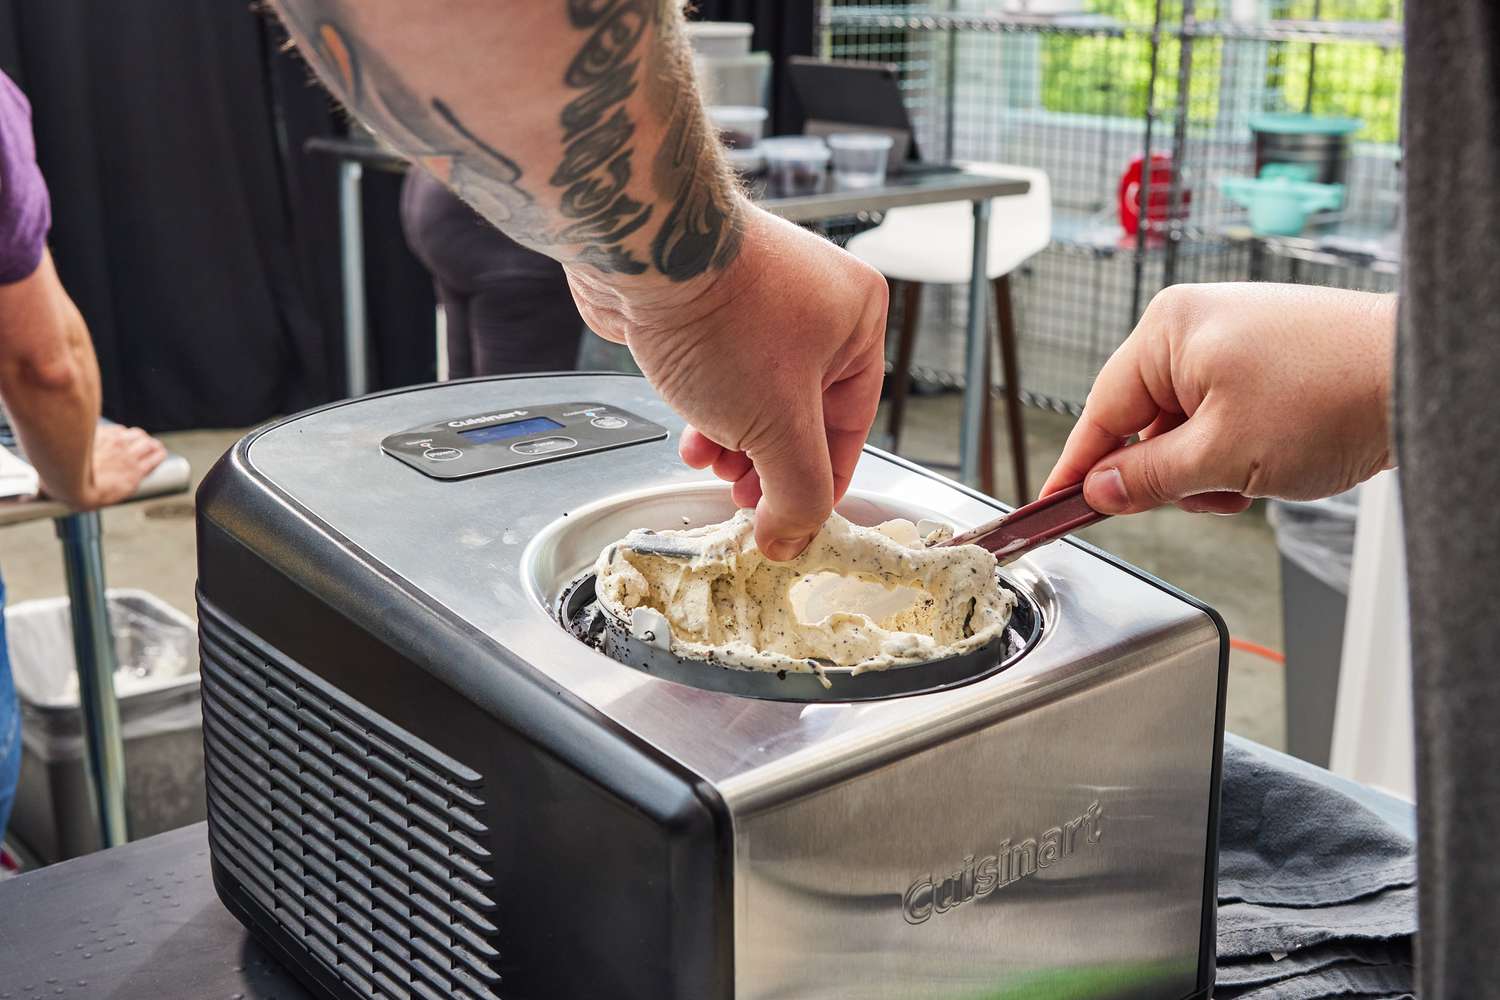
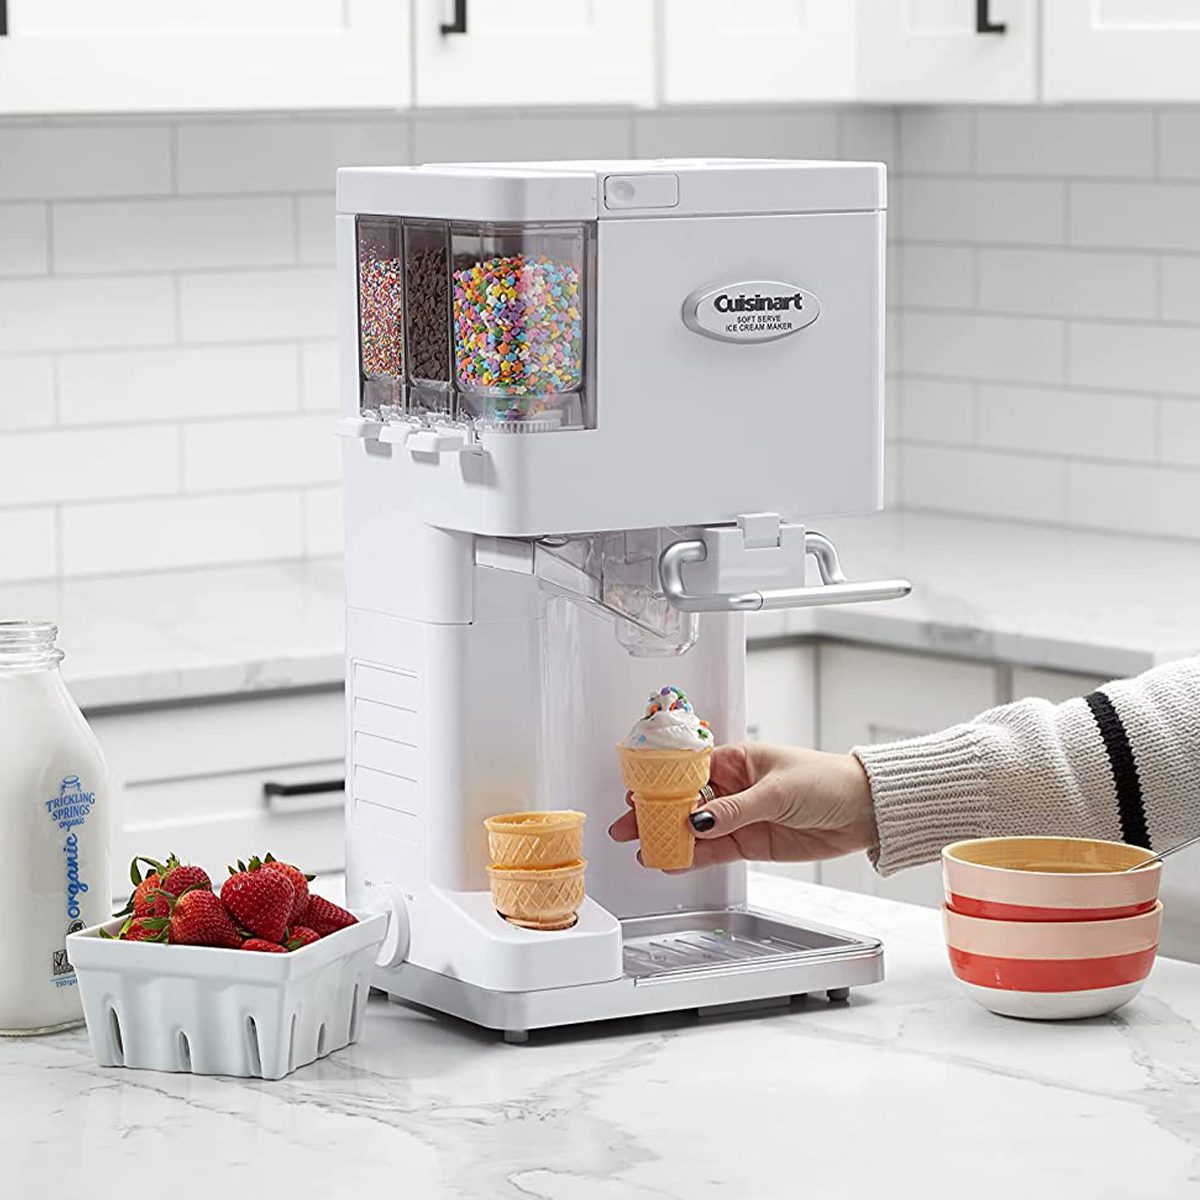
- Ice Cream Maker: If you happen to have an ice cream maker, simply pour the base into the machine and follow the manufacturer’s instructions. The machine will continuously churn and freeze the mixture, resulting in a soft and scoopable ice cream consistency.
- Manual Method: If you don’t have an ice cream maker, no worries! You can achieve similar results by manually freezing the base. Pour the ice cream mixture into a shallow, freezer-safe container. Place the container in the freezer and let it freeze for about 1 hour.
After 1 hour, remove the partially frozen ice cream from the freezer and vigorously stir it with a fork or whisk. Breaking up any ice crystals that have formed will help achieve a smoother texture. Return the container to the freezer and repeat this process every 30 minutes for the next 2 to 3 hours.
Each time you stir the ice cream, you’re incorporating air into the mixture, preventing it from becoming icy and forming large crystals. This will result in a smoother and creamier final product.
Continue this process until the ice cream has reached the desired consistency. It should be firm, yet still easy to scoop. Remember that the freezing time may vary depending on your freezer, so keep an eye on the texture as it progresses.
Once the ice cream is frozen to perfection, it’s time to move on to the next step: mixing in the peanut butter.
Step 4: Mixing in the Peanut Butter
Now that your peanut butter ice cream base is frozen, it’s time to take it to the next level by adding an extra dose of peanut butter goodness. This step will enhance the flavor and elevate the overall taste of your homemade creation.
Remove the frozen ice cream from the freezer and let it sit at room temperature for a few minutes to slightly soften. This will make it easier to mix in the peanut butter.
Measure out the desired amount of creamy peanut butter, depending on how intense you want the peanut flavor to be. Warm the peanut butter for a few seconds in the microwave, just enough to make it more pliable and easier to incorporate into the ice cream.
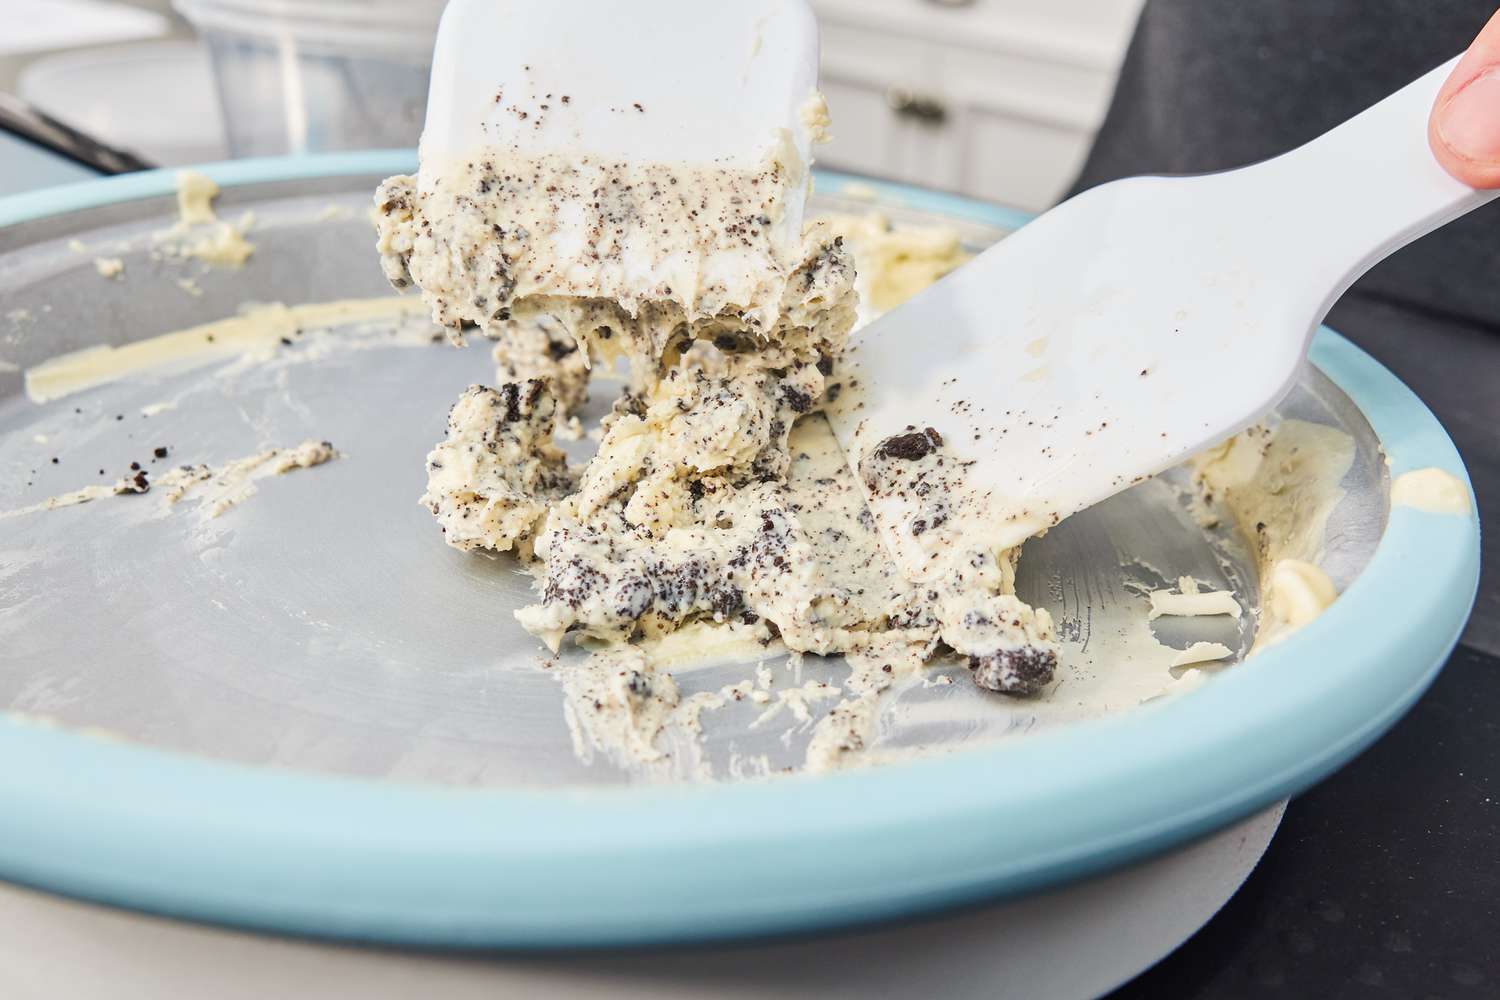
Add the softened peanut butter to the partially melted ice cream. Use a spatula or spoon to gently fold the peanut butter into the ice cream, ensuring that it is evenly distributed throughout the mixture.
Continue stirring until the peanut butter is fully incorporated, and the ice cream takes on a marbled appearance. Be careful not to overmix, as you want to maintain swirls of peanut butter throughout the ice cream.
The combination of the original peanut butter ice cream base and the added swirls of peanut butter will create a delightful blend of flavors. Each spoonful will be bursting with nutty goodness!
After you’ve completed this step and achieved the desired peanut butter distribution, it’s time to move on to the final step: freezing the ice cream once again.
Proceed to the next step to ensure your peanut butter ice cream is perfectly chilled and ready to be savored.
Step 5: Freezing the Ice Cream Again
After incorporating the peanut butter swirls into the ice cream, it’s important to freeze it again to achieve the desired firmness and texture. This step will ensure that your homemade peanut butter ice cream is ready to be scooped and enjoyed.
Gently transfer the peanut butter-swirled ice cream back into its freezer-safe container. Smooth out the top with a spatula or the back of a spoon to create an even surface.
Place a layer of plastic wrap directly on the surface of the ice cream to prevent ice crystals from forming. This helps preserve the creamy texture and prevents any unwanted crystallization.
Close the container tightly with its lid and place it back in the freezer. Allow the ice cream to freeze for at least 4 to 6 hours, or preferably overnight. This longer freezing time will ensure that the ice cream is thoroughly frozen and perfectly scoopable.
During this second freezing period, the ice cream will regain its firmness and reach that delightful creamy consistency that we all know and love. The flavors will continue to meld together, creating a harmonious blend of peanut butter and sweetness.
Be patient and resist the temptation to open the freezer frequently to check on the progress. Opening the freezer can cause temperature fluctuations, resulting in an uneven freeze and formation of ice crystals.
Once the ice cream has completed its freezing time, you’re just a step away from indulging in your homemade peanut butter ice cream masterpiece.
Now that your ice cream has thoroughly frozen again, it’s time to serve and enjoy the fruits of your labor. Get ready to treat yourself to a creamy, luscious, and nutty ice cream experience!
Step 6: Serving and Enjoying
Congratulations! You’ve made it to the final step of your peanut butter ice cream adventure. Now it’s time to indulge in your homemade creation and savor all the luscious flavors.
Remove the container of frozen peanut butter ice cream from the freezer and let it sit on the counter for a few minutes to soften slightly. This will make it easier to scoop and serve.
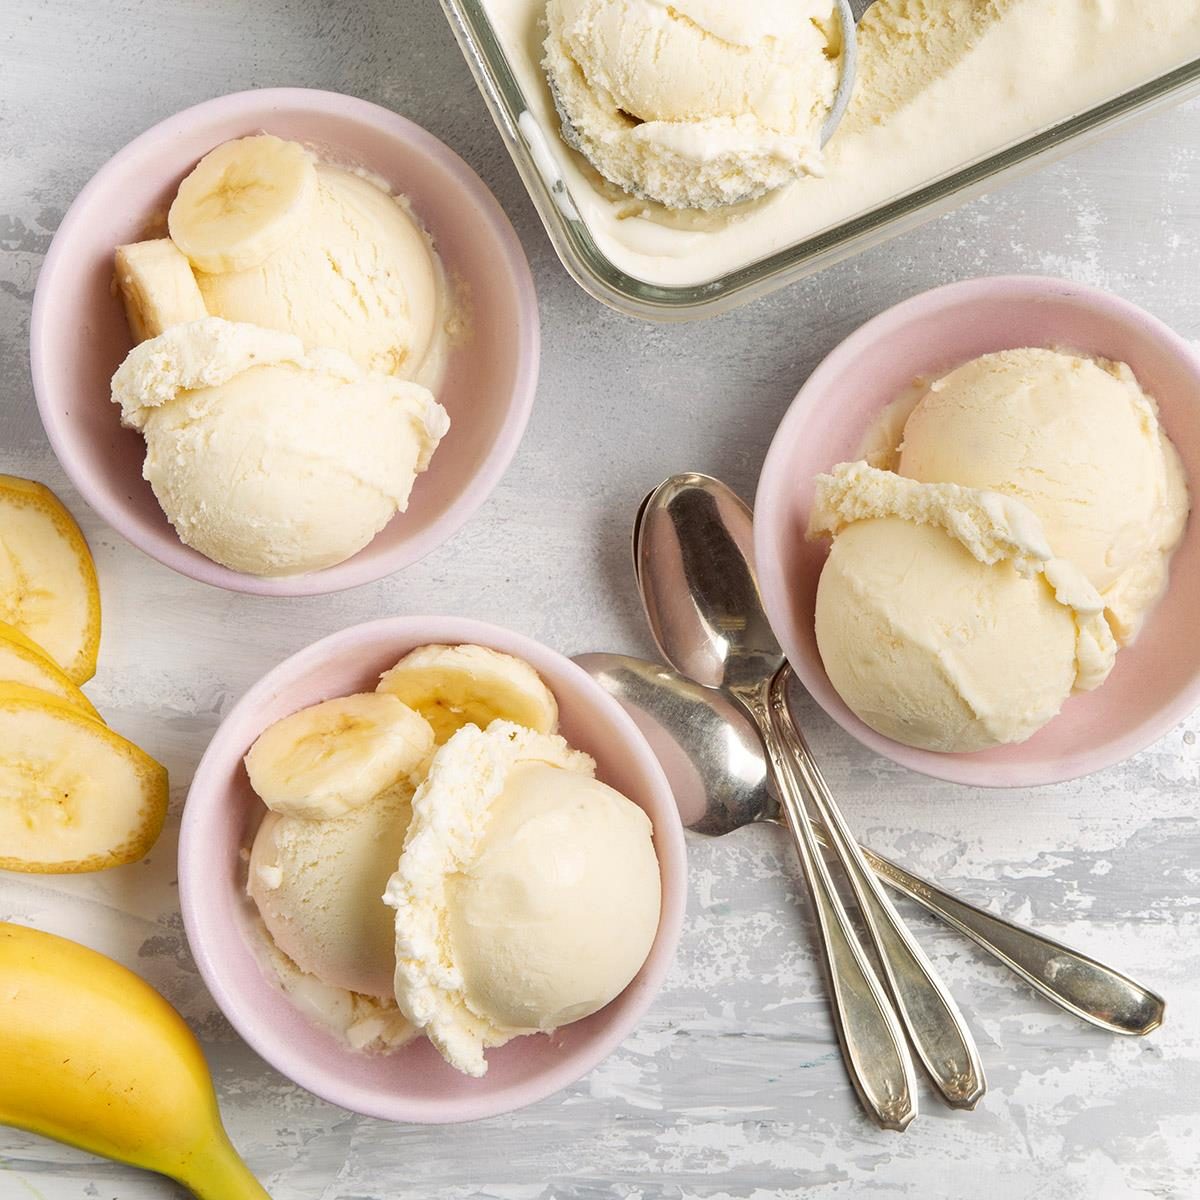
Using an ice cream scoop, dig into the container and scoop out generous portions of your velvety, peanut butter-infused ice cream. Place the scoops into individual bowls or cones, and get ready to treat yourself to a delightful frozen treat.
If you want to elevate your peanut butter ice cream experience, consider adding some delicious toppings. Crushed peanuts, chocolate sauce, or even a drizzle of warm peanut butter are fantastic additions that take the flavor and texture to the next level.
Share your homemade peanut butter ice cream with your loved ones, or feel free to enjoy it all by yourself. The joy and satisfaction of creating a delicious frozen dessert from scratch make every bite even more special.
Remember to place any remaining ice cream back into the freezer for future enjoyment. It will keep well for a few weeks, but you’re likely to finish it before then!
Now sit back, relax, and relish every spoonful of your homemade peanut butter ice cream. Allow the creamy, nutty flavors to envelop your taste buds and transport you to ice cream heaven.
Once you’ve savored every last bite, bask in the sense of accomplishment that comes with creating such a delectable dessert. Your journey from a basic ice cream base to a peanut butter masterpiece is a testament to your culinary skills and creativity.
So go ahead, take a moment to pat yourself on the back, and enjoy the delightful satisfaction of making and enjoying your own homemade peanut butter ice cream.