Introduction
Welcome to the world of homemade mozzarella cheese! If you’ve ever been to an Italian restaurant and marveled at the creamy texture and delicate flavor of fresh mozzarella, you’ll be thrilled to know that you can recreate this culinary delight in the comfort of your own kitchen. And what better way to do it than with the help of a sous vide machine?
Mozzarella cheese is known for its stretchy, stringy consistency and mild taste, making it a versatile ingredient in a variety of dishes. Whether you want to top your homemade pizza, elevate your caprese salad, or simply enjoy it as a snack, making your own mozzarella using a sous vide machine is a fun and rewarding experience.
Using a sous vide machine for cheese making ensures precise control of the temperature, resulting in a consistent and perfect batch every time. The gentle heat application enables the curds to form slowly, yielding a tender and flavorful cheese.
In this step-by-step guide, we’ll walk you through the process of making mozzarella cheese using a sous vide machine. From sourcing the best ingredients to shaping and storing the cheese, we’ve got you covered. So, put on your apron, fire up your sous vide machine, and let’s get started on our mozzarella cheese-making adventure!
Ingredients
Gather the following high-quality ingredients before you begin your mozzarella cheese-making journey:
- 2 gallons of whole milk (avoid ultra-pasteurized milk, as it may affect the curd formation)
- 1/4 teaspoon of liquid calcium chloride (if using pasteurized milk)
- 1/4 teaspoon of vegetarian liquid rennet (ensure it is specifically made for mozzarella cheese)
- 1/4 cup of non-chlorinated water (for diluting the rennet)
- 1 tablespoon of cheese salt (kosher or non-iodized)
It is crucial to use the freshest milk possible to achieve the best results. Look for milk with a high fat content, as it contributes to the rich and creamy texture of mozzarella cheese. Additionally, using non-chlorinated water will prevent any unwanted flavors from affecting the cheese during the dilution process.
When selecting the rennet, ensure it is specifically formulated for mozzarella cheese-making. Vegetarian options are available, so choose accordingly based on your dietary preferences or requirements.
Lastly, cheese salt is essential for enhancing the flavor of your mozzarella. It is different from traditional table salt, so make sure to use the recommended amount in the recipe.
Now that we have our ingredients ready, let’s move on to the equipment needed for making homemade mozzarella cheese using a sous vide machine.
Equipment Needed
To make mozzarella cheese using a sous vide machine, you’ll need the following equipment:
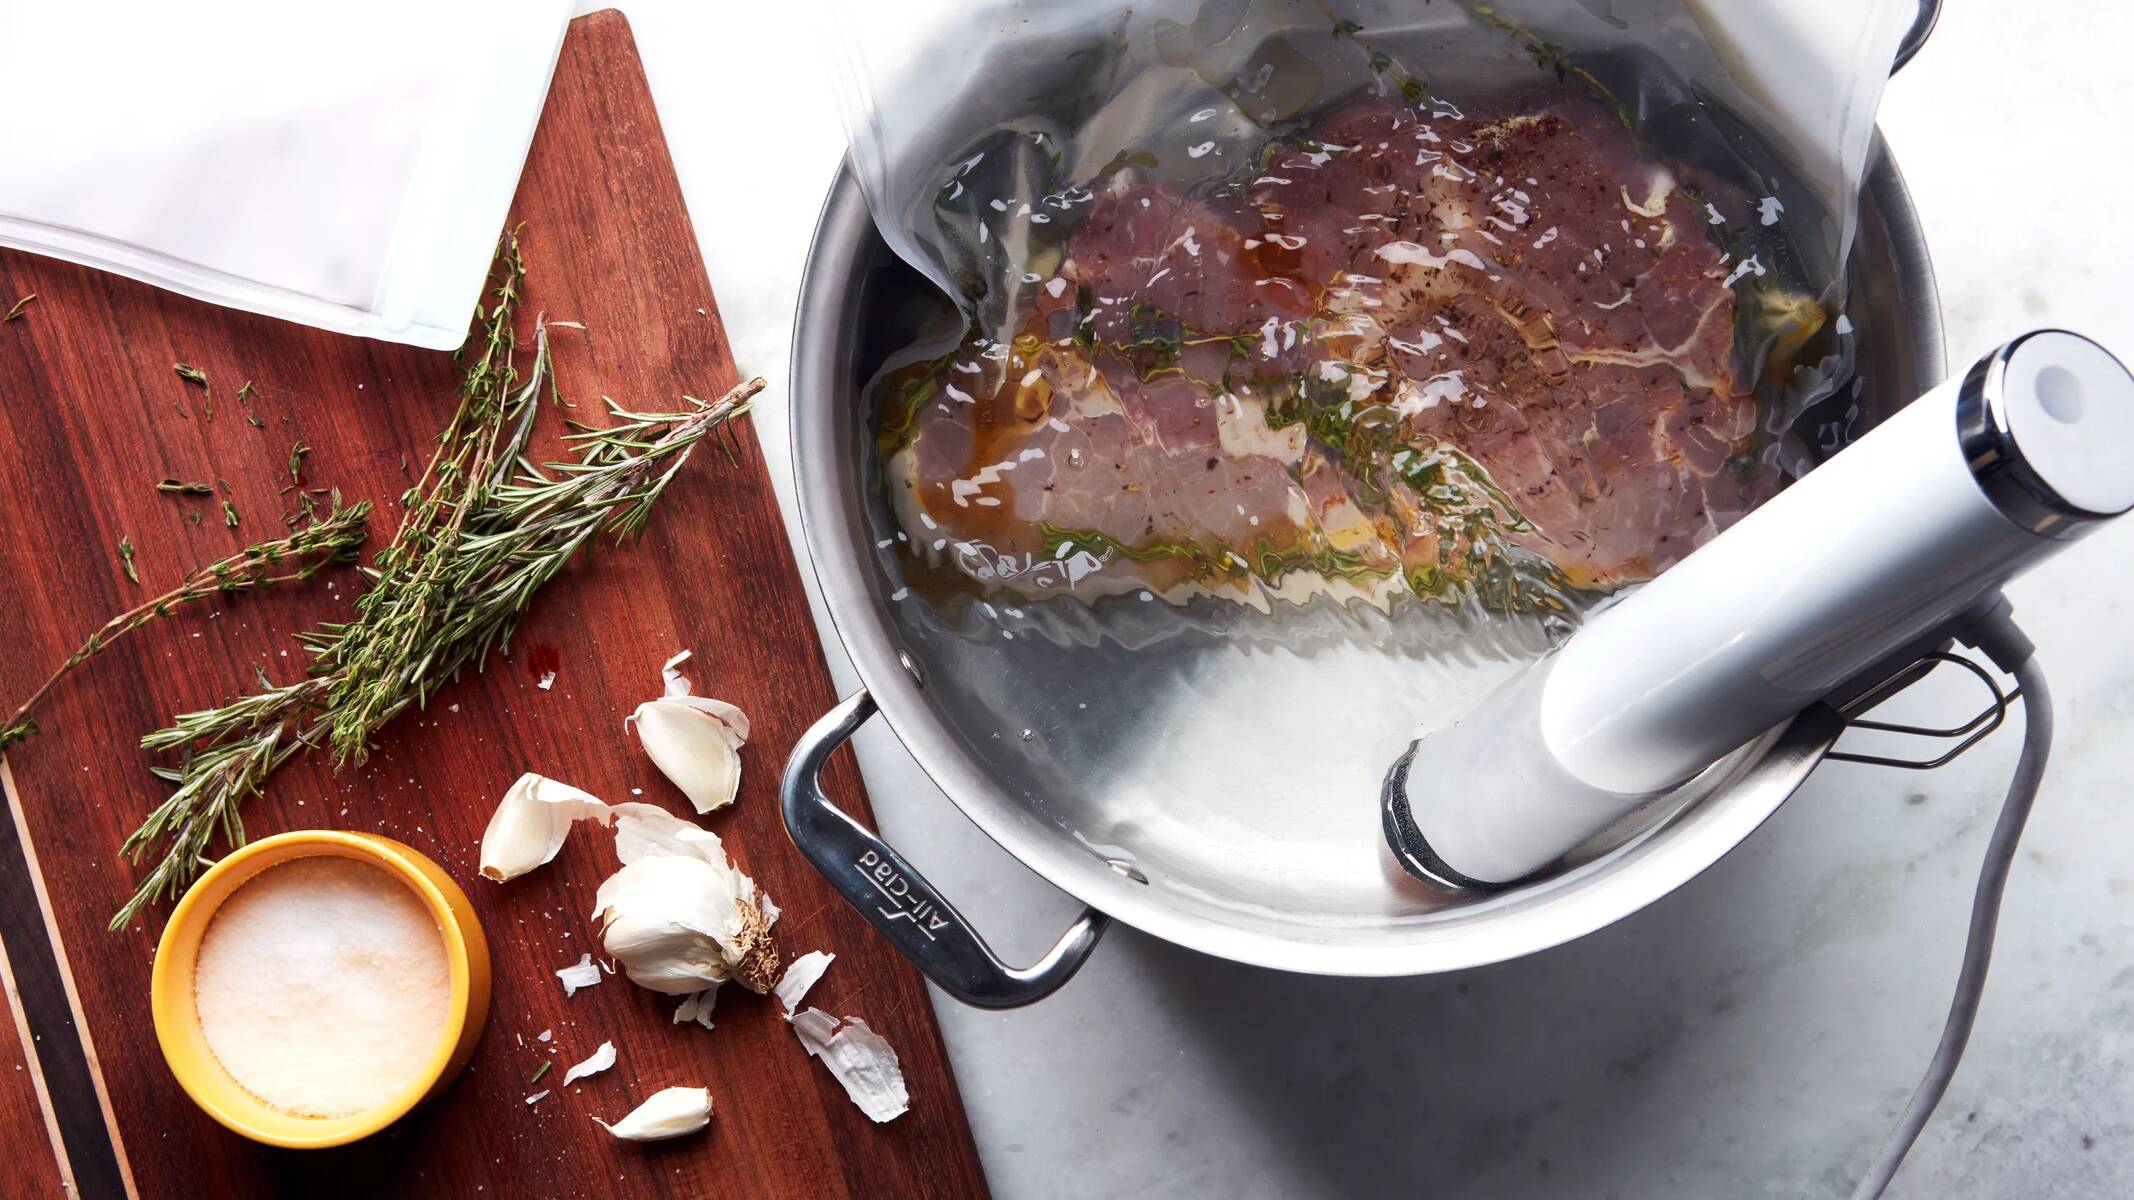
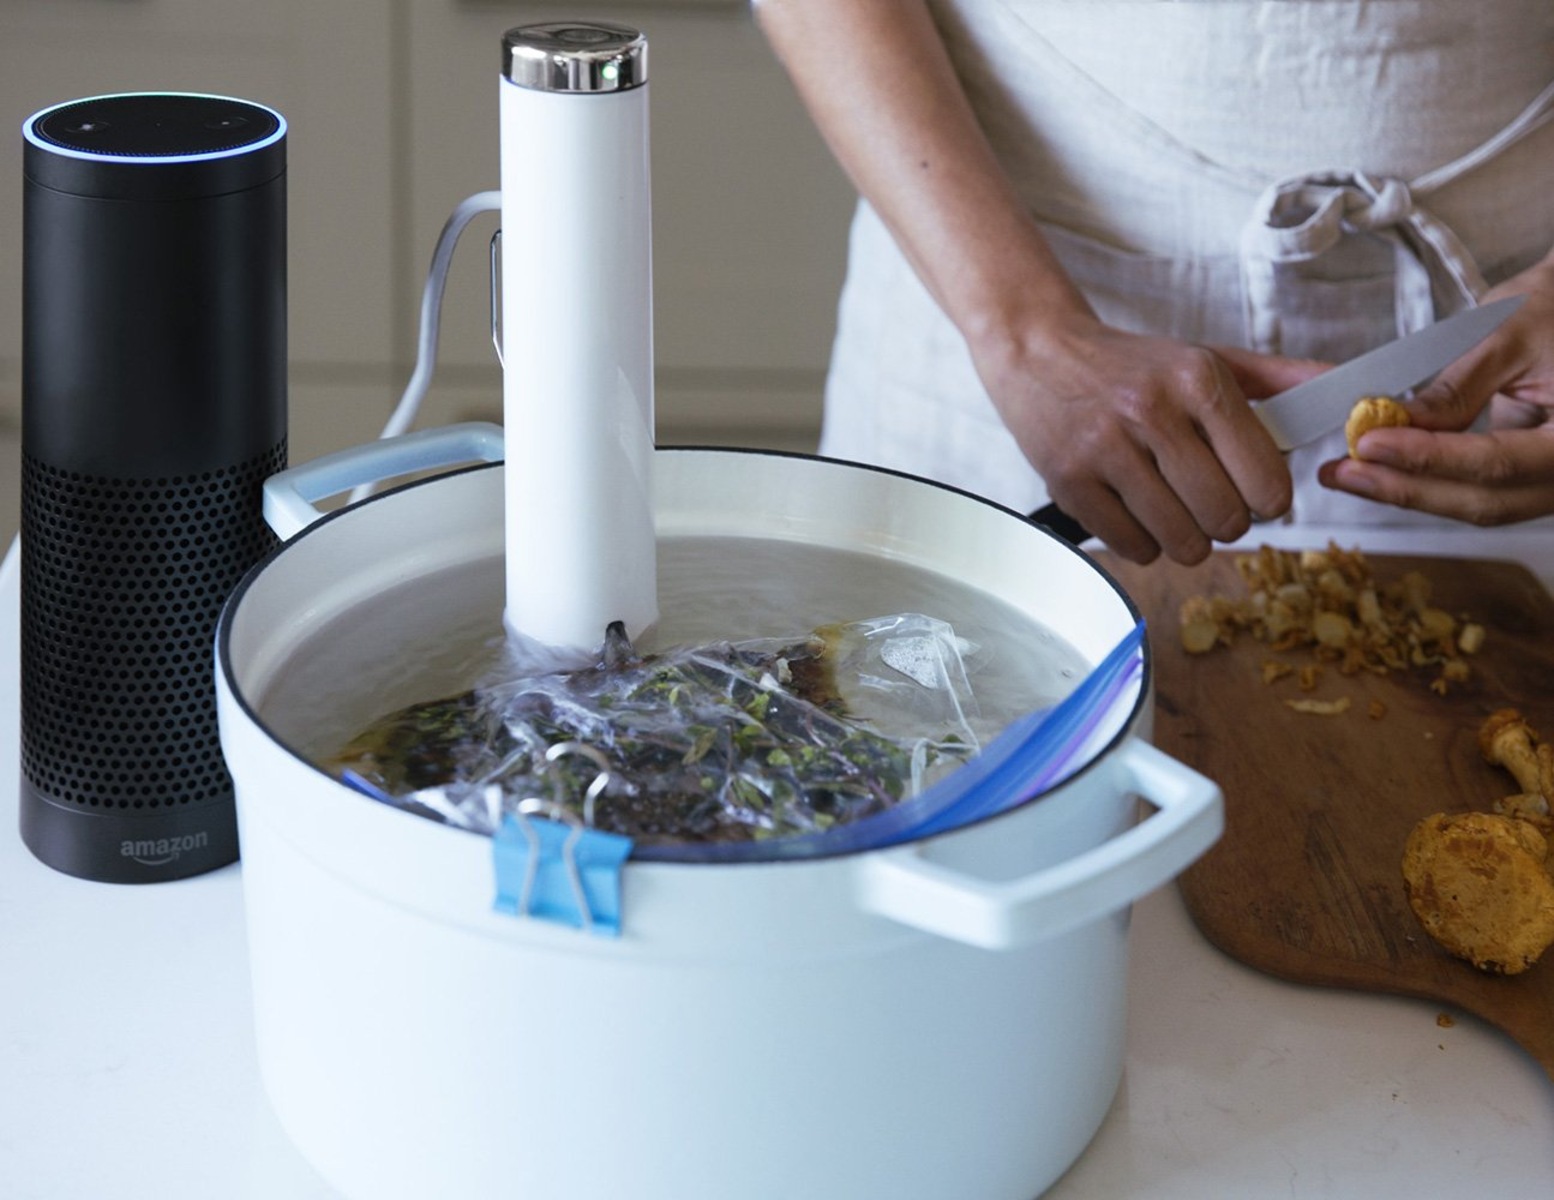
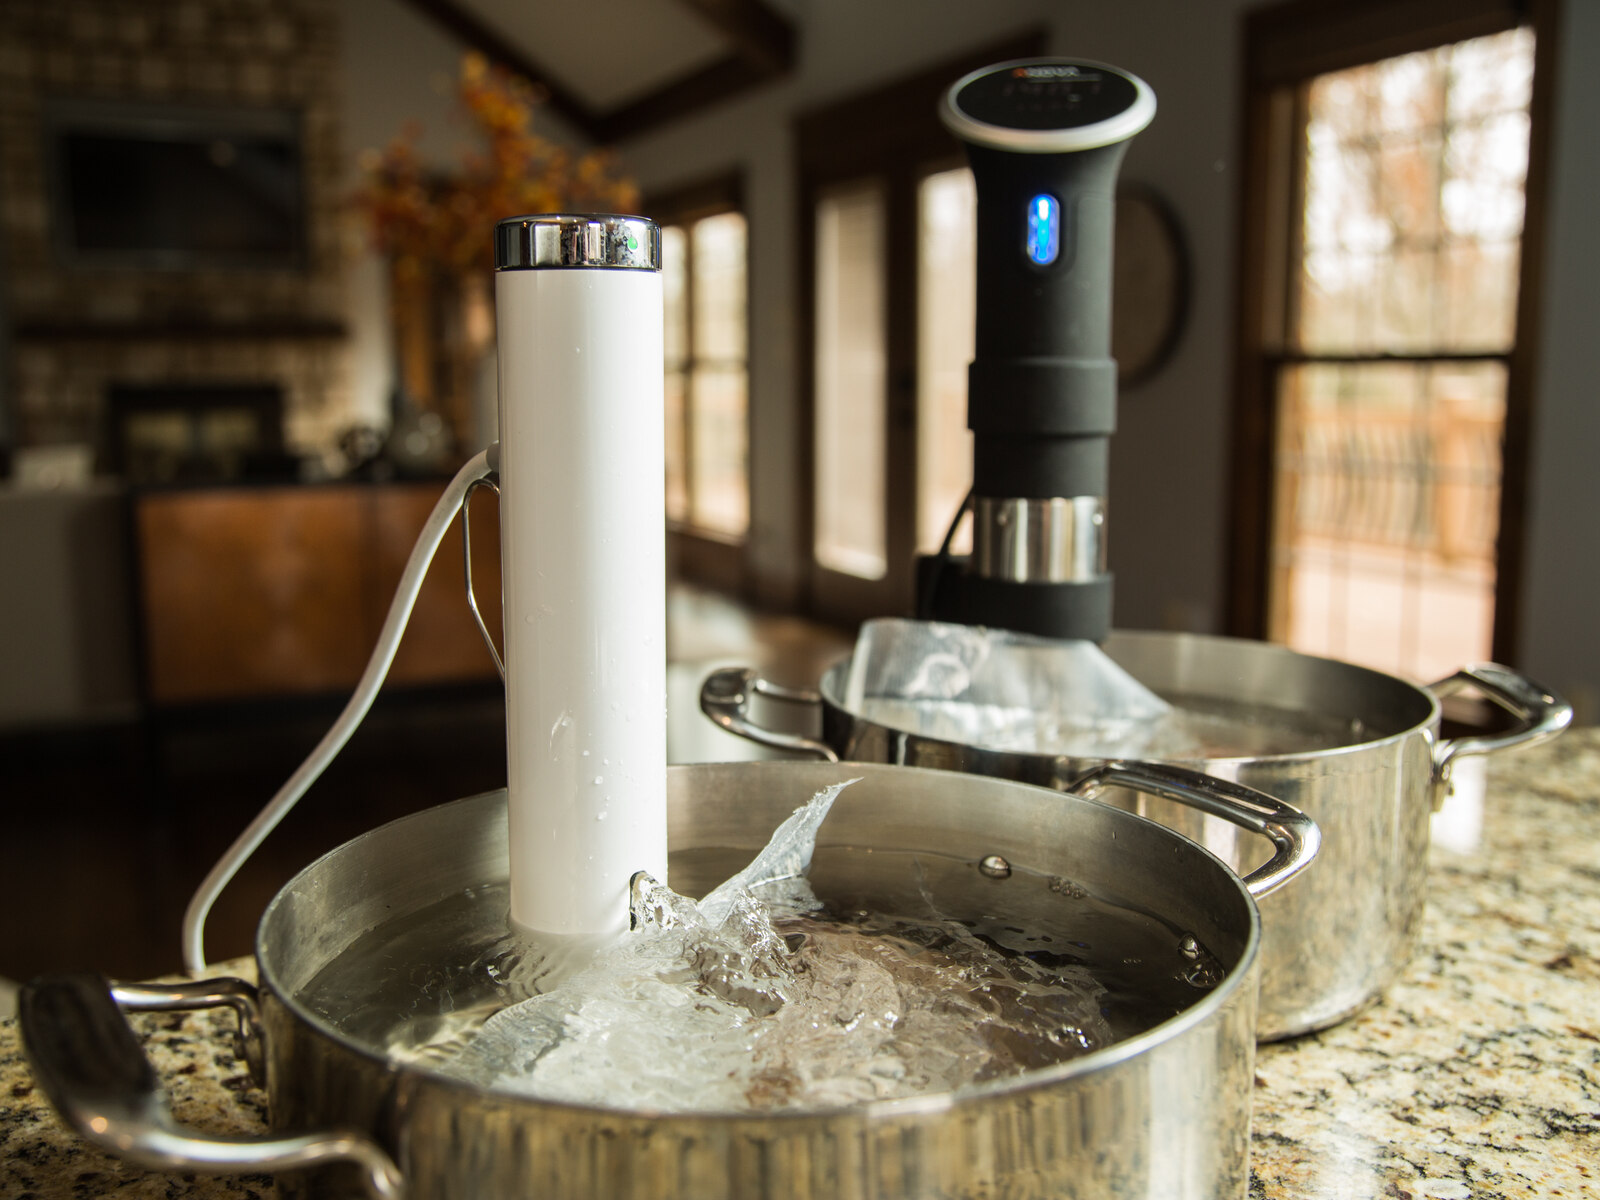
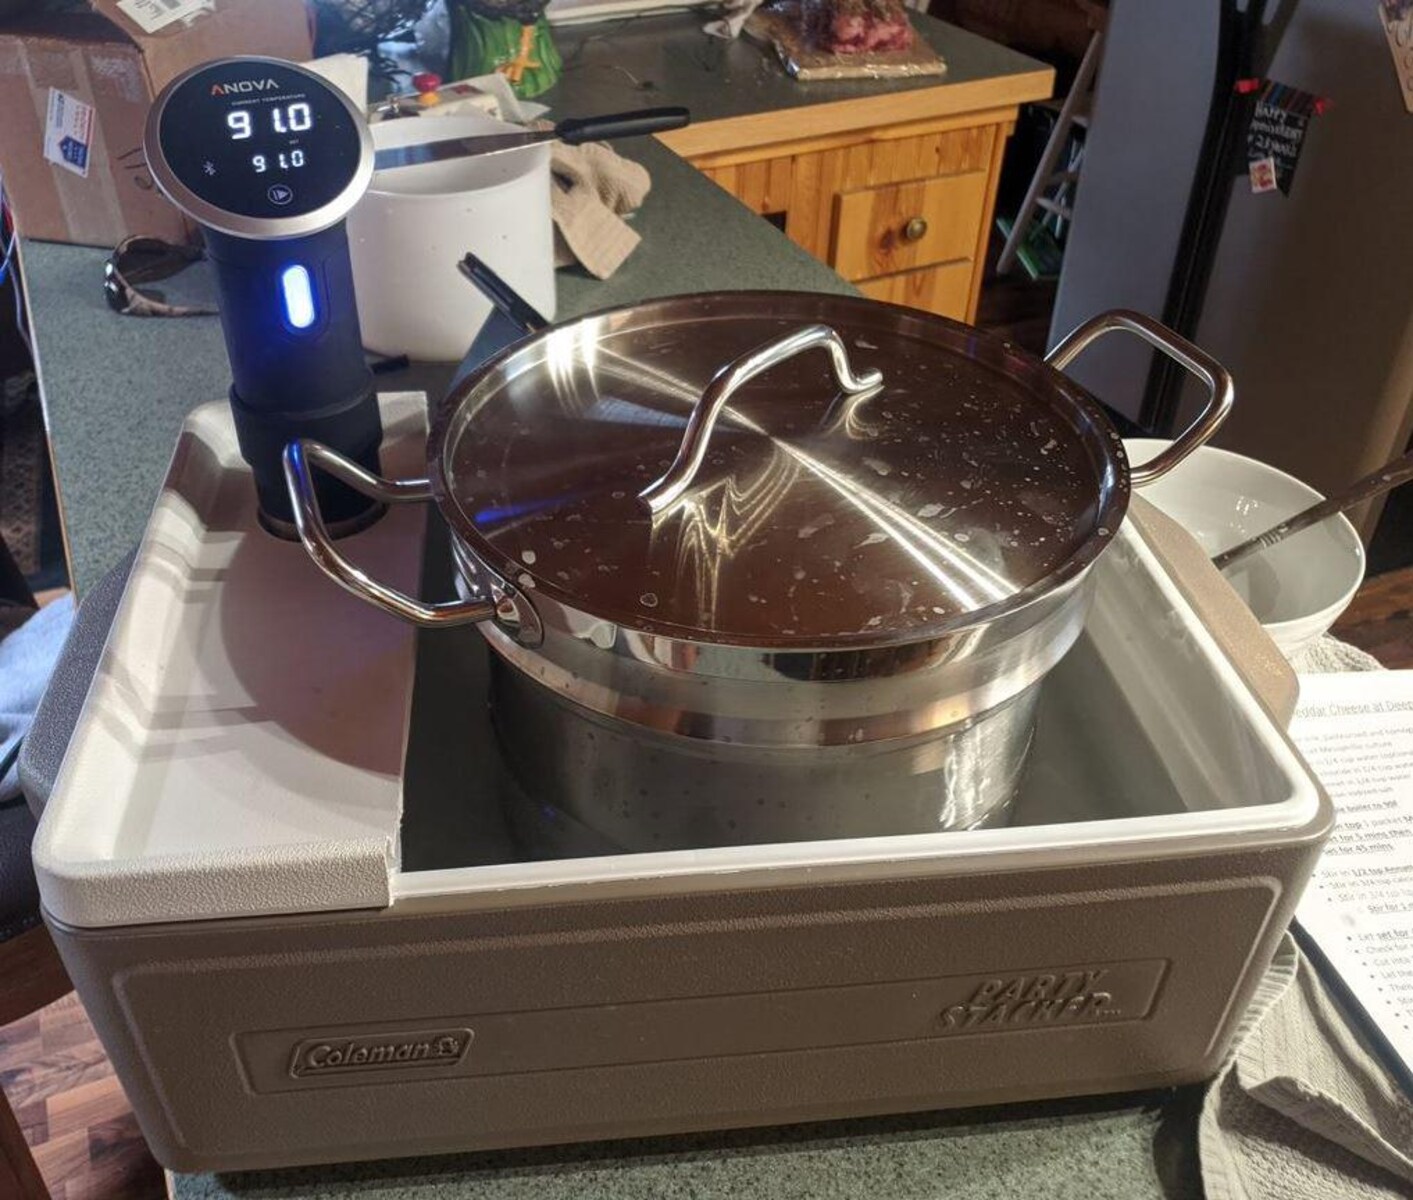
- Sous vide machine: Choose a reliable sous vide machine with precise temperature control. This will ensure consistent results throughout the cheese-making process.
- Large pot: Select a pot that can accommodate at least 2 gallons of milk comfortably.
- Thermometer: A digital thermometer is essential for monitoring the milk’s temperature accurately. Look for a waterproof thermometer with a probe for easy handling.
- Slotted spoon: A slotted spoon will help gently stir and scoop the curds during the cooking process.
- Cheesecloth or butter muslin: These porous fabrics are crucial for draining the whey from the curds, resulting in a firmer cheese texture.
- Cheese mold: Although optional, a cheese mold can be used to shape the mozzarella into a round or log shape. It adds a professional touch to your homemade cheese.
- Cheese aging container: If you plan to age your mozzarella, a container that allows airflow and maintains the appropriate humidity is necessary.
When choosing your equipment, ensure they are clean and in good condition. Proper sanitation is crucial to prevent any unwanted bacteria from contaminating the cheese.
Now that we have all the necessary equipment, let’s dive into the step-by-step process of making mozzarella cheese using a sous vide machine.
Step 1: Preparing the Milk
The first step in making mozzarella cheese using a sous vide machine is preparing the milk. Here’s how you do it:
- Pour 2 gallons of whole milk into a large pot and place it on the stove over medium heat.
- Attach a thermometer to the side of the pot and monitor the milk’s temperature. Heat the milk to 90°F (32°C) but be careful not to exceed this temperature.
- While heating the milk, gently stir it every few minutes to prevent it from scorching on the bottom of the pot.
- If you are using pasteurized milk, add 1/4 teaspoon of liquid calcium chloride to the milk once it reaches 90°F (32°C). This helps create a firmer curd.
- Continue to heat the milk to 95°F (35°C), stirring occasionally to maintain an even temperature throughout.
It is essential to maintain the temperature within the specified range, as it ensures proper curd formation later in the process. The calcium chloride, if using, helps compensate for any loss of calcium during the pasteurization process and promotes a better texture in the final cheese.
Once the milk has reached 95°F (35°C), we can move on to the next step of adding the rennet and calcium chloride.
Step 2: Adding the Rennet and Calcium Chloride
After preparing the milk, it’s time to add the rennet and calcium chloride to initiate the curdling process. Follow these steps:
- Dilute 1/4 teaspoon of vegetarian liquid rennet in 1/4 cup of non-chlorinated water. Stir gently to combine.
- If you are using pasteurized milk and have already added liquid calcium chloride in Step 1, skip this step. Otherwise, dilute 1/4 teaspoon of liquid calcium chloride in 1/4 cup of non-chlorinated water and mix well. This helps ensure a firmer curd formation.
- Add the diluted rennet (and calcium chloride, if required) to the milk and gently stir for 1 minute. Avoid over-stirring, as it may interfere with the curd development.
- Cover the pot with a lid and let it sit undisturbed for about 45-60 minutes. This allows the curd to form and separate from the whey.
The rennet plays a crucial role in the cheese-making process, as it aids in coagulating the milk proteins and forming the curds. The calcium chloride, if added, helps produce a firmer and smoother curd.
During the resting period, it’s important not to disturb the pot to allow the curdling process to take place fully. You’ll notice the formation of curds as they separate from the liquid whey.
Once the curds have developed, it’s time to move on to the next step of heating the milk to achieve the desired consistency.
Step 3: Heating the Milk
Now that the curds have formed, it’s time to gently heat the milk to achieve the desired texture for your mozzarella cheese. Follow these steps:
- Place the pot back on the stove over low heat and slowly raise the milk’s temperature to 105°F (40.5°C). Stir gently and occasionally to prevent the curds from clumping together.
- Maintain the temperature at 105°F (40.5°C) for about 30 minutes, continuing to stir gently. This gentle heating process further develops the curds and increases their elasticity.
- After 30 minutes, check the curd’s consistency by taking a small piece and squeezing it gently. The curd should hold together and feel firm but still moist.
During the heating process, it’s important to be patient and avoid raising the temperature too quickly. Gradual heating helps the curds develop a soft and stretchy texture, which is a hallmark of mozzarella cheese.
If you find that the curds feel too firm or dry, you can continue heating them for an additional few minutes until the desired consistency is reached. On the other hand, if the curds are too soft or watery, you may need to heat them for a little longer to firm them up.
Once the curds have reached the desired texture, it’s time to move on to draining them and shaping the mozzarella cheese.
Step 4: Draining the Curds
After heating the curds, it’s time to drain off the whey and separate the curds for shaping. Follow these steps:
- Line a colander or large sieve with a double layer of cheesecloth or butter muslin.
- Gently ladle the curds and whey into the lined colander, allowing the whey to drain away. Be careful not to break up the curds while transferring them.
- Once most of the whey has drained, tie the corners of the cheesecloth together to create a bundle, and hang it over a sink or container to drain further. Give it a gentle squeeze to remove any lingering whey.
- Allow the curds to drain for about 15-30 minutes until they reach a desired moisture level. This will give the mozzarella its characteristic creamy texture.
Draining the curds helps remove excess whey, concentrating the flavors and firming up the cheese. The longer you allow the curds to drain, the drier the cheese will be. However, be cautious not to drain them excessively, as it may result in a dry and crumbly texture.
During the draining process, you can gently shape the curds into a ball or other desired shapes. This will help develop the classic mozzarella shape once the cheese is fully formed.
Once the curds have drained, it’s time to move on to the exciting step of shaping the mozzarella cheese!
Step 5: Shaping the Mozzarella
With the drained curds in hand, it’s time to shape them into beautiful mozzarella balls. Follow these steps:
- Remove the curds from the cheesecloth and transfer them to a microwave-safe bowl.
- Heat the curds in the microwave for about 1 minute to soften them. This will make them pliable and easier to shape.
- Pull on a pair of food-safe gloves to protect your hands from the heat and stretch the curds. Begin by gently pulling and folding the curds in on themselves to distribute the heat and encourage the stretching process.
- Continue to stretch and fold the curds until they become smooth and glossy, forming elastic strands of cheese.
- Pinch off small portions of the stretched curds and roll them into desired-sized balls or shapes. You can also stretch and shape the curds into classic mozzarella balls.
- Place the shaped mozzarella balls into a bowl of ice water to cool and set their shape.
Shaping the mozzarella is where the cheese truly comes to life. The stretching process gives the cheese its signature stretchy texture, while shaping it into balls or other shapes adds a touch of artistry to your homemade cheese.
Remember to work quickly during the shaping process to prevent the cheese from cooling too much. Excessive cooling can make the cheese difficult to shape or cause it to lose its desirable stretchiness.
Now that you have your beautifully shaped mozzarella, it’s time to move on to the final step of cooling and storing the cheese.
Step 6: Cooling and Storing the Mozzarella
After shaping the mozzarella, it’s important to cool and store it properly to preserve its freshness and flavor. Follow these final steps:
- Transfer the shaped mozzarella balls from the ice water to a clean container or jar.
- Fill the container with a cold brine solution made by dissolving 1 tablespoon of cheese salt in 1 cup of cold water. This helps enhance the flavor and extends the shelf life of the mozzarella.
- Seal the container and refrigerate the mozzarella for at least 4 hours or overnight to allow the flavors to develop and the cheese to firm up.
- Once thoroughly chilled, your homemade mozzarella is ready to enjoy! Use it in your favorite dishes, such as caprese salad, homemade pizza, or simply enjoy it on its own.
- Store any unused mozzarella in the refrigerator, submerged in the brine solution, to keep it fresh and extend its shelf life. Consume within 5-7 days for the best quality and flavor.
The cold brine solution helps maintain the moisture level of the cheese and prevents it from drying out. It also adds a subtle saltiness that enhances the taste of the mozzarella.
When storing the mozzarella, make sure it is completely submerged in the brine to prevent exposure to air, which can cause the cheese to spoil. Regularly check the brine solution and replenish it if needed to maintain freshness.
Now that you have successfully made your own mozzarella cheese using a sous vide machine, it’s time to savor the fruits of your labor and impress your taste buds with this homemade delight!
Conclusion
Congratulations on embarking on your mozzarella cheese-making adventure using a sous vide machine! By following these step-by-step instructions, you can now create your very own batch of creamy, stretchy mozzarella cheese right in your own kitchen.
From preparing the milk to shaping and storing the cheese, each step in the process is crucial for achieving the desired texture and flavor. The sous vide machine provides precise temperature control, resulting in consistent and delicious mozzarella cheese every time.
Remember to use high-quality ingredients and equipment, as they play a significant role in the final outcome. Fresh milk, proper rennet, and the right tools will ensure the best possible results.
Whether you top your homemade pizza, garnish your favorite pasta dish, or enjoy it simply on its own, homemade mozzarella cheese made with love and care is sure to elevate any culinary creation.
So, what are you waiting for? Put on your apron, fire up your sous vide machine, and indulge in the magic of creating your very own mozzarella cheese. Get ready to impress your family and friends with the delectable taste and texture of your homemade masterpiece!