Introduction
Welcome to our guide on how to make delicious homemade mint chocolate chip ice cream with an ice cream maker! There’s nothing quite like the refreshing taste of mint combined with rich chocolate chips in a creamy frozen treat. Making ice cream at home not only allows you to have complete control over the ingredients but also gives you the freedom to customize the flavors to suit your preferences.
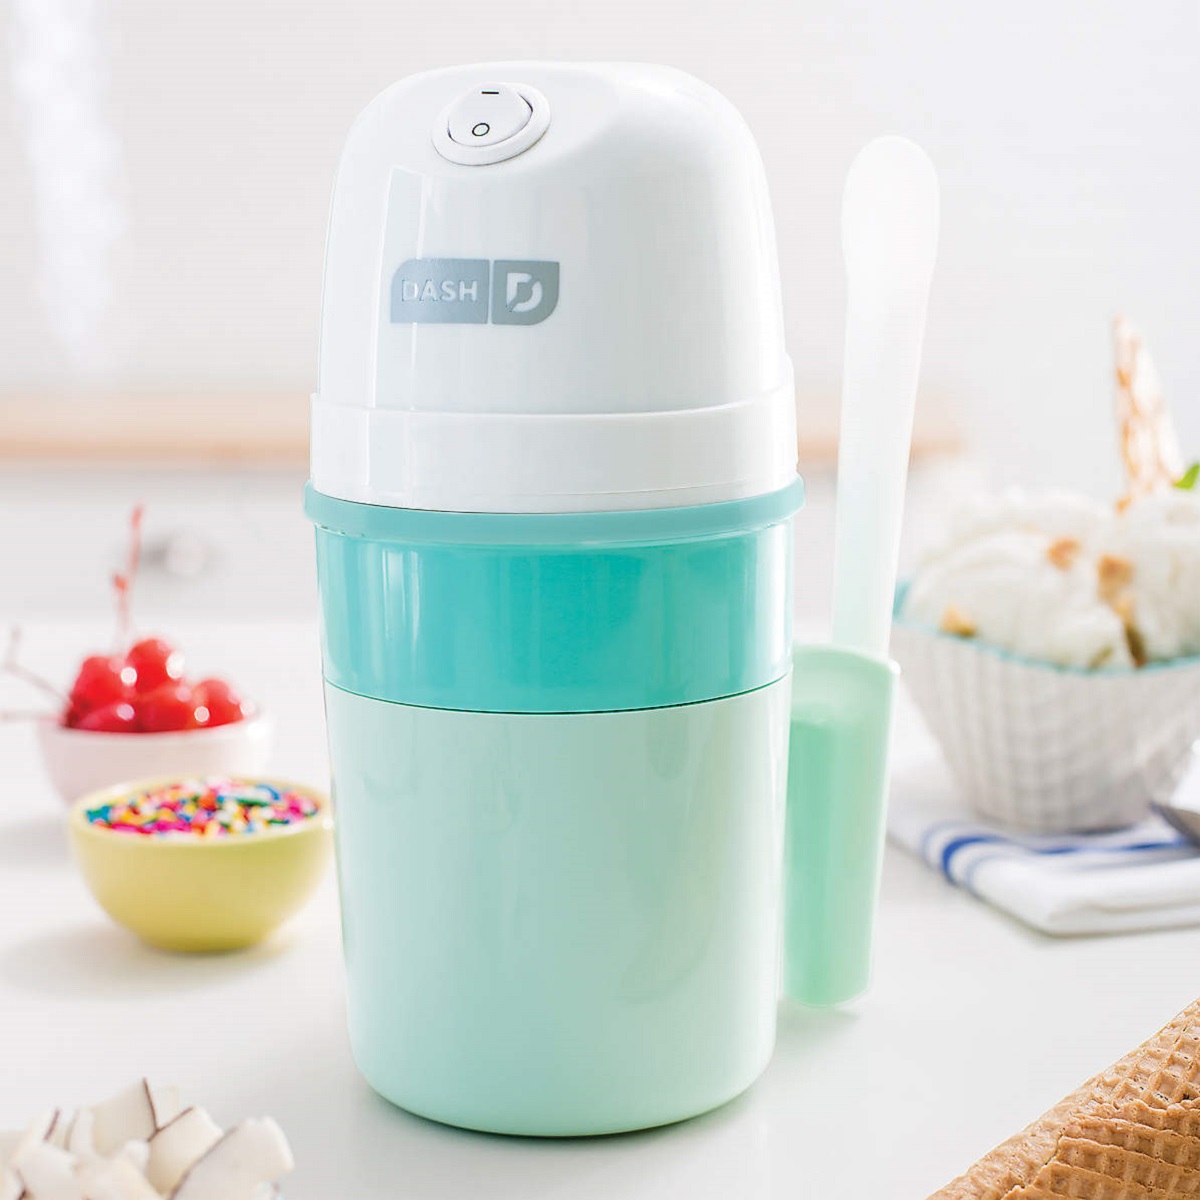
With the help of an ice cream maker, you can easily create a smooth and creamy ice cream base that serves as the perfect canvas for the vibrant mint flavor and delightful chocolate chips. Whether you’re a seasoned ice cream aficionado or a beginner in the world of homemade desserts, this recipe will provide you with foolproof steps to ensure your mint chocolate chip ice cream turns out irresistibly delicious every time.
One of the best things about this recipe is that you’ll be using fresh mint for the flavoring, giving your ice cream a natural and vibrant taste. The combination of the cool mint and the indulgent chocolate chips creates a delightful contrast that will leave your taste buds craving more. Plus, with the help of an ice cream maker, you’ll achieve a smooth and creamy texture that’s sure to impress your family and friends.
So, grab your ice cream maker and let’s get started on this sweet adventure of making homemade mint chocolate chip ice cream. Get ready to delight in the fresh, minty goodness and the crunchy bursts of chocolate chips in every luscious spoonful!
Ingredients
Before diving into the process of making mint chocolate chip ice cream, let’s gather all the ingredients you’ll need. This recipe yields approximately 1 quart of ice cream, so adjust the quantities accordingly if you want to make a larger batch.
Here are the ingredients you’ll need:
- 2 cups heavy cream
- 1 cup whole milk
- 3/4 cup granulated sugar
- 1/4 teaspoon salt
- 2 teaspoons pure vanilla extract
- 2 cups fresh mint leaves, packed
- 4 egg yolks
- 1/2 cup mini chocolate chips
Make sure to use high-quality ingredients to achieve the best flavor and texture in your ice cream. Fresh mint leaves will provide a vibrant and authentic taste, while mini chocolate chips will evenly distribute the chocolatey goodness throughout the ice cream.
Now that you have all the ingredients ready, it’s time to move on to the step-by-step process of making the mint chocolate chip ice cream. Get ready to indulge in a frozen dessert that combines the refreshing flavor of mint with the perfect amount of chocolatey goodness!
Step 1: Prepare the Mint Flavoring
The first step in making mint chocolate chip ice cream is to prepare the mint flavoring. By infusing the ice cream base with fresh mint leaves, you’ll achieve a vibrant and natural mint flavor.
Here’s how to prepare the mint flavoring:
- In a saucepan, combine the heavy cream, whole milk, granulated sugar, and salt. Place the saucepan over medium heat and stir occasionally until the mixture is hot, but not boiling. This will help dissolve the sugar and infuse the flavors.
- Add the fresh mint leaves to the saucepan, stirring them into the hot cream mixture.
- Reduce the heat to low and let the mint leaves steep in the mixture for about 15-20 minutes. This allows the mint flavor to infuse into the cream, creating a refreshing taste.
- After steeping, remove the saucepan from the heat and strain the mixture using a fine-mesh sieve or cheesecloth to remove the mint leaves. Press down on the leaves to extract as much flavor as possible.
Once the mint flavoring is prepared, you’ll have a smooth and aromatic base that is ready to be transformed into delicious mint chocolate chip ice cream. Now, let’s move on to the next step!
Step 2: Make the Ice Cream Base
Now that the mint flavoring is ready, it’s time to create the ice cream base. This creamy and luscious base will serve as the foundation for your mint chocolate chip ice cream.
Here’s how to make the ice cream base:
- In a separate bowl, whisk the egg yolks until they become smooth and pale yellow in color.
- Take a small amount of the warm mint-infused cream mixture and slowly pour it into the bowl with the whisked egg yolks, whisking continuously. This process, known as “tempering,” ensures that the eggs gradually increase in temperature without scrambling.
- Gradually pour the tempered egg mixture back into the saucepan with the remaining mint-infused cream. Mix well to combine.
- Place the saucepan back on the stove over medium-low heat. Stir continuously with a wooden spoon or silicone spatula, making sure to scrape the bottom of the pan to prevent any sticking or burning.
- Cook the mixture until it thickens slightly and coats the back of the spoon. This usually takes around 5-7 minutes, but be sure not to let it boil.
- Once the ice cream base has reached the desired consistency, remove the saucepan from the heat.
- Stir in the pure vanilla extract, ensuring it is well incorporated into the mixture.
Now that the ice cream base is prepared, it’s time to add the mint flavoring and chocolate chips, taking your homemade mint chocolate chip ice cream to the next level of deliciousness! Let’s move on to the next step.
Step 3: Add the Mint Flavoring and Chocolate Chips
With the ice cream base ready, it’s time to infuse it with the delightful combination of mint flavoring and chocolate chips. These ingredients will add a burst of freshness and bursts of chocolatey goodness to your mint chocolate chip ice cream.
Here’s how to add the mint flavoring and chocolate chips:
- Pour the prepared mint flavoring into the ice cream base, stirring well to combine. Ensure that the mint flavoring is evenly distributed throughout the mixture.
- Add the mini chocolate chips into the mixture, stirring gently until they are evenly dispersed. The chocolate chips will add a delightful crunch and bursts of chocolate to every bite of your ice cream.
As you stir in the mint flavoring and chocolate chips, you’ll notice the transformation of the ice cream base into a decadent mixture that’s bursting with flavor. Once everything is well incorporated, it’s time to move on to the next step and prepare the mixture for the churning process.
Step 4: Chill the Mixture
Now that you’ve added the mint flavoring and chocolate chips to the ice cream base, it’s important to chill the mixture before moving on to the churning process. Chilling the mixture allows the flavors to meld together and creates a smoother texture in the final ice cream.
Here’s how to chill the mixture:
- Transfer the ice cream mixture to a container with a tight-fitting lid, such as a bowl with a cover or a lidded storage container.
- Cover the container and place it in the refrigerator. Allow the mixture to chill for at least 4 hours, or preferably overnight. This extended chilling time allows the flavors to fully develop and ensures a creamy texture.
During the chilling process, the mixture will thicken and become cold, making it ready for the next step. As you patiently await the perfectly chilled and flavorful ice cream mixture, you can start preparing your ice cream maker for the exciting churning process! Let’s move on to the next step and get ready to create velvety-smooth mint chocolate chip ice cream.
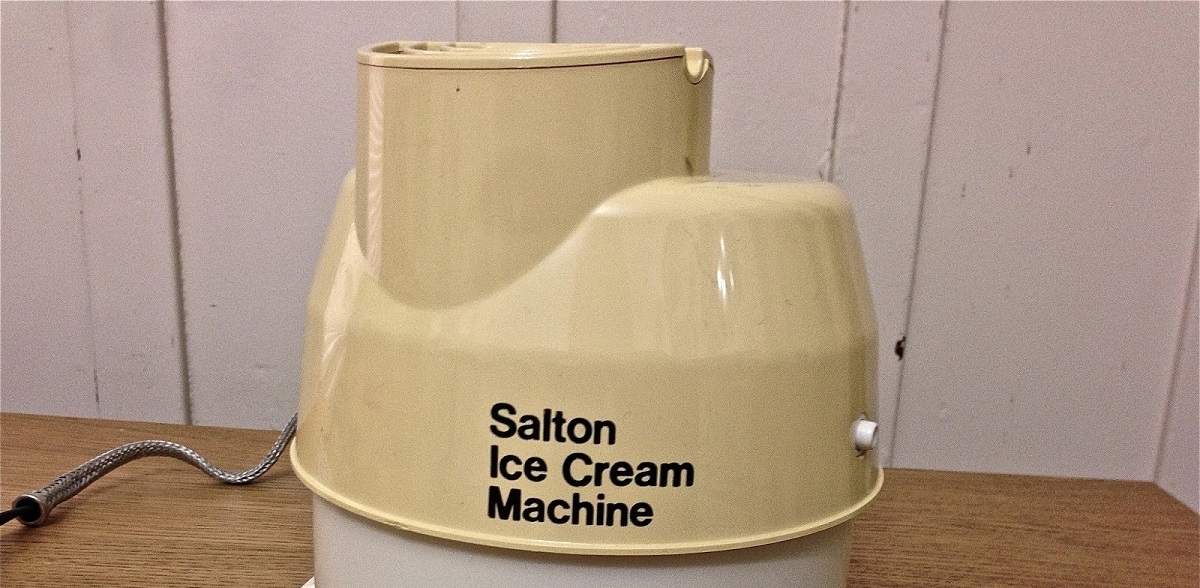
Step 5: Transfer to the Ice Cream Maker
After chilling the ice cream mixture, it’s time to transfer it to the ice cream maker. This is a crucial step in the process, as the ice cream maker will help churn and freeze the mixture, creating the perfect creamy consistency for your mint chocolate chip ice cream.
Here’s how to transfer the mixture to the ice cream maker:
- Take the chilled ice cream mixture out of the refrigerator.
- Give the mixture a good stir to ensure that all the flavors and ingredients are well incorporated.
- Set up your ice cream maker according to the manufacturer’s instructions. This usually involves placing the freezing container in the machine and ensuring it is properly assembled.
- Pour the ice cream mixture into the ice cream maker’s freezing container.
- Turn on the ice cream maker and let it churn for the recommended amount of time, typically around 20-30 minutes. The churning motion will incorporate air into the mixture and freeze it simultaneously, creating a smooth and creamy consistency.
As the ice cream maker does its magic, you’ll start to notice the transformation of the mixture into a deliciously creamy and mouthwatering dessert. The churning process is an exciting step that brings you closer to enjoying your homemade mint chocolate chip ice cream. While the ice cream churns, you can prepare for the next step of adding more chocolate chips for an extra burst of flavor and texture. Get ready for the delicious transformation!
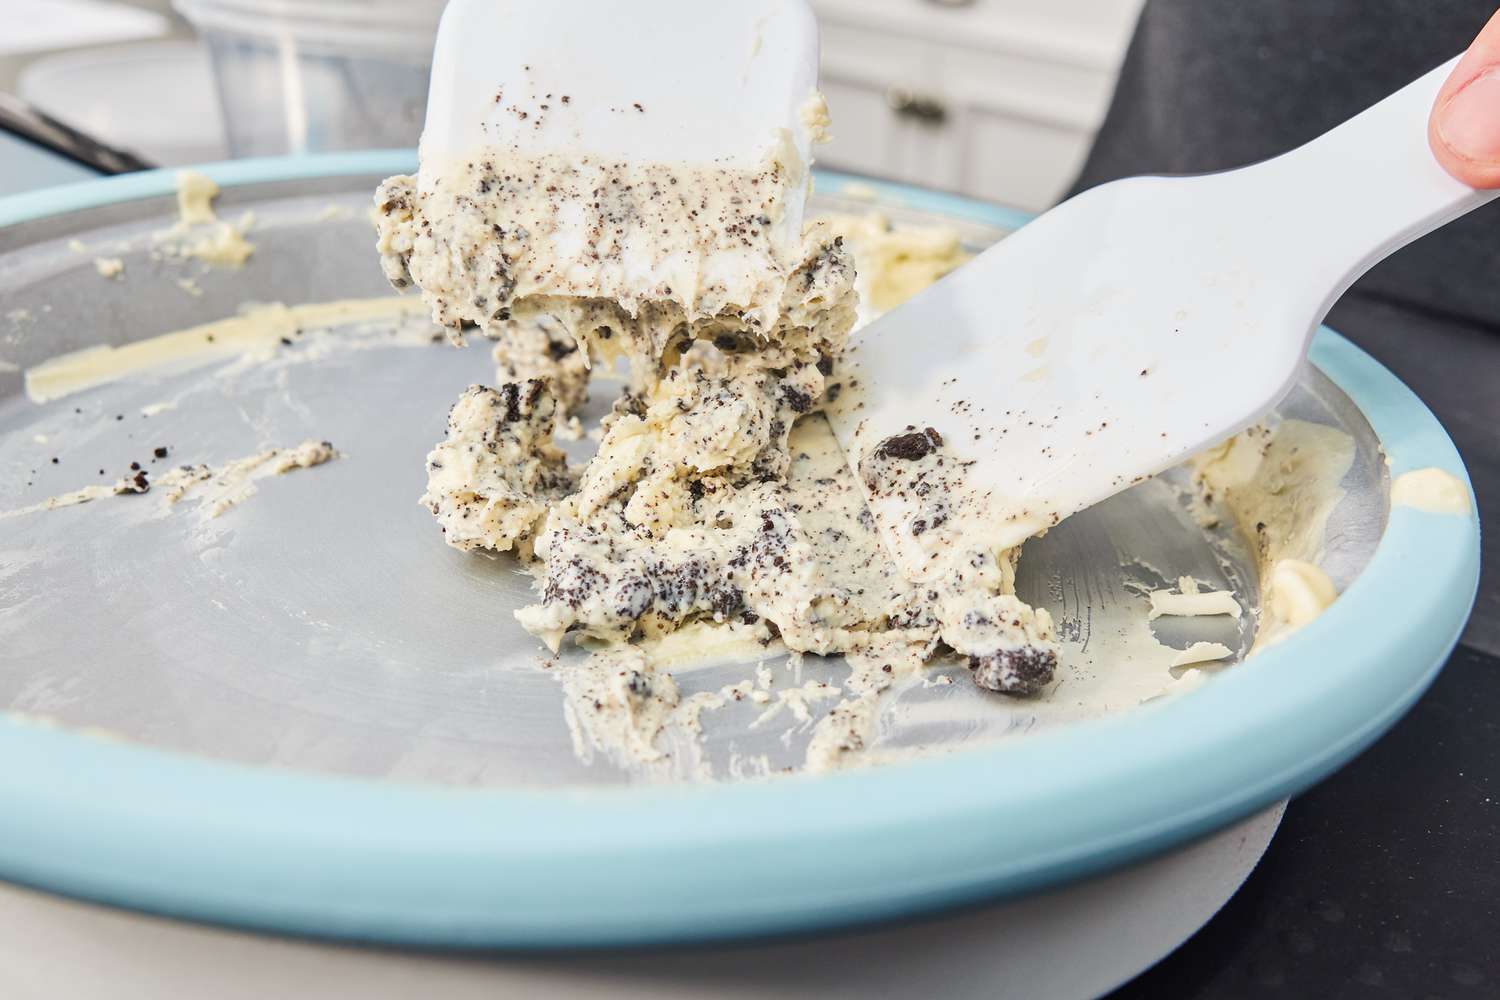
Step 6: Churn the Ice Cream
Now that you’ve transferred the ice cream mixture to the ice cream maker, it’s time for the exciting step of churning. Churning is the process of freezing the mixture while incorporating air, resulting in a creamy and smooth texture.
Follow these steps to churn the ice cream:
- Turn on the ice cream maker and let it run for the recommended time. Typically, this takes around 20-30 minutes, but it may vary depending on your ice cream maker’s instructions.
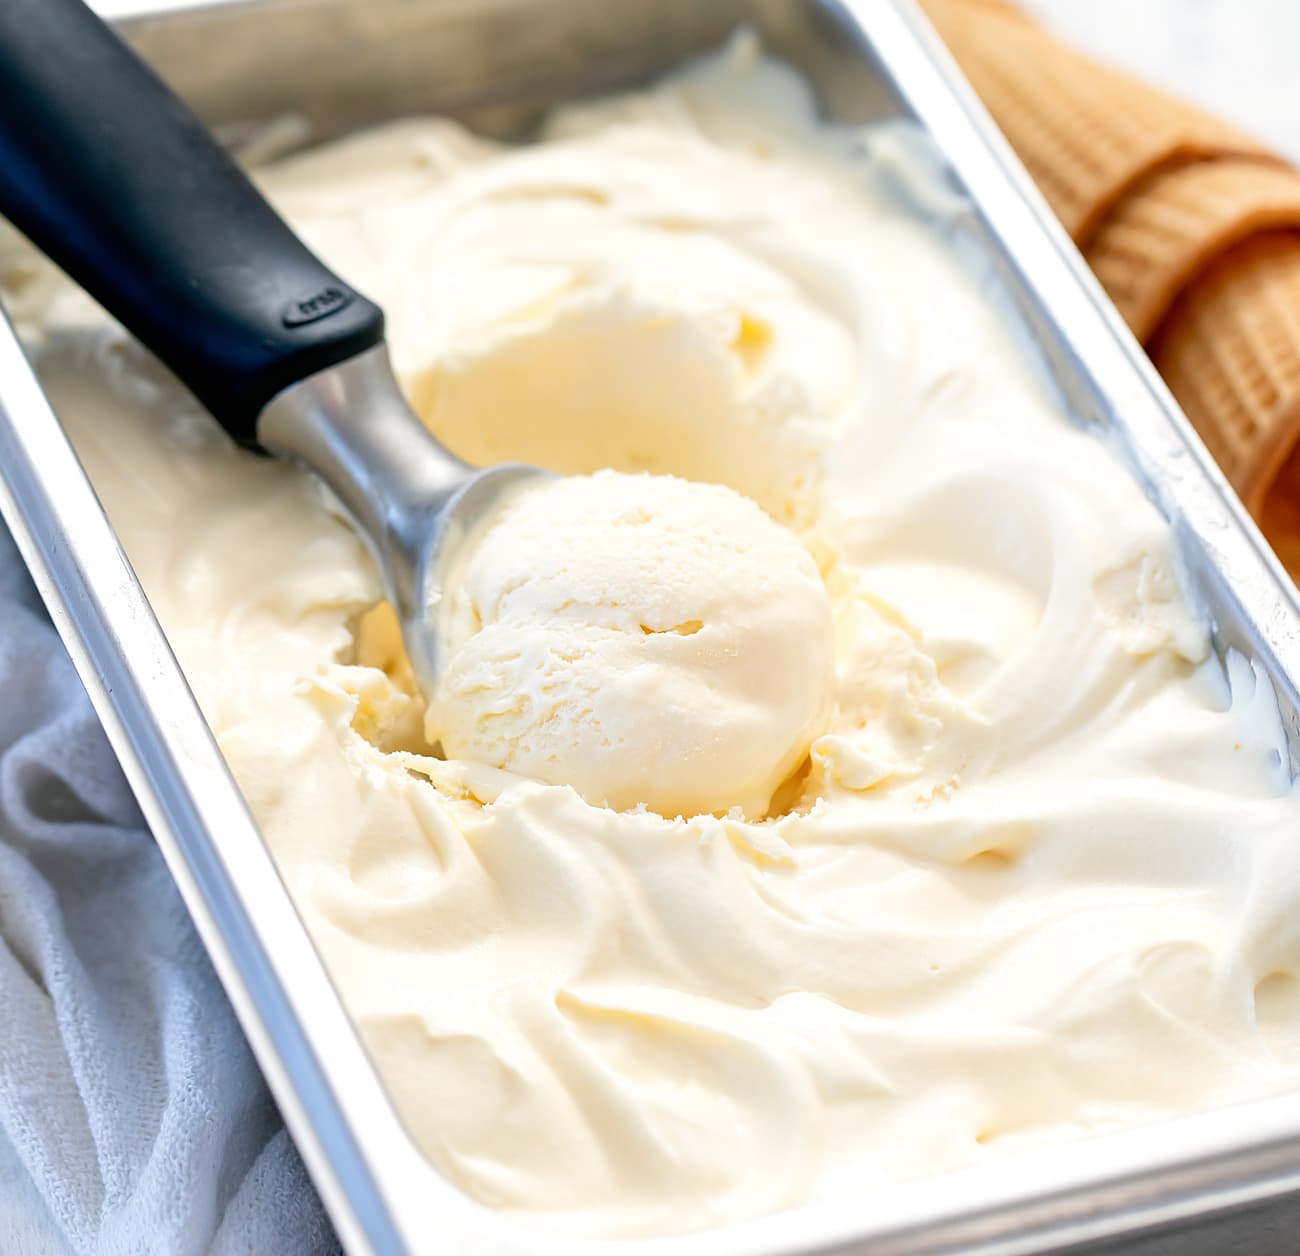
- As the mixture churns, watch for it to thicken and take on a creamy texture. The ice cream will gradually freeze and start to resemble the decadent treat you’re aiming for.
- Avoid over-churning the ice cream, as this can result in a dense and icy texture. Keep an eye on the consistency and stop the churning process once the ice cream reaches a smooth and slightly firm state.
During the churning process, you’ll be delighted by the tantalizing aroma of fresh mint and the anticipation of enjoying homemade mint chocolate chip ice cream. As the ice cream reaches its desired texture, it’s time to add an extra sprinkle of chocolate chips to take your creation to a whole new level of deliciousness. Let’s move on to the next step and enhance the ice cream’s appearance and flavor with more chocolate chips!
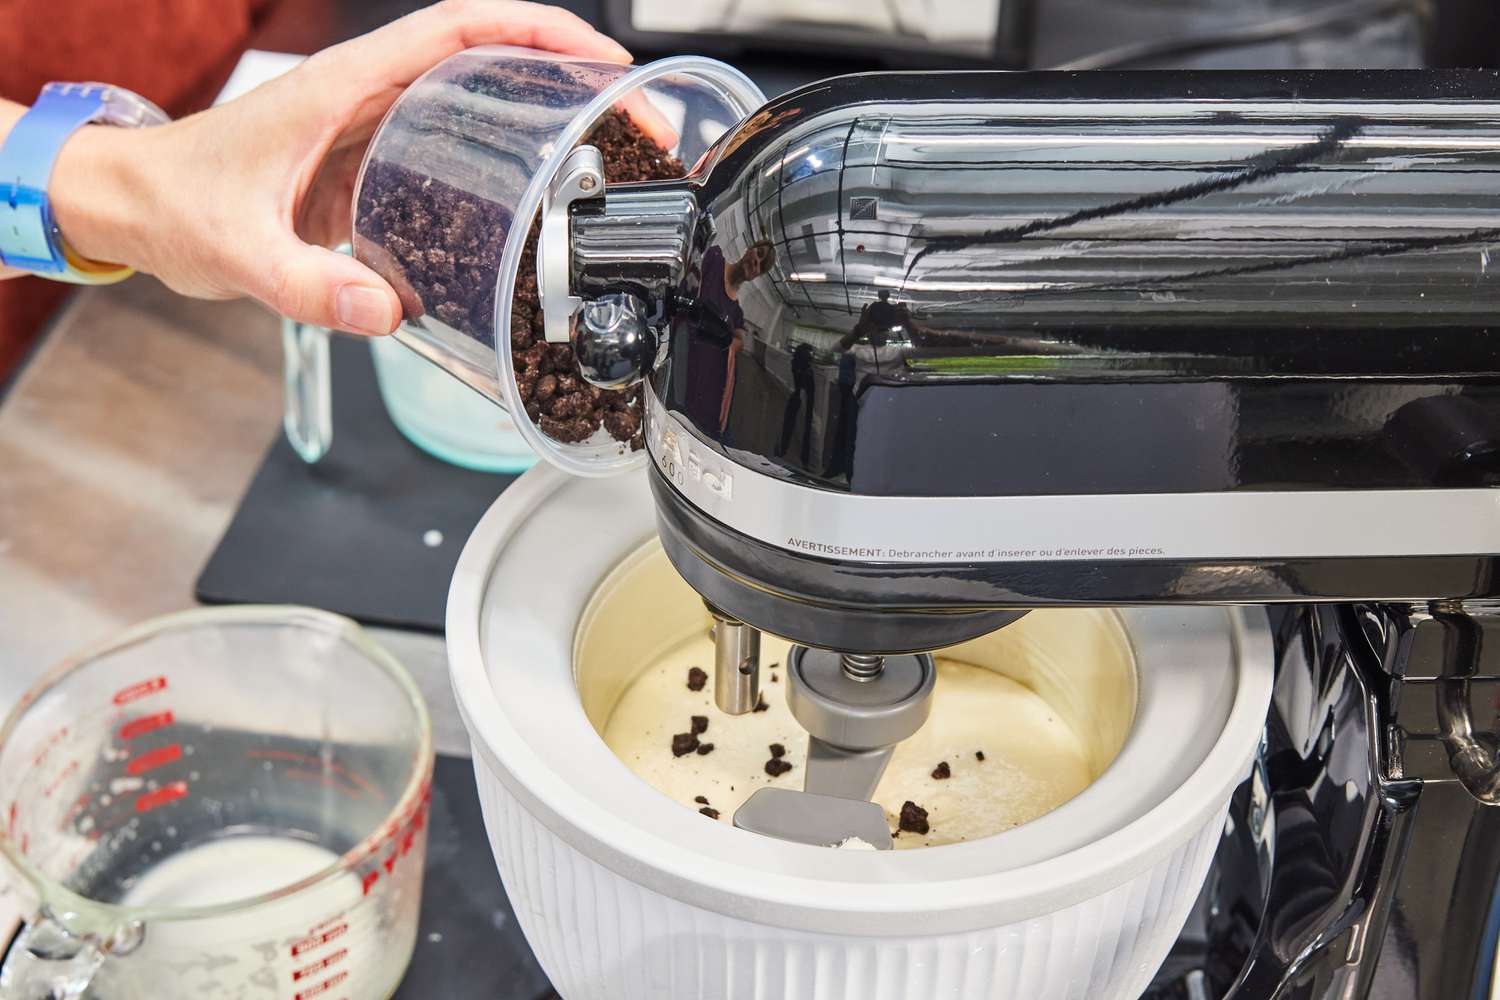
Step 7: Add in More Chocolate Chips
Adding more chocolate chips to your mint chocolate chip ice cream is an optional but delightful step that enhances both the appearance and flavor of the final product. The additional chocolate chips will provide bursts of chocolatey goodness in every spoonful, making your homemade ice cream even more indulgent and satisfying.
Follow these steps to add more chocolate chips:
- Once the ice cream has finished churning, it should have reached a soft-serve consistency and texture.
- Gently fold in the desired amount of mini chocolate chips into the churned ice cream. You can adjust the quantity of chocolate chips based on your personal preference, but a good rule of thumb is about 1/2 to 1 cup of mini chocolate chips.
- Be careful not to overmix or stir vigorously, as this can cause the ice cream to melt and lose its desired texture.
Adding the extra chocolate chips will create delightful pockets of chocolate throughout the ice cream, ensuring that each bite is filled with both the refreshing mint and the indulgent chocolate flavor. Now that you’ve added the finishing touch, it’s time to freeze the ice cream to achieve the perfect firmness. Let’s move on to the final step!
Step 8: Freeze the Ice Cream
After adding in the extra chocolate chips, it’s time to freeze your mint chocolate chip ice cream to achieve the perfect firmness. Freezing the ice cream will allow it to set and develop a scoopable consistency, ensuring that each serving is a delight to enjoy.
Follow these steps to freeze the ice cream:
- Transfer the churned ice cream into a lidded container that is freezer-safe. Make sure the container is large enough to hold the entire batch of ice cream.
- Smooth the surface of the ice cream with a spatula or the back of a spoon, ensuring it is level and even.
- Place the lid securely on the container to prevent any air or ice crystals from forming on the surface of the ice cream.
- Transfer the container to the freezer and let it freeze for at least 4 hours, or until the ice cream reaches the desired firmness.
During the freezing process, the ice cream will solidify and become more scoopable. The longer you allow it to freeze, the firmer it will become. If you prefer a softer consistency, you can enjoy the ice cream after the minimum freezing time. For a firmer consistency, let it freeze for a longer duration.
Once the ice cream is fully frozen, it’s time to take the final step and savor the delightful creation you’ve made. Get ready to serve and enjoy your homemade mint chocolate chip ice cream!
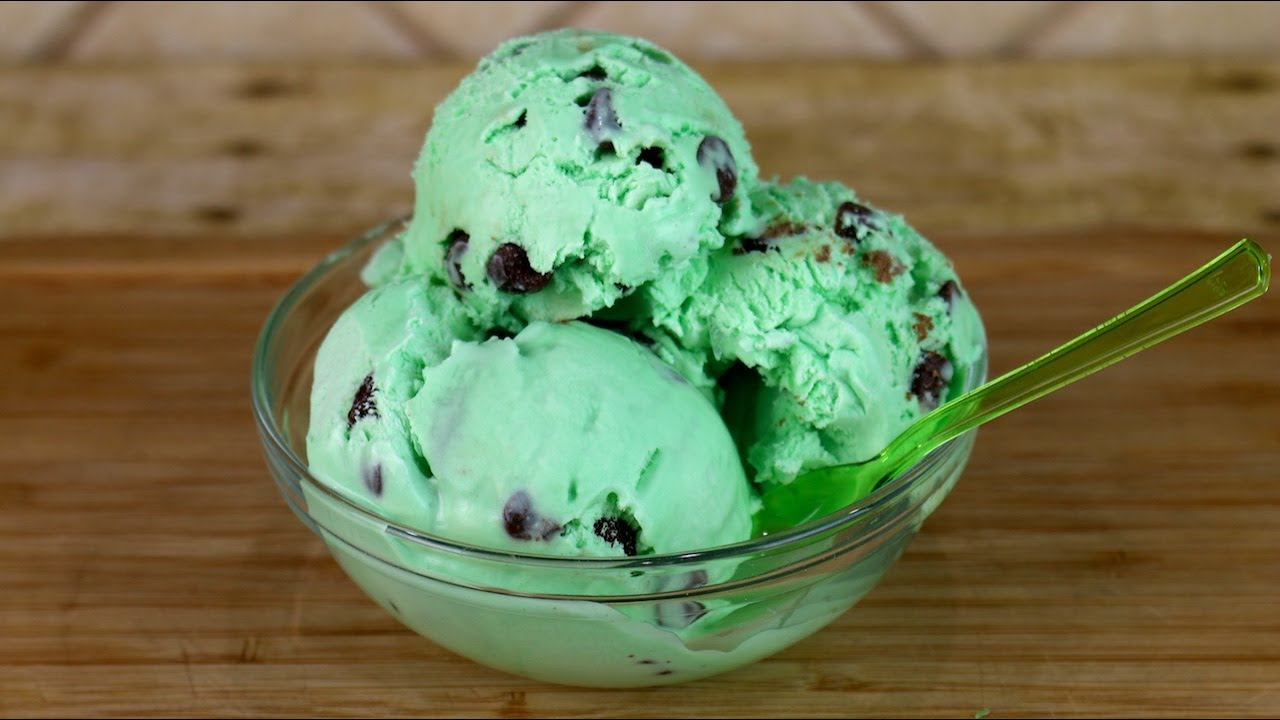
Step 9: Serve and Enjoy!
Finally, the moment has arrived to indulge in your homemade mint chocolate chip ice cream. Serving and enjoying this delicious frozen treat is the perfect reward for all the effort you’ve put into making it. Get ready to savor each delightful spoonful and share the joy with friends and family!
Here’s how to serve and enjoy your mint chocolate chip ice cream:
- Retrieve the container of frozen ice cream from the freezer.
- Allow the ice cream to sit at room temperature for a few minutes to soften slightly, making it easier to scoop.
- Using an ice cream scoop, portion out desired servings into bowls or cones.
- Garnish the scoops with a sprig of fresh mint or a sprinkle of extra chocolate chips to add a touch of visual appeal.
- Grab a spoon and dive into the creamy deliciousness of homemade mint chocolate chip ice cream!
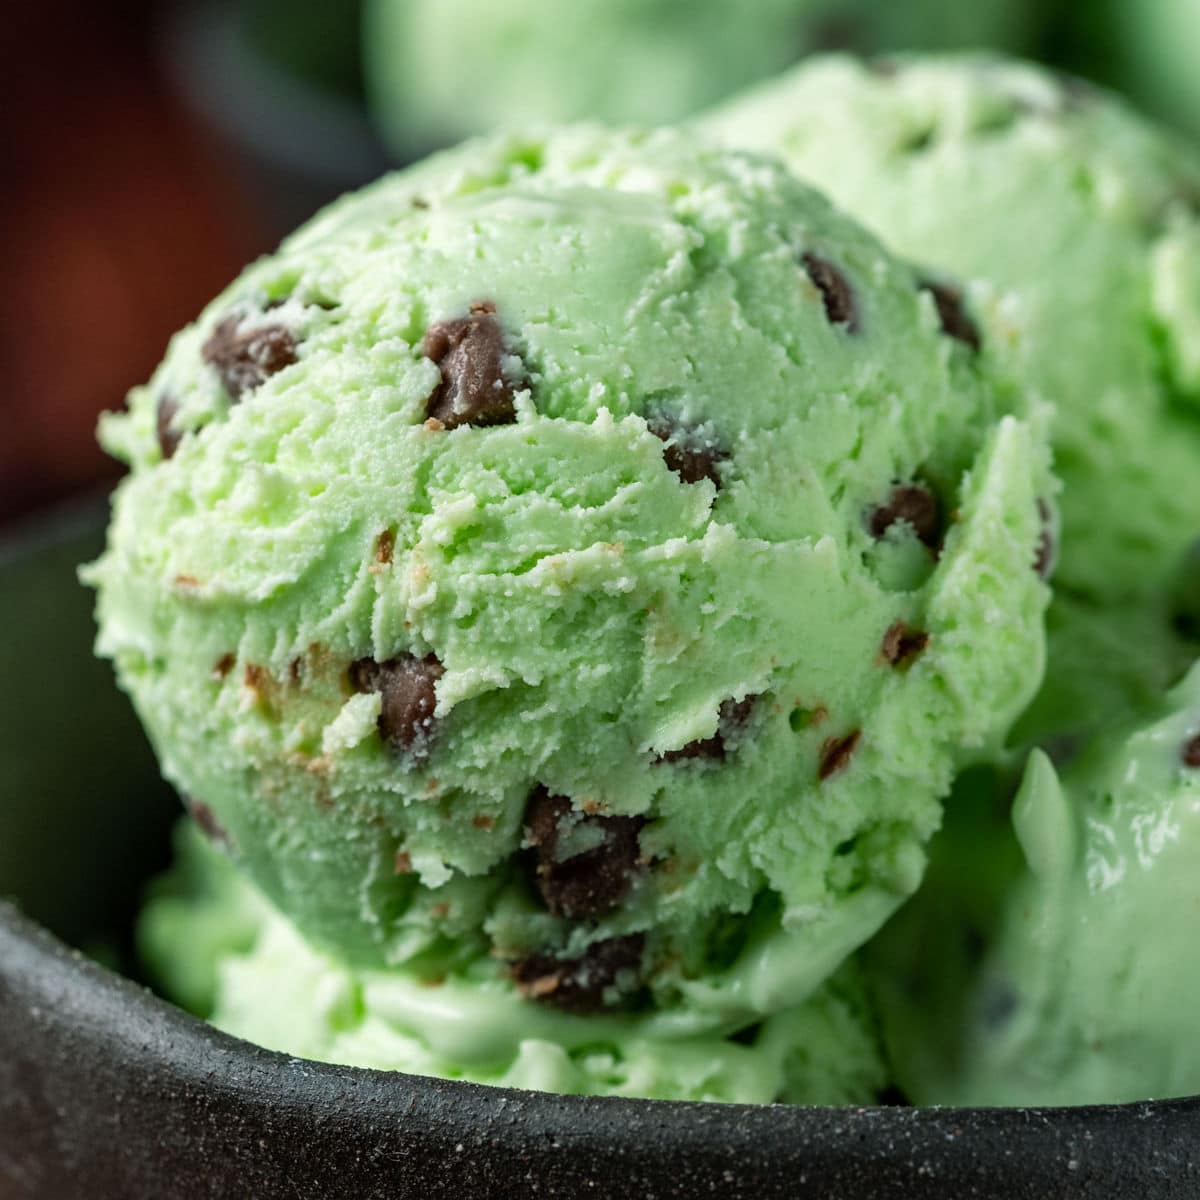
As you take your first bite, savor the cool and refreshing mint flavor mingling with the rich chocolate chips. Enjoy the smooth and creamy texture that is a hallmark of well-crafted ice cream. Share the joy by offering scoops to your loved ones and witnessing their smiles as they experience the delightful taste.
Remember to store any remaining ice cream in an airtight container in the freezer to preserve its freshness and flavor. Homemade ice cream is best enjoyed within a couple of weeks of making it.
Now that you’ve completed all the steps and reached the final stage, it’s time to sit back, relax, and relish in the satisfaction of creating your very own delectable mint chocolate chip ice cream. Well done!