Introduction
Welcome to our comprehensive guide on how to make a laser engraver using an Arduino. Laser engravers are powerful tools that allow you to etch or engrave intricate designs onto various materials, such as wood, acrylic, or metal.
By following our step-by-step instructions, you will learn how to build your own laser engraver from scratch. This DIY project not only allows you to unleash your creativity but also gives you a deeper understanding of the technology behind laser engraving.
Before we dive into the details, it’s worth noting that safety should always be your top priority when working with lasers. Laser modules used in engravers can emit potentially harmful laser radiation, so it’s crucial to take precautions and follow safety guidelines throughout the process.
In this guide, we will provide a list of materials you will need, detailed steps for each stage of the build, and additional tips and resources to help you troubleshoot any issues you may encounter along the way. Whether you’re a beginner or an experienced Arduino enthusiast, this guide will help you create your very own laser engraver.
Building a laser engraver can be a fun and rewarding project. Not only will you be able to customize your creations, but you will also have a one-of-a-kind tool at your disposal for future projects. So, let’s gather our materials and get started on this exciting DIY journey!
Materials Needed
Before getting started, it’s important to gather all the necessary materials for building your laser engraver. Here is a list of items you will need:
- Arduino Board: You will need an Arduino board, such as the Arduino Uno, as the main control unit for your laser engraver.
- Laser Module: Look for a laser module with sufficient power for engraving. A 2.5W to 5W laser module is recommended for basic engraving tasks.
- Laser Driver: A laser driver is required to provide the appropriate voltage and current control for the laser module.
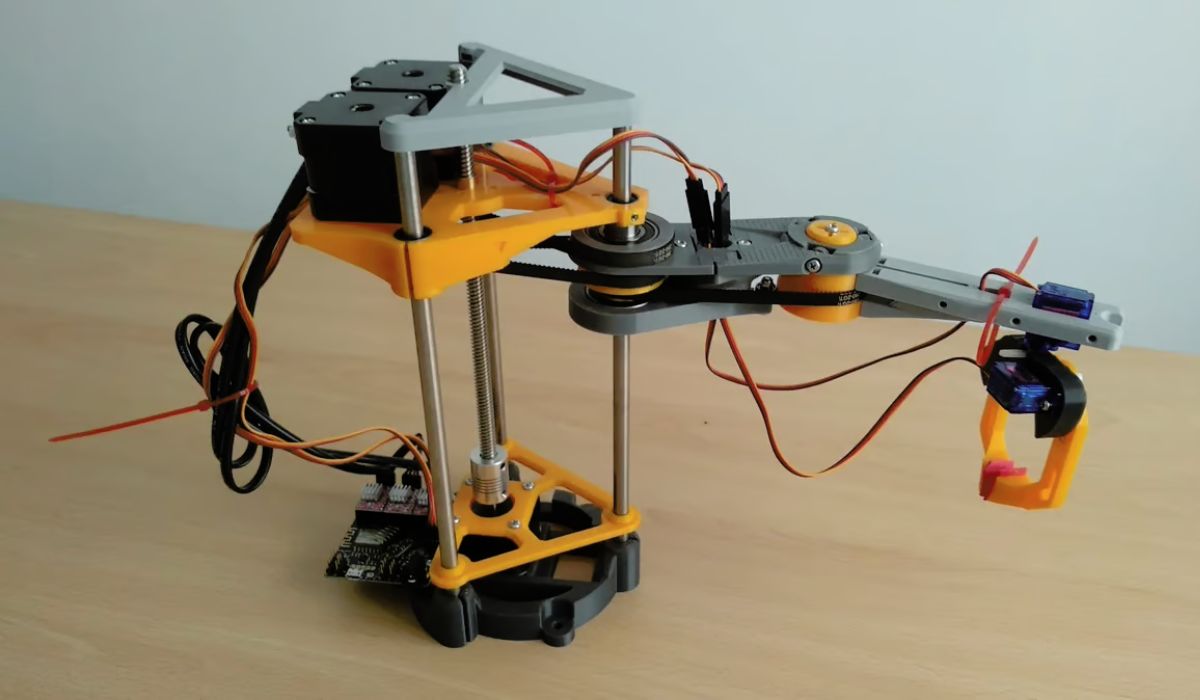
- Stepper Motor: A stepper motor is essential for controlling the movement of the engraving platform. Make sure to choose a motor with suitable torque and step resolution.
- Power Supply: You will need a stable power supply to provide the necessary power to the Arduino board, laser driver, and stepper motor.
- Frame Material: Choose a sturdy material, such as aluminum or acrylic, to build the frame of your laser engraver.
- Optical Components: You will need mirrors and lenses to direct and focus the laser beam onto the engraving surface.
- Limit Switches: Limit switches are used for accurately positioning the engraving platform and preventing it from exceeding its defined boundaries.
- Wires and Connectors: Gather wires, connectors, and soldering equipment for connecting the various components of your laser engraver.
- Protective Gear: Safety goggles and gloves are essential to protect yourself from laser radiation and other hazards during the building and operation of the laser engraver.
These are the basic materials required for building a laser engraver using an Arduino. Depending on your specific design and requirements, you may also need additional components or accessories.
Now that we have our materials ready, let’s move on to the next section where we will start building the frame for our laser engraver.
Step-by-Step Guide
Now that we have gathered all the necessary materials, it’s time to dive into the step-by-step process of building your own laser engraver using an Arduino. Follow these instructions carefully for a successful build:
- Gathering the Materials: Ensure that you have all the materials mentioned in the previous section, including the Arduino board, laser module, laser driver, stepper motor, power supply, frame material, optical components, limit switches, wires, connectors, and protective gear.
- Building the Frame: Use the chosen frame material to construct the base and structure of your laser engraver. Pay attention to stability and precision in the assembly to maintain accurate engraving.
- Mounting the Laser Module: Securely mount the laser module onto the frame, ensuring proper alignment with the engraving surface. Use adjustable brackets or mounts to fine-tune the laser’s position.
- Wiring the Arduino and Driver: Connect the Arduino board to the laser driver, stepper motor, power supply, limit switches, and other components as per the provided circuit diagram or pinouts. Follow proper wire routing and ensure secure connections.
- Programming the Arduino: Upload the necessary firmware or program onto the Arduino board using the Arduino IDE or other compatible software. This program should control the laser module and the movement of the stepper motor to perform desired engraving tasks.
- Testing and Troubleshooting: Before operating the laser engraver, conduct thorough testing to ensure that all components are functioning correctly. Test the engraving platform for smooth movement, verify laser module functionality, and check the accuracy of limit switch detection.
Throughout the step-by-step guide, it’s crucial to refer to any additional resources or instructions specific to the components you are using. This will help you troubleshoot any issues that may arise and ensure the smooth operation of your laser engraver.
By following these steps and taking your time to build and test the laser engraver, you will soon have a fully functional device that empowers you to create intricate and personalized engravings on various materials.
In the next section, we will conclude our guide by providing some additional tips and resources to further enhance your laser engraving experience.
Gathering the Materials
Before you can start building your laser engraver, you need to make sure you have all the necessary materials. Here is a list of the key components you will need:
- Arduino Board: The Arduino board will serve as the brain of your laser engraver. It provides the necessary processing power and control to operate the various components.
- Laser Module: The laser module is the main tool that creates the laser beam used for engraving. Make sure to choose a laser module with the appropriate power rating for your desired engraving materials.
- Laser Driver: The laser driver is responsible for regulating the current and voltage supplied to the laser module. It ensures stable and precise control over the laser’s output.
- Stepper Motor: A stepper motor is essential for controlling the movement of the engraving platform. This allows the laser beam to move in precise patterns and create detailed designs.
- Power Supply: You will need a reliable power supply to provide the necessary voltage and current for all the components of your laser engraver.
- Frame Material: Choose a sturdy and lightweight material, such as aluminum or acrylic, to build the frame of your laser engraver. It should be able to support the weight of the components and provide stability during operation.
- Optical Components: You will need mirrors and lenses to direct and focus the laser beam onto the engraving surface. These optical components play a crucial role in achieving precise engraving results.
- Limit Switches: Limit switches are used to determine the maximum and minimum positions of the engraving platform. They help ensure accurate positioning and prevent the platform from going beyond its intended range of motion.
- Wires and Connectors: Gather the necessary wires, connectors, and soldering tools to connect all the components together. It’s important to have reliable and secure connections to prevent any electrical issues.
- Protective Gear: Safety should always be a priority when working with lasers. Make sure to have safety goggles and gloves to protect yourself from laser radiation and other potential hazards.
Take your time to gather all these materials before you start the actual assembly. Double-check that you have everything you need to avoid any delays or interruptions during the process.
Keep in mind that this list covers the fundamental components, and you may need additional materials based on your specific design or customization preferences. Refer to any additional resources or guides specific to your laser engraver model for more detailed information.
Now that you have gathered all the necessary materials, you are ready to move on to the next step: building the frame for your laser engraver.
Building the Frame
Building a sturdy and stable frame is crucial for the proper functioning of your laser engraver. The frame provides the structure and support for all the components, ensuring accurate engraving results. Follow these steps to build a robust frame for your laser engraver:
- Select the Frame Material: Choose a material that is both strong and lightweight, such as aluminum or acrylic. Consider the size and weight of the components you will be mounting on the frame when making your selection.
- Design the Frame: Decide on the dimensions and overall design of the frame based on your specific needs and available space. Sketch out the frame on paper or use a 3D modeling software to visualize the structure.
- Cut the Frame Components: Use appropriate tools, such as a saw or laser cutter, to cut the frame components according to your design. Ensure precise measurements and smooth edges for a professional finish.
- Assemble the Frame: Begin by connecting the base and uprights of the frame. Use brackets, screws, or adhesive to securely join the components together. Pay close attention to alignment and stability while assembling.
- Add Reinforcements: Depending on the size and complexity of your laser engraver, you may need to add extra reinforcement to the frame. This can involve adding additional crossbars or braces to enhance stability and reduce vibrations.
- Mounting Surfaces and Rails: Install the mounting surfaces for your laser module, laser driver, Arduino board, and other components. Ensure that they are level and securely attached to the frame. Additionally, mount rails or guides to allow smooth movement of the engraving platform.
- Test the Frame Structure: Before proceeding to the next steps, perform a thorough check of the frame’s stability and durability. Make any necessary adjustments or reinforcements to ensure a solid foundation for your laser engraver.
Building a robust frame is essential to minimize vibrations and maintain accuracy in your engraving results. Take your time during the assembly process to ensure that all connections are secure and the frame is strong enough to support the weight and movement of the components.
Once you have completed building the frame, you can move on to the next step: mounting the laser module onto the frame.
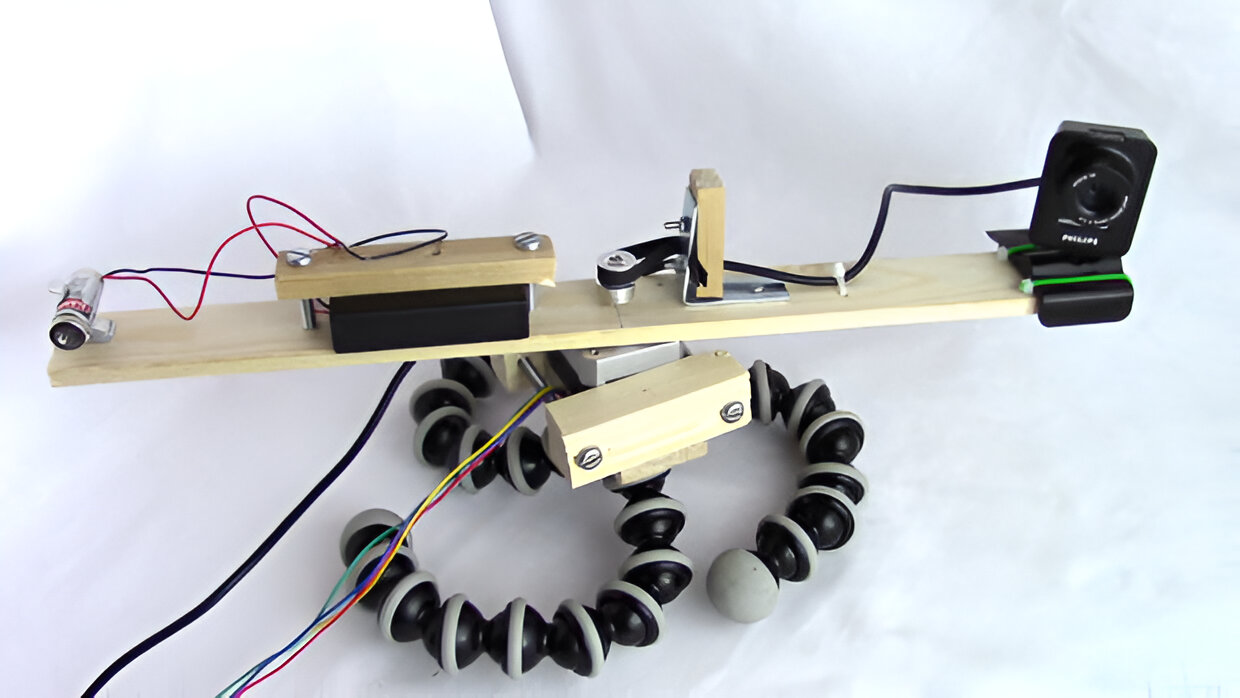
Mounting the Laser Module
Mounting the laser module onto the frame of your laser engraver is a crucial step in the building process. Proper mounting ensures that the laser beam is aligned correctly with the engraving surface and allows for precise and accurate engraving. Follow these steps to mount the laser module:
- Choose a Secure Mounting Position: Determine the best location on the frame to mount the laser module. Take into account factors such as accessibility, clearance, and alignment with the engraving surface.
- Secure the Laser Module Mount: Use adjustable brackets or mounts to secure the laser module to the chosen position on the frame. These brackets will allow you to fine-tune the alignment of the laser beam.
- Align the Laser Module: Adjust the position of the laser module to ensure that the laser beam is perpendicular to the engraving surface. This will help achieve accurate and consistent engraving results.
- Secure the Laser Module: Once the laser module is aligned correctly, securely tighten the brackets or mounts to ensure that the laser module remains in place during operation.
- Connect the Laser Module: Depending on the laser module you are using, you may need to connect it to the laser driver or power supply. Follow the manufacturer’s instructions to make the necessary connections securely.
- Check the Laser Module Position: Double-check the positioning of the laser module and ensure that it aligns with the desired engraving area on the engraving surface. Make any necessary adjustments to the laser module’s position for accurate engraving.
During the mounting process, it’s important to ensure that the laser module is securely fastened to the frame. Any movement or misalignment can result in inconsistent engraving or even damage to the components. Take your time to carefully align and secure the laser module to achieve optimal results.
With the laser module mounted in the correct position, you are now ready to move on to the next step in building your laser engraver: wiring the Arduino board and driver.
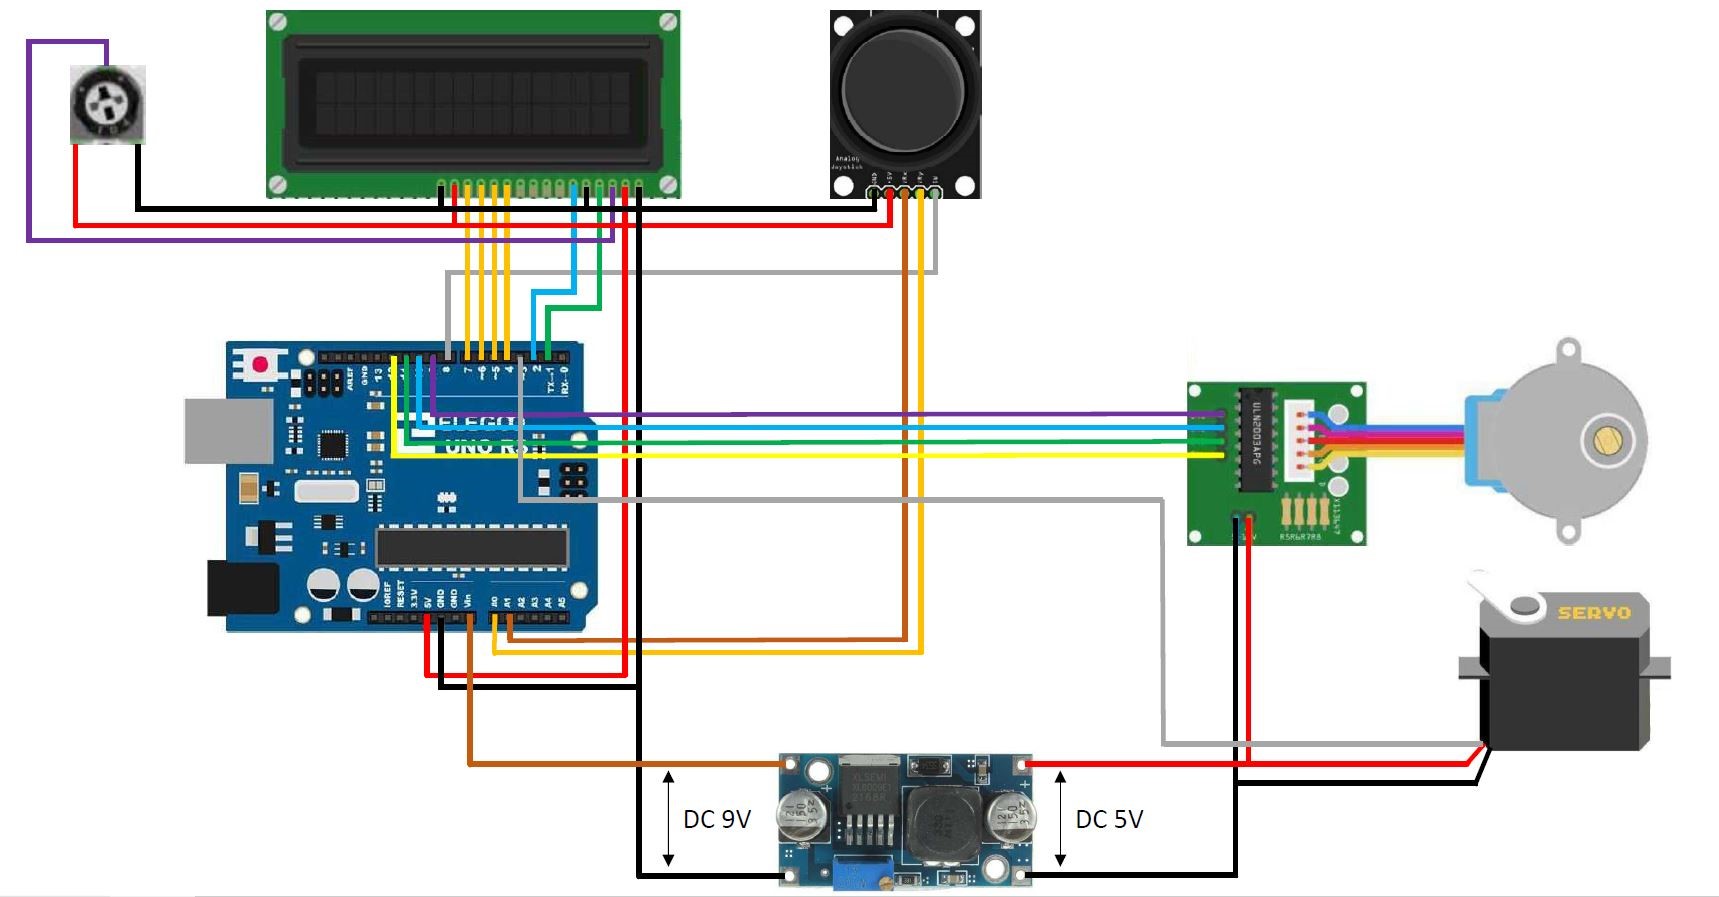
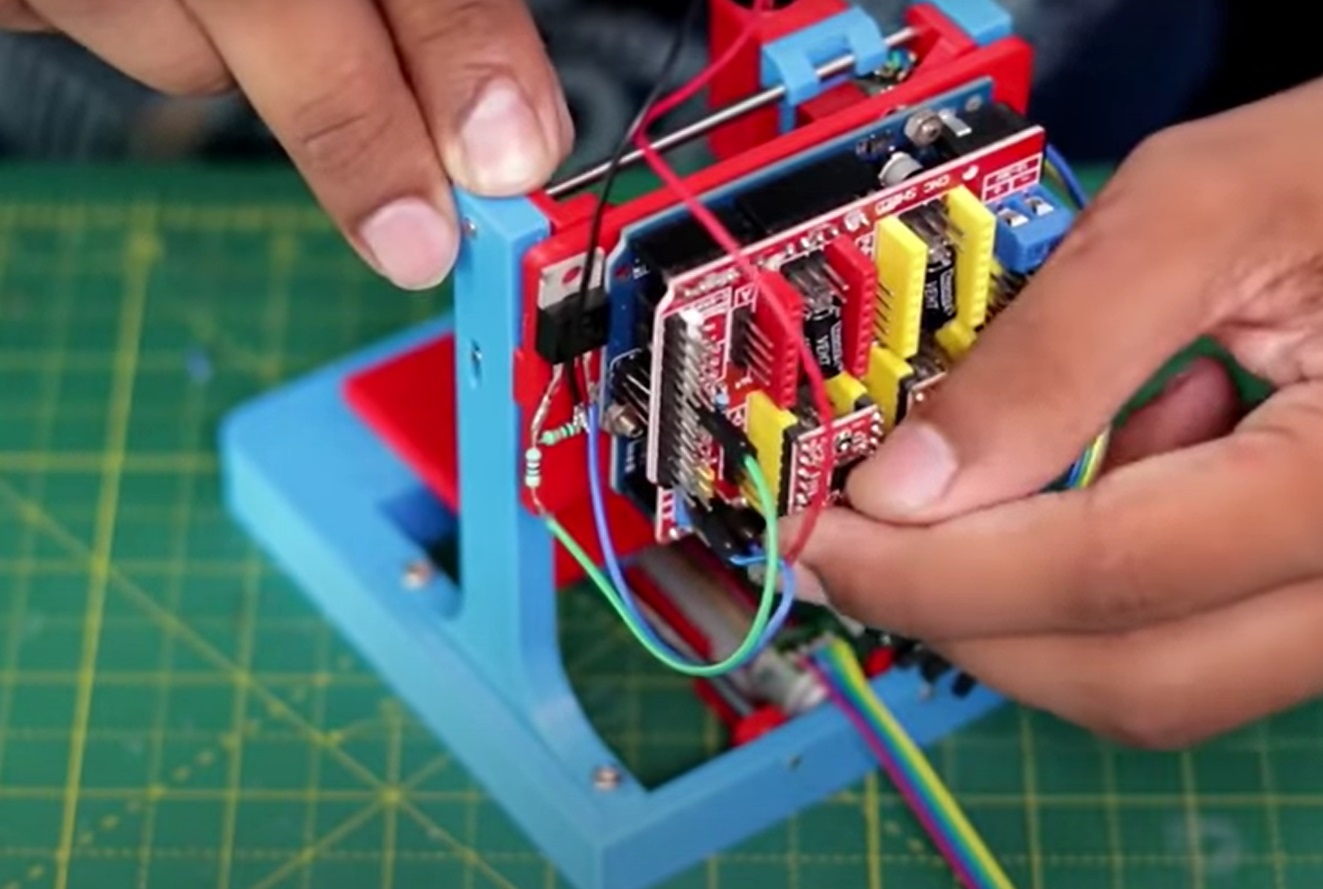
Wiring the Arduino and Driver
Wiring the Arduino board and laser driver is a critical step in building your laser engraver. Properly connecting the components ensures that they can communicate and work together effectively. Follow these steps to wire the Arduino board and driver:
- Refer to Circuit Diagram: Before starting the wiring process, refer to the circuit diagram provided by the manufacturer or your own design. This diagram will guide you in making the correct connections.
- Connect Arduino and Laser Driver: Start by connecting the Arduino board to the laser driver. Identify the appropriate pins on both components and establish the necessary connections using jumper wires or connectors.
- Power Supply Connections: Connect the power supply to both the Arduino board and laser driver. Ensure that the voltage and current provided by the power supply are within the specified limits of the components.
- Connect Stepper Motor: If your laser engraver uses a stepper motor, identify the motor coils and connect them to the appropriate outputs on the motor driver. Follow the color-coded wires or reference the motor datasheet for proper connections.
- Wiring Limit Switches: If limit switches are used in your setup, identify their connections on the Arduino board. Connect each limit switch to the corresponding pins and ensure that they are properly secured.
- Organize and Secure Wires: As you make the connections, pay attention to wire management. Keep the wires organized and secured to prevent them from coming loose during operation. Use zip ties or cable management solutions to keep everything tidy.
- Verify and Double-Check Connections: After completing the wiring, carefully inspect all the connections. Double-check that all the wires are properly plugged in and that there are no loose connections or crossed wires.
Remember to exercise caution while handling and connecting wires. Follow proper safety guidelines and make sure to power off and unplug your components when making or adjusting connections.
Once all the connections are complete and verified, you are ready to proceed to the next step: programming the Arduino board to control the laser engraver.
Programming the Arduino
Programming the Arduino board is the next step in building your laser engraver. The program you write will control the laser module and the movement of the stepper motor, allowing you to perform engraving tasks. Follow these steps to program the Arduino:
- Install the Arduino Software: Download and install the Arduino IDE (Integrated Development Environment) from the official Arduino website. This software will be used to write and upload the program to your Arduino board.
- Open a New Sketch: Launch the Arduino IDE and start a new sketch. You will see the default template with a setup and loop function.
- Define Pins and Variables: Determine the pins on the Arduino board that will be connected to the laser module, stepper motor, and limit switches. Declare any necessary variables for your program.
- Setup Function: In the setup function, define the pinMode and any initialization settings for your components. This includes setting the appropriate pins as either input or output.
- Main Loop: In the loop function, write the main code to control the engraving process. This can include commands to activate the laser module, move the stepper motor, and read input from the limit switches for positioning.
- Compile and Upload: Before uploading the program to the Arduino board, verify that the code compiles without errors. Then, connect your Arduino board to your computer, select the correct board and port in the Arduino IDE, and click the “Upload” button to transfer the program.
- Test the Program: After successfully uploading the program, test its functionality. Ensure that the laser module and stepper motor respond as expected. Verify that the limit switches are working properly to prevent any unwanted movement beyond specified boundaries.
- Troubleshooting: If any issues arise during testing, double-check your code, connections, and component settings. Look for commonly encountered problems and consult the Arduino community or online resources for possible solutions.
Take your time to understand the programming concepts and syntax required for your particular setup. Experiment with different parameters and settings to achieve desired engraving results.
With the Arduino board programmed and ready to go, you can now move on to the next step: testing and troubleshooting your laser engraver.
Testing and Troubleshooting
Testing and troubleshooting your laser engraver is a crucial step to ensure its proper functionality. Follow these steps to conduct thorough testing and address any issues:
- Test the Engraving Platform: Check the movement of the engraving platform controlled by the stepper motor. Make sure it moves smoothly and accurately in all directions.
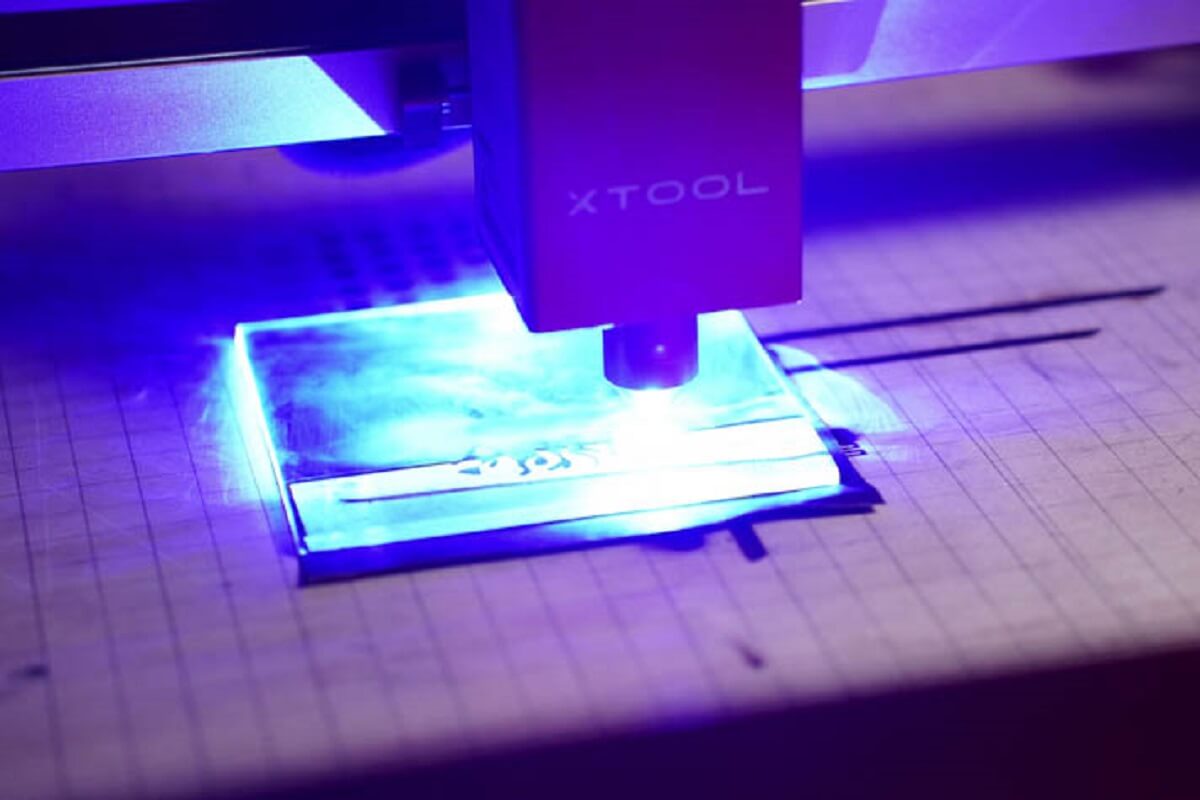
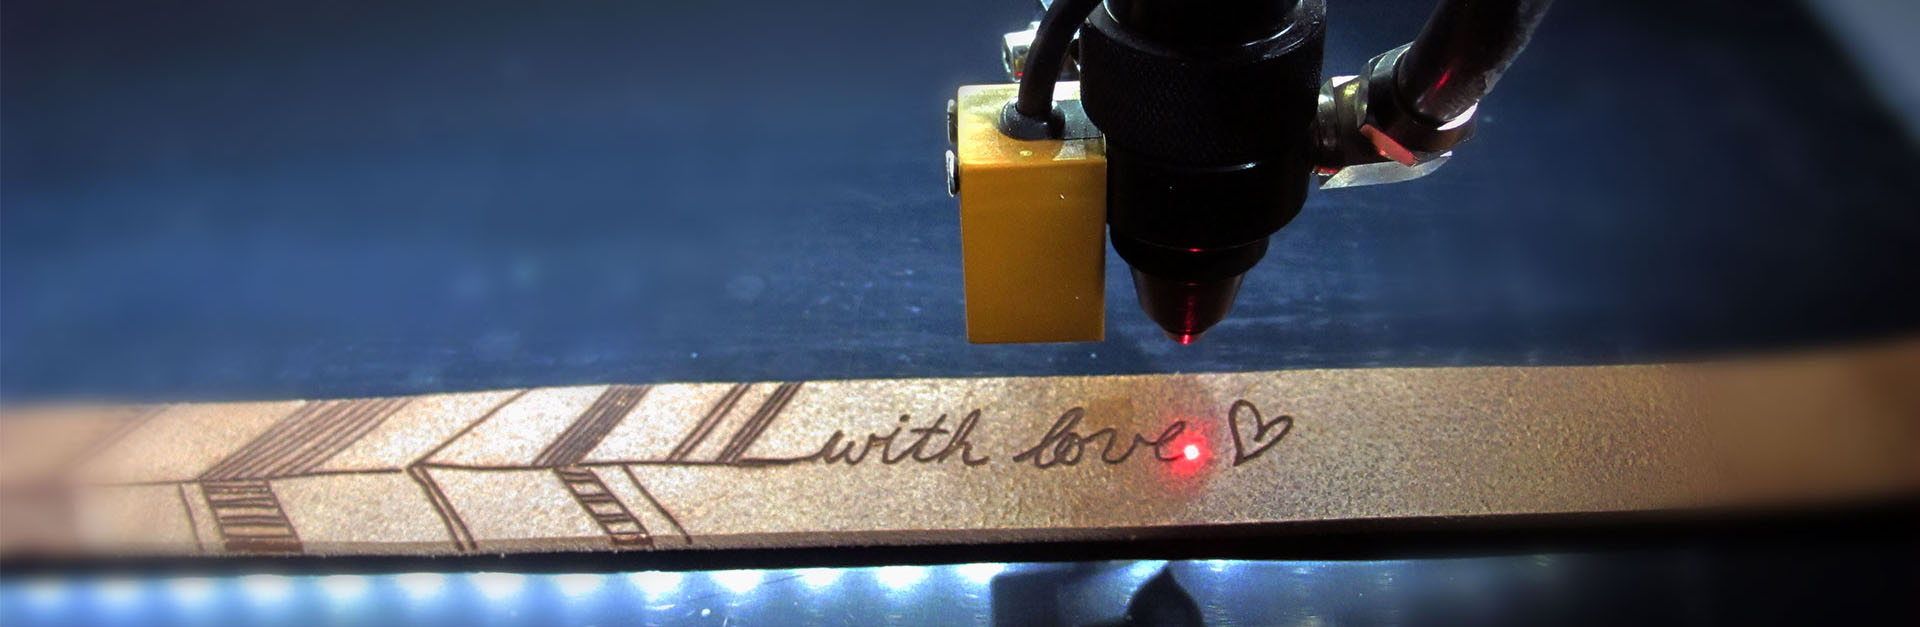
- Check Laser Module Output: Verify that the laser module emits a focused and powerful beam. Ensure that the laser beam aligns with the engraving surface and produces the desired engraving effect.
- Positioning Accuracy: Test the accuracy of the limit switches in positioning the engraving platform correctly. Confirm that the platform stops at the designated boundaries without exceeding them.
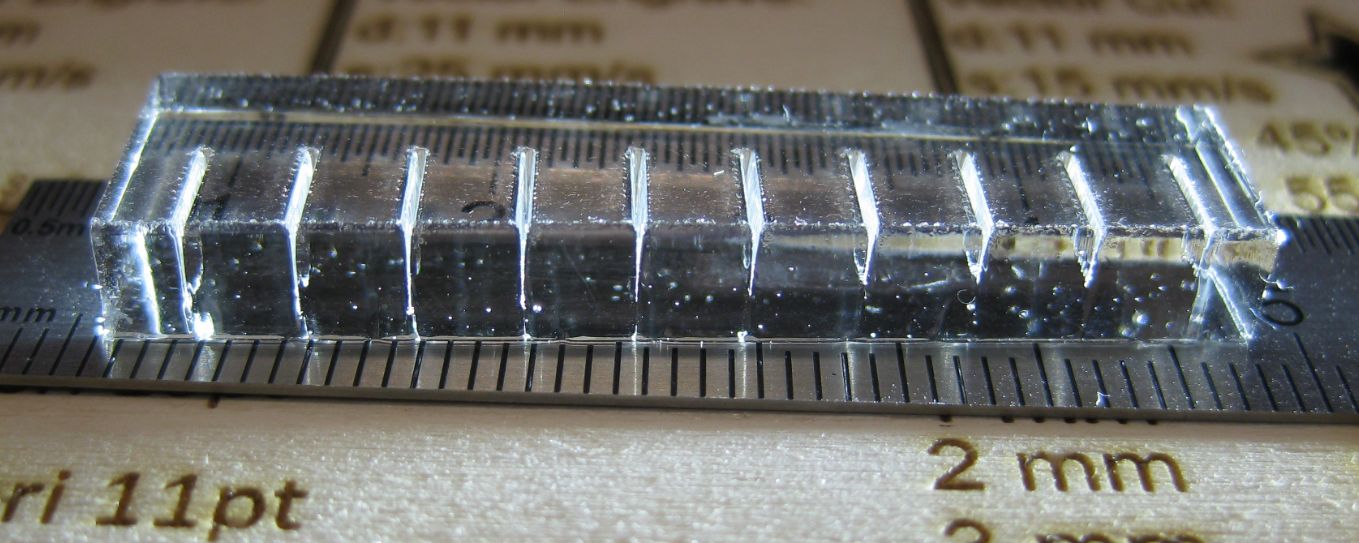
- Engraving Results: Perform test engravings on different materials to assess the quality and accuracy of the engraving. Adjust any necessary parameters, such as power intensity or movement speed, to achieve the desired results.
- Troubleshooting Common Issues: If you encounter any problems during the testing phase, consult troubleshooting guides or forums relevant to your laser engraver model. Look for solutions to commonly encountered issues, such as irregular engraving patterns or malfunctioning components.
- Double-Check Connections: Inspect all the wiring connections to ensure they are secure and properly connected. Loose or incorrect connections can cause issues with the functioning of the laser engraver.
- Calibration: If necessary, calibrate the laser module and the stepper motor for optimal performance. Follow the manufacturer’s instructions or specific calibration procedures to fine-tune the settings.
- Safety Measures: Regularly review and practice safety protocols while operating the laser engraver. Ensure that all safety features, such as safety goggles and emergency stop switches, are in place and functional.
During the testing phase, keep in mind that troubleshooting is a normal part of the process. Be patient and methodical in identifying and addressing any issues that arise. Consult relevant documentation or seek assistance from the Arduino community or online forums if needed.
By thoroughly testing and troubleshooting your laser engraver, you can ensure its proper functioning and achieve high-quality engraving results.
In the next section, we will provide some additional tips and resources to further enhance your laser engraving experience.
Conclusion
Congratulations on successfully building your own laser engraver using an Arduino! This DIY project has allowed you to unleash your creativity and gain a deeper understanding of the technology behind laser engraving. Here is a summary of the key points covered in this guide:
We began by introducing the concept of laser engravers and emphasizing the importance of safety when working with lasers. We then provided a comprehensive list of materials needed for the project, including the Arduino board, laser module, laser driver, stepper motor, power supply, frame material, optical components, limit switches, wires, connectors, and protective gear.
We followed up by guiding you through a step-by-step process. We covered the building of a sturdy frame, the mounting of the laser module onto the frame, wiring the Arduino and driver, programming the Arduino, and testing and troubleshooting the laser engraver.
Throughout this guide, we highlighted the significance of double-checking your connections, ensuring proper alignment, and following safety measures. These considerations are essential for achieving accurate engraving results and avoiding any potential risks.
Remember that the journey doesn’t stop here. There are always opportunities to enhance your laser engraving skills and explore more advanced techniques. You can experiment with different materials, adjust engraving parameters, and explore software modifications to unlock new possibilities.
If you encounter any difficulties, don’t hesitate to seek guidance from online communities, forums, or additional resources specific to your laser engraver model. Learning from others’ experiences and sharing your own can help you overcome challenges and refine your engraving techniques.
Lastly, always prioritize safety while operating your laser engraver. Ensure that you are equipped with appropriate protective gear, properly maintained equipment, and awareness of laser safety protocols.
We hope that this guide has empowered you to take your creativity to new heights with your DIY laser engraver. Have fun unleashing your artistic potential and enjoy the endless possibilities of laser engraving!
Additional Tips and Resources
As you continue your laser engraving journey, we would like to provide you with some additional tips and resources to further enhance your skills and knowledge in this field. Here are a few suggestions to help you along the way:
- Explore Different Engraving Materials: Experiment with a variety of materials to see how they react to laser engraving. Wood, acrylic, leather, and metal are popular choices, each offering unique results and challenges.
- Adjust Engraving Parameters: Play around with the settings of your laser module and program to achieve different engraving depths, speeds, and intensities. Fine-tuning these parameters can help you achieve the desired effects on different materials.
- Practice Proper Maintenance: Regularly clean your laser module, mirrors, and lenses to maintain optimal performance. Additionally, ensure that your frame and components are properly lubricated and tightened to prevent wear and tear.
- Learn from Online Communities: Join online forums, social media groups, and communities dedicated to laser engraving. Engage with fellow enthusiasts, share your experiences, and learn from their tips, tricks, and troubleshooting solutions.
- Expand Your Programming Skills: If you’re interested in further customizing your laser engraver, consider diving deeper into programming. Learn more about Arduino programming, explore different libraries, and experiment with advanced coding techniques.
- Consider Safety Upgrades: Enhance your laser engraver’s safety features by adding additional safety switches, interlocks, or enclosures. Always prioritize safety when working with lasers to protect yourself and those around you.
Additionally, here are some useful resources to further your knowledge and understanding of laser engraving:
- Manufacturer Documentation: Consult the documentation provided by the manufacturer of your specific laser module, Arduino board, or other components. These resources often include valuable insights, troubleshooting tips, and programming examples.
- Online Tutorials and Guides: Search for online tutorials and guides on laser engraving with Arduino. These resources often provide step-by-step instructions, coding examples, and tips for optimizing your laser engraver.
- YouTube Video Tutorials: YouTube is a great platform for visual learners. Search for video tutorials on laser engraving with Arduino to see the building process in action and gather valuable insights from experienced makers.
- Laser Engraving Communities: Join online communities and forums dedicated to laser engraving. Engage in discussions, ask questions, and share your projects with like-minded individuals who are passionate about laser engraving.
By continuously learning, experimenting, and exploring new techniques and resources, you can enhance your laser engraving skills and unlock even more creative possibilities.
We hope that these tips and resources serve as a valuable asset throughout your laser engraving journey, inspiring you to create amazing projects and pushing the boundaries of your craftsmanship.