Introduction
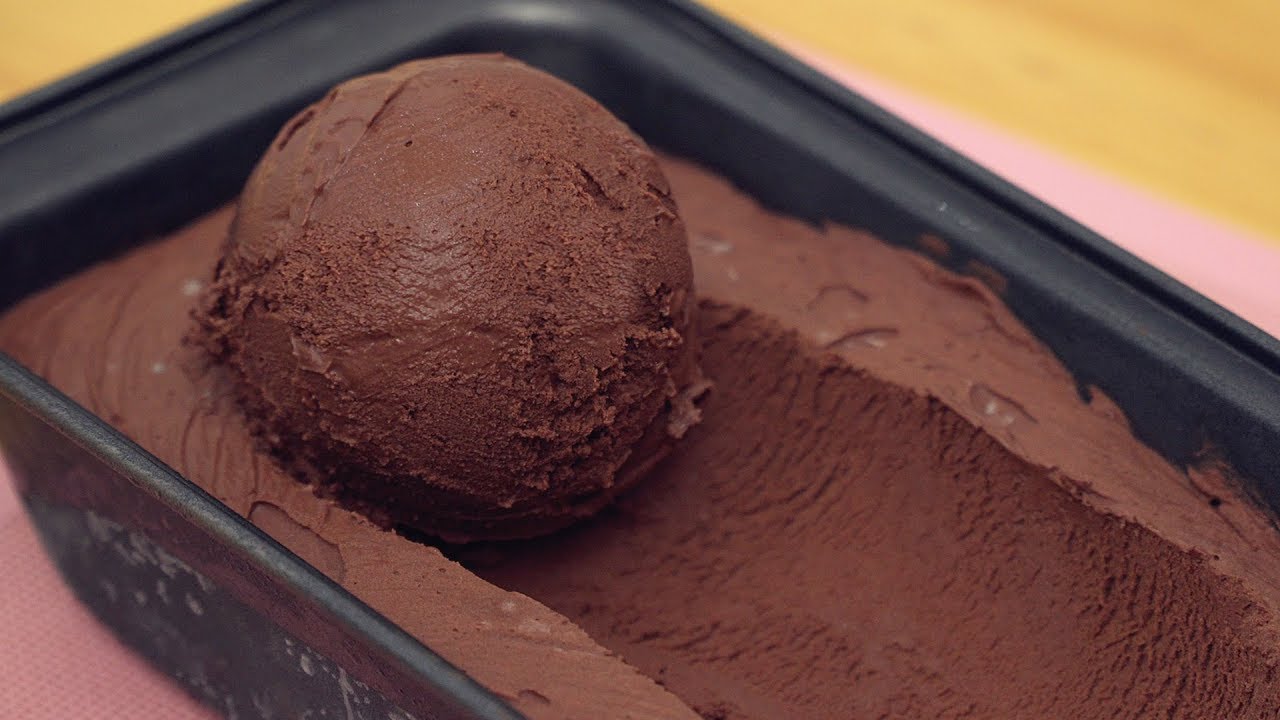
Craving a cool and indulgent treat? Look no further than chocolate froyo made right at home with an ice cream maker. This delicious frozen yogurt variation offers the perfect balance of rich chocolate flavor and creamy texture, making it a favorite for both kids and adults alike. Plus, with the ability to customize your toppings and mix-ins, you can create a personalized dessert that suits your taste buds.
In this guide, we will take you through the step-by-step process of making chocolate froyo with an ice cream maker, ensuring a smooth and velvety consistency that is simply irresistible. So, gather your ingredients, put on your chef’s hat, and get ready to indulge in a homemade frozen delight.
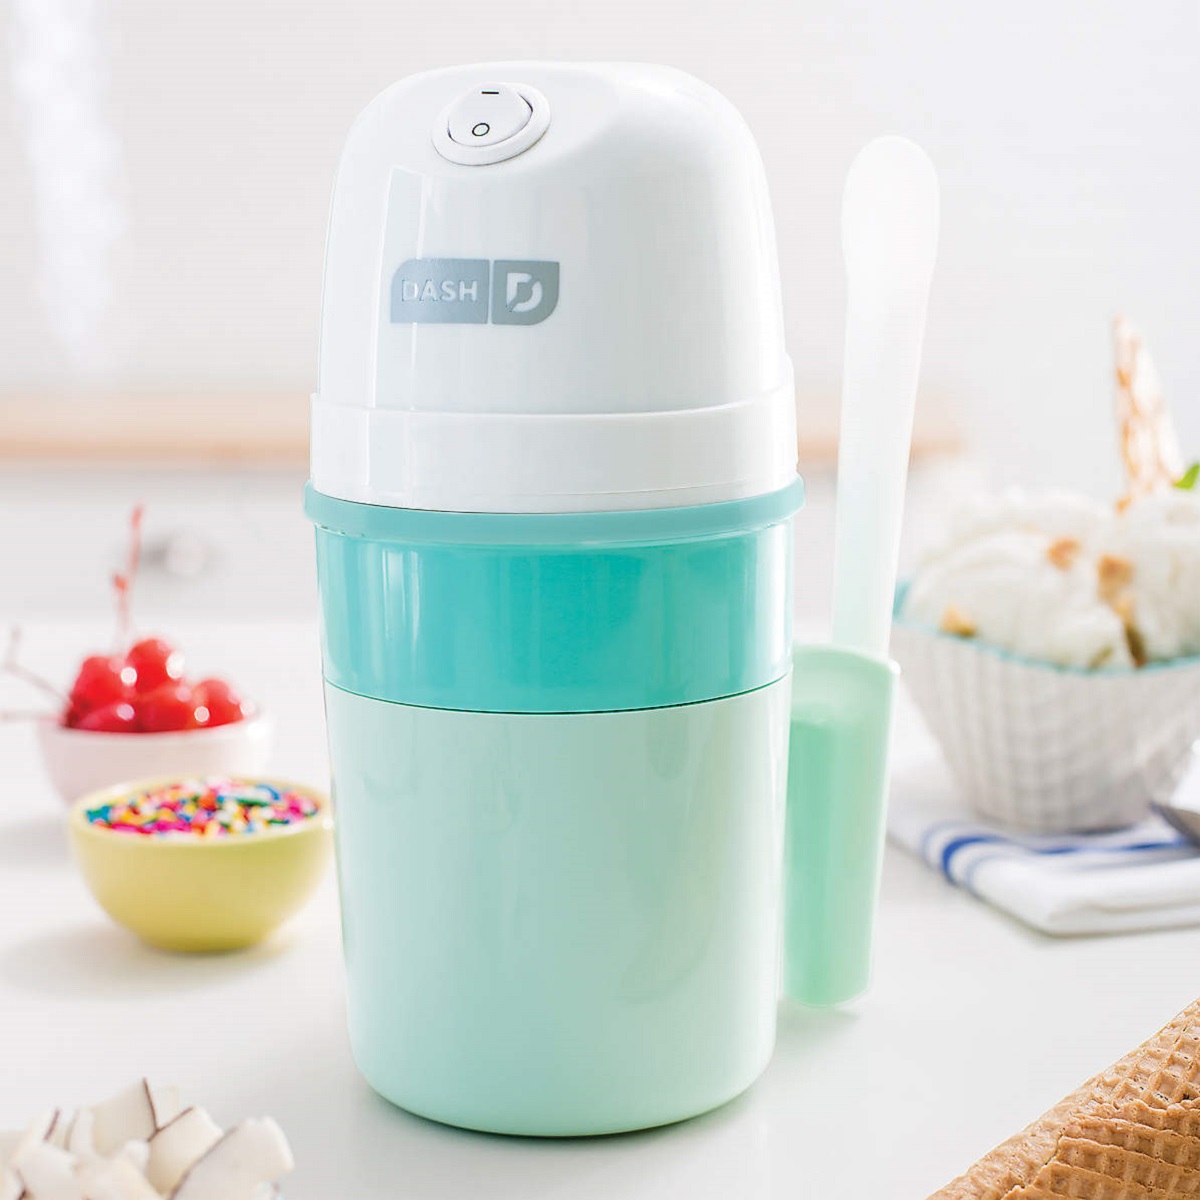
Before we dive into the recipe, let’s take a moment to talk about the equipment you’ll need. An ice cream maker is essential for achieving that creamy and smooth froyo texture. If you don’t already have one, consider investing in a budget-friendly model that will freeze and churn the mixture to perfection.
Now, let’s go over the key ingredients required to create this delectable chocolate froyo. You’ll need Greek yogurt, cocoa powder, sugar, vanilla extract, and milk. These commonly available items can be easily found in your local grocery store.
Once you have all your equipment and ingredients ready, it’s time to embark on the journey of creating your very own chocolate froyo. Follow the steps outlined in the next sections carefully, and you’ll soon be savoring the delightful combination of chocolate and frozen yogurt.
Equipment Needed
Before you can begin making chocolate froyo with an ice cream maker, it’s important to gather all the necessary equipment. Having the right tools at hand will ensure a smooth and hassle-free preparation process. Here’s what you’ll need:
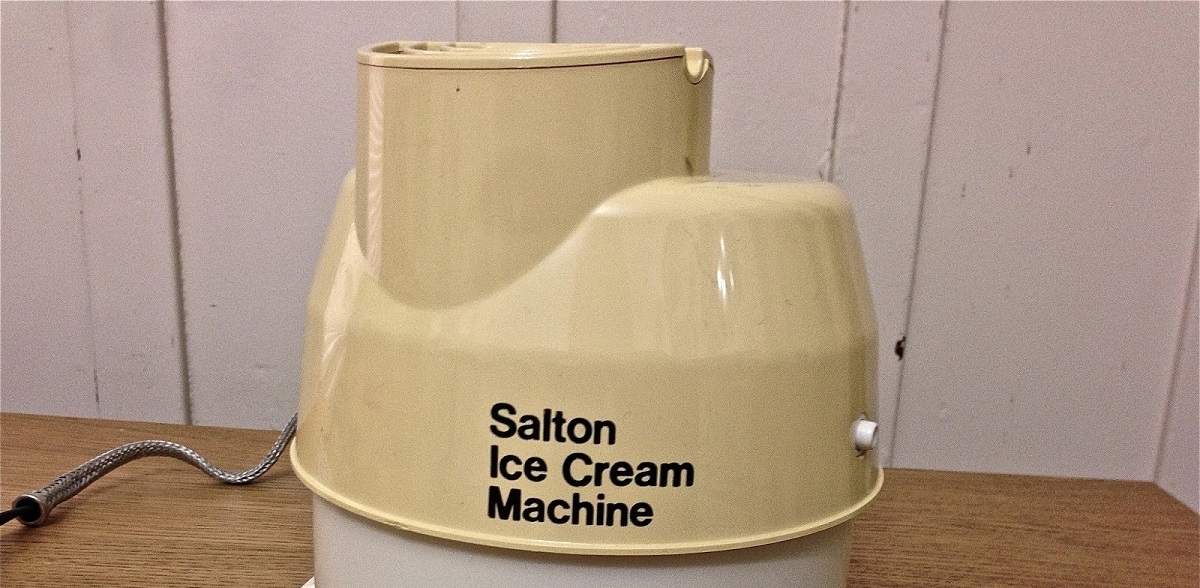
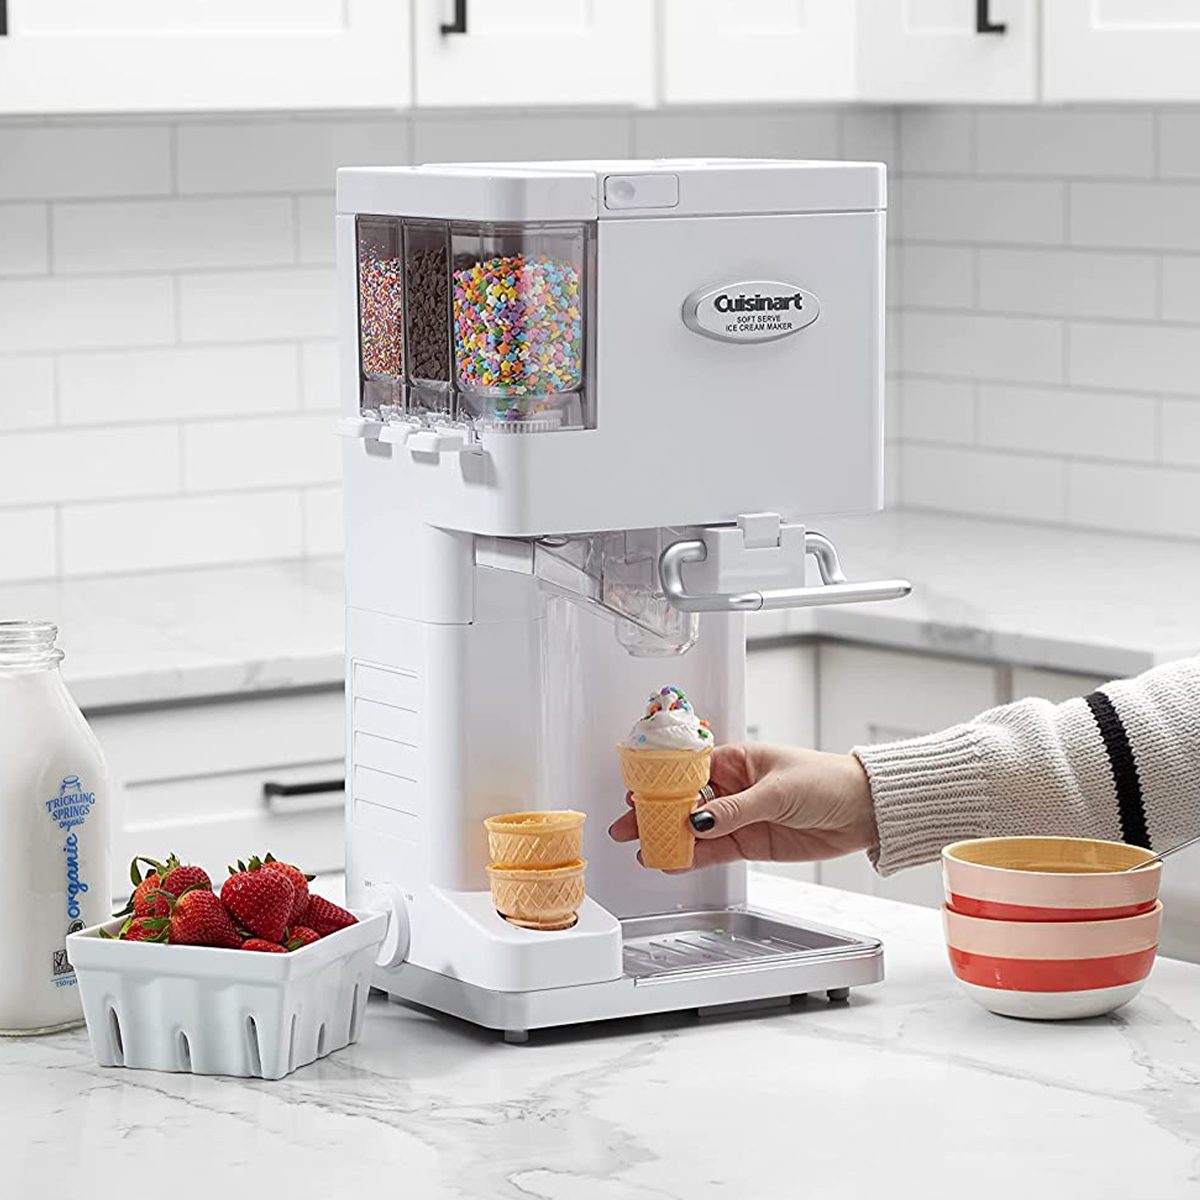
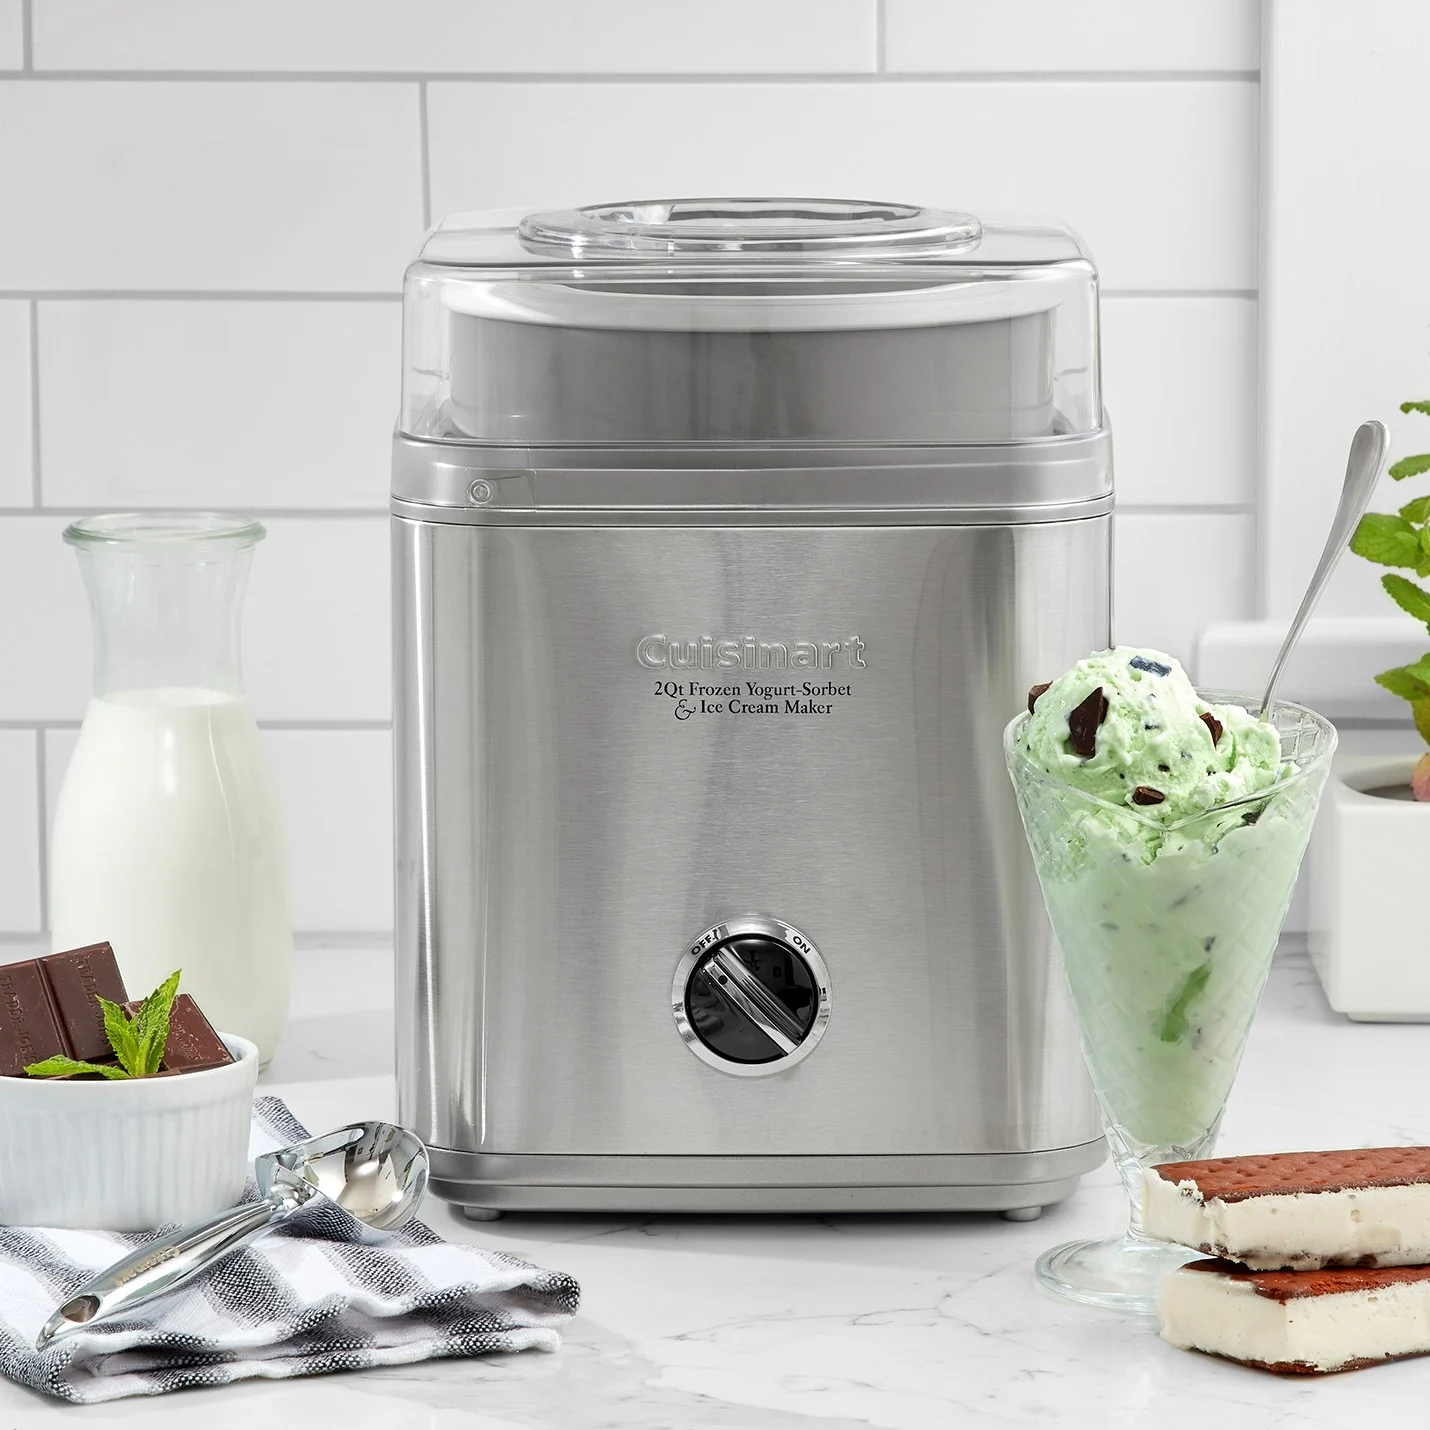
- Ice Cream Maker: The star of the show, an ice cream maker is the essential equipment for creating that creamy and velvety froyo texture. Choose a model that suits your needs and budget. Whether it’s a traditional churn-style maker or a modern electric one, make sure it has a freezer bowl or built-in refrigeration to freeze and churn the froyo mixture.
- Freezer: Some ice cream makers require pre-freezing the bowl before use, so make sure you have enough space in your freezer to accommodate the bowl. Typically, the freezer bowl needs to be frozen for at least 12-24 hours beforehand.
- Mixing Bowl: You’ll need a mixing bowl to combine the ingredients for your chocolate froyo. Choose a bowl that’s large enough to accommodate the volume of ingredients and allows for easy stirring and mixing.
- Whisk or Spoon: A whisk or spoon will be used to thoroughly mix the ingredients together, ensuring a smooth and even consistency. Opt for a stainless steel whisk or a sturdy spoon for best results.
- Measuring Cups and Spoons: Accurate measurements are crucial when it comes to baking or preparing frozen desserts. Have a set of measuring cups and spoons on hand to measure the ingredients precisely.
- Spatula: A rubber spatula will come in handy for scraping down the sides of the mixing bowl to ensure all the ingredients are fully incorporated.
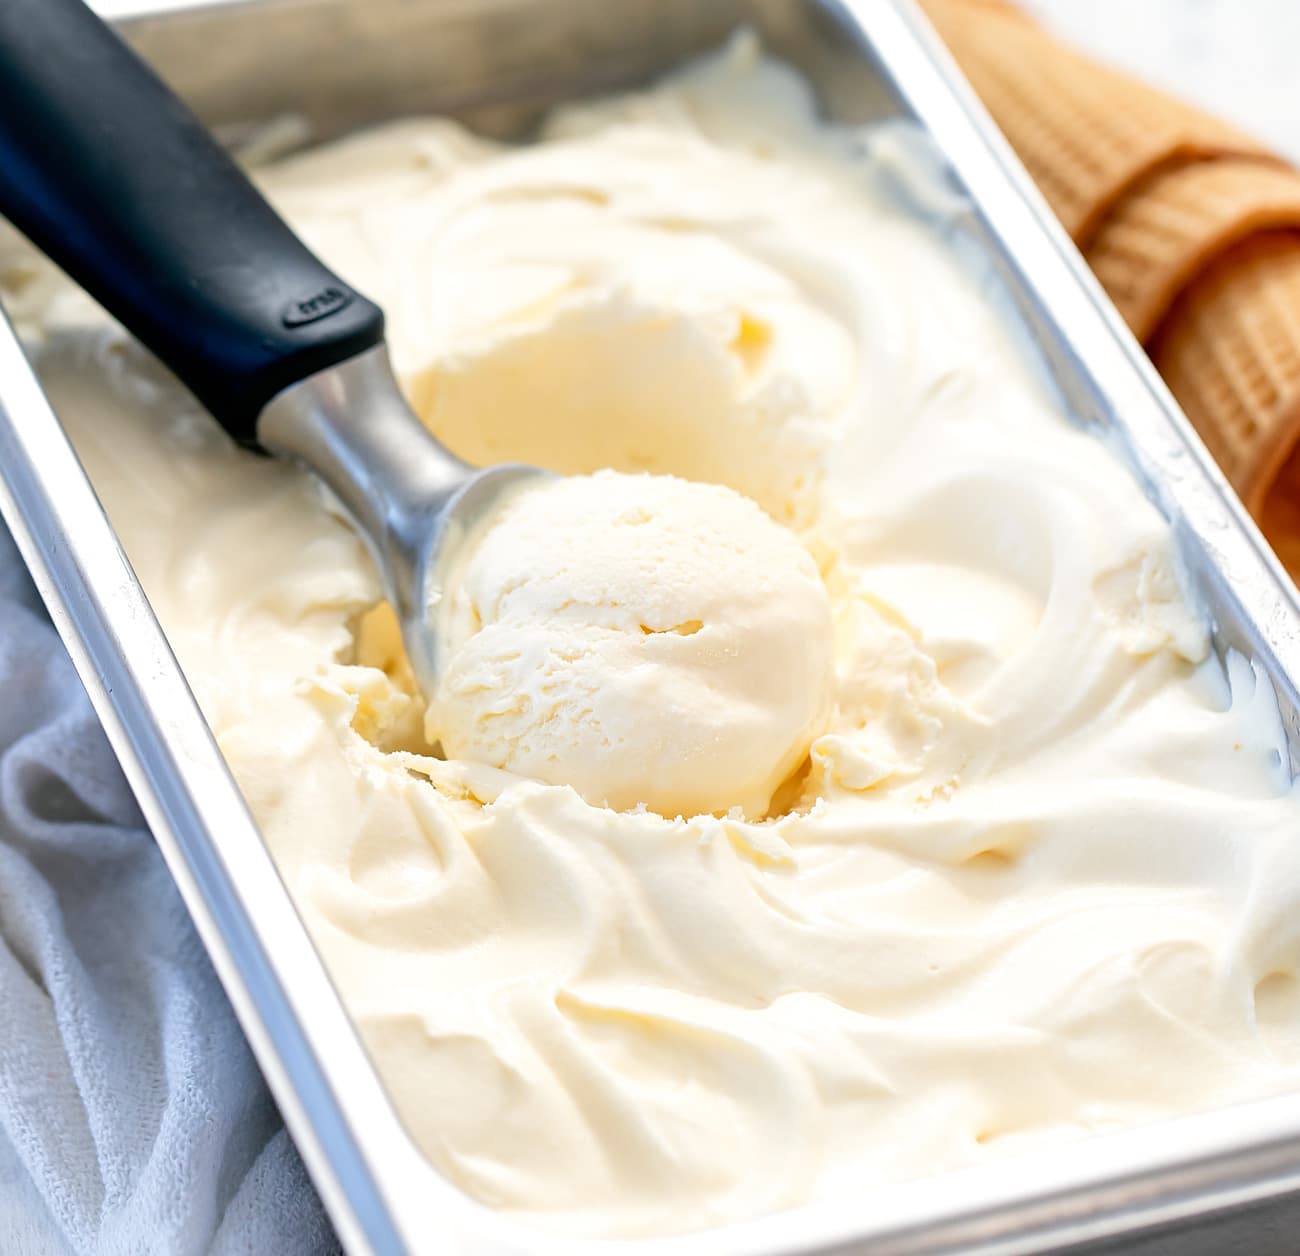
- Ice Cream Scoop: Once your chocolate froyo is ready, you’ll want to serve it in beautiful scoops. An ice cream scoop with a sturdy handle and a sharp edge will help you create perfectly rounded scoops.
- Toppings and Mix-ins: While not exactly equipment, having a selection of delicious toppings and mix-ins like chocolate chips, crushed cookies, nuts, or fresh fruit will add extra flavor and texture to your chocolate froyo. Have them ready to customize your dessert.
With all your equipment in place, you’re now fully prepared to embark on the journey of making creamy and decadent chocolate froyo. Let’s move on to the next section, where we’ll discuss the key ingredients and their role in creating this delightful frozen treat.
Ingredients
To make the perfect chocolate froyo with an ice cream maker, you’ll need a handful of ingredients that come together to create a harmonious blend of flavors. Here’s a list of the key ingredients:
- Greek Yogurt: 2 cups of Greek yogurt will serve as the base for your froyo. Choose a plain and unsweetened variety for the best results. Greek yogurt adds a creamy and tangy element to the dessert.
- Cocoa Powder: To infuse that rich chocolate taste, you’ll need 1/4 cup of unsweetened cocoa powder. Opt for high-quality cocoa powder for intense flavor and depth.
- Sugar: 1/2 cup of granulated sugar will sweeten your froyo to perfection. You can adjust the amount according to your desired level of sweetness.
- Vanilla Extract: 1 teaspoon of vanilla extract will enhance the overall flavor profile of your chocolate froyo. Choose pure vanilla extract for the best results.
- Milk: 1/4 cup of milk will help create a smooth and creamy texture. Choose whole milk or any milk of your preference. You can also use dairy-free alternatives like almond milk or coconut milk if desired.
That’s it! With just five simple ingredients, you can whip up a decadent and creamy batch of chocolate froyo. However, you’re not limited to these basic ingredients. Feel free to experiment and add mix-ins like chocolate chips, crushed cookies, or nuts, as well as toppings like fresh fruits or a drizzle of chocolate sauce to take your froyo to the next level.
Now that you have your ingredients ready, it’s time to move on to the step-by-step process of making delicious chocolate froyo with your ice cream maker. In the next section, we’ll guide you through preparing the ice cream maker and combining the ingredients for the perfect froyo mixture. Let’s get started!
Step 1: Preparing the Ice Cream Maker
Before you can start making your chocolate froyo, you’ll need to ensure that your ice cream maker is ready to go. Here’s a step-by-step guide on how to prepare your ice cream maker:
- Freeze the Bowl: If your ice cream maker requires a frozen bowl, make sure it has been frozen for at least 12-24 hours before you plan to make the froyo. Place the bowl in the coldest part of your freezer and ensure it is completely frozen. This step is crucial for achieving the right consistency.
- Chill the Other Parts: Some ice cream makers have additional parts, such as the paddle or dasher, that need to be chilled before use. Check the manufacturer’s instructions and place these parts in the freezer if required. Ensuring all components are cold will help maintain the proper temperature during the churning process.
- Set Up the Ice Cream Maker: Once the bowl and other parts are properly chilled, assemble your ice cream maker according to the manufacturer’s instructions. This usually involves placing the frozen bowl onto the base and attaching the paddle or dasher. Double-check that everything is securely in place.
- Position it Correctly: Find a stable and level surface in your kitchen for your ice cream maker. This will ensure that the machine operates smoothly during the churning process. Make sure it is positioned near an electrical outlet for easy access.
- Keep Ingredients Cold: To maintain the ideal temperature for your froyo mixture, refrigerate the Greek yogurt, milk, and any other ingredients that require chilling. This will help prevent any premature melting or inconsistent freezing.
By following these preparation steps, you’ll ensure that your ice cream maker is primed and ready for creating the perfect chocolate froyo. With the equipment set up and ingredients chilled, you can now move on to the next exciting step – mixing the ingredients together to form the creamy froyo base.
Step 2: Mixing the Ingredients
Now that your ice cream maker is ready, it’s time to start creating the base of your chocolate froyo. Follow these simple steps to mix the ingredients together:
- Combine the Greek Yogurt and Sugar: In a mixing bowl, add 2 cups of Greek yogurt and 1/2 cup of granulated sugar. Use a whisk or spoon to thoroughly combine the two ingredients until the sugar is fully dissolved. Mixing them well at this stage will ensure even sweetness throughout the froyo.
- Add the Cocoa Powder: Next, add 1/4 cup of unsweetened cocoa powder to the bowl. Sift the cocoa powder if necessary to remove any lumps. This step will help achieve a smooth and silky texture for your froyo. Mix the cocoa powder into the yogurt and sugar mixture until fully incorporated.
- Pour in the Milk: Slowly pour 1/4 cup of milk into the bowl and continue to stir until all the ingredients are well combined. The milk will help thin out the mixture slightly and contribute to the creamy texture of the froyo. Make sure there are no streaks or clumps remaining.
- Add Flavor Enhancements: At this stage, you can add a teaspoon of vanilla extract to enhance the overall flavor of your chocolate froyo. This ingredient adds a subtle sweetness and complexity to the dessert. Stir it into the mixture until fully integrated.
Take your time to mix the ingredients together thoroughly, making sure there are no lumps or inconsistencies in the mixture. The end result should be a smooth and creamy base with a rich chocolate flavor. Once you have achieved this, you’re ready to move on to the next step – churning the mixture in the ice cream maker to transform it into delightful froyo.
Step 3: Churning the Mixture in the Ice Cream Maker
With the froyo mixture prepared, it’s time to transfer it to your ice cream maker and let the churning process work its magic. Follow these steps to churn the mixture:
- Pre-Chill the Ice Cream Maker: If your ice cream maker has a built-in freezing mechanism, make sure it is thoroughly chilled before adding the froyo mixture. If you’re using a traditional churn-style machine, ensure that the bowl has been properly frozen according to the manufacturer’s instructions.
- Pour the Mixture Into the Ice Cream Maker: Slowly pour the froyo mixture into the frozen bowl of the ice cream maker. Leave a bit of space at the top, as the mixture will expand as it freezes and churns.
- Start the Churning Process: Turn on your ice cream maker and let it churn the froyo mixture. The churning process typically takes about 20-30 minutes, but the time may vary depending on your specific machine. The mixture will gradually thicken and freeze during this time.
- Monitor the Consistency: Keep an eye on the froyo as it churns. It should start to thicken and take on a creamy texture. The exact consistency you desire may vary, so feel free to adjust the churning time accordingly. Avoid over-churning, as it may lead to a grainy texture rather than a smooth and creamy one.
Churning the froyo mixture in the ice cream maker is a crucial step in transforming it from a liquid mixture into a luscious frozen treat. The churning process incorporates air into the mixture, resulting in a light and creamy texture. Once you are satisfied with the consistency, it’s time to move on to the next step – incorporating the delicious chocolate flavor into the froyo.
Step 4: Incorporating the Chocolate Flavor
Now that your froyo mixture has been churned to perfection, it’s time to elevate its taste by incorporating the rich and indulgent chocolate flavor. Follow these simple steps to infuse that delicious chocolatey goodness into your froyo:
- Melt the Chocolate: Start by melting your desired amount of chocolate in a heatproof bowl. You can use either semisweet or bittersweet chocolate, depending on your preference. Use a microwave or a double boiler method to melt the chocolate, stirring occasionally until it becomes smooth and glossy.
- Let the Chocolate Cool: Allow the melted chocolate to cool slightly before adding it to the froyo mixture. You don’t want it to be too hot and cause the froyo to melt or become grainy.
- Add the Chocolate to the Froyo: Pour the melted chocolate into the churned froyo mixture in the ice cream maker. You can slowly drizzle it in while the machine is still running or pause the machine and pour it all at once. Stir gently with a spoon or spatula to distribute the chocolate throughout the froyo mixture.
- Swirl the Mixture: Once the chocolate is added, you can create a beautiful swirled effect by gently dragging a spoon or spatula through the froyo mixture. This will create ribbons of chocolate, adding visual appeal and enhancing the flavor experience.
Incorporating the chocolate flavor into your froyo takes it to a whole new level of deliciousness. The melted chocolate not only enhances the taste but also creates a marbled effect that adds an enticing visual appeal. Once the chocolate is evenly distributed and swirled into the froyo mixture, it’s time to proceed to the next step – setting and freezing the froyo to perfect consistency.
Step 5: Setting and Freezing the Froyo
After incorporating the chocolate flavor into your froyo, it’s time to set and freeze it to achieve the perfect creamy consistency. Follow these steps to ensure that your froyo reaches the desired texture:
- Transfer to a Freezer-Safe Container: Once the chocolate has been mixed into the froyo, transfer the mixture from the ice cream maker bowl to a freezer-safe container. Choose a container that has a tight-fitting lid to prevent any crystallization or freezer burn.
- Level the Surface: Use a spatula or the back of a spoon to level the surface of the froyo in the container. This will help it freeze evenly and provide a smooth texture.
- Cover and Freeze: Place the lid on the container, ensuring it is tightly sealed. Transfer the container to the freezer and let the froyo freeze for at least 4-6 hours, or until it reaches the desired consistency. For a firmer texture, you can leave it in the freezer overnight.
- Avoid Frequent Opening: While the froyo is freezing, try to resist the temptation to open the freezer and check on it frequently. Opening the freezer can cause temperature fluctuations, which may affect the texture and consistency of the frozen dessert.
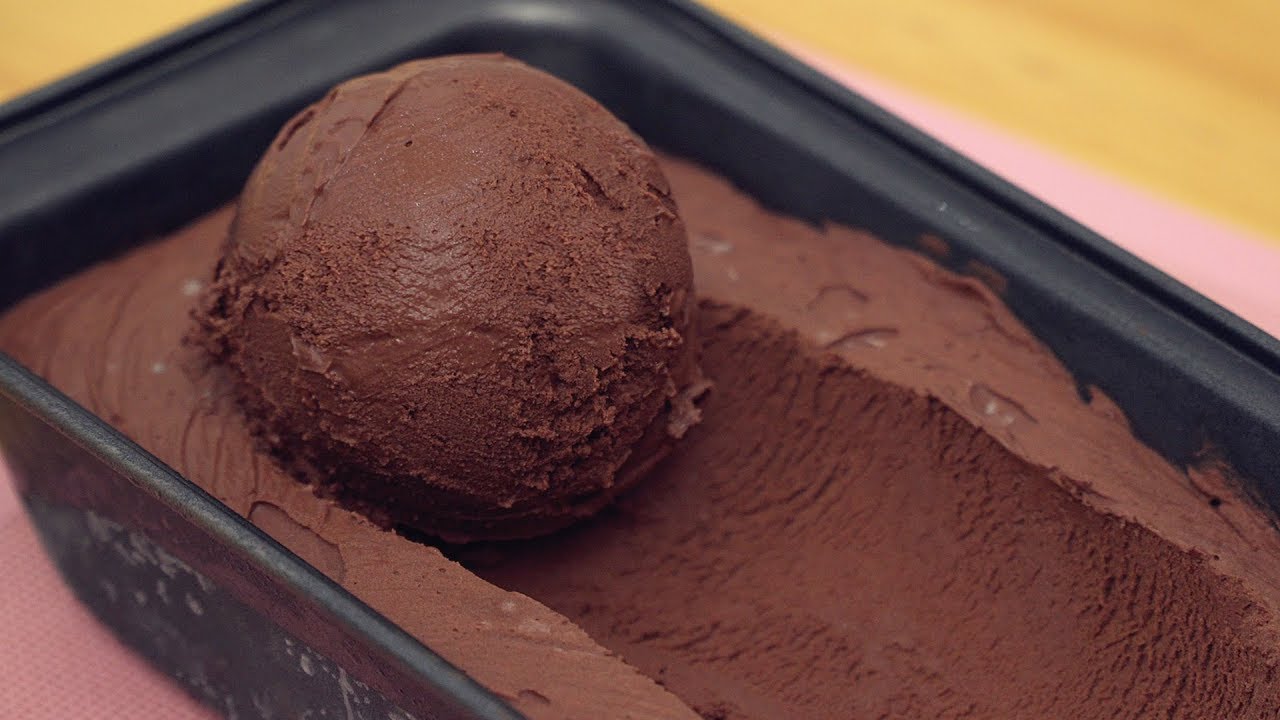
Allowing the froyo to set and freeze properly will give it the perfect creamy and scoopable texture that we all love. The freezing time may vary depending on the temperature of your freezer and the desired level of firmness you prefer. Once it has reached the desired consistency, you’re just one step away from serving and enjoying your homemade chocolate froyo.
Now that your froyo is setting in the freezer, let’s move on to the final step – serving and savoring this delectable frozen treat.
Step 6: Serving and Enjoying the Chocolate Froyo
Congratulations! You’ve made it to the final step – serving and indulging in your homemade chocolate froyo. Here’s how to enjoy this delightful frozen treat:
- Remove from the Freezer: Take the container of chocolate froyo out of the freezer and let it sit at room temperature for a few minutes to soften slightly. This will make it easier to scoop and serve.
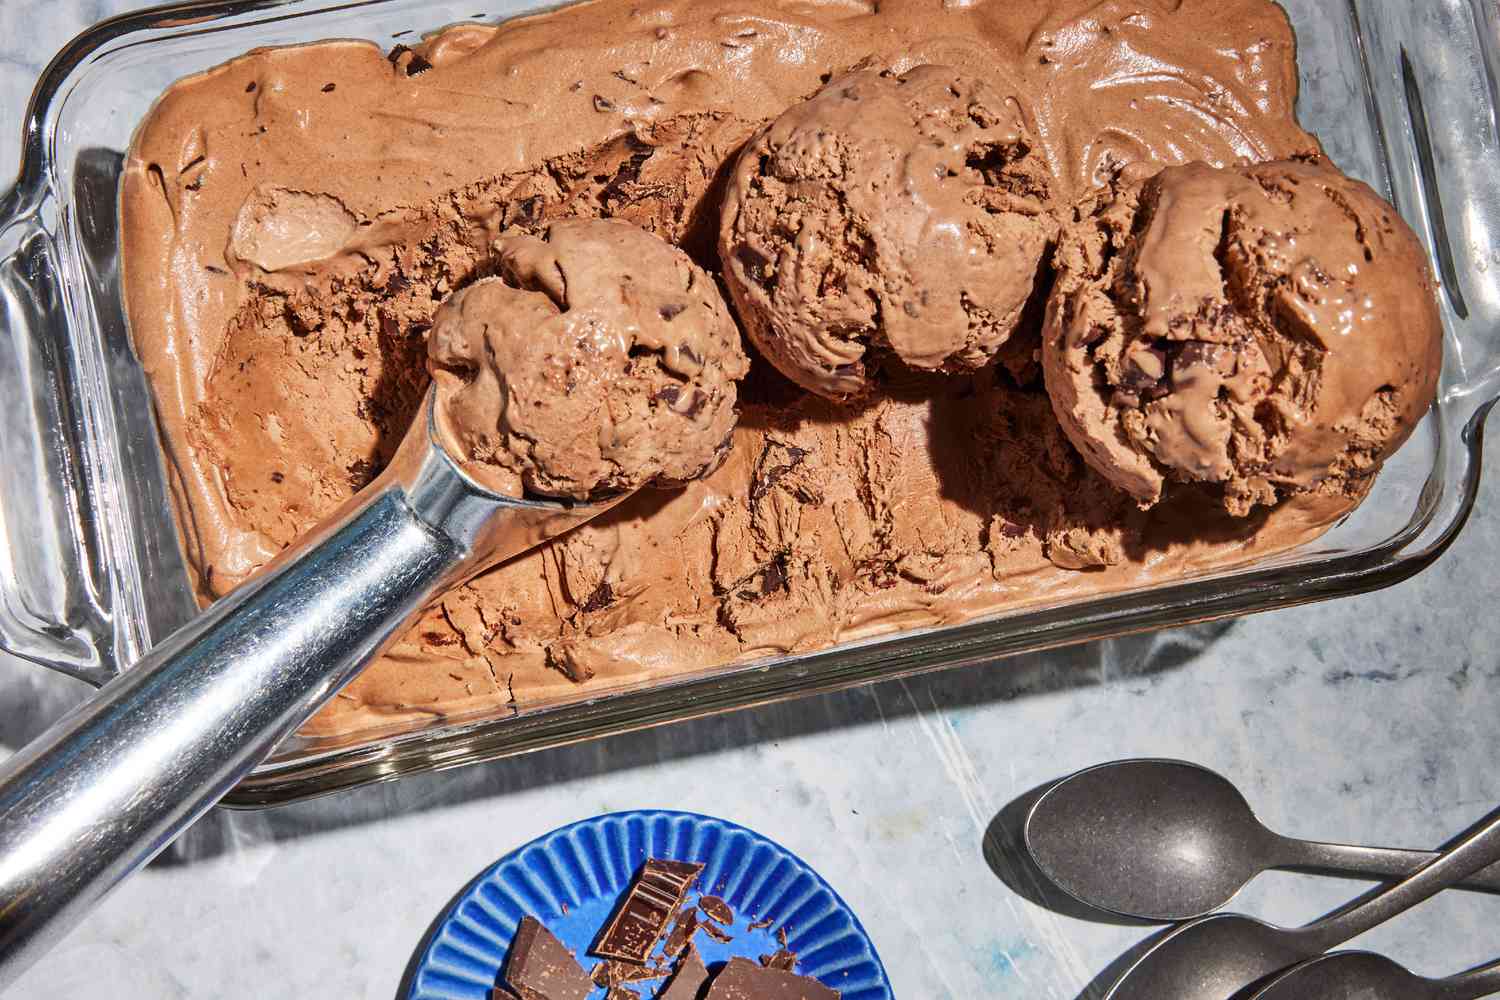
- Scoop into Bowls or Cones: Using an ice cream scoop, portion out the desired amount of froyo into bowls or cones. Create beautiful, rounded scoops for an appealing presentation.
- Add Toppings and Mix-Ins: Get creative with your toppings and mix-ins to customize your chocolate froyo. Sprinkle on some chocolate chips, crushed cookies, or chopped nuts. You can also add fresh fruit, a drizzle of chocolate sauce, or a dollop of whipped cream.
- Serve and Enjoy: Once you’ve added your desired toppings, it’s time to savor the creamy and chocolatey goodness. Grab a spoon, dig in, and enjoy every delicious bite of your homemade chocolate froyo.
Whether you’re enjoying it as a refreshing summer treat, a dessert after dinner, or a special indulgence at any time of the year, your homemade chocolate froyo is bound to bring smiles and satisfy your sweet cravings.
Remember to store any leftover froyo in the freezer, keeping it in the same container with a tightly sealed lid. It can keep well for a couple of weeks, but it’s best to consume it within the first week for optimal taste and texture.
Now that you know how to make chocolate froyo with an ice cream maker, you can experiment with different flavors, mix-ins, and toppings to create your own signature frozen creations. So, gather your loved ones, grab a scoop, and enjoy the delightful experience of homemade chocolate froyo. Bon appétit!
Conclusion
Congratulations on learning how to make delicious chocolate froyo with an ice cream maker! With just a few simple steps, you can create a creamy and indulgent frozen treat that is sure to delight your taste buds. By following the process of preparing the ice cream maker, mixing the ingredients, churning the mixture, incorporating the chocolate flavor, setting and freezing, and finally serving and enjoying, you have all the tools you need to create a homemade dessert that rivals any store-bought version.
One of the best things about making froyo at home is the ability to customize it to your liking. Experiment with different toppings and mix-ins to create unique flavor combinations that suit your preferences. Whether you prefer a classic pairing like chocolate chips or want to add a touch of freshness with berries, the choice is yours!
Not only is making your own chocolate froyo a delicious endeavor, but it can also be a fun activity to do with family and friends. Get creative in the kitchen and let everyone choose their favorite toppings for a personalized dessert experience. It’s a great way to bond over the love of food and make lasting memories.
So, whenever you’re in the mood for a cool and refreshing treat, don’t hesitate to pull out your ice cream maker and whip up a batch of homemade chocolate froyo. The creamy texture, rich chocolate flavor, and endless topping possibilities make it a satisfying choice for any occasion.
Now that you have the knowledge and confidence to make your own chocolate froyo, it’s time to unleash your creativity and enjoy the delicious fruits of your labor. So, gather your ingredients, pre-freeze that ice cream maker, and dive into the world of homemade frozen desserts. Get ready to treat yourself to a velvety and chocolatey delight that will surely impress family, friends, and your own taste buds!


