Introduction
Electric skateboards have gained popularity in recent years due to their versatility, convenience, and eco-friendly nature. However, many people assume that building an electric skateboard can be an expensive and cumbersome task. In reality, with the right guidance and resources, you can create your own electric skateboard for under $300. This article will provide you with step-by-step instructions on how to assemble your own electric skateboard and enjoy the thrill of riding it without breaking the bank.
Building an electric skateboard not only allows you to customize it according to your preferences but also gives you a sense of accomplishment. By following the instructions below, you will be able to select the right parts, assemble the components, and troubleshoot any issues that might arise during the process. No prior technical knowledge is required, as long as you have basic DIY skills and a willingness to learn, you can successfully build your own electric skateboard.
In the upcoming sections, we will guide you through all the essential steps involved in the construction of an electric skateboard. We will discuss selecting the right parts, building the deck, mounting the motor, installing the battery, wiring the electronics, and connecting the remote control. Additionally, we will provide tips on testing and troubleshooting to ensure that your electric skateboard is functioning efficiently and safely.
Remember, safety should always be your top priority. It is crucial to wear appropriate protective gear, such as a helmet, knee pads, and elbow pads, when riding your electric skateboard. Additionally, be mindful of the local regulations and restrictions regarding electric skateboard usage in your area. Respecting traffic rules and being considerate of pedestrians is essential to ensure a safe and enjoyable riding experience.
Without further ado, let’s get started on the exciting journey of building your own electric skateboard under $300!
Choosing the Right Parts
To build an electric skateboard, it is essential to select high-quality parts that are compatible with each other. Choosing the right components will not only ensure the smooth operation of your skateboard but also enhance your riding experience. Here are the key parts you need to consider:
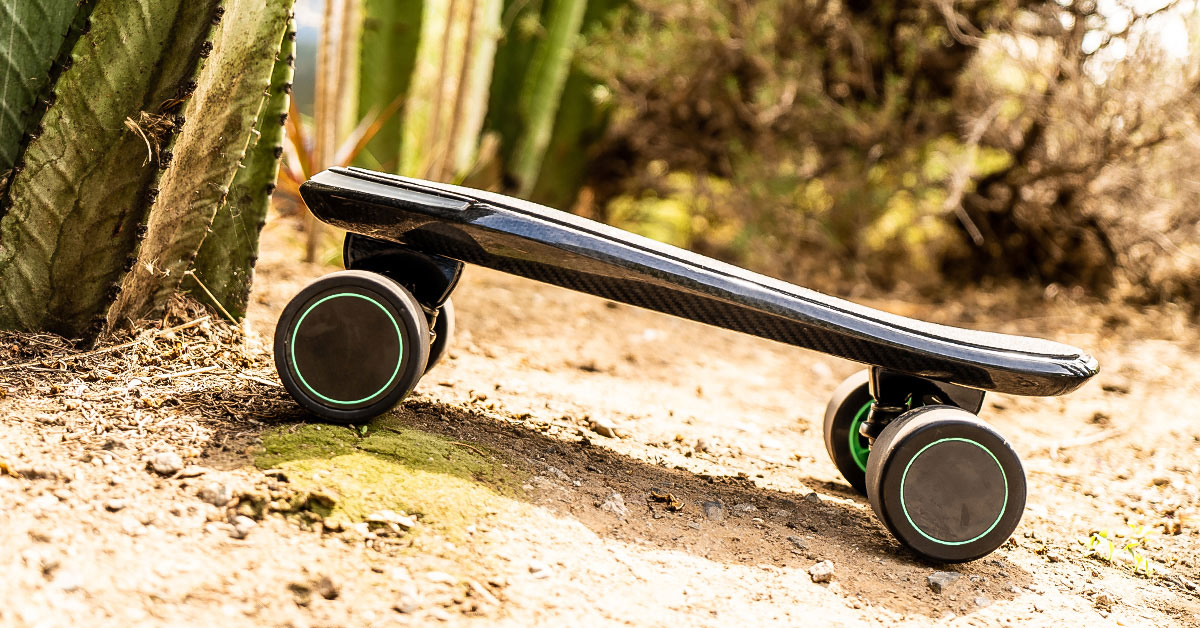
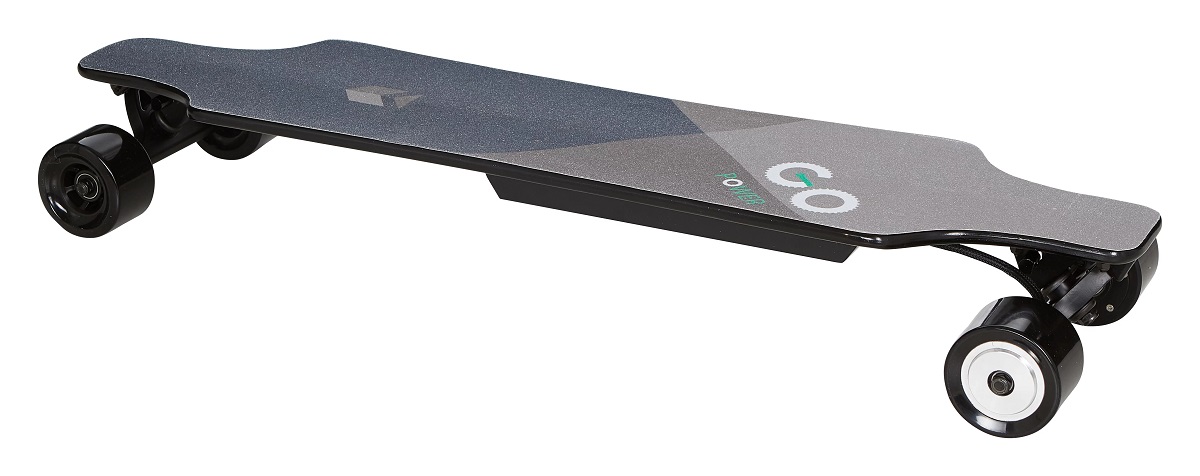
- Deck: The deck is the foundation of your skateboard. Look for a sturdy and durable deck made from materials like maple or bamboo. Consider the size and shape of the deck that suits your riding style or preferences.
- Electric Motor: The motor is the heart of your electric skateboard. Opt for a brushless motor for efficient and reliable performance. The motor’s power rating will determine the speed and acceleration of your skateboard, so choose one that suits your riding needs.
- Battery: Select a lithium-ion battery with a high capacity to ensure a decent range for your electric skateboard. Consider the voltage and ampere-hour (Ah) rating to ensure compatibility with the motor and controller.
- Electronic Speed Controller (ESC): The ESC connects the battery to the motor and regulates the speed and acceleration of your skateboard. Ensure that the ESC is compatible with your motor and battery specifications.
- Remote Control: Look for a reliable and ergonomic remote control that allows you to control the speed and braking of your electric skateboard seamlessly. Make sure it is compatible with your chosen ESC.
- Wheels and Trucks: Choose wheels and trucks that are suitable for your riding style and the terrain you will be riding on. Consider factors such as size, hardness, and stability.
- Bearings: High-quality bearings ensure smooth and efficient rolling of your skateboard wheels. Opt for durable and precision bearings to enhance your riding experience.
- Mounting Hardware: Don’t forget to include the necessary screws, nuts, and risers to attach your components securely to the skateboard deck.
When selecting these parts, consider your budget, riding preferences, and the quality and reliability of the components. Research customer reviews and consult with experienced riders or DIY skateboard builders to get insights into the best parts available in the market.
In the next section, we will guide you through the process of building the deck for your electric skateboard.
Building the Deck
The deck of your electric skateboard serves as the platform for all the other components, so it’s important to build it properly. Follow these steps to construct a sturdy and reliable deck:
- Choose the right materials: Select a deck material that suits your needs and preferences. Popular options include maple wood or bamboo, which offer both durability and flexibility.
- Measure and mark: Determine the desired length and width of your deck, and mark the measurements on the chosen material. Use a ruler or measuring tape for accuracy.
- Cut the deck: Using a jigsaw or a handheld cutting tool, carefully cut along the marked lines to shape the deck. Take your time and ensure smooth and precise cuts.
- Sand the edges: Use sandpaper to smooth out the rough edges of the deck. This will not only enhance the appearance but also prevent any potential splinters.
- Drill holes: Measure and mark the locations for mounting the trucks onto the deck. Use an appropriate-sized drill bit to create holes at the marked spots.
- Apply a sealant: To protect the deck from moisture and prolong its lifespan, apply a sealant or varnish. Follow the manufacturer’s instructions for proper application.
- Attach the components: With the deck prepared, you can now attach the trucks, bearings, and wheels as per the manufacturer’s instructions. Use the mounting hardware to secure the components firmly onto the deck.
Building the deck requires some woodworking skills and precision, but with careful measurements and attention to detail, you can create a solid foundation for your electric skateboard. Remember to wear appropriate safety gear and take your time to ensure a professional and sturdy build.
In the next section, we will guide you through the process of mounting the motor onto the deck.
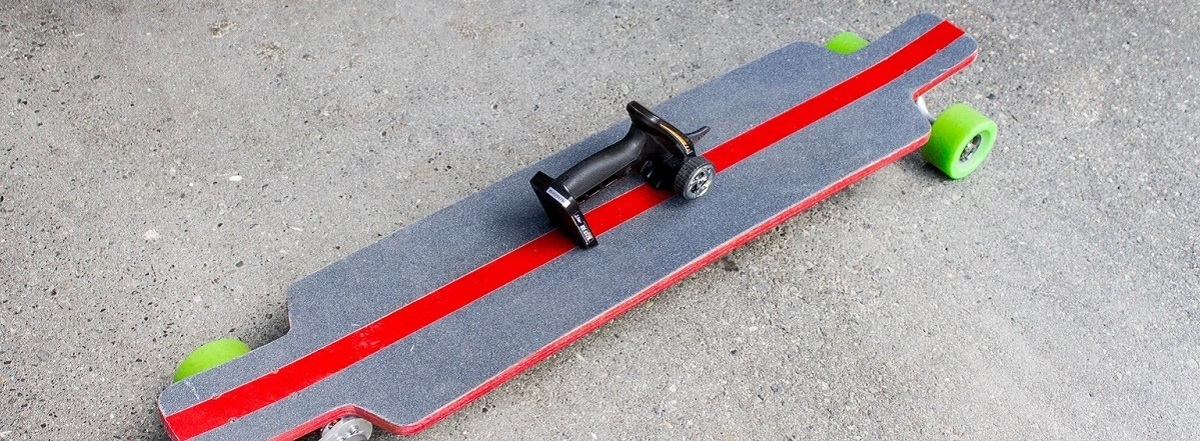
Mounting the Motor
Mounting the motor is a crucial step in building your electric skateboard. The motor is responsible for providing the power and propulsion, so it needs to be securely and properly attached to the deck. Follow these steps to mount the motor effectively:
- Choose the motor placement: Determine the optimal placement for your motor on the deck. It is typically positioned near the rear truck, but the exact location may vary depending on your specific setup and preferences.
- Mark the mounting holes: Once you have decided on the motor placement, mark the positions of the mounting holes on the deck. Use a pencil or marker to ensure clear and visible markings.
- Drill holes: Using an appropriate-sized drill bit, carefully drill holes at the marked positions. Make sure the holes are aligned and clean any excess debris.
- Attach the motor mount: Place the motor mount onto the deck, aligning the mount’s mounting holes with the drilled holes. Secure the mount in place using the provided screws, bolts, or nuts.
- Align the motor: Position the motor onto the motor mount, aligning the mounting holes on the motor with the corresponding holes on the mount. Ensure that the motor is in the correct orientation for the belt or gear drive system.
- Secure the motor: Use the provided screws or bolts to secure the motor onto the motor mount. Tighten them firmly but avoid overtightening to prevent damage to the motor or mount.
- Check for alignment: Verify that the motor is properly aligned with the wheels and pulley system. It should be centered and parallel to the deck for optimal performance.
- Double-check the connections: Ensure that there are no loose connections between the motor and the electronic speed controller (ESC). Check that the wires are properly connected and secured.
By following these steps, you can securely mount the motor onto your skateboard deck, allowing for efficient power transfer and smooth operation. Take your time during the process to ensure accuracy and double-check the connections for a reliable build.
In the next section, we will guide you through the process of installing the battery for your electric skateboard.
Installing the Battery
Installing the battery is a crucial step in building your electric skateboard. The battery provides the power source for your skateboard’s motor and electronics, so it needs to be installed safely and securely. Follow these steps to install the battery effectively:
- Choose the battery location: Determine the most suitable and balanced location on the skateboard deck to install the battery. It should be positioned in a way that minimizes any impact on the skateboard’s overall weight distribution and stability.
- Prepare the deck: Clean the selected area on the deck to ensure a smooth and dirt-free surface for the battery to be attached. This will help with adhesion and prevent any damage to the deck.
- Apply adhesive: Depending on the type of battery and mounting method, apply an adhesive or Velcro to the bottom of the battery or battery case. This will help secure the battery onto the deck.
- Position the battery: Carefully place the battery onto the prepared area, ensuring proper alignment. Press down firmly to secure the battery, making sure it is firmly in place.
- Check for clearance: Make sure the battery is properly positioned, allowing for sufficient clearance from any moving parts or components, such as the motor and trucks. This will prevent any interference during operation.
- Secure the battery: Use additional straps, adhesive tape, or mounting brackets as necessary to provide extra security and prevent any movement or dislodging of the battery during use.
- Test the battery connection: Double-check the wiring connection between the battery and the electronic speed controller (ESC). Ensure that the wires are securely connected and that there is no risk of them coming loose during operation.
- Route the wires: Neatly route the wires from the battery to the ESC, making sure they are secured and protected from any potential damage or entanglement. Use zip ties or wire loom to manage and organize the wires.
Properly installing the battery is essential for the safety and performance of your electric skateboard. Take your time during this step to ensure a secure and reliable connection. Avoid any sharp objects or excessive force that could damage the battery or wiring. Always refer to the manufacturer’s instructions for specific guidance regarding your chosen battery and mounting method.
In the next section, we will guide you through the process of wiring the electronics for your electric skateboard.
Wiring the Electronics
Wiring the electronics of your electric skateboard is a critical step that ensures proper connectivity and functionality. It involves connecting the electronic speed controller (ESC), battery, receiver, and motor. Follow these steps to wire the electronics effectively:
- Locate the ESC: Identify the correct position for mounting the ESC on the skateboard deck. Ensure it is easily accessible and well-protected from any potential impacts or water exposure.
- Connect the ESC to the battery: Use the appropriate connector to securely connect the ESC to the battery. Ensure that the positive and negative terminals are correctly aligned and fastened.
- Connect the ESC to the motor: Using the provided motor connector, attach the wires from the ESC to the motor. Maintain the correct polarity by connecting the wires in the correct sequence.
- Connect the receiver: Identify the receiver, which is the device that communicates with the remote control. Connect the receiver to the ESC using the designated port or connectors, ensuring a secure and reliable connection.
- Secure the wiring: Use zip ties or adhesive tape to secure and organize the wires, preventing any entanglement or contact with moving parts. Keeping the wiring neat and well-protected is crucial for safety and the overall aesthetics of your electric skateboard.
- Test the connections: Before fully assembling the skateboard, test the connections by powering it on and checking for proper functionality. Ensure that the motor responds to the remote control inputs and that there are no loose connections or wiring issues.
- Waterproofing (optional): If you plan to ride in wet conditions, consider waterproofing the exposed electronic components. Apply conformal coating or use waterproof enclosures to protect the ESC, receiver, and any other vulnerable parts.
By following these steps, you can effectively wire the electronics of your electric skateboard. Take your time to ensure proper connections and test the functionality before proceeding with the final assembly. It is essential to double-check the wiring and connections to avoid any potential issues while riding.
In the next section, we will guide you through the process of connecting the remote control for your electric skateboard.
Connecting the Remote Control
Connecting the remote control is the final step in setting up your electric skateboard. The remote control allows you to control the speed and braking of your skateboard wirelessly. Follow these steps to connect the remote control effectively:
- Power on the remote control: Start by powering on the remote control according to the manufacturer’s instructions. Usually, this involves pressing and holding the power button.
- Power on the receiver: Locate the receiver, which is connected to the electronic speed controller (ESC). Power it on using the designated power source, which is typically the skateboard’s battery.
- Synchronization: Follow the instructions provided by the remote control and receiver manufacturer to synchronize or pair the two devices. This is usually done by pressing specific buttons or switches in a particular sequence.
- Verify the connection: Once synchronized, verify that the remote control is successfully connected to the receiver. Testing the throttle and brake functions should result in the motor responding accordingly.
- Check signal range: Walk a few meters away from the skateboard while testing the remote control to ensure that the signal range is sufficient. If the signal weakens or disconnects, make adjustments or investigate potential interference sources.
- Familiarize with controls: Take some time to become familiar with the controls on the remote. Understand how to accelerate, brake, and switch between different speed modes if applicable.
- Test and adjust: Test the remote control on an open and safe area, gradually increasing the speed to ensure smooth and responsive operation. If necessary, adjust the control settings, such as sensitivity or acceleration curve, to suit your riding preferences.
Connecting the remote control allows you to have full control over your electric skateboard’s speed and braking, enriching your riding experience. Ensure that the remote control’s battery is adequately charged before each ride and follow the manufacturer’s guidelines for maintenance and care.
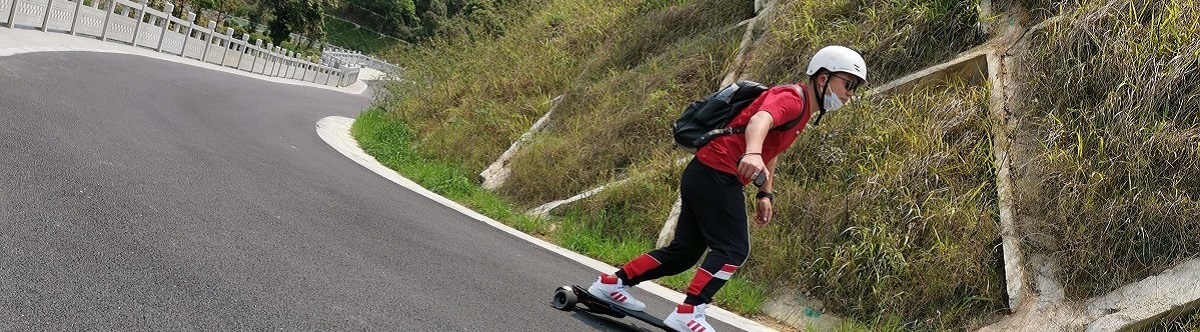
Now that your electric skateboard is fully functional and ready to ride, be sure to test it out in a safe and controlled environment. Gradually build your confidence and always prioritize safety by wearing protective gear and following local traffic laws and regulations.
Testing and Troubleshooting
After building your electric skateboard and connecting all the components, it’s crucial to thoroughly test it before taking it out for a ride. Testing allows you to identify any issues or potential areas of improvement. Follow these steps for effective testing and troubleshooting:
- Initial checks: Conduct a visual inspection of all components to ensure they are securely fastened and properly connected. Check for any loose wires, damaged parts, or signs of wear.
- Battery performance: Test the battery performance by fully charging it and conducting a range test. Pay attention to any unusual fluctuations in voltage or decreased range, as these could indicate battery issues.
- Motor and ESC: Test the motor and ESC by gradually accelerating and braking in a controlled environment. Make sure the motor responds smoothly to the remote control inputs and that the ESC properly regulates the speed and braking.
- Remote control functionality: Verify that the remote control is working correctly by testing its responsiveness and range. Ensure that all the controls function as intended and that there are no signal dropouts.
- Overall performance: Take the skateboard for a short ride to evaluate its overall performance. Pay attention to any strange noises, vibrations, or excessive heating. Uneven acceleration or braking may indicate issues with the motor, ESC, or braking system.
- Troubleshooting: If you encounter any issues during testing, refer to the manufacturer’s instructions, user manuals, or online resources to troubleshoot the specific problem. Common issues may include connectivity problems, motor malfunctions, or battery-related issues.
- Seek professional help if needed: If you are unable to resolve the issue on your own, consider seeking assistance from a professional electric skateboard technician or contacting customer support from the respective manufacturers for expert advice and guidance.
Taking the time to thoroughly test and troubleshoot your electric skateboard ensures that it is safe, reliable, and performs optimally. Regular maintenance and periodic checks will help prolong the lifespan of your skateboard and prevent any potential problems during rides.
Remember, safety should always be your priority. Always wear appropriate protective gear, follow traffic rules, and exercise caution when riding your electric skateboard.
Now that you have successfully built and tested your electric skateboard, it’s time to hit the streets and enjoy the thrill of riding on your own creation!
Conclusion
Congratulations on successfully building your own electric skateboard under $300! By following the step-by-step instructions, you have created a customized electric skateboard that suits your preferences and budget. This DIY project not only saves you money but also provides a sense of accomplishment and a unique riding experience.
Throughout the process, you learned how to choose the right parts, build the deck, mount the motor, install the battery, wire the electronics, connect the remote control, and perform thorough testing and troubleshooting. Each step was crucial to the overall functionality and performance of your electric skateboard.
To ensure a safe and enjoyable ride, remember to always wear protective gear, follow local regulations, and ride responsibly. Regular maintenance of your electric skateboard will help prolong its lifespan and prevent any potential issues.
Building an electric skateboard is a rewarding and fulfilling experience. It allows you to explore your creativity, enhance your technical skills, and enjoy the thrill of riding on a personal creation. So, get out there, hit the streets, and have a fantastic time riding your own electric skateboard!