Introduction
Welcome to the fascinating world of 3D scanning! Have you ever wondered how those intricate 3D models are created? Well, you’ll be surprised to know that you can actually make your own 3D scanner using items that you probably already have lying around the house. Sounds exciting, right?
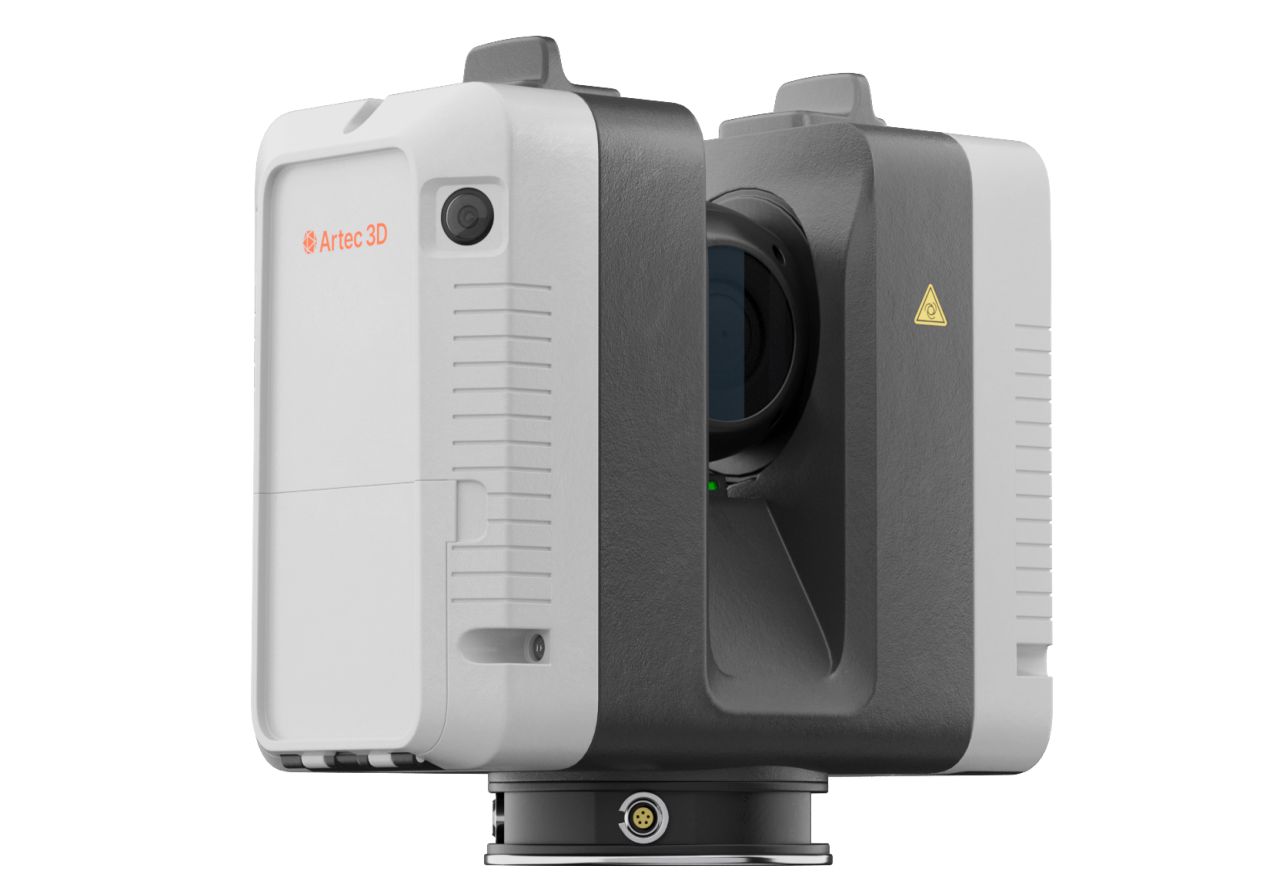
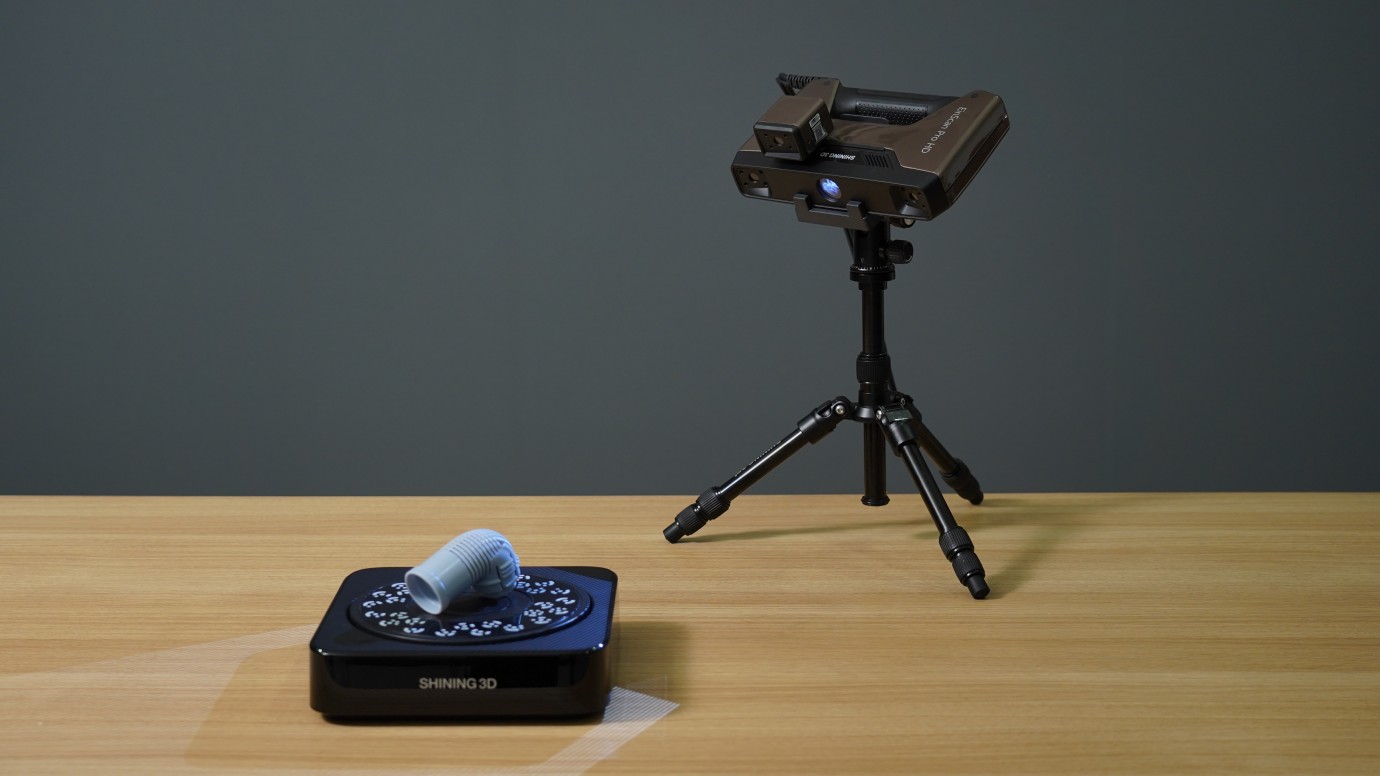
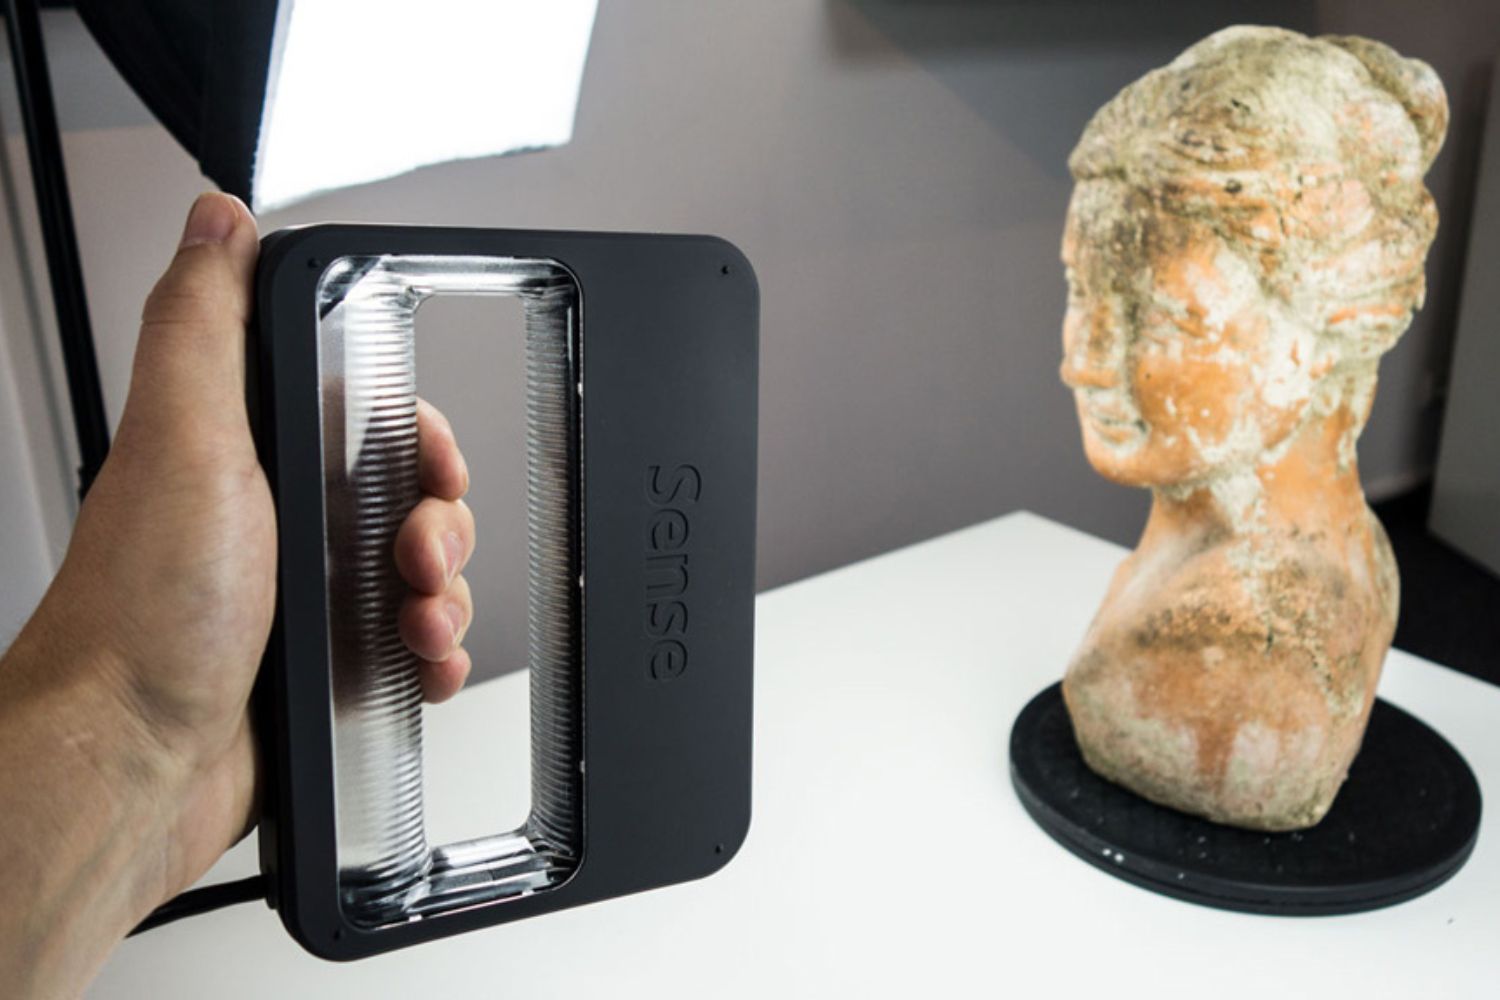
3D scanning is the process of capturing the shape and texture of real-world objects and converting them into digital models. It has a wide range of applications, from industrial design and manufacturing to gaming and virtual reality. Professional 3D scanners can be quite expensive, but with a little creativity and resourcefulness, you can build your own 3D scanner using readily available materials.
In this article, we will guide you through the process of creating a simple yet effective 3D scanner using items you can find around your house. You don’t need to be a hardware or software expert to embark on this project – just follow along the steps and let your imagination run wild!
Before we get started, it’s important to note that the quality of your 3D scans will ultimately depend on the equipment you use, as well as your scanning technique. Nevertheless, this DIY 3D scanner can serve as an excellent starting point for beginners who are interested in experimenting with 3D scanning technology.
In the next sections, we’ll provide a list of materials you’ll need, along with a step-by-step guide on how to build and use your homemade 3D scanner. So, grab your tools and let’s dive into the wonderful world of DIY 3D scanning!
Materials Needed
Before you begin building your homemade 3D scanner, gather the following materials:
- A digital camera: You’ll need a camera capable of capturing high-resolution images. A DSLR or even a smartphone with a good camera will do the job.
- A light source: Ideally, you should have a set of bright and uniform lights to ensure proper illumination of the object you wish to scan.
- A sturdy frame: You’ll need to build a frame to hold your camera and light source in a fixed position during the scanning process. This can be made using PVC pipes, wood, or any other sturdy material you have at hand.
- A tripod or stand: This will help keep your camera steady and ensure consistent positioning throughout the scanning process.
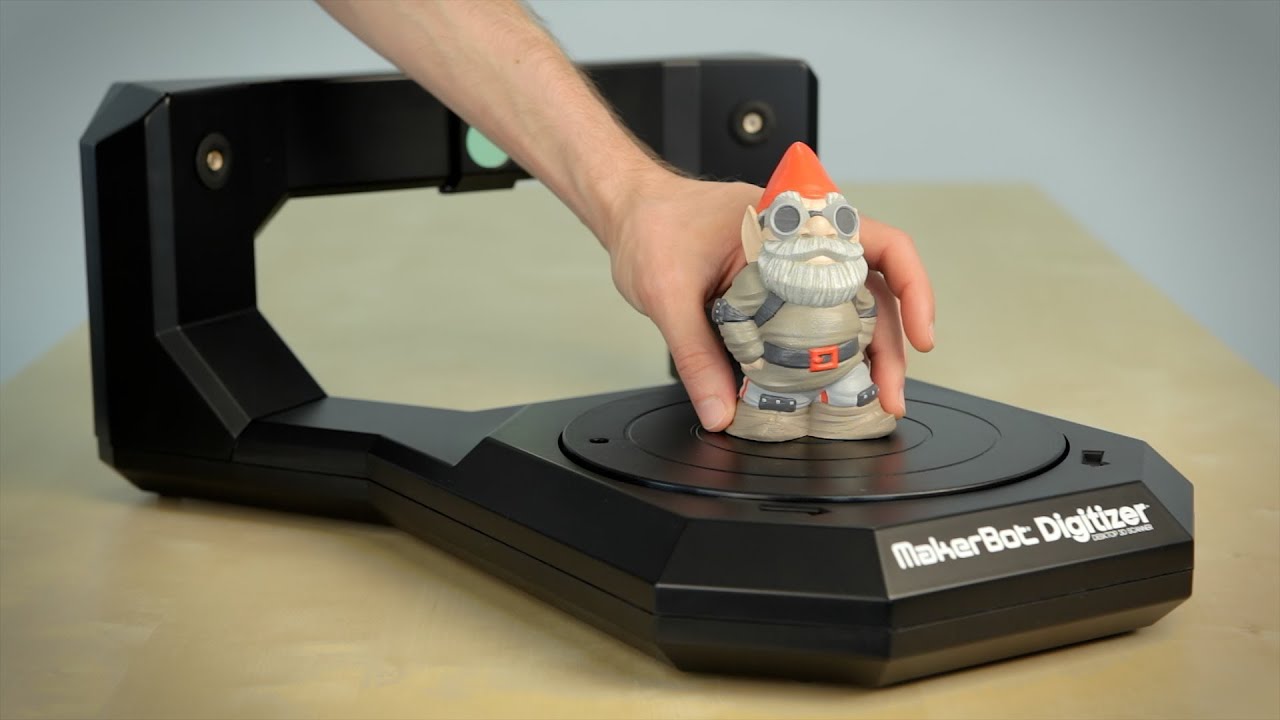
- A turntable (optional): While not essential, a rotating platform or turntable can make the scanning process more efficient by automating the object rotation.
- Calibration targets: These are reference objects or markers that will help align and calibrate your camera and software. You can use simple objects like checkerboard patterns or printed calibration targets.
- Computer and software: You’ll need a computer with decent processing power and 3D scanning software installed. There are various free and paid software options available online, such as Meshroom, 3DF Zephyr, and Autodesk ReCap.
- USB cables, power adapters, and extension cords: These are essential for connecting and powering your camera, lights, and other devices.
Remember that the specific materials and tools you use may vary depending on your resources and preferences. Feel free to improvise and adapt the design based on what you have available.
With these materials on hand, you’re now ready to start building your own 3D scanner. In the next section, we’ll guide you through the step-by-step process of setting up your scanner and capturing the images. Get ready to unleash your creativity and dive into the world of DIY 3D scanning!
Step 1: Choose a Camera
The first step in building your homemade 3D scanner is to choose a suitable camera. The camera you select will play a crucial role in capturing high-quality images of the object you wish to scan. Here are a few factors to consider when making your decision:
- Resolution: Look for a camera with a high resolution, preferably above 12 megapixels. This will ensure that you capture detailed images that can be accurately converted into a 3D model.
- Manual controls: It’s preferable to have a camera with manual control options, such as ISO, aperture, and shutter speed. This will give you greater control over the image quality and allow you to optimize the settings for your specific scanning environment.
- Connectivity: Ensure that the camera you choose has a USB connection or other means of easily connecting it to your computer for data transfer.
- Compatibility: Check if the camera is compatible with the 3D scanning software you plan to use. Some software programs may have specific requirements or limitations regarding camera compatibility.
Keep in mind that while DSLR cameras typically provide excellent image quality and manual controls, they can be more expensive. However, you can also achieve good results using a high-quality smartphone camera if you’re on a budget.
Once you have chosen a camera, ensure that it is fully charged or connected to a power source before starting the scanning process. Additionally, consider using a tripod or camera mount to keep the camera stable and minimize any blurriness in the images.
Now that you have selected a camera, you’re ready to move on to the next step: selecting a light source. This will determine the quality of the lighting in your scans and greatly impact the overall results of your DIY 3D scanner. Read on to discover how to choose the right light source for your scanning setup!
Step 2: Select a Light Source
Choosing the right light source is crucial when building your homemade 3D scanner. The quality and consistency of the lighting will greatly affect the accuracy and detail of your scans. Here are some considerations to keep in mind when selecting a light source:
- Brightness: Look for a light source that is bright enough to provide adequate illumination for your object. This will ensure that the camera captures clear and detailed images. LED lights are a popular choice due to their brightness and energy efficiency.
- Uniformity: It’s important to have consistent lighting across the entire object to avoid shadows and achieve accurate 3D scanning results. Diffusing the light or using multiple light sources can help distribute the light evenly.
- Color temperature: Consider the color temperature of the light source, as it can impact the colors captured in your scans. Daylight or neutral white lighting is usually preferred for accurate color reproduction.
- Stability: Ensure that the light source is stable and won’t cause any vibrations or flickering during the scanning process. Stability is crucial for capturing sharp and clear images.
Common light sources for DIY 3D scanners include desk lamps, LED light panels, or even natural daylight if your scanning setup allows for it. You may need to experiment with different light positions and angles to achieve the best results for your specific scanning environment.
Once you have chosen your light source, position it in a way that provides uniform lighting on the object you plan to scan. Avoid direct shadows and reflections that can distort the scans. Sometimes using a light tent or diffuser can help soften the lighting and minimize shadows.
Now that you have selected a suitable light source, you’re ready to move on to the next step: building the frame for your 3D scanner. In the following section, we will guide you through the process of constructing a sturdy frame that will securely hold your camera and light source.
Step 3: Build the Frame
In this step, we will guide you through the process of building a sturdy frame that will hold your camera and light source in a fixed position during the scanning process. This frame will ensure stability and consistent positioning, resulting in accurate and reliable scans. Here’s what you need to do:
- Plan the design: Consider the size and weight of your camera and light source as you plan the dimensions of your frame. Take into account the space needed for the object you plan to scan and the ability to adjust the camera’s height and angle if necessary.
- Gather the materials: Depending on your preferences and availability, you can build the frame using PVC pipes, wooden planks, or any other sturdy material. Measure and cut the materials according to your design plan.
- Assemble the frame: Use connectors, screws, or adhesive to securely join the frame components together. Make sure the frame is stable and can support the weight of the camera and light source.
- Provide adjustable features: It can be beneficial to incorporate adjustable features into your frame design. This allows you to fine-tune the camera’s position and angle for different objects or scanning scenarios.
- Attach the turntable (optional): If you’re using a rotating platform or turntable for automated scanning, attach it securely to the frame. Ensure that it can rotate smoothly and won’t create any vibrations that could affect the scan quality.
- Test the stability: Once the frame is assembled, check its stability by gently shaking it. If there is any wobbling or lack of rigidity, reinforce the joints or make necessary adjustments to ensure a sturdy structure.
Remember that the frame’s primary purpose is to hold the camera and light source in a fixed position, so prioritize stability and adjustability in your design. Additionally, consider any other features or modifications that suit your specific scanning needs.
With the frame built and ready, you have reached an important milestone in creating your homemade 3D scanner. In the next step, we will guide you on how to mount the camera and light source onto the frame, getting you closer to capturing stunning 3D scans. Stay tuned!
Step 4: Mount the Camera and Light Source
Now that you have built a sturdy frame for your homemade 3D scanner, it’s time to mount the camera and light source onto the frame. Properly securing these components will ensure consistent positioning and stability throughout the scanning process. Follow these steps to mount the camera and light source:
- Position the camera: Determine the optimal position for the camera within the frame. Consider the size and shape of the object you plan to scan. Mount the camera onto the frame using clamps, brackets, or any other suitable mounting mechanism.
- Adjust the camera angle: Depending on the scanning scenario, you may need to adjust the camera angle. Make sure it is pointing directly at the object and focused on the area of interest. Take into account the field of view required to capture the entire object.
- Fix the camera position: Once you have positioned the camera, firmly secure it in place to prevent any movement or shaking during the scanning process. Double-check that all connections are tightened and the camera is stable.
- Position the light source: Determine the optimal position for the light source within the frame. Consider the direction and intensity of the light needed for effective scanning. Mount the light source onto the frame, ensuring that it is positioned to provide uniform lighting on the object.
- Adjust the light angle and intensity: Experiment with different angles and distances to achieve the best lighting conditions for your scans. Avoid harsh shadows or reflections that can affect the quality of the captured images.
- Secure the light source: Once you have found the desired position and angle for the light source, secure it in place to maintain consistency throughout the scanning process. Make sure it is firmly attached and won’t move during the scans.
Take your time to align the camera and light source properly, as their positions are essential for accurate and high-quality 3D scans. Once everything is securely mounted and adjusted, you’re ready to move on to the next step: capturing the images of the object. This is where the magic happens, so stay tuned!
Step 5: Capture the Images
With your camera and light source securely mounted, it’s time to start capturing the images for your 3D scanning project. This step is crucial, as it involves capturing a series of images from different angles to create a comprehensive 3D model of the object. Follow these steps to capture the images effectively:
- Prepare the object: Ensure that the object you wish to scan is clean and free from any debris or dust. This will help capture clear and detailed images.
- Set up the turntable (if applicable): If you’re using a rotating platform or turntable, position the object on it. This will allow for automated rotation, making it easier to capture images from various angles.
- Position the camera: Double-check that the camera is properly aligned and focused on the object. Adjust the height, angle, and distance as necessary to capture the entire object in the frame.
- Define the scanning path: Plan the path you will follow while capturing the images. This can be a circular motion around the object or a predefined pattern depending on the object’s shape and complexity.
- Capture the images: Start taking photos of the object, ensuring that you cover all angles. Maintain a consistent distance and angle between the camera and object to ensure accurate registration of the images during the scanning process.
- Vary the lighting: To capture different texture details, experiment with different lighting conditions. This can be achieved by adjusting the light source position, angle, or intensity between shots.
- Avoid camera shake: It’s important to minimize camera shake during the image capture process. Use a remote shutter release or timer function to avoid physical contact with the camera, which can lead to blurry images.
- Ensure overlap: Make sure each image overlaps with the previous one to allow for accurate alignment and reconstruction of the 3D model. Aim for approximately 30-50% overlap between images.
- Verify image quality: Periodically review the images as you capture them to ensure they are sharp, well-lit, and correctly focused. Delete any blurry or unusable images to maintain a high-quality dataset.
Remember, the more images you capture from different angles, the more accurate and detailed your resulting 3D model will be. Take your time during this step to ensure you capture the object comprehensively. Once you have completed capturing the images, it’s time to move on to the next step: processing the images to generate the 3D model. Exciting times lie ahead, so let’s continue the journey!
Step 6: Process the Images
After capturing a series of images for your 3D scanning project, it’s time to process the images to generate a 3D model. This step involves using specialized software to align the images, calculate the geometry, and create a digital representation of the object. Follow these steps to process the images effectively:
- Transfer the images: Transfer the captured images from your camera to your computer. Make sure to organize them in a folder, keeping them in the correct sequence for easy processing.
- Choose appropriate software: Select a 3D scanning software that is compatible with your camera and meets your specific requirements. There are a variety of free and paid software options available, such as Meshroom, 3DF Zephyr, and Autodesk ReCap.
- Import the images: Import the images into the software. Most software programs have an option to batch import or select multiple images at once.
- Image alignment: The software will automatically align the images based on common features and markers. This step is crucial for accurately merging the images into a single 3D model.
- Generate the 3D model: Once the images are aligned, the software will use algorithms to calculate the geometry and create the 3D model. The time required for this process depends on the complexity of the object and the computational power of your computer.
- Refine the model: After the initial model is generated, you may need to refine and optimize it. This can be done by smoothing the surfaces, filling gaps, and reducing noise or artifacts in the model.
- Export the 3D model: Once you’re satisfied with the result, export the final 3D model in a compatible file format, such as STL or OBJ. This will allow you to use the model in various applications, such as 3D printing or visualization software.
- Save the project: It’s always a good practice to save your project file in the software format used by the 3D scanning software. This will allow you to make changes or further refine the model if needed in the future.
Processing the images requires patience and computational resources. The time taken and the quality of the resulting 3D model depend on the complexity of the object, the number of images captured, and the performance of your computer. It’s important to follow the software’s instructions and guidelines while processing the images for the best possible outcome.
Now that you have successfully processed the images and generated a 3D model, it’s time to take the next step: creating the final 3D model. In the following section, we will guide you through the process of creating the 3D model from the processed images. Exciting times lie ahead, so let’s continue our 3D scanning journey!
Step 7: Create the 3D Model
After processing the captured images, it’s time to take the final step and create a 3D model from the processed data. This step involves converting the processed images into a digital representation that can be used for various applications. Follow these steps to create the 3D model:
- Import the processed data: Load the processed data, including the aligned and refined images, into a 3D modeling software or program. Ensure that the software supports the file format generated by the 3D scanning software.
- Perform surface reconstruction: Use the software’s tools or algorithms to convert the captured data points into a solid surface. The software will analyze the depth information from the images and reconstruct the physical shape of the object.
- Clean and refine the model: Once the initial surface is created, you may need to clean and refine the model. This involves smoothing the surfaces, filling any holes or gaps, and removing any unwanted artifacts or noise from the model.
- Add textures and colors (optional): If you captured color information during the scanning process, you can apply textures and colors to the 3D model. This will enhance its visual appearance and make it more realistic.
- Check and adjust the model: Carefully review the model from different angles, ensuring that it accurately represents the scanned object. Make necessary adjustments, such as scaling or orientation, to align the model with the actual object.
- Save and export the 3D model: Once you’re satisfied with the final result, save the 3D model in a compatible file format, such as STL, OBJ, or PLY. This will allow you to use the model in various applications, including 3D printing, virtual reality, or rendering software.
Creating the 3D model requires attention to detail and may involve several iterations of refining and adjusting. Experiment with different settings and tools offered by the software to achieve the desired level of accuracy and quality for your model.
Congratulations! You have successfully completed all the necessary steps to create a 3D model using your homemade 3D scanner. From selecting a camera and light source, building the frame, capturing the images, processing the data, and finally creating the 3D model, you have embarked on a remarkable journey into the world of 3D scanning.
Remember, practice makes perfect. As you gain more experience, you can further refine your scanning technique and explore more advanced scanning methods. So keep experimenting, expanding your knowledge, and pushing the boundaries of what you can achieve with your homemade 3D scanner. Happy scanning!
Conclusion
Congratulations on completing your DIY 3D scanner! Through this journey, you discovered how to build a simple yet effective 3D scanning setup using items found around your house. By following the steps outlined in this guide, you now possess the knowledge and skills to capture and process images to create your own 3D models.
Building a homemade 3D scanner allows you to explore the fascinating world of 3D scanning at a fraction of the cost of professional equipment. While the quality of your scans will depend on the equipment and techniques used, the experience gained through this DIY project is invaluable.
Remember to continue experimenting and refining your scanning setup. Explore different lighting conditions, camera settings, and software options to improve the quality and accuracy of your 3D models. With time, practice, and a dash of creativity, you can create stunning 3D scans of various objects.
The applications of 3D scanning are vast and exciting. From 3D printing and product design to animation and virtual reality, the ability to capture real-world objects in a digital format opens up endless possibilities. Whether you are an artist, designer, engineer, or simply a curious enthusiast, your homemade 3D scanner offers a gateway into this transformative technology.
Remember, the joy of DIY projects lies not only in the end result but in the process itself. The skills and knowledge acquired during this journey can be applied to future projects and further exploration of the world of 3D scanning. So, continue to learn, grow, and let your creativity soar!
Thank you for joining us on this DIY 3D scanning adventure. Now, it’s time to unleash your imagination and bring your ideas to life in the realm of 3D. Happy scanning!


