Introduction
Welcome to the world of Discord, a popular communication platform that allows you to connect with friends, communities, and like-minded individuals. Whether you’re a gamer, a hobbyist, or simply looking for a place to hang out, Discord offers a variety of servers tailored to your interests. But how do you invite someone to join your Discord server?
In this article, we will guide you through the step-by-step process of inviting others to your Discord server. From generating an invitation link to customizing the invitation settings, we’ve got you covered. By the end of this guide, you’ll be able to effortlessly invite friends, colleagues, or fellow enthusiasts to join your thriving Discord community.
Before we dive into the details, it’s important to note that to invite someone to your Discord server, you need to have the appropriate permissions as a server administrator or have been granted the necessary invite privileges. Now, let’s get started on creating and sharing those invitation links!
Step 1: Generate an invitation link
The first step in inviting someone to your Discord server is generating an invitation link. This link allows others to join your server with just a click. Here’s how you can generate an invitation link:
- Open the Discord application or access the Discord web version.
- Ensure that you are logged into your account and have the necessary permissions.
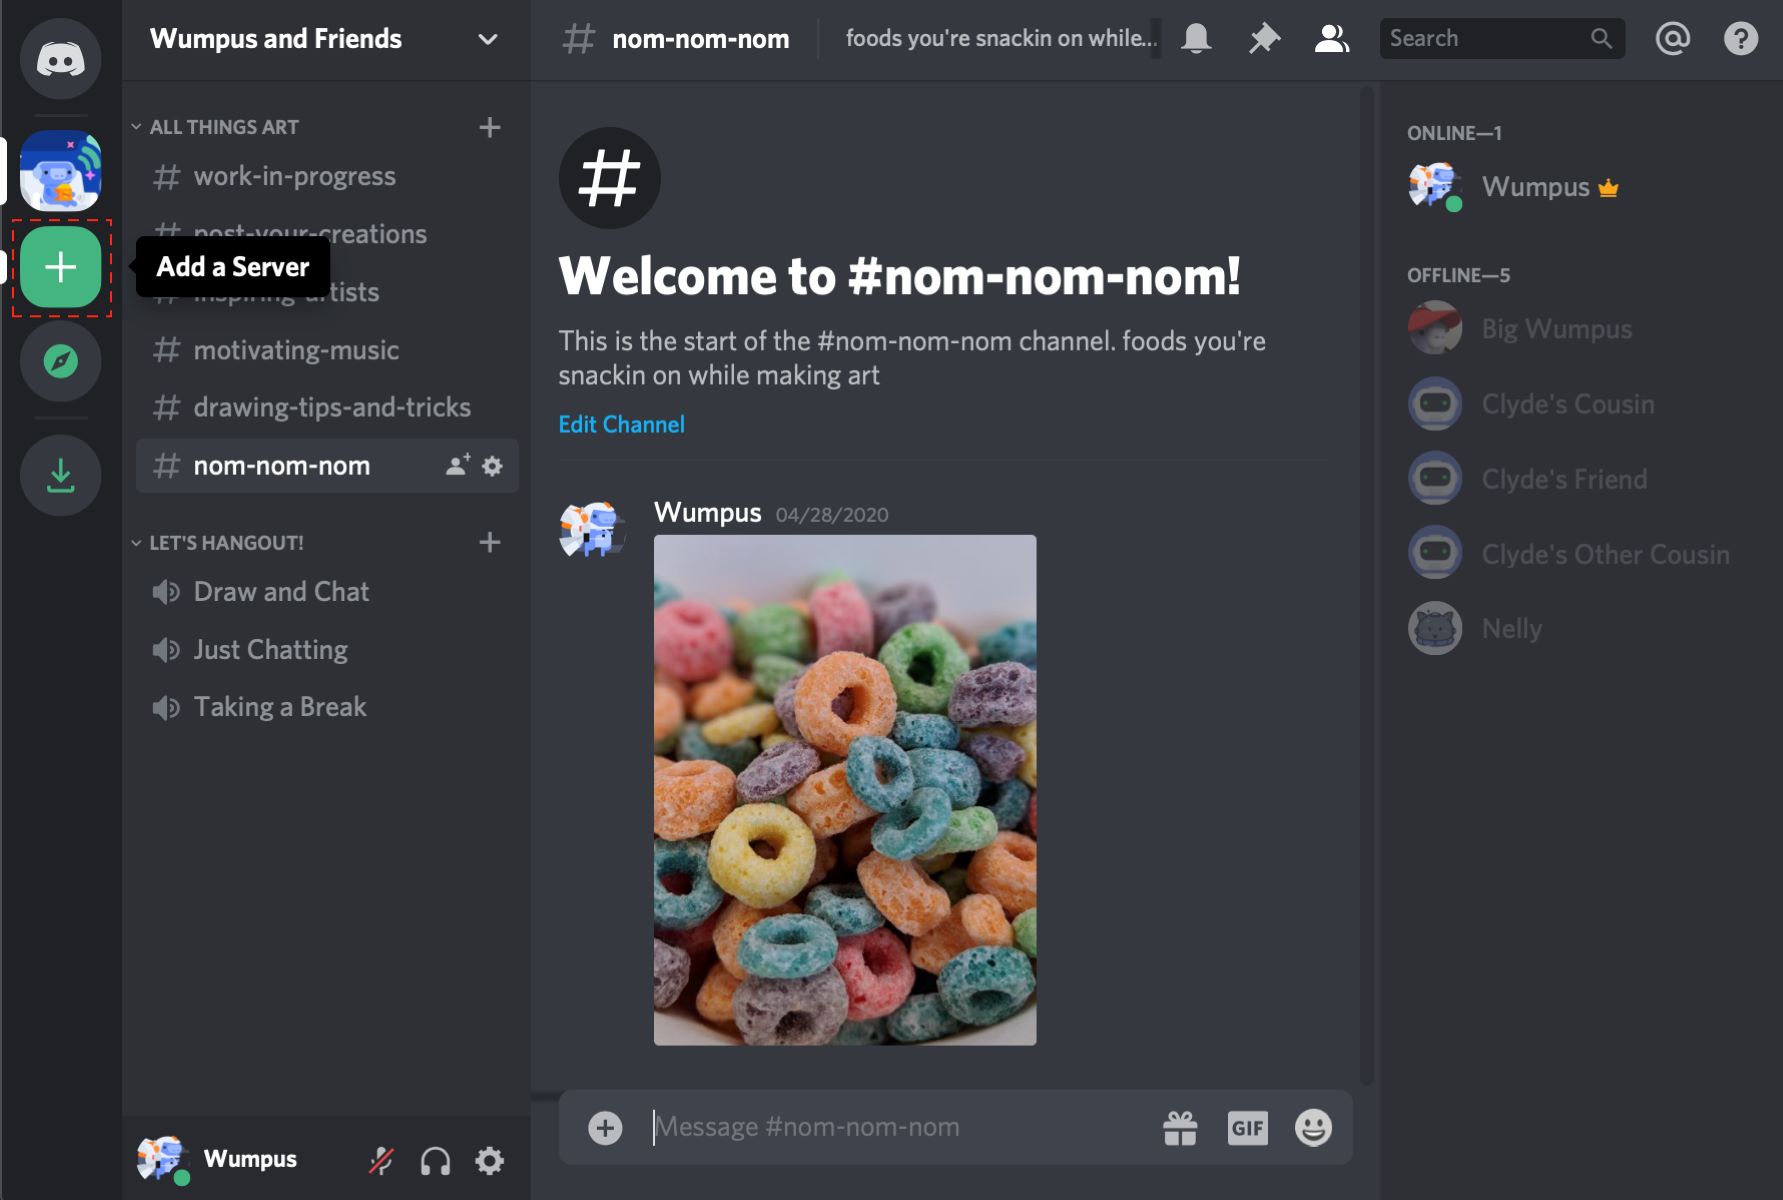
- Select the server to which you want to invite others. You can do this by clicking on the server name on the left-hand side of the screen.
- Once you have selected the server, click on the down arrow next to the server name. This will reveal a dropdown menu.
- From the dropdown menu, select “Invite People.” This will open a new invite window.
- In the invite window, you will see different options to invite others, including a unique URL, widgets, and instant invite settings. For now, we will focus on the unique URL.
- Click on the “Edit Invite Link” button to customize the invitation settings (we will cover this in detail in a later step).
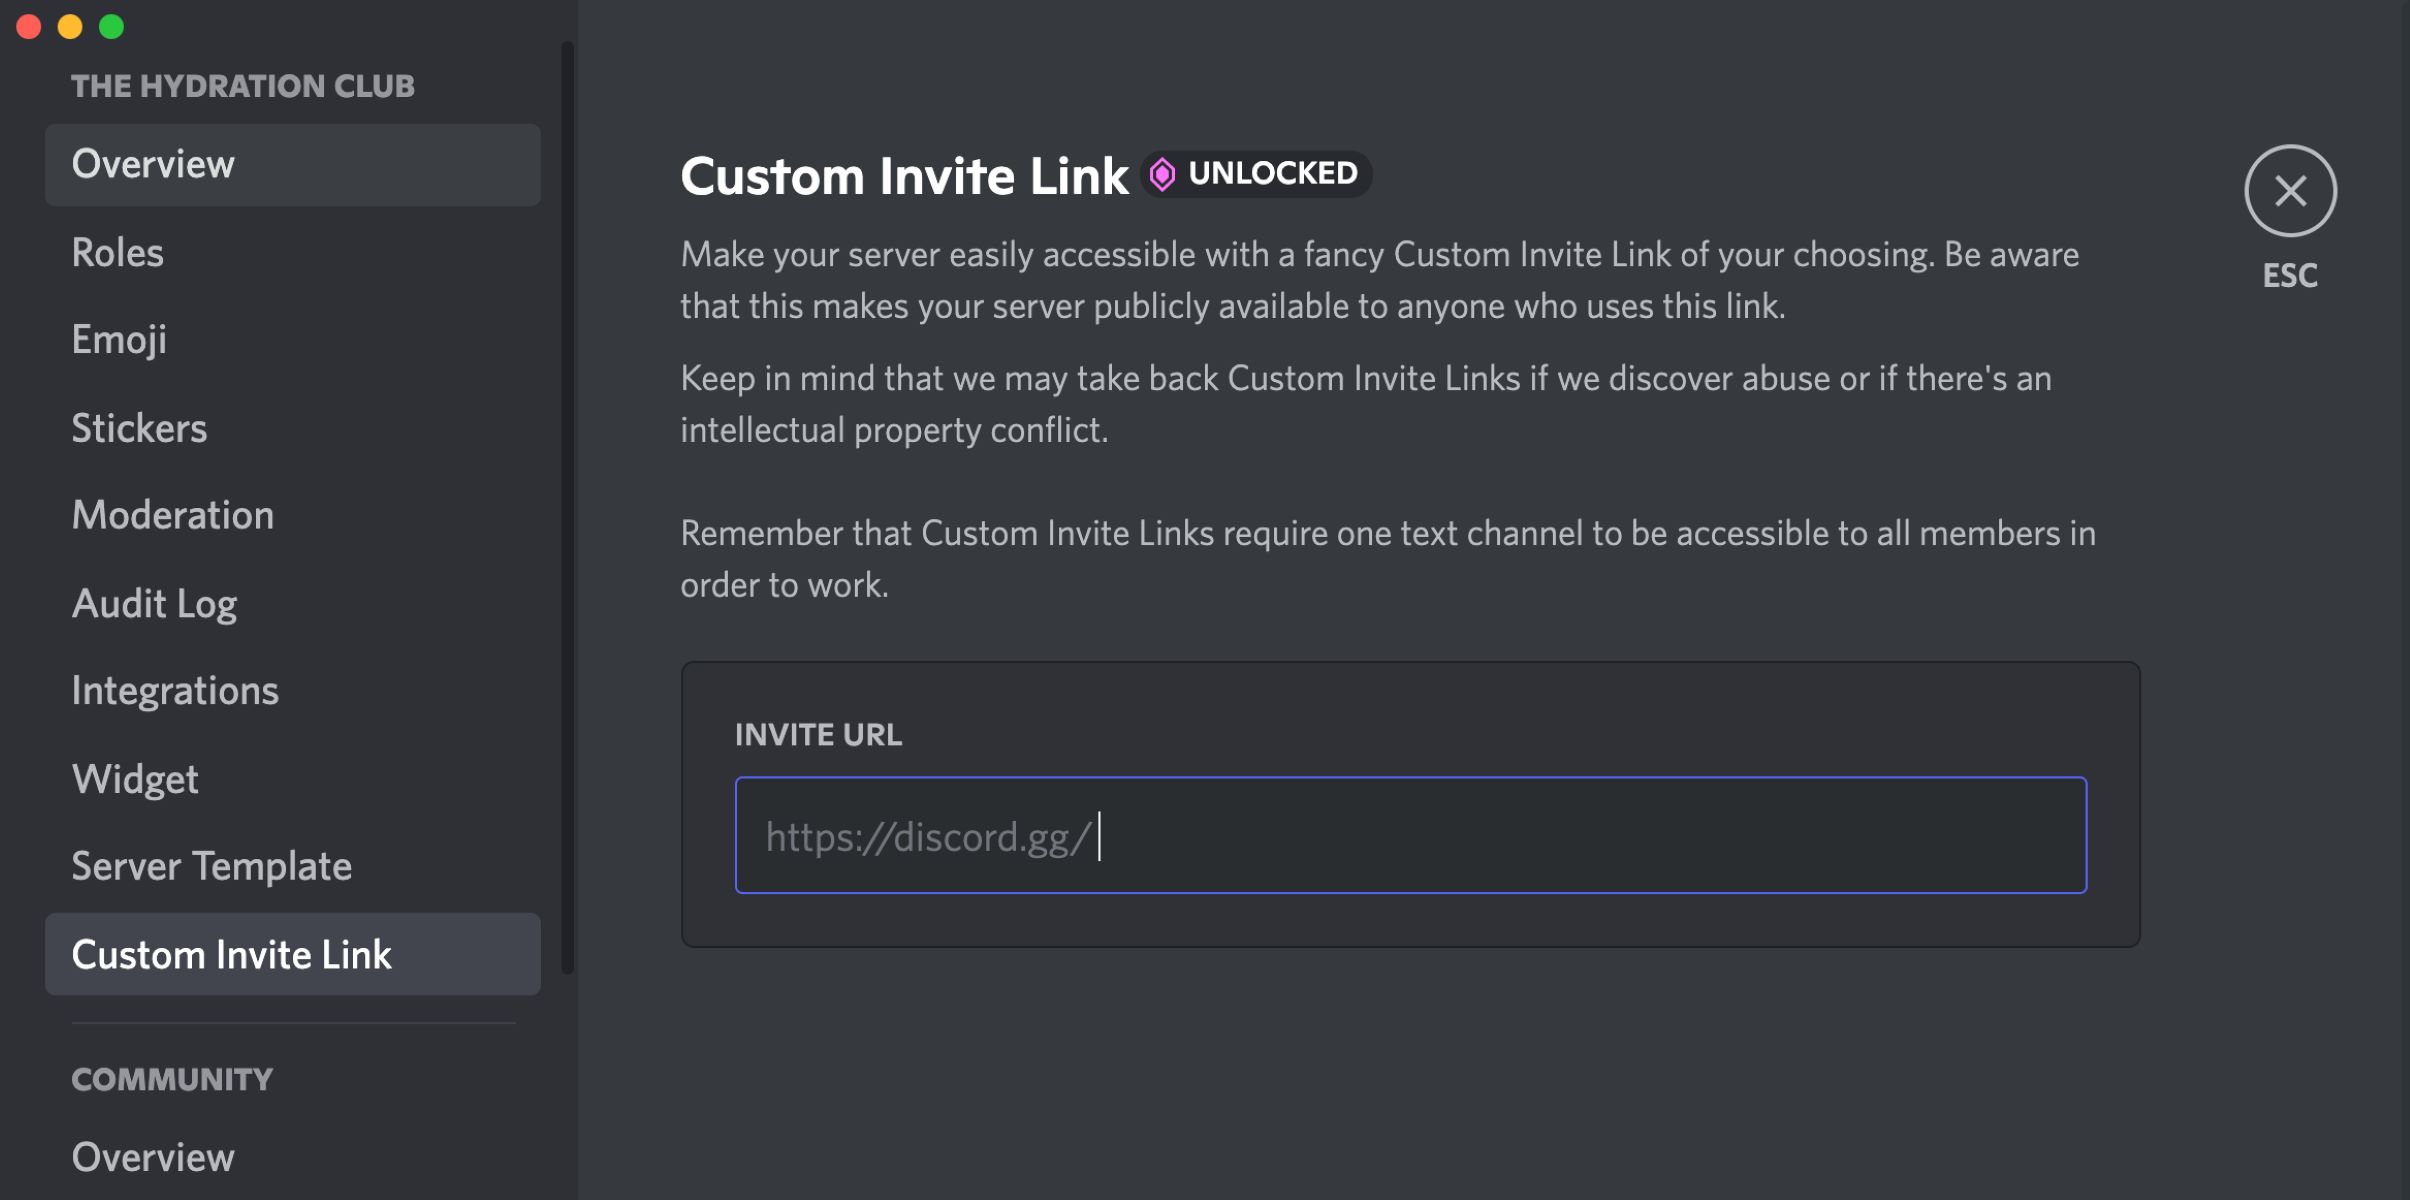
- By default, Discord will generate a six-character code for your invitation link. However, if you want to create a custom link, you can enter your preferred combination of characters into the “Custom URL” field.
- Once you are satisfied with the URL, click on “Generate a new link” to create the invitation link.
- Voila! You now have a unique invitation link that you can share with others to join your Discord server.
Generating an invitation link is a straightforward process that allows you to easily invite others to your Discord server. Once you have your link, it’s time to move on to the next step: sharing it with your friends, colleagues, or community members.
Step 2: Copy the invitation link
Now that you have generated the invitation link for your Discord server, it’s time to copy it so you can share it with others. Follow these simple steps to copy the invitation link:
- Locate the invitation link that you just generated in the previous step.
- Click on the link to highlight it. Alternatively, you can right-click on the link and select “Copy Link Address” or “Copy Link” from the context menu.
- If you prefer using keyboard shortcuts, you can press Ctrl + C (Windows) or Command + C (Mac) to copy the link.
- The invitation link is now copied to your clipboard and ready to be shared with others.
Copying the invitation link is a crucial step before you can share it with your friends, community members, or anyone you want to invite to your Discord server. By copying the link, you ensure that the correct URL is shared, making it easier for others to join your server.
Next, let’s move on to step 3: sharing the invitation link with others, so they can start enjoying your Discord server.
Step 3: Share the invitation link with others
Now that you have generated and copied the invitation link for your Discord server, it’s time to share it with others. Here are a few ways you can share the invitation link:
- Share it via messaging apps: You can send the invitation link directly to individuals or groups through messaging apps like WhatsApp, Facebook Messenger, Slack, or any other communication platform you prefer. Simply paste the copied invitation link into the chat and send it to the desired recipients.
- Share it on social media: If you want to reach a wider audience, you can share the invitation link on your social media platforms. Post the link on platforms like Twitter, Facebook, Instagram, or Reddit, and let your followers or community members know about your Discord server. You can even create engaging posts or graphics to grab attention and encourage people to join.
- Share it on forums or communities: If you’re a part of online forums or communities related to your server’s niche or topic, you can share the invitation link there. Make sure to read the community guidelines and rules before sharing any external links to avoid any issues.
- Send it through email: If you want to invite specific individuals or groups through email, you can include the invitation link in your email message. Compose a friendly and informative email, explaining the benefits and highlights of your Discord server, and provide the invitation link for interested recipients to join.
- Embed it on a website or blog: If you have a website or blog related to your Discord server, you can embed the invitation link on a webpage or create a dedicated blog post promoting your server. This way, visitors to your website can easily join your Discord community.
Remember to provide some context or information about your Discord server when sharing the invitation link. This helps potential members understand the purpose, rules, and benefits of joining your community. Utilize persuasive language and captivating descriptions to entice people to click on the invitation link and join your Discord server.
Now that you know how to share the invitation link, let’s move on to step 4: customizing the invitation settings to fine-tune your Discord server’s invite experience.
Step 4: Customize the invitation settings (optional)
After generating an invitation link for your Discord server, you have the option to customize the invitation settings to cater to your specific needs. These customization options allow you to control who can access your server and the privileges they have once they join. Here’s how you can customize the invitation settings:
- Go to the invite window as described in step 1. Click on the “Edit Invite Link” button located below the invitation settings.
- In the invite settings window, you’ll find various options to customize the invitation experience.
- Set the expiration time for the invitation link: By default, Discord generates a link that does not expire. However, you can set an expiration time if you want to limit the duration for which the link remains active.
- Choose the number of uses for the invite: You can specify the maximum number of times the invitation link can be used. This allows you to control the number of new members that can join through that particular link.
- Toggle the “Temporary Membership” option: Enabling this option grants temporary membership to invited users. They will have limited access to the server until they are assigned a specific role.
- Assign a specific role to invited users: You have the option to assign a default role to new members who join through the invitation link. This role can grant them specific permissions or privileges within your server.
- Enable or disable the “Enable Widget” option: The widget feature allows you to embed a widget displaying server information on external websites. You can choose to enable or disable this feature depending on your preferences.
Customizing the invitation settings gives you greater control over who can join your Discord server and how they interact with it. Take the time to review and adjust these settings based on your community’s needs and guidelines.
It’s important to note that not all customization options may be available to all members, depending on their server roles and permissions. Additionally, some features might require specific server boost levels or being a server owner.
Now that you’ve customized the invitation settings, let’s move on to step 5: monitoring and managing your invitations to ensure the smooth operation of your Discord server.
Step 5: Monitor and manage invitations
Once you’ve generated the invitation link, shared it with others, and customized the invitation settings, it’s important to continuously monitor and manage your invitations to maintain a well-organized and inclusive Discord server. Here’s how you can effectively monitor and manage your invitations:
- Regularly check the invitation analytics: Discord provides analytics for your invitation links, allowing you to track how many people have joined through each link. This data can give you valuable insights into the effectiveness of different sharing methods and help you refine your invitation strategies.
- Review new member applications: Depending on your server settings, new members may need to go through an application process before joining. Review and process these applications promptly, ensuring that only suitable individuals gain access to your server.
- Monitor server activity: Keep an eye on the activity within your server, including member interactions, conversations, and adherence to the server’s rules and guidelines. Address any issues or concerns promptly to maintain a positive and welcoming environment.
- Manage roles and permissions: As your Discord server grows, it’s crucial to manage roles and permissions effectively. Regularly review and update the roles assigned to members, ensuring that everyone has appropriate privileges and responsibilities.
- Encourage engagement and community-building: Actively engage with your server members, initiate conversations, and create opportunities for members to connect and interact. Encouraging engagement fosters a sense of community and makes your Discord server a vibrant and lively place to be.
- Handle moderation and conflicts: Inevitably, conflicts or issues may arise within your Discord server. Establish clear moderation guidelines and be prepared to address conflicts in a fair and unbiased manner. Ensure that all members feel safe and respected in your server.
- Regularly update and refresh your server: Keep your Discord server fresh and appealing by introducing new features, organizing events, or launching initiatives. Continuously evaluate your server’s progress and make adjustments to enhance the community experience.
By actively monitoring and managing your Discord server invitations, you can create an inclusive and engaging community that attracts like-minded individuals. Remember, a successful Discord server is built on open communication, collaboration, and a commitment to fostering positive relationships.
Congratulations! You have now successfully learned how to invite someone to your Discord server. Follow these steps, adapt them to suit your server’s needs, and watch your community grow and thrive.
Conclusion
Inviting someone to join your Discord server is a simple process that can be accomplished in just a few steps. By generating an invitation link, copying it, sharing it with others, customizing the invitation settings, and monitoring and managing your invitations, you can create a vibrant and inclusive community on Discord.
Remember to provide context and information about your Discord server when sharing the invitation link. Engage with your community, encourage interactions, and address any conflicts or issues that may arise. By actively managing your Discord server, you can ensure a positive and welcoming environment for all members.
Discord offers a platform for like-minded individuals to connect, collaborate, and build meaningful relationships. Utilize the power of invitation links to bring people together who share common interests, whether it’s for gaming, hobbies, or simply fostering a supportive community.
Now that you have the knowledge and tools to invite others to your Discord server, get out there and start growing your community. Experiment with different sharing methods, engage with your members, and watch as your server flourishes into a hub of activity and friendship.
Enjoy the process, unleash your creativity, and have fun building an incredible Discord server that others will be eager to join. Happy inviting!