Introduction
Welcome to the world of smart home lighting! As technology continues to advance, our homes are becoming more interconnected and intelligent. Smart home lights are one of the key components when it comes to transforming a regular house into a modern, automated living space. Gone are the days of fumbling for light switches in the dark or worrying about leaving lights on when you’re away. With smart home lights, you can control the lighting in your home with just a few taps on your smartphone or even with your voice.
In this guide, we will walk you through the step-by-step process of installing smart home lights. Whether you’re looking to upgrade a single light fixture or outfit your entire home, we have you covered. Don’t worry if you’re not a DIY expert – we’ll provide detailed instructions to ensure a smooth installation process for everyone, regardless of their skill level.
Before we get started, it’s important to note that there are various types of smart home lights available on the market. It’s crucial to choose the right lights that fit your needs and preferences. Some lights can change colors, others can be dimmed, and some even have built-in sensors. Take some time to research and decide which features are most important to you.
Now, let’s gather the necessary tools and equipment and get ready to embark on this exciting journey of bringing smart lighting into your home!
Step 1: Choosing the Right Smart Home Lights
The first step in installing smart home lights is selecting the right ones for your needs. With a wide range of options available, it’s important to consider factors such as functionality, compatibility, and aesthetics.
Start by assessing the areas where you want to install smart lights. Consider whether you want to replace existing fixtures or install new ones. Keep in mind that smart home lights come in various forms, including bulbs, light strips, and complete fixtures. Choose the type that suits your specific requirements.
Next, think about the features you want your smart home lights to have. The most common features include dimming capabilities, color customization, and automated scheduling. Think about whether you want lights that can be controlled remotely via a mobile app or voice assistants, like Alexa or Google Assistant. Compatibility with other smart devices, such as smart speakers or hubs, may also be a consideration.
Consider the color temperature of the lights as well. Some smart home lights offer adjustable color temperatures, allowing you to switch between warm and cool lighting for different occasions. This feature can significantly enhance the ambiance and functionality of a room.
Furthermore, pay attention to the bulb’s brightness and energy efficiency. Look for lights that are energy-efficient and have an appropriate level of brightness for the intended area. LED bulbs are a popular choice for smart home lighting due to their longevity and energy-saving benefits.
Finally, take into account the overall aesthetic of your home. Smart home lights come in a variety of designs, from sleek and modern to more traditional styles. Select lights that complement your existing decor and create the desired atmosphere in each room.
Once you have determined your priorities and preferences, make a list of the specific smart home lights that meet your criteria. Reading product reviews and comparing prices can be helpful in making a final decision. With the right smart home lights in hand, you are now ready to move on to the next step of the installation process.
Step 2: Gathering the Tools and Equipment
Before you begin installing your smart home lights, it’s important to ensure you have all the necessary tools and equipment. Gathering these items beforehand will make the installation process smoother and more efficient.
Here’s a checklist of the essential tools and equipment you will need:
- Step ladder or stool: Depending on the height of your ceiling, you may need a step ladder or stool to access the light fixture.
- Screwdriver: A screwdriver, both Phillips and flathead, will be needed to remove the existing light fixture and secure the new one in place.
- Wire cutters/strippers: Wire cutters or wire strippers will be required to cut and strip the electrical wires for proper connection.
- Voltage tester: A voltage tester is necessary to ensure that the power is disconnected before working on the electrical connections.
- Wire nuts: Wire nuts are used to secure and connect the electrical wires together.
- Electrical tape: Electrical tape is used to insulate and protect the electrical connections.
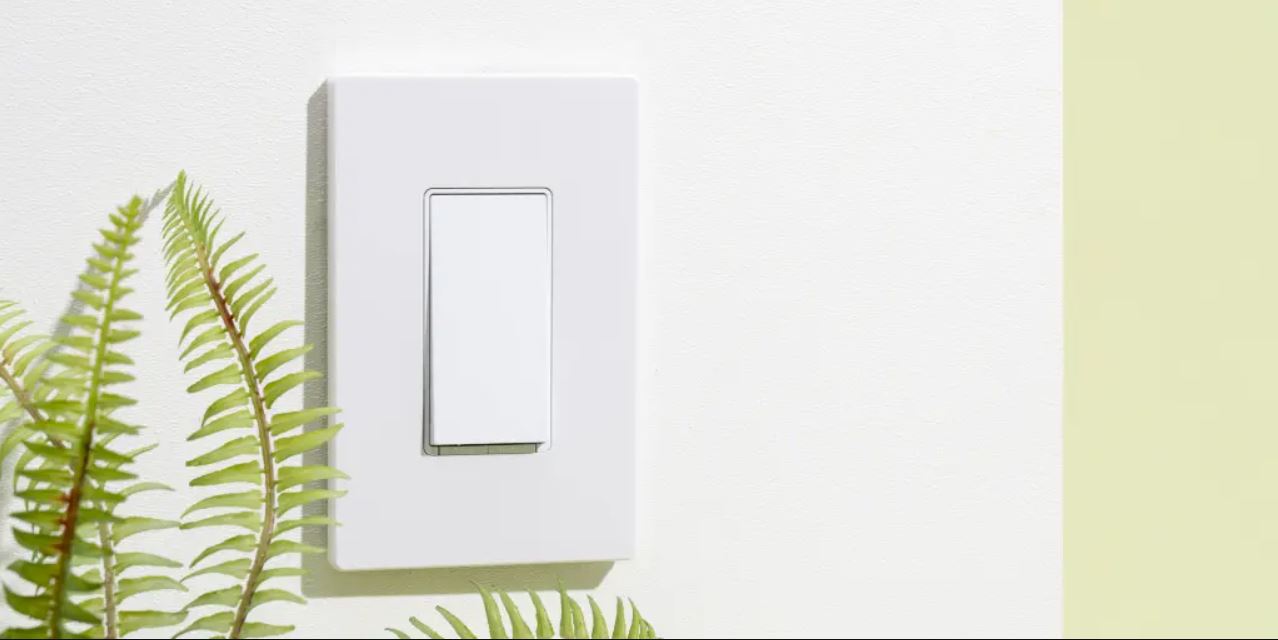
- Smart home light fixture: Of course, you will need the smart home lights themselves, whether it’s a smart bulb, light strip, or complete fixture.
Make sure to gather these tools and check that they are in good working condition. It’s also a good idea to have a flashlight handy in case you need additional lighting during the installation process.
In addition to these tools, it’s crucial to prioritize your safety. Before starting any electrical work, ensure that the power to the area you’ll be working in is turned off at the circuit breaker. This will prevent any accidental electric shocks or injuries. Safety should always be your top priority.
By having all the necessary tools and equipment on hand, and taking the appropriate safety measures, you’re now prepared to move on to the next step: preparing the area for the installation of your smart home lights.
Step 3: Preparing the Area
Before you begin installing your smart home lights, it’s important to properly prepare the area where the installation will take place. This preparation will ensure a smooth and efficient installation process, as well as minimize the risk of any potential damages or accidents. Follow these steps to prepare the area:
1. Clear the workspace: Remove any furniture, decorations, or obstacles that may be in the way of the installation area. This will provide you with a clear and open space to work in and reduce the chances of accidents or damage to your belongings.
2. Lay down protective covering: Place a drop cloth or plastic sheeting on the floor beneath the area where you will be working. This will protect your flooring from any dust, debris, or accidental spills during the installation process.
3. Turn off the power: Before proceeding with any electrical work, it is crucial to turn off the power to the area where you will be installing the smart home lights. Locate the circuit breaker panel in your home and switch off the corresponding circuit to ensure your safety.
4. Ensure proper lighting conditions: Depending on the time of day and the amount of natural light available, you may need additional lighting to properly see and work on the installation. Use a portable work light or position a lamp strategically to provide adequate lighting in the area.
5. Have a designated workspace: Set up a small table or workbench near the installation area to keep your tools, equipment, and supplies organized and easily accessible. This will help you stay organized and prevent any unnecessary delays or frustration during the installation process.
By following these steps to prepare the area, you will create a safe and efficient workspace for the installation of your smart home lights. With the area prepped and ready, you can now move on to the next step: turning off the power to ensure a secure working environment.
Step 4: Turning Off the Power
Before you begin any electrical work, it is crucial to turn off the power to the area where you will be installing your smart home lights. This step is vital for your safety and to prevent any electrical accidents or injuries. Follow these guidelines to turn off the power safely:
1. Locate the circuit breaker panel: In most homes, the circuit breaker panel is located in a utility room, basement, or garage. Familiarize yourself with the location of the panel if you haven’t already.
2. Identify the correct circuit: Look for the breaker that controls the power to the area where you will be working. Circuit breakers are typically labeled to indicate which areas or rooms they correspond to. If the labeling is unclear or absent, you may need to use trial and error to identify the correct circuit. To do this, turn on a light or an appliance in the area you are working on and flip each breaker one by one until the power is shut off.
3. Turn off the circuit breaker: Once you have identified the correct circuit, flip the corresponding circuit breaker to the “Off” position. This will immediately cut off the power to the area and ensure that there is no risk of electrical shock while you work.
4. Test the power: To verify that the power is indeed turned off, use a voltage tester to check the wires or the light fixture you will be working on. The voltage tester will indicate whether there is any electricity flowing through the wires. If there is still power detected, double-check that you have switched off the correct circuit breaker.
5. Leave a warning note: As an additional safety precaution, consider leaving a note near the circuit breaker panel to alert others in your household that electrical work is being done and to avoid switching the power back on inadvertently.
By following these steps to turn off the power, you will ensure a safe working environment for the installation of your smart home lights. Remember, safety should always be the top priority when working with electricity. With the power turned off, you are now ready to move on to the next step: removing the old light fixture.
Step 5: Removing the Old Light Fixture
Now that the power is turned off, you can proceed with removing the old light fixture. Follow these steps to safely and effectively remove the old fixture:
1. Remove the light bulbs: Carefully unscrew and remove any light bulbs from the fixture. Set them aside in a safe place to avoid breakage.
2. Remove the mounting screws: Most light fixtures are held in place by mounting screws. Use a screwdriver to loosen and remove these screws. Be sure to support the fixture as you remove the screws to prevent it from falling.
3. Disconnect the wires: With the mounting screws removed, carefully lower the fixture down, exposing the electrical wires. Take note of how the wires are connected – you may want to take a photo or make a diagram for reference. Disconnect the wires by unscrewing the wire nuts and separating the wires.
4. Remove the mounting bracket: Some light fixtures are attached to a mounting bracket. If your fixture has one, remove it by unscrewing any mounting screws or brackets securing it to the electrical box.
5. Inspect and prepare the electrical box: Once the old fixture is removed, inspect the electrical box for any signs of damage or wear. Ensure that the box is securely attached to the ceiling or wall. If necessary, make any repairs or adjustments to the electrical box before installing the new fixture.
6. Clean the area: Take this opportunity to clean the area where the old fixture was installed. Remove any dust or debris that may have accumulated during the removal process.
By following these steps, you can safely remove the old light fixture. Remember to handle the fixture with care, as some components may be fragile. With the old fixture removed, you are now ready to move on to the next step: installing the smart home light fixture.
Step 6: Installing the Smart Home Light Fixture
With the old light fixture removed, it’s time to install your new smart home light fixture. Follow these steps to ensure a successful installation:
1. Attach the mounting bracket: If your smart home light fixture comes with a mounting bracket, attach it to the electrical box using the provided screws. Make sure the bracket is secure and level.
2. Prepare the fixture: If necessary, assemble any components of the smart home light fixture according to the manufacturer’s instructions. This may involve attaching wires, adjusting the height, or connecting additional accessories.
3. Connect the wires: Gently thread the wires from the smart home light fixture through the center of the mounting bracket. Match the colors of the wires from the fixture to the corresponding wires in the electrical box. Typically, black wires are hot/live, white wires are neutral, and green or bare wires are ground. Connect each wire securely by twisting them together and screwing on a wire nut. Ensure that the connections are tight and secure.
4. Attach the fixture: Carefully lift the smart home light fixture and align it with the mounting bracket. Insert the screws provided with the fixture through the pre-drilled holes and into the mounting bracket. Tighten the screws until the fixture is securely attached to the bracket.
5. Follow manufacturer instructions: Refer to the specific instructions provided by the manufacturer for any additional steps or requirements unique to your smart home light fixture. This may include adjusting the position or orientation of the fixture for optimal performance.
6. Double-check the connections: Before proceeding, double-check that all connections are secure and properly insulated with wire nuts. Test the fixture by gently tugging on the wires to ensure they are firmly connected.
By following these steps, you can install your smart home light fixture with confidence. Take your time to ensure that all connections are secure and properly aligned. Once the fixture is securely in place, you are now ready to move on to the next step: connecting the wires.
Step 7: Connecting the Wires
Now that the smart home light fixture is installed, it’s time to connect the wires. Properly connecting the wires is crucial for the safe and efficient operation of your new light fixture. Follow these steps to ensure a successful connection:
1. Strip the wire ends: Use wire strippers to carefully strip about half an inch of insulation from the end of each wire. Be cautious not to damage the wire strands during this process.
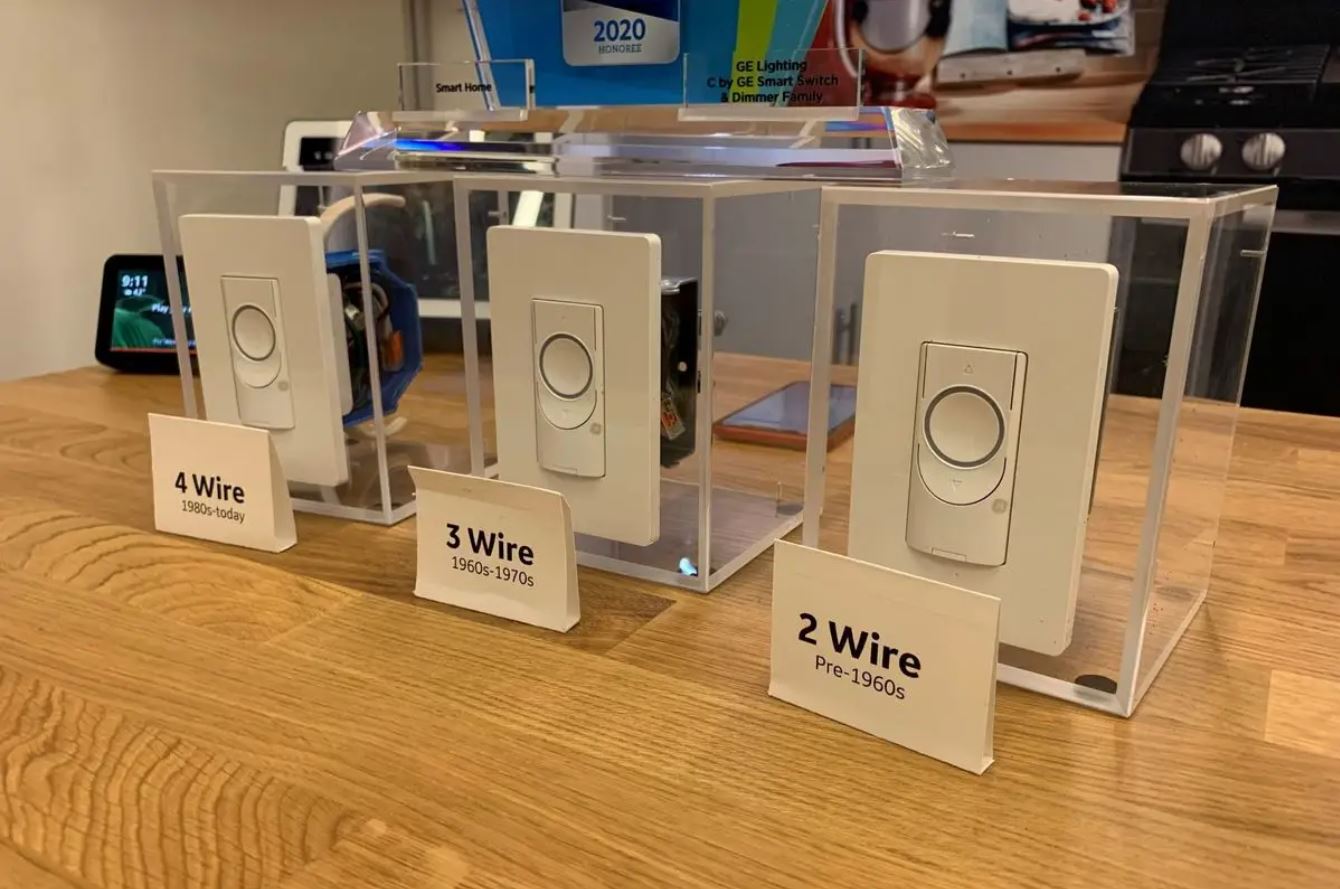
2. Identify the corresponding wires: Match the colors of the wires from the smart home light fixture to the corresponding wires in the electrical box. Usually, black wires are hot/live, white wires are neutral, and green or bare wires are ground. If there is a ground wire from the fixture, connect it to the green or bare wire in the electrical box.
3. Twist the wires: Align the stripped ends of the wires and twist them together in a clockwise direction. This will create a secure and solid connection.
4. Secure the wires with wire nuts: Slide a wire nut over the twisted wires and twist it clockwise until it is tight and secure. Ensure that the wire nut covers all the exposed wire and provides a proper electrical connection. Repeat this process for each set of wires.
5. Insulate the wire connections: Once the wires are securely connected and covered with wire nuts, use electrical tape to wrap around the wire nut and electrical wires for added insulation and protection. Wrap the tape snugly and make sure it covers all exposed wire and the wire nut.
6. Double-check the connections: Before proceeding, double-check that all wire connections are secure, insulated, and properly aligned. Tug gently on each wire to ensure they are firmly connected.
It’s important to note that if you are uncertain about any of the electrical wiring or connections, it is always recommended to consult a licensed electrician. Your safety is of utmost importance when working with electricity.
By following these steps to connect the wires, you will ensure that your smart home light fixture is properly powered and ready for use. With the wires connected securely, you can proceed to the next step: securing and testing the smart home light.
Step 8: Securing and Testing the Smart Home Light
With the wires connected, it’s time to secure and test your smart home light to ensure everything is working properly. Follow these steps to complete this important step:
1. Secure the light fixture: Make sure the smart home light fixture is securely attached to the mounting bracket. Check that all screws are tightened and the fixture is level. Ensure that there is no wobbling or movement.
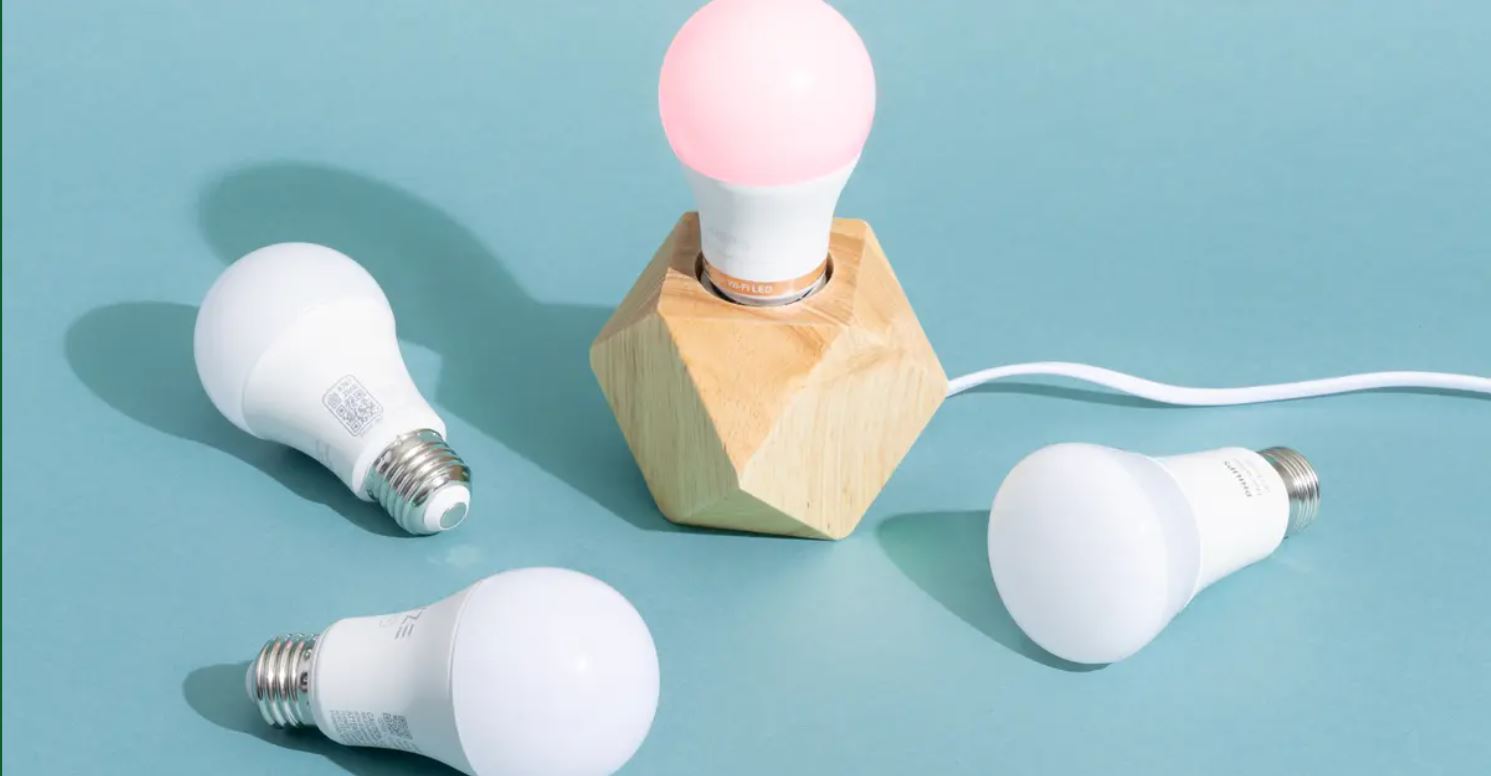
2. Insert the light bulbs: If your smart home light fixture requires bulbs, follow the manufacturer’s instructions to insert them. Make sure they are compatible with the fixture and properly inserted. Take care not to overtighten the bulbs.
3. Turn on the power: Return to the circuit breaker panel and flip the corresponding circuit breaker to the “On” position to restore power to the area where the smart home light is installed. Switching on the power will allow you to test the functionality of your new light fixture.
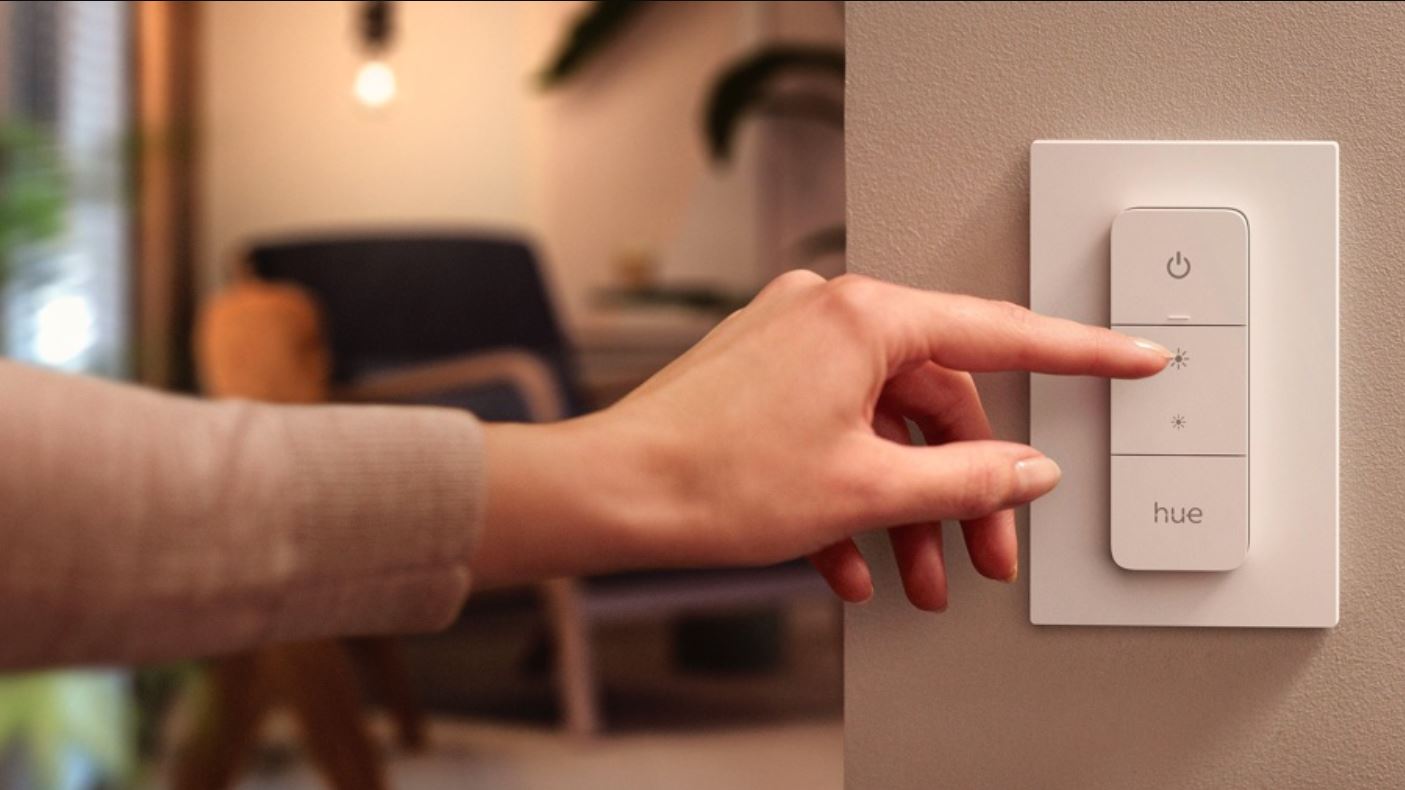
4. Test the smart features: Depending on the smart home light you have installed, test its various features and functionality. Use your smartphone, voice assistant, or dedicated smart home hub to control the light. Dim the brightness, adjust the color (if applicable), or set up automated schedules. Ensure that the smart features are working as expected.
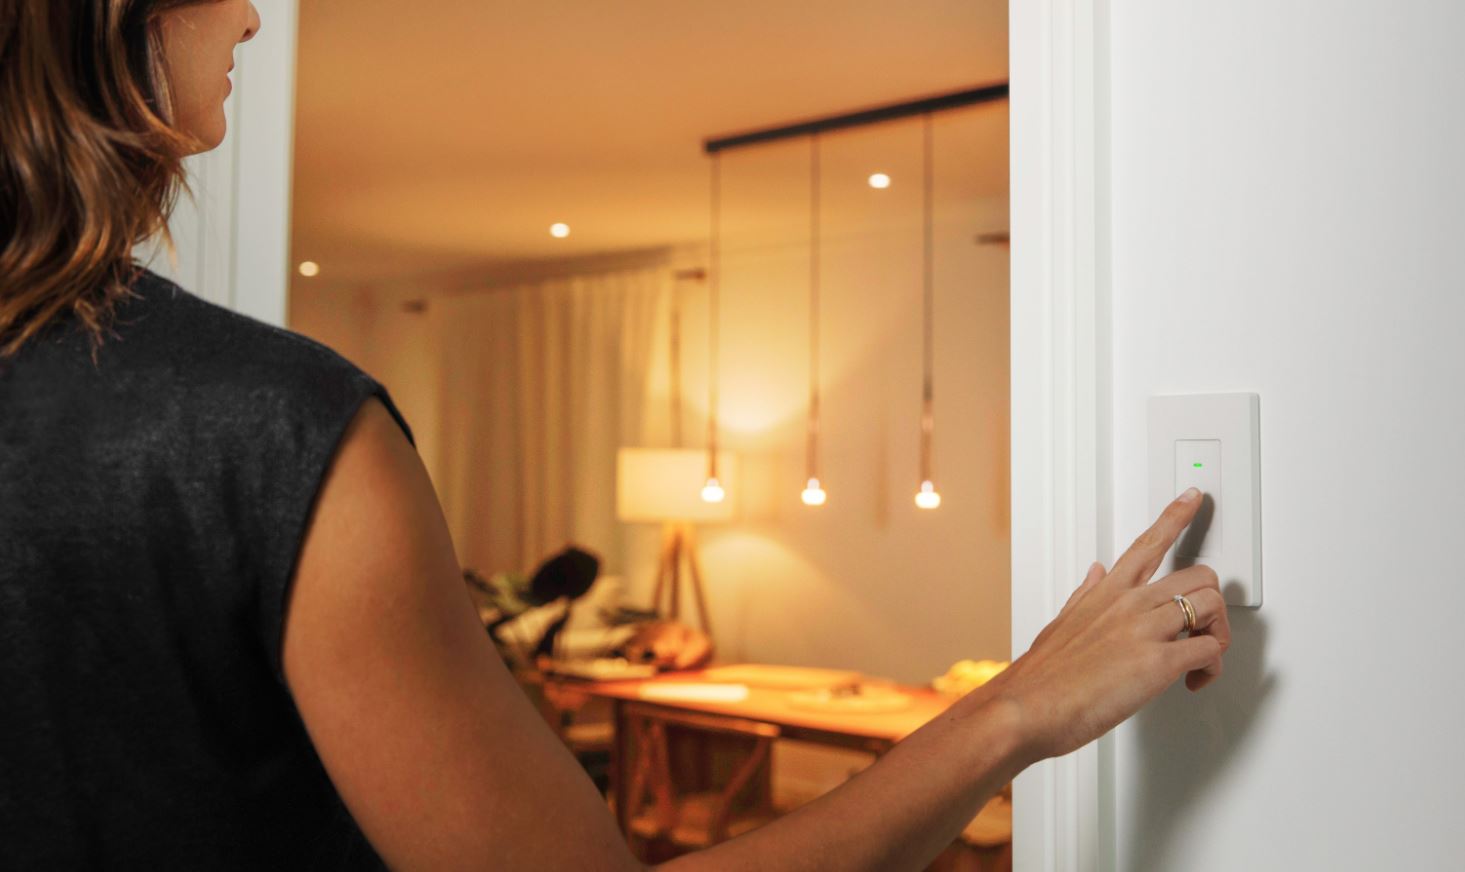
5. Check for proper illumination: Turn on the smart home light using the switch or app and observe if the light illuminates properly. Make any necessary adjustments to the positioning or direction of the light to achieve the desired illumination in the room.
6. Verify connectivity: If your smart home light requires connectivity to a smart home hub or Wi-Fi network, ensure that it is properly connected and responsive. Check for any connectivity issues and troubleshoot if necessary.
By following these steps to secure and test your smart home light, you can verify that the installation is successful and the features are functioning as intended. Make any necessary adjustments or troubleshooting to ensure optimal performance. Once you are satisfied with the results, you can proceed to the next step: configuring and syncing the smart home light with the app or your preferred control method.
Step 9: Configuring and Syncing the Smart Home Light with the App
To fully utilize the smart features of your new light fixture, it’s important to configure and sync it with the corresponding app or control method. Follow these steps to complete this process:
1. Download and install the app: Identify and download the app that is compatible with your smart home light. This app will allow you to control and customize the settings of your light fixture. It can usually be found in the App Store or Google Play Store.
2. Create an account (if necessary): Some smart home lighting systems require you to create an account in order to access all the features and functionalities. Follow the app’s instructions to create an account, if required, and ensure that you provide accurate information.
3. Connect the smart home light: Open the app and follow the instructions to connect your smart home light to the app. This process may involve selecting the type of light, inputting the relevant information (e.g., Wi-Fi network details), and putting the light into pairing mode.
4. Sync the smart home light: Once the app has detected your smart home light, follow the on-screen prompts to complete the syncing process. This may involve inputting a unique identification code or scanning a QR code on the packaging or the light fixture itself.
5. Configure the settings: After the smart home light is successfully synced with the app, explore the settings and configuration options available in the app. Set up customized lighting schedules, adjust brightness levels, create scenes, and explore any additional features that the app offers.
6. Test the app control: Use the app or designated control method to control and interact with your smart home light. Turn it on/off, adjust brightness or color, and test any other features that the app allows you to access.
7. Troubleshoot connectivity issues (if necessary): If you encounter any connectivity issues or if the smart home light is not responding as expected, consult the troubleshooting section of the app or refer to the manufacturer’s instructions for assistance.
By following these steps, you can configure and sync your smart home light with the app or control method of your choice. Take advantage of the customization options available to personalize the functionality and settings of your smart home light. With the light successfully configured and synced, you are now ready to enjoy the convenience and versatility of your new smart home lighting system.
Step 10: Enjoying Your Smart Home Lights
Congratulations! You have successfully installed and configured your smart home lights. Now, it’s time to sit back, relax, and enjoy the benefits of your new lighting system. Here are some ways you can fully embrace and make the most of your smart home lights:
1. Experiment with different lighting scenes: Take advantage of the customization options available in the app to create different lighting scenes for different moods or occasions. Whether you want a cozy ambiance for a movie night or a bright and energizing setting for a productive work session, your smart home lights can help set the perfect atmosphere.
2. Explore scheduling options: Set up automated schedules to have your lights turn on and off at specific times throughout the day. This can be particularly helpful when you’re away from home, as it gives the illusion that someone is present. Additionally, scheduling your lights can help promote energy efficiency by ensuring that lights are not left on unnecessarily.
3. Integrate with other smart devices: If you have other smart home devices, consider integrating them with your smart home lights to create a cohesive and interconnected smart home ecosystem. For example, you can sync your lights with motion sensors or smart speakers to trigger specific lighting actions based on certain events or voice commands.
4. Experiment with color options (if applicable): If your smart home lights offer color-changing capabilities, have fun experimenting with different colors to set unique and dynamic lighting scenes. Adjust the color temperature to suit your preference or create sophisticated lighting effects to match your mood or the theme of a party or gathering.
5. Maximize energy efficiency: Smart home lights often come equipped with energy-saving features, such as dimming options and scheduling capabilities. Take advantage of these features to reduce energy consumption and lower your electricity bills. Consider setting your lights to automatically dim during certain hours or when they are not in use.
6. Stay updated with firmware updates: Manufacturers frequently release firmware updates for smart home devices, including lights. Stay informed about these updates and make sure to install them as they become available. Firmware updates often include bug fixes, performance improvements, and new features that can enhance the functionality and reliability of your smart home lights.
By embracing the possibilities and exploring the features of your smart home lights, you can truly personalize your lighting experience and enjoy the convenience and comfort they bring. So sit back, relax, and let your smart home lights illuminate your spaces in the perfect way for every moment.
Conclusion
Congratulations on successfully installing and setting up your smart home lights! By following the step-by-step process outlined in this guide, you have transformed your home lighting into a convenient and customizable experience. With just a few taps on your smartphone or a simple voice command, you can now control the lighting in your home to create the perfect ambiance for any occasion.
Choosing the right smart home lights, gathering the necessary tools, preparing the area, and safely handling electrical connections were the foundation for a successful installation. Connecting the wires, securing the fixture, configuring the app, and testing the functionality of your smart home lights were essential steps to ensure everything was properly connected and working as intended.
Now that your smart home lights are installed, the possibilities are endless. Whether you want to set the mood for a cozy movie night, wake up to a gently illuminated bedroom, or ensure your home is well-lit even when you’re away, your smart home lights offer convenience, energy efficiency, and control at your fingertips.
Remember to regularly update the firmware of your smart home lights to benefit from bug fixes and new features. Additionally, continue exploring the capabilities of your smart home lights and integrating them with other smart devices for a seamless and interconnected home automation experience.
Enjoy the endless possibilities and convenience that your smart home lights bring to your daily life. Enhance the ambiance, save energy, and make your home more comfortable and welcoming with the touch of a button or the sound of your voice. Embrace the future of home lighting and immerse yourself in the endless possibilities of your smart home ecosystem.