Introduction
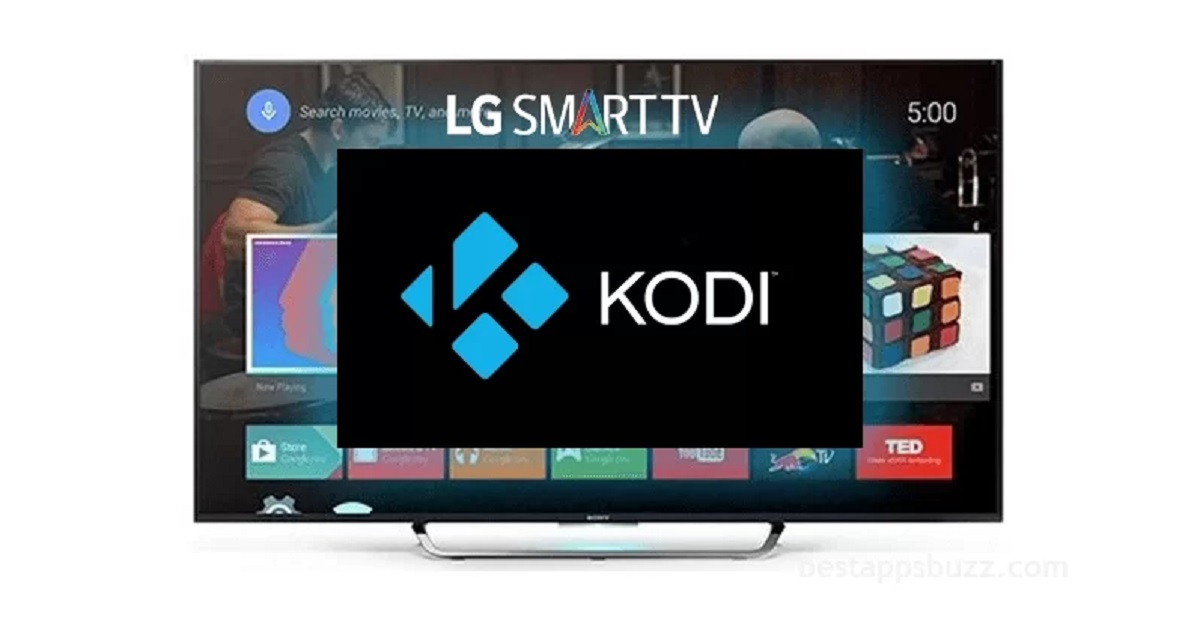
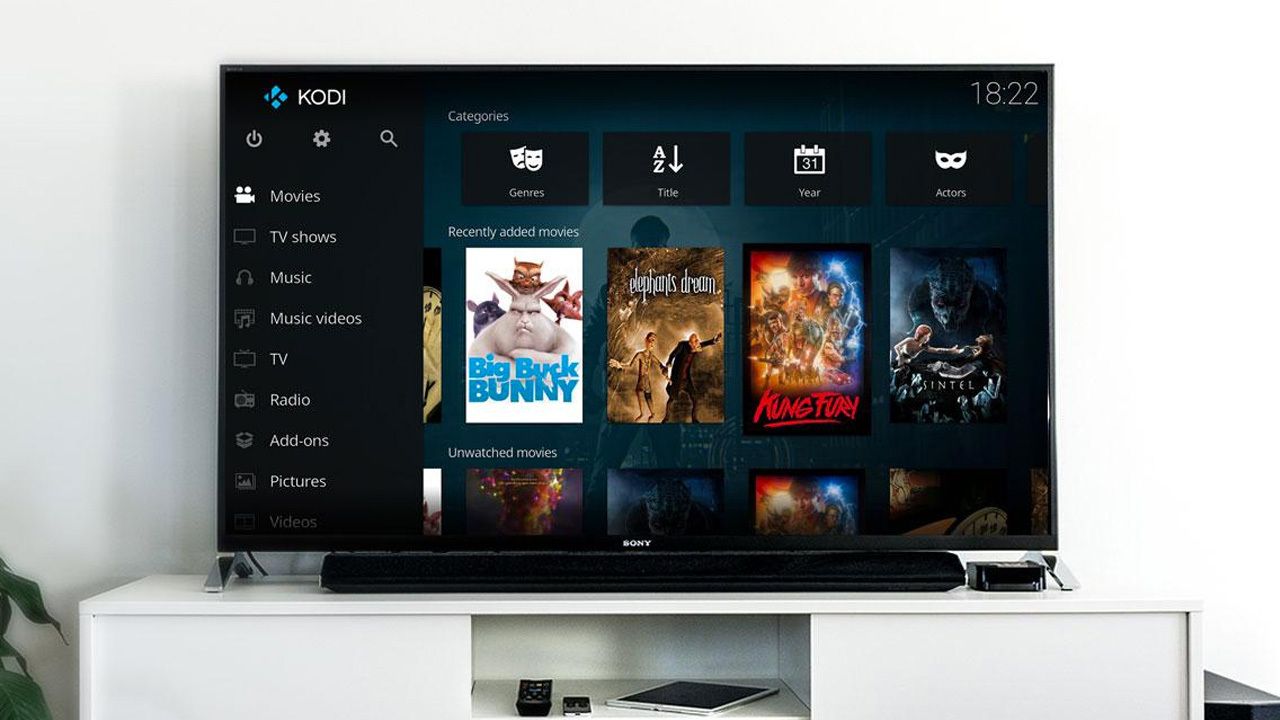
Welcome to the exciting world of Kodi, a versatile and powerful media center platform that allows you to stream and enjoy a wide array of digital content. If you own an LG OLED TV from 2018, this guide will walk you through the process of installing Kodi on your TV, transforming it into a multimedia powerhouse.
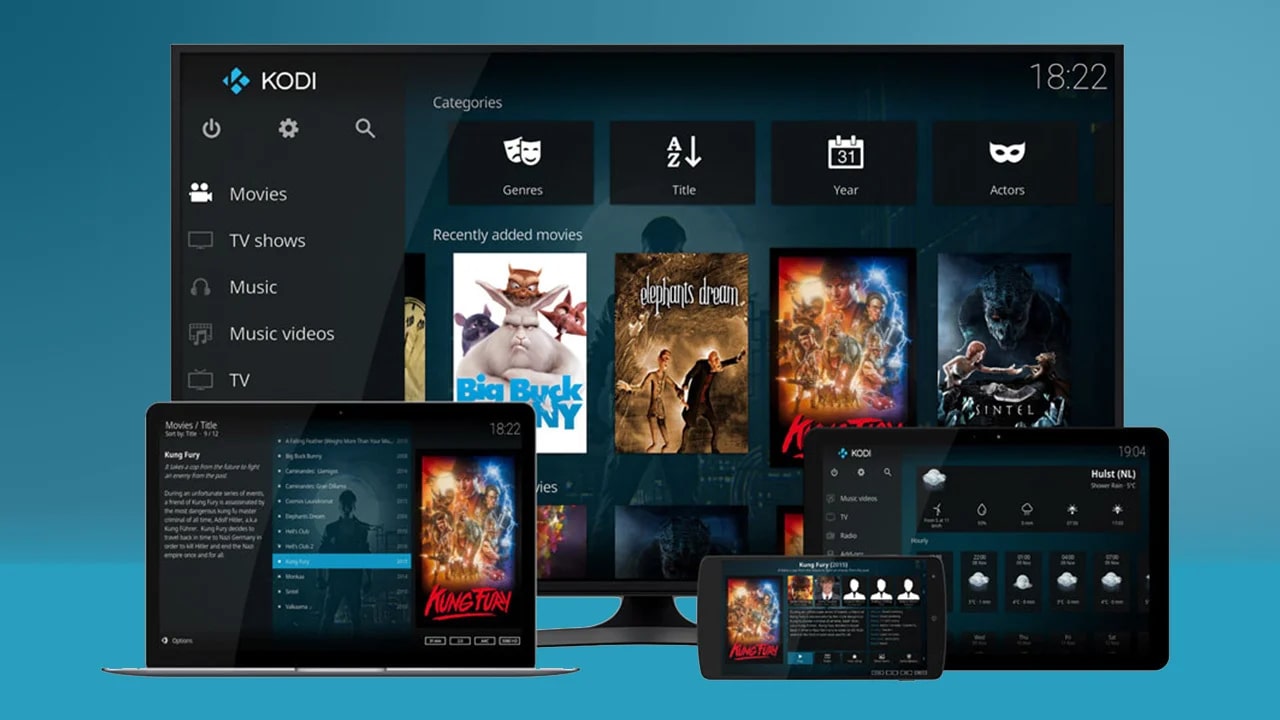
Kodi offers an extensive range of features, including the ability to access and stream movies, TV shows, music, and even live television. With its user-friendly interface and customizable options, Kodi is truly a must-have for any entertainment enthusiast. By following the step-by-step instructions in this guide, you’ll be able to harness the full potential of Kodi on your LG OLED TV.
Before we dive into the installation process, it’s essential to note that Kodi is an open-source application that is not officially available through the LG store. However, with a few simple steps, you can easily sideload Kodi onto your TV and begin enjoying its plethora of multimedia offerings.
In the next sections, we’ll walk you through each step required to install Kodi on your LG OLED TV. From enabling installations from unknown sources to downloading and installing ES File Explorer, and finally, getting Kodi up and running, we’ll provide clear and concise instructions to ensure a smooth installation process.
Are you ready to unlock the full potential of your LG OLED TV with the installation of Kodi? Let’s jump right in!
Step 1: Enable Installations from Unknown Sources
Before we can proceed with the installation of Kodi on your LG OLED TV, we need to enable installations from unknown sources. This step is necessary because Kodi is not available through the official LG app store.
To enable installations from unknown sources, follow these simple steps:
- Turn on your LG OLED TV and navigate to the home screen.
- Select the “Settings” option from the menu at the top of the screen. It is represented by a gear icon.
- Scroll down and click on the “General” tab.
- Within the General settings, navigate to the “Security & Privacy” option and select it.
- Find the “Unknown Sources” option and toggle it to the “On” position. A warning message will appear, informing you about the risks associated with installing apps from unknown sources. As long as you download apps from trusted sources, such as the official Kodi website, there is minimal risk.
- Read the warning message and click “OK” to confirm your decision and enable installations from unknown sources.
By enabling installations from unknown sources, you are giving your LG OLED TV permission to install applications from sources other than the official app store. This change is necessary to sideload Kodi, as it is not available through the LG app store.
Now that you have successfully enabled installations from unknown sources on your LG OLED TV, it’s time to move on to the next step: downloading and installing ES File Explorer, a file management app that will allow us to download and install Kodi.
Step 2: Download and Install ES File Explorer
ES File Explorer is a popular file management app that will facilitate the installation of Kodi on your LG OLED TV. It allows you to easily navigate through the files and folders on your TV, making it simple to download and install applications. Follow these steps to download and install ES File Explorer:
- Open the web browser on your LG OLED TV and visit the official website of ES File Explorer.
- Locate the download section of the website and choose the appropriate version of ES File Explorer for your TV’s operating system.
- Download the ES File Explorer APK file to your TV.
- Once the download is complete, locate the downloaded APK file in your TV’s file directory. You can usually find it in the “Downloads” folder.
- Click on the APK file to initiate the installation process.
- Follow the on-screen instructions to install ES File Explorer on your LG OLED TV.
- After the installation is complete, you will find the ES File Explorer app in your TV’s app drawer.
With ES File Explorer successfully installed on your LG OLED TV, you now have a file management tool that will allow you to navigate through your TV’s directories and download files.
In the next step, we will download and install Kodi, the media center application that will transform your LG OLED TV into a powerful entertainment hub. Let’s move on to the next section to continue the installation process.
Step 3: Download and Install Kodi
Now that you have ES File Explorer installed on your LG OLED TV, the next step is to download and install Kodi, the media center application that will revolutionize your entertainment experience. Follow these instructions to download and install Kodi:
- Open ES File Explorer on your LG OLED TV by navigating to the app drawer and selecting it.
- In ES File Explorer, locate and click on the “Downloader” option in the sidebar. This will open a built-in web browser within the app.
- In the web browser, enter the official Kodi website URL “https://kodi.tv/download”.
- Once the Kodi website loads, scroll down to find the section where you can choose your desired platform.
- Click on the “Android” icon to select the Android platform.
- Within the Android section, click on the “ARMV7A (32BIT)” option.
- A pop-up window will appear, asking you to confirm the download. Click on the “Download” button.
- ES File Explorer will now begin downloading the Kodi APK file. Once the download is complete, a notification will appear.
- Click on the notification or go to the “Downloads” folder in ES File Explorer to locate the downloaded Kodi APK file.
- Click on the downloaded APK file to start the installation process.
- Follow the on-screen instructions to install Kodi on your LG OLED TV.
- Once the installation is complete, you will find the Kodi app in your TV’s app drawer.
Congratulations! You have successfully downloaded and installed Kodi on your LG OLED TV. The installation process may vary slightly depending on the model and software version of your TV, but following these general steps should help you get Kodi up and running.
In the next and final step, we’ll guide you on how to open Kodi and start exploring its features. Let’s proceed to the last section to complete the installation process.
Step 4: Open Kodi and Enjoy!
Now that you have successfully installed Kodi on your LG OLED TV, it’s time to open the app and start enjoying its wide range of features and content. Follow these steps to open Kodi:
- Go to the app drawer on your LG OLED TV.
- Locate the Kodi app icon and click on it to launch the application.
- After launching Kodi, you will be greeted by the home screen, which serves as the central hub for all your media and content.
- Explore the various options and menus within Kodi to customize your experience and access different types of media.
- To start streaming content, you can add media sources such as local storage or network shares. You can also install add-ons to access online streaming services, music libraries, and more.
- Use the navigation controls and menus within Kodi to browse through your media library, select your desired content, and enjoy a seamless streaming experience on your LG OLED TV.
Kodi offers a user-friendly interface, making it easy to navigate and access your favorite movies, TV shows, music, and more. With its powerful search capabilities and vast library of add-ons, you can easily find and stream content from a variety of sources.
Remember, Kodi is an open-source and highly customizable platform, so don’t hesitate to explore its settings, options, and add-ons to tailor your entertainment experience to your preferences.
Now that you have completed the installation of Kodi on your LG OLED TV and know how to open the app, it’s time to sit back, relax, and enjoy the unparalleled entertainment possibilities that Kodi brings to your TV.
Happy streaming!