Introduction
Are you a proud owner of a Hisense Smart TV and want to enhance your entertainment experience? Look no further than Kodi, a powerful media center platform. Kodi allows you to stream movies, TV shows, music, and even play games on your Smart TV. But how do you install Kodi on your Hisense Smart TV? In this guide, we will walk you through the step-by-step process to help you get Kodi up and running on your device.
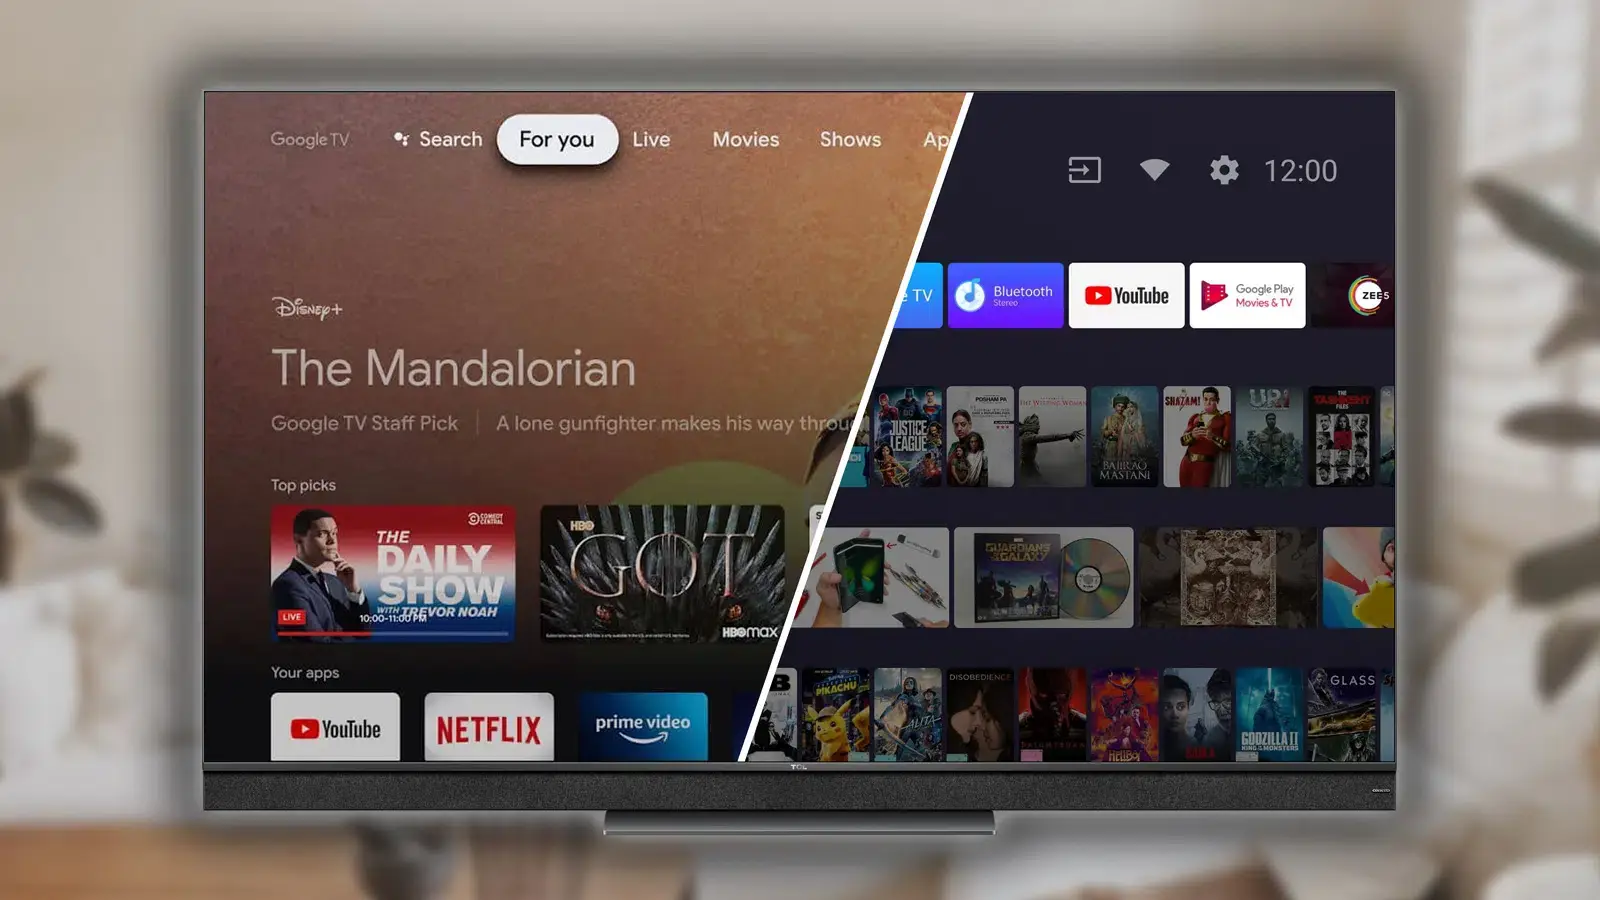
Before we dive into the installation process, it’s important to note that Hisense Smart TVs run on a proprietary operating system called VIDAA. This means that the installation process may differ slightly from other Android-based Smart TVs. Nevertheless, we will provide you with the necessary instructions to easily install Kodi on your Hisense Smart TV.
With Kodi on your Hisense Smart TV, you’ll have access to a vast library of add-ons that enable you to customize your viewing experience. Whether you’re a movie buff, a sports fanatic, or a music lover, Kodi’s add-ons have got you covered.
So, grab your remote and let’s get started on the journey to installing Kodi on your Hisense Smart TV!
Step 1: Check for Compatibility
Before diving into the installation process, it’s crucial to confirm whether your Hisense Smart TV is compatible with Kodi. While Hisense Smart TVs do not natively support the installation of third-party apps like Kodi, there is a workaround that allows you to sideload the app.
Firstly, check the model and specifications of your Hisense Smart TV. Determine if it runs on the VIDAA operating system or uses Android OS. If your Hisense Smart TV is powered by VIDAA, you can follow this guide to install Kodi. However, for models with Android OS, you can simply download Kodi from the Google Play Store.
To verify the operating system on your Hisense Smart TV, navigate to the settings menu. Look for the “About” or “System” section. Here, you should find information about the software version and operating system running on your TV.
If you discover that your Hisense Smart TV is running on VIDAA, you’re ready to proceed with the installation. However, if your TV uses Android OS, you can skip to step 5 and download Kodi directly from the Play Store.
Note that the process of sideloading apps on VIDAA may vary depending on the model and software version. It’s always recommended to refer to the official Hisense documentation or support forums for model-specific instructions.
By ensuring compatibility, you can avoid any potential issues during the installation process and ensure a smooth experience. Once you’ve confirmed the compatibility of your Hisense Smart TV, you’re ready to move on to the next step: enabling “Unknown Sources” on your device to allow the installation of third-party apps like Kodi.
Step 2: Enable “Unknown Sources” on your Hisense Smart TV
In order to install Kodi on your Hisense Smart TV, you need to enable the “Unknown Sources” option. This allows you to install apps from sources other than the official VIDAA app store. Here’s how you can do it:
- Using your Hisense Smart TV remote, navigate to the settings menu.
- Look for the “Security & Privacy” or “System” section.
- Scroll through the options and find the “Unknown sources” setting. It might be labeled differently depending on your TV model.
- Select the “Unknown sources” option and ensure that it is enabled.
- You’ll see a warning message stating that installing apps from unknown sources can be risky. Read the message and proceed if you understand the risks.
- Once you’ve enabled “Unknown sources,” your Hisense Smart TV is now ready to accept the installation of third-party apps like Kodi.
It’s important to note that enabling “Unknown Sources” poses a potential security risk. To minimize the risk, it’s crucial to install apps from trusted sources only. Kodi’s official website is a reliable source for downloading the app. Additionally, always ensure that you have antivirus software installed on your Smart TV to protect against any malicious files.
By enabling “Unknown Sources,” you’ve successfully prepared your Hisense Smart TV to install Kodi. Now, it’s time to move on to the next step: downloading the Kodi APK file onto your device.
Step 3: Download Kodi APK File
Now that you’ve enabled “Unknown Sources,” you can proceed with downloading the Kodi APK file onto your Hisense Smart TV. The APK file acts as the installation package for Kodi. Here’s how you can download it:
- Using a web browser on your computer or smartphone, go to the official Kodi website at kodi.tv.
- On the Kodi homepage, locate the “Download” section.
- Click on the “Android” option. This will take you to the download page specifically for Android devices.
- Scroll down the page and locate the “Recommended” section. Here, you’ll find the latest stable version of Kodi.
- If your Hisense Smart TV is running on ARM architecture, click on the “ARMV7A (32BIT)” option to download the APK file.
- If your Hisense Smart TV is running on ARM64 architecture, click on the “ARMV8A (64BIT)” option instead.
- Once you’ve selected the appropriate version for your TV, the APK file will start downloading onto your computer or smartphone.
- After the download is complete, transfer the APK file to a USB drive or any other external storage device.
Ensure that you download the APK file from the official Kodi website to avoid any security risks. Be cautious of downloading from unofficial sources, as they may provide modified or potentially harmful files.
Once you’ve successfully downloaded the Kodi APK file, you’re now ready to transfer it to your Hisense Smart TV. In the next step, we’ll guide you through the process of transferring the file and installing Kodi on your TV.
Step 4: Transfer the APK File to Your Hisense Smart TV
Now that you’ve downloaded the Kodi APK file, the next step is to transfer it to your Hisense Smart TV. Follow these instructions to transfer the file using a USB drive:
- Insert the USB drive into an available USB port on your computer.
- Locate the downloaded Kodi APK file on your computer.
- Copy the APK file and paste it into the USB drive.
- Safely eject the USB drive from your computer.
- Insert the USB drive into the USB port on your Hisense Smart TV.
- Using your TV remote, navigate to the file explorer or file manager app on your Hisense Smart TV.
- Locate the USB drive and open it.
- Find the Kodi APK file and select it.
- You will see a prompt asking for your confirmation to install the app. Click on the “Install” button.
- Wait for the installation process to complete. This may take a few minutes.
Once the installation is finished, you will see a notification that Kodi has been successfully installed on your Hisense Smart TV. Congratulations! You’re one step closer to enjoying a wide range of multimedia content on your TV.
Alternatively, if your Hisense Smart TV has a web browser, you can directly download the APK file from the official Kodi website using the TV’s browser. However, this may require a stable internet connection and might be more time-consuming compared to transferring the APK file via USB.
With Kodi successfully installed on your Hisense Smart TV, it’s time to move on to the next step: opening and configuring Kodi to suit your preferences.
Step 5: Install Kodi on Hisense Smart TV
With the APK file transferred to your Hisense Smart TV, it’s time to install Kodi and enjoy its features. Follow these steps to complete the installation:
- Using your Hisense Smart TV remote, navigate to the app drawer or home screen.
- Look for the file explorer or file manager app.
- Open the file explorer or file manager app.
- Locate the Kodi APK file that you transferred to your TV.
- Select the Kodi APK file and press the “OK” button on your remote to start the installation process.
- Follow the on-screen instructions to proceed with the installation.
- Once the installation is complete, you will see a notification confirming that Kodi has been successfully installed on your Hisense Smart TV.
- You can now access Kodi by going back to the app drawer or home screen and selecting the Kodi icon.
It’s important to note that Kodi may take some time to initialize the first time you open it. This is normal and should not cause concern.
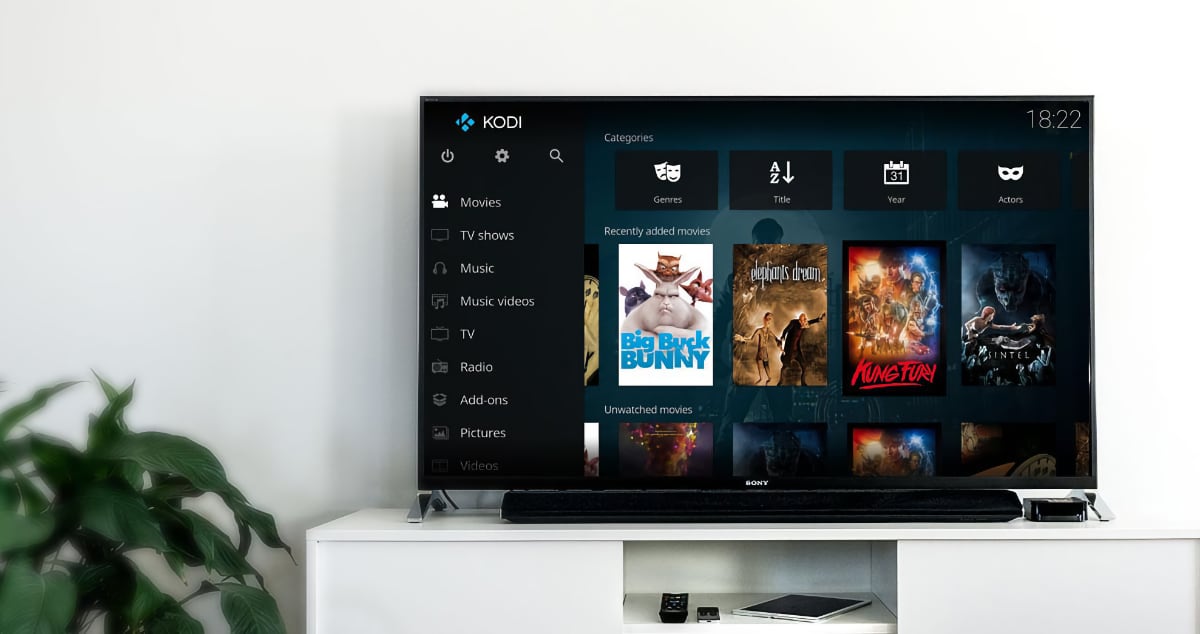
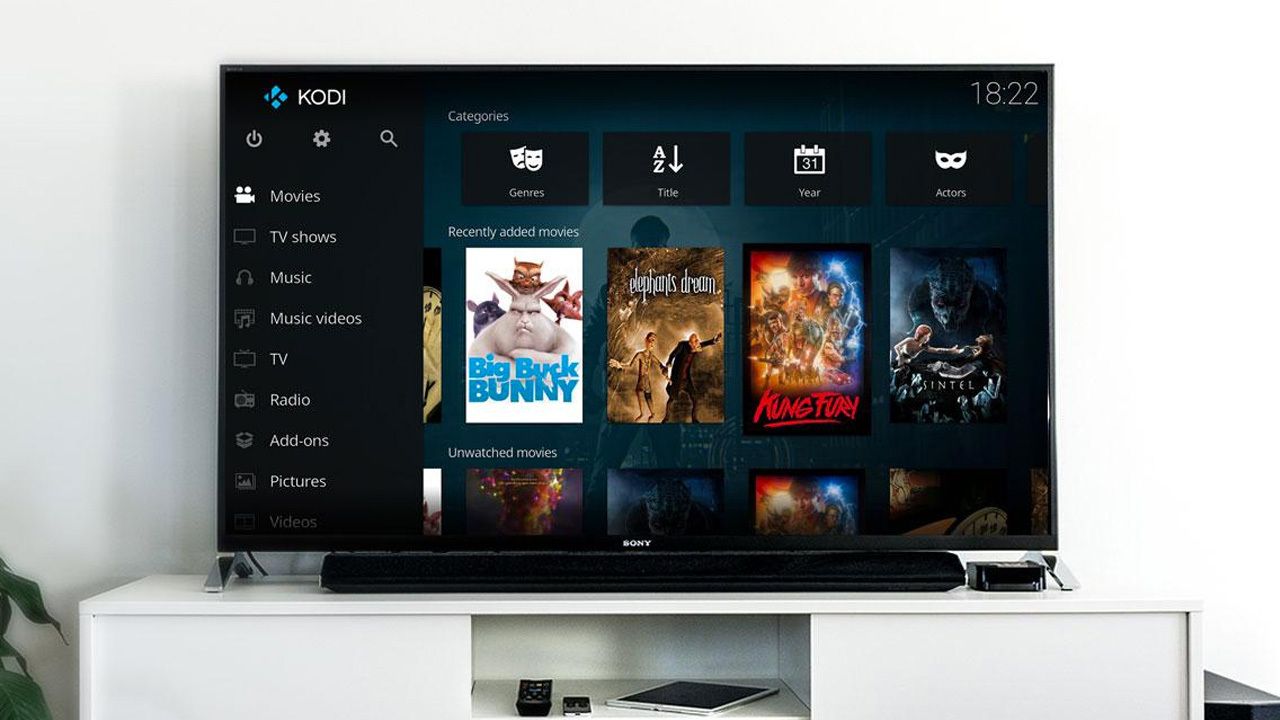
Now that Kodi is installed on your Hisense Smart TV, you can explore its wide range of features, add-ons, and customization options. Whether you want to stream movies and TV shows, listen to music, or view your personal media library, Kodi provides a comprehensive platform for all your entertainment needs.
Keep in mind that Kodi doesn’t provide any media content on its own. You will need to add your own media sources or install third-party add-ons to access different streaming services and content libraries.
Congratulations! You have successfully installed Kodi on your Hisense Smart TV. In the next step, we will guide you through the process of opening and configuring Kodi to enhance your viewing experience.
Step 6: Open and Configure Kodi on Hisense Smart TV
Now that you have Kodi installed on your Hisense Smart TV, it’s time to open the app and configure it to suit your preferences. Follow these steps to get started:
- Using your Hisense Smart TV remote, navigate to the app drawer or home screen.
- Locate the Kodi icon and select it to open the app.
- The first time you open Kodi, you will be prompted to choose a skin. A skin determines the overall look and feel of the Kodi interface. Select the skin that appeals to you and click “OK.”
- Once Kodi opens, take a moment to familiarize yourself with the interface. You will find various sections and menus to navigate through.
- Before you start using Kodi, it’s recommended to customize your settings. Navigate to the settings menu, usually represented by a gear or cog icon.
- Explore the settings options to configure Kodi according to your preferences. You can adjust playback settings, audio and video options, network settings, and more.
- Within the settings menu, you can also set up media sources by adding your own media libraries or configuring streaming add-ons.
- Additionally, you can explore the official Kodi add-on repository or install third-party add-ons to further expand the functionality of Kodi.
- Take some time to explore the different sections and features within Kodi. You’ll find options to browse movies, TV shows, music, photos, and much more.
- Once you have configured Kodi to your liking, you’re all set to start enjoying the vast world of multimedia content that Kodi offers on your Hisense Smart TV.
Remember to regularly update Kodi to ensure you have the latest features and bug fixes. You can check for updates within the settings menu or enable automatic updates if available.
With Kodi now open and configured, you can sit back, relax, and enjoy a truly immersive entertainment experience right from your Hisense Smart TV.
By following these simple steps, you have successfully installed and set up Kodi on your Hisense Smart TV. Now you have access to a plethora of content and the ability to customize your viewing experience.
Conclusion
Congratulations! You have successfully installed Kodi on your Hisense Smart TV and opened up a world of unlimited entertainment possibilities. By following the steps outlined in this guide, you have turned your TV into a powerful media center.
Kodi offers a comprehensive platform for streaming movies, TV shows, music, and even playing games on your Hisense Smart TV. With its extensive library of add-ons, you can customize your viewing experience and access a wide range of content from various sources.
Throughout this guide, we covered the importance of checking compatibility, enabling “Unknown Sources,” downloading the Kodi APK file, transferring it to your TV, and finally installing and configuring Kodi to suit your preferences.
Remember to exercise caution and only download the Kodi APK file from reliable sources such as the official Kodi website. This ensures that you have the latest and genuine version of the app, minimizing the risk of security issues.
As you explore Kodi’s features, take advantage of the vast number of add-ons available to enhance your media experience. From popular streaming services to niche content, Kodi’s add-ons offer a plethora of options to cater to every viewer’s taste.
Additionally, don’t forget to customize your Kodi settings according to your preferences. Explore the different sections and menus within Kodi to discover all the features it has to offer.
Lastly, stay updated by regularly checking for Kodi updates through the settings menu. This ensures you have access to the latest features, bug fixes, and security patches for a seamless experience.
Now, grab your popcorn, sit back, and enjoy the world of entertainment that Kodi brings to your Hisense Smart TV. Whether you’re binge-watching your favorite TV series, streaming blockbuster movies, or listening to your favorite tunes, Kodi has everything you need to elevate your viewing experience.
Thank you for following this guide, and we hope you have a fantastic time exploring all that Kodi has to offer on your Hisense Smart TV!