Introduction
Welcome to this step-by-step guide on how to install iATKOS L2 on VMware Workstation. iATKOS L2 is a popular distribution of the Mac OS X operating system, specifically designed to be installed on non-Apple hardware. This enables users to experience the Mac OS X environment without having to purchase a Mac computer.
VMware Workstation is a powerful virtualization software that allows you to create and run virtual machines on your computer. By combining iATKOS L2 with VMware Workstation, you can easily set up a virtual Mac environment on your Windows or Linux machine.
This installation process provides a way for individuals who are not Apple users to explore the features and functionality of Mac OS X. Whether you are a developer testing software compatibility, a designer wanting to work with Mac-specific applications, or simply curious about the Mac OS X experience, this guide will walk you through the steps to install iATKOS L2 on VMware Workstation.
Before we dive into the installation process, it’s important to note that this guide is for informational purposes only. It is not intended to promote or support the illegal distribution of Mac OS X or any associated software. Make sure you have the necessary legal rights and licenses to install and use the software discussed in this guide.
Now, let’s get started with the requirements you’ll need to fulfill before proceeding with the installation.
Requirements
Before you begin the installation process, it’s essential to ensure that you have the necessary requirements in place. Here’s what you’ll need:
- A computer with sufficient hardware capabilities: Make sure your computer meets the minimum requirements to run VMware Workstation and iATKOS L2. This should include a compatible processor, sufficient RAM, and available storage space.
- VMware Workstation: Download and install the latest version of VMware Workstation on your computer. You can find the software on the official VMware website. Make sure you have a valid license or access to a trial version.
- iATKOS L2 image: Obtain the iATKOS L2 installation image. You can search for it on various websites and download it from a reliable source. Keep in mind that you should only download the image if you have the legal rights to use it.
- A working internet connection: In order to download the necessary files and updates during the installation process, you’ll need a stable and high-speed internet connection.
Additionally, it’s beneficial to have a basic understanding of virtualization concepts and how to navigate through the VMware Workstation interface. This will help you navigate the installation process more smoothly.
Take the time to ensure that your computer meets all the requirements and that you have all the necessary software and files ready before proceeding with the installation. This will help avoid any potential issues and ensure a successful installation of iATKOS L2 on VMware Workstation.
Step 1: Download iATKOS L2
The first step in installing iATKOS L2 on VMware Workstation is to download the iATKOS L2 installation image. Follow the steps below to obtain the image:
- Open your preferred web browser and search for “iATKOS L2 download”. You will find several websites that offer the download.
- Choose a reliable source to download the iATKOS L2 image. It’s important to ensure that the source is trustworthy and that you have the legal rights to download and use the software.
- Once you have selected the source, click on the download link associated with the iATKOS L2 image. The download may take some time, depending on your internet connection speed.
- Once the download is complete, navigate to the folder or location where the iATKOS L2 image is saved on your computer. Make a note of the file’s location for future reference.
It’s crucial to ensure that you download the correct version of iATKOS L2 that is compatible with your hardware and VMware Workstation. Double-check the version and any specific requirements mentioned on the website before proceeding with the download.
After completing this step, you now have the iATKOS L2 installation image ready for the next phase of the installation process. In the following steps, we will set up VMware Workstation and create a new virtual machine to install iATKOS L2 on.
Step 2: Set Up VMware Workstation
Before installing iATKOS L2, you’ll need to set up VMware Workstation on your computer. Follow these steps to get VMware Workstation up and running:
- Download VMware Workstation from the official VMware website. Choose the appropriate version for your operating system.
- Run the installer file you downloaded, and follow the on-screen instructions to install VMware Workstation on your computer. Make sure to select the recommended settings during the installation process.
- Once the installation is complete, launch VMware Workstation by clicking on its shortcut icon on your desktop or finding it in your applications menu.
- You will be greeted with the home screen of VMware Workstation. Take a few moments to familiarize yourself with the interface and navigation options.
VMware Workstation provides a user-friendly interface that allows you to create and manage virtual machines effortlessly. It also offers a range of customization options, making it suitable for various operating systems and configurations.
After completing this step, you have successfully set up VMware Workstation on your computer. In the next step, we will move on to creating a new virtual machine to install iATKOS L2.
Step 3: Create a New Virtual Machine
Now that VMware Workstation is installed and ready, it’s time to create a new virtual machine to install iATKOS L2. Follow these steps to create a new virtual machine:
- Launch VMware Workstation if it’s not already open. You will be taken to the home screen.
- Click on the “Create a New Virtual Machine” option. This will initiate the virtual machine creation wizard.
- In the first step of the wizard, select “Typical (recommended)” and click “Next”. This option will set up a virtual machine with default settings suitable for most users.
- In the second step, select “I will install the operating system later” and click “Next”. This allows you to install iATKOS L2 later on.
- Choose the guest operating system as “Apple Mac OS X” and select the version that corresponds to the iATKOS L2 image you downloaded. If your version is not listed, choose the closest match.
- Provide a name and location for your virtual machine, and click “Next”. You can choose any name and location that is convenient for you.
- Specify the disk capacity for your virtual machine. It’s recommended to allocate at least 20 GB for the virtual disk to accommodate the Mac OS X installation and any additional software you may install later.
- Review the summary and configuration options on the final page of the wizard. Click “Finish” to create the virtual machine.
After following these steps, VMware Workstation will create the virtual machine with the specified configuration. You can now proceed to the next step and install iATKOS L2 on the newly created virtual machine.
Step 4: Install iATKOS L2 on the Virtual Machine
With the virtual machine created, it’s time to proceed with the installation of iATKOS L2. Follow these steps to install iATKOS L2 on the virtual machine:
- Ensure that the iATKOS L2 installation image is accessible within the VMware Workstation virtual machine. This can be done by either mounting the image directly or connecting it as a virtual CD/DVD drive.
- Power on the virtual machine by selecting it in the VMware Workstation interface and clicking on the “Play” button.
- As the virtual machine boots up, you’ll see a black screen with a prompt. Press the Enter key on your keyboard to start the installation process.
- The installer will now load, and you will be presented with the iATKOS L2 installation wizard. Follow the on-screen instructions to proceed with the installation.
- Select your language preference for the installation process.
- Agree to the license terms and choose the destination disk where you want to install iATKOS L2.
- Customize the installation options as per your preference. You may choose to install additional drivers or select specific software packages to be included.
- Once the customization is complete, begin the installation process and wait for it to finish.
- After the installation is complete, the virtual machine will reboot, and you will be prompted to set up your Mac OS X user account and preferences.
- Follow the on-screen instructions to complete the setup process and configure your desired settings.
Once you have completed these steps, you have successfully installed iATKOS L2 on the virtual machine using VMware Workstation. You can now proceed to the next step and configure the iATKOS L2 settings to optimize your virtual machine’s performance.
Step 5: Configure iATKOS L2 Settings
After installing iATKOS L2 on the virtual machine, it’s important to configure the settings to optimize the performance and functionality of your virtual Mac environment. Follow the steps below to configure your iATKOS L2 settings:
- Start the virtual machine by selecting it in the VMware Workstation interface and clicking on the “Play” button.
- Wait for the virtual machine to boot into iATKOS L2.
- Once you are on the Mac OS X desktop, click on the VMware Tools icon located on the virtual machine’s menu bar.
- A pop-up window will appear. Click on the “Install VMware Tools” option.
- Follow the on-screen instructions to install the VMware Tools. This will improve the integration between the host and guest operating systems, providing better graphics, sound, and overall performance.
- After the VMware Tools installation is complete, restart the virtual machine to apply the changes.
- Once the virtual machine has rebooted, go to the VMware Workstation interface and click on the “Virtual Machine” menu, then select “Virtual Machine Settings”.
- In the settings window, you can customize various aspects of your virtual machine, such as the allocated RAM, processor settings, and network configuration. Adjust these settings according to your requirements.
- Additionally, you can configure shared folders between your host operating system and virtual machine, enabling seamless file transfer.
- Save the settings and close the settings window.
By configuring these settings, you can enhance the performance and features of your iATKOS L2 virtual machine, providing a smoother and more efficient experience.
Now that you have successfully configured the iATKOS L2 settings in your virtual machine, you can proceed to the final step and start iATKOS L2 to explore the Mac OS X environment.
Step 6: Start iATKOS L2
After setting up and configuring iATKOS L2 on your virtual machine, it’s time to start the operating system and explore the Mac OS X environment. Follow these steps to start iATKOS L2:
- Launch VMware Workstation on your computer.
- Select the iATKOS L2 virtual machine you created from the list of virtual machines in the VMware Workstation interface.
- Click on the “Play” button to power on the virtual machine.
- As the virtual machine boots up, you will see the familiar Apple logo and progress bar. Wait for the boot process to complete.
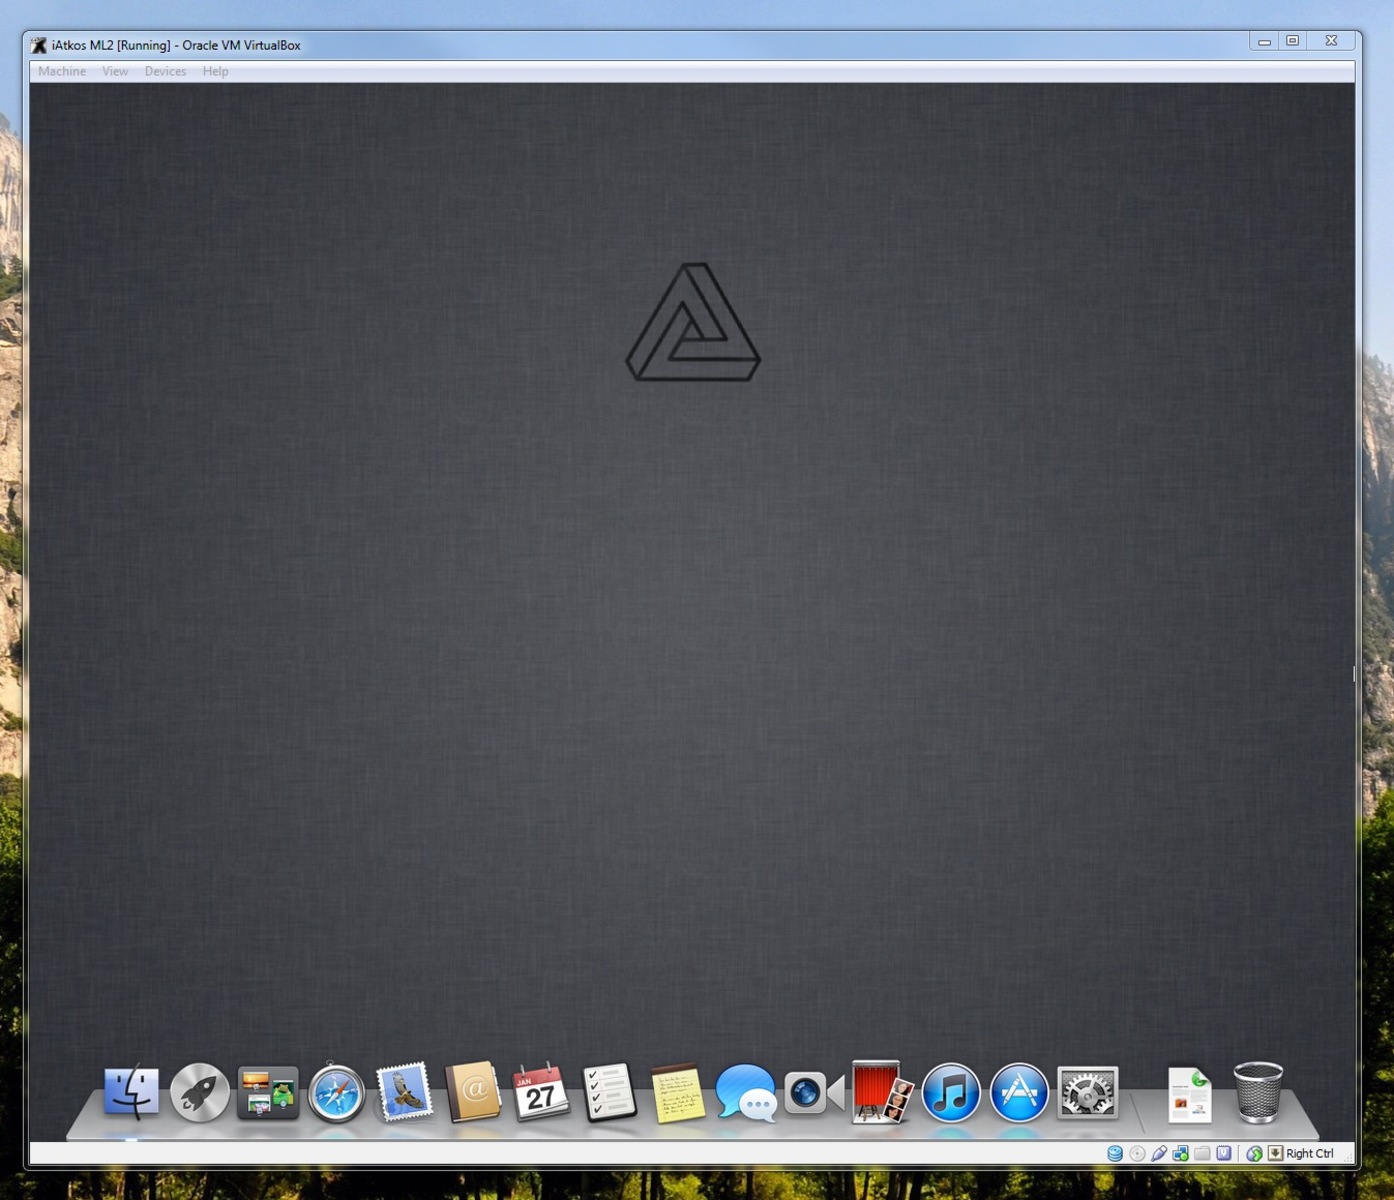
- Once iATKOS L2 has fully loaded, you will be presented with the Mac OS X desktop.
- Take some time to explore the Mac OS X environment, familiarize yourself with the interface, and enjoy all the features and applications available to you.
- You can now use iATKOS L2 on your VMware Workstation to run Mac-specific software, test applications, or simply experience the Mac OS X environment.
Remember that iATKOS L2 is a modified version of Mac OS X designed to work on non-Apple hardware. Although it provides a Mac-like experience, there may be limitations or compatibility issues compared to running Mac OS X natively on Apple hardware.
Enjoy the flexibility and convenience of using iATKOS L2 on your VMware Workstation-powered virtual machine, and make the most of the Mac OS X environment for your specific needs.
Conclusion
Congratulations! You have successfully installed iATKOS L2 on VMware Workstation and are now able to experience the Mac OS X environment on your non-Apple hardware. Through the step-by-step guide outlined in this article, you have learned how to set up VMware Workstation, create a virtual machine, install iATKOS L2, and configure the necessary settings.
By following these instructions, you can explore the features and functionalities of the Mac OS X operating system, run Mac-specific software, and test applications without the need for a physical Mac computer.
Remember, it is important to ensure that you have obtained the iATKOS L2 image from a legitimate source and that you have the legal rights to use the software. It is also essential to comply with any licensing agreements and copyright laws associated with the use of Mac OS X.
As you continue to use iATKOS L2 on VMware Workstation, feel free to experiment and customize your virtual machine according to your specific needs and preferences. Adjust settings, install additional software, and explore the vast world of Mac OS X within your virtual environment.
We hope this guide has been helpful in enabling you to install and run iATKOS L2 on VMware Workstation. Enjoy your virtual Mac experience and make the most of the features and functionalities offered by the Mac OS X operating system.
Happy virtual computing!


