Introduction
Welcome to the world of technology and connectivity, where having an internet connection is essential for both work and leisure. However, there are times when you may find yourself in a situation where you need to install an Ethernet driver on a computer that doesn’t have internet access. This can be a frustrating experience, but fear not! In this guide, we will walk you through the steps to install an Ethernet driver without an internet connection.
An Ethernet driver is a software program that allows your computer to communicate with the Ethernet network adapter, enabling it to connect to the internet via an Ethernet cable. Normally, when you install a fresh operating system, the necessary drivers are automatically installed. However, if you’re working on an offline computer or have encountered driver issues, you may need to install the Ethernet driver manually.
In this guide, we will provide you with step-by-step instructions to tackle this challenge. Whether you’re a tech-savvy individual or a novice in the world of computers, this guide will help you get your Ethernet driver up and running without the need for an internet connection.
Before we dive into the installation process, it’s important to note that Ethernet drivers come in different versions, depending on your hardware and operating system. Therefore, it’s crucial to have the correct driver for your particular setup in order to ensure compatibility and optimal performance. With that in mind, let’s get started!
Step 1: Check for Driver CD or DVD
The first step in installing an Ethernet driver without internet access is to check if you have a driver CD or DVD that came with your computer or network adapter. Many hardware manufacturers include a driver disc with the purchase of their products. This disc contains the necessary drivers for your specific hardware, including the Ethernet driver.
To begin, locate the driver CD or DVD that came with your computer or network adapter. It is usually labeled as “Driver Disc” or something similar. Once you have located it, insert the disc into the CD or DVD drive of the offline computer.
Next, open the CD or DVD drive on your computer. You will find a list of files and folders on the disc. Look for a folder labeled “Drivers” or something similar. This is where the Ethernet driver files are typically stored.
Once you have located the Ethernet driver folder, double-click on it to open it. Inside, you should see one or more setup files with extensions such as .exe or .msi. These files are used to install the Ethernet driver onto your computer.
Double-click on the setup file to start the installation process. Follow the on-screen instructions to install the driver onto your computer. Make sure to read and accept any license agreements or prompts that may appear during the installation process. Once the installation is complete, you can move on to the next step.
If you do not have a driver CD or DVD, don’t worry! There are still other methods to install the Ethernet driver without internet access. Read on to learn more.
Step 2: Use Another Device to Download the Driver
If you don’t have a driver CD or DVD, or if the one you have doesn’t contain the necessary Ethernet driver, you can use another device with internet access to download the driver. This device could be a smartphone, tablet, or a computer with an internet connection.
Here’s how you can download the Ethernet driver using another device:
- On the device with internet access, open a web browser and go to the website of your computer or network adapter manufacturer.
- Navigate to the “Support” or “Downloads” section of the website. This is where you can find the drivers for your specific hardware.
- Enter the model number or name of your computer or network adapter in the search bar provided on the website. This will help you find the correct driver for your device.
- Once you have located the correct driver, download it onto the device with internet access. Make sure to select the version that is compatible with your operating system.
- If the driver file is compressed (e.g., in a zip or rar format), use a file extraction tool to extract the contents.
- After extracting the driver files, transfer them to a USB flash drive, external hard drive, or any other portable storage device that can be connected to the offline computer.
- Disconnect the portable storage device from the device with internet access.
Now that you have the driver files saved in a portable storage device, you can proceed to the next step to install the Ethernet driver on the offline computer.
Step 3: Transfer the Driver to the Offline Computer
Now that you have successfully downloaded the Ethernet driver onto another device with internet access, it’s time to transfer the driver files to the offline computer. The offline computer may not have internet connectivity, but it can still connect to external storage devices such as USB flash drives or external hard drives.
Follow these steps to transfer the Ethernet driver to the offline computer:
- Connect the portable storage device containing the driver files to an available USB port on the offline computer.
- Once connected, open the File Explorer (Windows) or Finder (Mac) on the offline computer.
- Navigate to the location of the portable storage device. It should be listed as a removable storage device in the File Explorer or Finder.
- Open the portable storage device and locate the folder where the Ethernet driver files are stored.
- Select all the driver files by either dragging a selection box around them or using the Ctrl+A (Windows) or Command+A (Mac) shortcut.
- Copy the selected driver files by right-clicking and choosing “Copy” or using the Ctrl+C (Windows) or Command+C (Mac) shortcut.
- Navigate to a desired location on the offline computer’s hard drive where you want to save the driver files.
- Paste the driver files by right-clicking and choosing “Paste” or using the Ctrl+V (Windows) or Command+V (Mac) shortcut.
Now that the Ethernet driver files have been transferred to the offline computer, you are ready to proceed with the installation process, which will be covered in the next step. Keep the portable storage device with the driver files in a safe place for future use, if needed.
Step 4: Extract and Install the Ethernet Driver
With the Ethernet driver files transferred to the offline computer, the next step is to extract and install the driver. The driver files may be compressed or packaged in a zip or rar format, requiring extraction before installation.
Here’s how you can extract and install the Ethernet driver:
- Navigate to the location where you saved the driver files on the offline computer.
- If the driver files are compressed, right-click on the compressed file and choose “Extract” or “Extract All”. Select a destination folder for the extracted files.
- After the extraction is complete, open the extracted folder to access the Ethernet driver files.
- Look for a setup file with an .exe or .msi extension. This is the file that you will use to install the Ethernet driver.
- Double-click on the setup file to start the installation process. Follow the on-screen instructions to install the Ethernet driver on the offline computer. Be sure to read and accept any license agreements or prompts that may appear during the installation.
- Once the installation is complete, restart the computer to finalize the driver installation.
After restarting, your computer should have the Ethernet driver installed and ready to use. You can now proceed to the final step to test the Ethernet connection.
If you encounter any issues during the installation process, make sure to double-check that you have the correct and compatible driver for your specific hardware and operating system. If necessary, consult the manufacturer’s support or documentation for further assistance.
Step 5: Test the Ethernet Connection
Now that you have successfully installed the Ethernet driver on the offline computer, it’s time to test the connection. Testing the Ethernet connection will ensure that the driver is functioning correctly and that your computer is able to connect to the internet through the Ethernet cable.
Follow these steps to test the Ethernet connection:
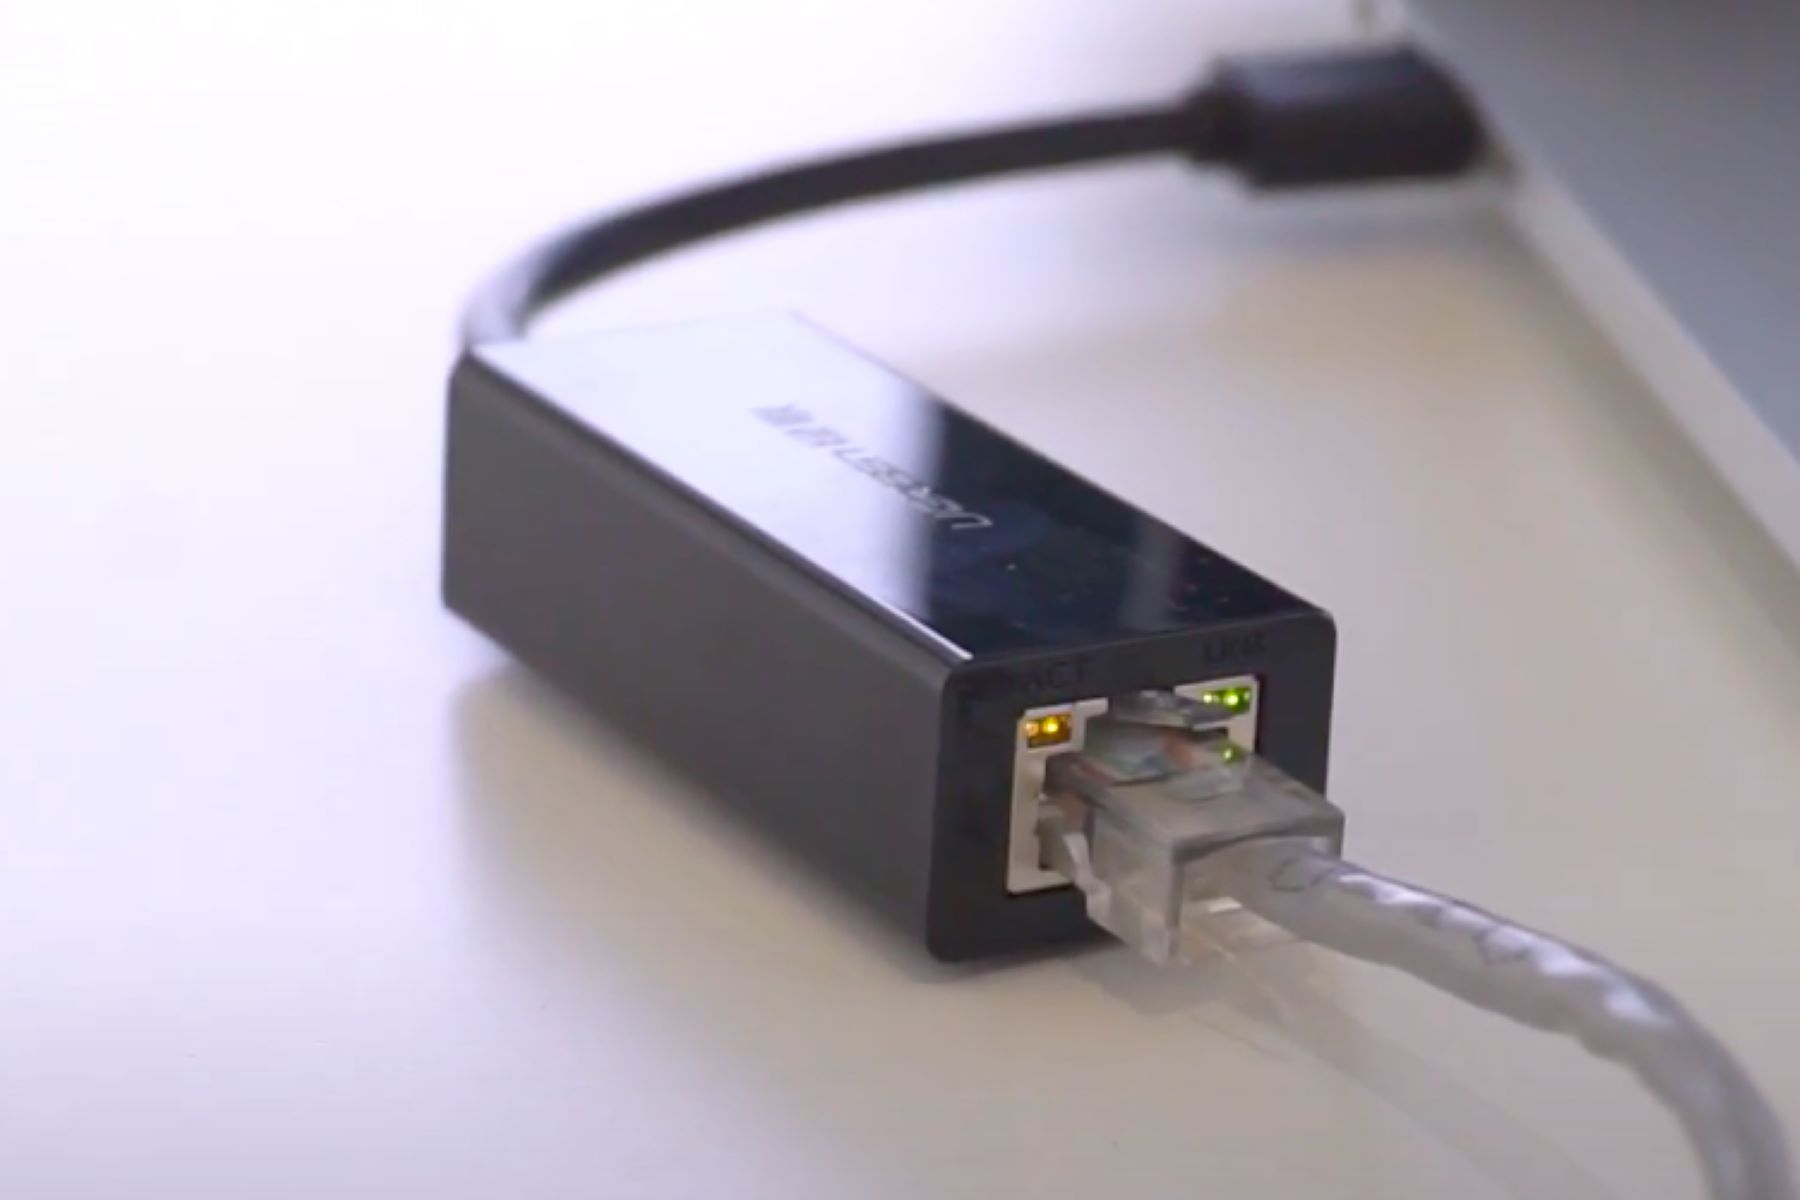
- Connect one end of an Ethernet cable to the network port on your computer and the other end to a router, modem, or network switch.
- Ensure that the Ethernet cable is securely plugged in on both ends.
- Power on the router, modem, or network switch to establish the network connection.
- On the offline computer, go to the Network settings. In Windows, you can do this by right-clicking the network icon in the system tray and selecting “Open Network & Internet settings”.
- In the Network settings, ensure that the Ethernet connection is enabled and active. It should show as connected.
- Open a web browser and attempt to visit a website to test the internet connectivity. Try visiting different websites to ensure a stable connection.
- If you are able to successfully access websites and browse the internet, congratulations! Your Ethernet connection is working fine. If not, continue troubleshooting by checking your network settings or contacting your internet service provider for further assistance.
It’s worth noting that certain network configurations or issues may still prevent your computer from connecting to the internet, even with a properly installed Ethernet driver. If you encounter any persistent connection problems, it’s recommended to seek professional help or consult the manufacturer’s support for troubleshooting guidance.
With the Ethernet driver successfully installed and a working connection established, you can now enjoy the benefits of internet access on your offline computer.
Conclusion
Installing an Ethernet driver without internet access may seem like a daunting task, but with the right guidance, it can be a straightforward process. In this guide, we have outlined the steps to install an Ethernet driver on an offline computer, whether you have a driver CD/DVD or need to download the driver from another device.
Starting with checking for a driver CD or DVD, you can easily locate and install the Ethernet driver if it is included with your hardware. Alternatively, using another device with internet access, you can download the driver and transfer it to the offline computer via portable storage.
Once the driver files are on the offline computer, you can proceed with extracting and installing the Ethernet driver. Following the on-screen instructions, you can successfully install the driver and prepare your computer for a reliable Ethernet connection.
Finally, it’s important to test the Ethernet connection to ensure it is working correctly. By connecting your computer to the network and browsing the internet, you can confirm that the driver installation was successful and enjoy the benefits of internet access on your offline computer.
Remember, if you encounter any issues during the installation process or experience connection problems, don’t hesitate to consult the manufacturer’s support or seek professional assistance.
By following the steps outlined in this guide, you are now equipped with the knowledge to install an Ethernet driver without internet access. Stay connected and enjoy the seamless internet experience on your offline computer!