Introduction
Welcome to our comprehensive guide on how to install the Corsair 240mm CPU Cooler! If you’re looking to upgrade your computer’s cooling system and optimize its performance, this article is for you. Installing a CPU cooler may seem like a daunting task, but with the right tools and a little know-how, you’ll be able to do it yourself and reap the benefits.
The Corsair 240mm CPU Cooler is a top-of-the-line option designed to efficiently cool your CPU and maintain optimal temperatures during intensive tasks, such as gaming or video editing. With its advanced cooling technology and sleek design, it’s a popular choice among enthusiasts and professionals alike.
In this guide, we’ll walk you through each step of the installation process, from preparing your computer to troubleshooting any potential issues. Whether you’re a seasoned PC builder or a novice, our detailed instructions and tips will ensure a smooth and successful installation.
To follow along with this guide, you’ll need a few essential tools and materials. These include a Phillips head screwdriver, isopropyl alcohol or rubbing alcohol, lint-free cloths, thermal paste, and of course, the Corsair 240mm CPU Cooler itself. It’s important to gather all the necessary items before starting the installation to avoid any unnecessary delays or frustrations.
Before we dive into the nitty-gritty of the installation process, we’ll guide you through preparing your computer for the cooler installation. This involves shutting down your computer, disconnecting all power sources, and safely grounding yourself. Taking these precautions will protect both you and your computer from potential damage.
With the introduction out of the way, it’s time to roll up your sleeves and get ready to install your brand-new Corsair 240mm CPU Cooler. Are you excited? Let’s jump right into it!
What Is a Corsair 240mm CPU Cooler?
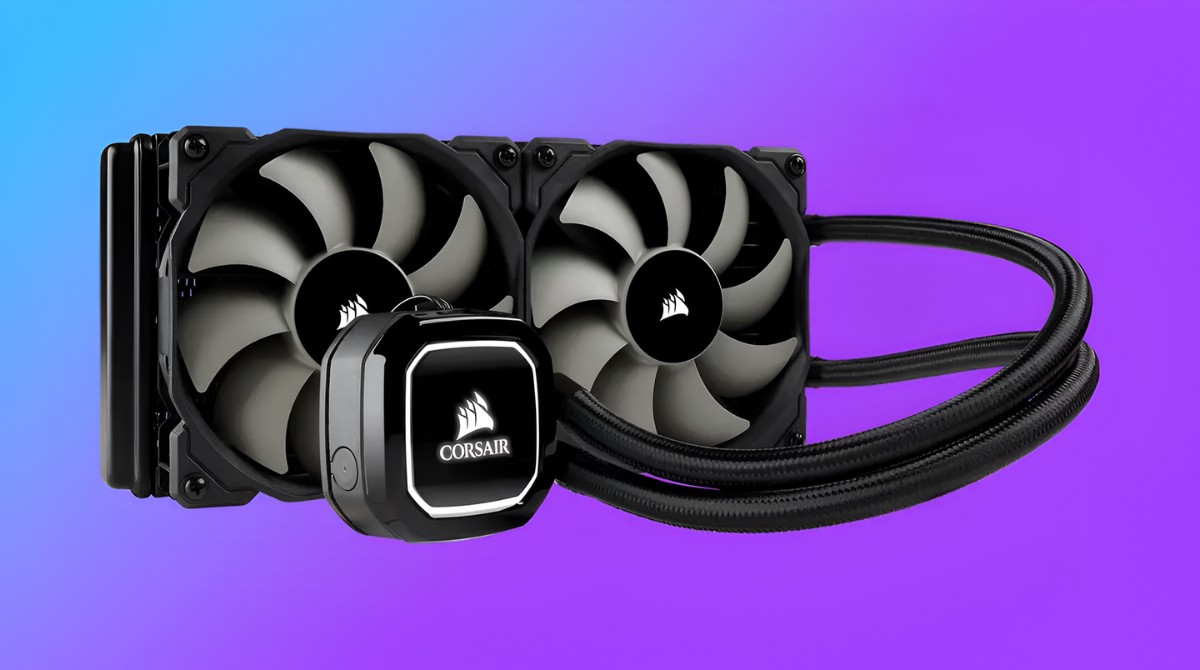
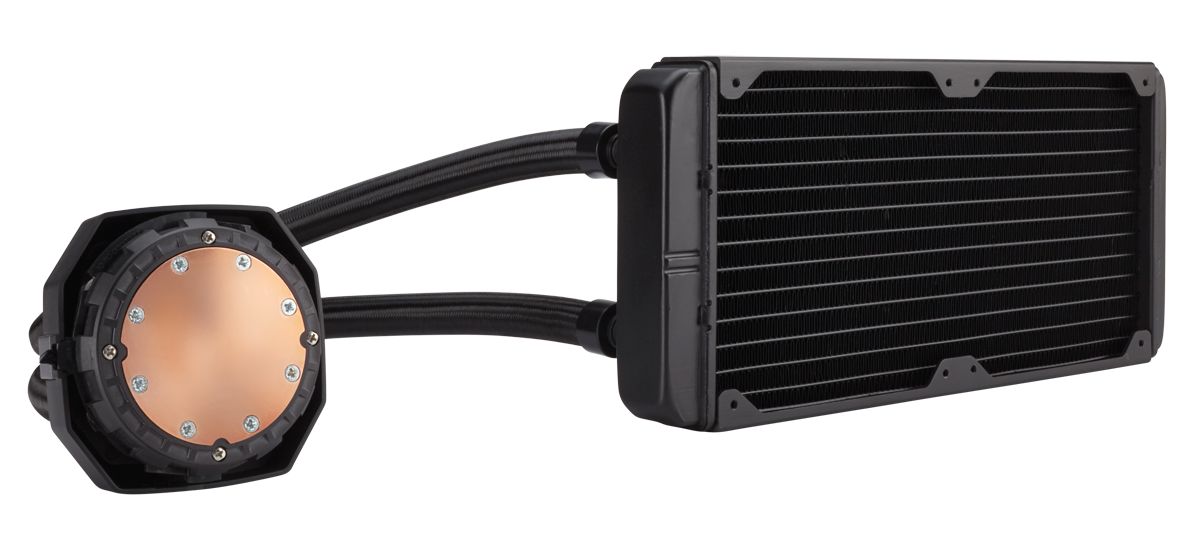
The Corsair 240mm CPU Cooler is a high-performance cooling solution designed specifically for CPUs. It is a liquid cooler that utilizes a combination of a radiator, fans, and a water pump to efficiently dissipate heat from the CPU. The “240mm” in its name refers to the size of the radiator, which is 240 millimeters in length.
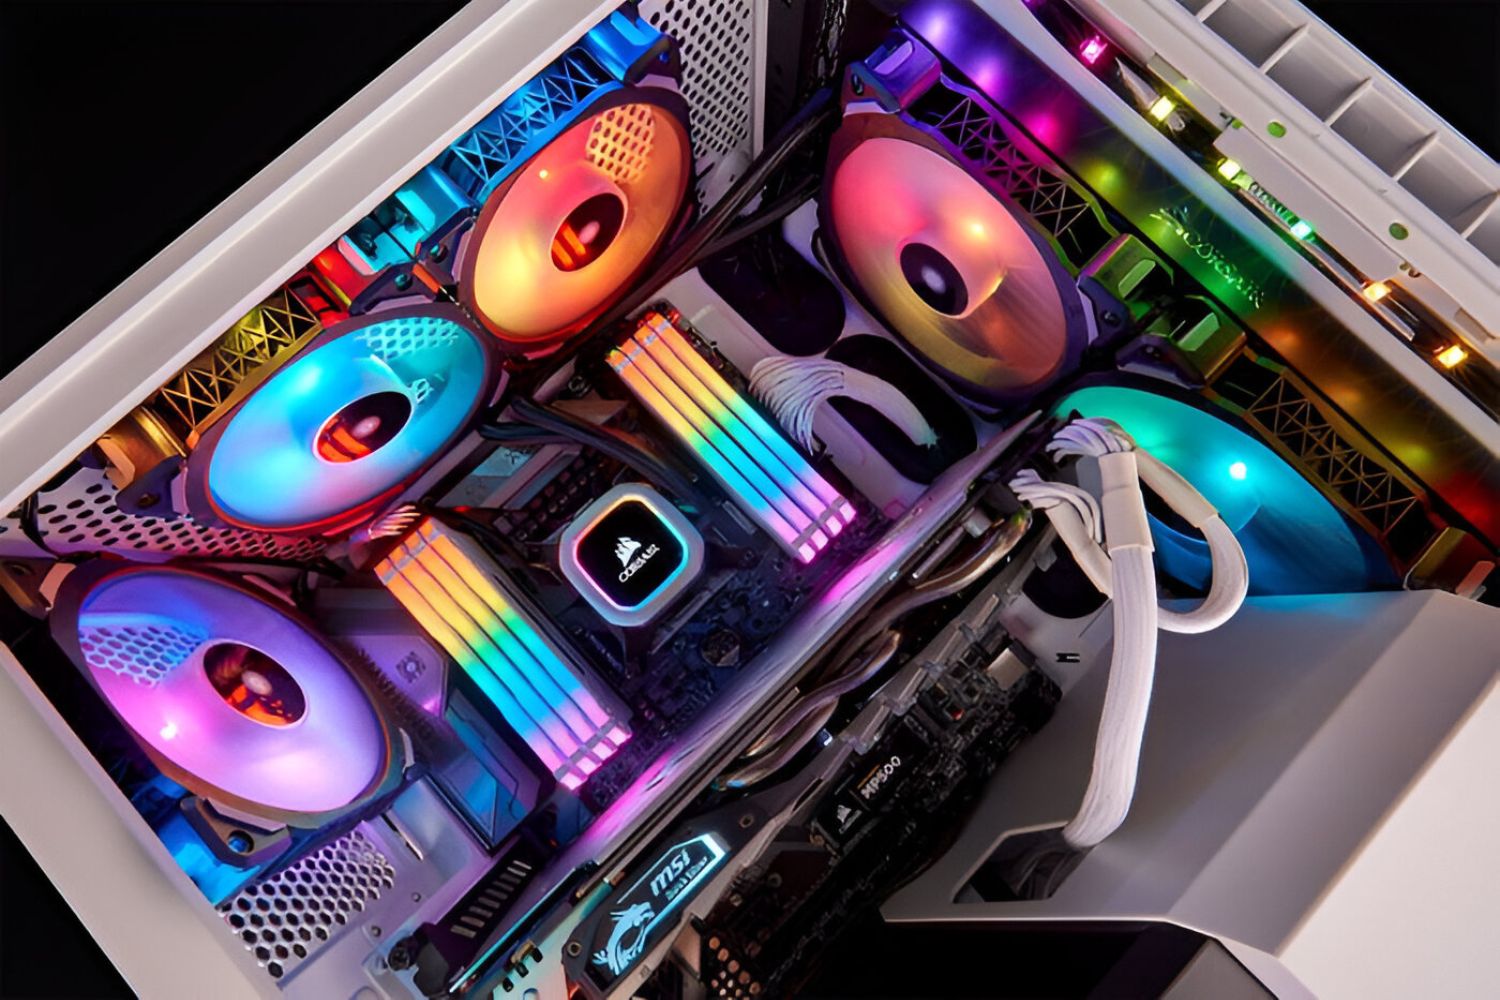
Compared to traditional air coolers, the Corsair 240mm CPU Cooler offers superior thermal performance. The liquid coolant inside the closed-loop system absorbs heat from the CPU and then transfers it to the radiator, where the fans actively cool the liquid, allowing it to dissipate the heat more effectively. This results in lower CPU temperatures and improved overall system stability.
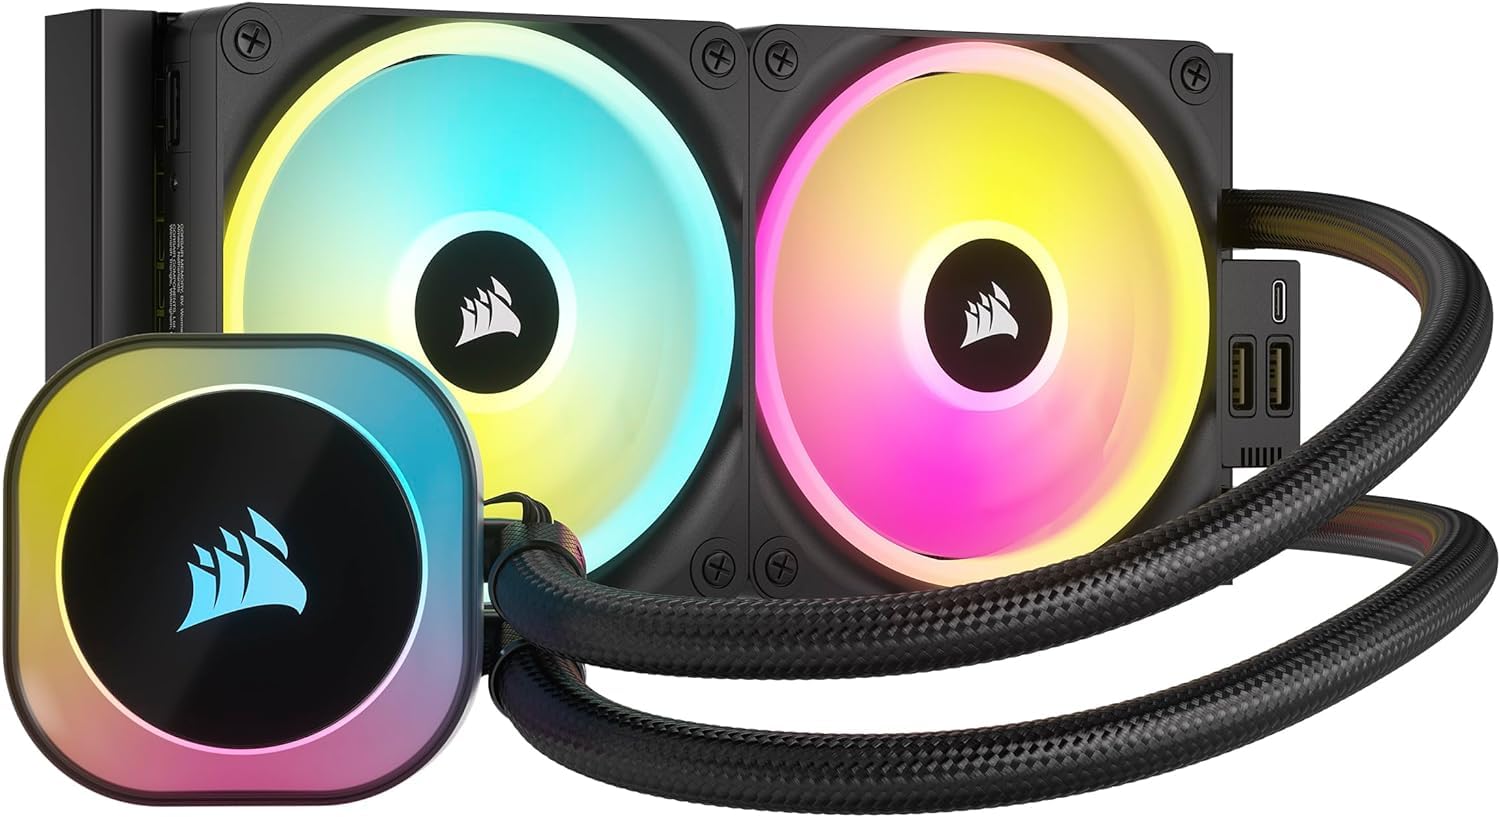
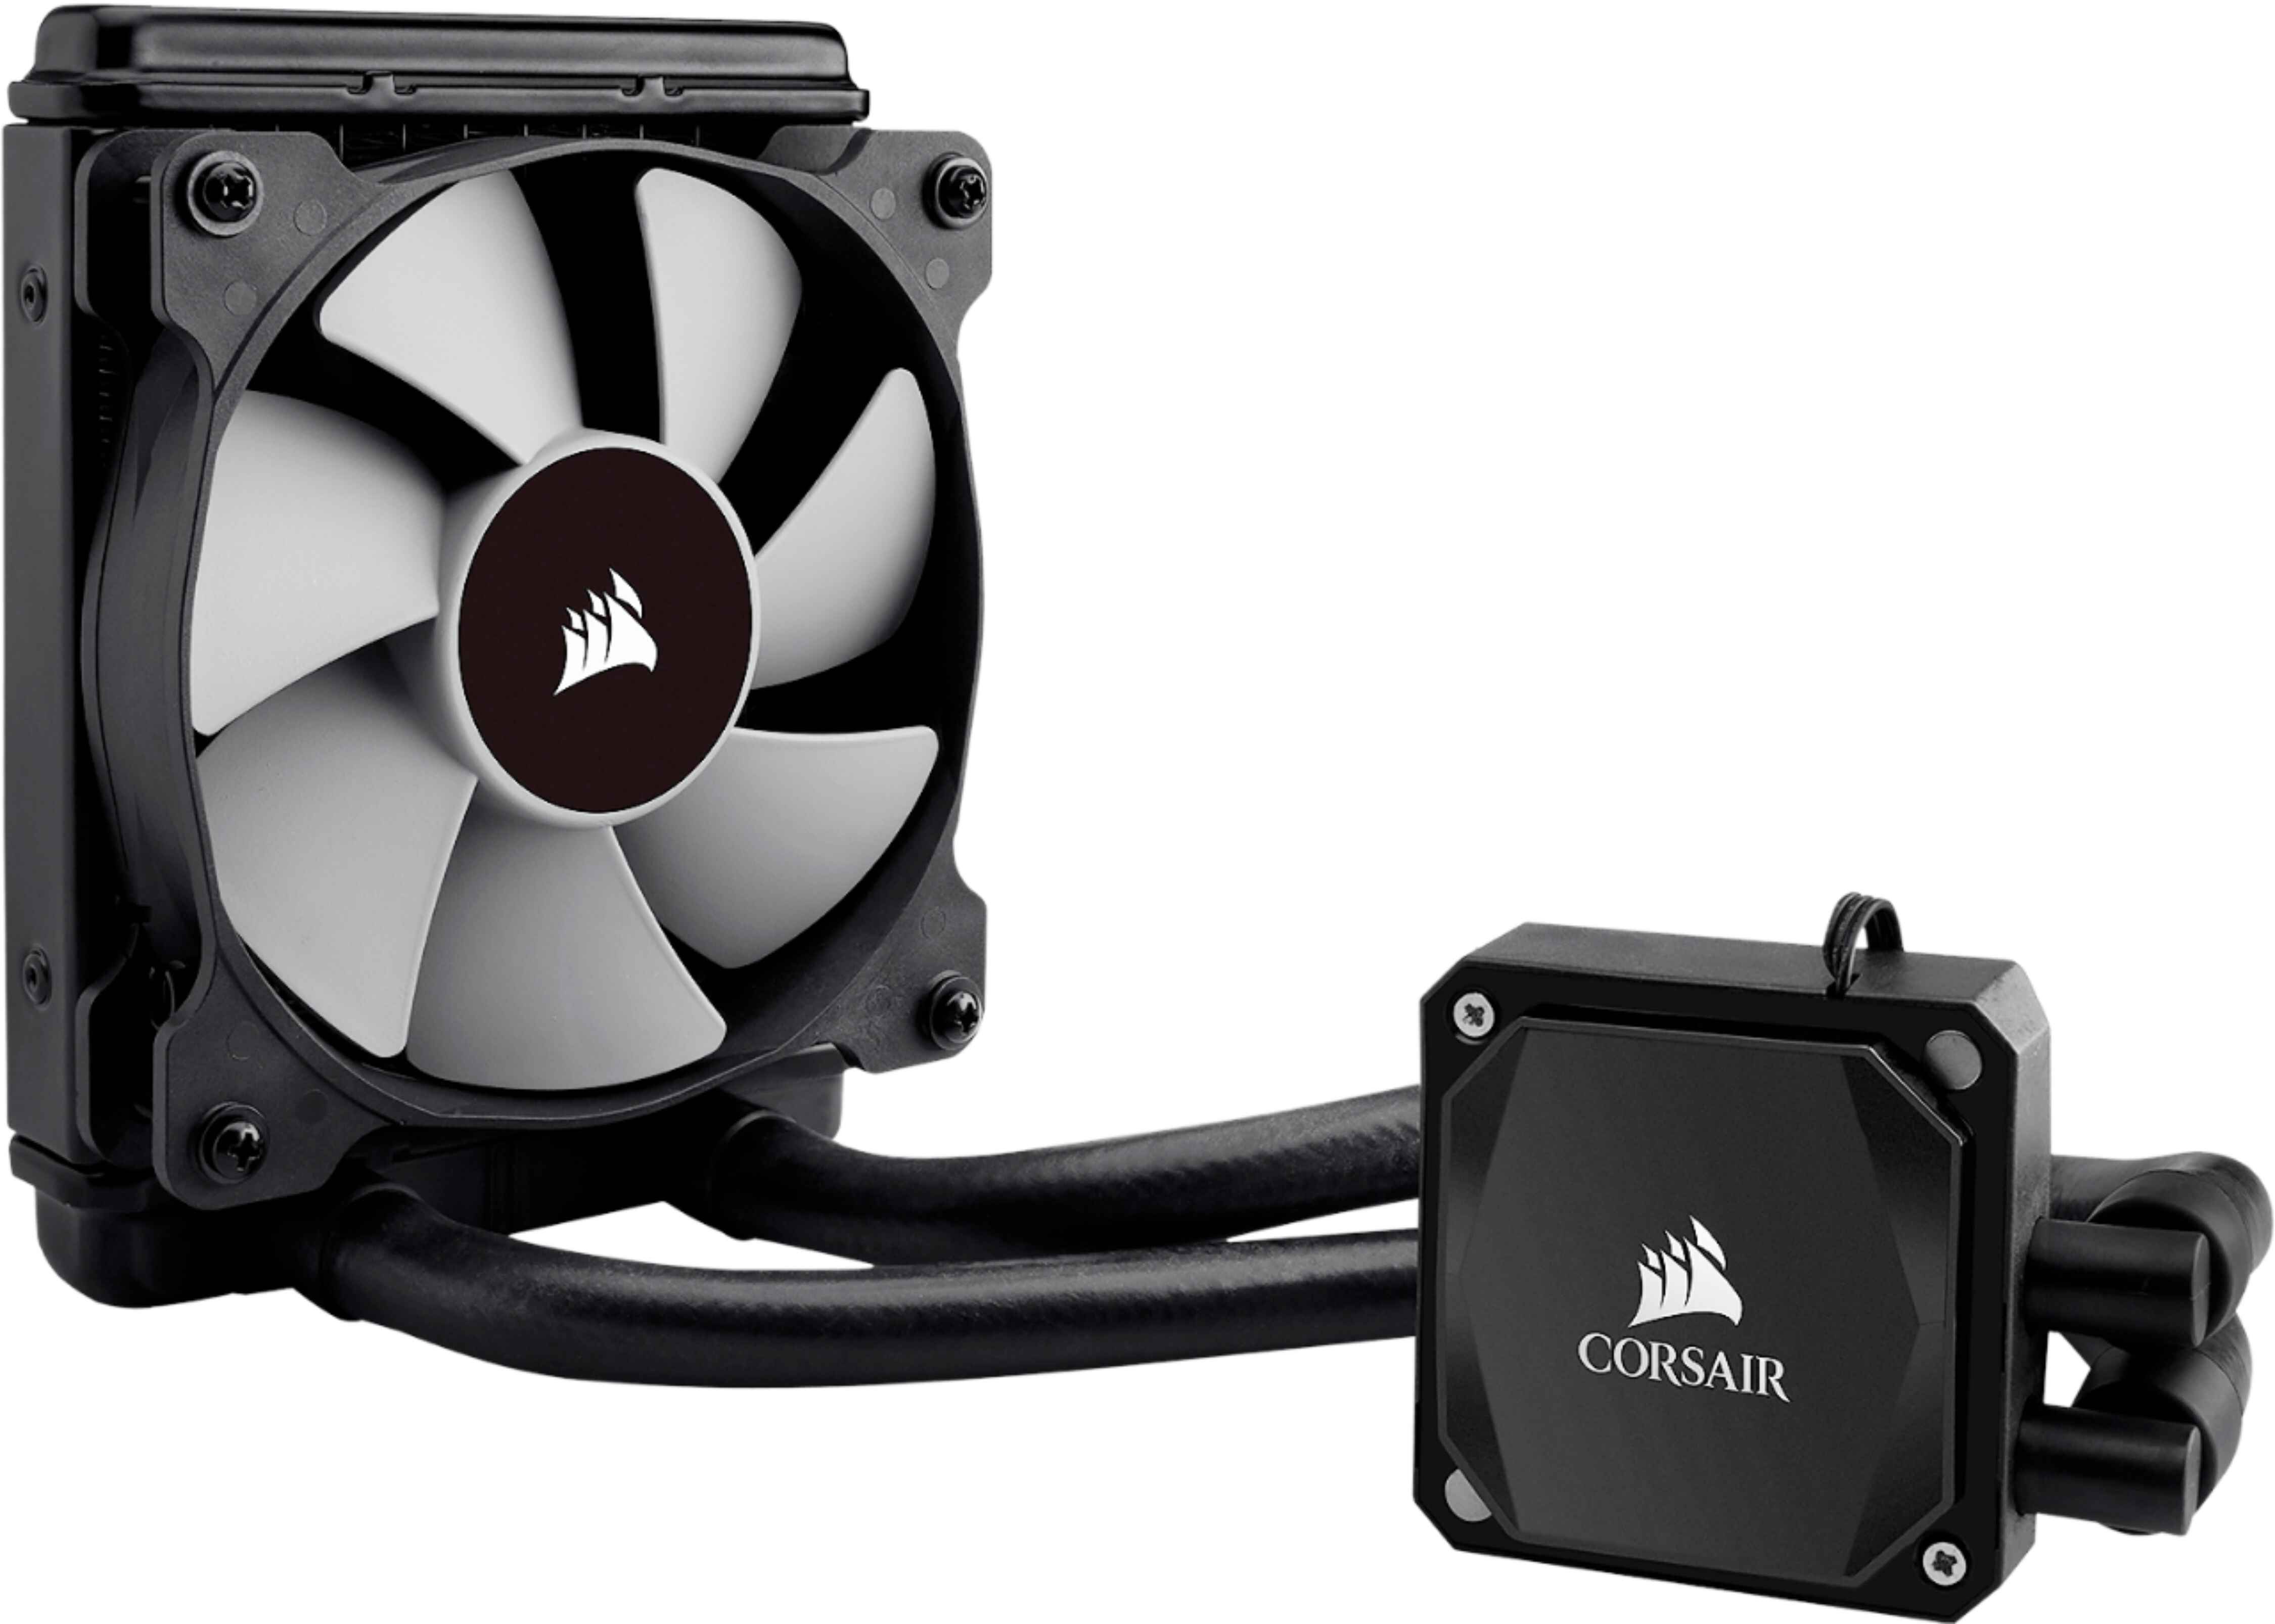
The Corsair 240mm CPU Cooler features a sleek design with a low-profile pump and a slim radiator that can easily fit into most computer cases. The radiator is usually mounted at the top or front of the case, using mounting points or brackets provided by Corsair. The fans are then attached to the radiator to facilitate the cooling process.
One of the notable advantages of the Corsair 240mm CPU Cooler is its quiet operation. The combination of a well-designed pump and fan system ensures that noise is kept to a minimum, providing a peaceful computing experience without compromising on cooling performance.
Additionally, Corsair’s 240mm CPU Cooler is compatible with a wide range of CPU sockets, including Intel’s LGA and AMD’s AM4 sockets, making it suitable for most modern CPU architectures. It also comes with pre-applied thermal paste, ensuring convenient and reliable heat transfer between the CPU and the cooler.
Installing a Corsair 240mm CPU Cooler provides several benefits, such as improved CPU performance, reduced risk of thermal throttling, and the ability to overclock your CPU for even better performance. Whether you’re a gamer, content creator, or power user, this cooler is an excellent investment to keep your CPU running at its best.
Now that you have a better understanding of what the Corsair 240mm CPU Cooler is and its advantages, let’s move on to the next section: the tools and materials you’ll need for the installation process.
Tools and Materials Required
Before you embark on installing the Corsair 240mm CPU Cooler, it’s crucial to gather all the necessary tools and materials. Having everything prepared beforehand will ensure a smooth and efficient installation process. Here’s a list of the essential items you’ll need:
- Phillips Head Screwdriver: This tool is essential for removing and securing screws during the installation process. Make sure you have a screwdriver that fits the screws on your computer case and the cooler.
- Isopropyl Alcohol or Rubbing Alcohol: You’ll need isopropyl alcohol or rubbing alcohol to clean the CPU and heatsink surfaces. These substances effectively remove any thermal residue, ensuring optimal thermal conductivity.
- Lint-Free Cloths: To apply the alcohol and clean the surfaces, lint-free cloths are necessary. Avoid using regular fabrics that may leave lint or fibers behind.
- Thermal Paste: Properly applying thermal paste is essential for optimizing heat transfer between the CPU and the cooler. The Corsair 240mm CPU Cooler comes with pre-applied thermal paste, but you may need extra if you plan to reapply or if the original paste gets contaminated.
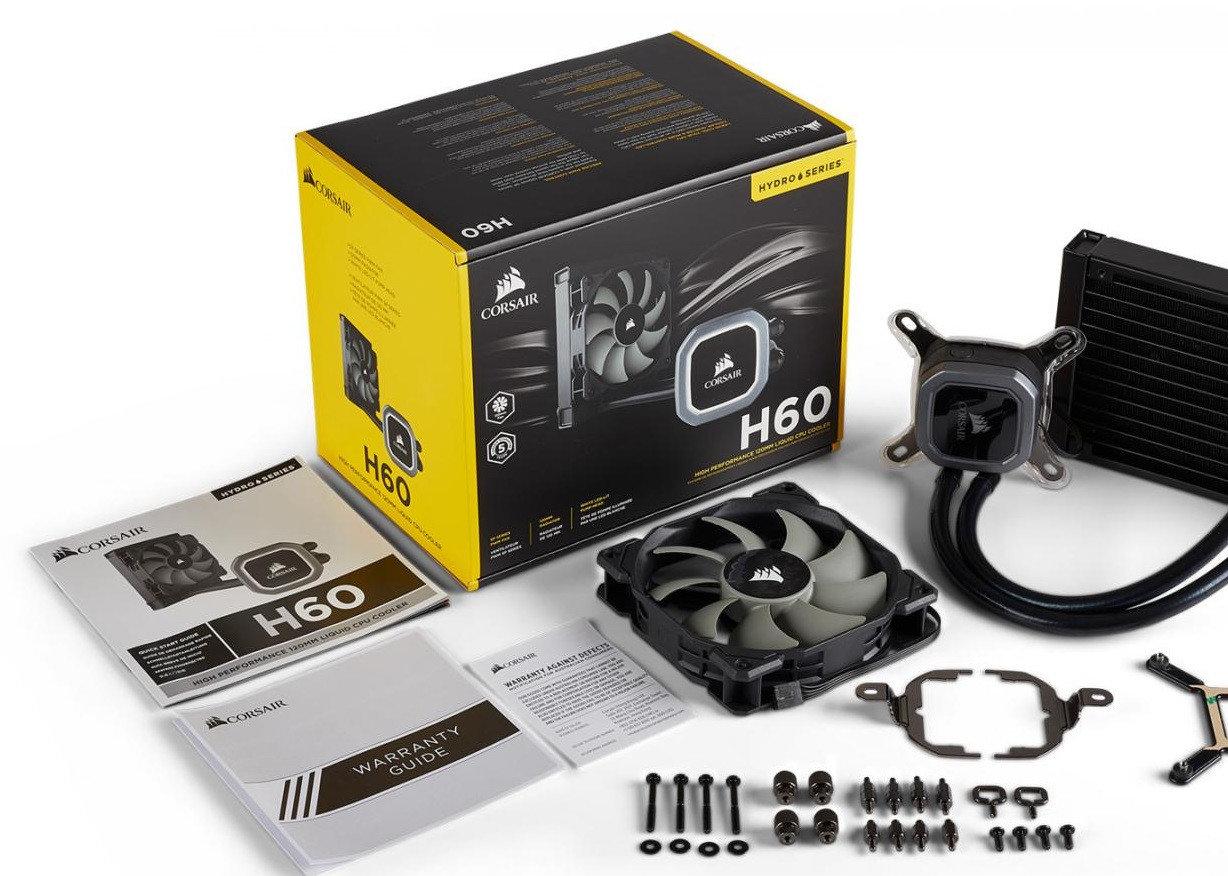
- Corsair 240mm CPU Cooler: Of course, the centerpiece of the installation process is the Corsair 240mm CPU Cooler itself. Make sure you have the cooler ready to go, along with any additional parts or accessories that may come with it.
- CPU Socket Compatibility: Ensure that the Corsair 240mm CPU Cooler is compatible with the socket on your motherboard. Check Corsair’s official documentation or the product packaging for the list of supported sockets.
Before starting the installation, double-check that you have all these tools and materials within easy reach. Having everything prepared in advance will save you time and prevent any frustrations during the process.
Now that you’re equipped with the necessary tools and materials, it’s time to move on to the first step of preparing your computer for the installation. This step is crucial to ensure your safety and the protection of your computer components, so let’s dive right in!
Step 1: Preparing Your Computer
Before you begin installing the Corsair 240mm CPU Cooler, it’s important to prepare your computer to ensure a smooth and safe installation process. Follow these steps to get started:
- Shut Down Your Computer: Start by properly shutting down your computer. This will ensure that all components are powered off and prevent any accidental damage during the installation process. It’s also a good idea to unplug your computer from the power source to minimize the risk of electric shock.
- Ground Yourself: Static electricity can be harmful to computer components, so it’s crucial to ground yourself before working on your computer. You can do this by touching a grounded metal object, such as a doorknob or the metal frame of your computer case. This will discharge any static electricity in your body.
- Open the Computer Case: Depending on your computer case, you’ll need to locate and remove the side panels. Most cases have thumbscrews or screws that hold the panels in place. Use a screwdriver to remove these screws and carefully remove the panels, exposing the internal components of your computer.
- Identify the CPU Socket: Once you have the computer case open, locate your CPU socket on the motherboard. This is where the Corsair 240mm CPU Cooler will be installed. Refer to your motherboard’s manual or documentation if you are unsure about the exact location of the CPU socket.
- Clean the CPU and Heatsink Surfaces: Before installing the new cooler, it’s essential to clean the surface of your CPU and the heatsink to remove any existing thermal paste or debris. Use isopropyl alcohol or rubbing alcohol and a lint-free cloth to carefully clean both surfaces. Ensure they are completely dry before proceeding.
By following these preparation steps, you have set the foundation for a successful installation of the Corsair 240mm CPU Cooler. With your computer shut down, grounded, and the CPU and heatsink surfaces clean, you are now ready to move on to the next step: removing the old CPU cooler. Stay tuned!
Step 2: Removing the Old CPU Cooler
Now that you have prepared your computer for the installation of the Corsair 240mm CPU Cooler, it’s time to remove the old cooler from your CPU. Follow these steps to safely remove the old CPU cooler:
- Identify the Mounting Mechanism: Take a close look at how the current CPU cooler is mounted on your CPU. It may be held in place by screws or a latch mechanism. Pay attention to any screws or brackets that need to be removed to disconnect the cooler from the CPU socket.
- Disconnect the Power and Fan Cables: Locate the power cable and fan cable connected to the old CPU cooler. Gently disconnect these cables from the motherboard. Be careful not to pull on the cables excessively to avoid damaging them or the components they are connected to.
- Remove the Mounting Screws or Brackets: Use a screwdriver or your hands to remove the screws or brackets that hold the cooler in place on the CPU socket. Depending on the mounting mechanism, you may need to twist or push down on the cooler to release it from the socket.
- Carefully Remove the Old Cooler: Once the screws or brackets are removed, carefully lift the old CPU cooler off the CPU socket. Be cautious not to apply any unnecessary force or twist it abruptly, as this may damage the CPU or the motherboard.
- Clean the CPU Socket: After removing the old CPU cooler, take a moment to inspect the CPU socket for any debris or leftover thermal paste. If you notice any, use a lint-free cloth and isopropyl alcohol to gently clean the CPU socket. Ensure that the socket is completely dry before proceeding.
By following these steps, you have successfully removed the old CPU cooler from your system. Remember to handle the components with care to avoid any accidental damage. With the old cooler out of the way, you’re now ready to move on to the next step: applying thermal paste. Stay tuned!
Step 3: Applying Thermal Paste
With the old CPU cooler removed, it’s time to apply thermal paste to ensure optimal heat transfer between the CPU and the Corsair 240mm CPU Cooler. Here’s how to apply thermal paste correctly:
- Prepare the Thermal Paste: If the Corsair 240mm CPU Cooler comes with pre-applied thermal paste, you can skip this step. However, if you need to apply your own thermal paste, make sure you have a small amount ready. Thermal paste is typically available in small syringes or tubes.
- Apply a Small Amount of Thermal Paste: It’s important not to overapply thermal paste, as this can lead to poor heat transfer or even damage your CPU. A small pea-sized amount or a thin line is usually sufficient. Place the thermal paste in the center of the CPU, covering the area where the cooler will make contact.
- Spread the Thermal Paste (Optional): Some people prefer to spread the thermal paste evenly over the CPU surface using a clean, lint-free cloth or a plastic card. This ensures more consistent coverage. If you choose to spread the thermal paste, do it gently and evenly to avoid air bubbles or an excessive amount of paste.
- Do Not Touch the Thermal Paste: Once applied, avoid touching or disturbing the thermal paste. The heat generated by the CPU and the pressure exerted by the cooler will help spread and flatten the paste naturally, achieving better contact and heat transfer.
Remember, the goal of applying thermal paste is to fill in the microscopic imperfections between the CPU and the cooler, ensuring maximum thermal conductivity. Applying too much or unevenly can hinder this process, so it’s important to use an appropriate amount and distribute it evenly.
Now that you have applied the thermal paste, it’s time to move on to the next step: installing the Corsair 240mm CPU Cooler onto your CPU. Stay tuned!
Step 4: Installing the Corsair 240mm CPU Cooler
Now that you have prepared the CPU and applied thermal paste, it’s time to install the Corsair 240mm CPU Cooler onto your CPU. Follow these steps to ensure a proper installation:
- Position the Cooler: Carefully position the Corsair 240mm CPU Cooler on top of the CPU. Make sure that it aligns with the holes on the CPU socket. The cooler should sit flat and evenly on the thermal paste, creating maximum surface contact.
- Attach Mounting Brackets or Screws: Depending on your CPU socket and the mounting mechanism provided by Corsair, you’ll need to attach the mounting brackets or screws to secure the cooler in place. Refer to the manufacturer’s instructions for the specific installation process for your CPU socket.
- Tighten the Mounting Screws or Brackets: Begin tightening the mounting screws or brackets in an alternating pattern. Start with one screw or bracket and tighten it partially, then move to the opposite corner and tighten it partially as well. Repeat this process until all the screws or brackets are securely tightened.
- Avoid Over-Tightening: Be careful not to over-tighten the mounting screws or brackets, as this can damage the CPU or the motherboard. Stop tightening when you feel resistance and ensure that the cooler is firmly attached without excessive force.
- Connect the Cooler’s Fan Cables: Locate the fan cables for the Corsair 240mm CPU Cooler. Connect them to the appropriate fan headers on the motherboard. The specific headers may vary depending on your motherboard, but they are usually labeled as CPU fan or AIO pump headers.
- Organize Cable Routing: Take a moment to organize the cables from the Corsair 240mm CPU Cooler to ensure a clean and tidy cable routing. Use cable ties or Velcro straps to secure the cables and prevent them from obstructing other components.
By following these steps, you have successfully installed the Corsair 240mm CPU Cooler onto your CPU. Ensure that the cooler is securely attached and that all cables are properly connected. Now, let’s move on to the next step: connecting the cooler to power. Stay with us!
Step 5: Connecting the Cooler to Power
Now that you have successfully installed the Corsair 240mm CPU Cooler onto your CPU, it’s time to connect the cooler to power. Follow these steps to ensure a proper and efficient power connection:
- Locate the Power Connectors: Identify the power connectors on the Corsair 240mm CPU Cooler. These connectors may vary depending on the model, but the most common ones are a SATA power connector and a fan header connector.
- Connect the SATA Power Connector: Locate an available SATA power connector from your power supply unit (PSU) and connect it to the SATA power connector on the CPU cooler. Ensure a secure connection to provide power to the cooler.
- Connect the Fan Header Connector: Find the appropriate fan header on your motherboard for the CPU cooler. This is typically labeled as CPU fan or AIO pump header. Connect the fan header connector from the cooler to the corresponding header on the motherboard.
- Check Firmware or Software Control (Optional): Some CPU coolers, including the Corsair 240mm CPU Cooler, may offer firmware or software control for adjusting fan speeds and monitoring temperatures. If available, install the manufacturer’s software or update the firmware as per their instructions.
- Organize Power Cables: Take a moment to organize the power cables from the cooler and ensure they are neatly routed and secured. Use cable ties or Velcro straps to manage the cables and prevent them from interfering with other components.
By following these steps, you have successfully connected the Corsair 240mm CPU Cooler to power. Ensure that all connections are secure and properly aligned. Now, it’s time to move on to the final step: testing and troubleshooting your installation. Let’s do this!
Step 6: Testing and Troubleshooting
Now that you have completed the installation of the Corsair 240mm CPU Cooler, it’s time to test and troubleshoot your setup to ensure everything is functioning properly. Follow these steps to verify your installation:
- Power On Your Computer: Turn on your computer and ensure that it boots up normally. Listen for any unusual noises or vibrations that may indicate a problem with the cooler or the fans.
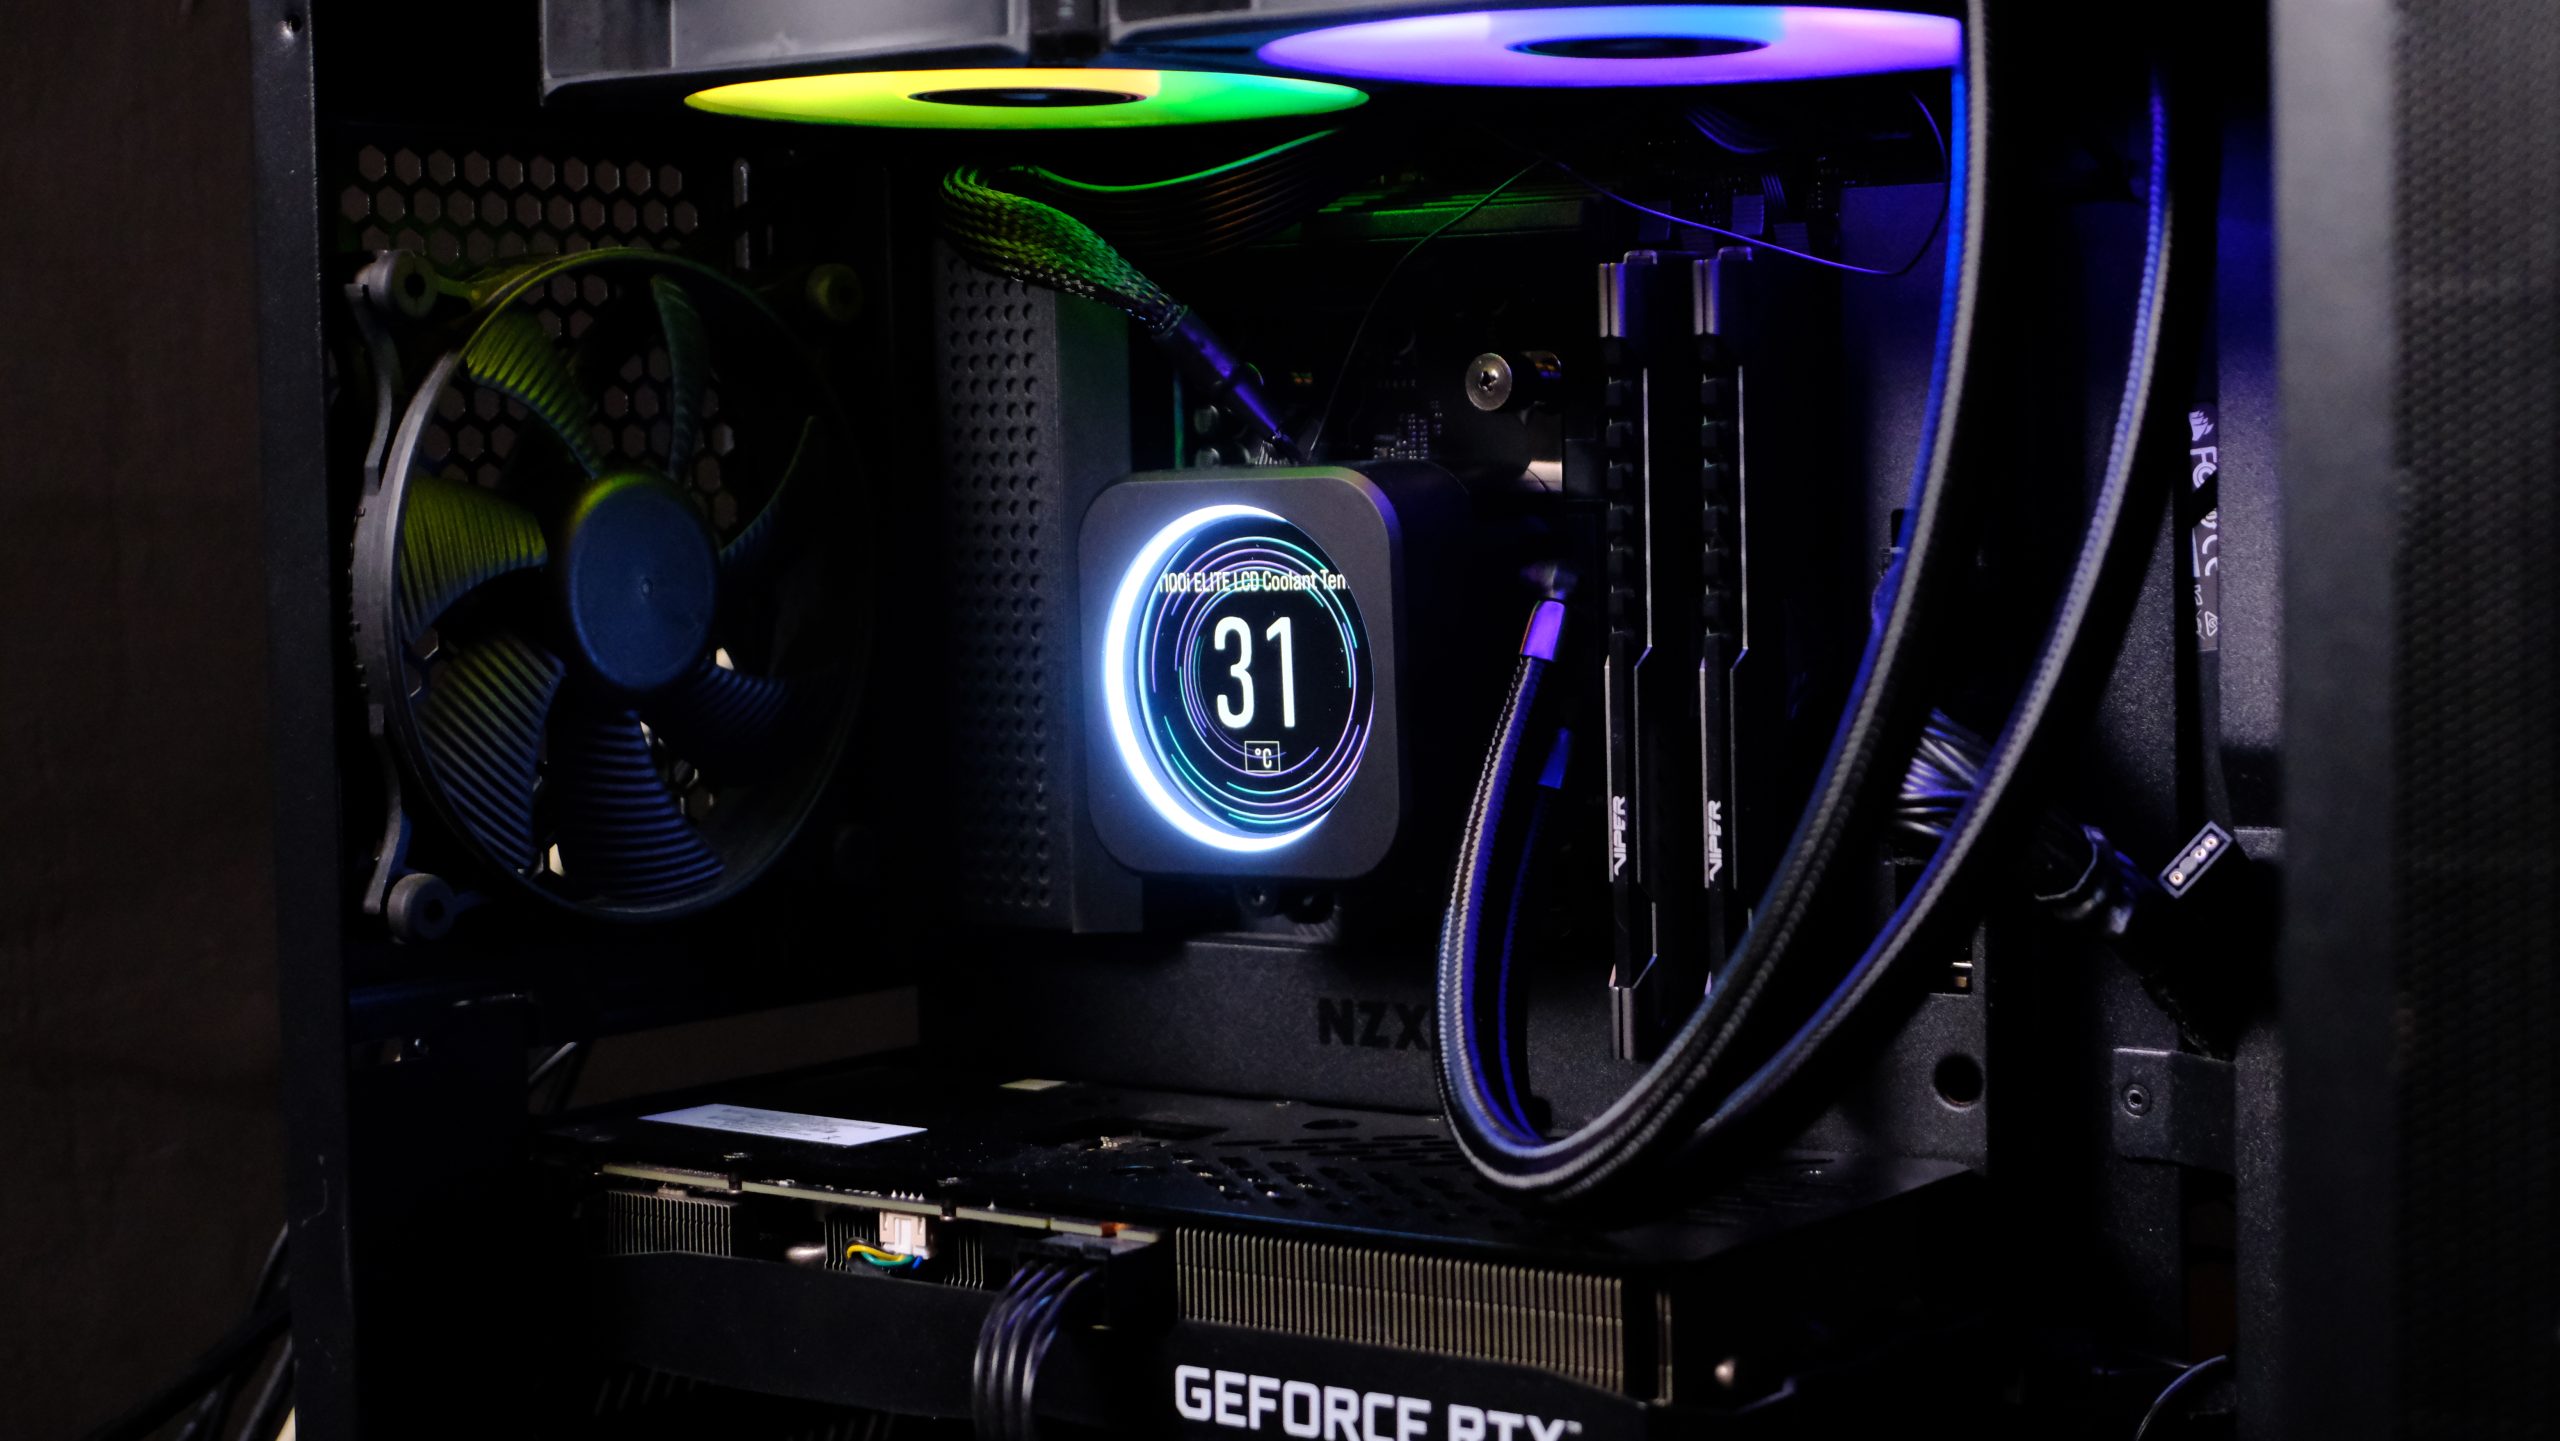
- Monitor CPU Temperatures: Use monitoring software or the BIOS to monitor your CPU temperatures. Ensure that they stay within acceptable ranges, even during heavy usage. If your CPU temperatures are unusually high or fluctuating significantly, it may indicate an issue with the cooler or the thermal paste.
- Check Fan Speeds: Monitor the fan speeds of the Corsair 240mm CPU Cooler. Ensure that they are running at the expected speeds and adjust them if necessary using the manufacturer’s software or BIOS settings. High fan speeds can indicate a cooling issue, while excessively low speeds may lead to higher temperatures.
- Listen for Any Abnormalities: Pay attention to any unusual noises, such as rattling or grinding, coming from the cooler or fans. These may indicate a hardware issue that needs to be addressed. If you notice any unusual noises, try to pinpoint their source and troubleshoot accordingly.
- Perform a Stress Test: To ensure the stability and efficiency of your new CPU cooler, consider running a stress test, such as Prime95 or AIDA64, that puts a heavy load on your CPU. Monitor the temperatures and system stability during the stress test to ensure that the cooler is effectively maintaining safe operating temperatures.
- Troubleshoot and Seek Help if Needed: If you encounter any issues during the testing process, such as abnormal temperatures or system instability, double-check your installation steps and troubleshoot accordingly. Consult the manufacturer’s documentation, online forums, or seek assistance from technical support if necessary.
By following these testing and troubleshooting steps, you can ensure that your Corsair 240mm CPU Cooler installation is successful and your system is running optimally. Remember to monitor your CPU temperatures regularly to ensure that cooling performance remains at its best.
Congratulations! You have now completed the installation, testing, and troubleshooting process for the Corsair 240mm CPU Cooler. Enjoy the benefits of improved cooling performance and enhanced system stability. Should you encounter any further issues, don’t hesitate to seek additional assistance from technical experts or Corsair’s customer support. Happy computing!
Conclusion
Congratulations on successfully installing the Corsair 240mm CPU Cooler! By following the step-by-step guide provided in this article, you have not only upgraded your computer’s cooling system but also optimized its performance. The Corsair 240mm CPU Cooler, with its advanced cooling technology and sleek design, is sure to keep your CPU running at optimal temperatures, even during demanding tasks like gaming or content creation.
Throughout this installation process, you have learned the importance of properly preparing your computer, removing the old CPU cooler, applying thermal paste, installing the Corsair 240mm CPU Cooler, connecting it to power, and testing and troubleshooting your setup. By paying attention to each step and following the instructions diligently, you have ensured a smooth and successful installation.
Remember, regular maintenance and monitoring are essential to keep your CPU cooler functioning at its best. Monitor temperatures, adjust fan speeds if needed, and keep an eye out for any unusual noises or performance issues. This will help prolong the lifespan of your CPU cooler and maintain optimal performance for years to come.
We hope that this guide has provided you with the knowledge and confidence to install the Corsair 240mm CPU Cooler and enjoy its benefits. By improving your computer’s cooling capabilities, you can expect improved CPU performance, reduced risk of overheating, and potential opportunities for overclocking to further enhance your computing experience.
If you encountered any difficulties during the installation or if you have any further questions, don’t hesitate to consult the manufacturer’s documentation or reach out to technical support. Remember that every computer setup may have its unique requirements, so don’t hesitate to seek assistance when needed.
Thank you for choosing the Corsair 240mm CPU Cooler and investing in the performance and longevity of your computer. Enjoy your enhanced cooling system and make the most out of your computing experience!