Introduction
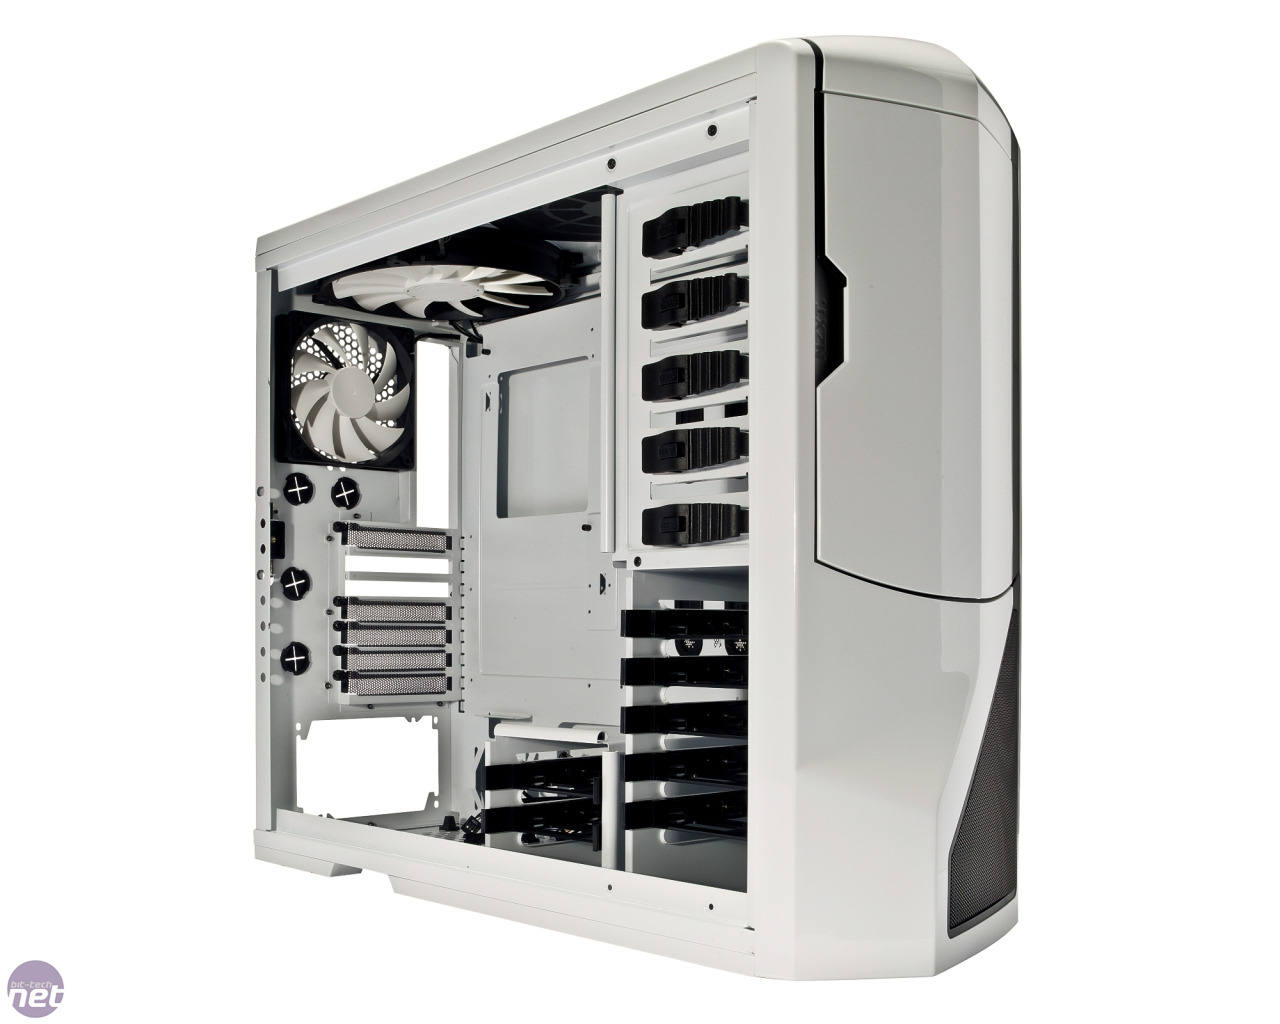
Welcome to our comprehensive guide on how to install a case fan tower in the Phantom 410. The Phantom 410 is a popular case among PC enthusiasts due to its sleek design and efficient cooling capabilities. By installing a case fan tower, you can further enhance the airflow within your system, keeping your components cool and improving overall performance.
In this guide, we will walk you through the step-by-step process of installing a case fan tower in the Phantom 410. We will cover everything from gathering the necessary tools and materials to testing the installation to ensure optimal functionality. Whether you are a seasoned computer builder or a beginner looking to upgrade your system, this guide will provide you with the knowledge and confidence to successfully install a case fan tower.
Before we delve into the installation process, it is important to mention that safety should be a top priority. Make sure to work in a well-ventilated area, turn off and disconnect power from your PC, and ground yourself to prevent any potential damage from static electricity.
Now, let’s get started on this exciting journey of installing a case fan tower in your Phantom 410!
Gathering the necessary tools and materials
Before you begin the installation process, it is essential to gather all the necessary tools and materials. Having everything ready beforehand will make the installation process smoother and more efficient. Here is a list of items you will need:
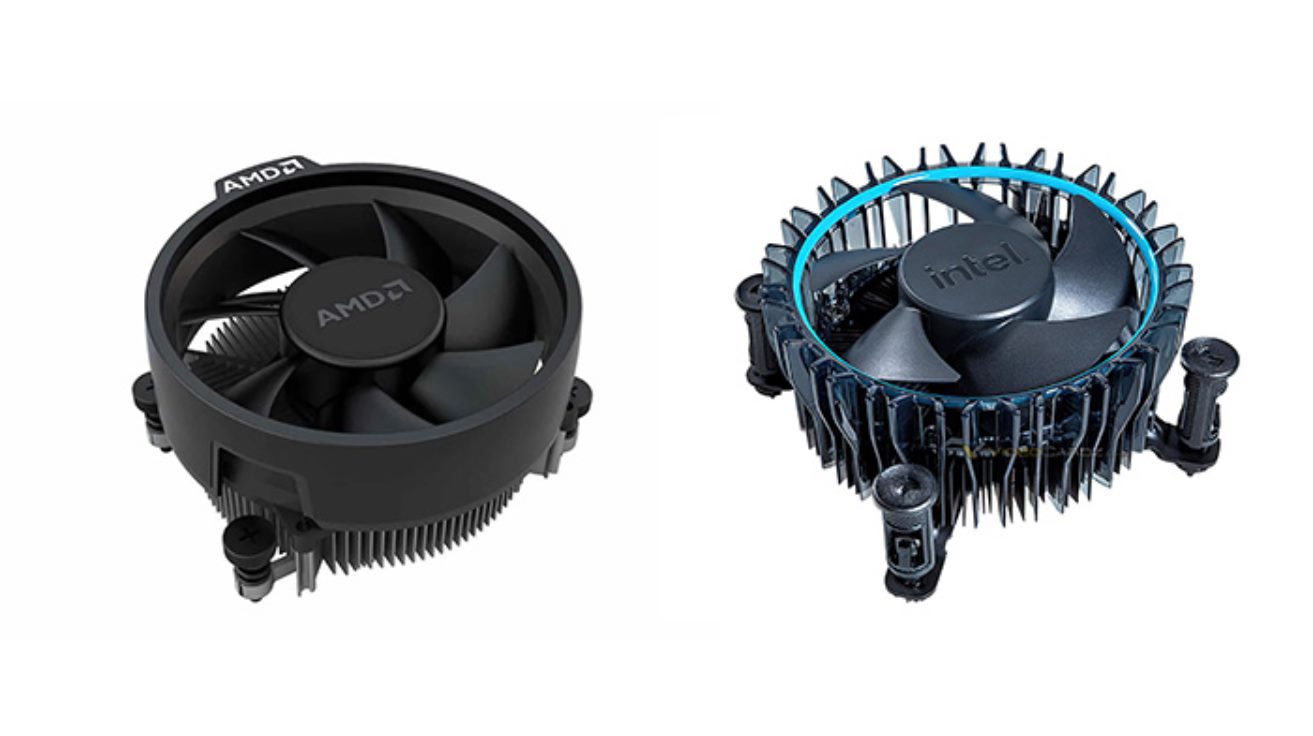
- A case fan tower: Choose a reliable and suitable fan tower that fits the Phantom 410 case. Consider factors such as size, airflow, and noise level to ensure optimal performance.
- A screwdriver: Most case fan towers require screws for installation. Make sure you have the appropriate screwdriver, typically a Philips or flat head, to securely fasten the tower.
- Thermal paste: This substance is crucial for proper heat conduction between the CPU and the fan tower. Ensure you have a quality thermal paste that is compatible with your processor.
- Cable ties or management: These are handy for keeping your cables organized and minimizing clutter in your case.
- Antistatic wrist strap (optional): If you want to take extra precautions against static electricity, consider using an antistatic wrist strap to ground yourself during the installation process.
Before purchasing any of these items, it is recommended to refer to the manufacturer’s guidelines and specifications for the Phantom 410 case. This will ensure that the fan tower and other accessories are compatible and suitable for your specific setup. Additionally, it is always helpful to have the user manual for both the case and the fan tower readily available for reference.
Once you have gathered all the necessary tools and materials, you are now ready to proceed with the installation process. In the next section, we will guide you through the steps of preparing your case for the fan tower installation.
Preparing the case
Before installing the case fan tower, it is important to prepare the Phantom 410 case. This involves removing any necessary panels or components that may obstruct the installation.
Follow these steps to properly prepare your case:
- Turn off and unplug your computer: Ensure that your PC is completely powered down and disconnected from the power source to avoid any potential accidents.
- Open the case: Remove any side panels or access panels on the Phantom 410 case. This will provide you with easy access to the internal components.
- Identify the mounting area: Locate the area inside the case where the case fan tower will be installed. This is typically near the CPU or along the top or rear of the case.
- Remove any existing fans (if applicable): If your case already has fans installed in the mounting area, carefully remove them by unscrewing any screws or releasing any clips holding them in place.
- Clean the mounting area: Use a soft cloth or compressed air to remove any dust or debris from the mounting area. Ensure that the surface is clean and free from any obstacles that could hinder the installation process or obstruct the airflow.
- Check for compatibility: Before proceeding, ensure that the case fan tower you have chosen is compatible with the mounting area in the Phantom 410 case. Refer to the manufacturer’s guidelines and compatibility specifications to confirm.
By properly preparing the case, you will create an optimal environment for the case fan tower installation and ensure that it functions efficiently. With the case ready, it is now time to mount the fan tower, which we will cover in the next section.
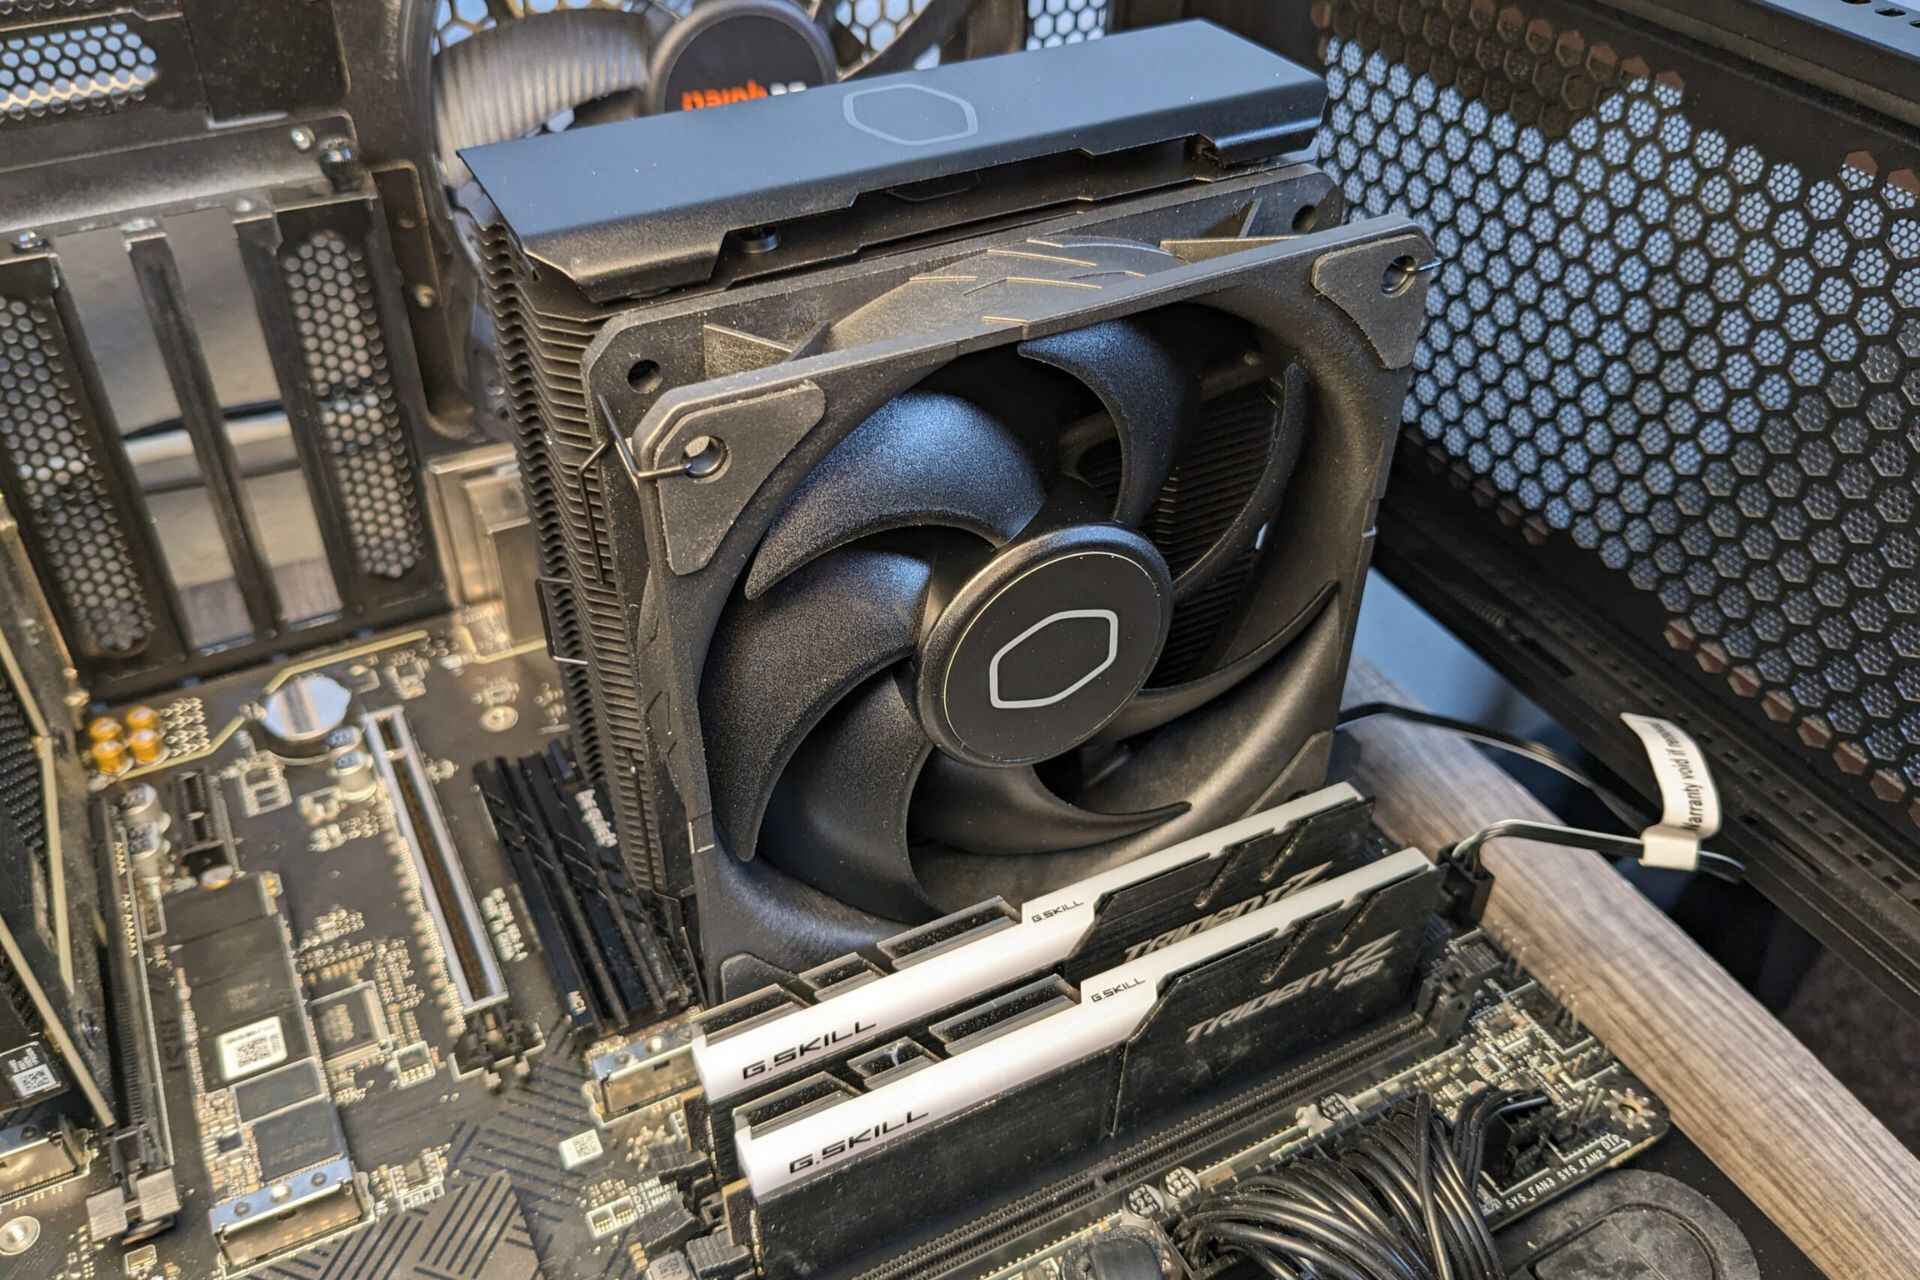
Mounting the fan tower
Now that you have prepared the Phantom 410 case for the installation, it’s time to mount the case fan tower. This step involves securely attaching the fan tower to the designated mounting area within the case. Follow these step-by-step instructions:
- Locate the fan tower mounting holes: Examine the fan tower and identify the mounting holes or brackets. These are the areas where the tower will be attached to the case.
- Align the fan tower with the mounting area: Carefully position the fan tower in the designated mounting area, ensuring that it aligns with the holes or brackets.
- Secure the fan tower: Using the screws provided with the fan tower, fasten the tower to the case. Insert the screws through the mounting holes on the tower and tighten them gently, avoiding excessive force that could damage the case or the components.
- Double-check the stability: Once the fan tower is attached, gently wiggle it to ensure it is securely fastened and stable in its position. If there is any movement, tighten the screws further.
- Consider additional fans (optional): If your case allows, you may consider installing additional fans in other available mounting areas. This can further improve your system’s cooling performance.
It is important to note that each case fan tower may have specific mounting instructions provided by the manufacturer. Be sure to consult the user manual or any accompanying documentation for any additional details or specific steps that may need to be followed.
Once the fan tower is securely mounted, you are ready to proceed with connecting it to the motherboard, which we will cover in the next section.
Connecting the fan tower to the motherboard
After mounting the case fan tower in the Phantom 410, the next step is to connect it to the motherboard. This step ensures that the fan tower receives power and can be controlled by the system. Follow these instructions to properly connect the fan tower:
- Locate the fan header on the motherboard: Look for the fan headers on the motherboard. These are usually labeled “SYS_FAN” or “CHA_FAN” and can be found near the CPU socket.
- Identify the fan connector: Locate the fan connector on the case fan tower. This is usually a 3-pin or 4-pin connector.
- Align and insert the connector: Align the pins on the fan connector with the corresponding holes on the fan header. Ensure that the alignment is correct and gently insert the connector into the header.
- Secure the connection: Once the connector is inserted, you may need to use small plastic clips or cable ties to secure the connection and prevent it from accidentally coming loose.
- Repeat for additional fans (if applicable): If you have installed multiple case fans, repeat the same process for connecting them to the available fan headers on the motherboard.
It is important to check the motherboard’s manual for specific instructions related to fan connectors and headers. Some motherboards may have additional features, such as PWM (Pulse Width Modulation) support, which can provide more precise control over the fan speed.
By connecting the case fan tower to the motherboard, you ensure that it is powered and can be properly controlled by the system. This enables you to adjust the fan speed and optimize the cooling performance of your PC. With the fan tower connected, it’s time to move on to testing the installation, which we will cover in the next section.
Testing the installation
Now that you have successfully mounted and connected the case fan tower in the Phantom 410, it’s time to test the installation to ensure everything is functioning properly. Follow these steps to effectively test the fan tower:
- Power on your computer: Ensure that all cables are properly connected and the power supply is turned on.
- Access your system’s BIOS or UEFI settings: Restart your computer and enter the BIOS or UEFI settings by pressing the designated key during the startup process. This key varies depending on your motherboard manufacturer (common keys include F2, Del, or Esc).
- Locate the fan settings: Within the BIOS or UEFI settings, navigate to the section related to fan control or monitoring. Look for options such as “Hardware Monitor,” “Fan Control,” or “System Fan Settings.”
- Verify fan detection: Check if the case fan tower is recognized by the system in the fan settings. You should see information such as fan speed and temperature readings.
- Adjust fan speed (optional): If desired, you can customize the fan speed settings through the BIOS or UEFI. This allows you to manually adjust the fan speed or select a predefined fan profile.
- Observe and test cooling performance: Once you have confirmed the fan detection and adjusted the settings if needed, closely monitor the temperatures of your CPU and other components. Run a demanding task or stress test to gauge the cooling performance of the fan tower.
- Listen for unusual noises: While testing, pay attention to any strange noises emanating from the fan tower. Excessive noise or unusual rattling may indicate a problem with the installation that needs further investigation.
By thoroughly testing the case fan tower, you can ensure that it is functioning correctly and effectively cooling your system. If you notice any issues or abnormal behavior during the testing phase, refer back to the installation steps to double-check your work and make any necessary adjustments. With the installation successfully tested, you can now enjoy the improved cooling performance of your PC.
Conclusion
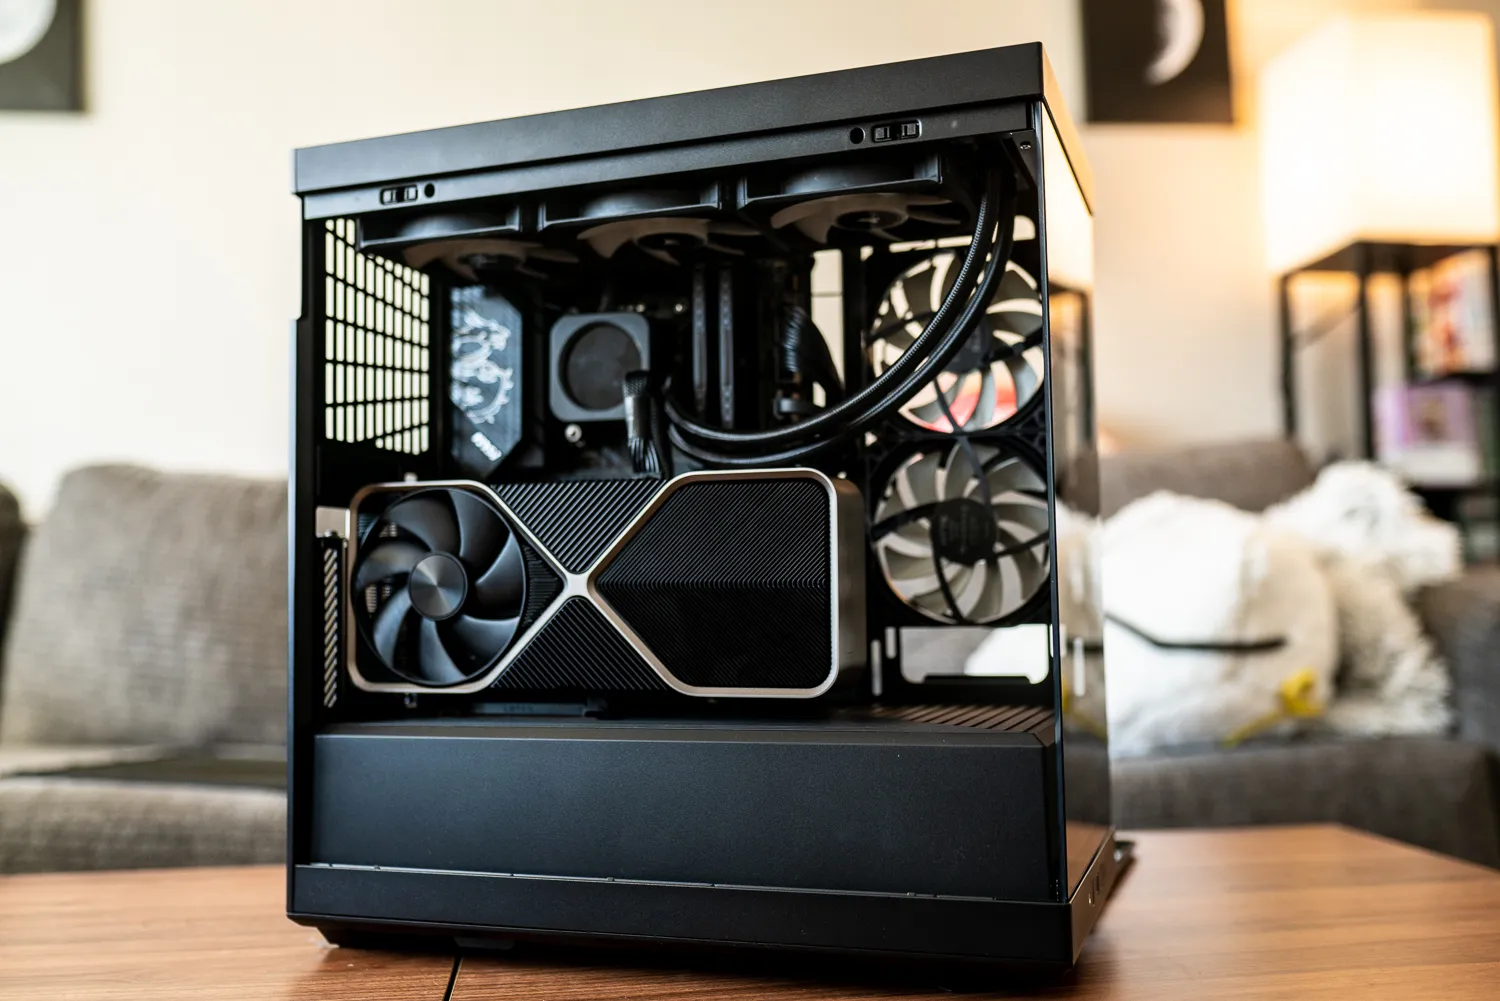
Congratulations! You have successfully installed a case fan tower in your Phantom 410, enhancing the airflow and cooling capabilities of your PC. By following the step-by-step instructions in this guide, you have learned how to gather the necessary tools and materials, prepare the case, mount the fan tower, connect it to the motherboard, and test the installation.
Installing a case fan tower not only improves the overall performance and longevity of your computer but also helps prevent overheating and ensures a more stable system. The increased airflow provided by the fan tower aids in dissipating heat from critical components such as the CPU and graphics card.
Remember to refer to the user manuals of both the case and the fan tower for specific instructions and compatibility guidelines. If you encounter any difficulties during the installation process, consult online resources or seek assistance from professional computer technicians.
Regularly monitor your system temperatures and adjust fan speed settings as needed to maintain optimal cooling performance. Additionally, keep the fan tower and other components clean by periodically removing dust and debris.
By taking the time to install a case fan tower in your Phantom 410, you have invested in the longevity and performance of your PC. Enjoy the improved cooling and quieter operation as you engage in demanding tasks or gaming sessions.
Thank you for following this installation guide, and we hope it has provided you with the necessary knowledge and confidence to install a case fan tower in your Phantom 410 successfully. Happy computing!