Introduction
Installing a Solid State Drive (SSD) in your Dell XPS 8700 can significantly improve your computer’s performance and responsiveness. With its faster read and write speeds compared to traditional hard drives, an SSD can help reduce boot times, enhance application loading times, and provide an overall smoother computing experience.
In this step-by-step guide, we will walk you through the process of installing a SATA SSD in your Dell XPS 8700. Whether you’re upgrading from an existing hard drive or adding an additional storage drive, this guide will help you seamlessly integrate the new SSD into your system.
Before we begin, it’s important to note that working inside your computer’s case involves handling delicate components. Make sure you follow all safety precautions and take necessary measures to protect your hardware, such as grounding yourself and using an antistatic wrist strap.
This guide assumes that you have a basic understanding of computer hardware and are comfortable working with your Dell XPS 8700’s internal components. If you’re unsure or uncomfortable, it’s always recommended to seek assistance from a qualified technician.
Now that we have the necessary precautions and preparation out of the way, let’s dive into the steps to install a SATA SSD in your Dell XPS 8700 and boost your computer’s performance.
Preparing for Installation
Before we start the installation process, there are a few key steps to follow in order to ensure a smooth and successful installation of your SATA SSD in your Dell XPS 8700:
- Back up your data: Before making any hardware changes to your computer, it’s always recommended to back up your important data. This way, you can restore it in case anything goes wrong during the installation process. You can either use an external hard drive, cloud storage, or a combination of both.
- Gather the necessary tools: To install the SATA SSD in your Dell XPS 8700, you’ll need a few basic tools, including a Phillips screwdriver, an antistatic wrist strap, and possibly a SATA data cable (if one is not included with your SSD).
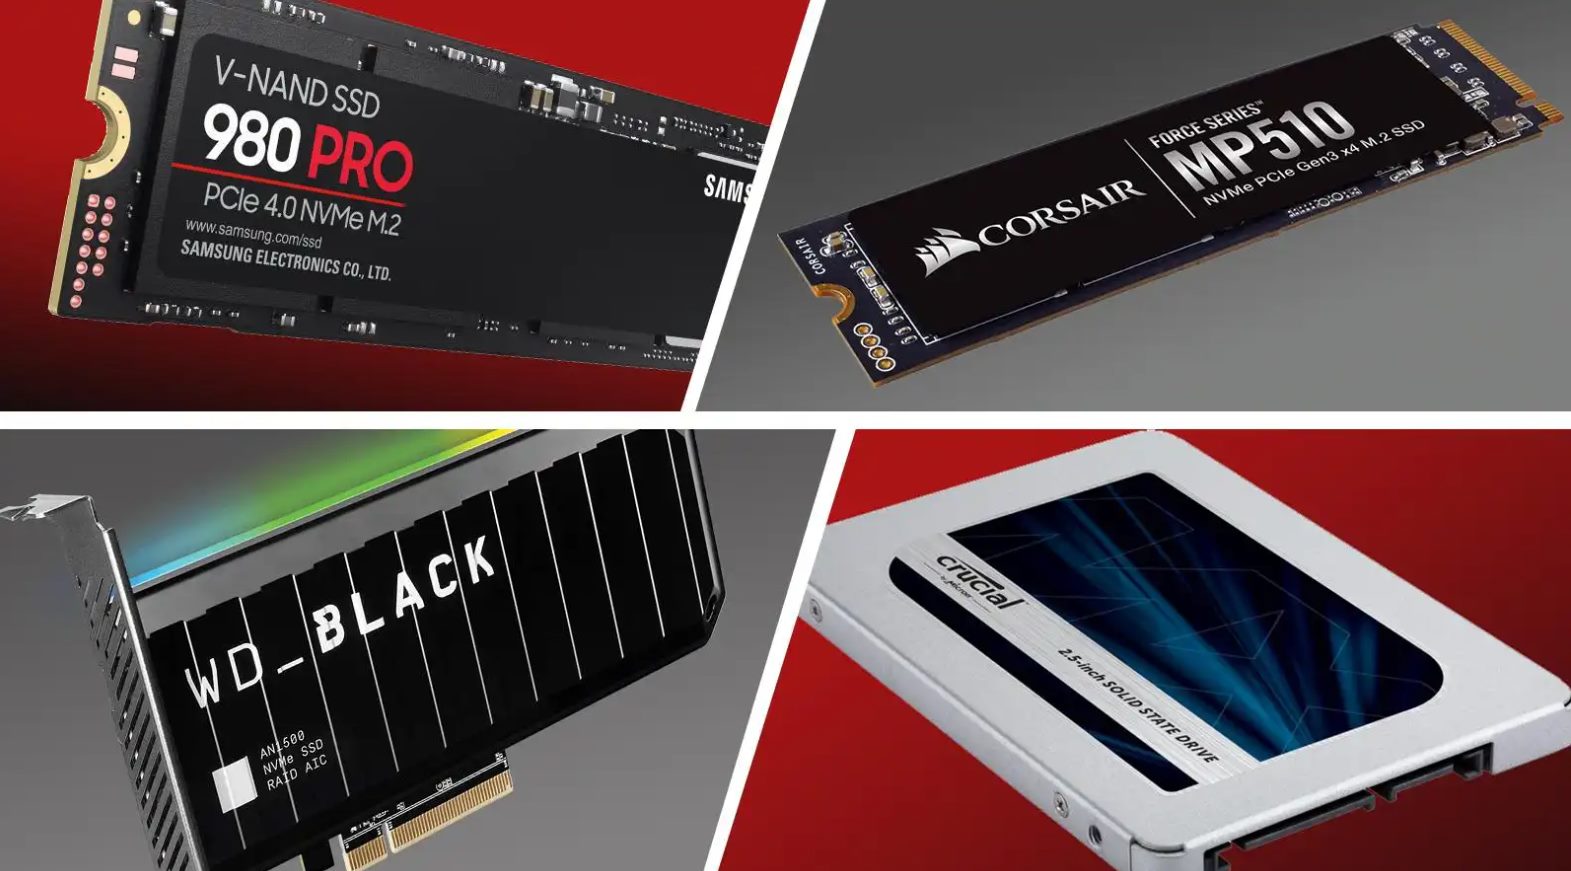
- Choose the right SATA SSD: Ensure that the SATA SSD you’ve selected is compatible with your Dell XPS 8700. Check the specifications and connector type to make sure it matches the requirements of your motherboard.
- Identify available storage connections: Open up your Dell XPS 8700’s case and identify the available storage connections on your motherboard. You’ll need a free SATA port to connect the SSD. If all the ports are already in use, you may need to disconnect an existing drive or consider using an additional SATA expansion card.
- Ensure proper power supply: Check that your computer’s power supply has enough SATA power connectors available to accommodate the new SSD. If not, you may need to use a SATA power adapter or upgrade your power supply.
By taking these preparatory steps, you’ll have everything you need and be well-prepared to move on to the next phase of the installation process. Now that you’re ready, it’s time to open up your Dell XPS 8700’s case and get started with the physical installation of the SATA SSD.
Opening the Dell XPS 8700 Case
The first step in installing a SATA SSD in your Dell XPS 8700 is to open up the computer’s case:
- Power off and unplug the computer: Make sure your computer is powered off and unplugged from the electrical outlet for safety.
- Remove any peripherals: Disconnect all peripheral devices such as monitors, keyboards, mice, and USB devices from your computer.
- Lay the computer on a stable surface: Place your Dell XPS 8700 on a clean and stable surface that allows easy access to the case.
- Locate the case release latch: On the back of the computer, you’ll find a latch or release mechanism. Slide or press the latch to release the side panel of the case.
- Remove the side panel: Gently slide the side panel away from the rest of the case until it is completely detached. Set the side panel aside in a safe place.
With the side panel removed, you now have access to the internal components of your Dell XPS 8700. Take a moment to familiarize yourself with the layout and positioning of the existing hard drives and other components within the case.
Opening the case can vary slightly depending on the specific model and design of your Dell XPS 8700. If you encounter any difficulties or have concerns, referring to the computer’s user manual or contacting Dell customer support can provide further guidance.
Now that you’ve successfully opened the case, you can proceed to locate and remove the existing hard drive in preparation for the installation of the SATA SSD.
Locating and Removing the Existing Hard Drive
Now that you have opened your Dell XPS 8700’s case, it’s time to locate and remove the existing hard drive to make way for the SATA SSD:
- Identify the existing hard drive: Look for the existing hard drive within the case. It is a rectangular-shaped device with cables connected to it. Take note of its location and how it is positioned.
- Remove the data and power cables: Carefully disconnect the data and power cables from the existing hard drive. The data cable is a thin cable with a plastic connector, while the power cable is a wider connector with multiple pins.
- Remove any mounting brackets: If the existing hard drive is secured with mounting brackets or screws, carefully remove them to free the drive from the case.
- Detach the hard drive from the drive bay: Gently slide or pull the existing hard drive out of its drive bay, being cautious not to damage any surrounding components. Take note of any cables that may be attached to the drive bay.
It is important to handle the existing hard drive with care to avoid any damage. Place it in a safe and static-free location in case you need to reinstall it or retrieve any data from it in the future.
With the existing hard drive removed, you have created space for the installation of the new SATA SSD. Now, it’s time to mount the SSD in the drive bay and connect it to the motherboard.
Mounting the SATA SSD
With the existing hard drive removed, it’s time to mount the SATA SSD in your Dell XPS 8700:
- Locate the drive bay: Identify an empty drive bay in your Dell XPS 8700’s case. This is typically a small, rectangular slot where the drives are installed.
- Prepare the SATA SSD: Take your SATA SSD and check for any mounting holes or slots on its body. These holes or slots will be used to secure the SSD in the drive bay. If your SSD does not have any pre-drilled mounting holes, you may need to use specific mounting brackets or adapters provided by the manufacturer.
- Position the SATA SSD: Align the SATA SSD with the empty drive bay, ensuring that all connectors are facing towards the back of the case. Gently slide the SSD into the bay, pushing it all the way in until it is securely seated.
- Secure the SSD in place: If your SSD has mounting holes or slots, use screws or brackets to secure it to the drive bay. Consult your SSD’s user manual or manufacturer’s instructions for the correct mounting method.
It’s essential to take your time and ensure that the SATA SSD is properly and securely mounted in the drive bay. This will prevent any loose connections or movement that could lead to system issues.
Once the SATA SSD is securely mounted, you’re ready to connect it to the motherboard using the appropriate cables. In the next section, we’ll guide you through the process of connecting the SATA SSD to the motherboard of your Dell XPS 8700.
Connecting the SATA SSD to the Motherboard
Now that you have successfully mounted the SATA SSD in the drive bay of your Dell XPS 8700, it’s time to connect it to the motherboard:
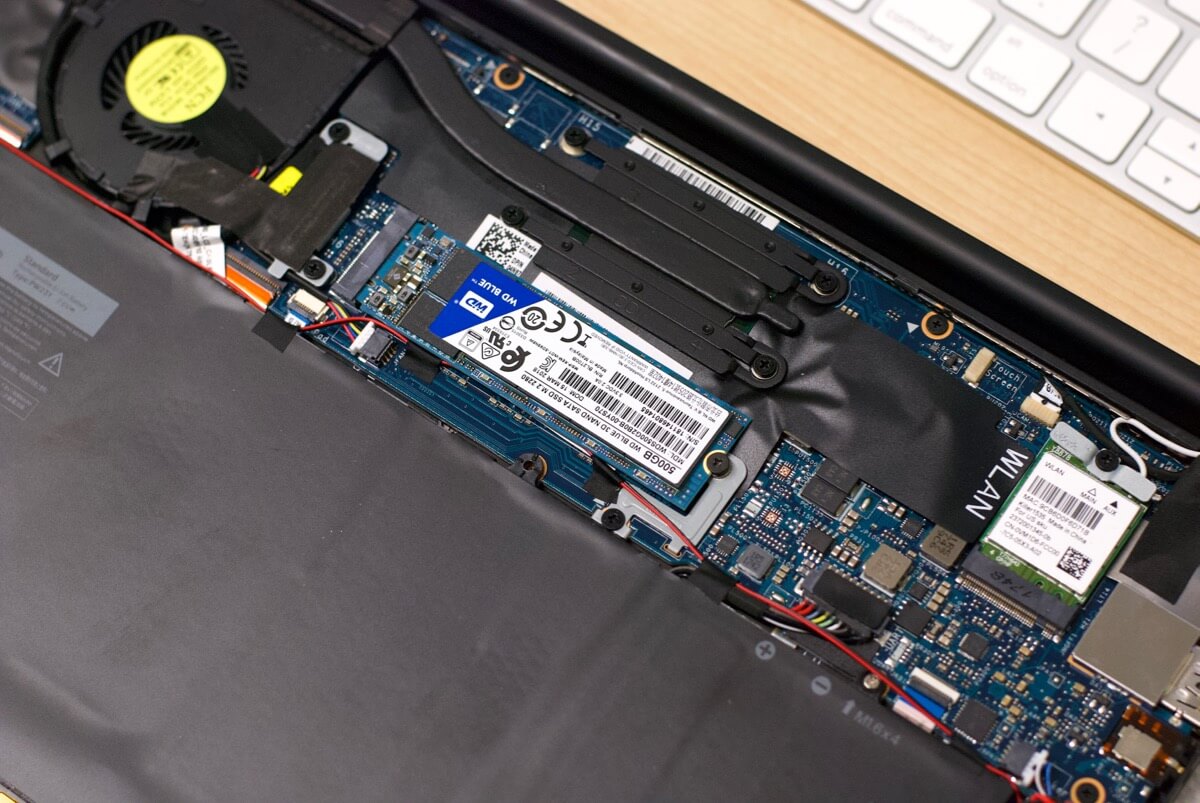
- Locate the SATA ports on the motherboard: Look for the SATA ports on the motherboard of your Dell XPS 8700. These ports are typically grouped together and labeled. You’ll need to find an available SATA port to connect your SSD.
- Connect the SATA data cable: Take a SATA data cable and connect one end to the SATA port on the motherboard. Then, connect the other end to the corresponding SATA port on the SSD. Ensure that the connectors are inserted firmly but gently.
- Connect the SATA power cable: Locate a free SATA power connector from your power supply unit. Connect one end to the power port on the SSD and the other end to the corresponding power connector from the PSU. Make sure the connection is secure.
Double-check that both the SATA data cable and power cable are securely connected to the SSD and the motherboard. Loose connections can result in data transfer issues or power distribution problems.
Once the SATA SSD is properly connected to the motherboard and power supply, you can proceed to the next step of closing your Dell XPS 8700’s case.
Closing the Dell XPS 8700 Case
After successfully installing and connecting the SATA SSD to your Dell XPS 8700, it’s time to close the computer’s case:
- Check cable positioning: Before closing the case, ensure that all cables, including the SATA data and power cables, are neatly positioned and not obstructing any components or fans.
- Reattach the side panel: Take the side panel that you removed earlier and carefully slide it back into place on the case. Ensure that the panel aligns with the case and securely snaps or screws into position.
- Fasten the latch or closure: If your Dell XPS 8700 has a latch or closure mechanism, make sure to slide or press it back into its locked position to secure the side panel.
Once the side panel is securely reattached and the latch or closure is engaged, your Dell XPS 8700’s case is fully closed and ready for the next steps of powering on and setting up your newly installed SATA SSD.
Before you continue, it’s essential to double-check that all connections are secure and in the correct positions. Loose connections can cause data transfer errors, power issues, or system instability.
Now that your Dell XPS 8700 case is closed, let’s move on to the next phase of powering on your computer and setting up the SATA SSD.
Powering on and Setting up the SATA SSD
With the Dell XPS 8700 case securely closed, it’s time to power on your computer and set up the newly installed SATA SSD:
- Connect the power and peripherals: Plug in the power cable to your Dell XPS 8700 and any other peripherals such as your monitor, keyboard, and mouse.
- Boot up your computer: Press the power button to start up your Dell XPS 8700. Wait for the system to boot up and enter the BIOS or UEFI settings. The key to access the BIOS or UEFI may vary depending on your computer model, so refer to your motherboard’s manual if needed.
- Verify the SATA SSD: Within the BIOS or UEFI settings, navigate to the storage options and ensure that the SATA SSD is detected by the system. It should be listed as a connected device. If it is not detected, double-check the connections and try rebooting again.
- Set the SATA SSD as the boot drive (optional): If you want to use the SATA SSD as your primary boot drive, go to the boot options menu in the BIOS or UEFI settings. Set the SATA SSD as the first boot device to prioritize booting from it.
- Save and exit: Once you’ve made any necessary changes, save the settings and exit the BIOS or UEFI. The system will reboot, and your Dell XPS 8700 should now be ready to use with the SATA SSD.
After the computer restarts, the operating system on your existing hard drive might not recognize the newly installed SATA SSD. To utilize the full capacity of the SATA SSD, you may need to format and partition it through the operating system’s disk management tool or by using specialized software.
Remember to transfer any necessary files or reinstall your operating system on the SATA SSD to take full advantage of its speed and performance benefits.
Now that you have powered on your computer and set up the SATA SSD, you’re ready to enjoy the improved performance and responsiveness it provides!
Final Thoughts and Troubleshooting Tips
Congratulations! You have successfully installed a SATA SSD in your Dell XPS 8700, enhancing its performance and speeding up your computing experience. Before we conclude, here are some final thoughts and troubleshooting tips:
SSD Optimization: To make the most out of your SATA SSD, consider optimizing it through various techniques such as enabling TRIM, updating firmware, and adjusting power settings. Consult your SSD’s documentation or the manufacturer’s website for specific guidance.
Data Migration: If you have transferred your operating system and files from your existing hard drive to the SATA SSD, make sure to securely erase or format the old drive if you no longer need it.
Backup and Recovery: Regularly back up your important data to ensure its safety. Consider using cloud storage, external drives, or automatic backup tools to protect your files.
Troubleshooting: If you encounter any issues after the installation, double-check the connections of the SATA SSD, ensure proper power supply, and verify that the BIOS or UEFI settings are correctly configured. If problems persist, consult the manufacturer’s troubleshooting resources or seek help from technical support.
Expansion Possibilities: If you have additional drive bays or SATA ports available, you can further expand your storage capacity by installing additional SATA SSDs or hard drives. Just make sure to follow the necessary installation steps and consult your computer’s specifications to ensure compatibility.
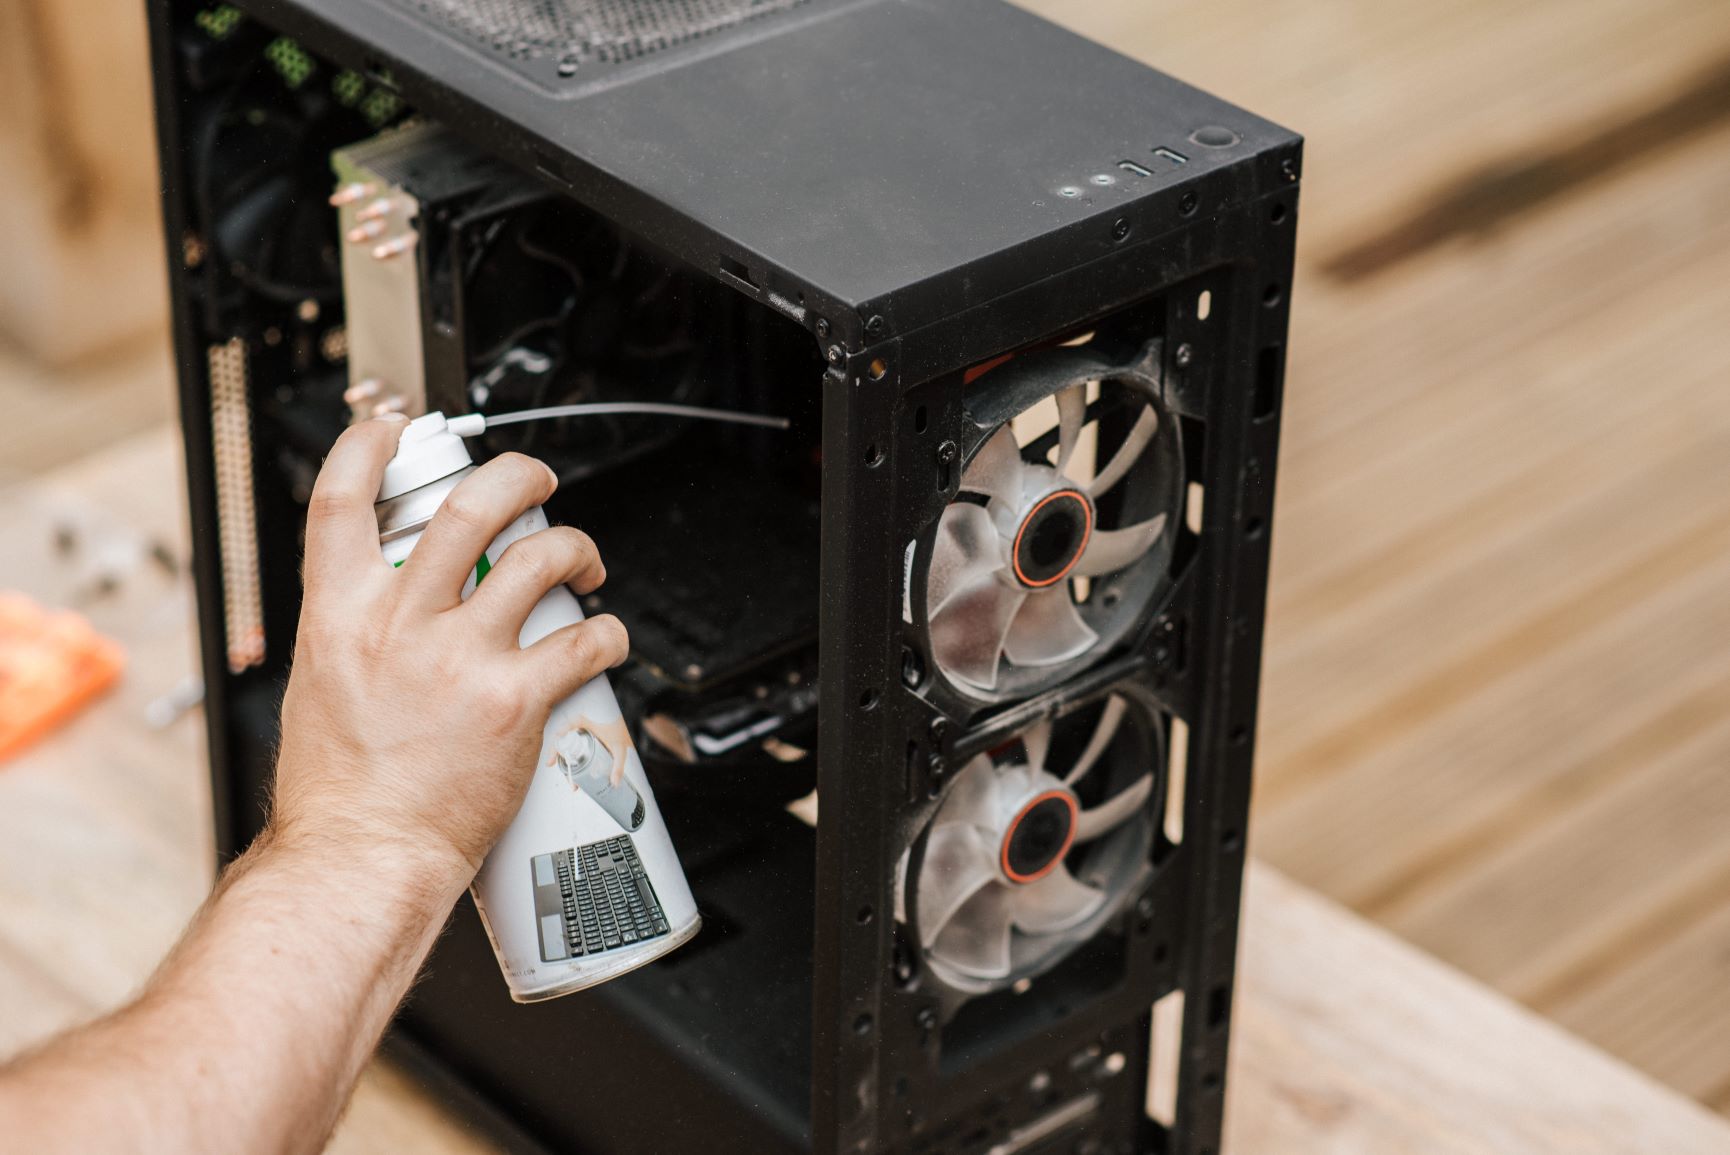
Regular Maintenance: Keep your Dell XPS 8700 clean and dust-free to prevent overheating and maintain optimal performance. Regularly check the connections and ensure all components are secure.
By following these final thoughts and troubleshooting tips, you can make the most of your newly installed SATA SSD and enjoy its benefits for a long time to come.