Introduction
Inserting an SD card into your MacBook Pro can be a useful way to expand its storage capacity or transfer files quickly and conveniently. Whether you want to offload photos from your digital camera, transfer files from another device, or simply free up space on your computer, inserting an SD card is a straightforward process. This article will guide you through the steps to insert an SD card into your MacBook Pro, ensuring a hassle-free experience.
With the increasing popularity of high-resolution photos and videos, having extra storage can be a game-changer. The SD card slot on your MacBook Pro provides a convenient solution, allowing you to quickly access and transfer files without the need for additional cables or adapters. Whether you’re a professional photographer, a student dealing with large files, or someone who wants to keep their MacBook Pro optimized for performance, this guide will help you navigate the SD card insertion process.
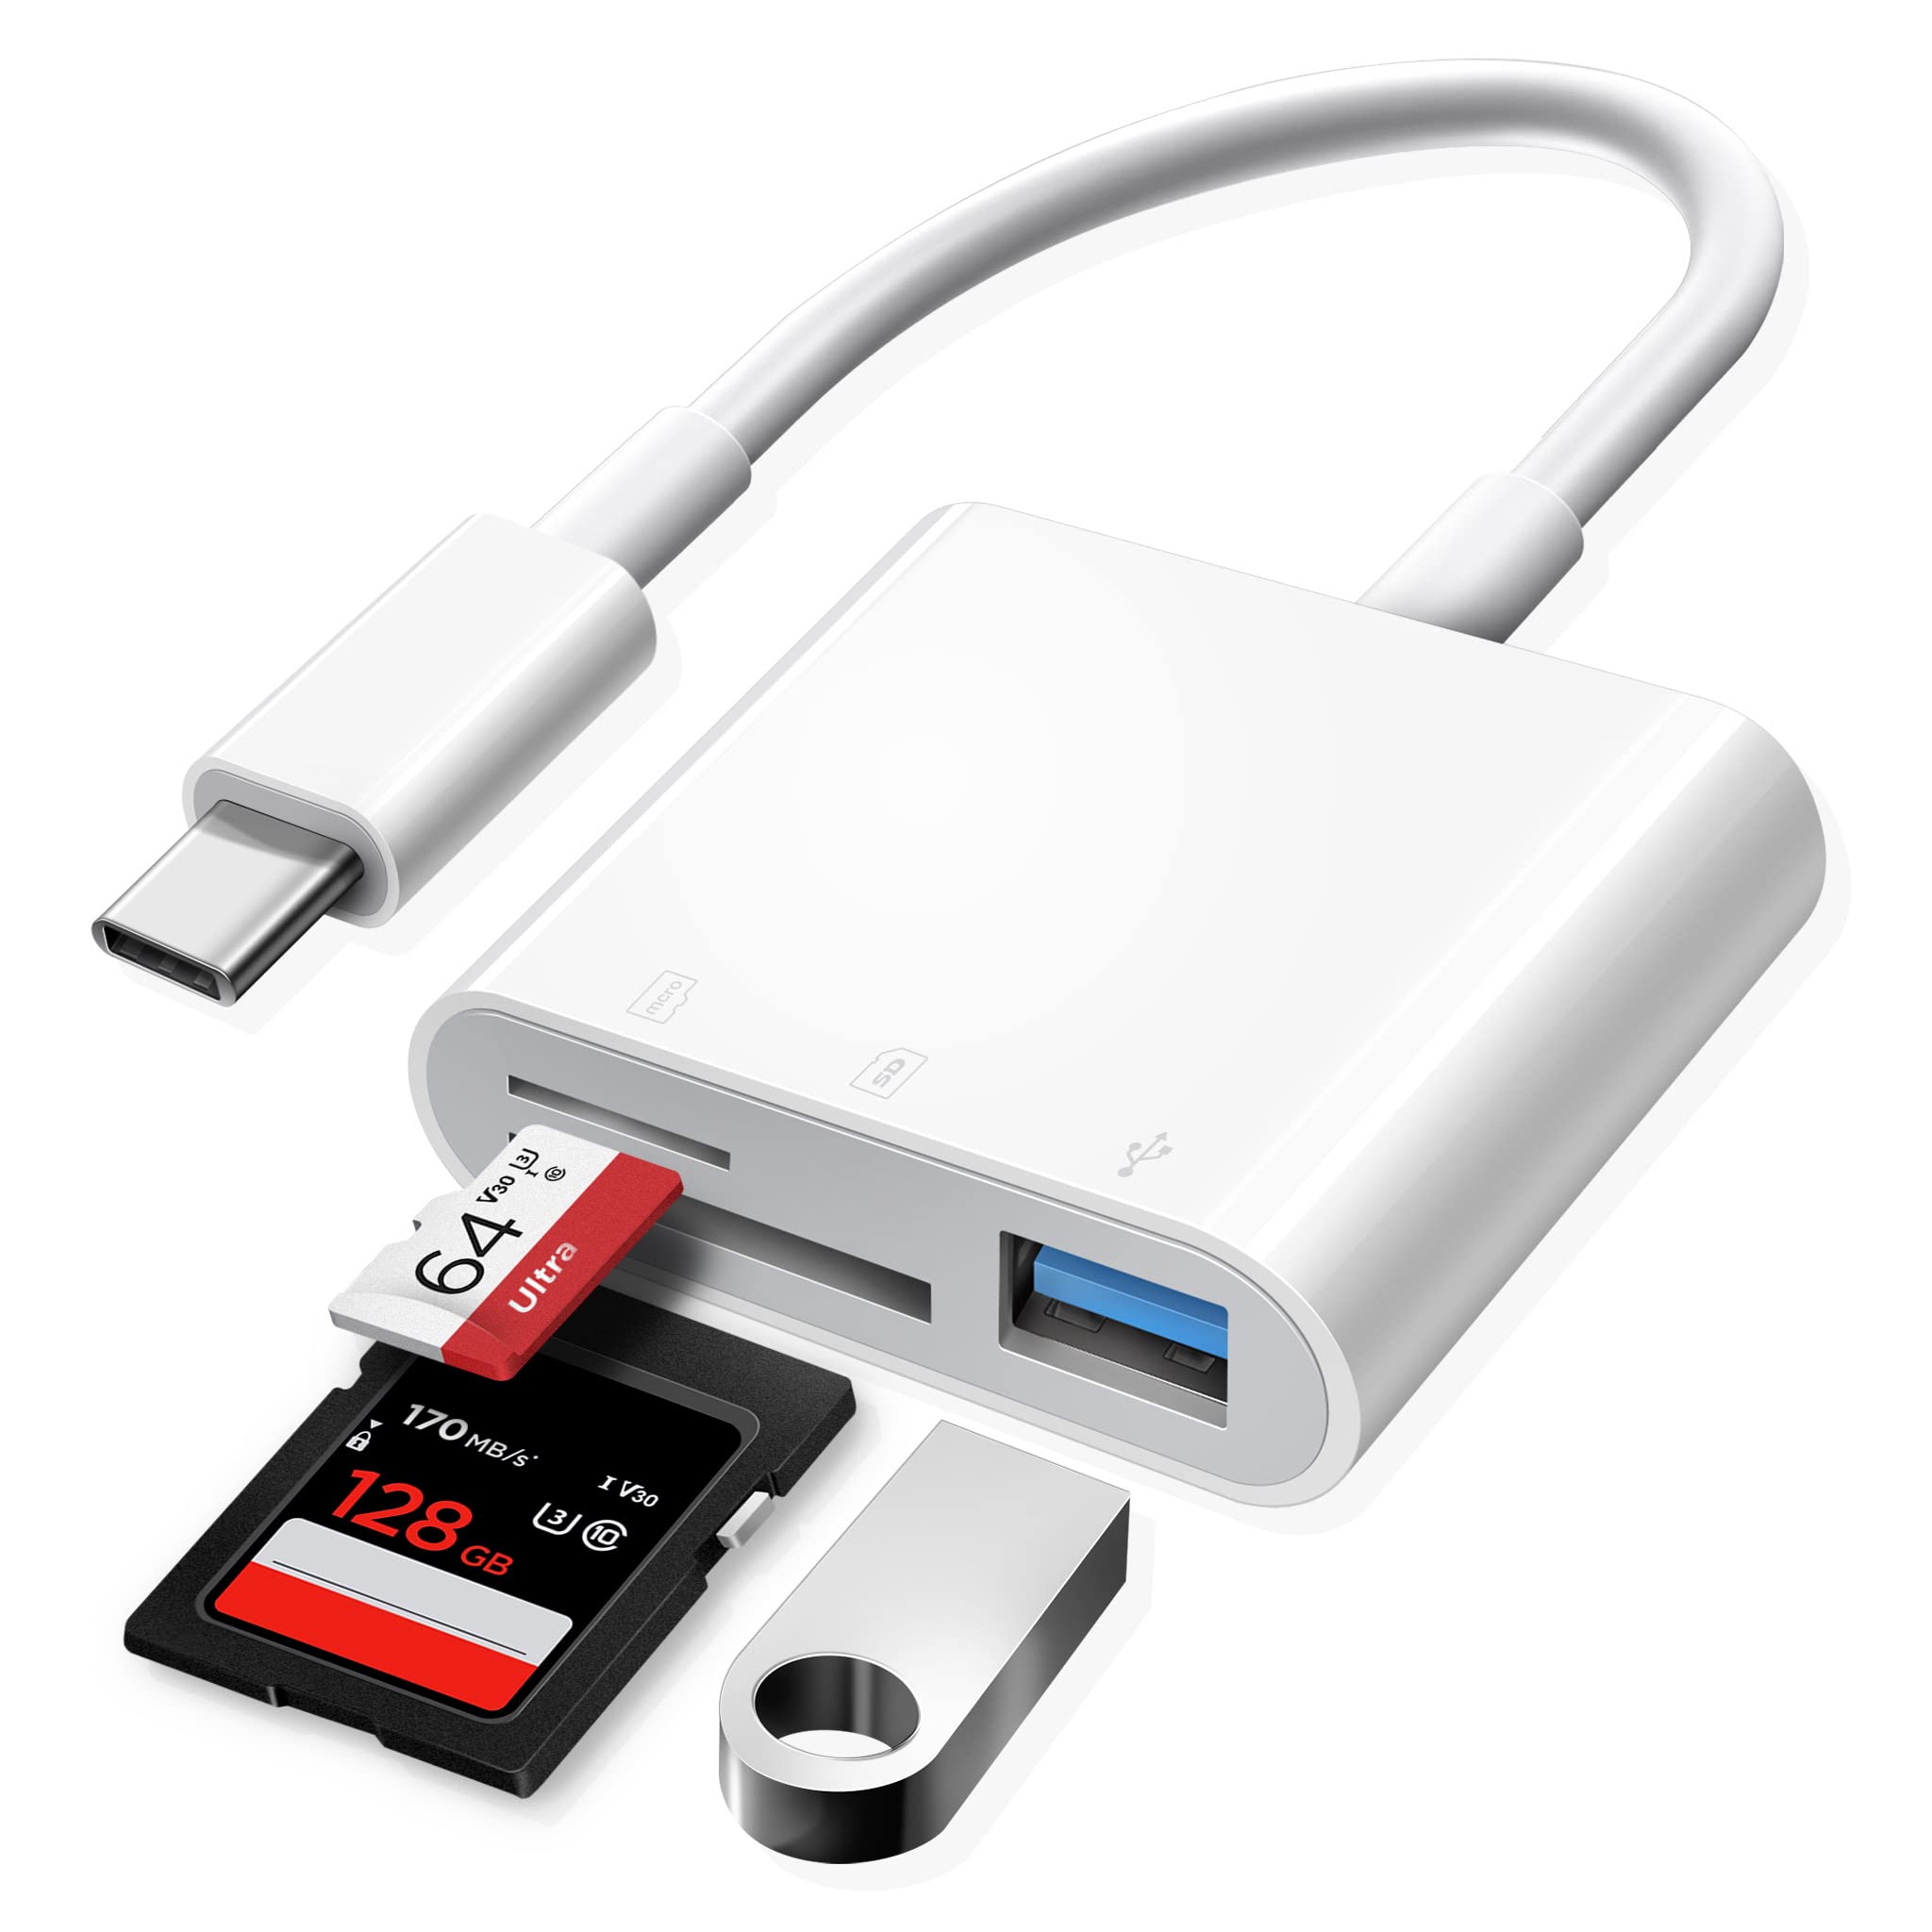
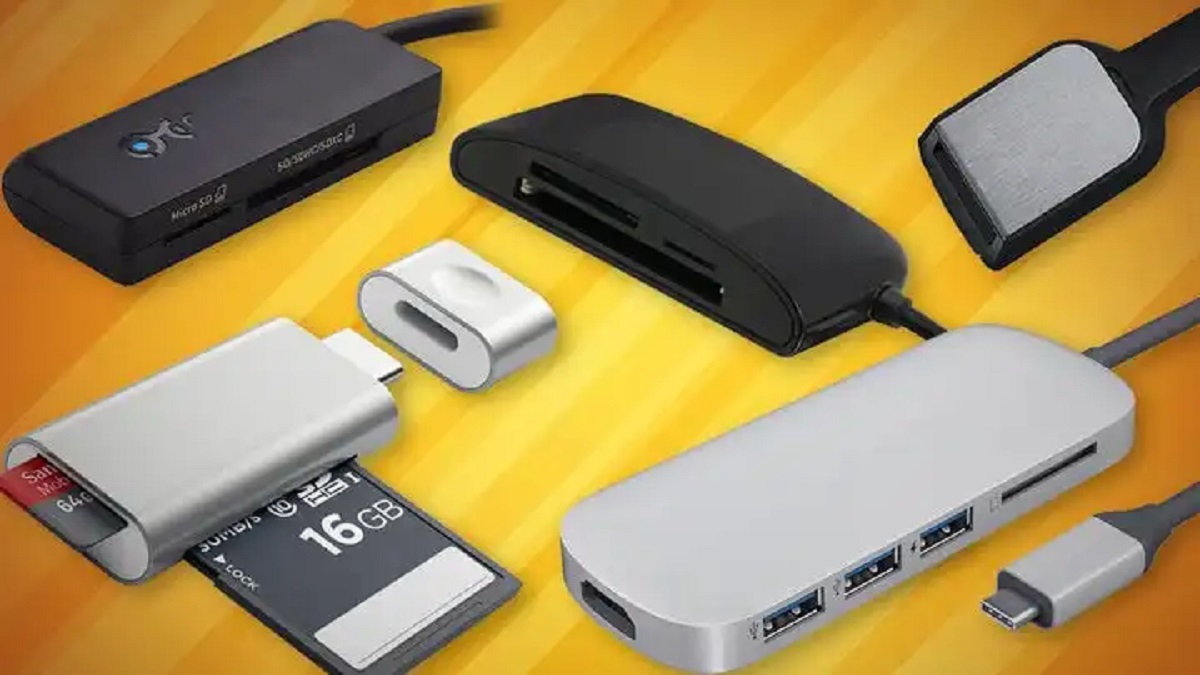
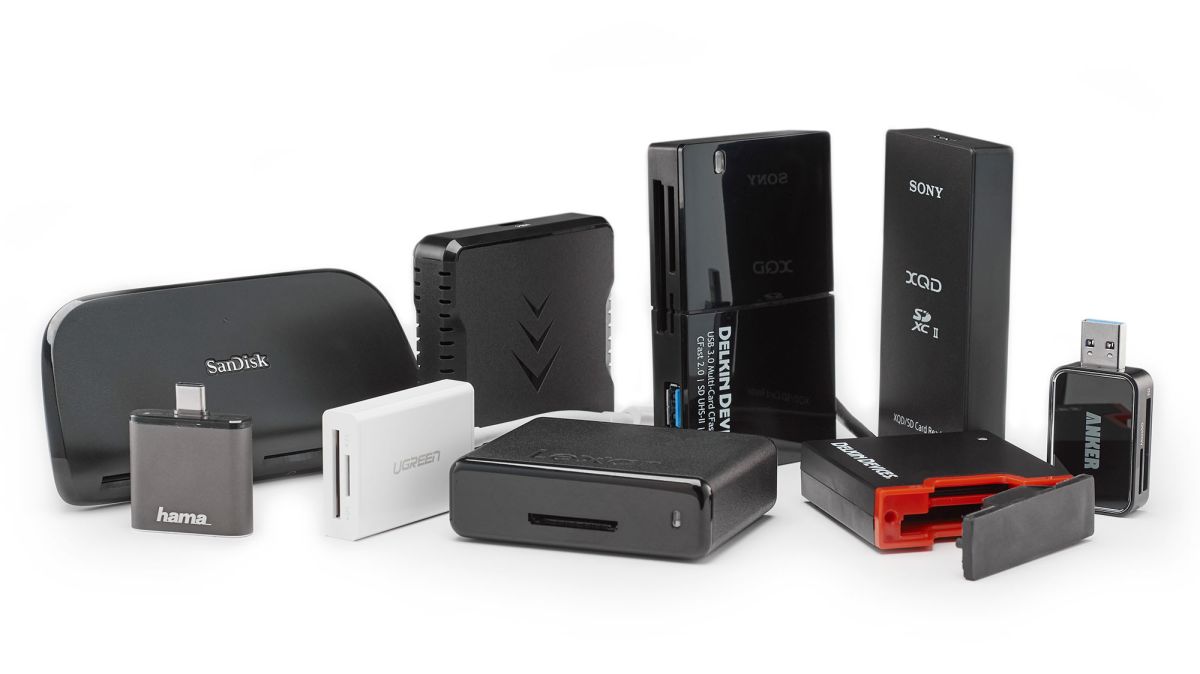
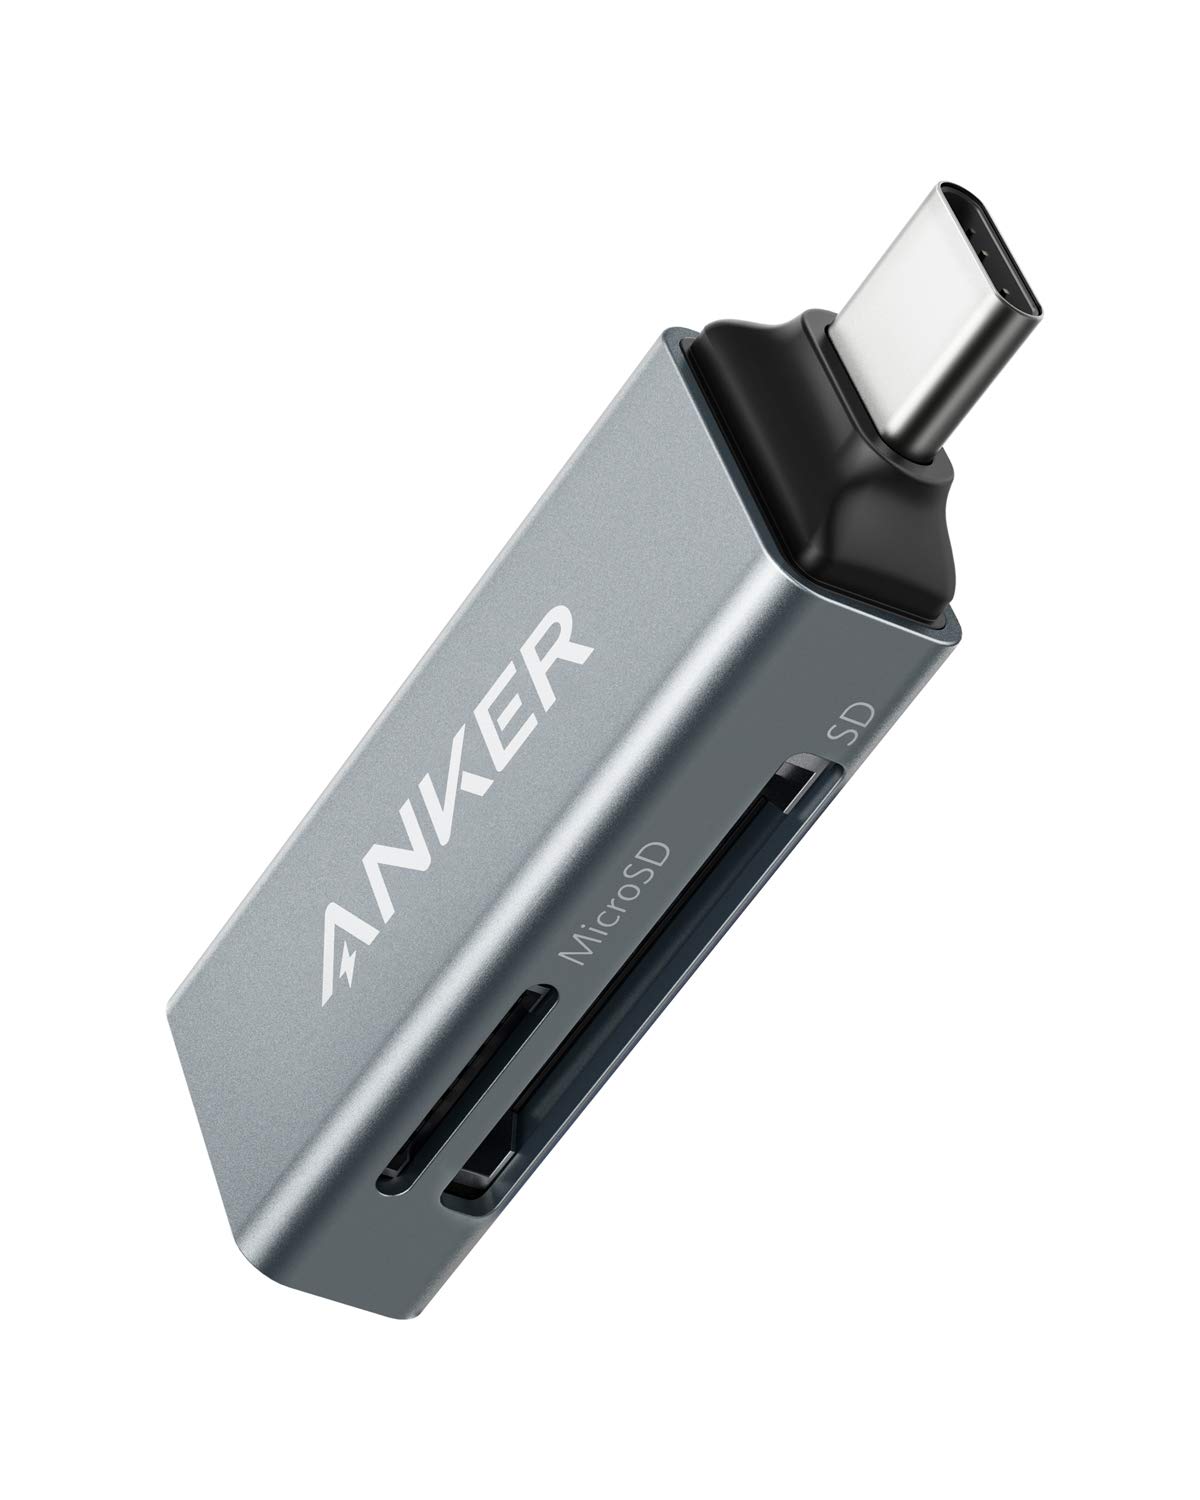
Before we dive into the step-by-step instructions, it’s important to note that not all MacBook Pro models have an SD card slot. If you have a newer model, you may need to use a USB-C adapter to connect an SD card reader. However, if your MacBook Pro has a built-in SD card slot, follow along with the steps below to insert your SD card seamlessly.
Step 1: Locate the SD Card Slot on Your MacBook Pro
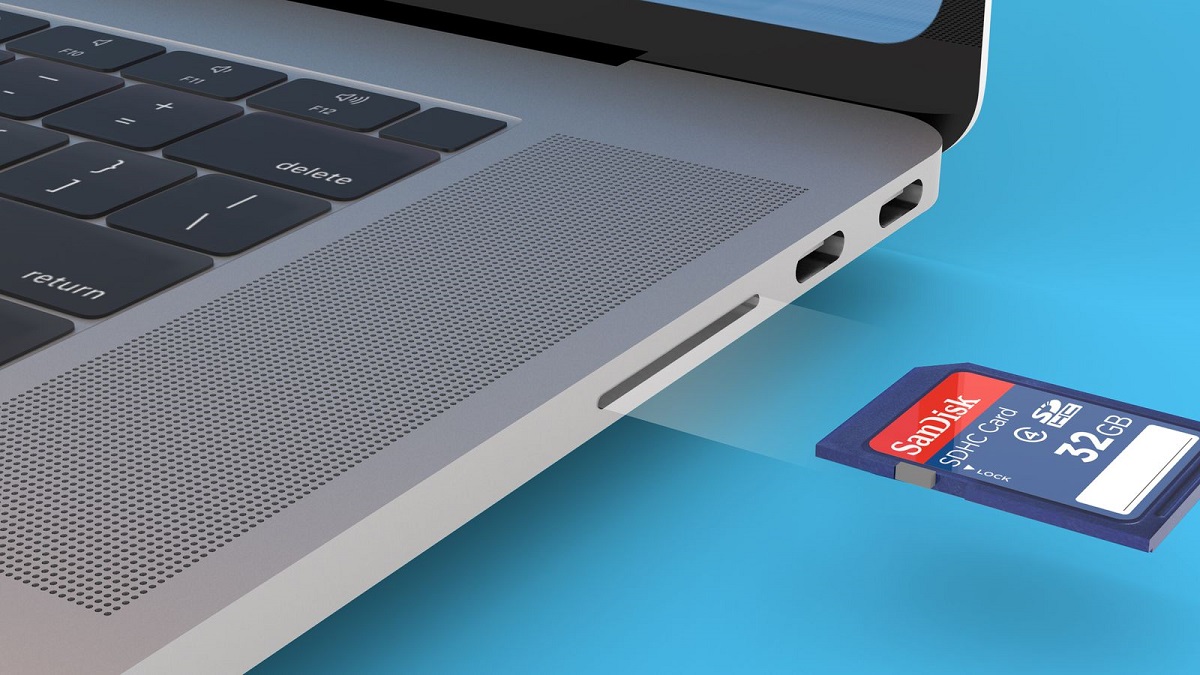
The first step in inserting an SD card into your MacBook Pro is to locate the SD card slot. This slot is typically located on the side of your MacBook Pro, although the exact placement may vary depending on the specific model.
To find the SD card slot, start by examining the sides of your MacBook Pro. Look for a small rectangular slot that is slightly larger than the SD card itself. It may be labeled with an SD card icon or have a small SD card symbol next to it.
Once you’ve located the SD card slot, you can proceed to the next step. If you’re having trouble finding the slot on your MacBook Pro, consult the user manual or visit the official Apple website for your specific model for more detailed instructions.
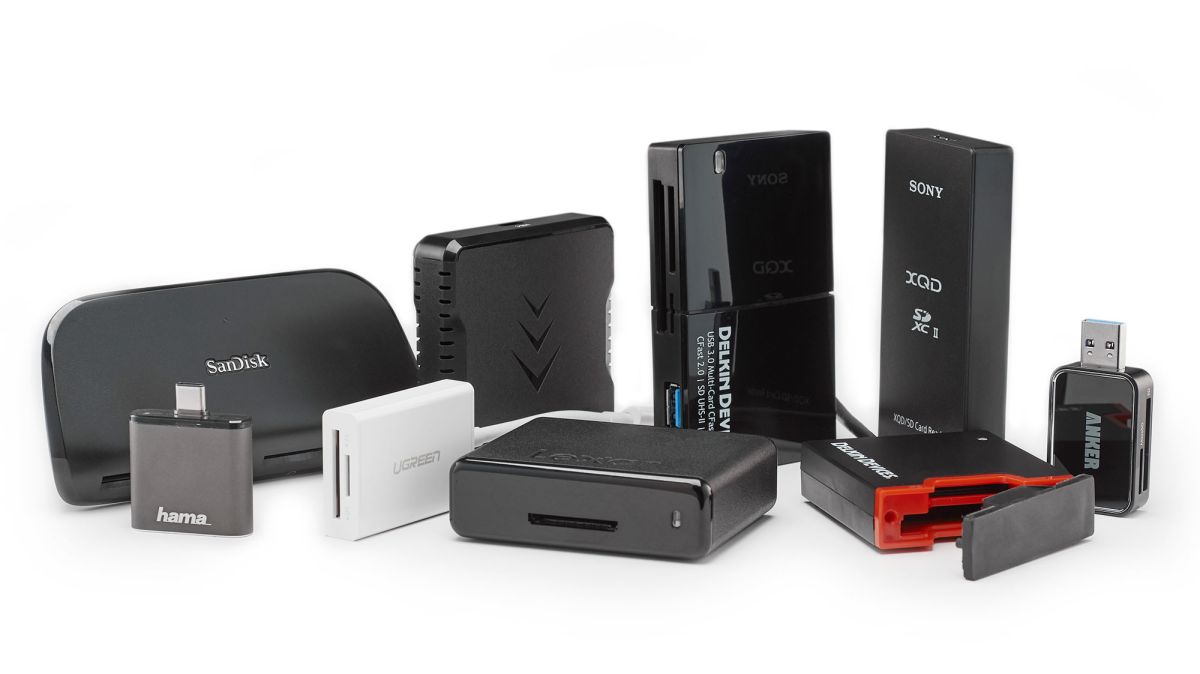
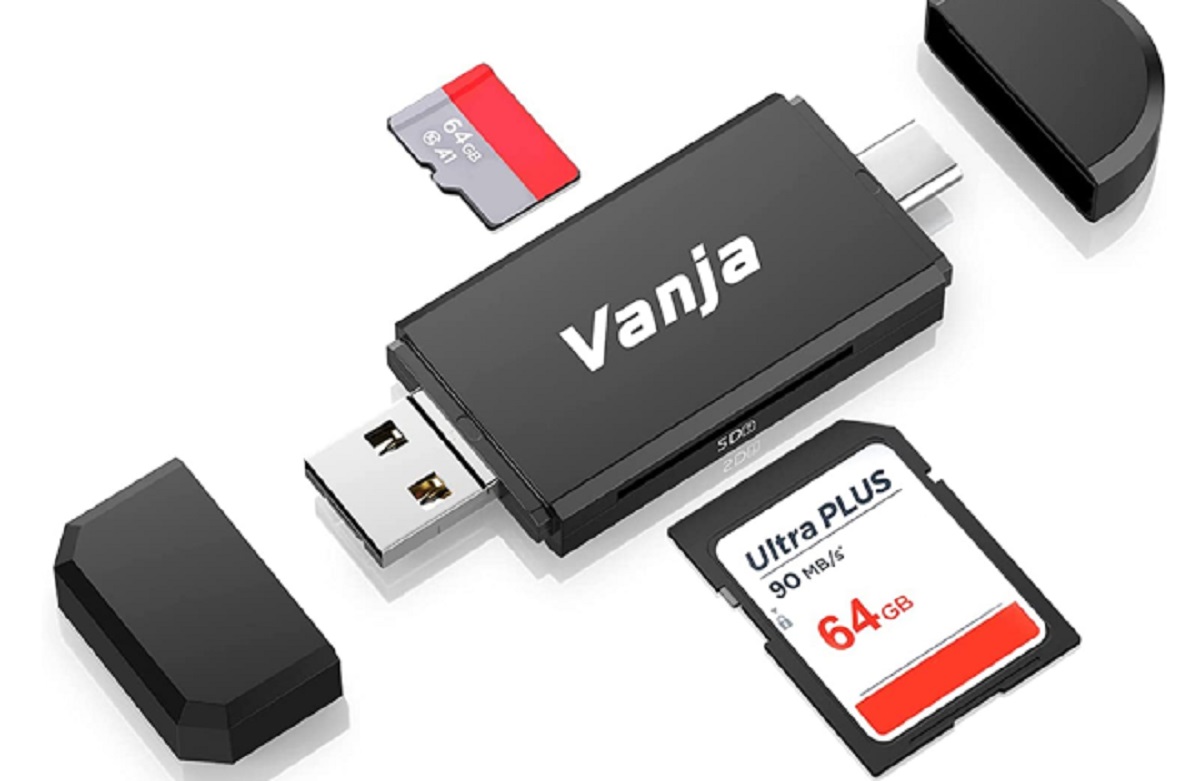
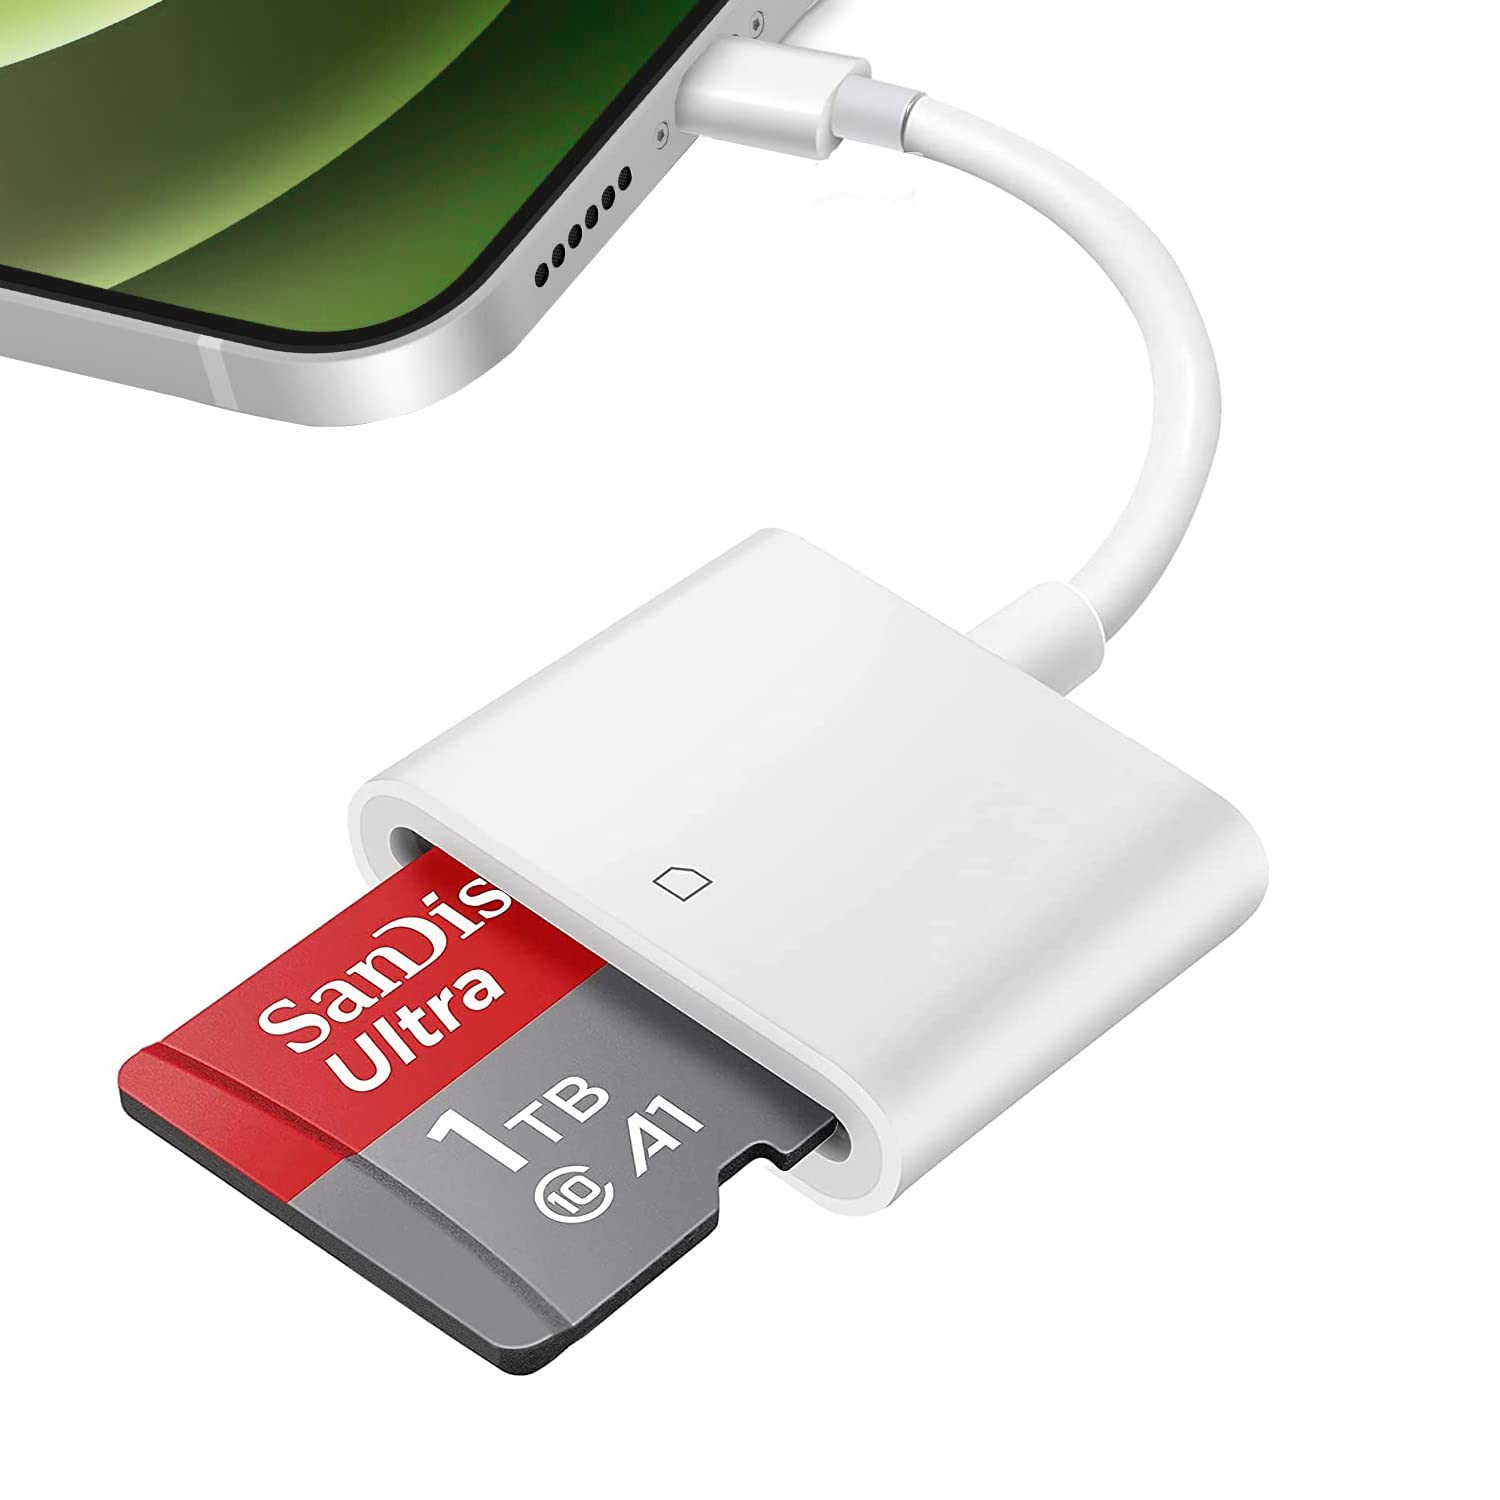
It’s worth noting that not all MacBook Pro models have a built-in SD card slot. If your MacBook Pro is a more recent model with only USB-C ports, you will need to use a compatible USB-C adapter to connect an external SD card reader. These adapters can usually be found at computer or electronics stores and online retailers.
Now that you’ve successfully located the SD card slot on your MacBook Pro, it’s time to move on to the next step and prepare your SD card for insertion.
Step 2: Prepare the SD Card
Before inserting the SD card into your MacBook Pro, it’s important to ensure that the card is properly prepared. This involves checking the compatibility of the SD card with your MacBook Pro and formatting it if necessary.
First, make sure the SD card you are using is compatible with your MacBook Pro. Most MacBook Pro models support standard SD cards, but there are also other types of SD cards, such as SDHC and SDXC, which offer higher storage capacities. Refer to your MacBook Pro’s user manual or the manufacturer’s specifications to determine the compatible SD card types.
If your SD card is brand new or has been used with a different device, it’s recommended to format it before inserting it into your MacBook Pro. Formatting the SD card will erase all existing data on it and prepare it for optimal performance with your MacBook Pro.
To format the SD card on a Mac, follow these steps:
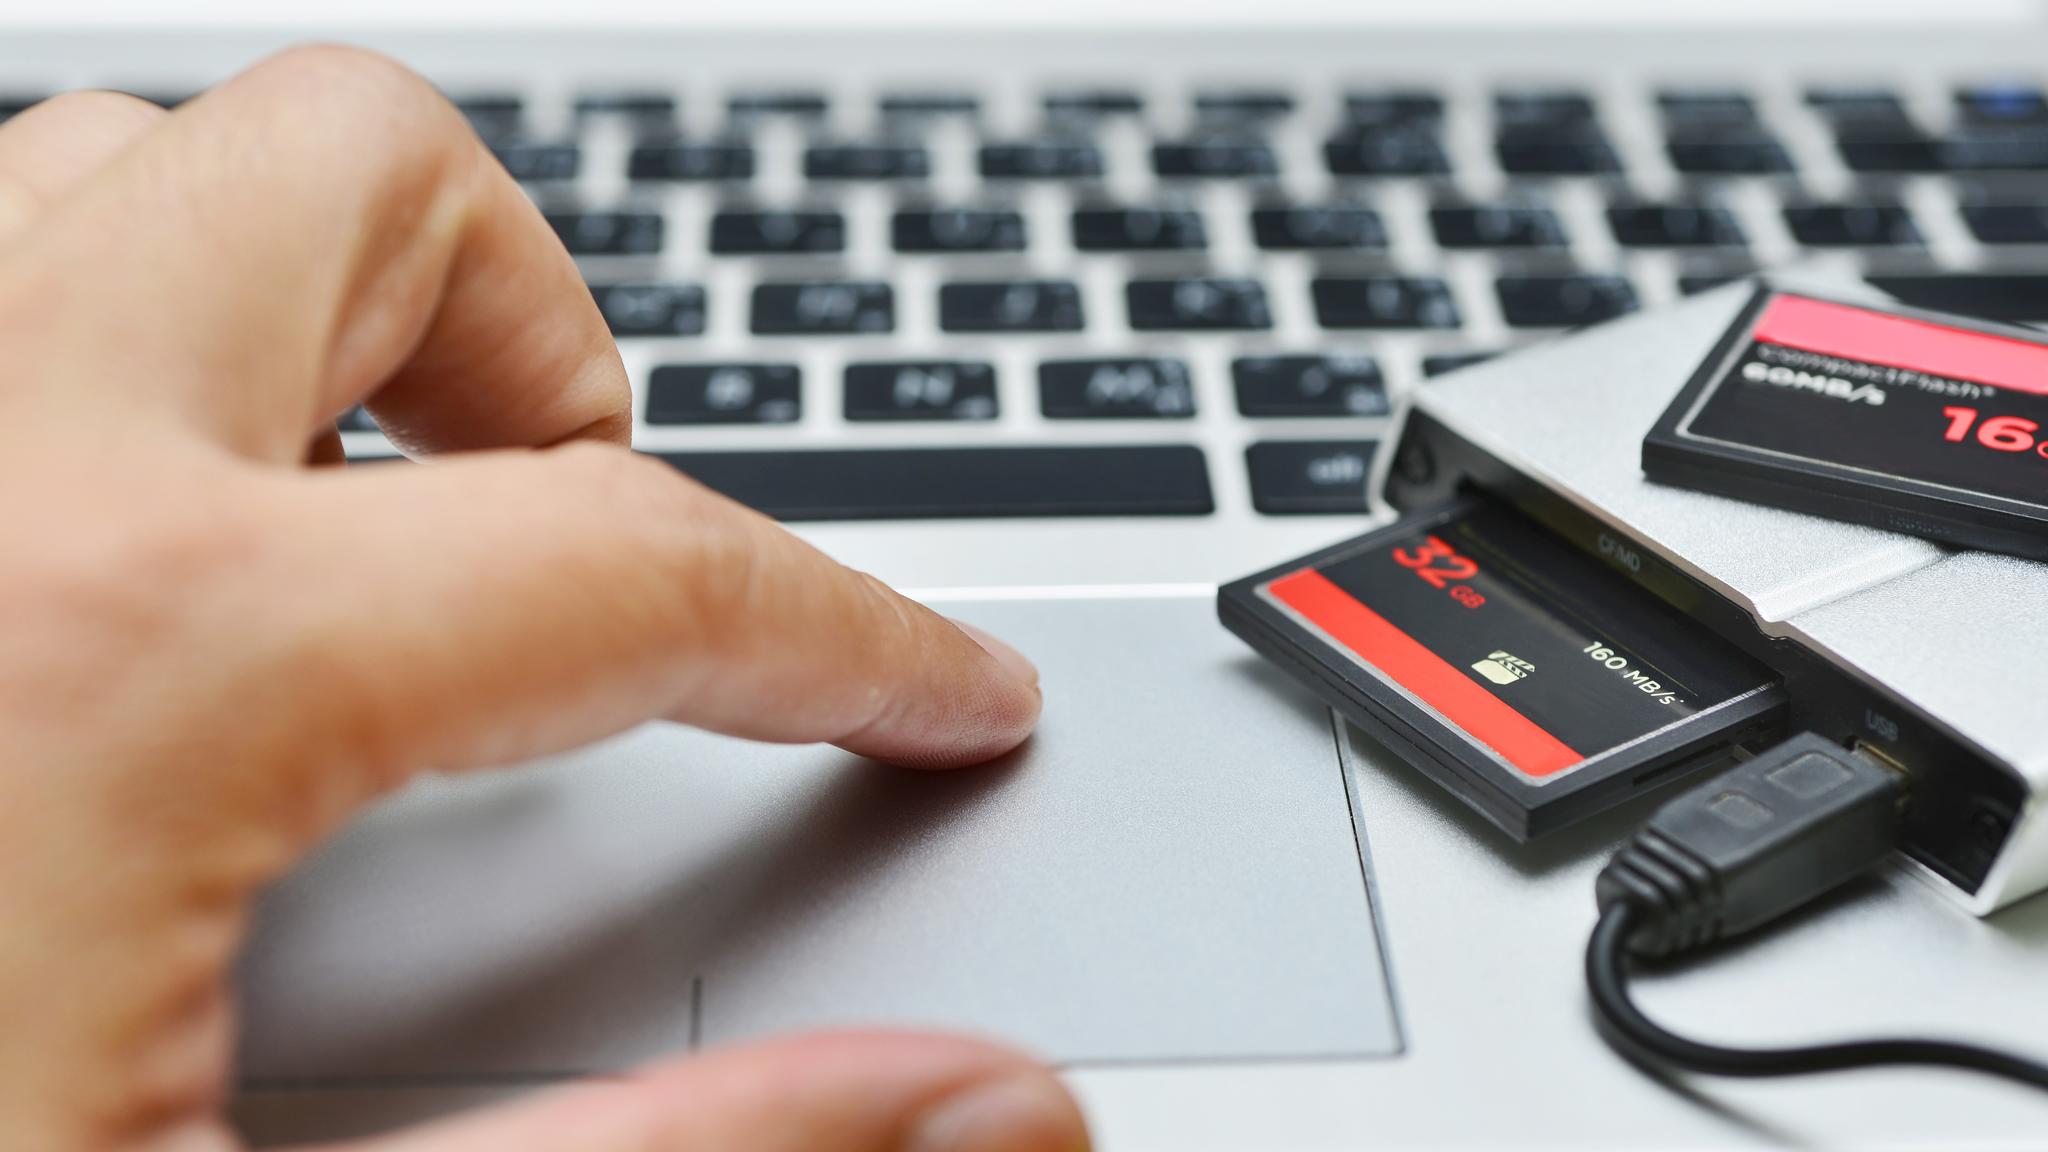
- Insert the SD card into a card reader or adapter and connect it to your MacBook Pro.
- Open the Finder by clicking on the desktop or the Finder icon in the Dock.
- Select the SD card from the list of devices and drives on the left-hand side of the Finder window.
- Click on the “Erase” button at the top of the Finder window.
- Choose the desired format for the SD card (typically “MS-DOS (FAT)” for better cross-compatibility) and click on the “Erase” button to start the formatting process.
Note that formatting the SD card will erase all data on it, so make sure to back up any important files before proceeding. Once the formatting process is complete, you can move on to the next step and insert the SD card into your MacBook Pro.
Step 3: Insert the SD Card into the MacBook Pro
Now that you’ve located the SD card slot on your MacBook Pro and prepared the SD card, it’s time to insert it into your laptop. Follow these steps to insert the SD card:
- Hold the SD card with the label facing up and the metal contacts facing down.
- Gently insert the SD card into the SD card slot on your MacBook Pro. Make sure to push it in until it is fully inserted and flush with the side of the laptop.
- Once the SD card is inserted, you may hear a clicking sound or feel a slight resistance, indicating that it has been properly seated in the slot.
- Do not force the SD card into the slot or apply excessive pressure, as this may damage the card or the slot.
Once the SD card is successfully inserted, your MacBook Pro will recognize it as an external storage device. You can now access the contents of the SD card and transfer files as needed.
It’s important to note that the engagement of the card is typically automatic. However, in some cases, you may need to manually mount the SD card. To do this, open Finder and look for the SD card under the “Devices” section. If you don’t see the SD card, go to “Finder Preferences” and make sure that “External disks” is checked under “Sidebar.” Once the SD card is visible in Finder, you can proceed to access its contents.
With the SD card securely inserted into your MacBook Pro, you’re ready to use its additional storage capacity or transfer files as needed. When you’re finished using the SD card, remember to eject it properly to avoid data loss.
Step 4: Eject the SD Card Safely
When you’re finished using the SD card on your MacBook Pro, it’s crucial to eject it safely to avoid any potential data corruption or loss. Ejecting the SD card ensures that all read and write operations are completed, and it is safe to remove it from your laptop.
Follow these steps to safely eject the SD card:
- Make sure that all the files you need from the SD card are closed or completed.
- Locate the SD card icon on your desktop or the Finder sidebar. It usually appears as a small, removable disk.
- Click on the SD card icon to select it.
- Right-click on the SD card icon or hold down the Control key and click on the icon.
- In the context menu, select “Eject” or “Eject [SD card name].” Alternatively, you can also drag the SD card icon to the trash (an eject symbol will appear) or use the keyboard shortcut Command + E.
- Once you’ve safely ejected the SD card, wait for a few seconds to ensure that any pending read or write operations are completed.
- Gently remove the SD card from the slot by pulling it straight out.
It’s crucial to note that removing the SD card while it is still being accessed or without properly ejecting it may result in data corruption and potential loss. By following the correct ejecting procedure, you ensure the integrity of your files and maintain the overall performance of your MacBook Pro.
Additionally, it’s important to keep your SD card clean and free from dust and debris. If you notice any dirt on the metal contacts of the SD card or inside the SD card slot, use a clean, lint-free cloth to gently wipe them clean. Avoid using liquids or harsh cleaning agents that may damage the card or the slot.
By following these simple steps, you can safely eject the SD card from your MacBook Pro without any risk to your data or equipment.
Conclusion
Inserting an SD card into your MacBook Pro is a convenient way to expand storage and transfer files quickly and easily. By following the step-by-step instructions outlined in this guide, you can successfully insert an SD card into your MacBook Pro and make use of its additional storage capacity.
Throughout this guide, we started by locating the SD card slot on your MacBook Pro and then moved on to preparing the SD card by checking compatibility and formatting if necessary. We then proceeded to insert the SD card into the laptop, ensuring it was securely seated in the slot. Finally, we discussed the importance of safely ejecting the SD card to prevent data loss or corruption.
Remember to check your MacBook Pro’s user manual or the official Apple website if you are unsure about the location of the SD card slot or if your MacBook Pro requires a USB-C adapter for an external SD card reader.
Whether you’re a professional photographer, a student dealing with large files, or someone who needs additional storage on their MacBook Pro, inserting an SD card can be a game-changer. Enjoy the benefits of having extra storage space and the convenience of transferring files quickly and easily!
Keep in mind that SD cards are fragile, and improper handling can lead to damage. Always handle your SD cards with care and avoid touching the metal contacts on the card or exposing the card to extreme temperatures or liquids.
With the knowledge and understanding gained from this guide, you can confidently insert and use an SD card in your MacBook Pro, optimizing its storage capacity and enhancing your user experience.


