Introduction
Welcome to this guide on how to initialize a Solid State Drive (SSD) for Windows 10 installation using EasyBCD. If you are planning to upgrade your computer or build a new one, you may have decided to use an SSD as your primary storage device. SSDs offer numerous advantages over traditional hard disk drives, including faster boot times, quicker file transfers, and improved overall system performance.
However, when installing Windows 10 on a new SSD, it is essential to properly initialize the drive to ensure compatibility and optimal performance. This is where EasyBCD comes in – it is a powerful software tool that allows you to manage the boot configuration on your system and initialize your SSD effortlessly.
In this guide, we will take you through the step-by-step process of downloading, installing, and using EasyBCD to initialize your SSD for a smooth Windows 10 installation. By following these instructions, you will be able to set up your SSD correctly and enjoy the full benefits it has to offer.
Before we delve into the process, it is important to note that initializing an SSD involves making changes to the boot configuration of your system. It is crucial to follow the instructions carefully and exercise caution to avoid any unwanted consequences. If you are not comfortable with these technical aspects, it is recommended to seek assistance from a professional or someone experienced in computer maintenance.
Now, let’s get started with the process of initializing an SSD for Windows 10 installation using EasyBCD.
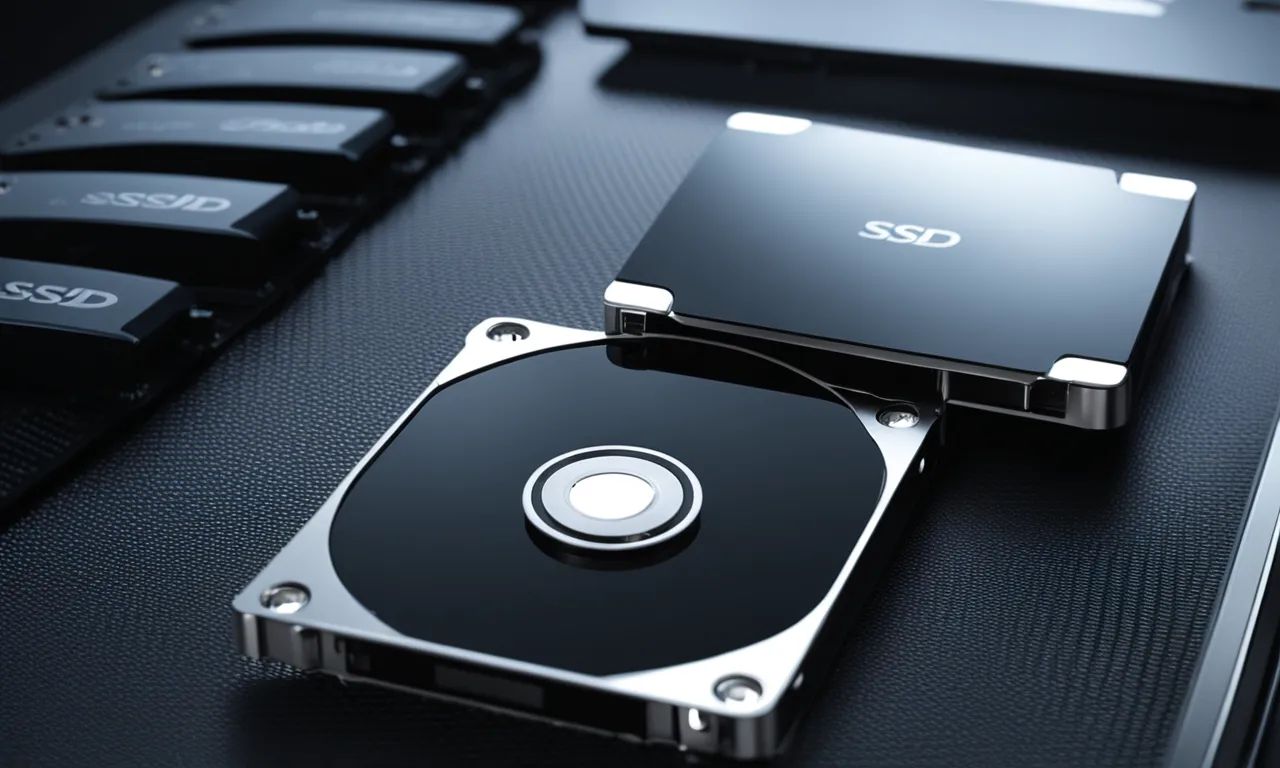
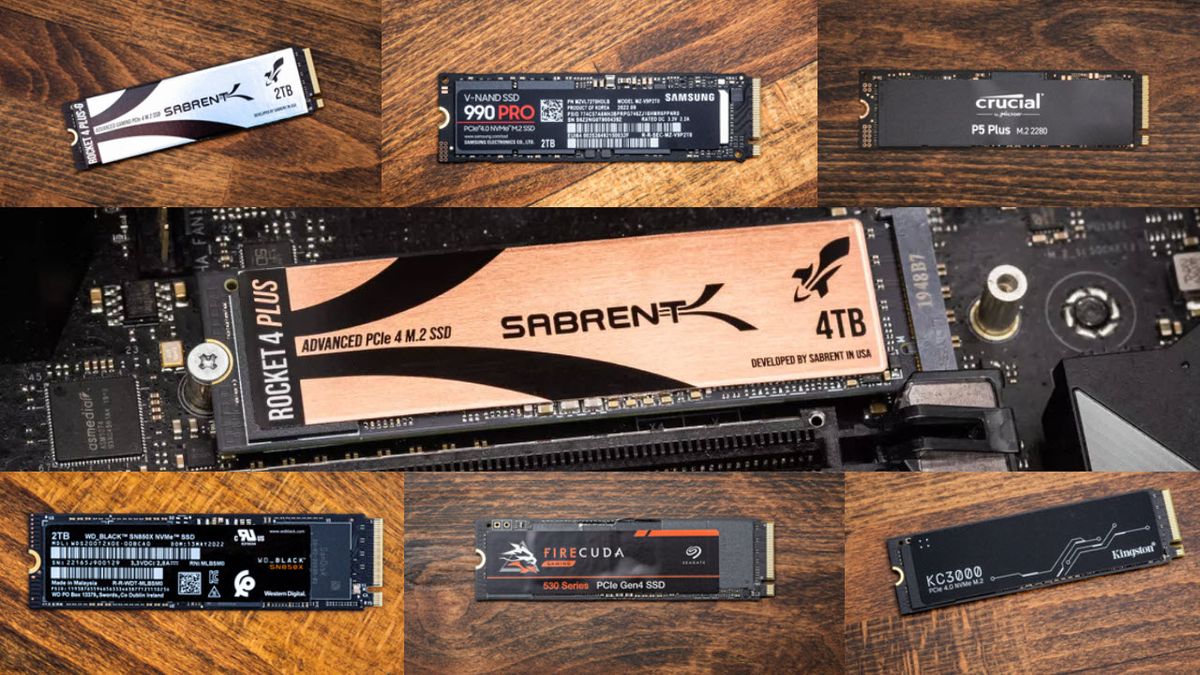
What is a Solid State Drive (SSD)?
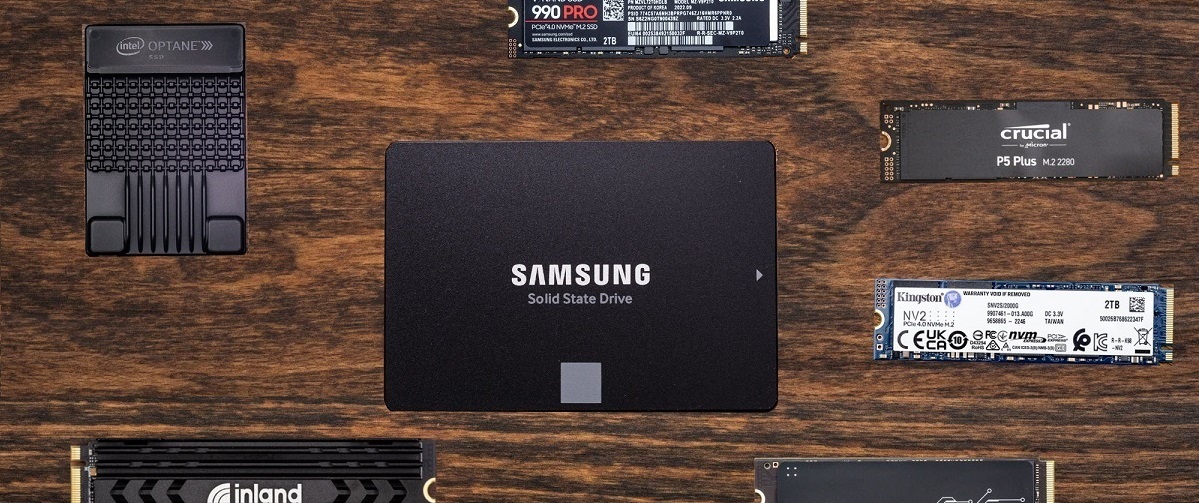
A Solid State Drive, commonly known as an SSD, is a type of storage device that uses flash memory technology to store and retrieve data. Unlike traditional hard disk drives (HDDs) that use spinning disks and magnetic technology, SSDs have no moving parts. This fundamental difference gives SSDs a significant advantage in terms of speed, durability, and energy efficiency.
SSDs offer faster performance than HDDs due to their ability to access and transfer data at higher speeds. This means that tasks such as booting up your computer, launching applications, and opening files can be completed much more quickly. This speed advantage is particularly noticeable when it comes to read and write operations, as SSDs can process data in a fraction of the time compared to HDDs.
Furthermore, SSDs are more resistant to shocks, vibrations, and physical damage because they do not rely on spinning disks. This makes them an ideal choice for laptops and portable devices that are often subjected to movement and rough handling. Additionally, since there are no moving parts, SSDs generate less noise and heat, contributing to a quieter and cooler computing experience.
Another significant benefit of SSDs is their improved energy efficiency. Traditional HDDs consume more power because they need to spin the disks continuously, while SSDs require less energy to operate. This can result in longer battery life for laptops and lower energy consumption for desktop computers.
Overall, the advantages of SSDs over HDDs are clear: faster speeds, enhanced durability, quieter operation, and lower power consumption. As a result, SSDs have become increasingly popular, especially for those seeking to optimize their computer’s performance and experience a more efficient workflow.
Now that we have a basic understanding of what SSDs are and why they are beneficial, let’s explore the importance of initializing an SSD for Windows 10 installation.
Why Initialize an SSD for Windows 10 Installation?
Initializing an SSD before installing Windows 10 is a crucial step to ensure compatibility and optimal performance. When you initialize an SSD, you essentially prepare it for use by creating necessary structures and settings that the operating system requires for proper functioning.
Here are a few key reasons why it is important to initialize an SSD for Windows 10 installation:
- Alignment: SSDs have a different data alignment requirement compared to traditional HDDs. By properly initializing the SSD, you ensure that the data is aligned correctly, which can significantly enhance performance and prevent potential issues that may arise from misalignment.
- Trim Support: Trim is a function that helps maintain the performance and lifespan of an SSD by informing the drive which data blocks are no longer in use. By initializing the SSD, you enable Trim support, which allows the operating system to communicate with the drive and optimize its performance over time.
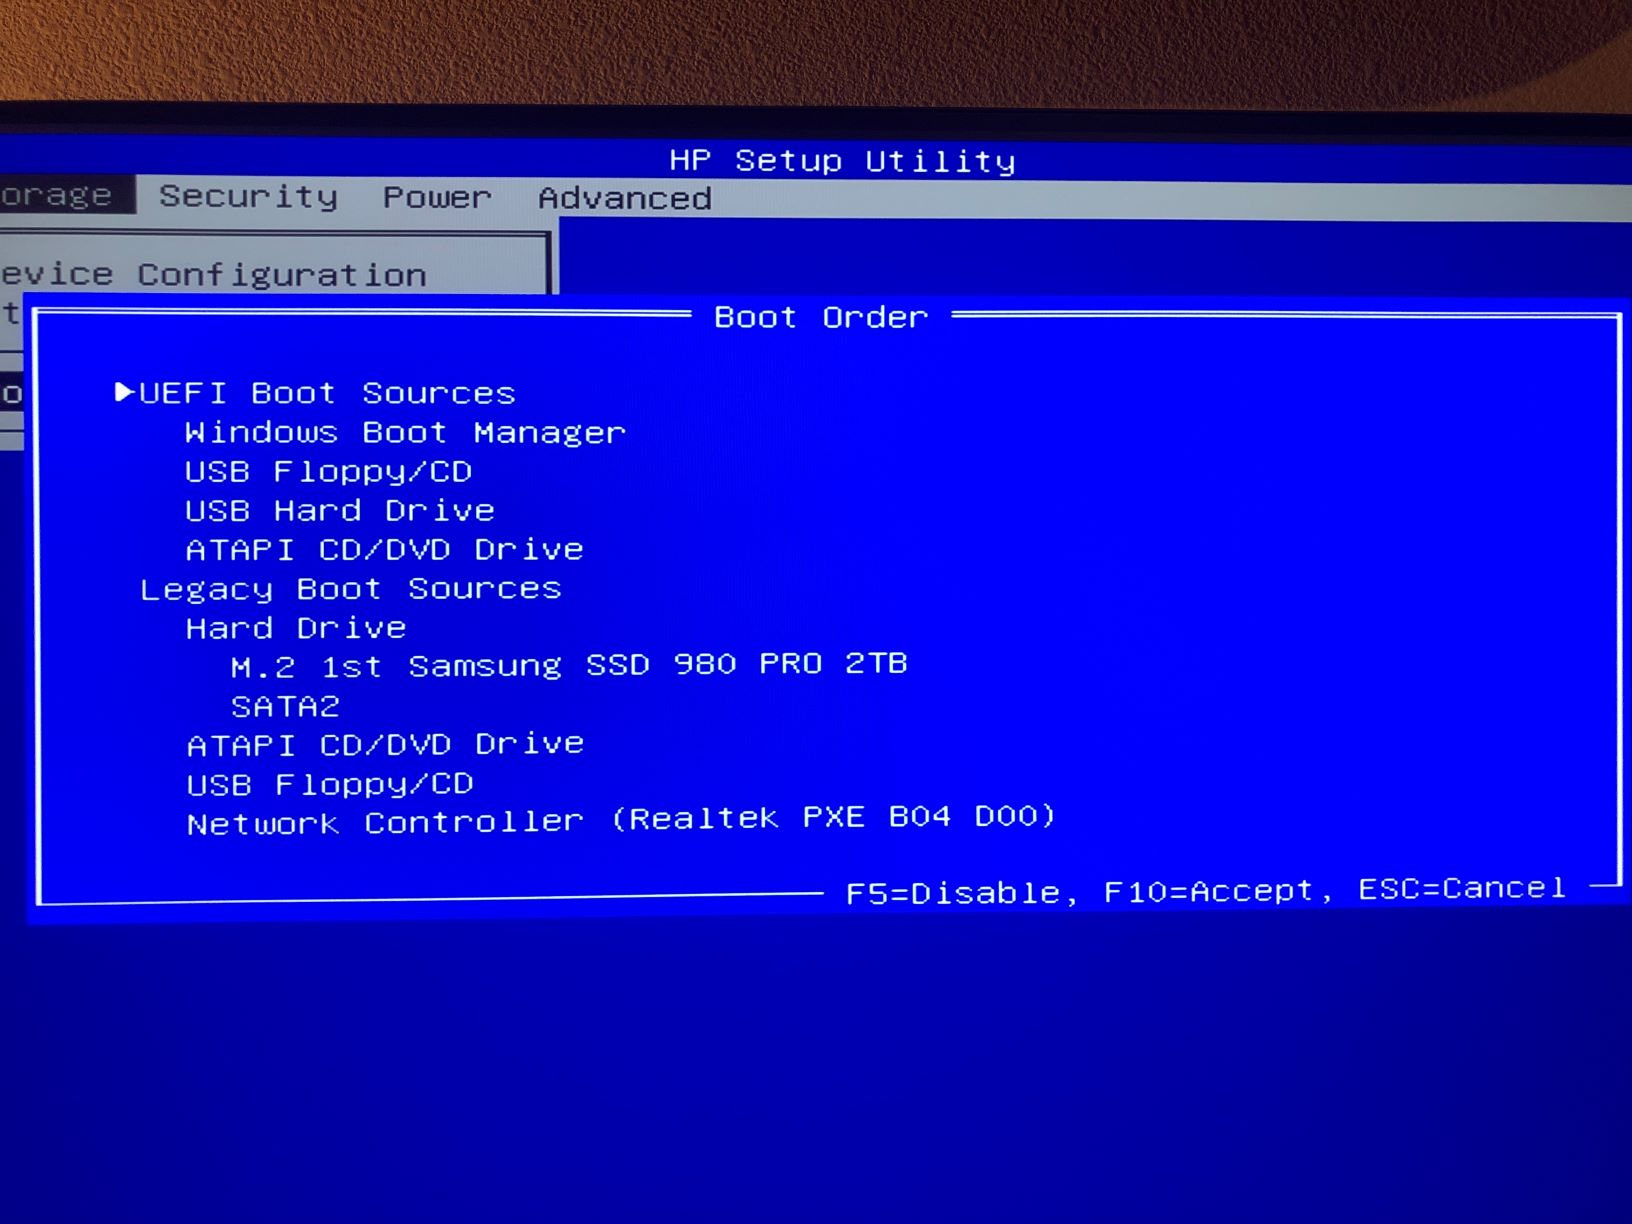
- Boot Configuration: When initializing an SSD, you have the opportunity to configure the boot settings, such as selecting the appropriate bootloader options. This ensures that your computer can start up from the SSD correctly and allows for a seamless Windows 10 installation process.
- Partitioning: Initializing the SSD involves partitioning the drive, which allows you to divide it into logical sections to efficiently organize and store your files. The partitioning process also enables you to choose the desired file system for the SSD, such as NTFS or exFAT.
- Performance Optimization: By initializing the SSD before installing Windows 10, you can optimize its performance by enabling advanced features such as AHCI (Advanced Host Controller Interface) or RAID (Redundant Array of Independent Disks), depending on your specific system configuration.
Overall, initializing an SSD for Windows 10 installation is essential for ensuring compatibility, enabling necessary features and settings, and maximizing the performance and lifespan of the drive. Now that we understand the importance of SSD initialization, let’s move on to the preparation steps before starting the initialization process.
Preparing for the SSD Initialization Process
Before you begin the process of initializing your SSD for Windows 10 installation using EasyBCD, it is important to ensure that you have completed a few necessary preparations. These preparations will help you navigate the process smoothly and avoid any potential issues.
Here are the key steps to prepare for the SSD initialization process:
- Back up your data: Initializing an SSD involves partitioning and formatting the drive, which will erase all existing data. It is crucial to back up any important files or documents on the SSD to a separate storage device before proceeding. This way, you can restore your data once the initialization process is complete.
- Check for firmware updates: It is recommended to check if there are any firmware updates available for your SSD. Firmware updates can improve performance, fix bugs, and enhance compatibility with the Windows 10 operating system. Visit the manufacturer’s website or use their software to check for and install any available firmware updates.
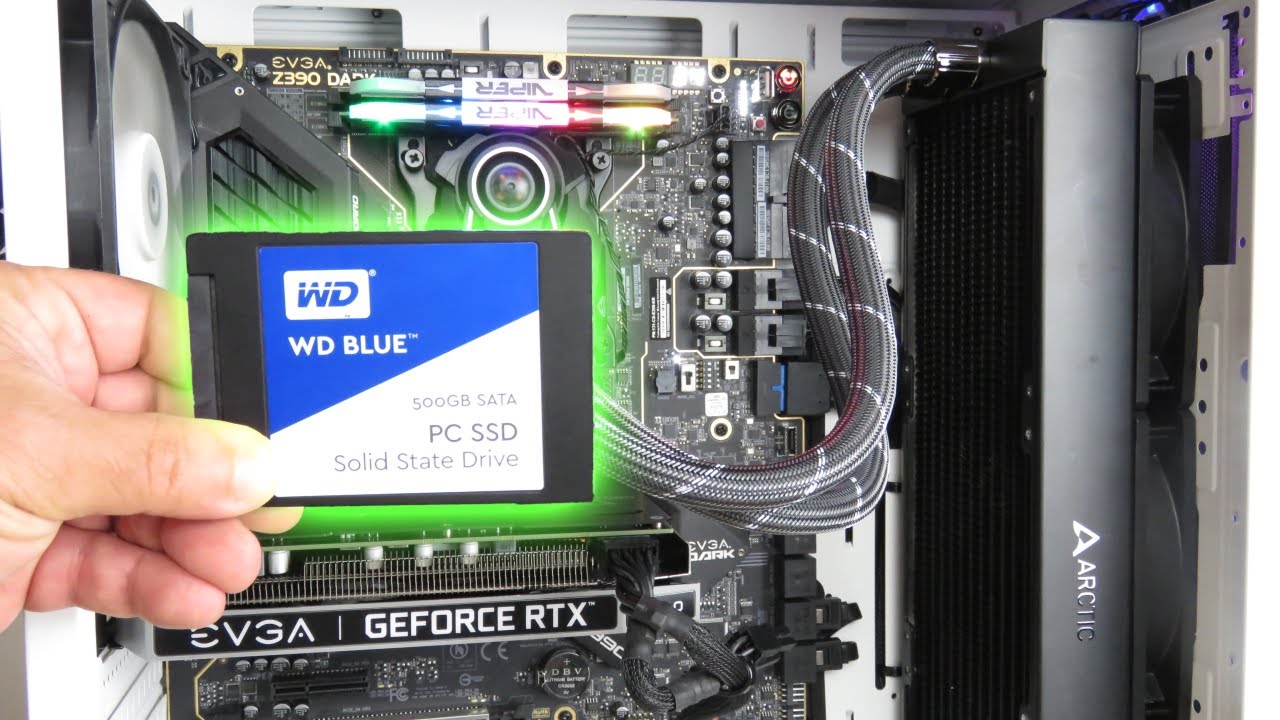
- Gather necessary tools: To successfully initialize your SSD, you will need a few tools. Make sure you have a USB flash drive with sufficient storage capacity to create a bootable Windows 10 installation media. Additionally, ensure you have a stable internet connection to download EasyBCD software.
- Verify system requirements: Ensure that your computer meets the minimum system requirements for running EasyBCD and installing Windows 10. Check the EasyBCD and Windows 10 system requirements on their respective websites to confirm compatibility.
- Disable Secure Boot: If you have Secure Boot enabled in your system’s BIOS, you may need to temporarily disable it before proceeding with the initialization process. Secure Boot can prevent unauthorized changes to the boot configuration, which may interfere with EasyBCD’s ability to initialize the SSD. Consult your computer’s documentation or manufacturer’s website for instructions on disabling Secure Boot.
By completing these preparations, you will be well-equipped and ready to dive into the SSD initialization process. Now that you are fully prepared, let’s move on to the step-by-step process of downloading and installing EasyBCD, the software tool we will be using for SSD initialization.
Step 1: Downloading and Installing EasyBCD Software
The first step in initializing your SSD for Windows 10 installation is to download and install the EasyBCD software. EasyBCD is a powerful tool that allows you to manage the boot configuration on your computer, making it the ideal software for initializing your SSD.
Here’s how to download and install EasyBCD:
- Open your preferred web browser and navigate to the official EasyBCD website.
- Locate the download section on the website and select the appropriate version of EasyBCD for your operating system. It is essential to choose the correct version to ensure compatibility and smooth installation.
- Click on the “Download Now” button to start the download process. The file size of EasyBCD is relatively small, so it should not take long to complete the download.
- Once the download is complete, navigate to the downloaded file and double-click on it to start the installation process.
- Follow the on-screen instructions provided by the EasyBCD installer. You may need to review and accept the terms of the license agreement, specify the installation location, and choose any additional components you wish to install.
- Click on the “Install” button to begin the installation process. The software will be installed on your computer, and you will see a progress bar indicating the installation status.
- Once the installation is complete, you can launch EasyBCD by navigating to the installation location and double-clicking on the EasyBCD shortcut or executable file.
Congratulations! You have successfully downloaded and installed EasyBCD, the software tool that will help you initialize your SSD for Windows 10 installation. In the next step, we will explore how to open EasyBCD and navigate to the ‘BCD Deployment’ section, where the actual SSD initialization process begins.
Step 2: Opening EasyBCD and Navigating to the ‘BCD Deployment’ Section
Now that you have successfully installed EasyBCD on your computer, it’s time to open the software and navigate to the ‘BCD Deployment’ section. This section is where you will find the tools and options to initialize your SSD for Windows 10 installation.
Follow these steps to open EasyBCD and access the ‘BCD Deployment’ section:
- Locate the EasyBCD shortcut on your desktop or navigate to the installation location of the EasyBCD software.
- Double-click on the EasyBCD shortcut or executable file to launch the program.
- Once EasyBCD is open, you will be presented with the main interface. From here, navigate to the left-hand side of the window and click on the ‘BCD Deployment’ button.
- By clicking on the ‘BCD Deployment’ button, you will be redirected to the ‘BCD Deployment’ section of EasyBCD where you can access the necessary tools for initializing your SSD.
- Within the ‘BCD Deployment’ section, you will find various options and settings related to boot configuration. These include options for configuring bootloaders, managing boot entries, and initializing drives.
- To initialize your SSD, navigate to the ‘Drive Management’ section within the ‘BCD Deployment’ area of EasyBCD. This is where you will select the drive that needs to be initialized.
- Once you have selected the drive, you can proceed to the next steps, which involve choosing the appropriate bootloader options and applying the changes to initiate the SSD initialization process.
Opening EasyBCD and navigating to the ‘BCD Deployment’ section is a crucial step before you can initialize your SSD for Windows 10 installation. With EasyBCD as your tool, you are now ready to move on to the next step of selecting the drive to be initialized. We will explore this step in detail in the following section.
Step 3: Selecting the Drive to be Initialized
Now that you have opened EasyBCD and accessed the ‘BCD Deployment’ section, it’s time to select the drive that needs to be initialized for your Windows 10 installation. This step is crucial as it determines which drive will be prepared and optimized for the installation process.
Follow these steps to select the drive to be initialized in EasyBCD:
- Within the ‘BCD Deployment’ section, navigate to the ‘Drive Management’ area.
- You will see a list of available drives on your computer, including your SSD and any other connected storage devices. Carefully identify the SSD that you want to initialize for your Windows 10 installation.
- Click on the checkbox next to the SSD drive’s name to select it for initialization.
- If you have multiple drives listed, it is essential to double-check and ensure that you have selected the correct SSD. Initializing the wrong drive can result in data loss or other complications.
- Once you have selected the SSD drive, you can proceed to the next step, which involves choosing the appropriate bootloader options.
By selecting the drive to be initialized in EasyBCD, you are taking the necessary step to prepare your specific SSD for optimal performance during the Windows 10 installation process. As we move forward, we will explore the bootloader options you need to consider before applying the changes and initiating the SSD initialization.
Step 4: Choosing the Appropriate Bootloader Options
After selecting the SSD drive to be initialized in EasyBCD, the next step is to choose the appropriate bootloader options. Bootloaders are responsible for loading the operating system during startup, and selecting the correct options ensures that the SSD functions smoothly as the primary boot device.
Follow these steps to choose the appropriate bootloader options in EasyBCD:
- Within the ‘Drive Management’ area of the ‘BCD Deployment’ section in EasyBCD, locate the section titled ‘Edit Boot Menu’ or a similar option.
- Under the ‘Edit Boot Menu’ section, you will find a list of boot entries and the corresponding boot devices. Here, you can choose which device will be the primary boot device.
- If the SSD drive you selected earlier is not already listed, click on the ‘Add New Entry’ button or a similar option to add the SSD as a boot entry.
- Select the SSD drive from the drop-down menu or browse and locate it manually.
- Ensure that the SSD is set as the primary boot device by checking the box or selecting the appropriate option next to its entry.
- If there are any other boot entries listed that are no longer necessary, you can choose to remove them to declutter the boot menu.
- Review the rest of the bootloader options in EasyBCD to ensure that they are set appropriately for your specific system configuration. If needed, you can modify the timeout duration, default boot entry, or other settings to suit your preference.
By choosing the appropriate bootloader options, you are customizing the boot configuration to ensure that the SSD drive is recognized as the primary boot device for your Windows 10 installation. In the next step, we will apply the changes and restart the system to initiate the SSD initialization process.
Step 5: Applying the Changes and Restarting the System
After selecting the appropriate bootloader options in EasyBCD, it is time to apply the changes and restart your system. Applying the changes will activate the initialization process for your SSD and ensure that the settings you have configured take effect.
Follow these steps to apply the changes and restart your system:
- Double-check all the settings and options you have selected in EasyBCD to ensure they are correct.
- Once you are confident that everything is set up properly, click on the ‘Apply’ or ‘Save’ button in EasyBCD. This will apply the changes you have made to the boot configuration.
- After applying the changes, you will be prompted to confirm and restart your system. Click on the ‘Yes’ or ‘OK’ button to restart your computer.
- During the system restart, the SSD initialization process will take place. This involves formatting and preparing the SSD for the Windows 10 installation.
- Allow your system to complete the restart process and follow any on-screen prompts or instructions that may appear.
- Once the system has restarted, your SSD will be initialized and ready for the Windows 10 installation. You can proceed with the installation process using your preferred installation media.
Congratulations! You have successfully applied the changes in EasyBCD and restarted your system, initiating the SSD initialization process. You are now ready to proceed with the Windows 10 installation using your newly initialized SSD.
Remember to follow the installation instructions provided by Microsoft and ensure that you have the necessary Windows 10 installation media and license key to complete the installation.
After the Windows 10 installation is complete, you can enjoy the benefits of a properly initialized SSD, including faster boot times, improved overall system performance, and quicker file transfers.
Now that you have completed all the steps in initializing your SSD for Windows 10 installation using EasyBCD, you are well on your way to a smooth and optimized computing experience.
Conclusion
Initializing a Solid State Drive (SSD) for Windows 10 installation using EasyBCD is a crucial step to ensure compatibility, optimize performance, and maximize the benefits of using an SSD as your primary storage device.
In this guide, we have covered the step-by-step process of initializing an SSD using EasyBCD, starting with downloading and installing the software, selecting the SSD drive, choosing the appropriate bootloader options, and applying the changes. By following these steps, you can successfully initialize your SSD for a smooth Windows 10 installation.
It is important to note that initializing an SSD involves making changes to the boot configuration of your system, and it is crucial to follow the instructions carefully and exercise caution throughout the process. If you are uncertain or uncomfortable with these technical aspects, it is recommended to seek assistance from a professional or someone experienced in computer maintenance.
Once your SSD is initialized, you can enjoy the benefits of faster boot times, improved overall system performance, and quicker file transfers. The SSD’s durability, energy efficiency, and resistance to physical damage make it an ideal choice for both desktop and laptop users.
Remember to back up your data before initializing the SSD to prevent data loss. Additionally, ensure that you have checked for any firmware updates for your SSD and have met the system requirements for running EasyBCD and installing Windows 10.
Thank you for following this guide on initializing an SSD for Windows 10 installation. By utilizing the power of EasyBCD to properly initialize your SSD, you can take full advantage of the benefits that SSDs have to offer in terms of speed, durability, and overall system performance.
Now that you are equipped with the knowledge and understanding of the initialization process, you can confidently set up your SSD for an enhanced computing experience.