Introduction
Wireless earbuds have revolutionized the way we listen to music and interact with our devices. With no pesky wires to tangle or limit our movement, these tiny yet powerful gadgets provide a seamless audio experience. Whether you’re an avid music lover or simply looking to upgrade your listening gear, knowing how to hook up wireless earbuds is essential.
In this guide, we will take you through the process of setting up your wireless earbuds step by step. From charging the earbuds to pairing them with your device and adjusting the audio, we’ll cover everything you need to know to ensure a hassle-free connection.
Before we dive into the setup process, it’s important to note that each brand and model may have specific instructions. Therefore, it’s always a good idea to consult the user manual that comes with your earbuds for any manufacturer-specific guidelines.
Now, let’s get started on the journey of setting up your wireless earbuds!
Getting Started
Before you start setting up your wireless earbuds, there are a few things you should do to ensure a smooth and successful connection.
Firstly, make sure that your device (whether it’s a smartphone, tablet, or computer) has Bluetooth capability. Wireless earbuds rely on Bluetooth technology to connect to your device, so it’s essential to ensure compatibility.
Next, take the time to read the user manual that came with your earbuds. Different models may have specific instructions or features that you need to be aware of. The user manual will provide you with valuable information on how to navigate through the setup process.
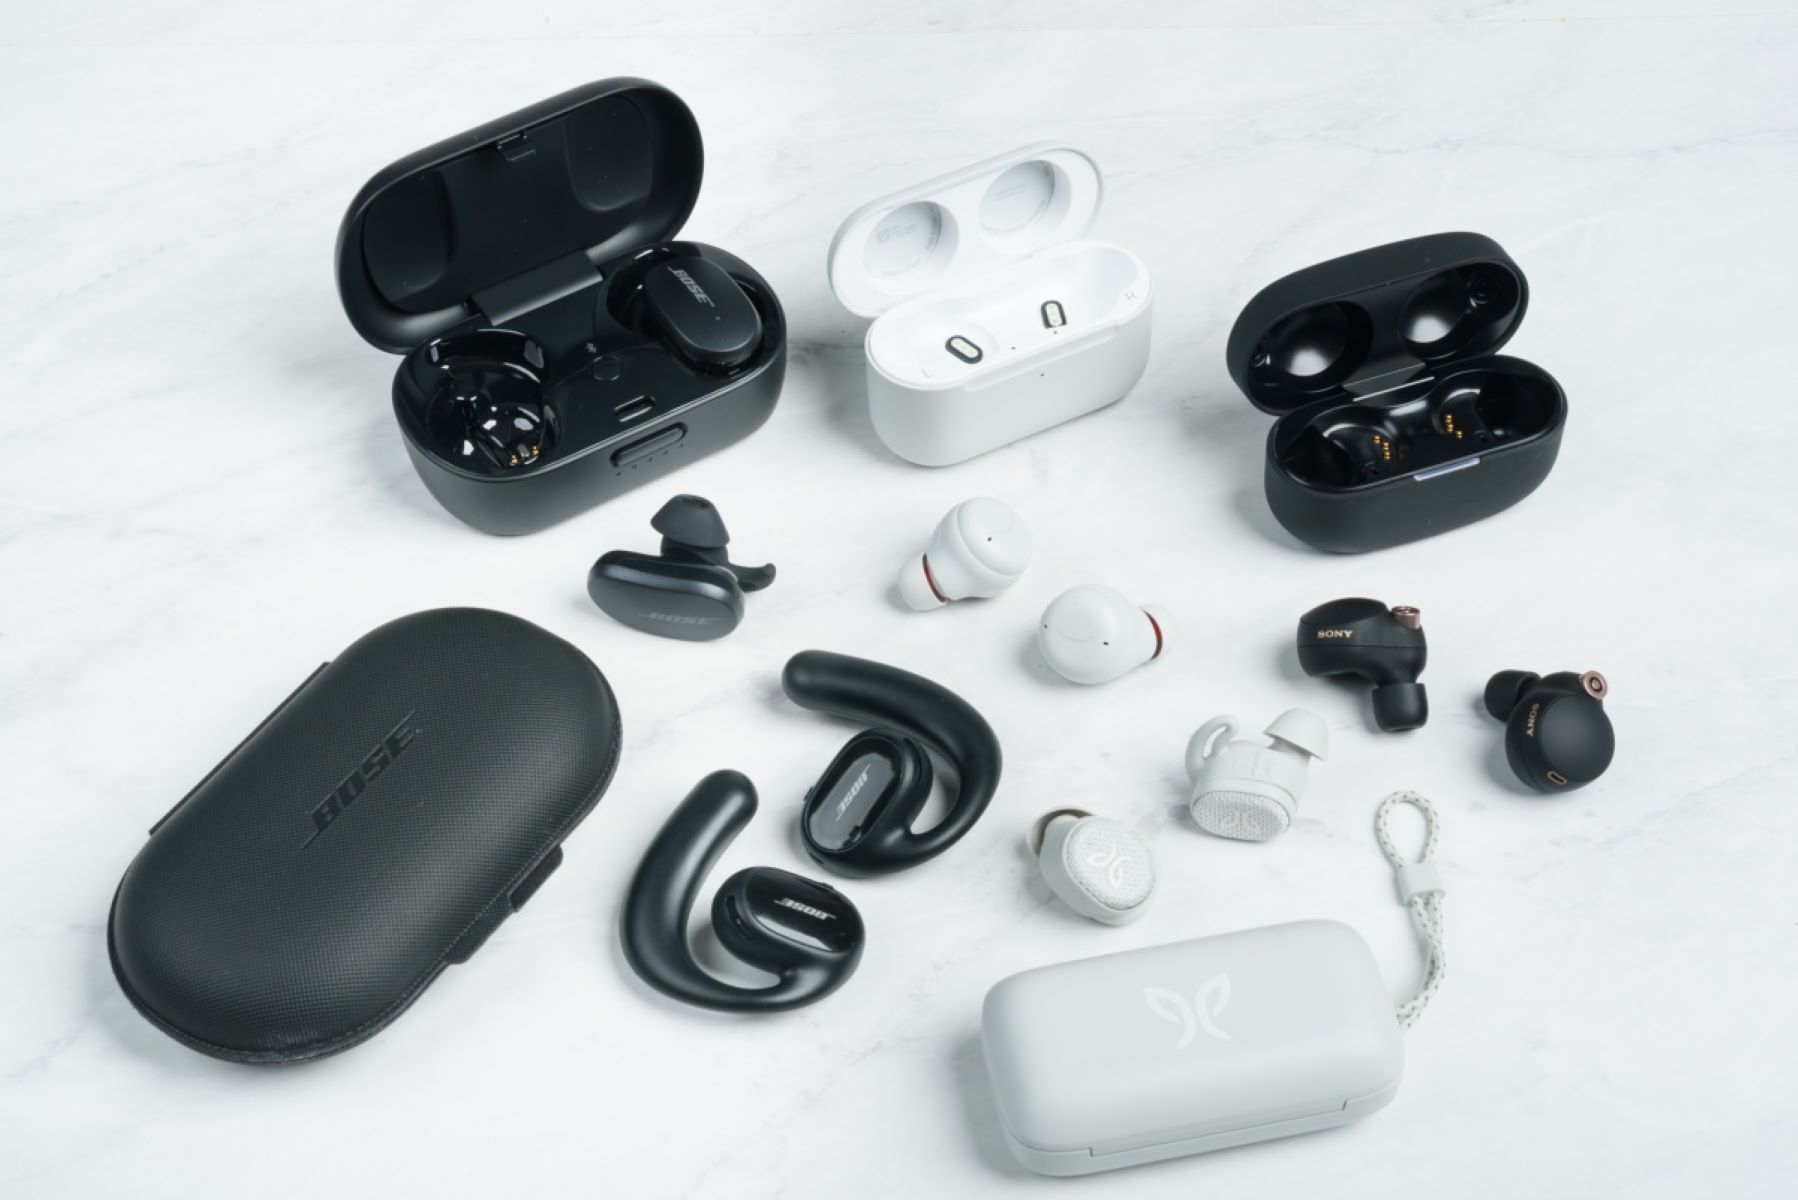
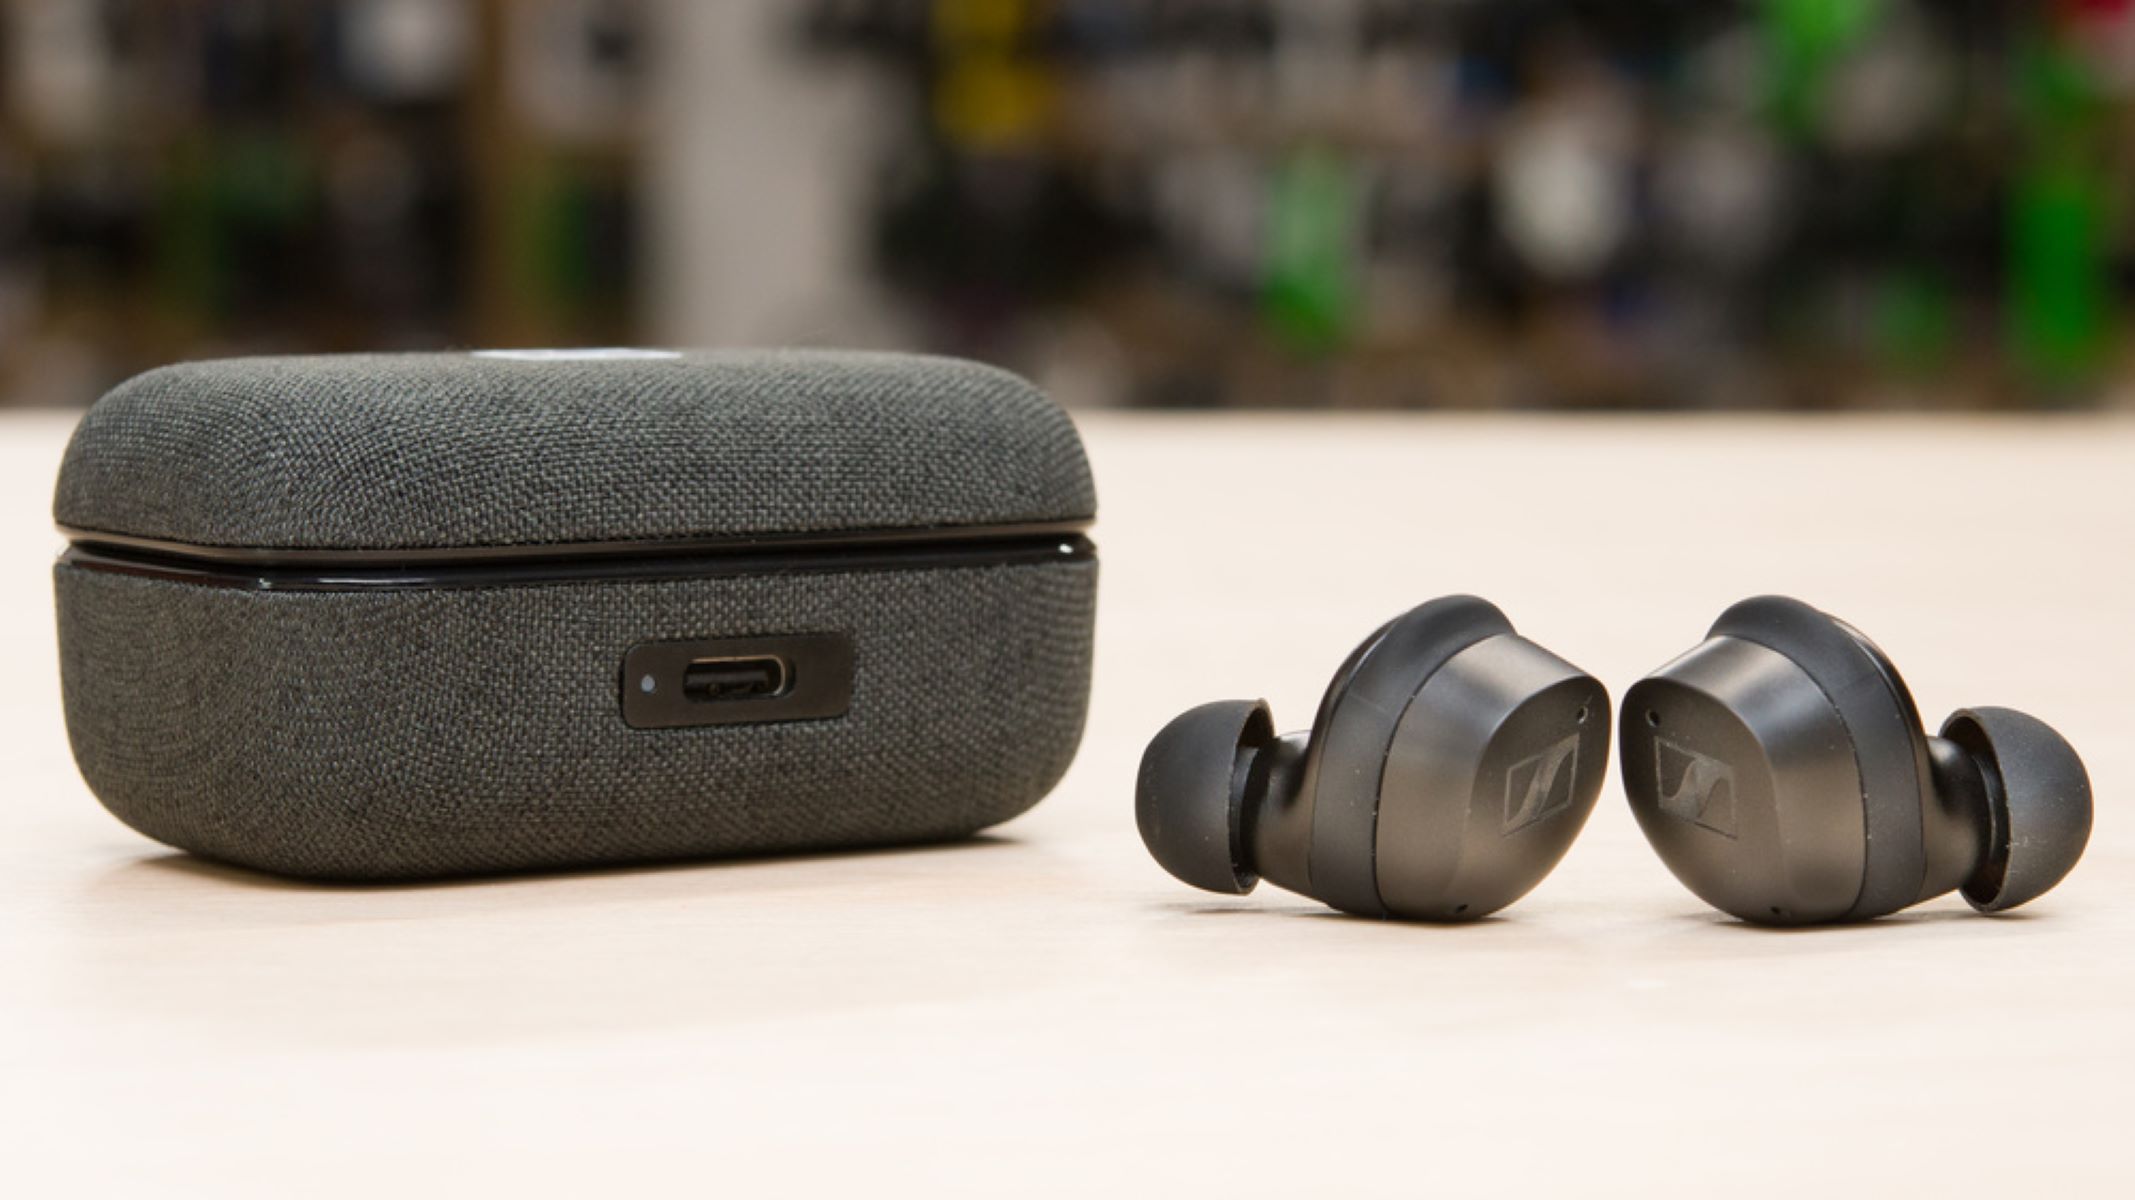
Additionally, check the battery life of your wireless earbuds. If they’re not charged or have low battery, it’s important to charge them before proceeding. Most wireless earbuds come with a charging case, so place them in the case and connect it to a power source using the included USB cable.
Once you’ve completed these initial steps, you’re ready to move on to the next phase of setting up your wireless earbuds.
Step 1: Charging the Earbuds
Before you begin using your wireless earbuds, it’s important to ensure that they are fully charged. Follow these steps to charge your earbuds:
- Take your wireless earbuds and place them inside their charging case.
- Connect the charging case to a power source using the provided USB cable.
- Allow the earbuds to charge for the recommended time, usually indicated in the user manual. This can vary depending on the brand and model of your earbuds.
- While the earbuds are charging, you may notice LED lights on the charging case indicating the charging status. Refer to the user manual to understand the specific light patterns and what they mean.
- Once the earbuds are fully charged, you can disconnect the charging case from the power source.
It’s vital to ensure that your wireless earbuds are adequately charged before using them for the best audio quality and performance. Charging times can vary, so it’s essential to refer to the user manual for specific charging instructions and recommendations.
Now that your earbuds are powered up, you’re ready to move on to the next step: turning them on.
Step 2: Turning on the Earbuds
After charging your wireless earbuds, the next step is to turn them on. Follow these simple steps to power on your earbuds:
- Remove the earbuds from the charging case.
- Most wireless earbuds have a power button located either on the earbuds themselves or on the charging case. Locate the power button and press it. You may need to hold the button for a few seconds until you see an indication that the earbuds are turning on.
- As the earbuds power on, you may hear a startup sound or see LED lights flashing to indicate their activation.
- If the earbuds have successfully powered on, they are now ready for pairing with your device.
Note that the specific steps for turning on your earbuds may vary depending on the brand and model. It would be best to consult the user manual for your specific earbud model to ensure you follow the correct instructions.
Once your wireless earbuds are powered on, it’s time to move on to the next step: pairing them with your device.
Step 3: Pairing the Earbuds with your Device
To use your wireless earbuds, you need to pair them with your device. Pairing establishes a wireless connection between the earbuds and your smartphone, tablet, or computer. Follow these steps to pair your earbuds with your device:
- Make sure that Bluetooth is enabled on your device. You can usually find the Bluetooth settings in the device’s settings menu.
- Put your wireless earbuds in pairing mode. Most earbuds will automatically enter pairing mode when turned on for the first time. If not, consult the user manual for instructions on how to activate pairing mode.
- On your device, go to the Bluetooth settings and scan for available devices. Within a few seconds, your earbuds should appear as an option in the list of available devices.
- Select your earbuds from the list to initiate the pairing process. Your device may display a pairing confirmation message or ask for a PIN. Follow the on-screen instructions to complete the pairing.
- Once the pairing is successful, your device will indicate that the earbuds are connected. You may also hear a confirmation sound or see an LED light on the earbuds indicating the successful pairing.
Remember that the pairing process may differ depending on the brand and model of your earbuds and device. If you encounter any difficulties during the pairing process, refer to the user manual for specific instructions or troubleshooting tips.
After successfully pairing your earbuds with your device, you’re ready to move on to the next step: connecting the earbuds to your device.
Step 4: Connecting the Earbuds to your Device
Now that you have paired your wireless earbuds with your device, it’s time to establish the connection. Follow these steps to connect your earbuds to your device:
- Make sure that Bluetooth is still enabled on your device.
- Locate the Bluetooth settings on your device and find the list of paired devices.
- Select your earbuds from the list of paired devices. The device will attempt to establish a connection with the earbuds.
- Once the connection is successful, you’ll see a notification or indicator on your device confirming the connection. You may also hear a connection confirmation sound or see an LED light on your earbuds.
- At this point, your wireless earbuds are connected to your device, and you can start using them to enjoy your favorite music, podcasts, or make hands-free calls.
It’s important to note that some devices may have additional settings or features that allow you to customize the audio or control settings for your earbuds. These settings can enhance your overall audio experience and give you more control over the earbuds’ functionality. Consult your device’s user manual or settings menu to explore these options.
If you’re experiencing any difficulties with connecting your earbuds to your device, try the following troubleshooting steps:
- Ensure that your earbuds are in pairing mode.
- Restart your device and try the connection again.
- Check if there are any software updates available for your device or earbuds.
- Confirm that the earbuds are fully charged.
- If all else fails, refer to the user manual or contact customer support for further assistance.
Now that your earbuds are connected to your device, you’re ready to move on to the next step: adjusting the audio and controls.
Step 5: Adjusting the Audio and Controls
After successfully connecting your wireless earbuds to your device, it’s time to fine-tune the audio settings and familiarize yourself with the controls. Here are some essential steps to adjust the audio and controls:
- Start by playing some audio on your device, such as your favorite song or a podcast.
- If your earbuds have volume controls, use them to adjust the volume level to your desired preference.
- Many wireless earbuds also have playback controls like play/pause, skip forward, and skip backward. Familiarize yourself with these controls and use them to navigate through your audio content.
- Some earbuds may have additional features like ANC (Active Noise Cancellation) or EQ (Equalizer) settings. If these features are available, explore the user manual or accompanying app to customize the audio experience according to your preferences.
- Pay attention to any other controls or features your earbuds may have, such as call controls or voice assistant activation. Experiment with these controls to make the most out of your wireless earbuds.
It’s important to note that the specific controls and features may vary depending on the brand and model of your earbuds. Take the time to explore the user manual and accompanying app, if available, to discover the full range of functionalities your earbuds offer.
Once you have adjusted the audio settings and familiarized yourself with the controls, you can fully enjoy the immersive audio experience provided by your wireless earbuds.
Should you encounter any difficulties or have any questions regarding the audio settings or controls, refer to the user manual or reach out to the earbud’s customer support for further assistance.
Congratulations! You have successfully set up and connected your wireless earbuds, adjusted the audio settings, and acquainted yourself with the controls. Now you can fully enjoy the freedom of a wire-free listening experience!
Troubleshooting Common Issues
While setting up and using wireless earbuds is generally straightforward, you may encounter some common issues along the way. Here are a few troubleshooting tips to help you address these problems:
- No sound or low volume: Ensure that your earbuds are fully charged and properly connected to your device. Check the volume settings on both your device and earbuds, and adjust them accordingly.
- Poor connectivity or frequent disconnections: Keep your device within the recommended Bluetooth range (typically around 30 feet) of the earbuds. Minimize obstructions like walls or other electronic devices that may interfere with the signal. If the issue persists, try resetting the earbuds and re-pairing them with your device.
- Earbuds not connecting/pairing: Verify that your earbuds are in pairing mode and that Bluetooth is enabled on your device. Restart both the earbuds and the device, and try the pairing process again. If necessary, consult the user manual or seek assistance from customer support.
- Poor audio quality or distortion: Check if there are any obstructions between the earbuds and your device. Objects like walls or other electronic devices can interfere with the Bluetooth signal. Make sure your earbuds are within the recommended Bluetooth range. If possible, try using the earbuds with another device to see if the issue persists.
- Earbuds not charging: Ensure that the charging case is properly connected to a power source and that the earbuds are correctly placed in the case. Clean the charging ports on both the earbuds and the case to remove any dirt or debris that may obstruct the charging connection.
If you encounter any issues not covered here or the troubleshooting steps do not resolve the problem, refer to the user manual or reach out to the customer support of your earbud’s manufacturer for further assistance. They will be able to provide specific troubleshooting steps tailored to your device.
By addressing these common issues, you can overcome any obstacles that may arise and continue enjoying the seamless audio experience provided by your wireless earbuds.
Conclusion
Wireless earbuds have transformed the way we listen to music, watch videos, and interact with our devices. The process of setting up and connecting your wireless earbuds might seem daunting at first, but with the right guidance, it can be a straightforward and rewarding experience.
In this guide, we covered the essential steps to hook up your wireless earbuds. From charging the earbuds and turning them on to pairing and connecting them to your device, we provided a comprehensive walkthrough of the setup process. Additionally, we discussed adjusting the audio and controls to personalize your listening experience.
Along the way, we also addressed common troubleshooting issues that you may encounter, providing practical solutions to help you overcome any challenges.
Remember to consult the user manual that comes with your wireless earbuds for detailed instructions specific to your device. This manual will provide valuable insights and guidance on features and functionalities unique to your earbuds.
Now that you’ve successfully set up your wireless earbuds, you can enjoy the freedom of wire-free listening and immerse yourself in your favorite music, podcasts, and more. Experience the convenience and comfort of wireless earbuds as you go about your daily activities.
If you have any further questions or encounter any difficulties during the setup or use of your wireless earbuds, don’t hesitate to reach out to the customer support of your earbud’s manufacturer for personalized assistance.
Get ready to enjoy a world of limitless audio possibilities with your wireless earbuds!


