Introduction
Connecting your tablet to a TV can be incredibly useful, allowing you to enjoy your favorite movies, shows, and games on a larger screen. Whether you want to share photos and videos with friends and family or enhance your gaming experience, hooking up your tablet to a TV is a simple and effective solution.
By connecting your tablet to a TV, you can enjoy a more immersive viewing experience with enhanced audio and video quality. This is particularly beneficial if you have a tablet with a smaller screen or if you want to share multimedia content with a larger audience.
But how exactly do you connect your tablet to a TV? In this guide, we will walk you through the process, providing step-by-step instructions on how to connect your tablet to a TV using different methods. Whether you prefer a wired connection or wireless streaming, we have got you covered.
Before we dive in, it’s important to note that the steps outlined in this guide may vary depending on the specific make and model of your tablet and TV. It’s always a good idea to consult the user manuals for both devices to ensure compatibility and obtain any specific instructions provided by the manufacturers.
Now, let’s explore the different methods for connecting your tablet to a TV, so you can start enjoying your favorite content on the big screen!
Step 1: Choose the Right Cable or Adapter
To connect your tablet to a TV, the first step is to determine the appropriate cable or adapter for your specific devices. The type of connection you’ll need will depend on the available ports on both your tablet and TV.
Most tablets feature a micro USB, USB-C, or Lightning port, while TVs typically come with an HDMI port. If your tablet and TV have compatible ports, you’ll be able to use a direct cable connection. If not, you may need to use an adapter to convert the signal from your tablet to a format that the TV can recognize.
Here are some common cable and adapter options:
- HDMI Cable: If your tablet and TV have HDMI ports, the simplest and most common method is to use an HDMI cable. Simply connect one end of the HDMI cable to your tablet’s port and the other end to the HDMI port on your TV. This will allow you to mirror the display of your tablet on the TV screen. HDMI cables are widely available and come in various lengths to suit your needs.
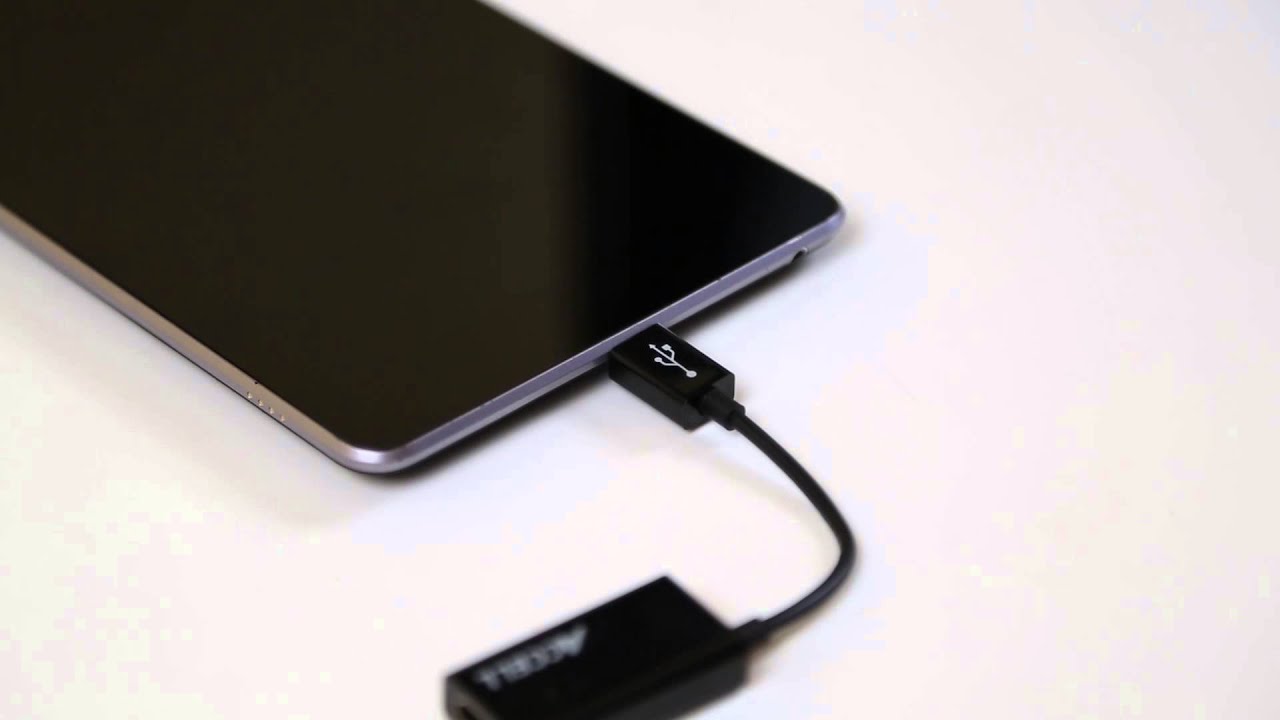
- MHL Cable or Adapter: If your tablet has a micro USB port and your TV doesn’t have an HDMI port, you can use an MHL (Mobile High-Definition Link) cable or adapter. MHL cables or adapters allow you to connect your tablet’s micro USB port to the HDMI port on the TV. This is a convenient option for older TVs or those without HDMI ports.
- USB-C to HDMI Cable or Adapter: If your tablet has a USB-C port, you can directly connect it to an HDMI port on your TV using a USB-C to HDMI cable or adapter. This method provides a hassle-free and high-quality connection between your tablet and TV.
- Lightning to HDMI Cable or Adapter: For Apple tablet users, if your iPad or iPhone has a Lightning port, you can connect it to an HDMI port on your TV using a Lightning to HDMI cable or adapter. This option allows you to stream content from your Apple device to your TV with ease.
It’s important to ensure that you choose a cable or adapter that is compatible with your specific tablet model and TV. Additionally, always opt for high-quality cables and adapters to ensure optimal performance and reliable connectivity.
Now that you’ve chosen the right cable or adapter, let’s move on to the next step: connecting your tablet to the TV using an HDMI cable.
Step 2: Connect the Tablet to the TV Using an HDMI Cable
Once you have the appropriate HDMI cable, you’re ready to connect your tablet to your TV. Follow these simple steps:
- Ensure that your tablet and TV are both powered off.
- Locate the HDMI port on your tablet and the corresponding HDMI port on your TV. They may be labeled as “HDMI-IN” or simply “HDMI”.
- Connect one end of the HDMI cable to the HDMI port on your tablet.
- Connect the other end of the HDMI cable to the HDMI port on your TV.
- Now, power on your TV and switch it to the correct HDMI input source. This can usually be done using the “Input” or “Source” button on your TV remote. Select the HDMI input source that corresponds to the HDMI port you connected your tablet to.
- Next, turn on your tablet. It should automatically detect the connection to the TV and mirror the display.
- If the tablet’s display doesn’t show up on the TV, you may need to manually adjust your tablet’s display settings. Depending on your tablet’s operating system, go to the Settings menu and look for the Display or External Displays option. From there, you can enable the display mirroring or select the TV as the external display.
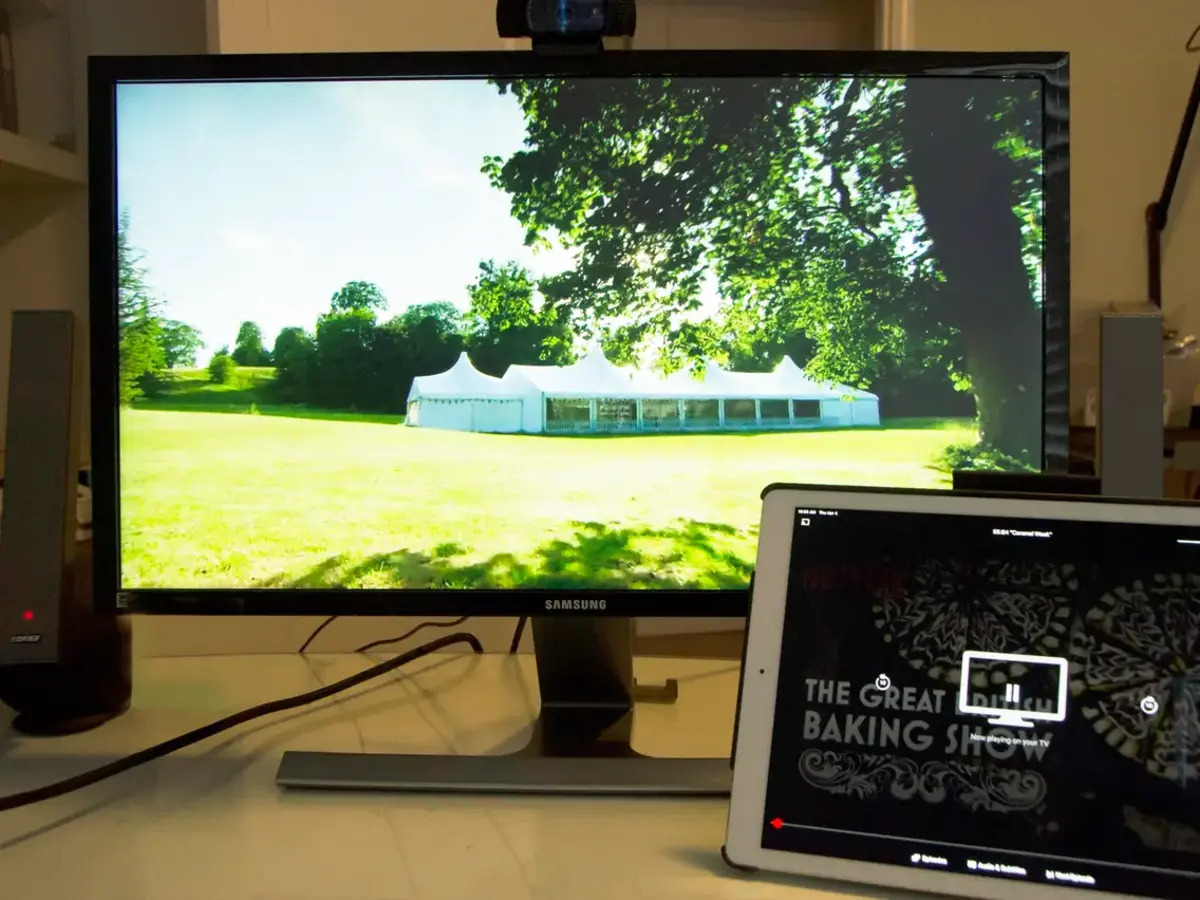
Once you have completed these steps, your tablet’s screen should now be displayed on your TV. You can now enjoy your favorite apps, movies, games, and more on the big screen.
It’s worth noting that some tablets may allow you to extend the display to the TV, rather than mirroring it. This means that you can have different content on your tablet and TV screens, providing a more versatile experience.
Remember to set your tablet to landscape mode for optimal viewing, as TVs are usually in a widescreen format. This will ensure that the content fits the screen correctly and avoids any cropping or distortion.
Now that you have successfully connected your tablet to your TV using an HDMI cable, let’s move on to the next step: adjusting the TV settings.
Step 3: Adjust the TV Settings
After connecting your tablet to the TV via HDMI, you may need to adjust some settings on your TV to optimize the viewing experience. Here are a few important settings to consider:
- Aspect Ratio: Check the aspect ratio setting on your TV. If the content on your tablet appears stretched or distorted on the TV screen, you may need to adjust the aspect ratio to match the resolution of your tablet. Common aspect ratio options include 16:9 (widescreen) and 4:3 (standard).
- Resolution: Ensure that the resolution on your tablet is set to a compatible value with your TV. Most tablets have a resolution of at least 720p or higher, so make sure your TV supports that resolution for the best picture quality.
- Picture Mode: Experiment with different picture modes on your TV to find the one that suits your preferences. You may have options like Standard, Vivid, Cinema, or Game mode. Each mode adjusts the brightness, contrast, and color settings to enhance the viewing experience.
- Audio Output: If you want to enhance the audio experience, check the audio output settings on your TV. Depending on your TV model, you may be able to adjust audio settings such as bass, treble, or balance. You can also connect external speakers or a soundbar for a richer sound experience.
- Screen Position: If the screen is not properly aligned on your TV, you can usually adjust the screen position to center it correctly. Look for options like Horizontal Position, Vertical Position, or Overscan in the TV settings and make the necessary adjustments.
By fine-tuning these settings, you can ensure that the content displayed from your tablet is presented at its best on the TV screen. Take some time to experiment with these settings to achieve the desired visual and audio quality.
It’s important to note that the available settings and their names may vary depending on your TV’s brand and model. Refer to the TV’s user manual for specific instructions on adjusting the settings.
Now that you have adjusted the TV settings, you are ready to enjoy your tablet’s content on the big screen. In the next step, we will explore a wireless method of connecting your tablet to the TV using Chromecast or Miracast.
Step 4: Connect the Tablet Wirelessly to the TV using Chromecast or Miracast
If you prefer a wireless solution for connecting your tablet to the TV, you can utilize technologies like Chromecast or Miracast. These wireless streaming methods allow you to mirror or stream content from your tablet to the TV without the need for cables. Here’s how you can do it:
Using Chromecast:
- Ensure that your TV has an available HDMI port and is connected to the same Wi-Fi network as your tablet.
- Plug the Chromecast into the HDMI port on your TV and then connect the power cable to a power source.
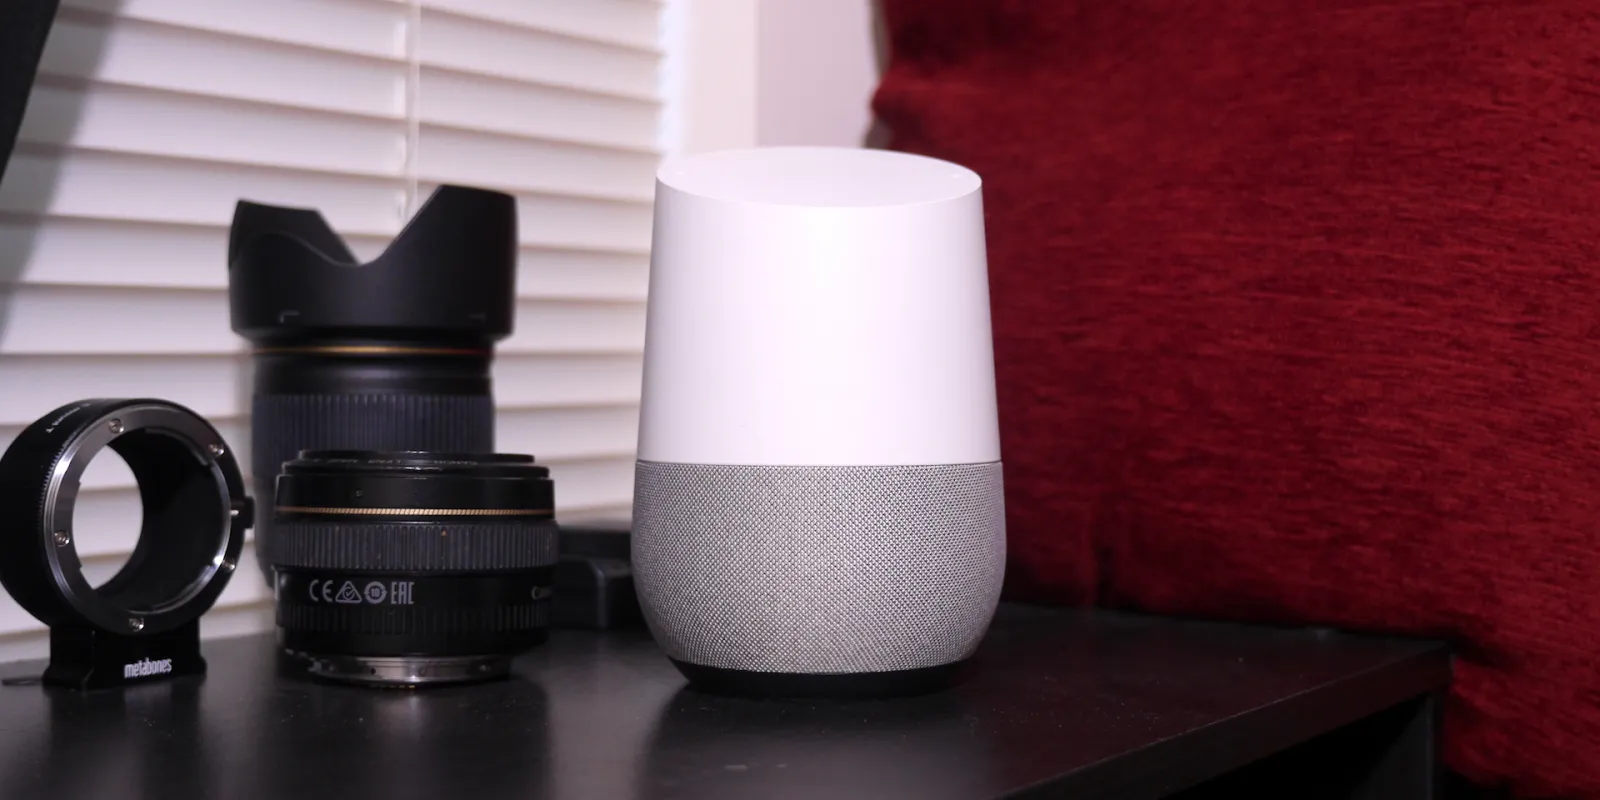
- On your tablet, download and install the Google Home app from the app store.
- Open the Google Home app and follow the on-screen instructions to set up your Chromecast. This usually involves connecting your tablet to the Chromecast’s Wi-Fi network and linking the Chromecast to your Google account.
- Once the setup is complete, open the app or content you want to stream on your tablet.
- Look for the Cast button within the app or content you want to stream. It is usually represented by a square with curved lines in the corner.
- Select your Chromecast device from the list of available devices.
- The content from your tablet should now be wirelessly streamed to your TV via the Chromecast. You can control playback and volume using your tablet or the TV remote.
Using Miracast:
- Make sure your TV supports Miracast. Not all TVs have built-in Miracast support, so refer to your TV’s user manual or manufacturer’s website to verify.
- On your tablet, go to the Settings menu and look for the Display or Connection options.
- Select the option to “Cast” or “Connect to a Wireless Display”. Your tablet will start searching for available devices.
- Choose your TV from the list of available devices to establish the connection.
- Your tablet’s display should now be mirrored on the TV screen. You can now stream apps, videos, and other content wirelessly to your TV.
By using either Chromecast or Miracast, you can enjoy the convenience of wirelessly streaming content from your tablet to the TV without the hassle of cables. Ensure that both your tablet and TV support the respective technology to establish a successful wireless connection.
Now that you have successfully connected your tablet to the TV wirelessly, let’s move on to the final step: streaming content from the tablet to the TV using a media streaming device.
Step 5: Stream Content from the Tablet to the TV Using a Media Streaming Device
If you’re looking for another way to stream content from your tablet to the TV, you can utilize a media streaming device such as a Roku, Apple TV, Amazon Fire TV, or a smart TV with built-in streaming capabilities. These devices offer various apps and streaming options that allow you to access and enjoy a wide range of content directly on your TV. Here’s how you can do it:
- Make sure your media streaming device is connected to your TV and is connected to the same Wi-Fi network as your tablet.
- On your tablet, download and install the corresponding app for your media streaming device. For example, if you have a Roku, download the Roku app from the app store.
- Open the app and follow the on-screen instructions to set up and connect your tablet to the media streaming device.
- Once the connection is established, open the app or content you want to stream on your tablet.
- Look for the Cast or AirPlay icon within the app or content you want to stream. It is usually represented by a rectangle with a triangle or a screen with a wireless signal.
- Select your media streaming device from the list of available devices.
- The content from your tablet should now be streamed to your TV through the media streaming device. You can control playback, volume, and navigation using your tablet or the TV remote.
- Depending on the media streaming device and app, you may have additional features such as creating playlists, accessing streaming services, or viewing photos and videos from your tablet’s gallery.
Using a media streaming device provides you with a seamless and convenient way to stream content from your tablet to the TV. These devices offer a wide range of apps and content options, giving you access to movies, TV shows, music, and more.
Ensure that your tablet is compatible with the media streaming device and follow the device-specific instructions for a successful connection and streaming experience.
Now you have learned various methods to connect and stream content from your tablet to the TV. Whether you choose a wired or wireless solution, you can now enjoy your favorite content on the big screen, creating a more immersive and enjoyable viewing experience.
Conclusion
Connecting your tablet to a TV opens up a whole new world of entertainment and convenience. Whether you choose to use a cable, wireless streaming, or a media streaming device, the process is relatively straightforward and allows you to enjoy your favorite content on a larger screen.
In this guide, we have explored the step-by-step process of connecting a tablet to a TV. We discussed choosing the right cable or adapter, connecting the tablet via HDMI, adjusting the TV settings, utilizing wireless streaming options like Chromecast or Miracast, and using a media streaming device to stream content from the tablet to the TV. These methods provide flexibility and cater to different preferences and device compatibility.
It’s important to note that the specific steps may vary depending on the tablet and TV models you have. Always refer to the user manuals for both devices for detailed instructions and guidance.
By connecting your tablet to a TV, you can enjoy a more immersive and enhanced viewing experience. Whether you’re streaming movies, playing games, or sharing photos with friends and family, the big screen offers a better visual and audio experience.
Remember to experiment with different settings, such as aspect ratio and picture mode, to optimize the viewing quality. Additionally, ensure that your tablet and TV are on the same Wi-Fi network when using wireless streaming methods for a seamless connection.
Now that you have learned how to connect your tablet to a TV, it’s time to start enjoying your favorite content on the big screen. So gather your cables, adapters, or media streaming devices, and transform your TV into a hub of entertainment!


