Introduction
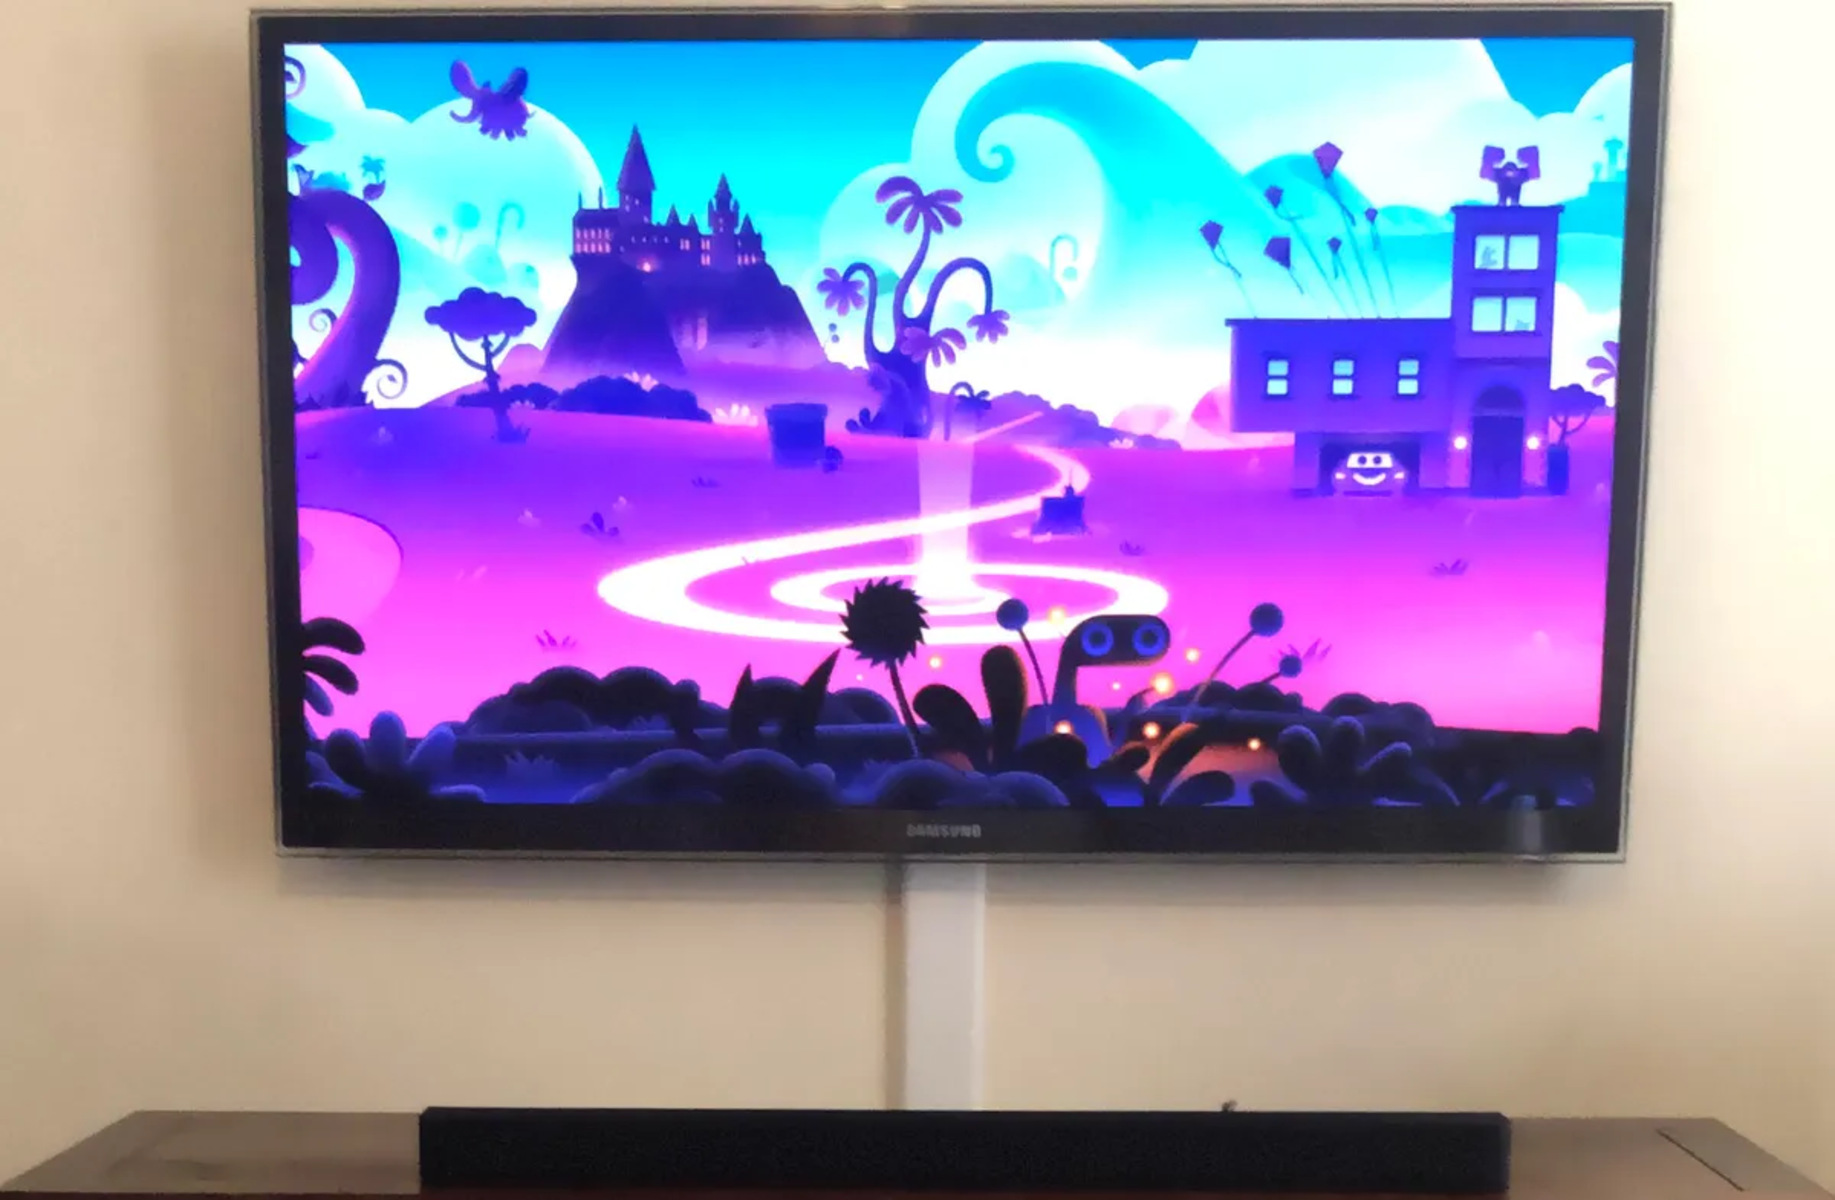
Welcome to the world of home entertainment, where high-definition visuals and immersive audio can transform your living room into a cinematic experience. However, with all these advanced technologies comes a visual eyesore – tangled HDMI cables cluttering up your space. Fortunately, there are several clever ways to hide those unsightly cables and maintain a clean and minimalist setup.
Whether you’re a tech-savvy enthusiast or just someone looking for a sleek and organized living area, this article will guide you through various methods to conceal your HDMI cables effectively. Say goodbye to messy wiring that ruins the aesthetic appeal of your entertainment center.
The purpose of hiding HDMI cables is twofold: firstly, it enhances the overall visual appeal of your space by eliminating the sight of dangling cables. Secondly, it helps improve safety by reducing tripping hazards and preventing pets or children from tampering with the cables.
With the right tools and materials, cable management can be a breeze. From concealing cables behind walls to using cable raceways, there are options for every home setup and budget. You don’t have to be a professional installer or spend a fortune to achieve a clean and organized appearance.
In this article, we will walk you through six different methods to hide your HDMI cables. Each method will be explained in detail, including the tools and materials needed and step-by-step instructions for implementation. So, let’s dive into the world of cable management and discover how you can achieve a clutter-free entertainment space.
Note: Before proceeding with any cable hiding method, it is essential to ensure that your cables are properly installed and functional. Always follow the safety guidelines and consult a professional if needed.
Purpose of Hiding HDMI Cables
The purpose of hiding HDMI cables goes beyond simply improving the aesthetics of your living space. While the visual appeal is certainly a significant factor, there are other important reasons to consider cable management.
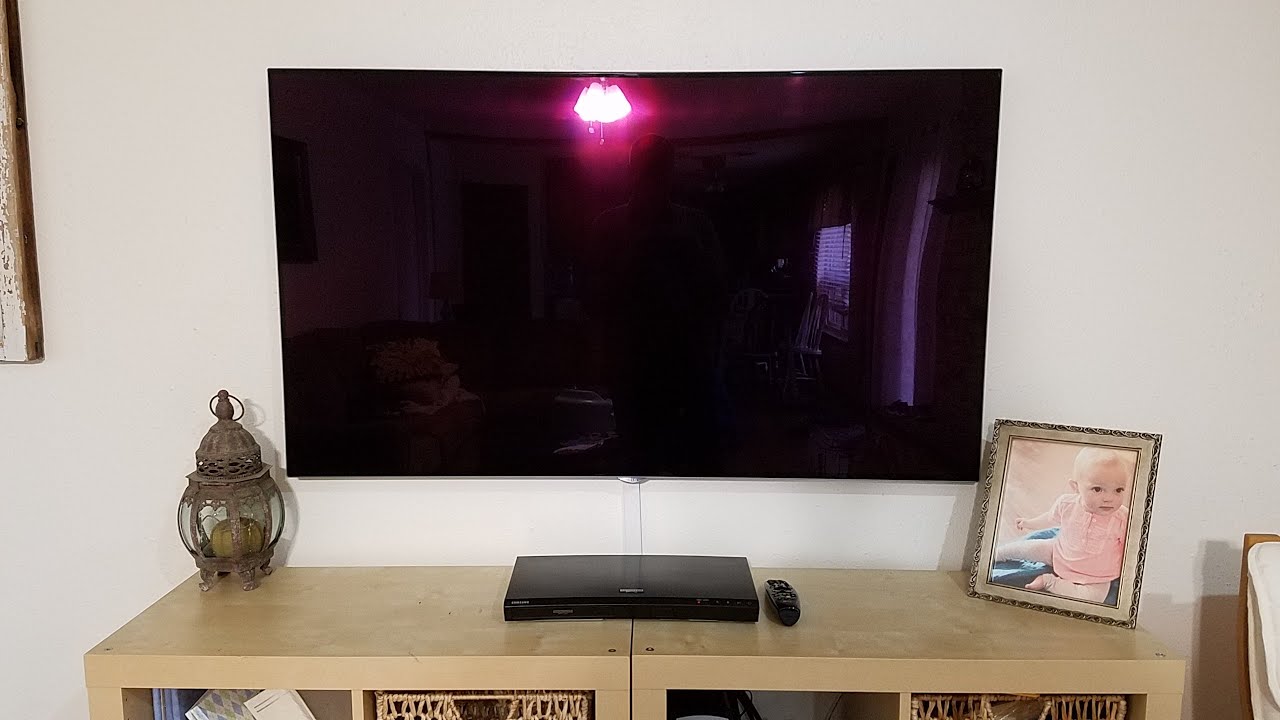
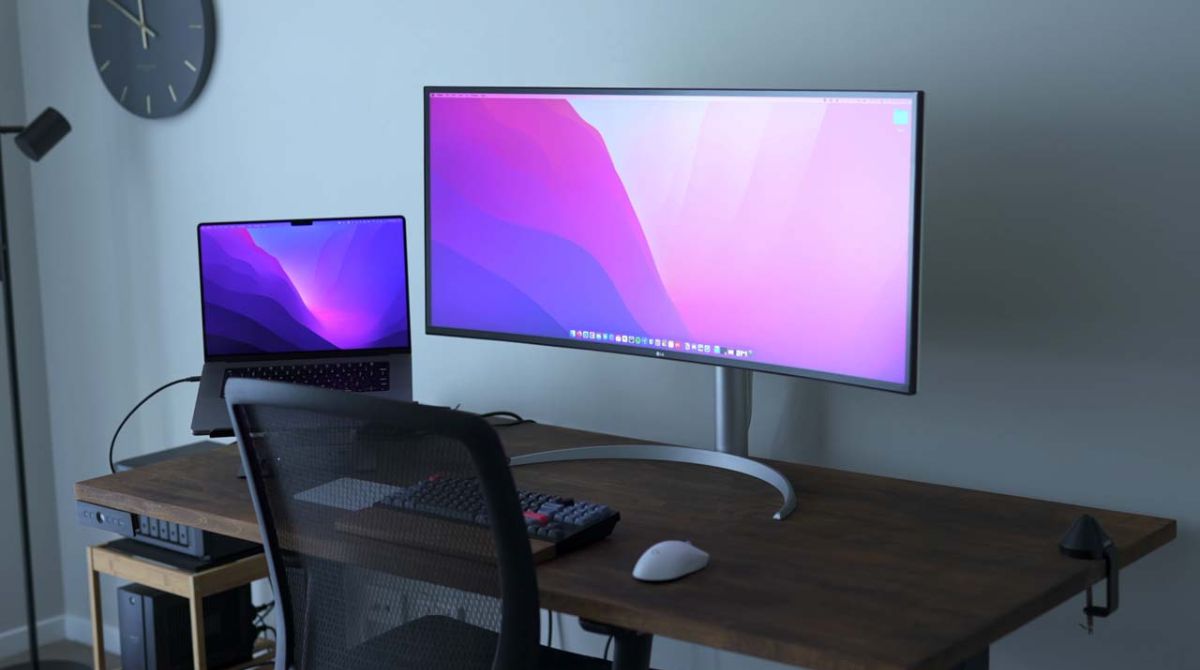
One of the primary reasons for hiding HDMI cables is to create a clean and organized look. The sight of tangled and messy cables can be a major eyesore, disrupting the overall ambiance and harmony of your entertainment area. By concealing these cables, you can achieve a minimalist and clutter-free setup that enhances the visual appeal of your space.
Another crucial purpose of cable hiding is to improve safety. Loose and exposed cables not only diminish the aesthetics, but they can also pose potential tripping hazards. Especially in households with young children or pets, these cables can attract unwanted attention and increase the risk of accidents. By hiding the cables, you can create a safer environment, minimizing the chance of tripping or cable damage.
Additionally, hiding HDMI cables helps protect them from wear and tear. Exposed cables are more prone to damage from accidental tugs, pets chewing on them, or any other inadvertent incidents. By concealing the cables, you provide an added layer of protection, prolonging their lifespan and ensuring uninterrupted performance of your audio and video devices.
Furthermore, cable management allows for easy access and maintenance. When cables are neatly organized and hidden, it becomes much easier to identify and troubleshoot any connectivity issues. You won’t have to untangle a mess of cables to find the specific one you need. This can save you precious time and effort, allowing you to enjoy your home entertainment system without any interruptions.
Overall, the purpose of hiding HDMI cables is to create an aesthetically pleasing, safe, and functional space. It allows you to showcase your home entertainment setup without the distraction of tangled wires. By investing a little time and effort into cable management, you can transform your living area into a visually appealing and organized oasis, providing a more enjoyable experience for you and your family.
Tools and Materials Needed
Before you begin hiding your HDMI cables, it’s important to gather the necessary tools and materials. The specific requirements may vary depending on the method you choose, but here are some common items you will likely need:
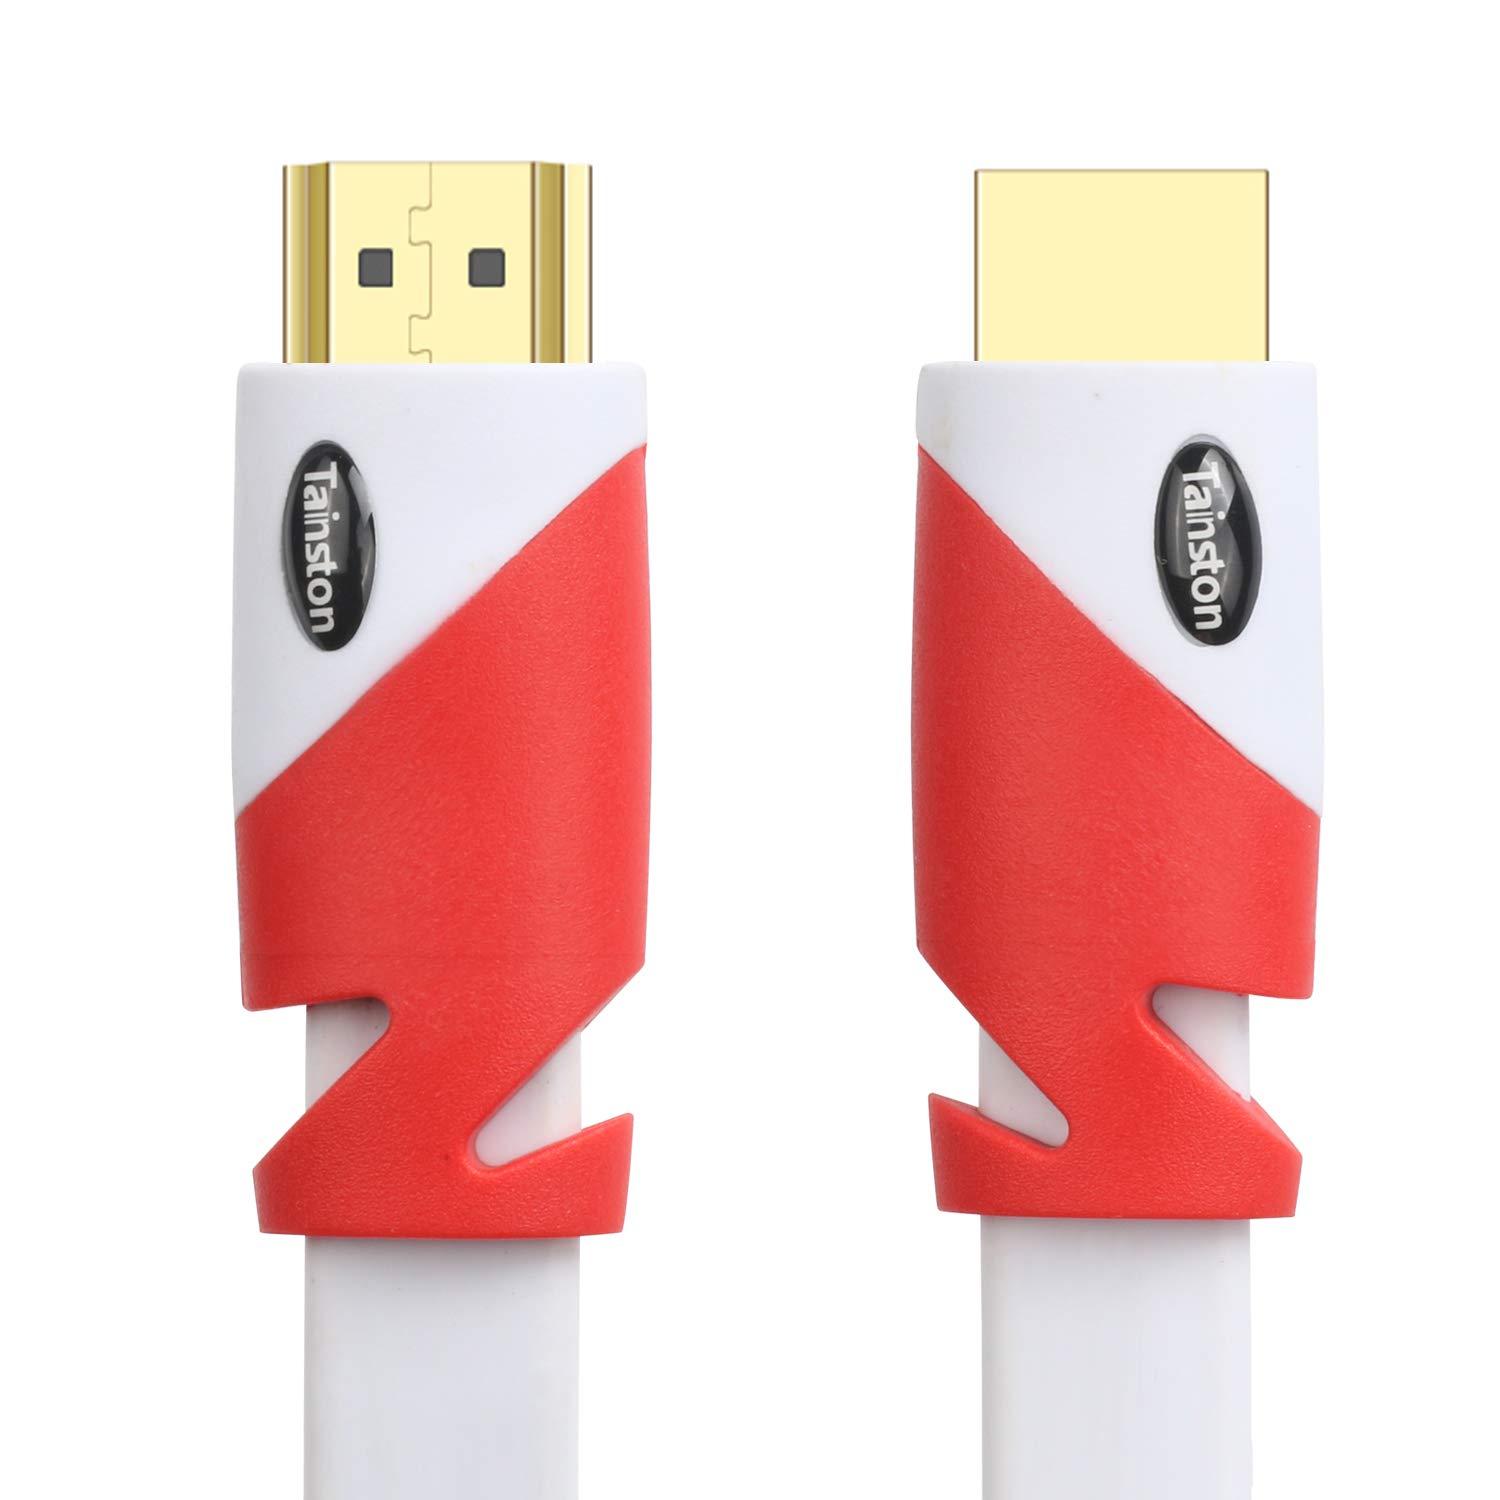
- HDMI cables: ensure you have the appropriate length and number of HDMI cables to connect your devices.
- Cable management solutions: this can include various options such as cable raceways, cord covers, baseboard channels, or in-wall cable management kits.
- Measuring tape: useful for measuring the length of cables and determining the placement of cable management solutions.
- Pencil or marker: to mark the desired locations for cable concealment.
- Level: to ensure that your cable management solutions are properly aligned.
- Screws, nails, or adhesives: depending on the method you choose, you may need fasteners to secure your cable management solutions.
- Power drill and drill bits: required if you need to create holes for cable concealment or installation.
- Cable ties or Velcro straps: to secure and organize cables behind walls or within cable management solutions.
- Wire cutters or scissors: for trimming excess cable length or cutting cord covers to the desired size.
- Paint or wallpaper: if you plan to paint or apply wallpaper to conceal cable raceways or other cable management solutions.
- Stud finder: helpful for locating studs or support structures behind walls before drilling or mounting cable management solutions.
Remember to check the specific instructions and recommendations provided by manufacturers for each cable management solution. Some methods may require additional tools or materials that are specific to that particular option.
By gathering the necessary tools and materials beforehand, you can ensure a smoother and more efficient cable hiding process. With everything at your disposal, you’ll be ready to tackle the task at hand and transform your entertainment area into a clutter-free and visually pleasing space.
Behind Wall Cable Concealment
One popular method for hiding HDMI cables is to conceal them behind walls. This method provides a clean and seamless look, as the cables are completely hidden from view. Here’s how you can achieve this:
Tools and Materials Needed:
- Stud finder
- Power drill
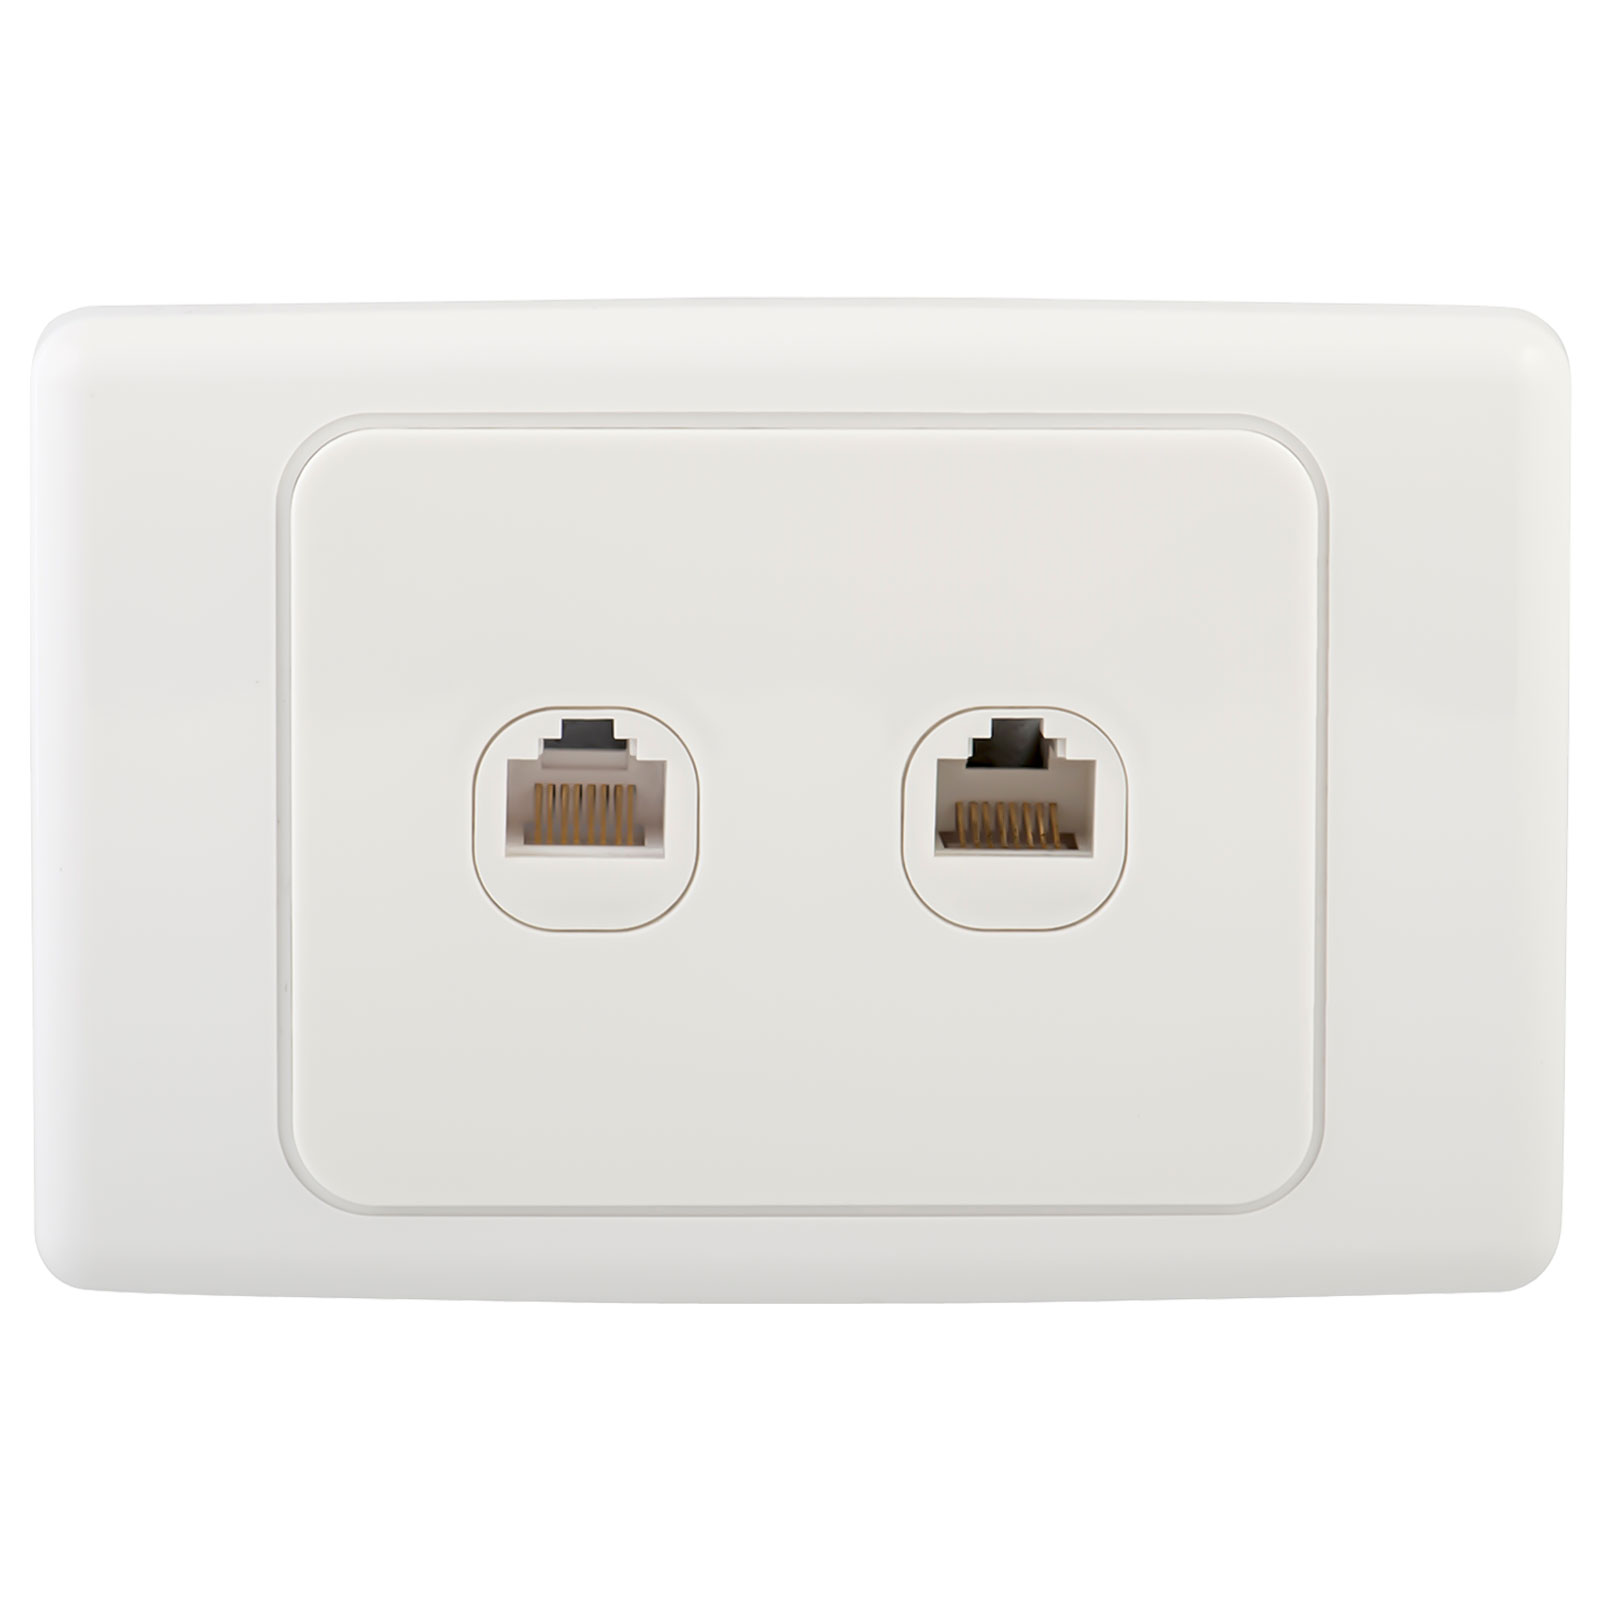
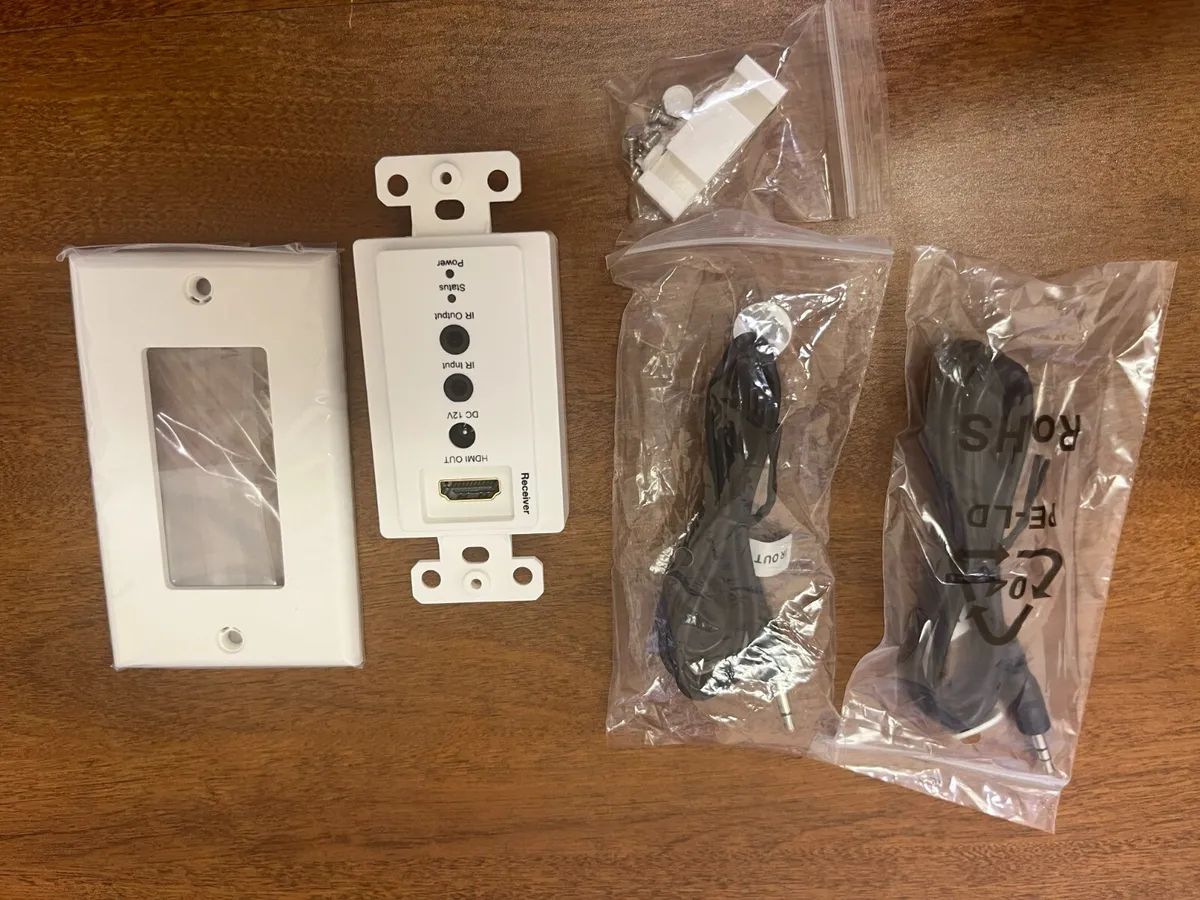
- Wall plates
- Low-voltage mounting brackets
- Fish tape
- In-wall rated HDMI cables
- Drywall saw
- Screws
- Level
Step-by-Step Instructions:
- Use a stud finder to locate the studs or support structures behind the wall where you plan to conceal the cables. This will determine the placement of the cable run and ensure a secure installation.
- Mark the desired location for the cable run on the wall using a pencil or marker. Use a level to ensure a straight line.
- Use a power drill equipped with an appropriate drill bit to create holes on the top and bottom of the wall where the cables will enter and exit.
- Install low-voltage mounting brackets on the top and bottom holes. These brackets will hold the wall plates and serve as access points for the cables.
- Using a fish tape, feed the in-wall rated HDMI cables through the top hole and carefully guide them down to the bottom hole. Pull the cables out of the bottom hole.
- Attach the wall plates to the low-voltage mounting brackets, ensuring a secure fit.
- Connect the HDMI cables to the appropriate devices, such as your TV, gaming console, or sound system.
- Organize and secure the excess cable behind the wall using cable ties or Velcro straps.
- Test the connectivity and make any necessary adjustments or troubleshooting.
This method not only hides the HDMI cables but also allows for flexibility in adding or removing cables in the future. However, it does require some DIY skills and involvement in the wall structure. If you’re uncomfortable with drilling or working behind walls, it’s best to seek professional assistance.
By following these steps, you can enjoy a clutter-free entertainment area with HDMI cables conveniently concealed behind the walls, providing a seamless and organized look for your living space.
Using Cable Raceways
If you prefer a simpler and more straightforward approach to hiding HDMI cables, using cable raceways is an excellent option. Cable raceways are adhesive channels that can be easily installed on walls or baseboards to conceal and organize cables. Here’s how you can use cable raceways to hide your HDMI cables:
Tools and Materials Needed:
- Cable raceway kit
- Measuring tape
- Pencil or marker
- Level
- Scissors or utility knife
- Adhesive
Step-by-Step Instructions:
- Start by measuring the length of the HDMI cables you want to hide. This will help you determine the length of cable raceway you will need.
- Using a pencil or marker, mark the desired location where you want to install the cable raceway. Ensure that it will provide sufficient coverage for the cables.
- Using a level, ensure that the marked line is straight and level.
- Cut the cable raceway to the measured length, using scissors or a utility knife.
- Remove the adhesive backing from the cable raceway and carefully press it onto the wall or baseboard, following the marked line. Press firmly to ensure a secure attachment.
- Repeat the process for any additional cable raceways, if needed, to accommodate multiple HDMI cables.
- Once the cable raceways are installed, open the hinged or snap-on cover, and insert the HDMI cables into the channel.
- Close the cover to hide and secure the cables within the raceway.
Cable raceways are available in various sizes and colors, allowing you to choose the option that best matches your decor. If desired, you can also paint the cable raceways to blend seamlessly with the surrounding environment.
This method offers a quick and affordable solution for hiding HDMI cables, making it an ideal choice for renters or those who don’t want to engage in complex installations. Cable raceways are easily removable and leave minimal traces on walls, making them a versatile and convenient cable management solution.
By following these steps, you can effectively conceal your HDMI cables using cable raceways, maintaining a tidy and organized appearance in your entertainment area.
In-Wall Cable Management
If you’re looking for a more permanent and seamless method to hide HDMI cables, in-wall cable management is a great option. This method involves routing the cables through the interior walls of your home, creating a clean and clutter-free look. Here’s how you can achieve in-wall cable management:
Tools and Materials Needed:
- Stud finder
- Drywall saw
- In-wall cable management kit
- Measuring tape
- Pencil or marker
- Power drill
- Fish tape
Step-by-Step Instructions:
- Use a stud finder to locate the studs or support structures behind the wall where you plan to route the cables. This will ensure a safe and secure installation.
- Mark the desired location for the cable run on the wall using a pencil or marker. Take measurements to determine the length of in-wall cable management kit needed.
- Using a drywall saw, carefully cut a hole in the wall where the cables will enter and exit.
- Install the in-wall cable management kit according to the manufacturer’s instructions. This typically involves attaching the cable management brackets to the studs and routing the cables through the channels.
- Connect the HDMI cables to both ends of the in-wall cable management kit, ensuring a secure connection.
- Use a power drill to create small holes at the top and bottom of the wall for the fish tape.
- Attach the fish tape to the HDMI cables and carefully feed it through the wall, guiding it to the top or bottom hole.
- Pull the HDMI cables out through the top or bottom hole, ensuring they are properly routed and concealed within the in-wall cable management kit.
- Trim any excess cable length and secure the cables in place using cable ties or Velcro straps.
- Test the connectivity of the HDMI cables and make any necessary adjustments or troubleshooting.
In-wall cable management provides a seamless and permanent solution for hiding HDMI cables. However, it does require more extensive planning and installation compared to other methods. If you’re uncertain about cutting into walls or working with electrical components, it’s recommended to seek professional assistance.
By following these steps, you can achieve a clean and organized appearance in your entertainment area with HDMI cables conveniently hidden within the walls, offering a sleek and seamless look for your living space.
Utilizing Baseboard Channels
If you’re looking for a subtle and inconspicuous way to hide HDMI cables, utilizing baseboard channels is an effective solution. This method involves installing cable management channels along the baseboard of your room, keeping the cables neatly tucked away. Here’s how you can utilize baseboard channels to hide your HDMI cables:
Tools and Materials Needed:
- Baseboard cable management channels
- Measuring tape
- Pencil or marker
- Saw
- Adhesive
Step-by-Step Instructions:
- Measure the length of the HDMI cables you want to hide. This will help you determine the length of baseboard channels you will need.
- Using a pencil or marker, mark the desired location where you want to install the baseboard channels. Ensure that it will provide sufficient coverage for the cables and blend well with the existing baseboard.
- Using a saw, cut the baseboard channels to the measured length. Make sure to follow the marked line accurately.
- Peel off the adhesive backing from the baseboard channels and press them firmly onto the baseboard, following the marked line. Press evenly across the entire length to ensure a secure attachment.
- Insert the HDMI cables into the baseboard channels, routing them from one end of the baseboard to the other.
- Use cable ties or Velcro straps to secure the HDMI cables within the baseboard channels, keeping them organized and preventing them from slipping out.
The baseboard channels provide a discreet and seamless way to hide HDMI cables, as they blend with the existing baseboard and are low-profile, minimizing their visibility. This method is especially useful for rooms with carpeted flooring, where it can be challenging to conceal cables under rugs or along walls.
Furthermore, baseboard channels allow for flexibility in adding or removing HDMI cables in the future, making it convenient for any changes to your entertainment setup.
By following these steps, you can achieve a clean and seamless look in your entertainment area, with HDMI cables neatly hidden along the baseboard, maintaining a visually appealing and organized space.
Using Cord Covers and Sleeves
If you’re looking for a simple and flexible solution to hide HDMI cables, using cord covers and sleeves is an excellent option. Cord covers and sleeves are designed to encase and conceal cables, providing a clean and organized look. Here’s how you can use cord covers and sleeves to hide your HDMI cables:
Tools and Materials Needed:
- Cord covers or sleeves
- Measuring tape
- Pencil or marker
- Scissors
Step-by-Step Instructions:
- Measure the length of the HDMI cables you want to hide. This will help you determine the length of cord covers or sleeves you will need.
- Using a pencil or marker, mark the desired location where you want to install the cord covers or sleeves. Ensure that they will provide sufficient coverage for the cables and blend well with the surroundings.
- Cut the cord covers or sleeves to the measured length, using scissors.
- Insert the HDMI cables into the cord covers or sleeves, ensuring they are completely enclosed.
- Position the cord covers or sleeves along the desired location, adhering them to the surface if necessary.
Cord covers and sleeves are a versatile option for hiding HDMI cables, as they can be easily installed and removed as needed. They come in various lengths, colors, and styles, allowing you to customize the look to match your decor.
These covers and sleeves not only conceal the cables but also help to keep them organized and prevent tangles. They are particularly useful for areas where cables need to be routed across floors, walls, or furniture.
Additionally, cord covers and sleeves provide a layer of protection for the HDMI cables, shielding them from accidental damage and extending their lifespan.
By following these steps, you can achieve a clean and streamlined appearance in your entertainment area, with HDMI cables neatly hidden and protected within cord covers or sleeves, enhancing the overall visually appealing and organized look of your space.
DIY Cable Hiding Solutions
If you enjoy a hands-on approach and want to explore creative and cost-effective ways to hide HDMI cables, DIY solutions are worth considering. These DIY methods can be customized to suit your specific needs and can add a unique touch to your cable management. Here are some DIY cable hiding solutions to explore:
1. PVC Pipe Conduit: Cut a PVC pipe lengthwise and insert the HDMI cables into it. This creates a protective and concealed channel for the cables, which can be painted or decorated to match the surroundings.
2. Binder Clips: Use binder clips to hold the HDMI cables along the edge of a desk or table, keeping them neatly organized and out of sight. You can paint the clips to blend with the furniture or add decorative elements to make them visually appealing.
3. Repurposed Materials: Look for unused or repurposed materials, such as decorative molding, curtain rods, or even old picture frames. These can be creatively transformed into cable management solutions that not only hide the HDMI cables but also add a unique and decorative touch to your space.
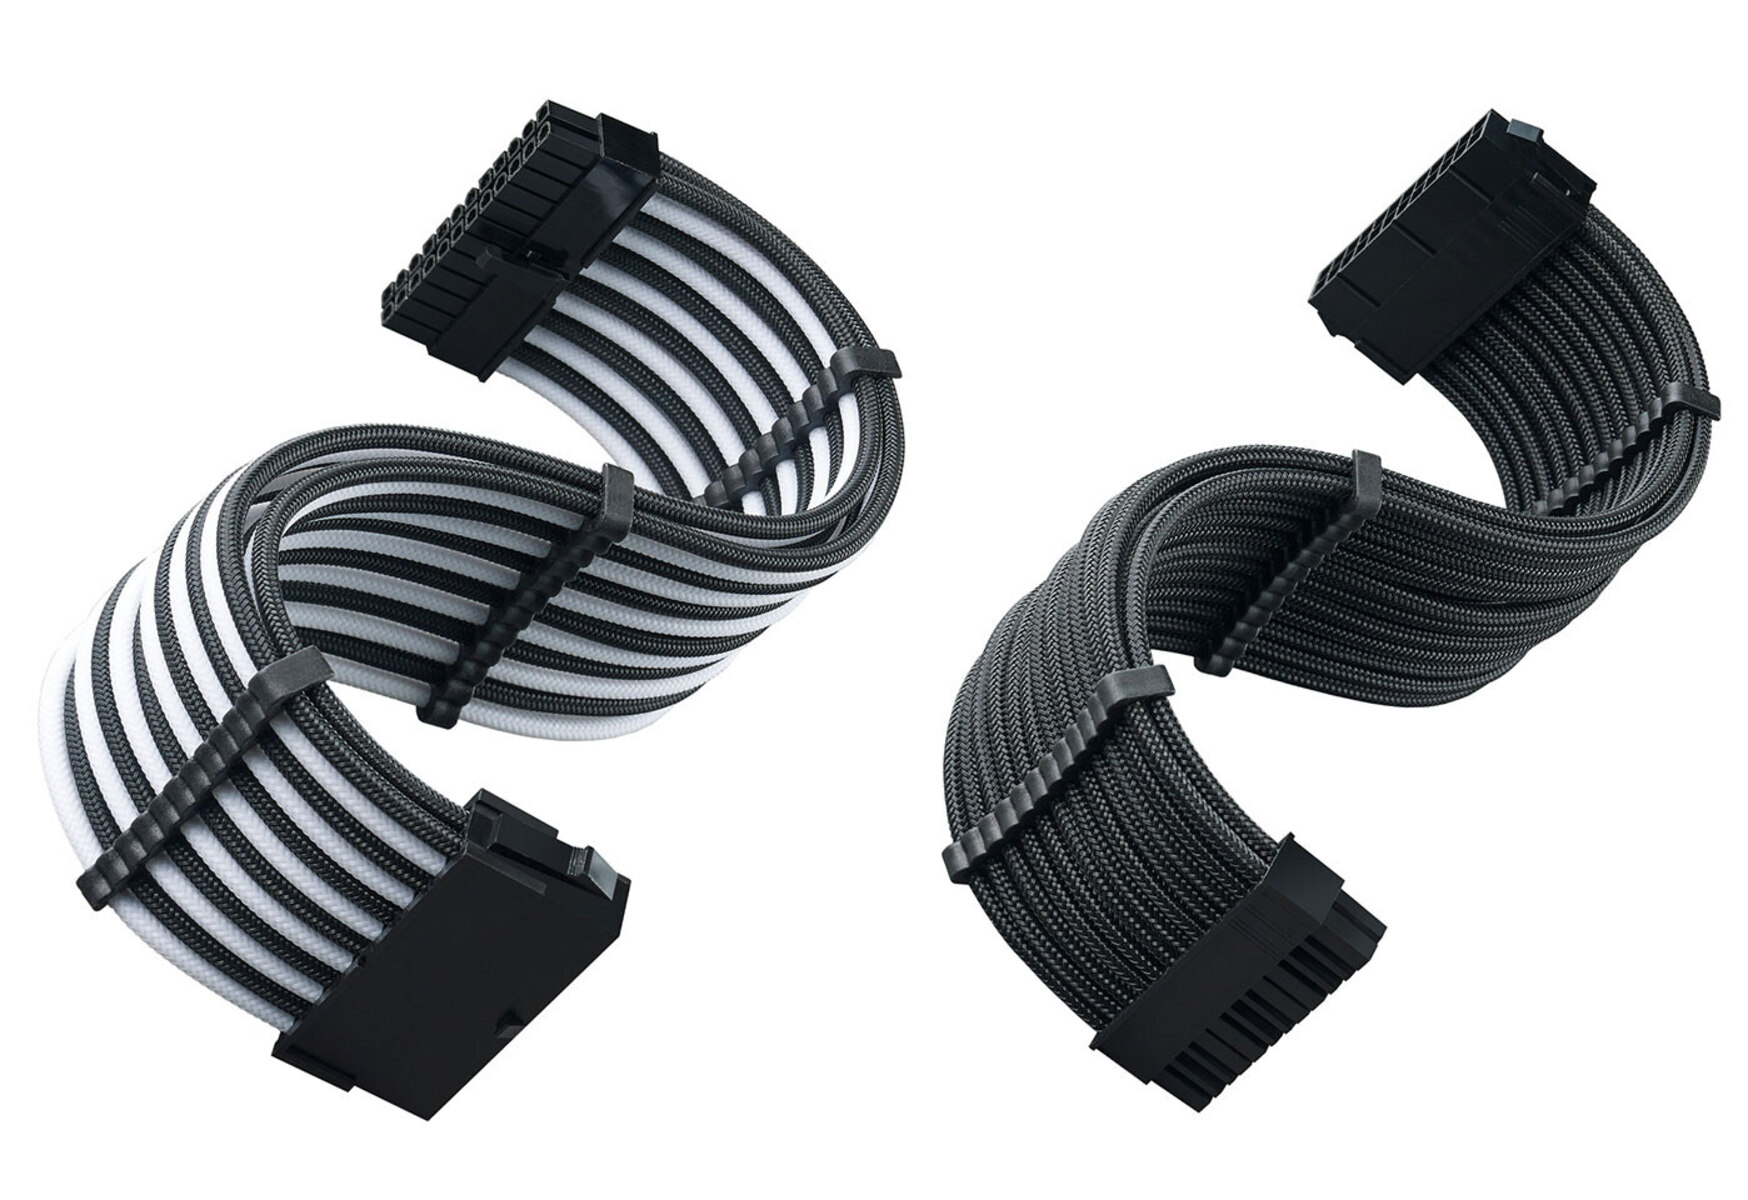
4. Fabric Cord Covers: Sew or fabricate fabric covers that encase the HDMI cables. Choose a fabric that matches your decor style and install them along walls or furniture to hide and organize the cables subtly.
5. Cable Baskets or Boxes: Repurpose baskets or boxes by cutting slots or holes at the back to feed the HDMI cables through. Place the baskets or boxes behind your entertainment center or office desk to neatly conceal the cables while providing a stylish storage solution.
6. Decorative Tape: Use decorative tape, such as washi tape or patterned duct tape, to create visually appealing patterns along the walls or furniture where the HDMI cables are routed. This adds a decorative element while subtly camouflaging the cables.
Remember to prioritize safety when using DIY cable hiding solutions. Ensure that any materials or methods you choose do not compromise the integrity of the cables or present a fire hazard.
By exploring these DIY cable hiding solutions, you can exercise your creativity and personalize the cable management in your space. Choose the method that not only effectively hides the HDMI cables but also enhances the overall aesthetic and functionality of your entertainment area.
Conclusion
Cable management is a crucial aspect of creating a clean and organized space for your home entertainment setup. By hiding HDMI cables, you can improve the visual appeal of your living area while ensuring safety and functionality. Whether you choose to conceal cables behind walls, utilize cable raceways, employ in-wall cable management, utilize baseboard channels, use cord covers and sleeves, or explore DIY solutions, there is a method that suits your needs and preferences.
Each of these methods has its own advantages and considerations. Concealing cables behind walls provides a seamless and permanent solution, while cable raceways offer a simple and affordable option. In-wall cable management ensures a clean look but requires more planning and installation. Baseboard channels provide a subtle and unobtrusive solution, and cord covers and sleeves offer flexibility and protection for your HDMI cables. DIY solutions allow for creativity and customization.
Regardless of the method you choose, proper cable management not only enhances the aesthetics of your home entertainment area but also minimizes tripping hazards, protects cables from damage, and facilitates easy access for troubleshooting or future cable additions.
Remember to follow the instructions provided by manufacturers, prioritize safety, and consult professionals when necessary, especially if you are uncomfortable with complex installations or working behind walls.
By implementing one of these cable hiding methods, you can transform your living space into a clutter-free and visually stunning area, allowing you to fully enjoy the immersive experience of your home entertainment setup.


