Introduction
Airpods have become an essential accessory for many people, providing a wireless and convenient way to listen to music or take calls. However, accidents can happen, and one common issue Airpods owners face is water damage. Whether it’s from rain, sweat, or an accidental drop in a liquid, waterlogged Airpods can significantly impact their functionality. But fear not! In this article, we will explore various methods to help you get water out of your Airpods and get them back in working condition.
Water damage can cause a number of issues with your Airpods, such as muffled sound, distorted audio, connectivity problems, or even complete malfunction. The key to fixing this problem lies in quickly and effectively drying out the moisture trapped inside the Airpods.
Before we delve into the methods of drying out your Airpods, it’s important to note that prevention is better than cure. Whenever using your Airpods, be mindful of potential water exposure and take precautions to minimize the risk. That said, accidents happen, so let’s explore the steps you can take to salvage your water-damaged Airpods and get them back in working order.
In the following sections, we will discuss different techniques to dry out your Airpods, such as using rice, silica gel packets, desiccant packs, vacuum cleaners, and even seeking professional help. Each method has its own pros and cons, so it’s important to assess the severity of the water damage and choose the option that best suits your situation. Remember, acting quickly is critical in preventing further damage and maximizing the chances of restoring your Airpods to their former glory.
Without further ado, let’s move on to the next section and learn how to assess the damage caused by water and determine the best course of action for drying out your Airpods.
Assessing the Damage
When faced with water-damaged Airpods, it’s essential to assess the extent of the damage before proceeding with any drying methods. This step will help you determine the severity of the issue and the most appropriate course of action.
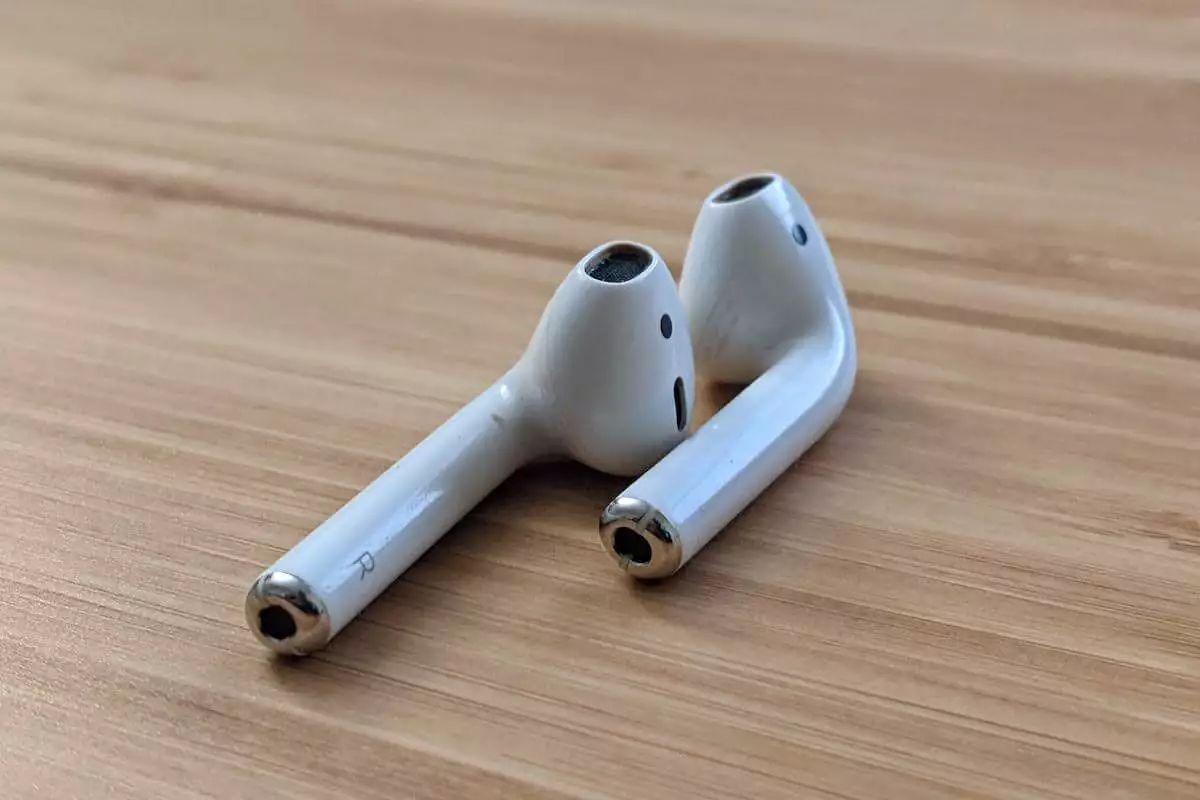
Start by carefully examining the Airpods for visible signs of water damage. Look for any moisture or water inside the charging ports, speaker grills, and the area where the Airpods connect to the charging case. Additionally, check for any water droplets or condensation on the external surfaces of the Airpods.
If the water damage is relatively minor and limited to the exterior of the Airpods, you may be able to resolve the issue by following a few simple drying methods. However, if the water has penetrated deeper into the internal components, it’s recommended to seek professional help or consider investing in new Airpods.
One common indicator of water damage is a change in sound quality. If you notice muffled or distorted audio, weak or no sound coming from one or both Airpods, or if they are not connecting properly, it’s likely that water has affected the internal components. In such cases, professional assistance may be necessary, as attempting to fix the issue on your own could potentially cause further damage.
It’s important to note that water damage may not always be immediately noticeable. It can take time for the symptoms to manifest, so if you suspect your Airpods have been exposed to water, it’s wise to act quickly and take the necessary steps to prevent further damage.
Remember, assessing the damage is the first step in restoring your water-damaged Airpods. Once you have a clear understanding of the extent of the damage, you can proceed to the next section, where we will discuss various methods to effectively dry out your Airpods and potentially restore their functionality.
Drying the Airpods
After assessing the water damage, your next step is to start the drying process for your Airpods. The primary goal is to remove any moisture trapped inside the device, which could lead to malfunctioning components and reduced sound quality. Here’s how you can dry out your Airpods effectively:
1. Wipe and Air Dry: Begin by gently wiping the exterior of the Airpods with a soft and absorbent cloth to remove any visible moisture. Once the surface is dry, leave the Airpods in a well-ventilated area to air dry naturally. Avoid using any heat sources, such as hairdryers, as excessive heat can damage the delicate internal components.
2. Use a Dehumidifier: If the air in your surroundings is humid, you can place your Airpods near a dehumidifier or in a room with a lower humidity level. The dehumidifier will help remove moisture from the air, aiding in the drying process.
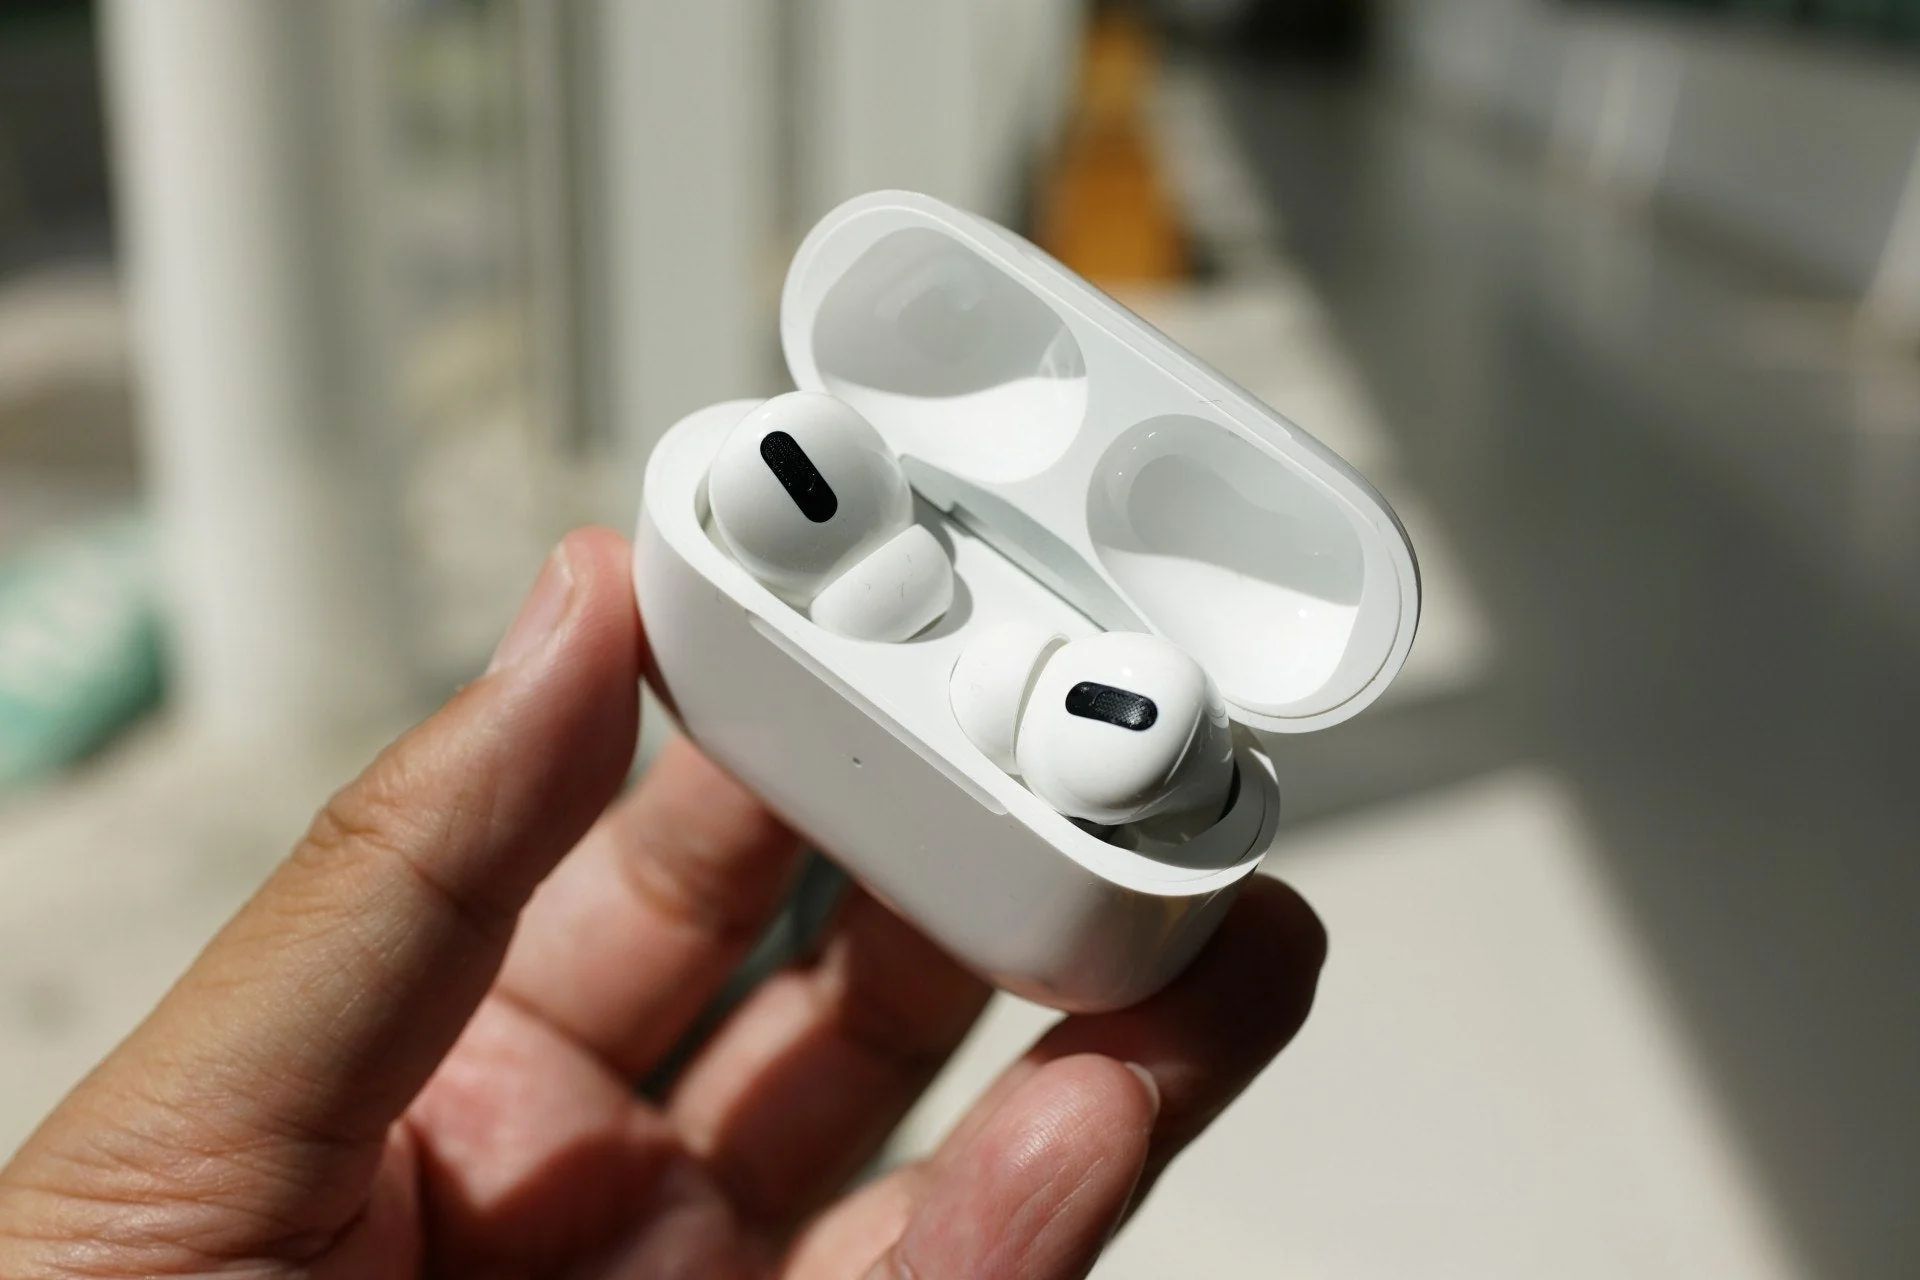
3. Open the Charging Case: Open the charging case and remove the Airpods from their compartments. This will expose the internal components to air and facilitate drying. Keep the case open as well to allow any moisture to evaporate.
4. Patience is Key: Drying your Airpods may take time, especially if they were submerged in water. It’s essential to be patient and resist the temptation to use them or attempt to charge them before ensuring they are completely dry. Rushing the process could lead to further damage and decreased chances of a successful recovery.
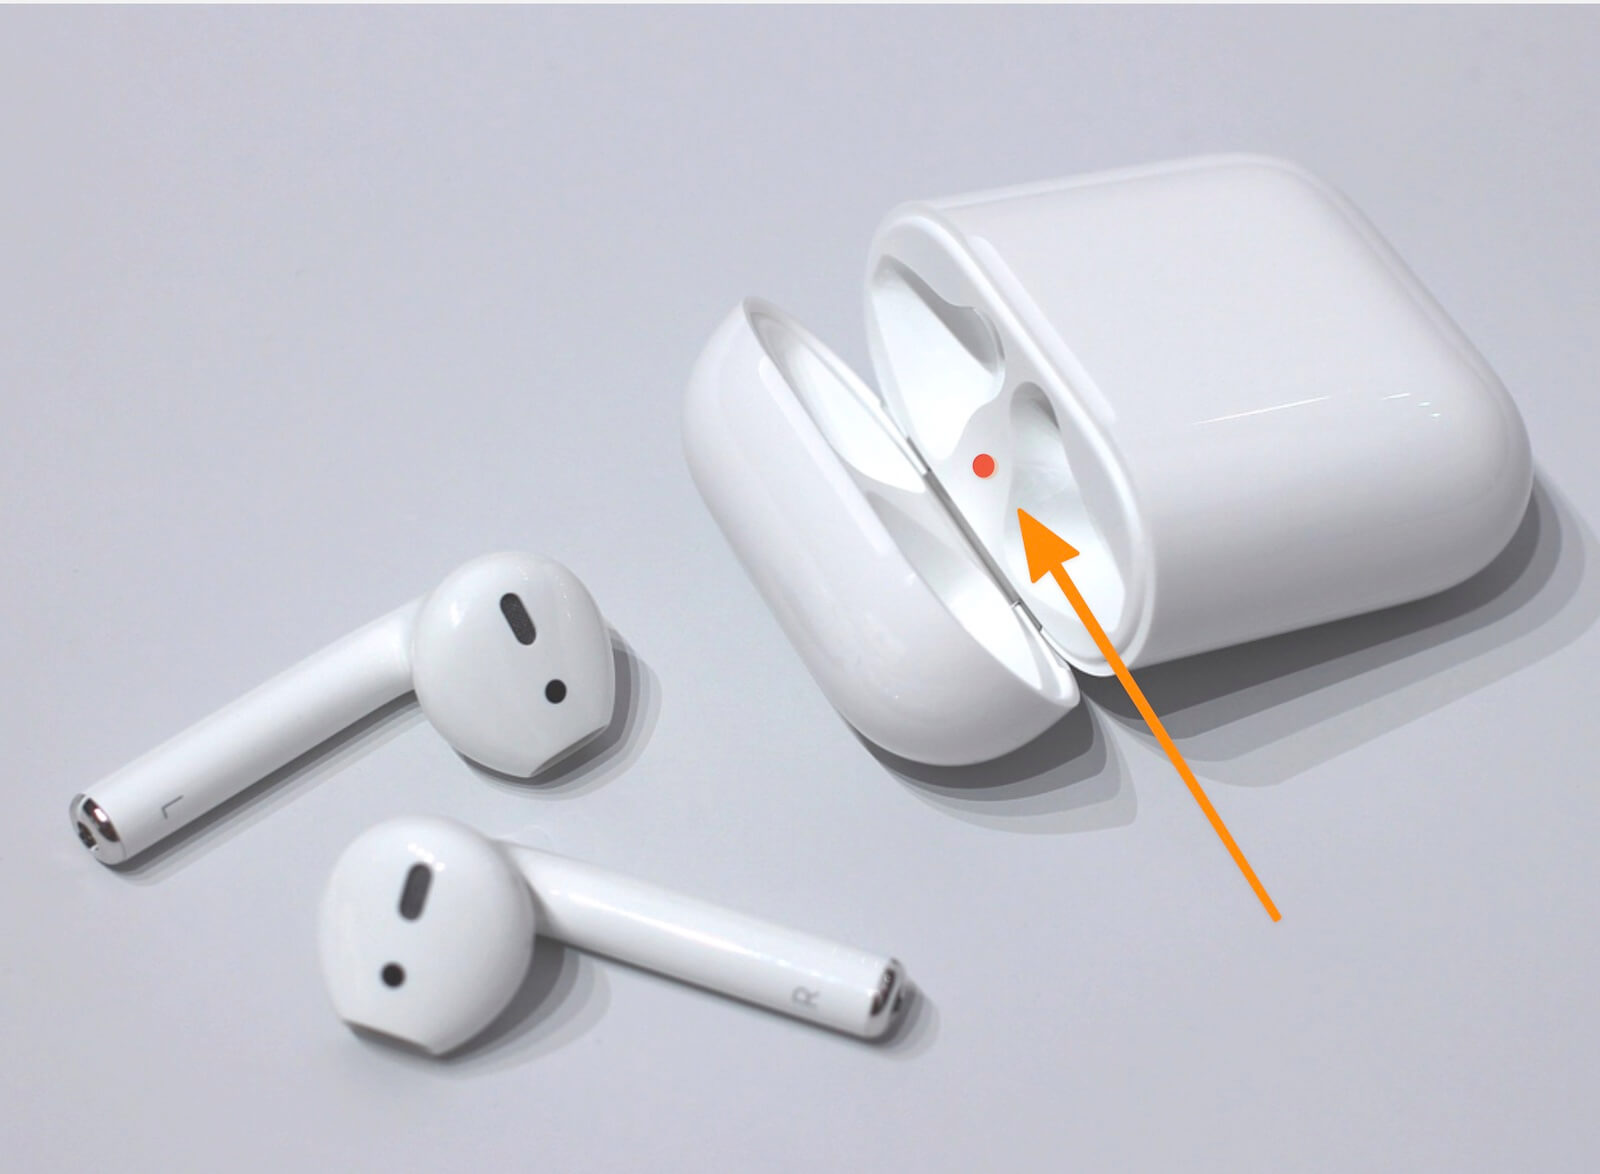
5. Check the Water Indicator: Apple Airpods have a built-in water indicator that changes color when exposed to moisture. If your Airpods have been submerged in water, check the water indicator located in the charging case. If the indicator has turned red, it indicates water damage. However, if it is still white or silver, the chances of successful recovery are higher.
Remember, the drying process may vary depending on the severity of the water damage and other factors such as humidity levels. Once you are confident that your Airpods are thoroughly dried, it’s time to move on to the next section, where we will explore additional methods to absorb moisture and speed up the drying process.
Absorbing Moisture with Rice
One popular method for drying out water-damaged Airpods is by using a common household item – rice. Rice has natural moisture-absorbing properties that can help remove the excess moisture from your Airpods. Here’s how you can use rice to aid in the drying process:
1. Gather Materials: You will need a small airtight container or a plastic bag and enough uncooked rice to cover the Airpods completely.
2. Remove Excess Moisture: Before placing your Airpods in rice, make sure to wipe them dry with a soft cloth to remove any visible moisture. This step is important to prevent the rice grains from sticking to the Airpods.
3. Fill the Container: Pour a sufficient amount of rice into the airtight container or plastic bag, ensuring that there is enough to fully cover the Airpods. The rice will act as a desiccant and absorb the moisture trapped inside.
4. Submerge the Airpods: Place your Airpods carefully in the container or plastic bag, ensuring that they are fully surrounded and covered by the rice. Seal the container or bag tightly to prevent moisture from entering.
5. Let it Sit: Leave the Airpods in the rice for at least 24 to 48 hours. During this time, the rice will absorb the moisture, helping to dry out the Airpods.
6. Test the Airpods: After the recommended drying time, remove the Airpods from the rice and gently shake off any rice grains. Check for any remaining moisture or water droplets. If the Airpods appear dry, try using them and assess their functionality. If there are still signs of moisture, repeat the process or consider using alternative drying methods.
While rice can be effective at absorbing moisture, it’s important to note that it may not be able to reach all areas within the Airpods. Additionally, rice grains can potentially get lodged in small openings, such as speaker grills or charging ports, which may require extra cleaning. If you’re concerned about rice particles causing further damage, you may want to consider using alternative drying methods, which we will discuss in the following sections.
Now that you know how to use rice to help dry out your Airpods, let’s move on to another effective method – using silica gel packets.
Using Silica Gel Packets
Another method to help dry out water-damaged Airpods is by using silica gel packets. Silica gel is a desiccant that effectively absorbs moisture, making it an ideal solution for drying delicate electronic devices. Here’s how you can utilize silica gel packets to aid in the drying process:
1. Gather Silica Gel Packets: Silica gel packets can be found in various packaged products, such as shoes, electronics, or even in the packaging of certain food items. Gather enough packets to thoroughly cover and surround your Airpods.
2. Prepare a Drying Container: Find a small airtight container that can comfortably fit the Airpods and the silica gel packets. The container should have enough room to allow for airflow around the Airpods and the packets.
3. Place the Silica Gel Packets: Open the silica gel packets and distribute them evenly around the Airpods in the container. Make sure the packets are consistently spread out to maximize moisture absorption.
4. Seal the Container: Once the Airpods and silica gel packets are properly placed, seal the container tightly. This step is crucial to ensure that the silica gel can efficiently absorb the moisture from the surrounding air and the Airpods.
5. Leave it Undisturbed: Allow the Airpods to sit in the container with the silica gel packets for at least 24 to 48 hours. During this time, the silica gel will gradually absorb the moisture, aiding in the drying process.
6. Check and Test: After the designated drying period, carefully remove the Airpods from the container. Inspect them for any signs of remaining moisture and gently shake off any silica gel particles. Test the Airpods for functionality to ensure they are working properly. If there are still signs of moisture, repeat the process or consider using alternative drying methods.
Using silica gel packets can be an effective way to dry out your water-damaged Airpods. However, ensure that the silica gel packets do not come into direct contact with the Airpods or their components, as the particles can be abrasive and potentially damage the delicate surfaces. If you have concerns about using silica gel packets or want to explore additional drying methods, we will discuss the use of desiccant packs in the next section.
Now that you know how to use silica gel packets to help dry out your Airpods, let’s move on to another method – applying desiccant packs.
Applying Desiccant Packs
Desiccant packs are another effective tool for drying out water-damaged Airpods. These packs are designed to absorb moisture and are commonly found in packaging materials or purchased separately. Here’s how you can use desiccant packs to aid in the drying process:
1. Obtain Desiccant Packs: Find desiccant packs that are specifically designed for moisture absorption. You can often find them in packaging materials of certain products or purchase them separately from stores.
2. Prepare a Drying Container: Similar to using silica gel packets, select a small airtight container that can comfortably fit the Airpods and the desiccant packs. Ensure that there is sufficient space within the container for proper airflow.
3. Place the Desiccant Packs: Open the desiccant packs and evenly distribute them around the Airpods within the container. Make sure to spread them out to maximize their moisture-absorbing capabilities.
4. Seal the Container: Once the Airpods and desiccant packs are in place, seal the container tightly. This step is vital to create an environment that allows the desiccant packs to effectively absorb moisture from the air and the Airpods.
5. Allow Sufficient Drying Time: Leave the Airpods in the container with the desiccant packs for at least 24 to 48 hours. During this period, the desiccant packs will gradually absorb the moisture, helping to dry out the Airpods.
6. Inspect and Test: After the designated drying time, carefully remove the Airpods from the container. Check for any remaining signs of moisture and gently shake off any desiccant pack residue. Test the Airpods to ensure they are functioning properly. If there are still indications of moisture, repeat the process or consider trying alternative drying methods.
Using desiccant packs can be an effective way to remove moisture from water-damaged Airpods. However, like with silica gel packets, make sure that the desiccant packs do not come into direct contact with the Airpods or their components to avoid any potential damage. If you have concerns about using desiccant packs or want to explore additional drying methods, we will discuss using a vacuum cleaner in the next section.
Now that you know how to utilize desiccant packs to help dry out your Airpods, let’s move on to another method – using a vacuum cleaner.
Using a Vacuum Cleaner
Another method to help dry out water-damaged Airpods is by using a vacuum cleaner. While it may sound unconventional, a vacuum cleaner can effectively remove moisture and aid in the drying process. Here’s how you can use a vacuum cleaner to dry out your Airpods:
1. Ensure a Gentle Setting: Start by setting your vacuum cleaner to a gentle or low suction level. This will prevent any damage to the delicate components of the Airpods while still allowing the vacuum to draw out moisture.
2. Remove Excess Moisture: Before using the vacuum cleaner, gently wipe the Airpods with a soft cloth to remove any visible moisture. This step is essential to prevent any water droplets or debris from being pulled deeper into the Airpods.
3. Target the Openings: Carefully position the vacuum cleaner nozzle near the openings of the Airpods, such as the speaker grills or charging ports. Make sure to cover one opening at a time to allow the vacuum cleaner to draw out the moisture effectively.
4. Use Short Bursts: With the vacuum cleaner in place, use short bursts of suction to draw out any trapped moisture. Be mindful not to apply excessive suction for an extended period, as it may cause damage to the Airpods.
5. Rotate and Repeat: After addressing one opening, rotate the Airpods and repeat the process for each remaining opening. This ensures that any remaining moisture is thoroughly removed from all accessible areas.
6. Air Dry Afterwards: Once you’ve finished using the vacuum cleaner, allow the Airpods to air dry naturally in a well-ventilated area. This step will help remove any residual moisture that may have been loosened during the vacuuming process.
Using a vacuum cleaner can be an effective method for drying out water-damaged Airpods. However, exercise caution to avoid damaging any sensitive components. If you are uncertain about using a vacuum cleaner or if the water damage is severe, it may be best to consider professional assistance or alternative drying methods.
Now, with your Airpods properly dried, you can move on to the next section where we will discuss when it’s necessary to seek professional help for water-damaged Airpods and what steps to take.
Taking Your Airpods to a Professional
If you’ve tried various methods to dry out your water-damaged Airpods without success, or if the water damage is severe, it may be necessary to seek professional assistance. Professional technicians have the expertise and tools to assess the extent of the damage and provide the best course of action. Here’s what you should consider when taking your Airpods to a professional:
1. Authorized Service Centers: It’s recommended to reach out to an authorized service center to ensure your Airpods are handled by trained professionals who specialize in repairing Apple products. Check the official Apple website for a list of authorized service providers in your area.
2. Explain the Situation: When speaking with the professional technician, clearly explain the water damage and any steps you have taken to mitigate the issue. This information will help them understand the situation and determine the most appropriate repairs.
3. Assessing the Damage: The technician will thoroughly evaluate the water damage on your Airpods. They may use specialized tools and diagnostics software to identify the affected components and determine the necessary repairs.
4. Repair Options and Cost: Based on their assessment, the technician will provide you with repair options and a cost estimate. It’s important to carefully consider the estimate and discuss any concerns or questions you may have before proceeding with the repairs.
5. Warranty Coverage: If your Airpods are still under warranty, the water damage repair may be covered, depending on the terms and conditions. The technician will inform you about the warranty coverage and any associated costs.
6. Professional Repair Process: Once you have agreed to the repairs and any associated costs, the technician will begin the repair process. They will follow industry-standard procedures and use specialized tools to restore your Airpods to proper functionality.
7. Follow-Up and Warranty: After the repairs are completed, the technician may provide follow-up instructions and warranty information. It’s essential to understand and follow these instructions to maintain the repaired Airpods and ensure their longevity.
Seeking professional help for your water-damaged Airpods can provide peace of mind, especially if you are unsure about attempting repairs yourself. While it may involve additional cost, the expertise and specialized equipment of professional technicians can significantly increase the chances of a successful recovery.
In the next section, we will focus on prevention tips to keep your Airpods safe from water damage in the future.
Prevention Tips
While accidents happen, there are proactive measures you can take to prevent water damage to your Airpods. By following these prevention tips, you can minimize the risk of encountering water-related issues and keep your Airpods in optimal condition:
1. Be Aware of Water Exposure: Pay attention to your surroundings and be mindful of potential water exposure. Avoid using your Airpods in rainy or wet conditions, and remove them before engaging in water-related activities like swimming or showering.
2. Use Protective Cases: Invest in a high-quality protective case for your Airpods. A durable and waterproof case will provide an extra layer of protection against accidental water exposure and also shield the Airpods from physical damage.
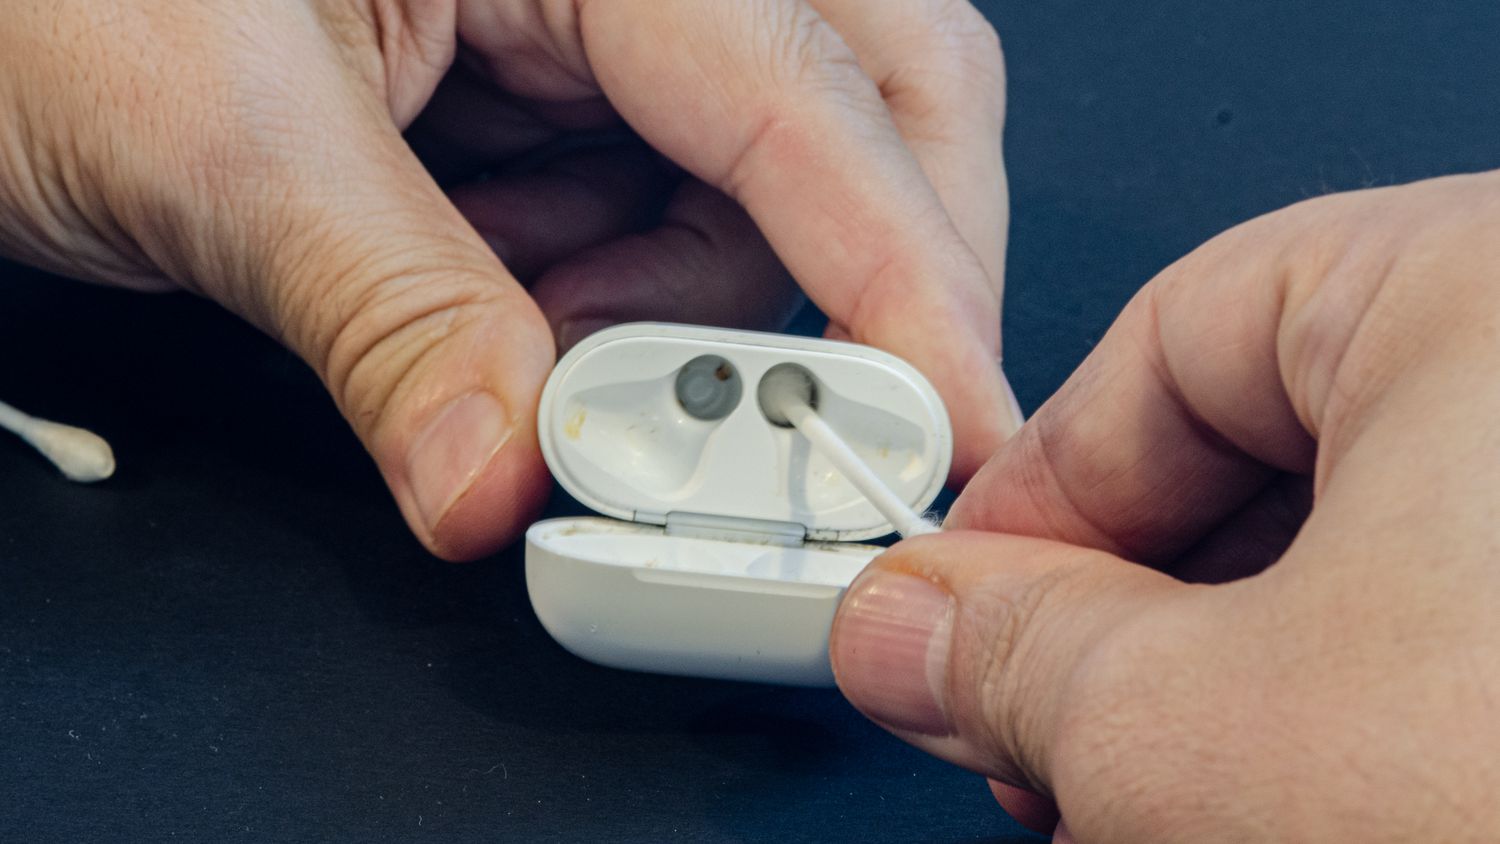
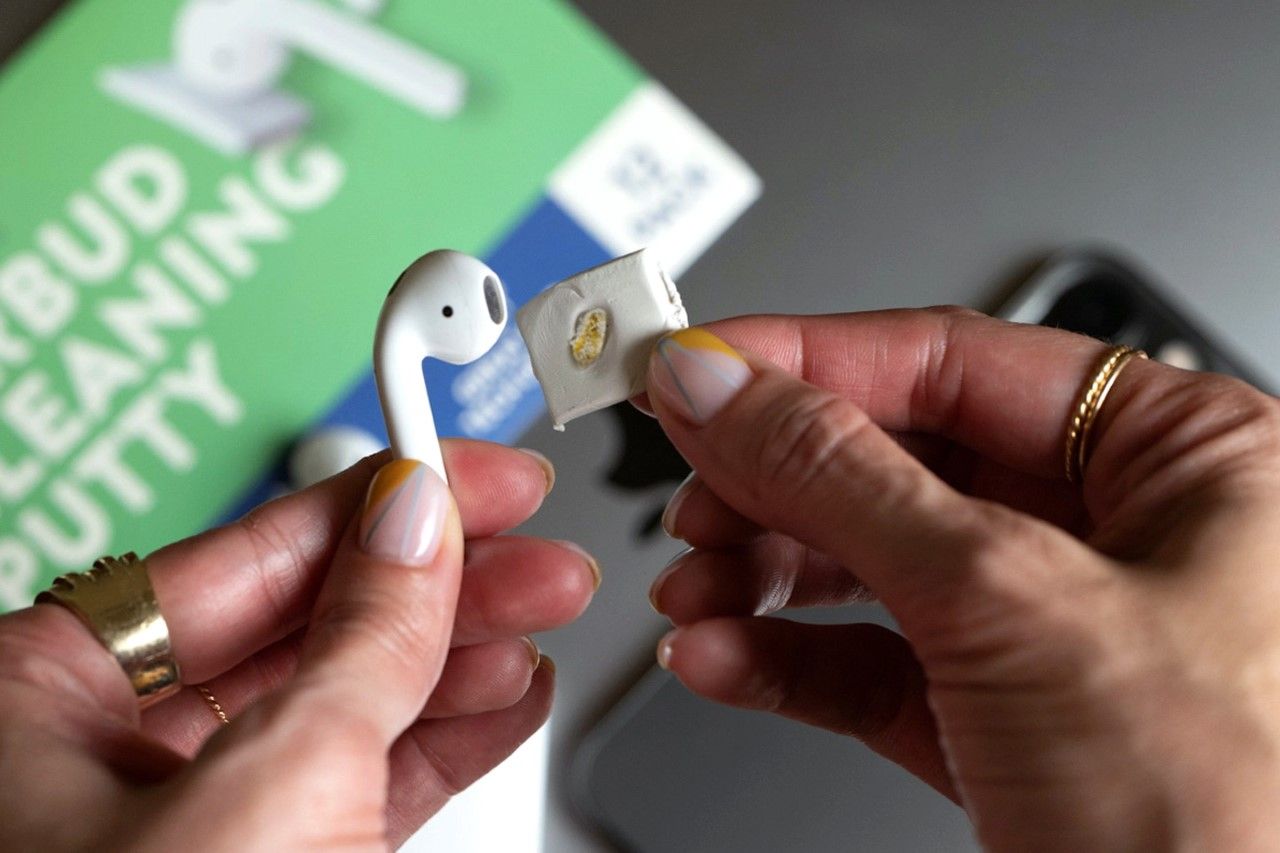
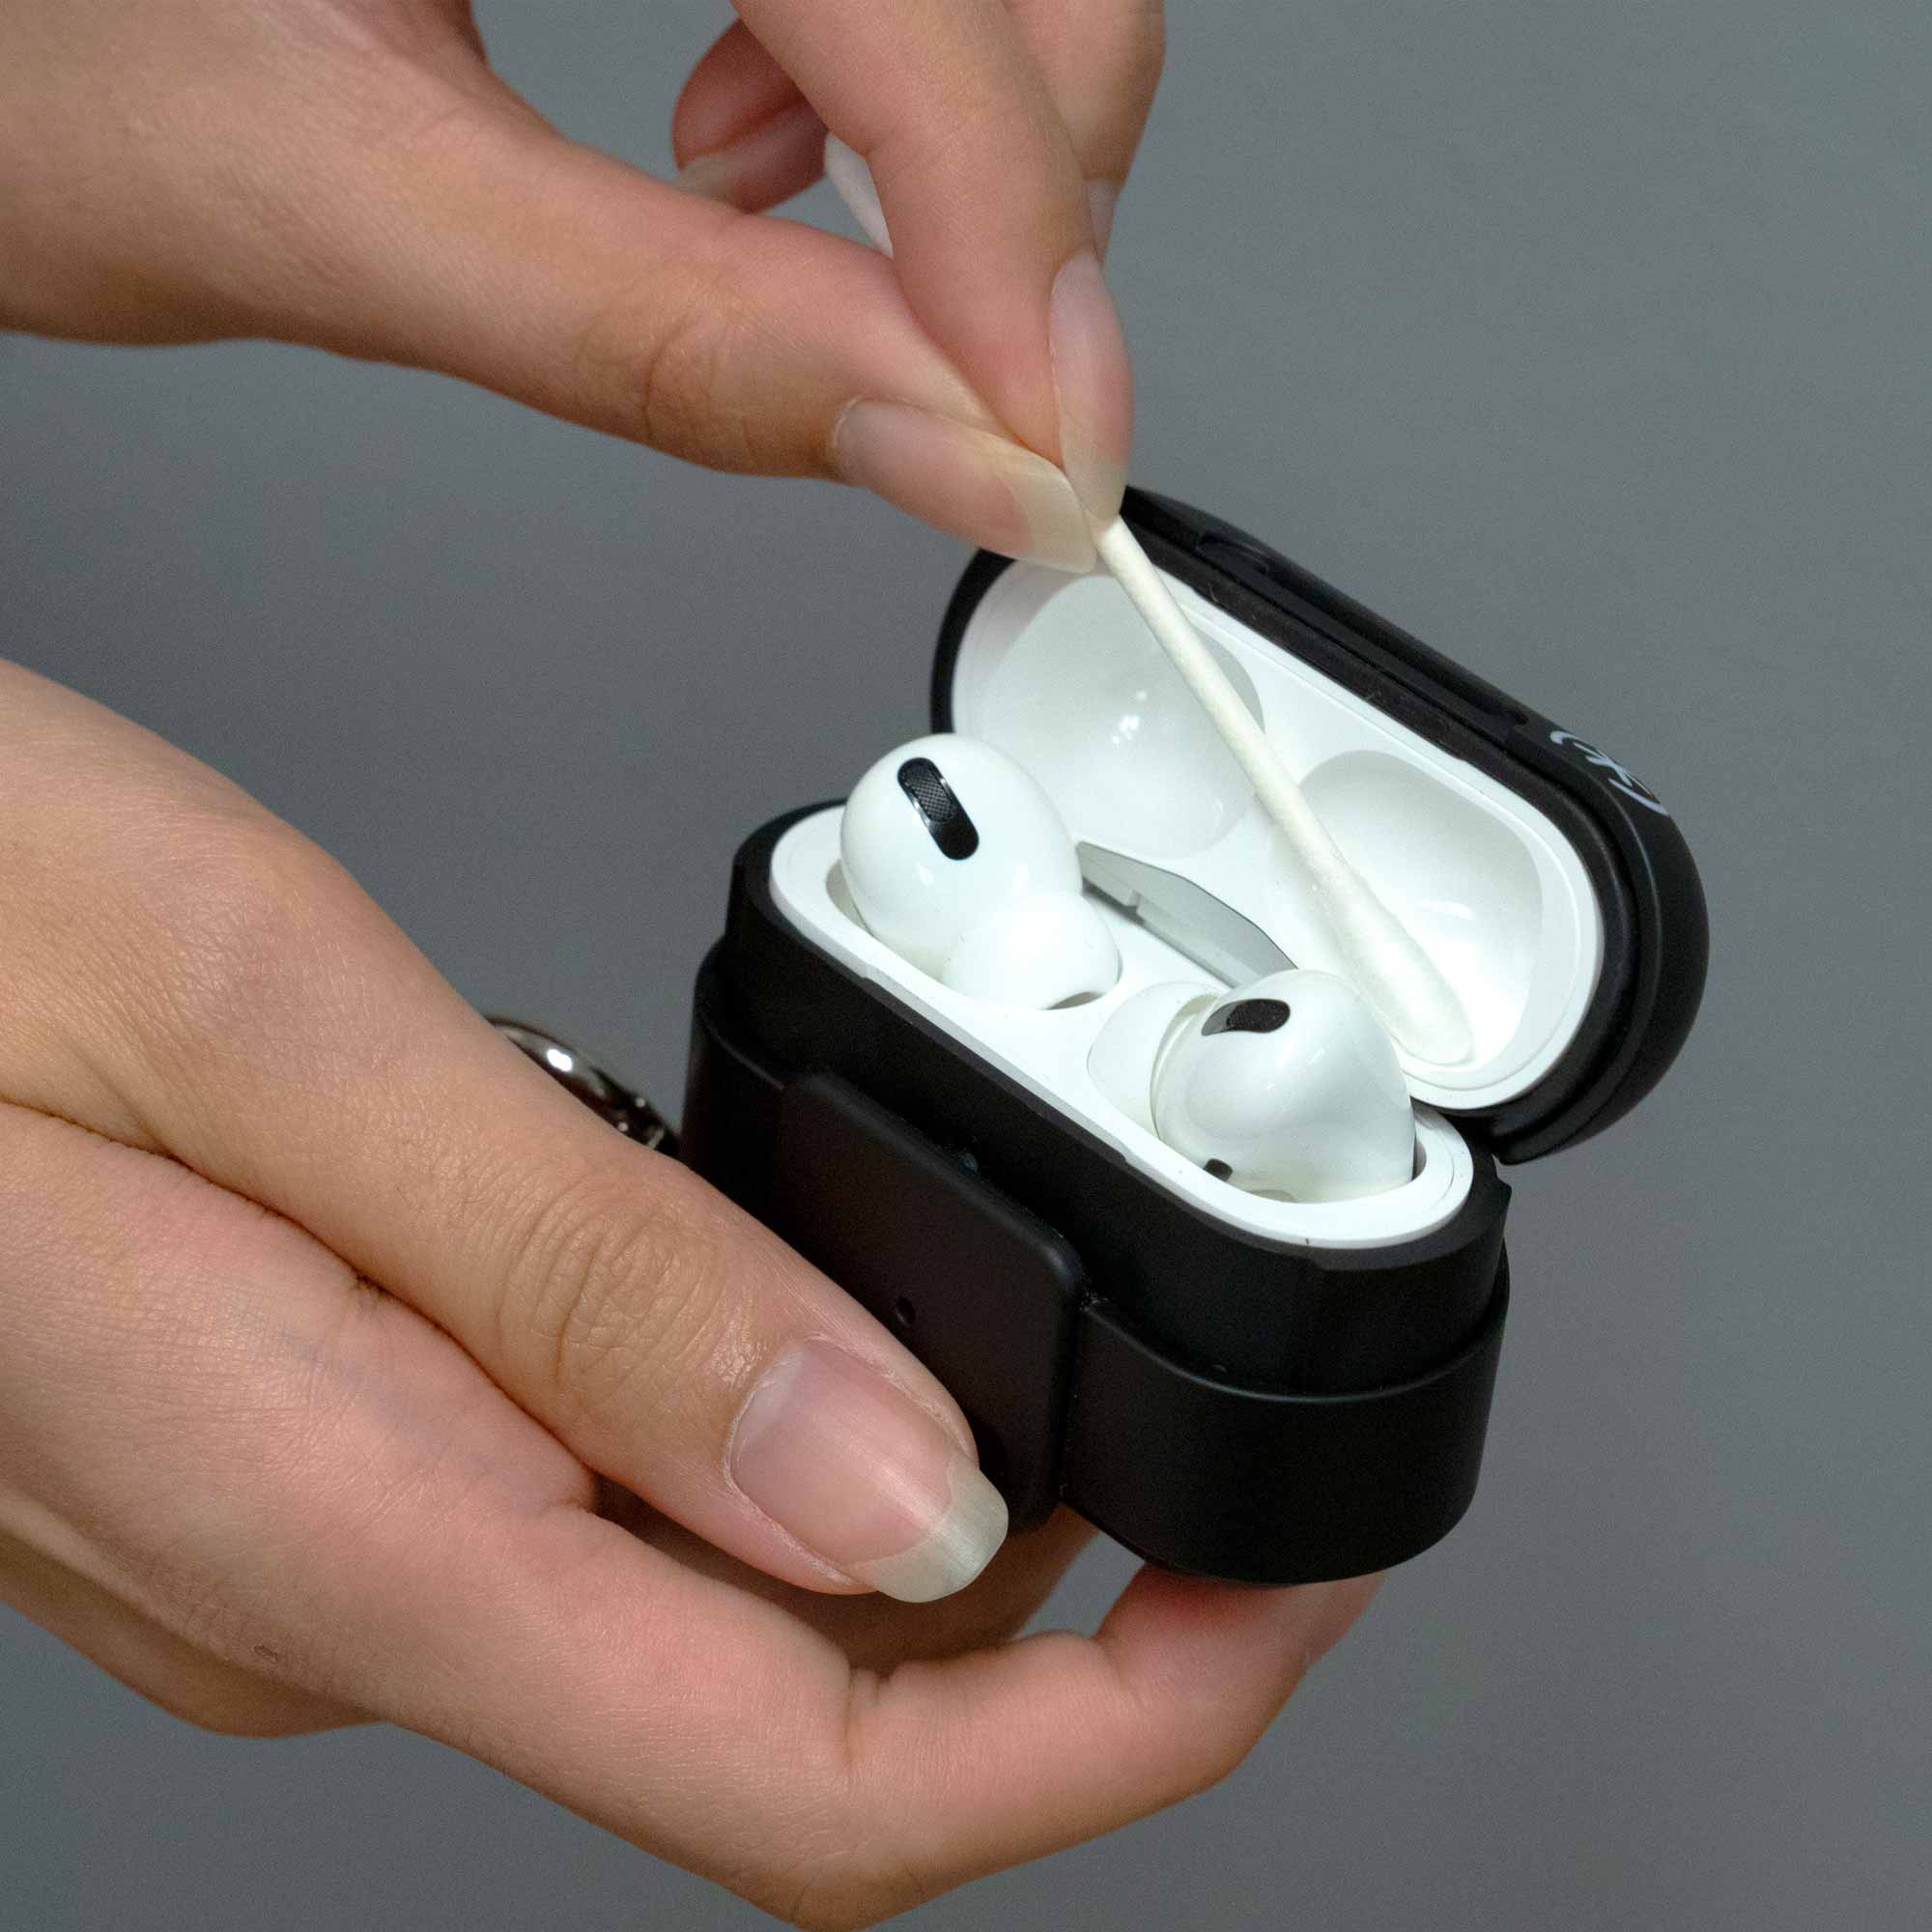
3. Clean and Dry Regularly: Regularly clean your Airpods and their charging case using a soft, lint-free cloth. Additionally, ensure they are completely dry before placing them in the case or using them to prevent moisture buildup.
4. Handle with Care: Handle your Airpods with care, avoiding any unnecessary rough handling or dropping them into liquids. Treat them as delicate electronic devices to minimize the risk of water damage.
5. Store in a Dry Environment: When not in use, store your Airpods and their charging case in a dry and well-ventilated area. Avoid storing them in humid environments, as this can increase the likelihood of moisture buildup and potential water damage.
6. Use Waterproof Accessories: Consider using waterproof accessories, such as ear hooks or covers, that provide additional protection against water or sweat during workouts or outdoor activities.
7. Regularly Inspect for Damage: Take the time to inspect your Airpods for any signs of damage or wear. Look out for cracks, tears, or other issues that could potentially expose them to water. If you notice any damage, consider getting them repaired or replaced before the situation worsens.
8. Be Cautious with Charging: When charging your Airpods, ensure the charging port and cable are dry and free from any moisture. Moisture in the charging port can potentially damage the internal components or interfere with charging.
9. Read the User Manual: Familiarize yourself with the user manual and guidelines provided by Apple. Understanding the recommended usage and care instructions will help you take the necessary steps to protect your Airpods from water damage.
By following these prevention tips, you can significantly reduce the risk of water damage to your Airpods. Remember, prevention is always better than dealing with the aftermath of water-related issues.
Now that you are equipped with valuable prevention tips, let’s conclude the article by summarizing the key points discussed throughout.
Conclusion
Water damage to your Airpods can be frustrating, but with the right steps, you can recover them and restore their functionality. In this article, we explored various methods to help you get water out of your Airpods.
We started by assessing the damage and determining the severity of the water exposure. It is crucial to act quickly and implement drying methods to prevent further damage and maximize the chances of recovery.
We discussed different drying techniques, including using rice, silica gel packets, desiccant packs, and even a vacuum cleaner. Each method has its own advantages and considerations, so it’s important to choose the one that suits your situation best.
However, in cases of severe water damage or unsuccessful DIY attempts, it may be necessary to seek professional assistance. Authorized service centers can provide expert evaluation and repair options to bring your Airpods back to working condition.
Prevention is key when it comes to avoiding water damage to your Airpods. We provided tips to minimize the risk, such as being aware of water exposure, using protective cases, regularly cleaning and drying, and handling your Airpods with care.
Remember, taking proactive steps to protect your Airpods from water damage can save you from the inconvenience and cost of repairs or replacements.
Lastly, we would like to emphasize that while the methods discussed in this article have been proven effective, there is no guarantee of success. Water damage can have varying degrees of impact, and depending on the severity, professional assistance may be needed to fully recover your Airpods.
By following the tips and techniques mentioned here, you can increase your chances of restoring your water-damaged Airpods and enjoy your wireless listening experience once again.
Thank you for reading, and we hope you found this guide helpful in resolving water damage issues with your Airpods!