Introduction
The Tablet PC Input Panel is a built-in feature in Windows 7 that allows users to input text and handwriting using a digital pen or touch input. While this feature can be useful for certain tasks, such as taking notes or drawing, it may not be necessary or desirable for everyone. If you find yourself rarely or never using the Tablet PC Input Panel, you might want to consider getting rid of it to free up system resources and declutter your desktop.
In this article, we will explore three methods that you can use to get rid of the Tablet PC Input Panel on your Windows 7 system. These methods range from simply disabling the feature to completely uninstalling the Tablet PC components. Whether you want to temporarily disable the input panel or permanently remove it, we have you covered.
Before proceeding with any of the methods, it’s important to note that the Tablet PC Input Panel is not a critical component of Windows 7, and removing it will not impact the overall functionality of your operating system. However, if you do decide to uninstall the Tablet PC components, keep in mind that you won’t be able to use any features or applications that rely on this functionality, such as handwriting recognition or certain touch-enabled applications.
Now that you have a better understanding of what the Tablet PC Input Panel is and why you might want to get rid of it, let’s explore the different methods you can use to achieve this.
What is the Tablet PC Input Panel?
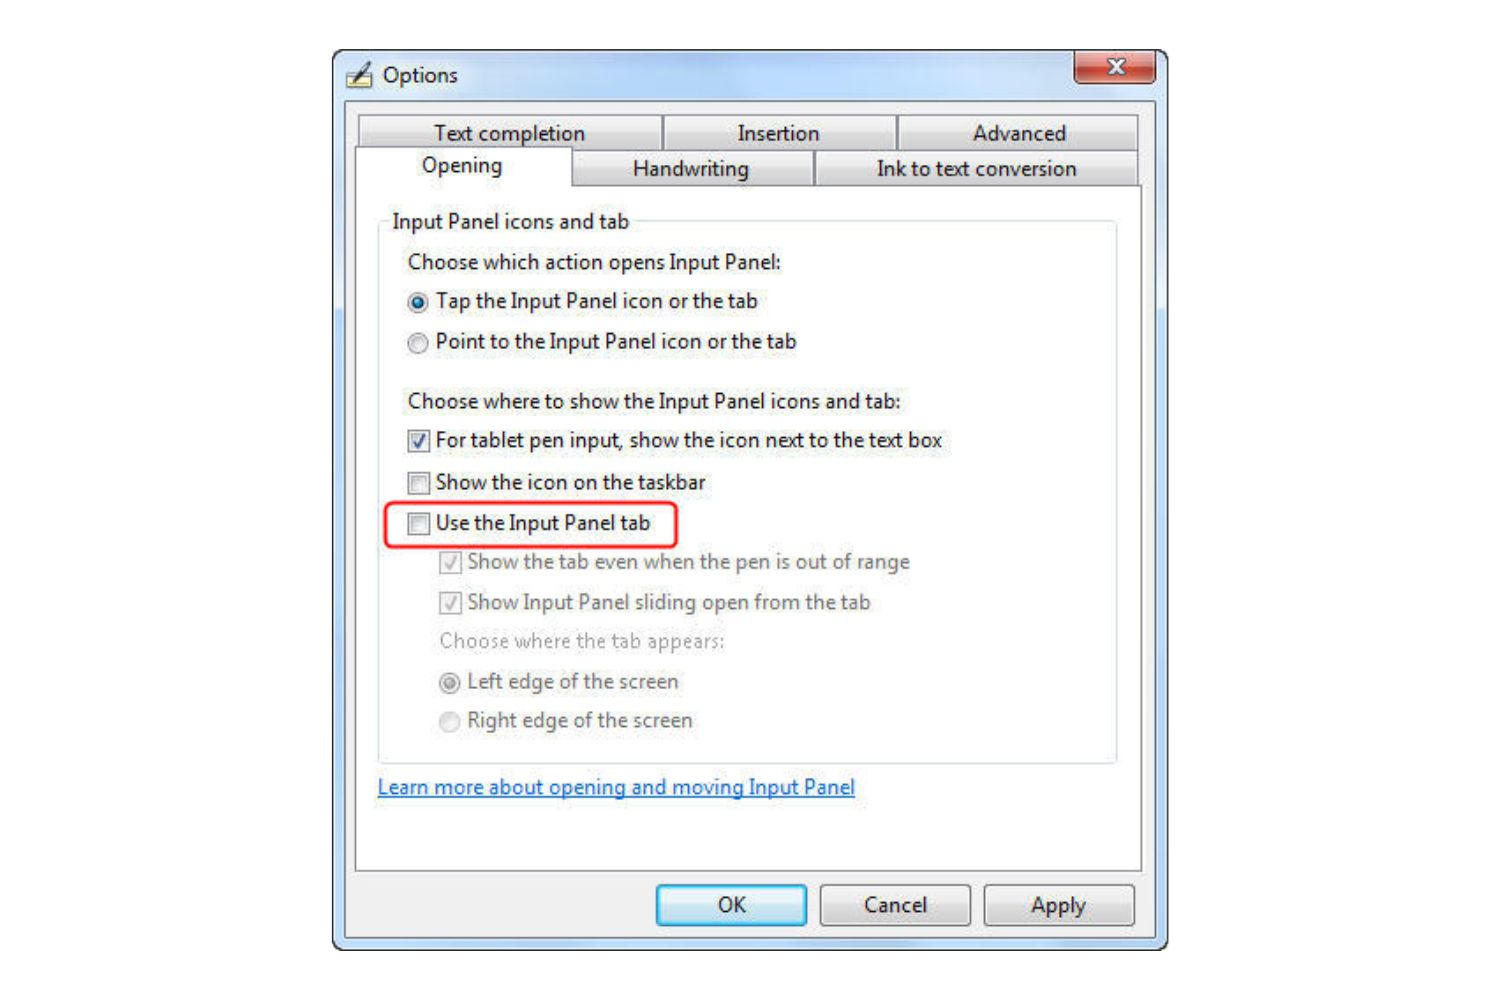
The Tablet PC Input Panel is a feature introduced in Windows 7 that provides handwriting and touch input functionality. It is designed to enhance the user’s experience when using a tablet PC or a device with touch capabilities. The input panel consists of a virtual keyboard, handwriting recognition tool, and other input options that allow users to input text using a digital pen or touch gestures.
This feature is particularly useful for users who prefer handwriting over typing or for those who find it more convenient to input text using touch-based gestures. It allows users to write directly on the screen using a digital pen or their finger and have their writing converted into digital text.
The Tablet PC Input Panel offers handwriting recognition, which means it can convert your handwritten text into typed text. This can be beneficial for taking notes, annotating documents, or any activity that involves writing or drawing on the screen. Additionally, the input panel supports various languages and handwriting styles, making it versatile for users from different regions and backgrounds.
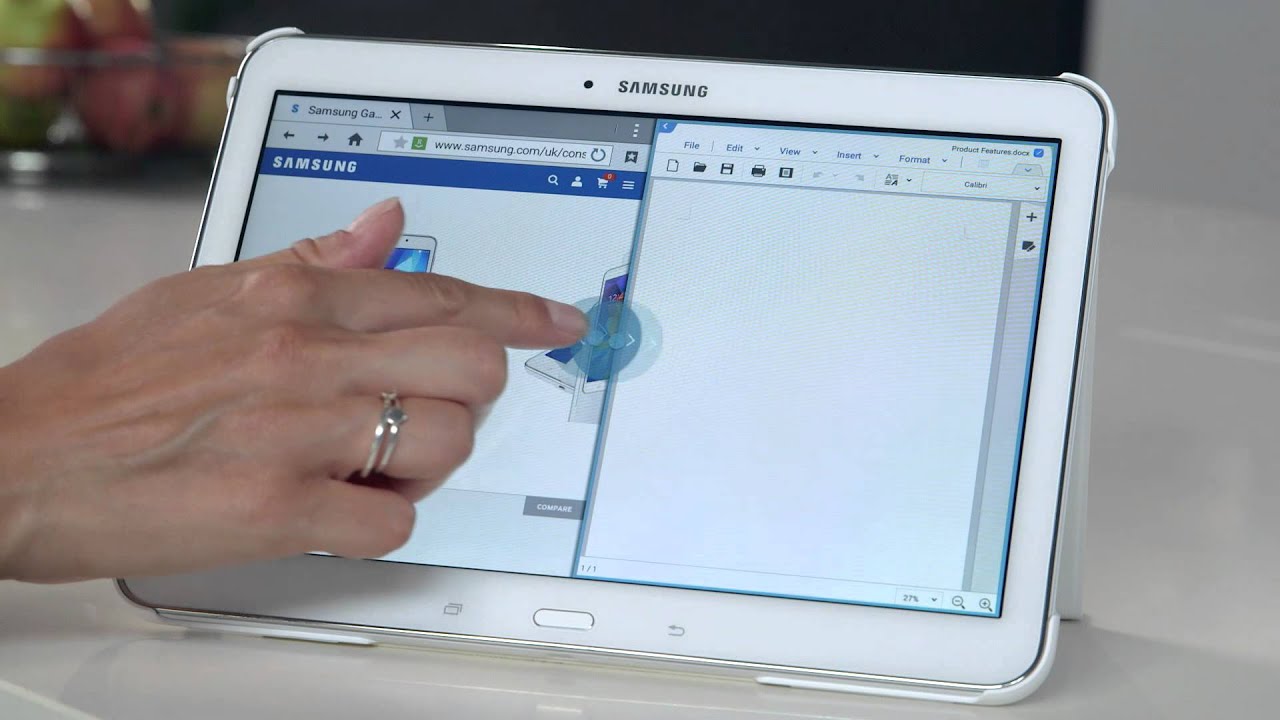
Furthermore, the Tablet PC Input Panel provides a convenient and user-friendly interface for touch input on devices with touchscreens. It offers a virtual keyboard that can be used in place of a physical keyboard, allowing users to type on the screen using their finger or a stylus. This can be advantageous in situations where using a physical keyboard is not practical or convenient.
Overall, the Tablet PC Input Panel is designed to provide users with a flexible and intuitive way to interact with their devices. However, if you find that you rarely use this feature or if you prefer alternative input methods, you might consider getting rid of the Tablet PC Input Panel to streamline your Windows 7 experience.
Why would you want to get rid of it?
While the Tablet PC Input Panel can be a valuable tool for some users, there are several reasons why you might want to get rid of it:
1. Limited or no use: If you rarely or never use the Tablet PC Input Panel, having it enabled can be unnecessary and take up valuable space on your screen. Disabling or removing it can help declutter your desktop and make room for other applications and features that you use more frequently.
2. System resources: The Tablet PC Input Panel consumes system resources, including RAM and processing power. If you have a lower-spec system or want to optimize resource usage, disabling or uninstalling the input panel can help improve overall performance and responsiveness of your Windows 7 system.
3. Personal preference: Some users may prefer alternative input methods such as a physical keyboard or a third-party input software. If you find these options more comfortable or efficient for your workflow, removing the Tablet PC Input Panel can help streamline your user experience and cater to your personal preferences.
4. Keyboard input only: If you primarily use a physical keyboard for text input and have no need for handwriting or touch-based input, the Tablet PC Input Panel becomes redundant. Removing it can simplify your interface and eliminate any potential distractions.
5. Simplified user experience: Removing the Tablet PC Input Panel can provide a cleaner and more focused user experience. If you find yourself accidentally triggering the input panel or navigating through it when you don’t intend to, disabling or uninstalling it can prevent these interruptions and improve the overall usability of your Windows 7 system.
By considering these reasons, you can determine if getting rid of the Tablet PC Input Panel is the right choice for you. If you’ve decided to proceed, let’s explore the different methods you can use to disable or remove it from your Windows 7 system.
Method 1: Disabling the Tablet PC Input Panel
If you prefer to temporarily disable the Tablet PC Input Panel rather than completely removing it from your Windows 7 system, here’s how you can do it:
Step 1: Open the Control Panel by clicking on the Start button and selecting “Control Panel” from the menu.
Step 2: In the Control Panel, navigate to the “Hardware and Sound” category and click on “Tablet PC Settings.”
Step 3: In the Tablet PC Settings window, go to the “Other” tab and click on the “Advanced” button.
Step 4: In the Advanced Options dialog box, you will see an option labeled “Enable the Input Tools for Handwriting.” Uncheck this option to disable the Tablet PC Input Panel.
Step 5: Click on “OK” to save the changes and exit the dialog box.
By following these steps, you have successfully disabled the Tablet PC Input Panel. However, please note that this method only disables the feature temporarily, and it can be easily re-enabled by following the same steps and checking the “Enable the Input Tools for Handwriting” option.
Disabling the input panel can be beneficial if you want to reclaim screen space or prevent accidental triggers. However, keep in mind that other applications or features that rely on the Tablet PC Input Panel, such as handwriting recognition, may be affected by this change. If you find that you need these features at a later time, you can simply re-enable the input panel using the same method.
Now that you know how to disable the Tablet PC Input Panel, let’s explore another method to remove it from the startup programs and prevent it from launching when you start your Windows 7 system.
Method 2: Removing the Tablet PC Input Panel from Startup Programs
If you want to prevent the Tablet PC Input Panel from launching every time you start your Windows 7 system, you can remove it from the startup programs. Here’s how:
Step 1: Press the Windows key + R on your keyboard to open the Run dialog box.
Step 2: In the Run dialog box, type “msconfig” (without the quotes) and press Enter.
Step 3: The System Configuration utility will open. Go to the “Startup” tab.
Step 4: Scroll through the list of programs until you find an entry related to the Tablet PC Input Panel. It may be listed as “Tablet Input Panel,” “TabTip,” or something similar.
Step 5: Uncheck the box next to the Tablet PC Input Panel entry to disable it from launching during startup.
Step 6: Click on “Apply” and then “OK” to save the changes.
By following these steps, you have successfully removed the Tablet PC Input Panel from the startup programs. This means that the input panel will no longer automatically launch when you start your Windows 7 system.
Disabling the Tablet PC Input Panel at startup can help reduce the system resources it consumes and improve the overall startup time of your computer. However, keep in mind that you can still manually launch the input panel whenever you need by accessing it from the Start menu or other relevant shortcuts.
If at any point you want to enable the Tablet PC Input Panel to launch at startup again, simply follow the same steps and recheck the box next to the Tablet PC Input Panel entry in the System Configuration utility.
Now that you know how to disable the Tablet PC Input Panel from launching at startup, let’s explore the next method to completely uninstall the Tablet PC components from your Windows 7 system.
Method 3: Uninstalling the Tablet PC Components
If you no longer have any use for the Tablet PC Input Panel and want to completely remove it from your Windows 7 system, you can uninstall the Tablet PC components. Here’s how:
Step 1: Open the Control Panel by clicking on the Start button and selecting “Control Panel” from the menu.
Step 2: In the Control Panel, navigate to the “Programs” category and click on “Uninstall a program.”
Step 3: In the Programs and Features window, click on “Turn Windows features on or off.”
Step 4: The Windows Features window will open, displaying a list of Windows features that can be enabled or disabled. Scroll down the list until you find “Tablet PC Components.”
Step 5: Uncheck the box next to “Tablet PC Components” to remove them from your Windows 7 system.
Step 6: Click on “OK” to save the changes.
Windows will now proceed to uninstall the Tablet PC components from your system. This process may take a few moments to complete.
By following these steps, you have successfully uninstalled the Tablet PC components from your Windows 7 system. This means that the Tablet PC Input Panel and related features will no longer be available on your computer.
Removing the Tablet PC components can help free up system resources and storage space on your computer. However, keep in mind that other applications or features that rely on the Tablet PC components, such as handwriting recognition, may be affected by this change. If you find that you need these features in the future, you will need to reinstall the Tablet PC components through the same method.
Now that you know how to completely uninstall the Tablet PC components from your Windows 7 system, you can enjoy a streamlined user experience without the presence of the Tablet PC Input Panel.
Conclusion
Whether you rarely use the Tablet PC Input Panel or find it unnecessary for your Windows 7 system, there are several methods you can use to get rid of it. By following the steps outlined in this article, you can disable or remove the Tablet PC Input Panel and tailor your Windows 7 experience to your personal preferences and needs.
If you simply want to temporarily disable the input panel, you can follow Method 1 and disable it through the Tablet PC Settings in the Control Panel. This allows you to easily re-enable the feature if you find the need for it in the future.
If you want to prevent the Tablet PC Input Panel from launching at startup, Method 2 guides you through removing it from the startup programs using the System Configuration utility. This helps optimize system resources and improve startup time without completely uninstalling it.
Finally, if you have no use for the Tablet PC Input Panel and want to remove it completely, Method 3 explains how to uninstall the Tablet PC components through the Programs and Features window in the Control Panel. This gives you a streamlined Windows 7 experience without the presence of the input panel.
Remember, when deciding to disable or uninstall the Tablet PC Input Panel, consider any other applications or features that may rely on it, such as handwriting recognition or touch-based applications. Ensure that removing the input panel won’t disrupt other functionalities that you may need in your workflow.
By taking control of the Tablet PC Input Panel, you can optimize your Windows 7 system, reclaim desktop real estate, and create a more tailored user experience. Explore the different methods, choose the one that suits your needs best, and enjoy a clutter-free and efficient computing environment.


