Common Issues with External Hard Drives
An external hard drive is a convenient storage solution for storing large amounts of data, such as documents, photos, videos, and music. However, it can be frustrating when your computer fails to recognize the external hard drive. There are several common issues that can cause this problem. In this section, we will discuss these issues and provide solutions to help you get your computer to recognize your external hard drive.
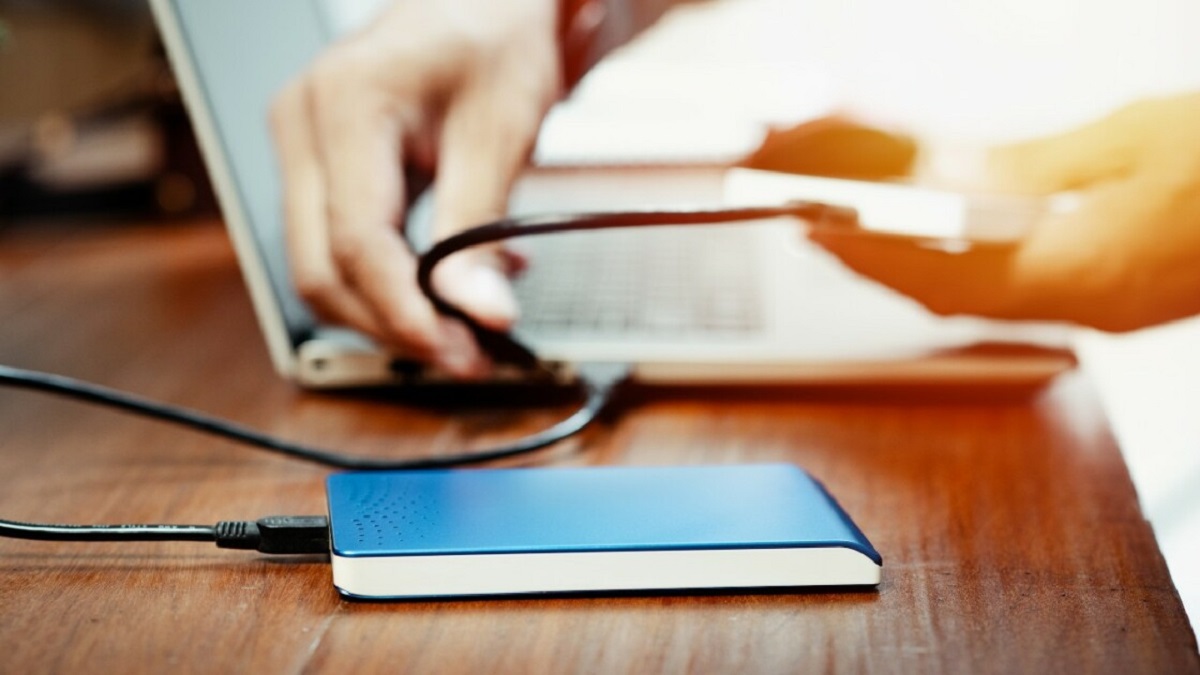
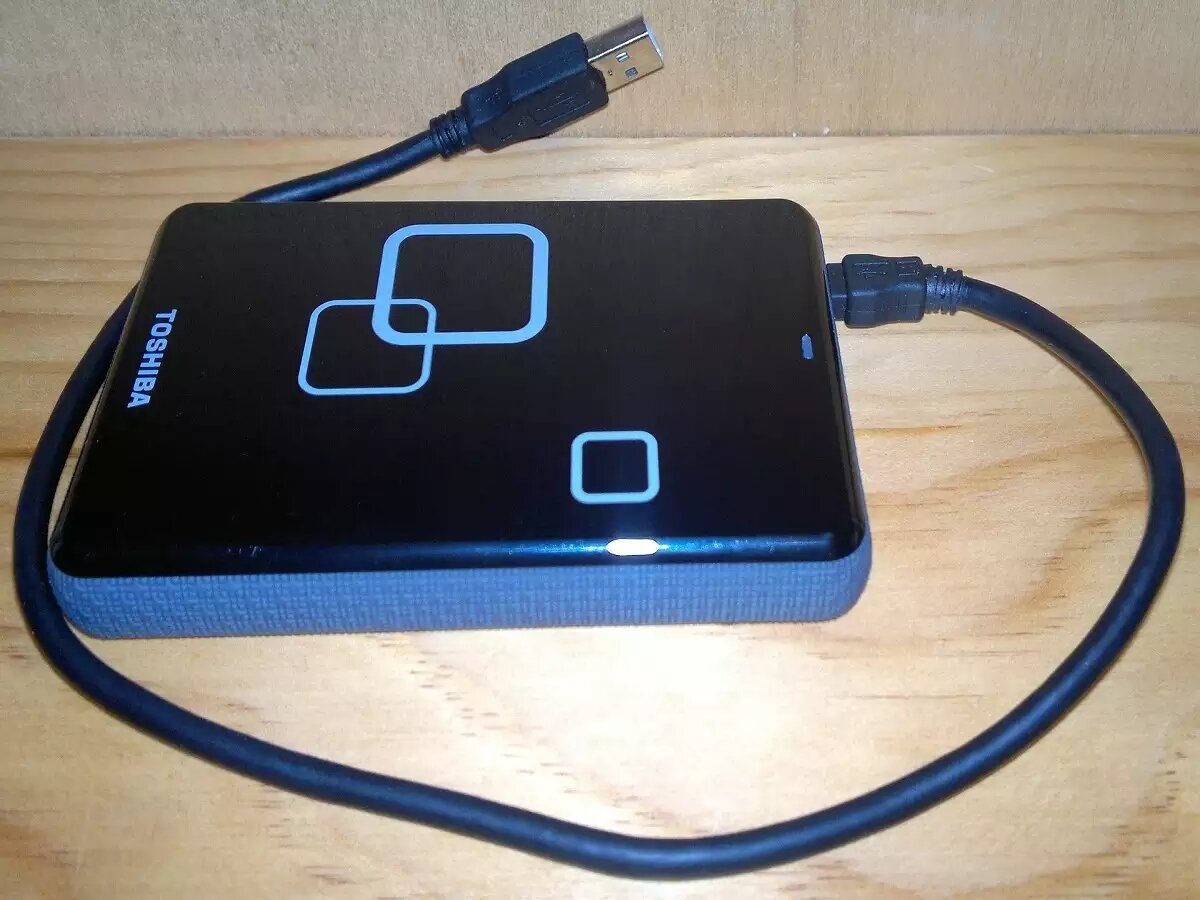
One of the common issues with external hard drives is faulty physical connections. Ensure that the USB or other cables connecting the external hard drive to your computer are securely plugged in at both ends. Sometimes, a loose or damaged cable can prevent proper connectivity, resulting in the computer’s inability to recognize the external hard drive.
Another possible cause is outdated or missing drivers. Keeping your computer’s drivers up to date is crucial for proper hardware functionality. Check the manufacturer’s website for any available driver updates for your external hard drive or any related software.
If the physical connections and drivers are not causing the issue, it may be due to the lack of a drive letter assignment. Your computer needs a drive letter to identify and access the external hard drive. To assign a drive letter, right-click on “This PC” or “My Computer” (depending on your operating system), select “Manage,” go to “Disk Management,” right-click on the external hard drive, and choose “Change Drive Letter and Paths.”
In some cases, the external hard drive may need to be formatted before it can be recognized by your computer. However, make sure to back up any important data before formatting, as the process will erase all existing data. To format the external hard drive, right-click on it in “Disk Management” and select the “Format” option.
If the external hard drive is brand new or has never been initialized, your computer may not recognize it until it has been initialized. To perform this task, open “Disk Management,” right-click on the external hard drive, and choose “Initialize Disk.”
If you have tried the above solutions and your computer still doesn’t recognize the external hard drive, using a disk management tool may help. There are several third-party disk management tools available that can diagnose and fix external hard drive recognition issues.
To rule out any computer-related issues, try connecting the external hard drive to another computer. If it is recognized on the other computer, then the issue may lie with your original computer’s settings or hardware.
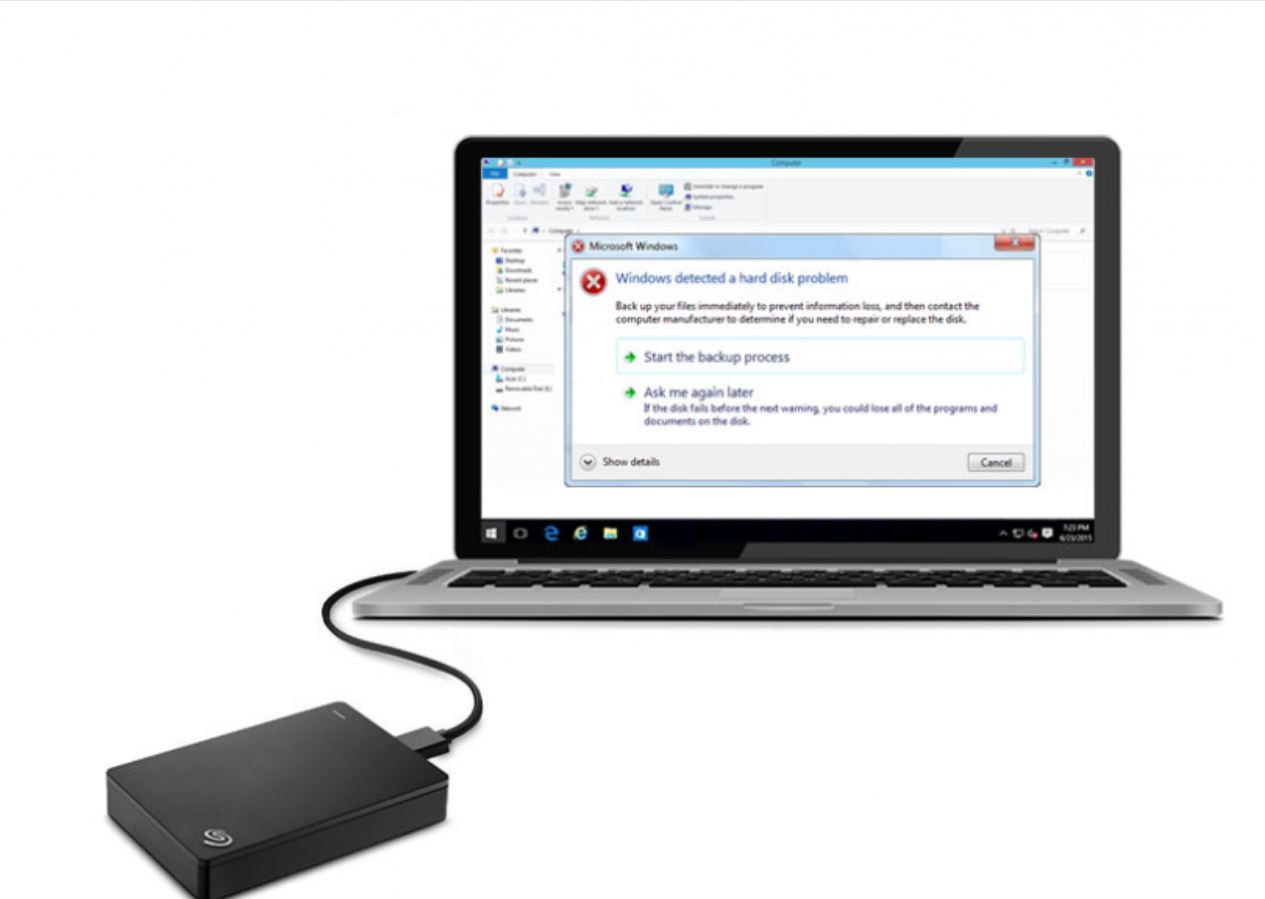
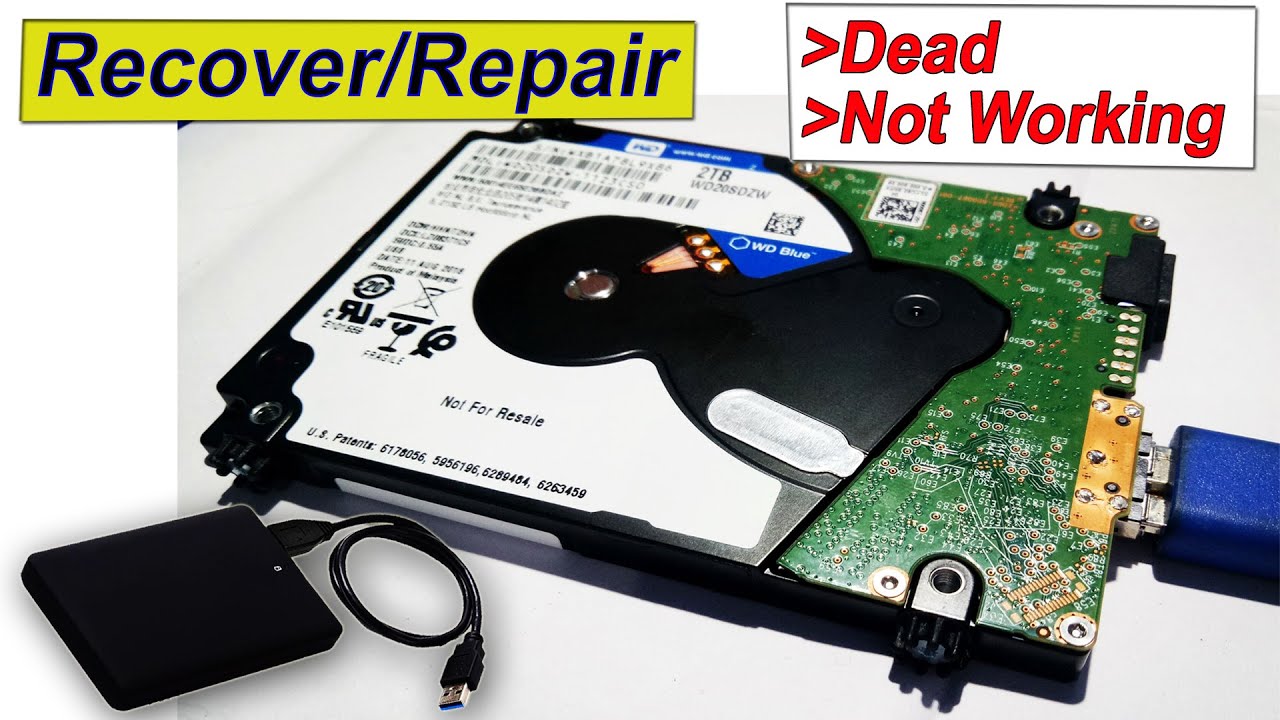
If none of the troubleshooting steps work, it is possible that there is a hardware problem with the external hard drive itself. In this case, it is recommended to seek professional help from a data recovery specialist or contact the manufacturer for assistance.
In summary, common issues with external hard drives can be caused by faulty physical connections, outdated or missing drivers, drive letter assignment, formatting issues, or initialization problems. By following the troubleshooting steps outlined above, you can increase the chances of getting your computer to recognize the external hard drive.
Check the Physical Connections
When your computer fails to recognize an external hard drive, one of the first things to check is the physical connections. Loose or faulty connections can prevent proper communication between the external hard drive and your computer. Follow these steps to verify the physical connections:
- Inspect the USB or other cables connecting the external hard drive to your computer. Ensure they are securely plugged in at both ends. Sometimes, a loose or damaged cable can cause connectivity issues.
- Try using a different USB port on your computer. The current port may be malfunctioning, and connecting the external hard drive to another port can help determine if the problem lies with the port or the drive itself.
- Check if the cables are damaged or frayed. If you notice any visible damage, it is recommended to replace the cables. Damaged cables can cause data transfer errors or prevent the computer from recognizing the external hard drive.
- For USB connections, make sure that the USB port is not loose or damaged. A loose or bent USB port can affect the connection and cause the external hard drive to go undetected.
- If you are using an external power source to power the external hard drive, ensure that it is properly connected and functioning. Some external hard drives require additional power through a separate power adapter.
After checking the physical connections, restart your computer and reconnect the external hard drive. Sometimes, a simple restart can resolve connection issues and refresh the communication between the computer and the external hard drive.
If, after checking the physical connections, your computer still doesn’t recognize the external hard drive, proceed to the next troubleshooting steps to diagnose and resolve the issue.
Update the Drivers
Outdated or missing drivers can often be the culprit behind a computer failing to recognize an external hard drive. Drivers act as the bridge between the hardware and the operating system, facilitating proper communication and functionality. To update the drivers for your external hard drive, follow these steps:
- Identify the brand and model of your external hard drive. This information can usually be found on the device itself or in the manufacturer’s documentation.
- Visit the manufacturer’s website and locate the “Support” or “Downloads” section.
- Search for the latest driver for your specific external hard drive model and download it to your computer.
- Once the driver is downloaded, locate the file and double-click on it to run the installation process.
- Follow the on-screen instructions to install the updated driver. It is recommended to select the default installation options unless you have specific preferences.
After the installation is complete, restart your computer to ensure that the updated driver is properly initialized. Once the computer restarts, reconnect the external hard drive and see if it is now recognized by your computer.
If updating the drivers does not resolve the issue, you can also try uninstalling the existing drivers for the external hard drive and then reinstalling the updated drivers. To do this, follow these steps:
- Right-click on the “Start” button and select “Device Manager” from the menu that appears.
- In the Device Manager window, locate the “Disk drives” category and expand it.
- Right-click on the external hard drive listed under the “Disk drives” category and select “Uninstall device.”
- Follow the on-screen prompts to complete the uninstallation process.
- Once the uninstallation is complete, reconnect the external hard drive. Windows will automatically reinstall the drivers for the device or prompt you to install the updated drivers if they are available.
If updating or reinstalling the drivers does not resolve the issue, proceed to the next troubleshooting steps to further diagnose and resolve the problem.
Assign a Drive Letter
One of the possible reasons why your computer may not recognize an external hard drive is the lack of a drive letter assignment. The drive letter is necessary for your computer to identify and access the external hard drive. To assign a drive letter to the external hard drive, follow these steps:
- Right-click on the “Start” button and select “Disk Management” from the menu that appears.
- In the Disk Management window, locate your external hard drive in the list of available drives. It should be displayed as “Unknown” or have no drive letter assigned.
- Right-click on the external hard drive and select “Change Drive Letter and Paths.”
- In the Change Drive Letter and Paths window, click on the “Add” button.
- Select the desired drive letter from the drop-down menu. If you have a specific drive letter in mind, you can choose it. Otherwise, you can leave it as the default assigned letter.
- Click “OK” to confirm the drive letter assignment.
After assigning a drive letter, the external hard drive should now be recognized by your computer. Open File Explorer or My Computer to verify if the drive is visible and accessible.
If the external hard drive is still not recognized after assigning a drive letter, there may be other underlying issues causing the problem. Proceed to the next troubleshooting steps to further diagnose and resolve the issue.
Format the External Hard Drive
If your computer fails to recognize an external hard drive, it may be necessary to format the drive. Formatting erases all the data on the drive, so it is crucial to backup any important files before proceeding with this step. To format the external hard drive, follow these instructions:
- Right-click on the “Start” button and select “Disk Management” from the menu that appears.
- In the Disk Management window, locate your external hard drive in the list of available drives.
- Ensure that you have selected the correct external hard drive by verifying its size and information.
- Right-click on the external hard drive and select “Format.”
- In the Format window, you can select the file system and allocation unit size. It is recommended to use the default settings, unless you have specific requirements.
- Enter a desired volume label, if applicable. This label will be displayed as the drive’s name in File Explorer or My Computer.
- Click “OK” to initiate the formatting process.
- Wait for the formatting process to complete. This may take some time, depending on the size of the external hard drive.
After the formatting is finished, the external hard drive should now be recognized by your computer. You can try reconnecting the drive and check if it is visible in File Explorer or My Computer.
If the formatting process is unsuccessful or if the external hard drive is still not recognized, there may be other underlying issues causing the problem. Proceed to the next troubleshooting steps to further diagnose and resolve the issue.
Initialize the External Hard Drive
If your computer does not recognize an external hard drive, it is possible that the drive has never been initialized. Initializing a hard drive is the process of preparing it for use by creating a partition table. To initialize an external hard drive, follow these steps:
- Right-click on the “Start” button and select “Disk Management” from the menu that appears.
- In the Disk Management window, locate your external hard drive in the list of available drives. It should be labeled as “Not Initialized.”
- Right-click on the external hard drive and select “Initialize Disk.”
- In the Initialize Disk dialog box, choose the partition style. If your computer is using the BIOS system, select MBR (Master Boot Record). If your computer is running a UEFI-based system, choose GPT (GUID Partition Table).
- Click “OK” to initiate the initialization process.
Once the initialization is complete, the external hard drive should now be recognized by your computer. You can reconnect the drive and check if it appears in File Explorer or My Computer.
Note that initializing the external hard drive will erase all existing data on the drive. If you have important files, it is crucial to back them up before proceeding with the initialization process.
If the drive still fails to be recognized after initializing, or if there are no options to initialize the disk, there may be other underlying issues causing the problem. Proceed to the next troubleshooting steps to further diagnose and resolve the issue.
Use Disk Management Tool
If your computer is unable to recognize an external hard drive, using the Disk Management tool can help diagnose and resolve the issue. Disk Management is a built-in utility in Windows that allows you to manage disk storage and perform various tasks on your drives. Follow these steps to use the Disk Management tool:
- Right-click on the “Start” button and select “Disk Management” from the menu that appears.
- In the Disk Management window, you will see a list of all the connected drives, including your external hard drive.
- Look for the external hard drive in the list. It may be labeled as “Unknown” or have no drive letter assigned.
- Right-click on the external hard drive and select from the available options depending on your specific scenario:
- If the drive has no drive letter assigned, select “Change Drive Letter and Paths” and assign a drive letter to the external hard drive.
- If the drive is visible but has an incorrect file system or is listed as unallocated, you can try formatting the drive or creating a new partition.
- If the drive is showing as “Offline,” right-click on it and select “Online.”
- Follow the on-screen instructions to complete the selected action.
After performing the necessary tasks using the Disk Management tool, reconnect the external hard drive and check if it is now recognized by your computer. If the drive is still not detected, there may be other underlying issues causing the problem.
It is important to note that the Disk Management tool provides various options to manage and troubleshoot disk-related issues. However, exercise caution and ensure that you have backups of any important data before attempting any actions that could lead to the loss of data.
If the issue persists or the Disk Management tool does not provide a solution, proceed to the next troubleshooting steps to further diagnose and resolve the problem.
Test the External Hard Drive on Another Computer
If your computer fails to recognize an external hard drive, it can be helpful to test the drive on another computer. This will help determine if the issue lies with your computer’s settings or hardware, or if the problem is specific to the external hard drive itself. Follow these steps to test the external hard drive on another computer:
- Disconnect the external hard drive from your current computer.
- Connect the external hard drive to another computer using the appropriate cables or connections.
- Ensure that the external hard drive is securely plugged in and powered on, if applicable.
- Turn on the computer and wait for it to boot up.
- Once the computer is fully booted, check if the external hard drive is recognized by the computer.
- If the external hard drive is detected on the other computer, this suggests that the issue lies with your original computer’s settings or hardware. You may need to troubleshoot the USB ports, drivers, or other related settings on your computer.
- If the external hard drive is still not recognized on the other computer, there may be an issue with the external hard drive itself. Proceed to the next troubleshooting steps to further diagnose and resolve the problem.
Testing the external hard drive on another computer helps narrow down the potential causes of the issue. It can indicate whether the problem is specific to your original computer or if it is related to the external hard drive. This information is valuable when seeking further assistance or deciding on the next course of action.
If the external hard drive works on another computer, you may consider performing a system restore or seeking professional help to diagnose and resolve the issue on your original computer. If the drive is not detected on any computer, it is recommended to contact the manufacturer for further assistance or consult a data recovery specialist if important data needs to be recovered.
Troubleshoot for Hardware Issues
If your computer fails to recognize an external hard drive, there may be underlying hardware issues causing the problem. It is important to troubleshoot and identify any potential hardware problems. Follow these steps to troubleshoot for hardware issues:
- Ensure that the external hard drive is receiving power. If the drive has its own power source, make sure it is properly plugged in and turned on. If the drive is powered through the USB connection, try using a different USB port or a powered USB hub.
- Disconnect all other USB devices from your computer and connect only the external hard drive. Sometimes, conflicts can occur if there are multiple devices drawing power from the USB ports.
- Try connecting the external hard drive to a different USB port on your computer. The current port may be faulty or incompatible with the drive.
- If possible, use a different USB cable to connect the external hard drive to your computer. A faulty or damaged cable can prevent proper communication between the drive and the computer.
- Test the external hard drive with a different set of cables and connections. This helps eliminate the possibility of a faulty connection or cable causing the issue.
- If the external hard drive has its own power adapter, ensure that it is functioning properly. Test the power adapter with another device or consider obtaining a replacement if necessary.
- Inspect the external hard drive for any physical damage or signs of malfunction. Check for any unusual noises, vibrations, or overheating. If you suspect hardware damage, it may be necessary to seek professional assistance or contact the manufacturer for support.
By troubleshooting for hardware issues, you can identify and potentially resolve any problems related to the physical components of the external hard drive. However, if the hardware troubleshooting does not resolve the issue, it is advised to proceed to the next troubleshooting steps or seek professional help if necessary.
Seek Professional Help if Necessary
If you have tried various troubleshooting steps and your computer still fails to recognize the external hard drive, it may be time to seek professional help. Professional assistance can be invaluable in diagnosing and resolving complex issues. Consider the following options:
- Contact the manufacturer: If your external hard drive is still under warranty, reaching out to the manufacturer’s customer support can provide you with guidance and potential solutions. They may be able to offer specific troubleshooting steps tailored to your device.
- Data recovery specialist: If your external hard drive contains important data that you cannot afford to lose, consulting a professional data recovery specialist may be necessary. These specialists have the expertise and specialized tools to recover data from malfunctioning or damaged drives. Keep in mind, however, that data recovery can be a costly process.
- Computer repair technician: If you suspect that the issue lies with your computer’s hardware or software configuration, consulting a computer repair technician may be a viable option. They can diagnose and fix any underlying issues with your computer that may be preventing it from recognizing the external hard drive.
When seeking professional help, be prepared to provide detailed information about the problem, any troubleshooting steps you have already taken, and the specifications of your external hard drive and computer. This information will assist the professionals in guiding you to the most appropriate solution.
Keep in mind that seeking professional help should be considered as a last resort when all other troubleshooting steps have been exhausted. Before taking this step, ensure that you have backed up any important data and considered the potential costs involved.
Remember, professional help can often provide you with the expertise and resources needed to resolve issues that may be beyond your technical abilities. It can save you time, prevent potential data loss, and ensure that your external hard drive functions properly.