Introduction
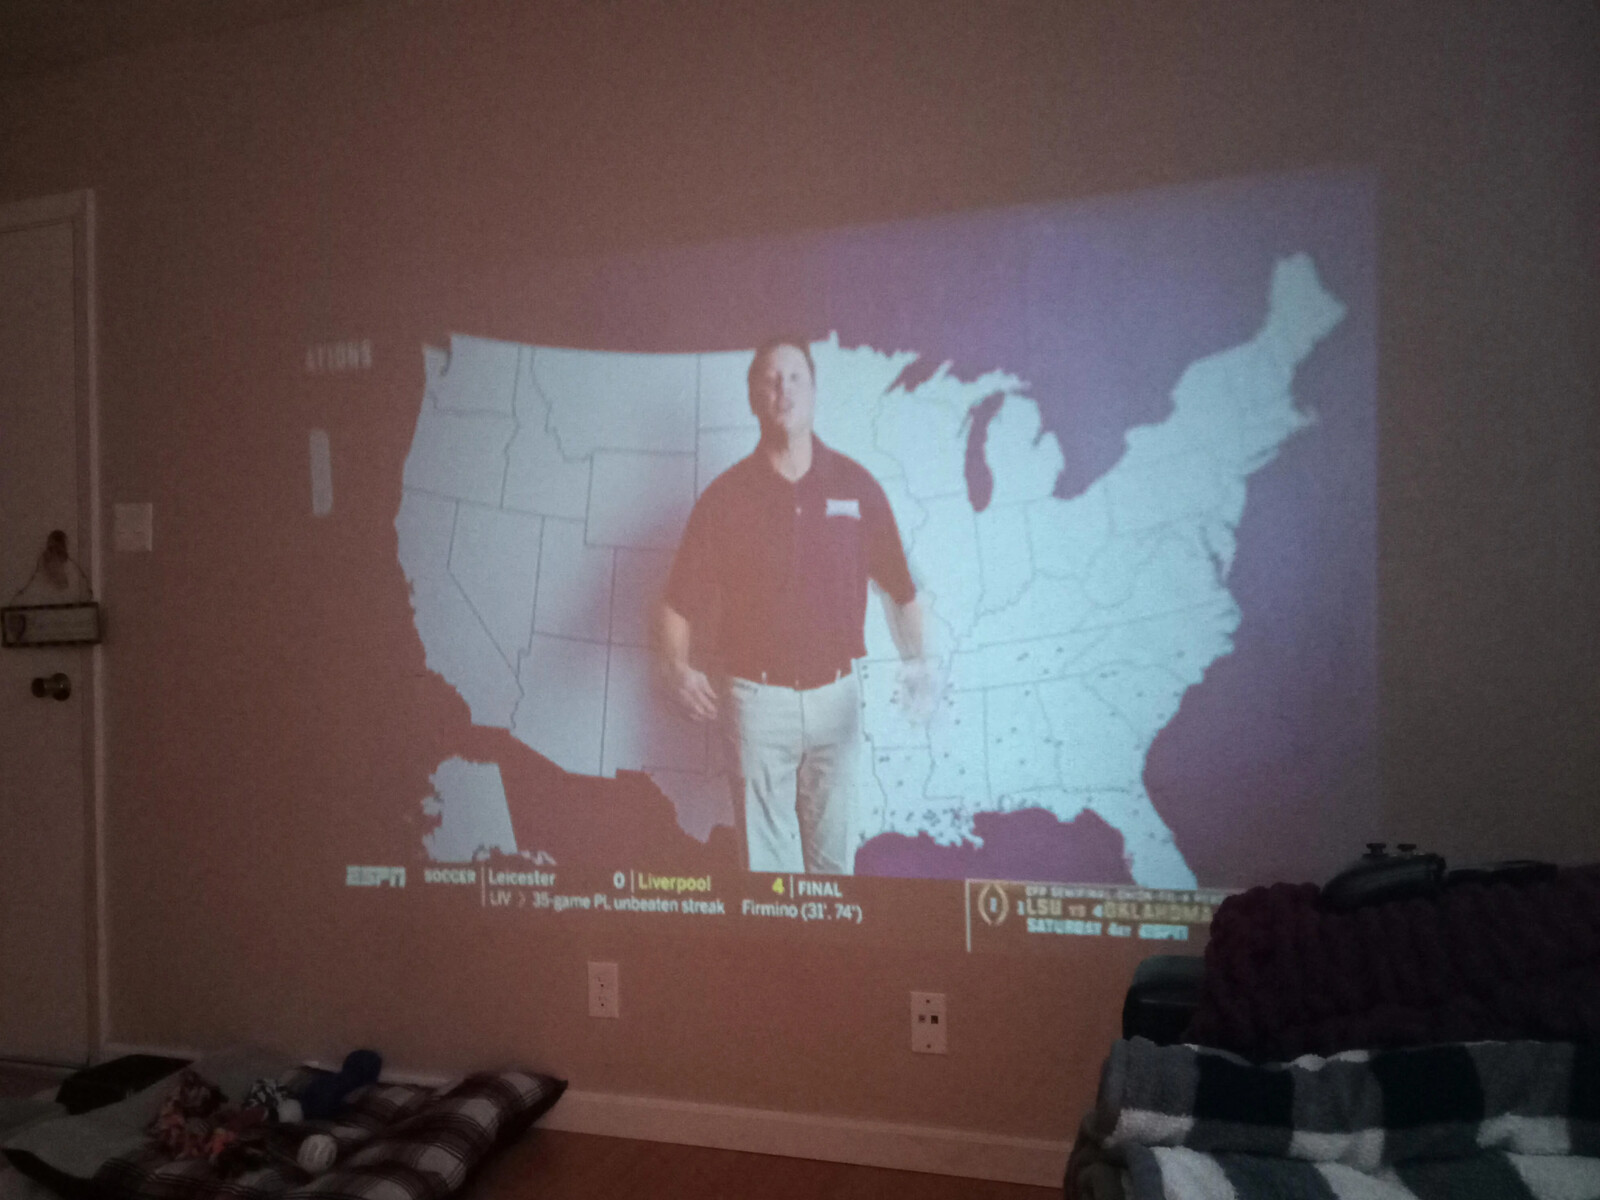
Welcome to our comprehensive guide on how to fix a projector lens. Projectors are widely used for presentations, home theater systems, and various other purposes. However, over time, the lens on a projector may encounter issues such as dirt, scratches, or misalignment, which can affect the image quality and overall performance.
Fortunately, many common problems with projector lenses can be fixed without the need for professional assistance. Whether you have a blurry image, a scratched lens, or simply need to clean the lens, this guide will provide you with step-by-step instructions on how to address these issues and get your projector back in top shape. By following these simple procedures, you can potentially save time and money that you would have otherwise spent on repairs or replacements.
Before we dive into the process of fixing a projector lens, it’s essential to emphasize the importance of maintaining a clean and properly functioning lens. A dirty or damaged lens can significantly impact the image quality, resulting in blurry or distorted visuals. Regular cleaning and maintenance can prolong the lifespan of your projector and ensure that you enjoy crisp and vibrant images every time you use it.
In this guide, we will cover various aspects of fixing a projector lens, including cleaning the lens, adjusting the focus, removing scratches, and even replacing the lens if necessary. Please note that the specific steps may vary depending on the type and model of your projector, so it’s always a good idea to refer to the manufacturer’s instructions or consult the user manual for your specific device.
Now that you understand the importance of maintaining a well-functioning projector lens, let’s proceed to the next section, where we will discuss the tools and materials you will need for the lens repair process.
Tools and Materials Needed
Before you begin fixing your projector lens, it’s important to gather the necessary tools and materials. Having these items at hand will ensure a smooth and efficient repair process:
- Cotton Swabs: These are perfect for delicate cleaning of the lens surface and removing any stubborn dirt or smudges.
- Microfiber Cloth: Using a soft microfiber cloth is essential for wiping away dust and fingerprints without scratching the lens.
- Lens Cleaning Solution: A specially formulated lens cleaning solution will help remove oily residue and provide a streak-free finish.
- Compressed Air: This can be used to blow away any loose dust or debris from hard-to-reach areas of the lens assembly.
- Mild Soap and Water: Occasionally, a gentle soap solution may be needed for more stubborn stains or build-up on the lens.
- Green Laser Pointer: A green laser pointer can be a handy tool for aligning the projector lens and adjusting the focus precisely.
- Plastic Lens Repair Kit: This kit typically contains sandpaper, polishing compound, and other materials to fix minor scratches on the lens surface.
- Replacement Lens (if needed): In some cases, the lens may be severely damaged or beyond repair. In such instances, having a replacement lens compatible with your projector model is essential.
- Screwdriver Kit: Depending on the projector model, you may need a screwdriver set to disassemble and reassemble the lens assembly.
It’s important to note that not all projectors have removable or replaceable lenses. Some models may have integrated lens systems that cannot be disassembled. In such cases, your options for repairing the lens may be limited.
Now that you’ve gathered the necessary tools and materials, you’re ready to move on to the next section, where we will discuss how to identify and troubleshoot common issues with the projector lens.
Step 1: Identifying the Problem with the Projector Lens
Before you can fix a projector lens, you need to identify the underlying problem affecting its performance. Here are some common issues you may encounter:
- Blurry or unfocused image: If the projected image appears blurry or out of focus, it could indicate a misalignment or a need for an adjustment in the lens focus.
- Dirt or smudges on the lens surface: Dust, fingerprints, or other debris on the lens can impair the image quality and clarity.
- Scratches on the lens: Deep scratches on the lens surface can cause distortion and affect the projection quality.
- Cracked or damaged lens: If the lens is physically damaged, such as being cracked or chipped, it may need to be replaced.
- Discoloration or cloudiness: Over time, the lens may become discolored or develop a cloudy appearance, reducing image quality.
Once you’ve identified the issue, you can proceed with the appropriate troubleshooting steps to address the problem. Remember to refer to your projector’s user manual for specific instructions or consult the manufacturer’s customer support if needed.
Now that you have identified the problem with your projector lens, let’s move on to the next section, where we will discuss how to clean the lens and restore optimal image quality.
Step 2: Cleaning the Lens
One of the most common reasons for poor image quality in projectors is a dirty lens. Dust, fingerprints, and other particles can accumulate on the lens surface, leading to a blurry or hazy projection. Follow these steps to properly clean the lens:
- Power Off: Start by turning off the projector and allowing it to cool down. This will prevent any damage to the lens and protect you from potential harm.
- Gently Remove Dust: Use a soft microfiber cloth or compressed air to gently remove any loose dust or debris from the lens surface. Be careful not to press too hard, as this can scratch the lens.
- Apply Lens Cleaning Solution: If there are fingerprints or smudges on the lens, apply a small amount of lens cleaning solution to a clean microfiber cloth. Avoid spraying the solution directly onto the lens to prevent any liquid from seeping into the projector.
- Wipe in a Circular Motion: Using the damp cloth, gently wipe the lens in a circular motion. Start from the center and work your way outward. This helps to remove any residue or oils that may be affecting the image quality.
- Dry with a Dry Microfiber Cloth: After cleaning with the lens cleaning solution, use a dry microfiber cloth to dry the lens thoroughly. Make sure there are no streaks or moisture left behind.
- Inspect for Remaining Dirt or Stains: Take a close look at the lens to ensure that no dirt, stains, or smudges are remaining. If needed, repeat the cleaning process until the lens is completely clean.
Remember, it’s crucial to be gentle and avoid using abrasive materials or harsh chemicals when cleaning the lens. These can cause permanent damage to the lens surface. If you encounter stubborn stains or build-up that cannot be removed using a lens cleaning solution, a mild soap and water solution may be necessary. However, always follow the manufacturer’s recommendations and exercise caution.
Once you have thoroughly cleaned the lens, you can proceed to the next step, which involves adjusting the focus of the projector lens for optimal image clarity.
Step 3: Adjusting the Focus
Having a properly focused projector lens is essential for achieving sharp and clear image quality. If your projected image appears blurry or out of focus, follow these steps to adjust the focus:
- Display a Test Image: Start by displaying a test image or a plain white screen on your projector. This will make it easier to identify any focus issues.
- Locate the Focus Ring: Look for the focus ring around the lens barrel or on the projector’s control panel. It is usually marked with a focus icon.
- Rotate the Focus Ring: Gradually rotate the focus ring in small increments, observing the changes in image sharpness. Take your time and make precise adjustments to achieve the desired focus.
- Use a Green Laser Pointer: To make the focus adjustment more accurate, you can use a green laser pointer. Hold the pointer against a flat surface and adjust the focus ring until the laser dot appears sharp and clear.
- Test and Refine: Display different content and evaluate the image quality after each adjustment. Fine-tune the focus ring as needed until you achieve a sharp image across the entire projection area.
It’s important to note that the specific steps for adjusting the focus may vary depending on your projector model. Some projectors may have manual focus rings, while others may offer electronic focus adjustments through the control panel. Refer to your projector’s user manual for detailed instructions on how to adjust the focus.
Once you have successfully adjusted the focus of your projector lens, you can move on to the next step, which covers removing scratches from the lens surface.
Step 4: Removing Scratches from the Lens
Scratches on the projector lens can severely impact the image quality and clarity of your projection. While deep scratches may require professional intervention or lens replacement, minor scratches can often be repaired. Follow these steps to remove scratches from the lens:
- Assess the Scratch: Examine the scratch carefully to determine its severity. If the scratch is minor and only affects the outer coating of the lens, it may be repairable.
- Prepare the Lens Repair Kit: If you have a plastic lens repair kit, gather the included materials such as sandpaper, polishing compound, and a soft cloth.
- Wet the Sandpaper: Soak the highest grit sandpaper in water for a few minutes. This will help prevent any further damage to the lens surface.
- Sand the Scratch: Gently rub the wet sandpaper back and forth over the surface of the scratch. Use light pressure and circular motions, gradually moving from the scratch’s edge towards the center.
- Switch to a Finer Grit: Once you have sanded the scratch with the coarser grit, switch to a finer grit sandpaper and repeat the process. This will help smoothen the lens surface and reduce the visibility of the scratch.
- Apply Polishing Compound: Apply a small amount of polishing compound to a soft cloth and polish the lens in a circular motion. This will further restore the lens’s clarity and minimize the appearance of the scratch.
- Clean the Lens: After polishing, use a clean microfiber cloth to wipe away any residue from the lens. Inspect the lens for any remaining scratches or imperfections.
It’s important to note that this method may not work for all types of scratches. Deep scratches or those that have penetrated the lens may require professional assistance or lens replacement. Exercise caution throughout the process to avoid causing further damage to the lens surface.
If the scratch is beyond repair, you may need to consider replacing the lens, which we will discuss in the next section.
Step 5: Replacing the Lens
If your projector lens is severely damaged, cracked, or scratched beyond repair, it may be necessary to replace the lens. While this step requires more advanced technical skills and may not be possible with all projector models, here’s a general guideline for lens replacement:
- Identify Compatibility: Check the manufacturer’s specifications and documentation to ensure you select a compatible lens for your projector model. Contact the manufacturer or consult a professional if you’re uncertain about compatibility.
- Power Off and Unplug: Before replacing the lens, turn off the projector and unplug it from the power source. This ensures your safety and prevents any potential damage during the replacement process.
- Access the Lens Assembly: Disassemble the projector according to the manufacturer’s instructions to access the lens assembly. This process may involve removing screws or panels, so refer to the user manual for specific guidance.
- Remove the Old Lens: Carefully detach the old lens from the projector, following any additional instructions provided by the manufacturer. Be gentle to avoid damaging other components or the lens mounting mechanism.
- Install the New Lens: Attach the new lens into the projector, ensuring it fits securely in the mounting mechanism. Follow any specific guidelines provided by the manufacturer.
- Reassemble and Test: Reassemble the projector, making sure all screws and panels are properly secured. Once reassembled, power on the projector and test the image quality to confirm that the replacement lens is functioning correctly.
It’s crucial to handle the new lens with care, as it is a sensitive and delicate component. If you are unsure about the lens replacement process or feel uncomfortable performing it yourself, consider seeking professional assistance or contacting the manufacturer’s customer support for guidance.
With the new lens successfully installed, you can proceed to the final step, where we will test the projector to ensure the lens repair has resolved the issues.
Step 6: Testing the Projector after Fixing the Lens
After completing the necessary repairs or lens replacement, it’s important to test the projector to ensure that the fixes have resolved any issues with the lens. Follow these steps to properly test your projector:
- Power On the Projector: Plug in the projector and power it on according to the manufacturer’s instructions. Allow it to warm up properly before conducting the test.
- Display Various Content: Use different types of content, such as images, videos, or presentations, to test the projector’s image quality. Pay attention to the clarity, focus, and color accuracy of the projection.
- Check for Distortion or Blur: Examine the projected image carefully for any signs of distortion, blur, or inconsistencies. If the image appears clear and sharp across the entire projection area, it’s a good indication that the lens repair was successful.
- Ensure Proper Alignment: Verify that the image is properly aligned on the screen and doesn’t show any tilting, keystone, or other alignment issues. Adjust the projector settings as needed to correct these issues.
- Evaluate Color and Contrast: Assess the color accuracy and contrast of the projected image. Make sure the colors are vibrant and the contrast levels are satisfactory.
- Inspect for Remaining Issues: After testing, carefully inspect the lens surface for any remaining scratches, dust, or other imperfections. Clean the lens again if necessary.
If you notice any lingering issues or if the projector’s performance is still not satisfactory, consider repeating the previous steps or consult a professional for further assistance. It’s also a good idea to consult the projector’s user manual and follow any additional guidance provided by the manufacturer for optimal performance.
With the projector successfully tested and functioning properly, you can now enjoy crisp and clear projections for your presentations, movies, or any other purpose.
Conclusion
Fixing a projector lens can help restore optimal image quality and prolong the lifespan of your projector. Whether you encountered dirt, scratches, focus issues, or even the need for a lens replacement, following the steps outlined in this guide can guide you towards a resolution.
Starting with the identification of the problem, be it a blurry image, smudges, or scratches on the lens, you can then proceed to clean the lens using small, controlled movements and appropriate cleaning solutions. Adjusting the focus ensures that your projected image is crisp and sharp.
If you encounter scratches on the lens, minor ones can be addressed with a lens repair kit. For more severe damage, lens replacement becomes the recommended solution. Always exercise caution, follow manufacturer guidelines, and seek professional help if needed for complex tasks.
After performing the necessary repairs or replacements, it’s crucial to thoroughly test the projector’s performance. This involves checking image clarity, color accuracy, and proper alignment. Ensure that all issues have been resolved and that the lens functions optimally before considering the repair process complete.
Remember, regular maintenance and cleaning of your projector lens are essential to prevent future issues and maintain optimal performance. By following the recommended steps and taking proper care of your projector, you can continue enjoying high-quality projections for years to come.