Introduction
Are you looking to upgrade your HP Elite 8300 computer with a more powerful and efficient power supply? If so, you might be wondering how to fit an ATX PSU (Power Supply Unit) into your HP Elite 8300 case. Luckily, with the right tools and a step-by-step guide, the process can be relatively straightforward.
Upgrading your power supply can be necessary when you want to add new hardware components to your computer, such as a high-performance graphics card or additional storage drives. The ATX PSU offers a higher wattage and better efficiency compared to the stock power supply that comes with the HP Elite 8300.
In this guide, we will take you through the process of fitting an ATX PSU into your HP Elite 8300, ensuring that you have all the necessary equipment and step-by-step instructions to successfully complete the upgrade. With a little bit of patience and some basic knowledge of computer hardware, you’ll be able to give your HP Elite 8300 the power it needs to handle demanding applications and tasks.
Before we get started, it’s important to mention that modifying your computer’s hardware can void any existing warranty. Be sure to check your warranty terms and consider seeking professional assistance if you are uncomfortable with performing the upgrade yourself. Now, let’s dive into the process of fitting an ATX PSU into your HP Elite 8300!
Requirements and Equipment Needed
Before you begin fitting an ATX PSU into your HP Elite 8300, it is essential to gather all the necessary equipment and tools. Here’s a list of what you’ll need:
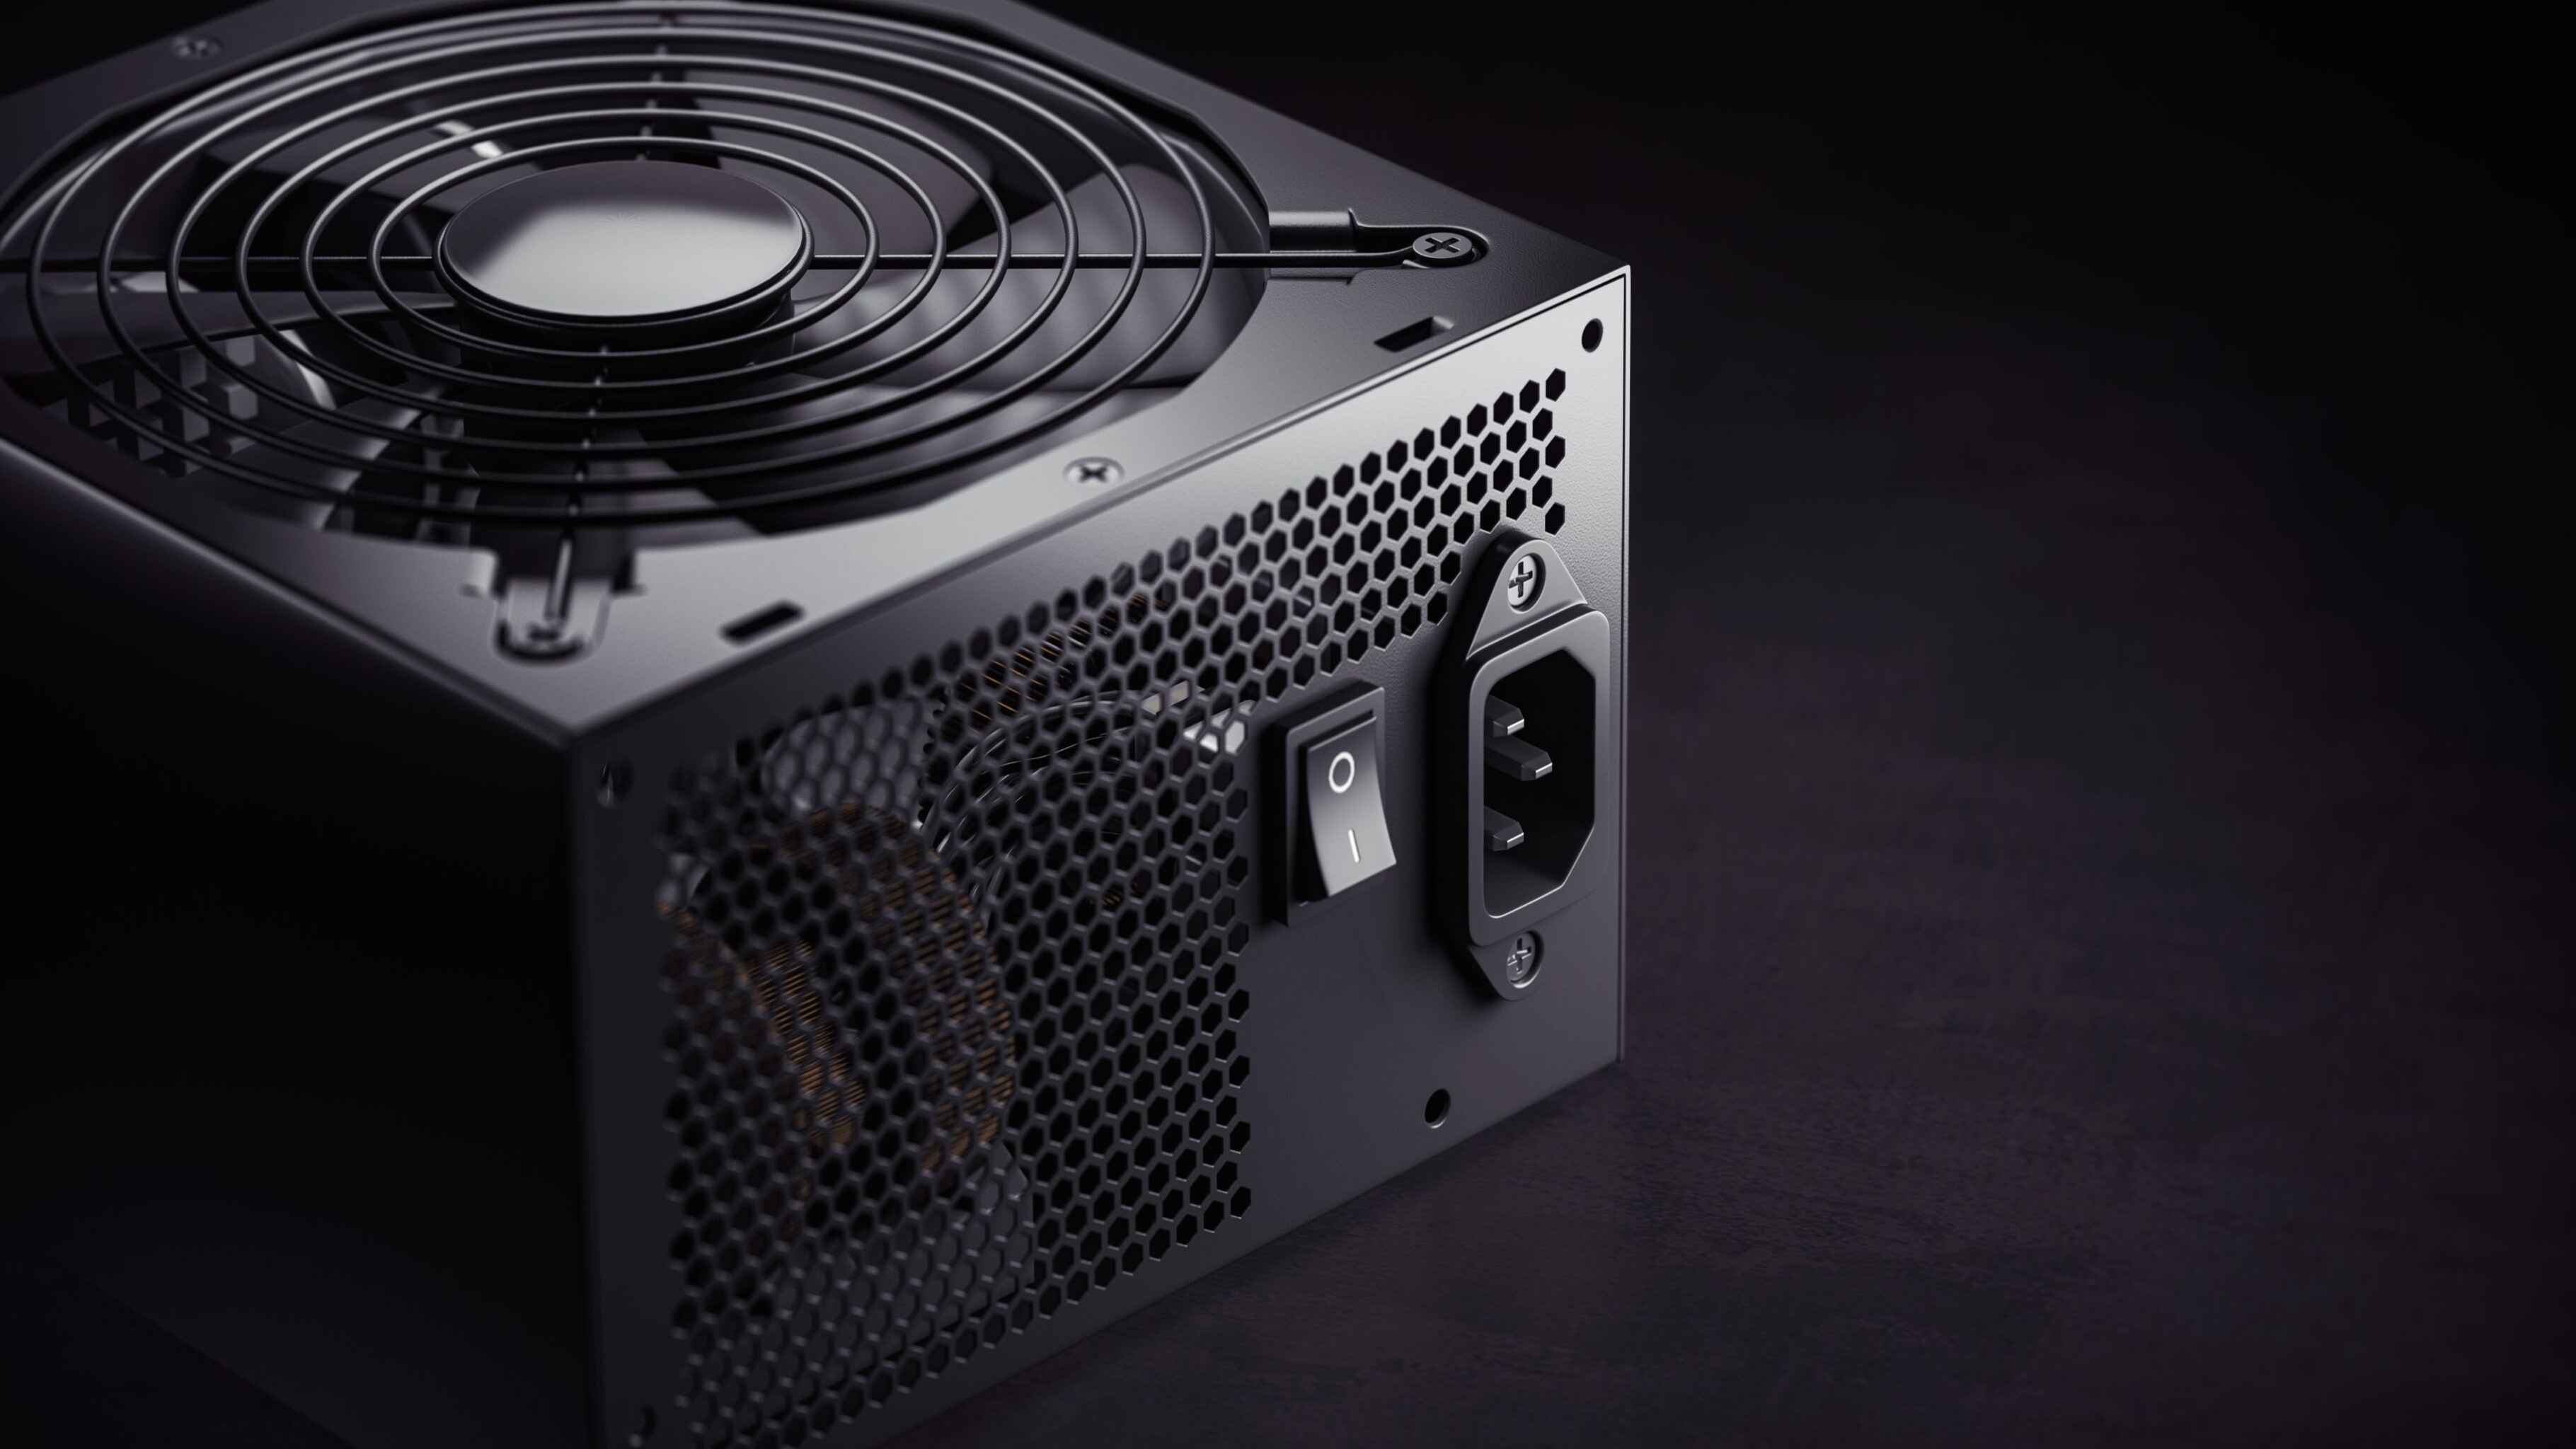
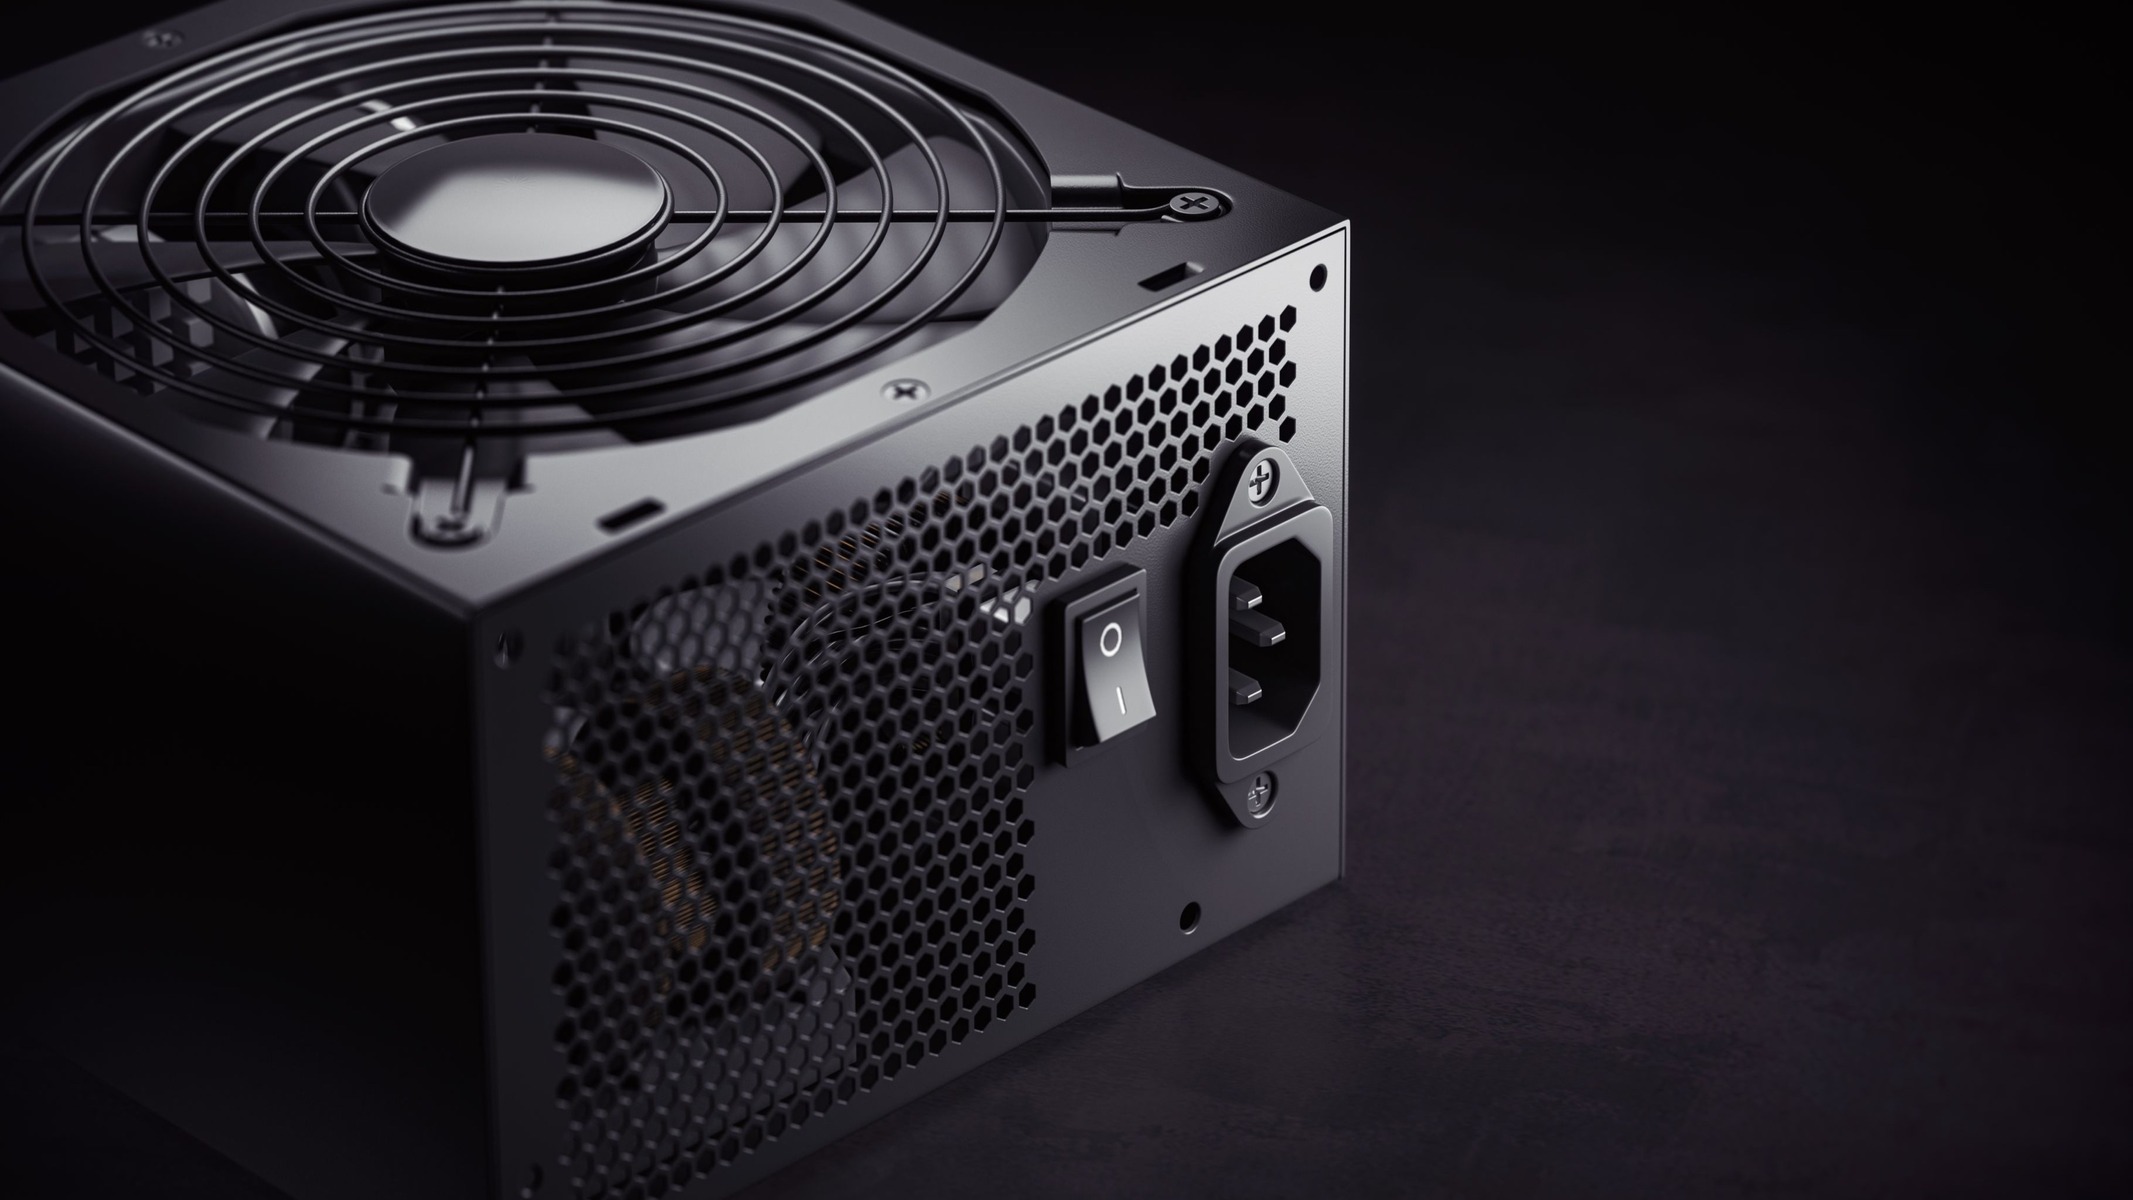
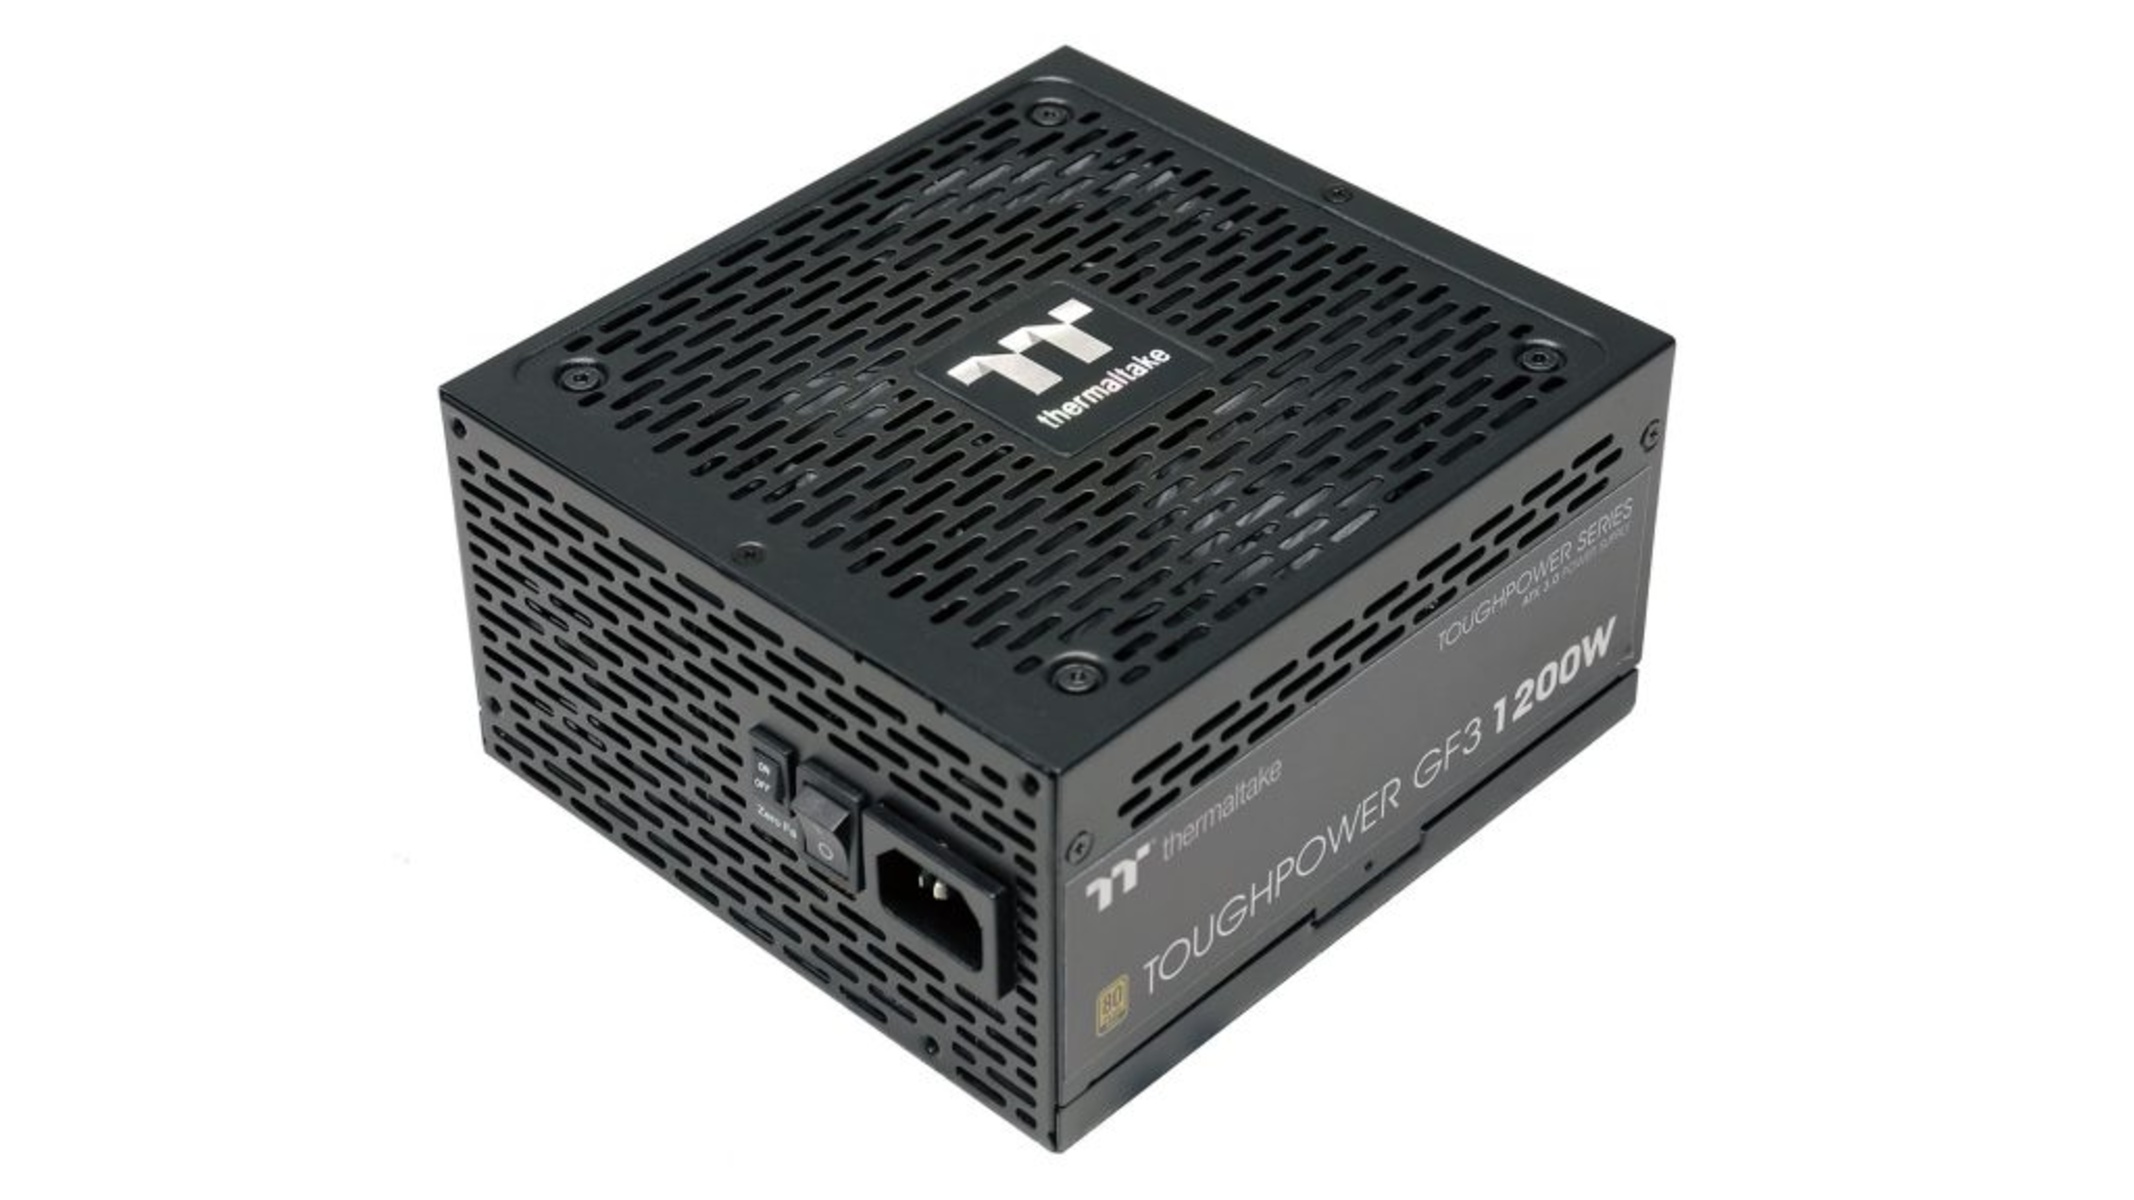
- ATX PSU: Make sure you have a compatible ATX PSU that meets the power requirements of your upgraded components.
- Phillips screwdriver: You’ll need a screwdriver to open the HP Elite 8300 case and remove the old PSU.
- Cable ties: These will come in handy for organizing and securing cables inside the case.
- Anti-static wrist strap: To prevent static discharge, it’s recommended to use an anti-static wrist strap when working inside the computer case.
- Work area: Find a clean, well-lit space where you can comfortably work on your HP Elite 8300. It’s best to have a large enough work area to accommodate the opened computer case.
- User manual: Familiarize yourself with the user manual of your HP Elite 8300. It contains important information about the case layout and internal components.
It’s always a good practice to review the user manual and gather all the necessary equipment before attempting any hardware modifications. This will ensure a smooth and efficient installation process.
Now that you have all the required equipment and tools, let’s move on to the step-by-step process of fitting an ATX PSU into your HP Elite 8300.
Step 1: Gather necessary equipment and tools
The first step in fitting an ATX PSU into your HP Elite 8300 is to gather all the necessary equipment and tools. Having everything you need on hand will make the installation process much more efficient. Here’s what you’ll need:
- ATX PSU: Make sure you have a compatible ATX PSU that meets the power requirements of your upgraded components. Check the wattage and connectors of the PSU to ensure it’s suitable for your needs.
- Phillips screwdriver: You’ll need a screwdriver to open the HP Elite 8300 case and remove the old PSU. Ensure you have one with a suitable size and grip for easy handling.
- Cable ties: These will come in handy for organizing and securing cables inside the case. Get a pack of reusable cable ties for flexibility and convenience.
- Anti-static wrist strap: To prevent static discharge that could damage sensitive components, it’s recommended to use an anti-static wrist strap when working inside the computer case. This strap safely neutralizes any static electricity from your body.
- Work area: Find a clean, well-lit space where you can comfortably work on your HP Elite 8300. Make sure you have enough room to maneuver and lay out components. A large table or desk will be ideal.
- User manual: Take some time to review the user manual of your HP Elite 8300. It contains important information about the case layout and internal components. Familiarize yourself with the instructions to ensure a smooth installation process.
By gathering all the necessary equipment and tools, you’ll be well-prepared to dive into the installation process with confidence. It’s always a good idea to review the user manual and ensure you have a suitable workspace before proceeding to the next step.
Step 2: Turn off the computer and unplug all cables
Before you begin any hardware modifications, it’s crucial to turn off your HP Elite 8300 and ensure it is completely powered down. Follow these steps to safely turn off your computer and disconnect all cables:
- Save your work and close any open applications or files.
- Shut down your HP Elite 8300 by clicking on the Start button and selecting “Shutdown” from the power options.
- Once the computer has shut down, locate the power cord at the back of the case and unplug it from the power outlet. This ensures that the computer is not connected to any electrical source.
- Next, unplug any peripheral devices connected to the computer, such as monitors, keyboards, mice, and external storage devices. Remove all cables connected to the rear ports of the HP Elite 8300.
- Take a moment to organize and label the cables to make reconnection easier later on. You can use adhesive labels or colored markers to identify each cable’s purpose and placement.
By turning off your computer and unplugging all cables, you eliminate the risk of electrical shock and accidental damage during the installation process. Taking the time to label cables will save you from confusion when reconnecting them later.
With step 2 completed, you’re now ready to move on to the next step – opening the HP Elite 8300 case.
Step 3: Open the HP Elite 8300 case
Now that your HP Elite 8300 is turned off and all cables are unplugged, it’s time to open the case to access the internal components. Follow these steps to safely open the case:
- Place your HP Elite 8300 on a stable surface, with the rear of the case facing towards you.
- Locate the release latch or screws securing the side panel of the case. The placement of the latch or screws may vary depending on the specific model of your computer.
- If there is a release latch, push or slide it to unlock the side panel. If there are screws, use a Phillips screwdriver to remove them.
- Once the latch is unlocked or the screws are removed, gently slide the side panel towards the back of the case. The panel should easily come off, revealing the internal components of the HP Elite 8300.
- Place the side panel in a safe location, as you will need to reattach it once the ATX PSU installation is complete.
Take a moment to familiarize yourself with the inside of the HP Elite 8300 case. You will notice the existing power supply unit (PSU) that you will be replacing with the new ATX PSU. Pay attention to the positioning of the PSU and the cables connected to it, as this will guide you during the installation process.
With step 3 complete, you’re now ready to proceed to the next step – removing the old PSU from the HP Elite 8300.
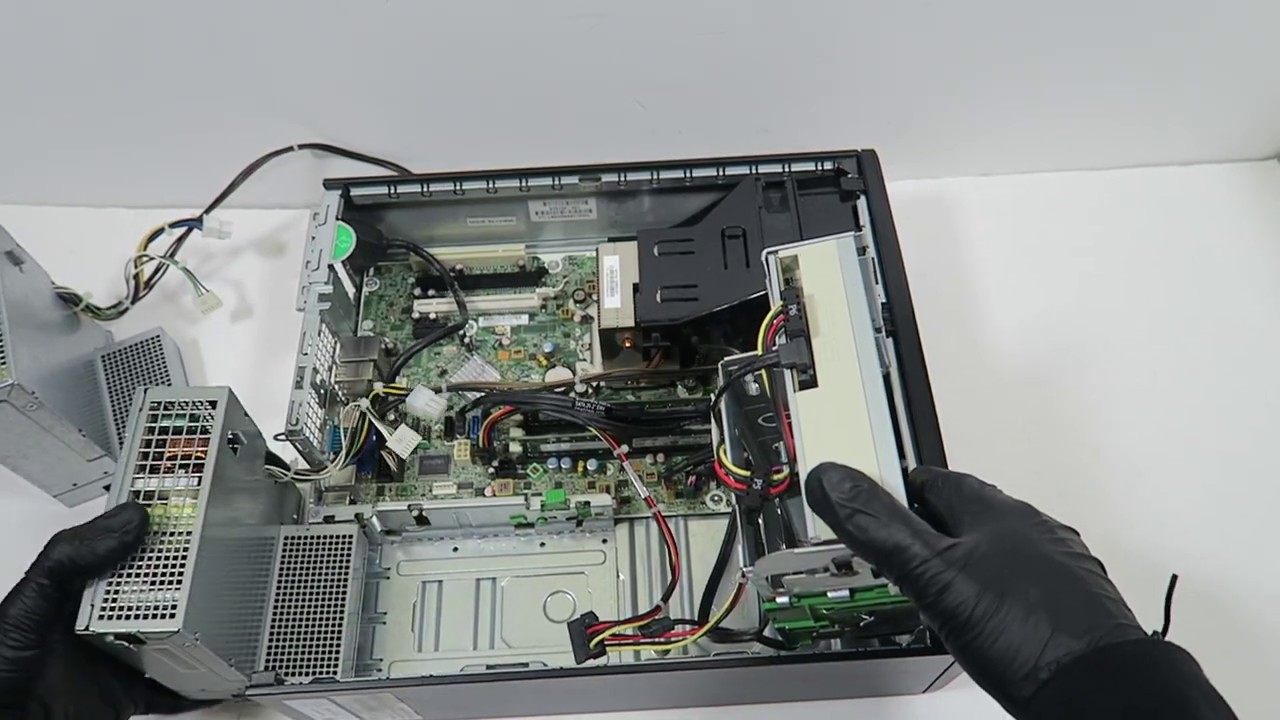
Step 4: Remove the old PSU
With the HP Elite 8300 case open, it’s time to remove the old power supply unit (PSU) to make way for the new ATX PSU. Follow these steps to safely remove the old PSU:
- Locate the existing PSU, which is typically positioned at the top or rear of the case.
- Identify the cables connected to the PSU. These cables include the main power connector, peripheral connectors, and any other connections specific to your hardware setup.
- Begin by disconnecting the cables one by one. To do this, firmly grasp the connector and gently pull it away from the PSU. Avoid pulling on the cables themselves to prevent any damage.
- Once all the cables are disconnected, locate the screws securing the PSU to the case. Depending on the model of your HP Elite 8300, there may be two or more screws holding the PSU in place.
- Use a Phillips screwdriver to remove the screws. Keep them in a safe place for later use.
- With the screws removed, carefully slide the old PSU out of the case. Take note of any extra wires or cables that may be attached to the PSU before completely removing it.
Keep the old PSU in a safe place, as it may be useful as a backup or for future projects.
Now that you have successfully removed the old PSU, you’re ready to move on to the next step of preparing the ATX PSU for installation.
Step 5: Prepare the ATX PSU for installation
Now that the old power supply unit (PSU) has been removed, it’s time to prepare the new ATX PSU for installation in your HP Elite 8300. Follow these steps to ensure the ATX PSU is ready for installation:
- Inspect the ATX PSU for any physical damage. Check for any dents, loose components, or obvious signs of wear. If you notice any issues, consider contacting the manufacturer for a replacement.
- Check the wattage and connectors on the ATX PSU to ensure they meet the power requirements of your upgraded components. Compare the specifications to the original PSU or the requirements of the components you plan to install.
- If necessary, configure the modular cables that came with the ATX PSU. Modular cables allow you to connect only the cables you need, reducing cable clutter and improving airflow. Connect the required cables securely to the PSU.
- Organize the PSU cables, arranging them neatly to prevent them from obstructing airflow or interfering with other components.
- Take note of the orientation of the ATX PSU, particularly the intake and exhaust fans. Proper airflow is essential for cooling the system, so ensure that the PSU fans will blow air in the desired direction.
By carefully preparing the ATX PSU for installation, you ensure that it is in optimal condition and has the necessary connections for your hardware setup. Taking the time to organize cables and ensure proper orientation will contribute to better airflow and overall system performance.
With the ATX PSU prepared, you’re now ready to proceed to the next step – positioning and connecting the ATX PSU in your HP Elite 8300.
Step 6: Position and Connect the ATX PSU
With the ATX PSU prepared, it’s time to position it correctly in your HP Elite 8300 and make the necessary connections. Follow these steps to ensure the ATX PSU is properly positioned and connected:
- Locate the PSU mounting bracket or area where the PSU will be installed in the HP Elite 8300 case. It is typically located at the top or rear of the case.
- Align the screw holes of the ATX PSU with the mounting holes on the PSU bracket inside the case. Carefully place the PSU in position, ensuring that it is aligned correctly.
- Secure the ATX PSU to the case using the screws that were previously removed. Tighten them firmly, but avoid overtightening to prevent any damage to the PSU or case.
- Connect the main power cable from the ATX PSU to the motherboard. Locate the 24-pin ATX power connector on the motherboard and plug in the corresponding cable from the PSU. Ensure it is connected securely.
- If your hardware setup requires it, connect additional power cables to the corresponding components, such as the graphics card, storage drives, or other peripherals. Refer to the user manual of your motherboard and components for specific cable connections.
- Double-check all cable connections to ensure they are secure. Tug gently on each connection to ensure they are properly seated.
During the positioning and connection process, pay attention to cable management. Arrange the cables neatly and use cable ties to secure them and prevent any obstruction of airflow inside the case.
With the ATX PSU properly positioned and connected, you’ve completed a major step in upgrading your HP Elite 8300. Now, let’s move on to securing the ATX PSU in place.
Step 7: Secure the ATX PSU in Place
Now that the ATX PSU is positioned and properly connected in your HP Elite 8300, it’s important to secure it in place to ensure stability and prevent any movement or vibrations. Follow these steps to secure the ATX PSU:
- Inspect the area around the ATX PSU to ensure there are no loose cables or components obstructing its placement.
- Use cable ties to bundle and secure any loose cables coming from the ATX PSU. This will help maintain a clean and organized interior, as well as prevent any interference with cooling fans or internal components.
- If your case has specific mounting points or brackets designed to secure the ATX PSU, utilize them. Some cases have clips or brackets that can be used to hold the PSU in place, providing additional support.
- Check for any movement or wobbling of the ATX PSU once it’s secured. Gently shake the case to ensure the PSU is securely fastened and doesn’t shift. If necessary, readjust the mounting or connections to eliminate any movement.
Securing the ATX PSU in place adds stability to your system and prevents any potential damage from loose components. It also ensures proper airflow and keeps the cables organized, contributing to better overall performance and maintenance.
With the ATX PSU securely in place, you’re now ready to proceed to the next step – closing the HP Elite 8300 case.
Step 8: Close the HP Elite 8300 Case
With the ATX PSU properly secured, it’s time to close the HP Elite 8300 case and finalize the installation process. Follow these steps to close the case:
- Take a final look inside the case to ensure all cables are properly organized and secured. Double-check that no loose components or cables are obstructing the closing of the case.
- Retrieve the side panel that you removed earlier. Align it with the opening of the case.
- Gently slide the side panel back into place, ensuring it fits snugly and evenly with the rest of the case. Take care not to force or apply excessive pressure when closing the panel.
- If there is a release latch, make sure it locks securely. If there are screws, use a Phillips screwdriver to reattach them to secure the side panel in place.
- Gently press on the side panel to confirm that it is firmly closed and there are no gaps.
Closing the case ensures that all internal components are protected from dust, debris, and accidental damage. It also promotes proper airflow, which is vital for maintaining optimal system performance and stability.
With the HP Elite 8300 case closed, you have successfully completed the installation of the ATX PSU. The final step is to reconnect all cables and power on the computer.
Step 9: Reconnect all Cables and Power On the Computer
With the HP Elite 8300 case securely closed, it’s time to reconnect all the cables and power on the computer. Follow these steps to complete the installation:
- Begin by reconnecting the peripherals that were previously disconnected. This includes monitors, keyboards, mice, and any other external devices you were using.
- Take out the labels or markers you used to identify the cables earlier in the process. Use them as a guide to reconnect each cable to its appropriate port on the rear of the HP Elite 8300.
- Double-check each cable connection to ensure they are secure. Tug gently on each cable to ensure it is properly seated in its respective port.
- Once all the cables are reconnected, locate the power cord of the HP Elite 8300 that you previously unplugged from the power outlet.
- Plug the power cord back into a reliable power source, such as a surge protector or wall outlet.
- Before pressing the power button, take a moment to verify one more time that everything is properly connected and secure. Ensure that no loose cables are obstructing the fans or components.
- Finally, press the power button to turn on the computer. Listen for the usual startup sounds and check if the fans start spinning.
If the computer powers on without any issues, you have successfully completed the installation of the ATX PSU in your HP Elite 8300. Enjoy the improved power delivery and efficiency that the new PSU brings to your system.
In the rare event that the computer does not power on or encounters any issues, double-check all cable connections and ensure that everything is securely plugged in. If problems persist, consult the user manual or seek assistance from a professional if necessary.
With step 9 complete, you have successfully completed the entire process of fitting an ATX PSU into your HP Elite 8300. Congratulations!
Conclusion
Congratulations on successfully fitting an ATX PSU into your HP Elite 8300! By following the step-by-step guide, you have upgraded your computer with a more powerful and efficient power supply, capable of handling demanding applications and hardware components.
Throughout the installation process, you learned how to gather the necessary equipment and tools, turn off the computer and unplug all cables, open the HP Elite 8300 case, remove the old PSU, prepare and position the ATX PSU, secure it in place, close the case, and reconnect all cables before powering on the computer.
Remember to always consult the user manual of your HP Elite 8300 and the ATX PSU for specific instructions and specifications. Additionally, always ensure that the computer is powered off and unplugged before attempting any hardware modifications.
Upgrading your power supply is not only beneficial for current hardware needs but also allows for future expansion and upgrades without worrying about power limitations. The ATX PSU provides better efficiency, higher wattage, and improved overall performance for your HP Elite 8300.
If you encounter any issues or have any questions during the installation process, don’t hesitate to seek professional assistance or consult online resources for further guidance.
Now that you have successfully completed the installation, it’s time to enjoy the enhanced power and performance of your HP Elite 8300 with the new ATX PSU. Whether you’re a gamer, a graphic designer, or a power user, this upgrade ensures that your computer can handle even the most demanding tasks.
Thank you for following this guide, and we hope that your upgraded HP Elite 8300 brings you many hours of productive and enjoyable computing!